Delightful Robin Egg Cupcakes: Your Ultimate Guide to Easter’s Sweetest Treat
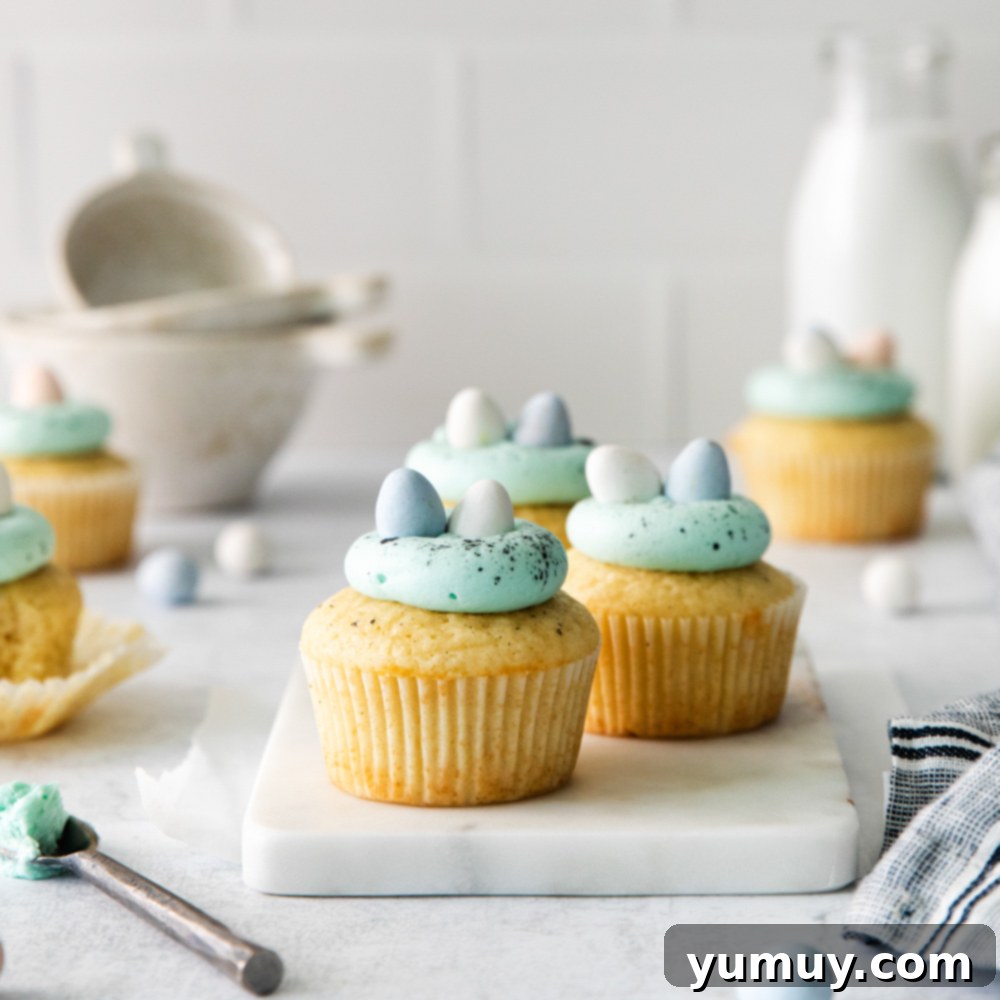
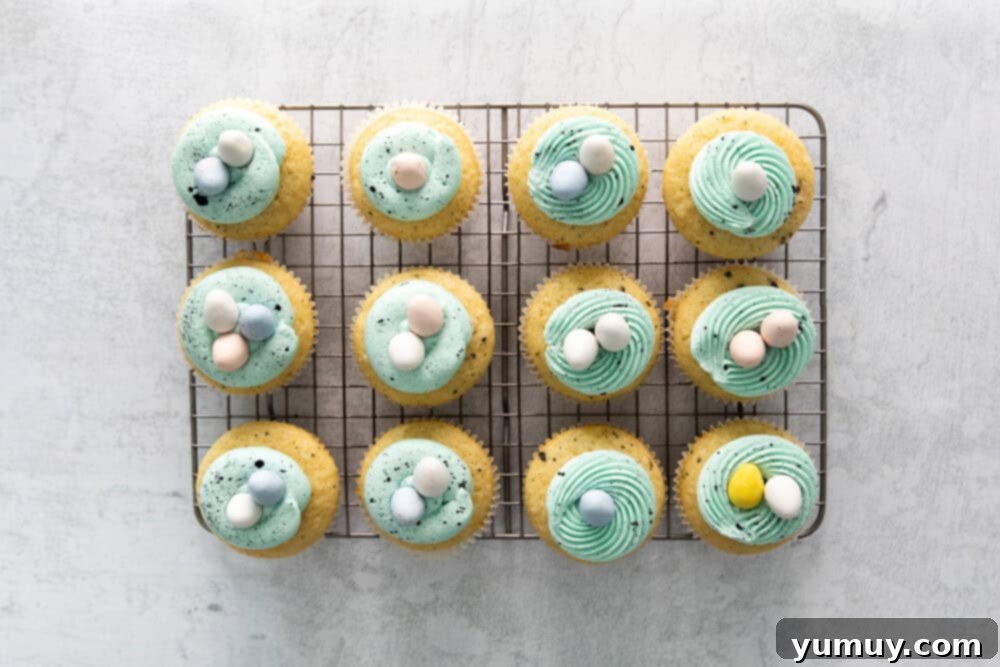
As spring awakens and Easter approaches, there’s no better way to celebrate than with a batch of these enchanting Robin Egg Cupcakes. Imagine soft, tender vanilla cupcakes crowned with a vibrant, pastel robin egg blue buttercream and adorned with delightful mini chocolate eggs. These aren’t just cupcakes; they are edible works of art that capture the joyous spirit of the season, making them an undeniable highlight on any Easter dessert table. Forget searching for intricate Easter dessert ideas; these charming treats are simple to make, yet stunningly impressive.
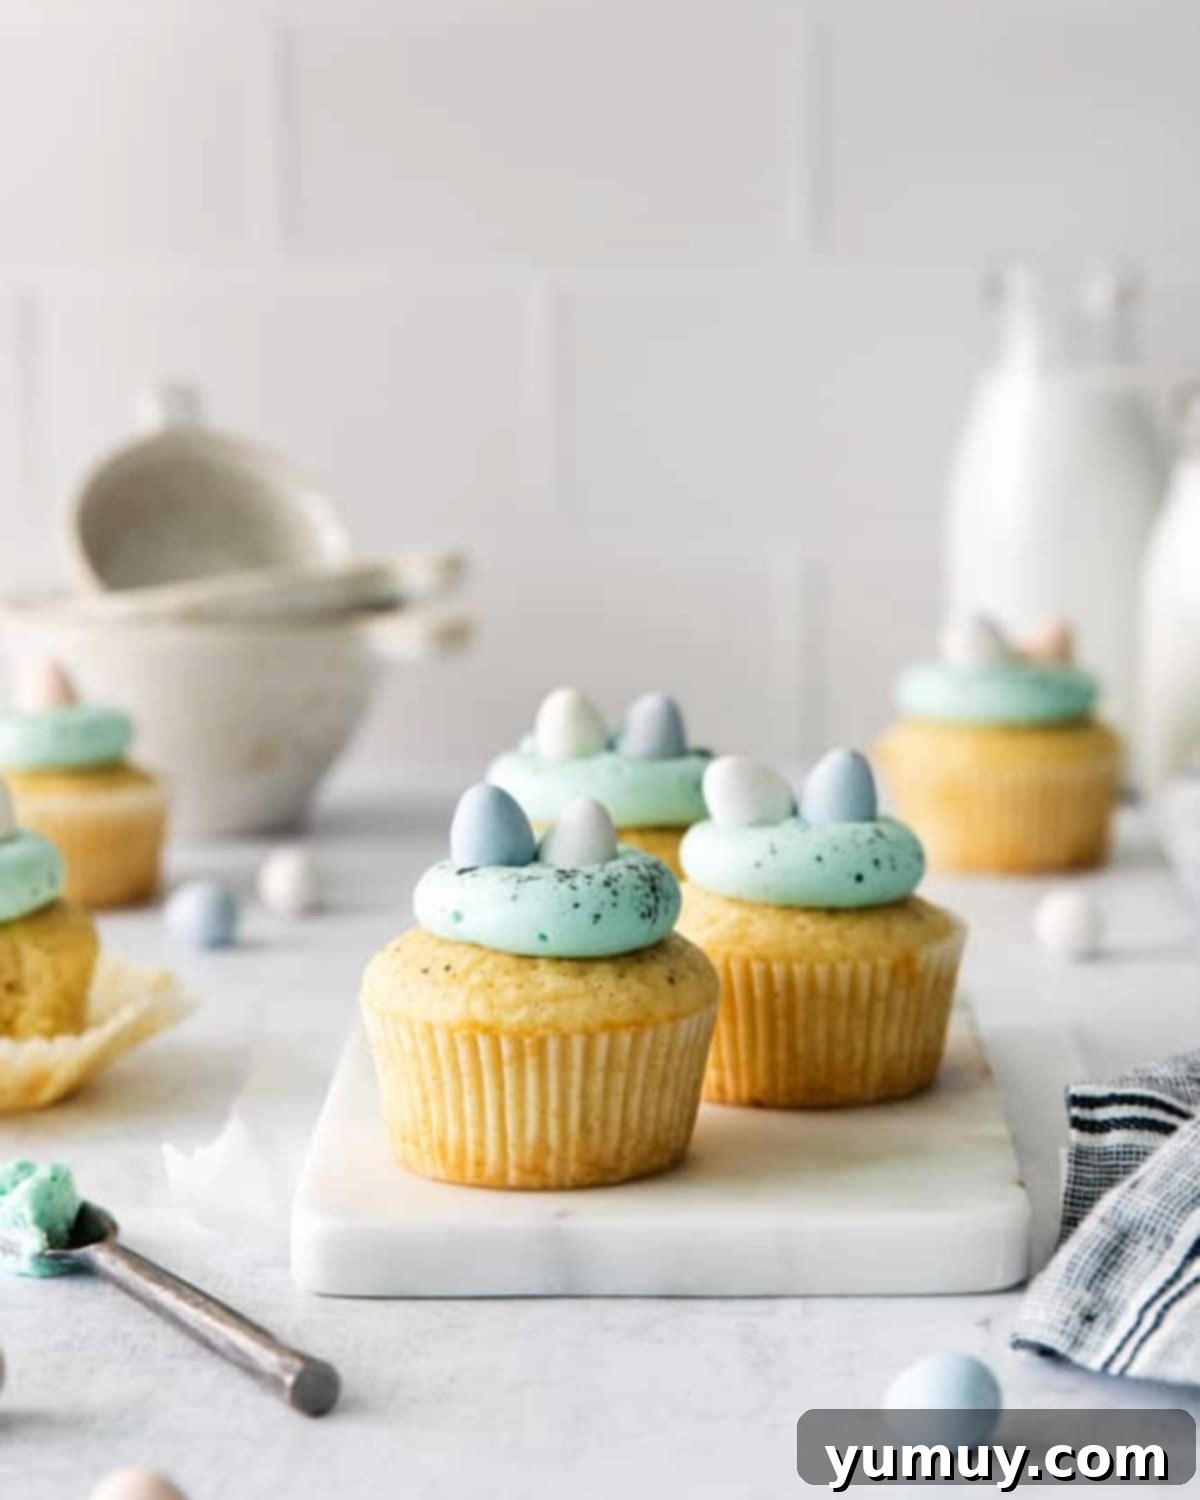
These cupcakes are more than just a recipe; they are an experience. They bring a touch of whimsy and elegance to your holiday gathering, making guests of all ages smile. The classic vanilla base ensures widespread appeal, while the eye-catching robin egg blue frosting and crunchy mini egg candies provide that irresistible festive flair. Whether you’re an experienced baker or just starting your culinary journey, this recipe offers a straightforward path to creating truly memorable Easter treats.
Why These Robin Egg Cupcakes Are a Must-Try for Easter
- Visually Stunning: The gorgeous pastel blue frosting, reminiscent of actual robin eggs, makes these cupcakes incredibly Instagram-worthy and a centerpiece-worthy dessert.
- Easy to Make: Despite their sophisticated appearance, the recipe for both the vanilla cupcakes and the buttercream is surprisingly simple, perfect for bakers of all skill levels.
- Irresistibly Delicious: A classic vanilla cupcake base paired with a rich, fluffy buttercream and chocolate mini eggs creates a harmonious blend of flavors and textures that everyone will adore.
- Festive and Fun: These cupcakes are inherently celebratory, bringing a playful and elegant touch to your Easter brunch or dinner.
- Customizable: While robin egg blue is traditional, you can easily adjust the colors or toppings to match any spring occasion.
The beauty of these robin egg cupcakes lies in their charming decoration. While the vanilla cupcake recipe is delightfully easy and the buttercream comes together quickly, it’s the distinctive robin egg blue frosting and the edible mini eggs that truly make these Easter cupcakes shine. They evoke the delicate beauty of birds’ nests, bringing a natural and sweet elegance to your table. Prepare to be showered with compliments, as these cupcakes are almost too pretty to eat!
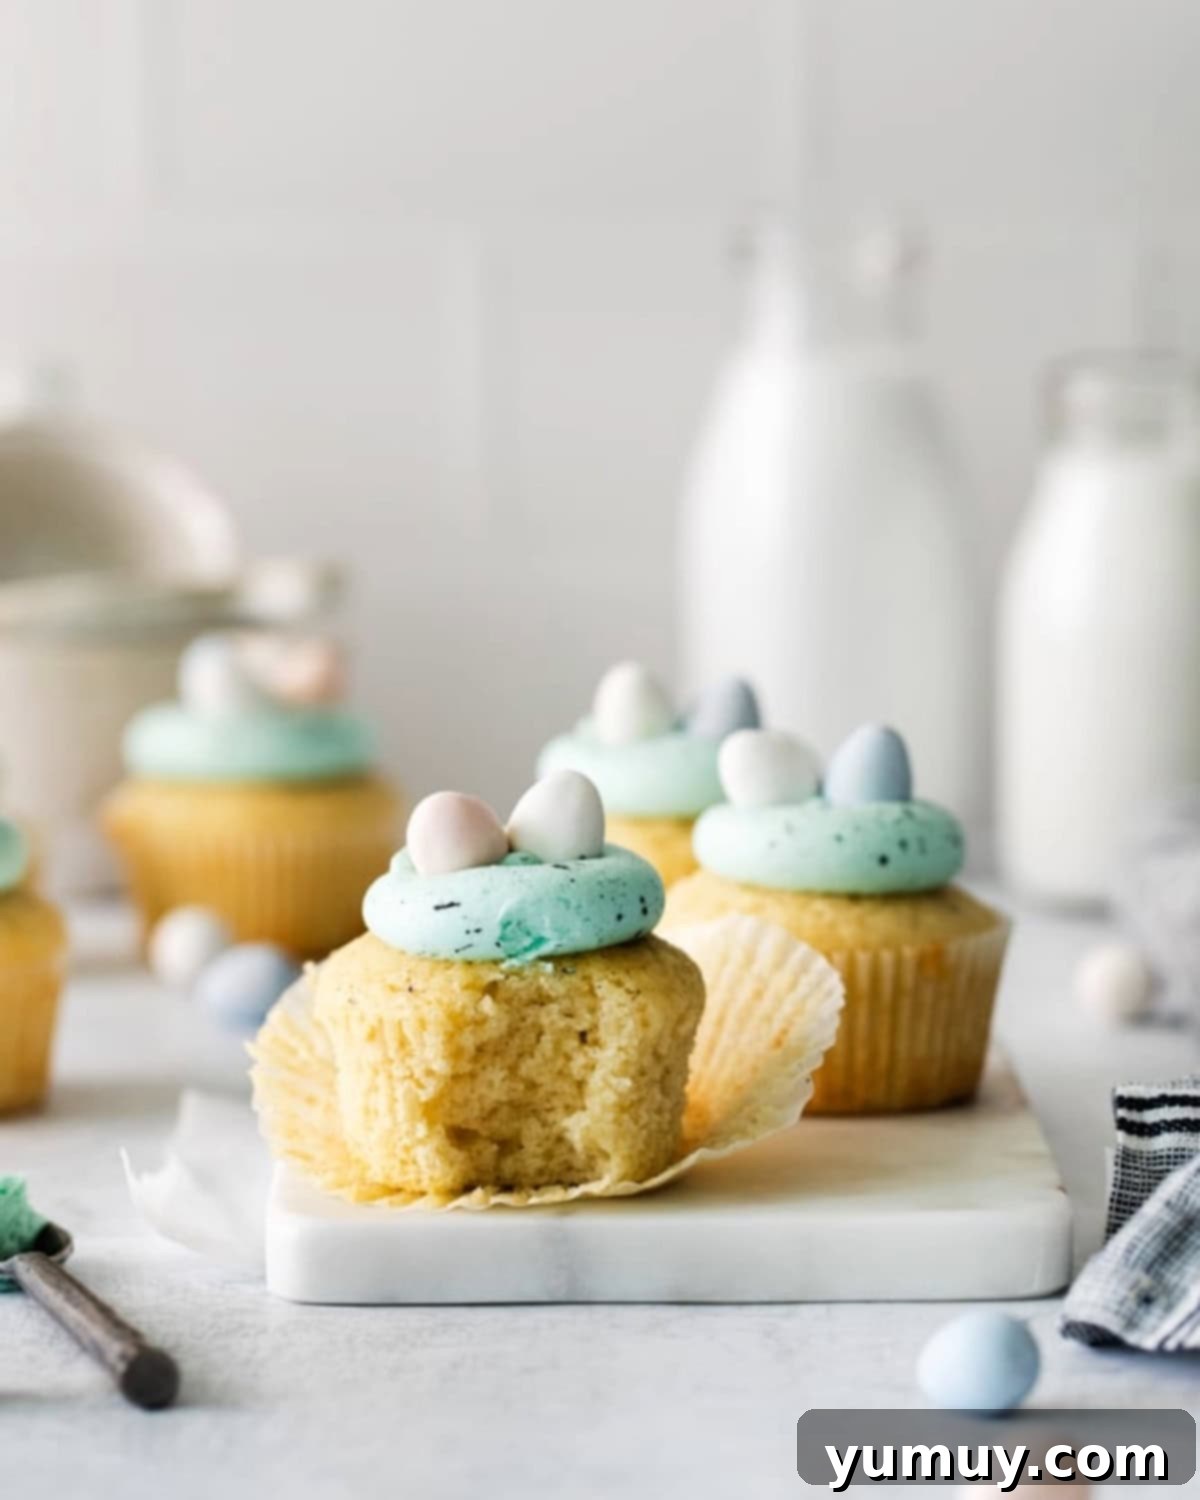
Achieving the Perfect Robin Egg Blue: A Natural Coloring Tip
For those who prefer natural food coloring, you can achieve a beautiful blue hue for your frosting using butterfly pea powder. This natural ingredient, easily found online, can be beaten into the butter before you add the remaining buttercream ingredients. It creates a stunning blue or purple shade, which can be adjusted with a tiny drop of yellow or green if you’re aiming for that perfect teal-like robin egg color. This offers a wonderful alternative to artificial dyes, allowing you to enjoy vibrant colors with wholesome ingredients.
Robin Egg Cupcakes Recipe

Robin Egg Cupcakes Recipe
These robin egg cupcakes are the perfect elegant Easter cupcake recipe. Beautiful pastel blue buttercream topped with mini eggs!
25
minutes
15
minutes
2
hours
40
minutes
2
hours
12
cupcakes
Ingredients
For the Cupcakes
For the Robin Egg Buttercream
Metric
Equipment
- Kitchen Scale (optional)
- Cupcake Tin
- Stand Mixer
- Piping Tip Set
Instructions
For the Cupcakes
Preheat oven to 350°F (175°C) and line a 12-count cupcake tin with paper liners. Set aside.
In a large bowl, whisk the flour, granulated sugar, and baking powder together until well combined.
Ingredients: 1½ cups all-purpose flour, 1 cup granulated sugar, 1 teaspoon baking powder
Add the whole milk, melted unsalted butter, large eggs, and pure vanilla extract to the dry ingredients. Whisk gently just until everything is combined and no dry streaks remain. Be careful not to overmix, as this can lead to dense, tough cupcakes.
Ingredients: ½ cup whole milk, ½ cup unsalted butter, 2 large eggs, 1 teaspoon pure vanilla extract

Evenly divide the cupcake batter among the lined wells of the cupcake tin, filling each about ¼ cup full. This ensures uniform baking and size.

Bake for 15-17 minutes, or until a wooden toothpick inserted into the center of a cupcake comes out clean, indicating they are fully baked.
Carefully remove the cupcakes from the tin and transfer them to a wire rack to cool completely. This cooling process typically takes about 2 hours and is crucial before frosting to prevent melting.
For the Robin Egg Buttercream
Add the softened unsalted butter to the bowl of a stand mixer fitted with the paddle attachment. Beat on medium speed for about 1 minute, until the butter is light and fluffy. This aeration is key to a smooth buttercream.
Ingredients: ½ cup unsalted butter

With the mixer on low speed, gradually add the powdered sugar, a little at a time, until fully incorporated. Once all the powdered sugar is mixed in, add the vanilla extract. Increase speed to medium and mix until smooth.
Ingredients: 2¼ cups powdered sugar, 1 teaspoon pure vanilla extract
Now, it’s time to add the color! Introduce a few drops of blue food coloring. I recommend starting with 2-3 drops and incrementally adding more until you achieve your desired robin egg blue shade. Remember, food coloring can darken slightly as it sets, so let it sit for a few minutes before making final adjustments.
Ingredients: 1-2 drops blue food coloring

Increase the mixer speed to high and beat the frosting for about 1 minute until it becomes wonderfully light and fluffy. Don’t forget to scrape down the sides of the bowl periodically to ensure all ingredients are thoroughly mixed and smooth.

Transfer the prepared frosting into a piping bag fitted with your preferred tip. A round tip or a star tip works beautifully for these cupcakes.
Pipe a decorative ring of buttercream around the perimeter of each cooled cupcake. Then, gently nestle 3 mini chocolate eggs into the center of the frosting ring, mimicking a bird’s nest.
Ingredients: 36 candy-coated chocolate mini eggs

Notes
I recommend using “Robin’s Egg” food coloring from Americolor for an authentic shade. If this specific color is unavailable, a pastel blue food coloring will also yield beautiful results. For standard water-based food coloring (like McCormick), begin with 6 drops of blue and 4 drops of green, then adjust gradually until you achieve your desired color. Keep in mind that food coloring often deepens in shade as it sits, so allow a few minutes for the color to develop before adding more.
Tips for Success:
- Flour Measurement: Always measure flour using the spoon-and-level method. Spoon the flour into your measuring cup, then level it off with a straight edge. This prevents adding too much flour, which can result in dry, crumbly cupcakes.
- Avoid Overmixing: Overmixing the cupcake batter develops gluten too much, leading to dense, chewy cupcakes instead of light and fluffy ones. Mix only until the ingredients are just combined.
- Cool Completely: Patience is key! Ensure your cupcakes are entirely cool before applying frosting. If the cupcakes are even slightly warm, the buttercream will melt and slide off, ruining your beautiful presentation.
- Room Temperature Butter for Buttercream: For the smoothest, fluffiest buttercream, your unsalted butter MUST be at true room temperature. If it’s too cold, your frosting will be lumpy and difficult to spread.
- Adjusting Buttercream Consistency: If your buttercream turns out too thin, try chilling it for 10-20 minutes, then re-whip. If it’s still too thin, gradually add more powdered sugar, one tablespoon at a time, beating after each addition until the desired thickness is reached. Conversely, if your buttercream is too thick, add milk (or cream) one teaspoon at a time, mixing until it loosens to the perfect consistency.
Storage Instructions:
Store your finished robin egg cupcakes in an airtight container at room temperature for up to 2 days. For extended freshness, they can be kept in the refrigerator for up to 4 days. If you plan to make them further in advance, unfrosted cupcakes can be frozen for up to 3 months. Let frozen cupcakes thaw overnight in the refrigerator before frosting and serving. Frosted cupcakes can also be frozen, but freeze solid on a tray first before transferring to an airtight container to prevent frosting smudges.
Calories from Fat 171
Becky Hardin
How to Make Robin Egg Cupcakes: A Detailed Step-by-Step Guide
Creating these delightful Robin Egg Cupcakes is a fun and rewarding process. Follow these detailed steps to ensure perfectly baked cupcakes and beautifully frosted tops.
Step 1: Gather Your Ingredients and Prepare
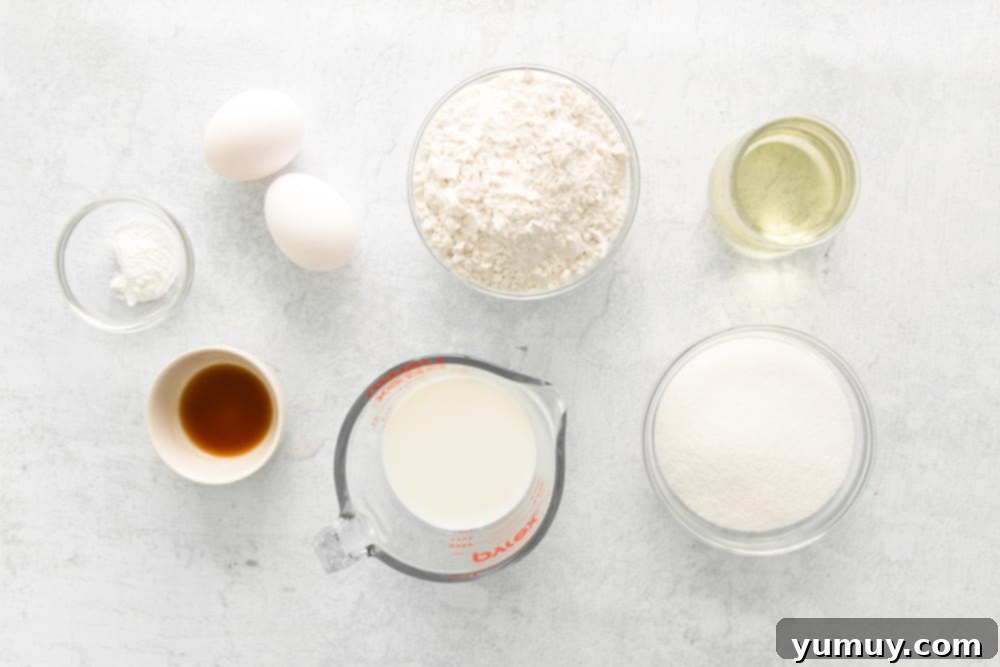
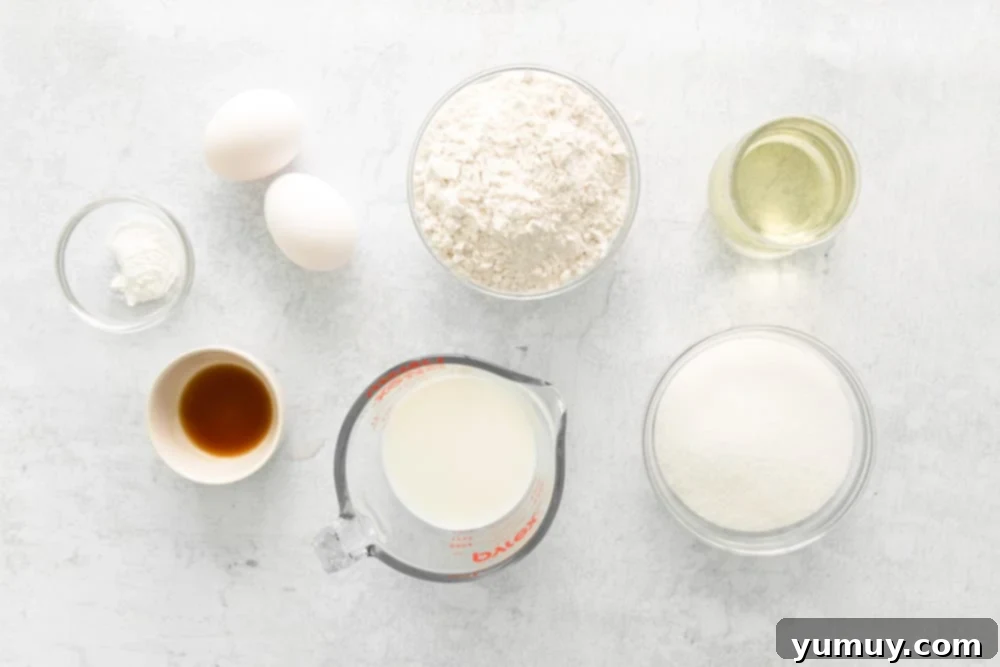
Before you begin, gather all the necessary ingredients for both the cupcakes and the buttercream. This mise en place ensures a smooth baking process. Critically, remember to bring the unsalted butter for your frosting to room temperature. Softened butter is essential for a smooth, lump-free buttercream.
Step 2: Mix the Cupcake Batter
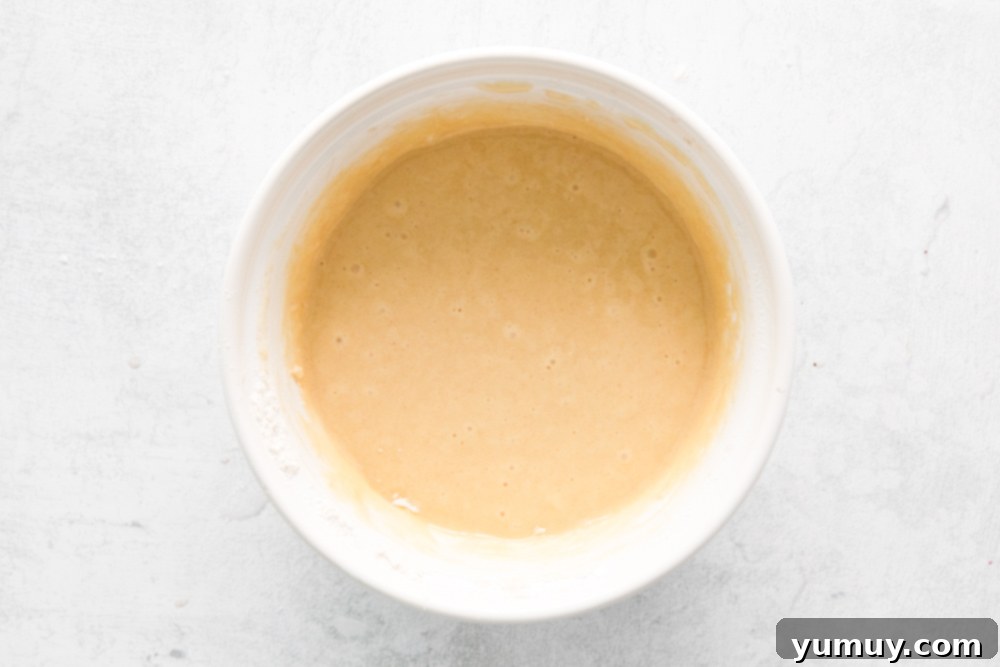
Preheat your oven to 350°F (175°C) and line a standard 12-count cupcake tin with festive paper liners. In a spacious mixing bowl, thoroughly whisk together 1½ cups of all-purpose flour, 1 cup of granulated sugar, and 1 teaspoon of baking powder. These dry ingredients form the foundational structure of your light and airy cupcakes. Next, add ½ cup of whole milk, ½ cup of melted unsalted butter, 2 large eggs, and 1 teaspoon of pure vanilla extract. Whisk these wet ingredients into the dry mixture just until they are combined. Overmixing is the enemy of tender cupcakes, so stop as soon as no streaks of dry flour remain.
Step 3: Bake and Cool the Cupcakes
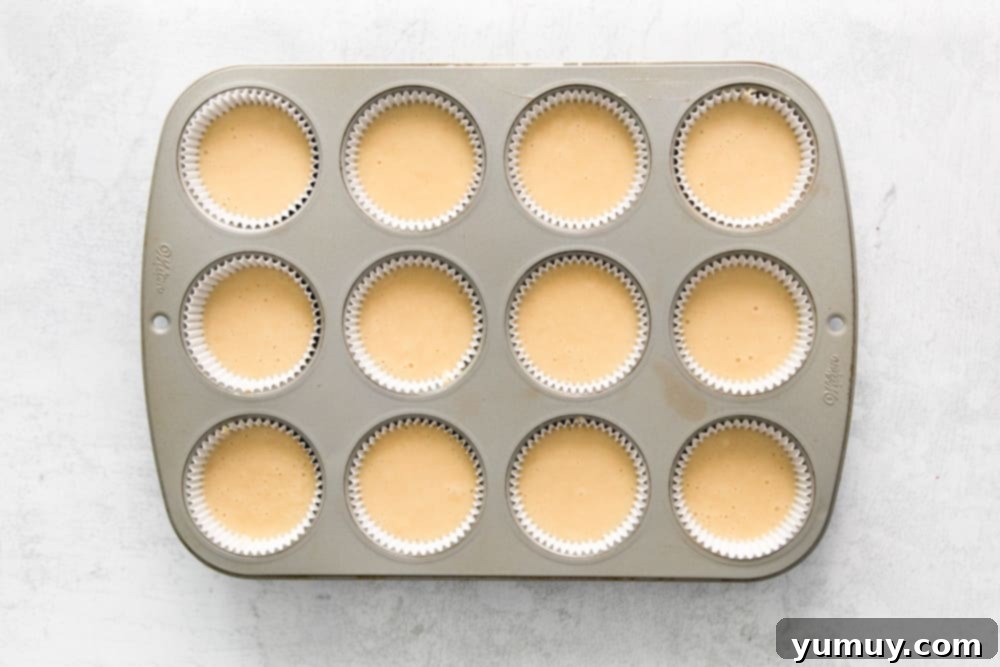
Carefully divide the freshly mixed cupcake batter evenly among the twelve lined wells of your cupcake tin. Aim for approximately ¼ cup of batter in each liner to ensure consistent size and baking. Transfer the tin to your preheated oven and bake for 15-17 minutes. To check for doneness, insert a toothpick into the center of a cupcake; it should come out clean. Once baked, remove the cupcakes from the oven and immediately place them on a wire rack to cool completely. This cooling step is essential and typically takes about 2 hours. Resist the urge to frost warm cupcakes, as the buttercream will melt.
Step 4: Prepare the Buttercream – Beat the Butter
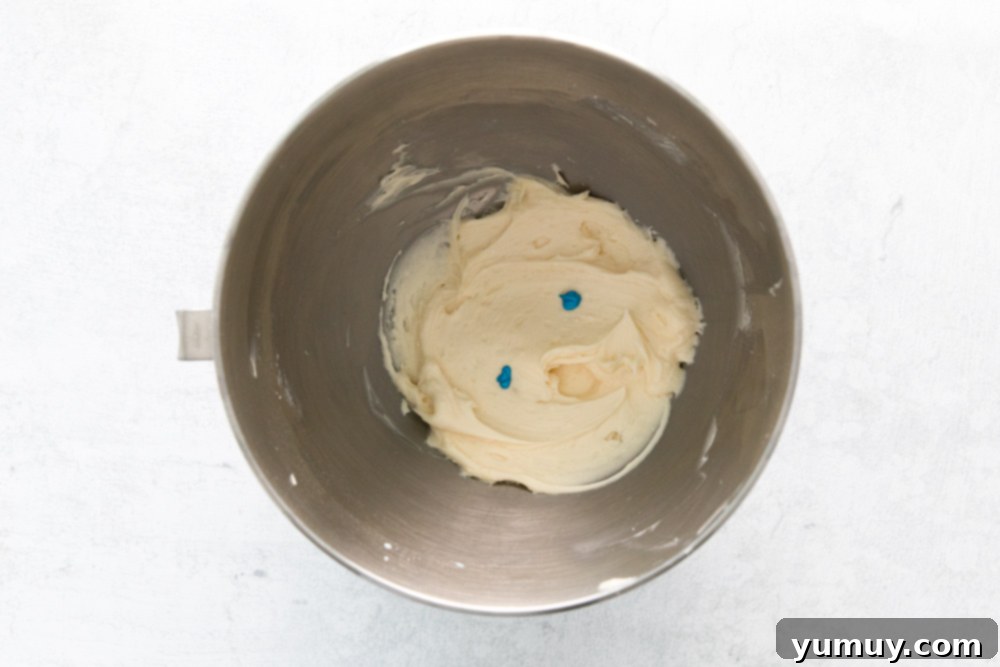
While your cupcakes are cooling, begin preparing the delightful robin egg buttercream. Add ½ cup of softened unsalted butter to the bowl of a stand mixer fitted with a paddle attachment. Beat the butter on medium speed for approximately 1 minute until it becomes noticeably light, pale, and fluffy. This initial whipping incorporates air, resulting in a wonderfully smooth and airy frosting.
Step 5: Thicken and Flavor the Frosting
Reduce your mixer speed to low and slowly begin to add 2¼ cups of powdered sugar, adding it gradually to prevent a sugar cloud and ensure it’s fully incorporated. Once all the powdered sugar has been added and mixed in, stir in 1 teaspoon of pure vanilla extract for that essential sweet aroma. Now for the signature color: add a few drops of blue food coloring. I suggest starting with 2-3 drops, mixing well, and then adding more in single drops if a deeper or more vibrant robin egg blue is desired. Remember the tip about color developing over time!
Step 6: Achieve Fluffy Buttercream and Prepare for Piping
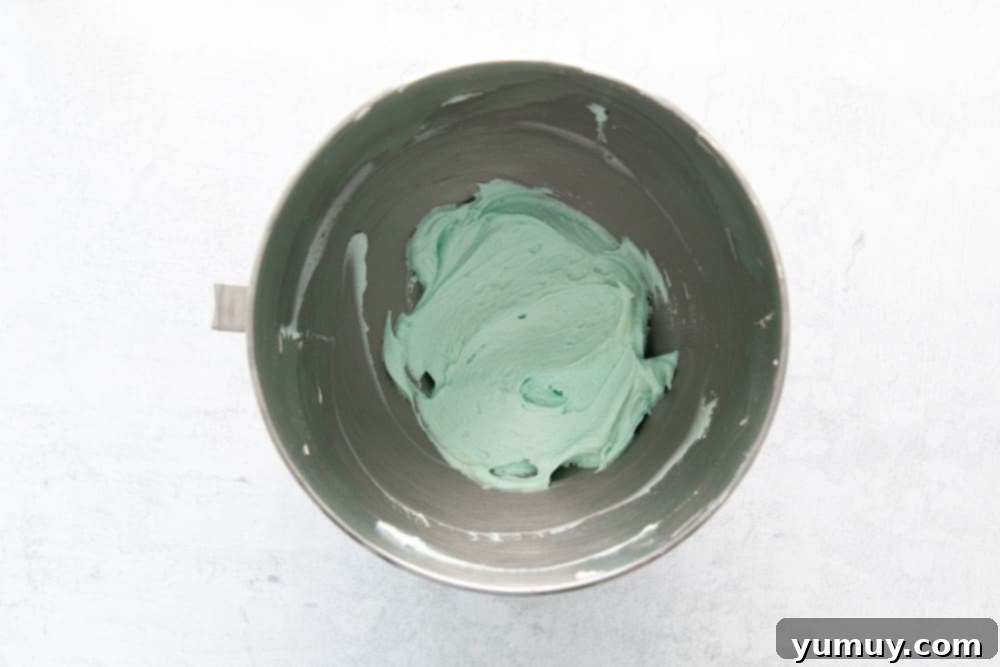
Once the color is to your liking, increase the mixer speed to high and beat the frosting for another minute. This final whip will make the buttercream incredibly light, fluffy, and smooth, perfect for piping. Throughout this process, make sure to occasionally scrape down the sides of the mixing bowl to ensure all ingredients are evenly incorporated and there are no hidden clumps. Once your buttercream is ready, transfer it into a piping bag fitted with your chosen piping tip. A round tip creates a smooth border, while a star tip adds a more decorative touch.
Step 7: Frost and Decorate Your Easter Cupcakes
With your cooled cupcakes and perfectly prepared buttercream, it’s time for the grand finale! Pipe a beautiful ring of robin egg blue buttercream around the outer edge of each cupcake. This creates a natural “nest” effect. Carefully place 3 candy-coated chocolate mini eggs into the center of the frosting ring on each cupcake. The mini eggs not only add a delightful crunch but also perfectly complete the robin egg aesthetic, making these cupcakes truly irresistible.
Frequently Asked Questions (FAQs)
Can I use a store-bought cake mix for the cupcakes?
Absolutely! If you’re short on time, a good quality vanilla or white cake mix can be used for the cupcake base. Simply follow the package instructions for preparing the cupcakes, then proceed with making and applying the robin egg buttercream and mini eggs as directed in this recipe. The beauty of these cupcakes is largely in the decoration!
What if I can’t find mini chocolate eggs?
No problem! While mini chocolate eggs are perfect for the robin egg theme, you can substitute them with other small, festive candies. Consider jelly beans, malted milk balls, or even small chocolate chips arranged in a nest shape. You could also create small “nests” using shredded coconut dyed green or toasted.
How can I make the buttercream more stable for warmer climates?
If you’re in a warm environment, you can adjust the buttercream recipe slightly for more stability. Reduce the amount of milk by a tablespoon or two, or replace a portion of the butter with shortening (which has a higher melting point). Alternatively, chilling the frosted cupcakes before serving can help them hold their shape longer.
Can I make these cupcakes ahead of time?
Yes, these cupcakes are excellent for making ahead! Unfrosted cupcakes can be baked up to 2 days in advance and stored in an airtight container at room temperature, or frozen for up to 3 months. The buttercream can be made up to 5 days ahead, stored in an airtight container in the refrigerator, then re-whipped before piping. Assemble and frost the cupcakes closer to serving time for the freshest look, though fully frosted cupcakes will keep well in the refrigerator for 3-4 days.
What kind of blue food coloring should I use?
Gel food colorings are highly recommended for their concentrated color and less impact on frosting consistency. Brands like Americolor or Wilton are excellent. You can use liquid food coloring, but you might need more drops, which could slightly thin your buttercream. Start small and add gradually until you reach the desired shade.
Explore More Delightful Cupcake Recipes!
If you loved these Robin Egg Cupcakes and are eager for more baking adventures, explore our collection of other easy and delicious cupcake recipes. There’s a perfect cupcake for every occasion and palate!
More Sweet Treats for Every Craving
Chocolate Chip Cupcakes
Black Forest Cupcakes
Orange Creamsicle Cupcakes
Lemon Cupcakes with Lemon Whipped Cream Frosting
Browse All Cupcakes
Did You Make This?
We love seeing what you’ve made! Tag us on social media at
@easydessertrecipes
for a chance to be featured.
