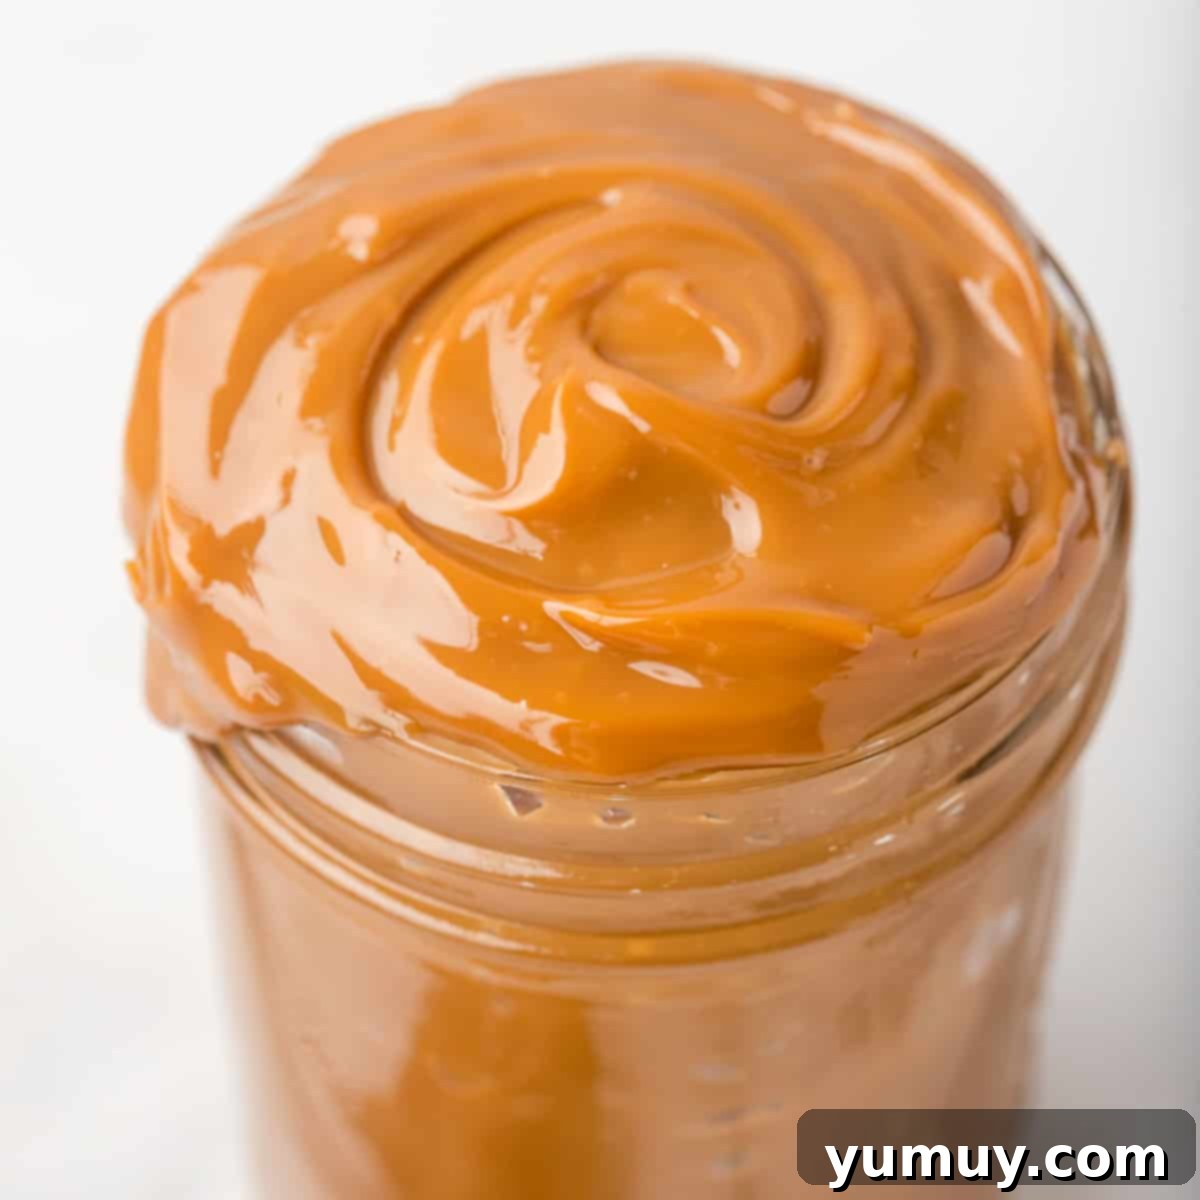
Prepare to be amazed by the sheer simplicity and incredible flavor of this homemade dulce de leche recipe! You won’t believe how easy it is to create this rich, thickened, and beautifully caramelized milk using just one humble ingredient. All you need is a can of sweetened condensed milk, a sturdy pot, enough water, and a little patience. The result is a velvety, golden-brown spread that’s perfect for drizzling over ice cream, filling pastries, or simply enjoying by the spoonful.
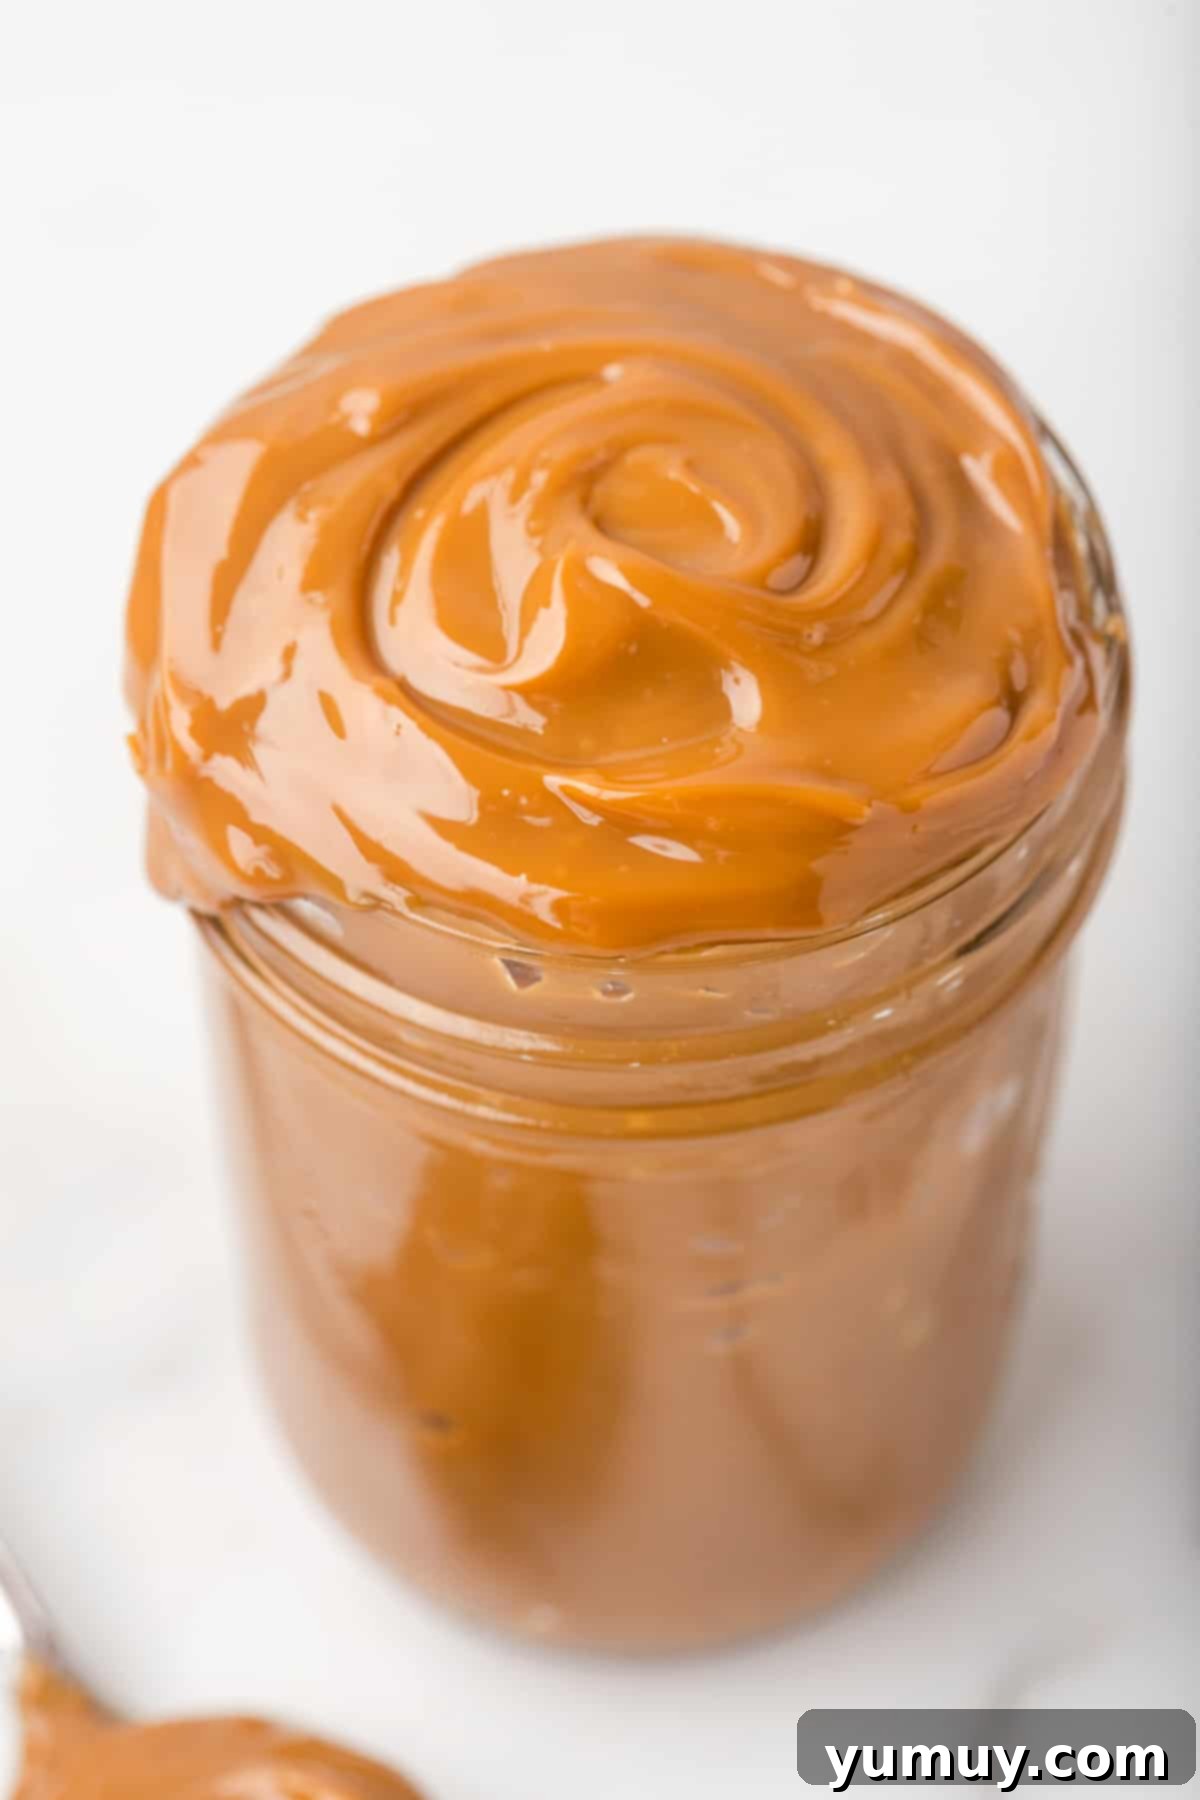
- Pin this recipe for later!
One-Ingredient Easy Dulce de Leche: Your Guide to Perfect Caramel
Welcome to the ultimate guide for making homemade dulce de leche – a ridiculously simple yet utterly delicious creation that requires nothing more than a single ingredient! Forget complex caramel recipes involving precise sugar temperatures and constant stirring. This method harnesses the magic of sweetened condensed milk, transforming it into a rich, luscious, and deeply caramelized treat with minimal effort. It’s perfect for beginners and seasoned bakers alike, offering a foolproof way to achieve that golden, creamy indulgence.
What Exactly is Dulce de Leche?
Dulce de leche, which translates to “sweet of milk” or “milk candy” from Spanish, is a confection made by slowly heating sweetened milk until it caramelizes and thickens into a spreadable, gooey delight. It’s a beloved staple in Latin American cuisine, with variations found across many cultures. Its distinctive flavor is a harmonious blend of sweet milk and rich caramel, offering a depth that is both comforting and incredibly versatile. While traditional methods involve simmering milk and sugar for hours, this shortcut offers all the flavor without the fuss.
Why You’ll Adore This Foolproof Recipe
This dulce de leche recipe isn’t just easy; it’s a culinary revelation. What sets it apart is its genius simplicity: one ingredient, straightforward preparation, and consistently incredible results. By simmering the sweetened condensed milk directly in its sealed can, you create a controlled environment that prevents burning and ensures even caramelization. This gentle, prolonged heat coaxes out deep, complex flavors, transforming the milk into a thick, golden, and utterly irresistible sauce every single time.
But the benefits don’t stop there. The fact that the can remains sealed throughout the cooking process means your homemade dulce de leche boasts an impressively long shelf life. You can prepare several cans at once and store them in your pantry for up to three months, ready to elevate any dessert or snack at a moment’s notice. This convenience makes it an ideal pantry staple for spontaneous sweet cravings or last-minute dessert preparations.

Essential Pre-Cook Tip: Removing the Label (and Its Glue!)
Before you begin, there’s one crucial step often overlooked: completely removing the paper label and any residual glue from the sweetened condensed milk can. If you skip this, the glue will dissolve into the simmering water during the cooking process, creating a sticky, stubborn mess that will be difficult to clean from your pot afterward. Trust us, a little effort here saves a lot of scrubbing later!
For the most effective glue removal, a product like Goo Gone works wonders. Simply apply it to the sticky residue, let it sit for a few minutes, then wipe it clean. You might find that glue on generic brand cans tends to be more tenacious than on name brands, so be prepared with a good cleaner. Ensure the can is thoroughly rinsed and dried after removing the glue to avoid any chemical residue.

Classic Homemade Dulce de Leche
This incredibly simple homemade dulce de leche recipe uses just one ingredient – a can of sweetened condensed milk – to create a rich, creamy, and irresistible caramelized treat.
Print Recipe
Ingredients
- 14 ounces sweetened condensed milk (1 can)*
Equipment
- Medium pot with lid
- Kitchen tongs (for safely removing the hot can)
- Goo Gone or similar adhesive remover (optional, for label glue)
- Whisk (optional, for smoothing after cooling)
Instructions
Prepare the Can:
Thoroughly remove the paper label and any lingering glue residue from the can of sweetened condensed milk. This prevents the glue from melting into your pot of water and making a sticky mess.
Submerge in Water:
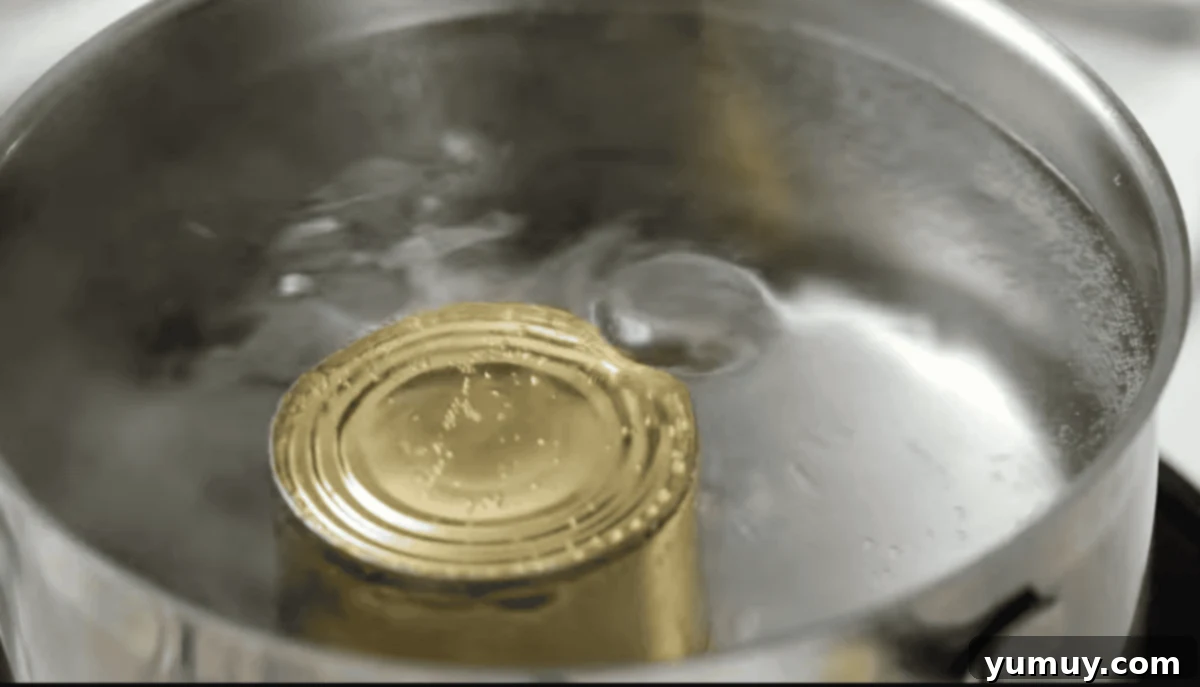
Place the still-sealed can of sweetened condensed milk into a medium-sized pot. Fill the pot with water, ensuring that the water level covers the can by at least 2 inches. This is crucial for even cooking and to prevent the can from overheating.

Simmer to Perfection:
Bring the water to a gentle simmer over high heat. Once simmering, reduce the heat to low, just enough to maintain a consistent, gentle simmer. Allow the can to simmer for a full 3 hours. It is absolutely essential to keep the can fully submerged in water throughout the entire cooking process. Check the water level every 30-45 minutes and add more hot water if needed to prevent it from evaporating too much.

Cool Completely Before Opening:
Using kitchen tongs, carefully remove the hot can from the pot of water. Place it on a heat-safe surface and allow it to cool completely to room temperature before attempting to open it. This cooling process can take several hours. Opening a hot can of dulce de leche can be dangerous due to built-up pressure, potentially causing the hot caramel to spray forcefully.

Serve and Enjoy:
Once cooled, open the can. The dulce de leche will be thick and creamy. If you notice any small lumps, a quick whisk will smooth it out to a perfectly silky consistency. Transfer to an airtight container for storage and enjoy!
Notes & Tips for Success
- Sweetened Condensed Milk: While full-fat sweetened condensed milk is recommended for the richest flavor and creamiest texture, low-fat versions will also work well.
- Can Type: Always use cans that require a can opener. Cans with tab openers (pull-tabs) are generally not designed for this kind of prolonged heat and are more prone to bursting due to pressure buildup.
- Submersion is Key: Never let the water level drop below the can. If any part of the can is exposed to air during cooking, it can overheat, leading to dangerous pressure buildup and potential rupture. Use a timer to remind yourself to check and replenish the water.
- Patience with Cooling: Do not rush the cooling process! This is the most critical safety tip. The internal pressure in a hot can of dulce de leche can be extreme, and opening it prematurely can cause a violent explosion of molten caramel.
- Smoothing Lumps: If your dulce de leche appears lumpy after cooling, a vigorous whisking session or even a quick blend with an immersion blender will smooth it right out.
- Storage After Opening: Once the can is opened, do not store any leftover dulce de leche in the original metal can. Transfer it immediately to a clean, food-safe, airtight container.
Storage Guidelines
An unopened can of homemade dulce de leche can be stored at cool room temperature in your pantry for up to 3 months. Once opened, transfer the dulce de leche to an airtight container and store it in the refrigerator for up to 2 weeks. For longer storage, it can be frozen in an airtight, freezer-safe container for up to 3 months. When ready to use from the freezer, thaw it overnight in the refrigerator.
Nutrition Facts
Did You Make This?
We love seeing what you’ve made! Tag us on social media at
@easydessertrecipes
for a chance to be featured.
Watch our step-by-step video to guide you through making the perfect homemade Dulce de Leche.
Alternative Method: Oven Instructions for Dulce de Leche
While the stovetop method is my personal preference for its consistency, you can certainly achieve delicious dulce de leche in the oven. This approach uses a bain-marie (water bath) to gently cook the milk, similar to baking a cheesecake. It’s another excellent option if you prefer a hands-off baking approach.
- Preheat Oven & Prepare Dish: Preheat your oven to 425°F (220°C). Pour the sweetened condensed milk from the can into a heat-safe pie dish or other oven-safe baking dish.
- Cover Tightly: Cover the dish securely with aluminum foil, crimping the edges tightly to create a good seal. This prevents water from entering and helps steam the milk evenly.
- Create a Water Bath: Place the covered pie dish into a larger, deep roasting pan or baking dish. Carefully fill the larger pan with hot water until the water level reaches about halfway up the sides of the pie dish. This water bath ensures gentle, even cooking and prevents the edges of the dulce de leche from burning.
- Bake and Monitor: Carefully transfer the roasting pan with the water bath to the preheated oven. Bake for approximately 90-105 minutes. Periodically check the water level in the roasting pan and add more hot water if it starts to evaporate, ensuring the pie dish remains partially submerged.
- Cool Completely: Once baked, carefully remove the roasting pan from the oven. Remove the pie dish from the water bath and allow it to cool completely to room temperature before uncovering and using. The dulce de leche will thicken further as it cools.
Step-by-Step Visual Guide: Making Dulce de Leche
Let’s walk through the process with visual aids to ensure your homemade dulce de leche turns out perfectly rich and creamy.
Step 1: Submerge the Can Safely
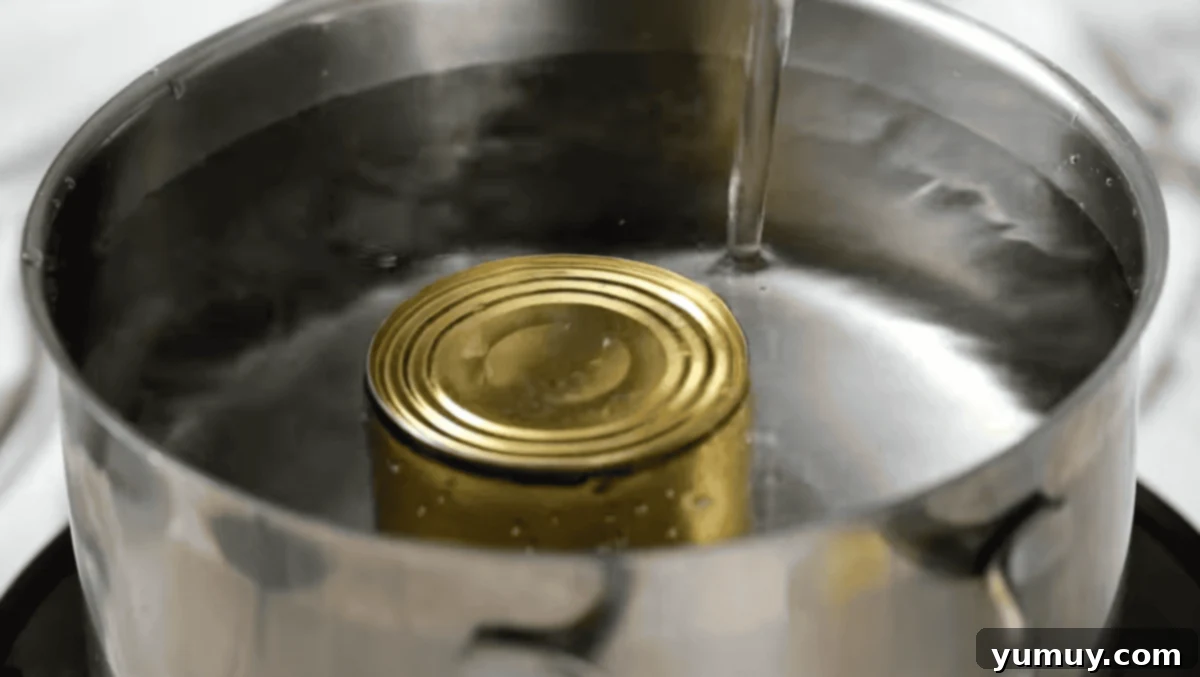
First, remove the paper label and any glue from a 14-ounce can of sweetened condensed milk. Place the sealed can into a medium pot. Fill the pot with water, making sure there are at least 2 inches of water above the top of the can. This ensures proper heat distribution and prevents the can from overheating.
Step 2: Simmer and Maintain Water Level
Bring the water in the pot to a simmer over high heat. Once simmering, reduce the heat to low to maintain a gentle, consistent simmer. Allow the can to cook for 3 hours. It is critically important to monitor the water level every 30 minutes and add more hot water as needed, ensuring the can remains completely submerged throughout the entire cooking duration. Never let the water level drop below the can, as this can lead to pressure issues and potential hazards.
Step 3: Cool Completely Before Opening
Once the 3 hours are up, carefully remove the hot can from the water using kitchen tongs. Place the can on a heat-safe surface, such as a wire rack or a trivet, and allow it to cool down completely to room temperature. This cooling process is essential for safety. If you attempt to open the can while it’s still hot, the internal pressure will cause the molten dulce de leche to spray out, which can be very dangerous. Patience here is key!

Common Questions About Dulce de Leche
Can I make dulce de leche without the can?
Yes, you can! You can pour sweetened condensed milk into an oven-safe dish, cover it tightly with foil, and bake it in a water bath (as described in the oven instructions above). Alternatively, you can simmer sweetened condensed milk in a saucepan over low heat, stirring constantly until thickened and caramelized. However, the canned method is often preferred for its hands-off approach and consistent results.
Why did my can explode or burst?
Can explosions are primarily due to two reasons: 1) the can was not fully submerged in water during cooking, causing parts of it to overheat, or 2) a can with a pull-tab opener was used, which is weaker and not designed for this type of sustained pressure. Always use cans that require a can opener and ensure full submersion throughout the entire simmering process.
How can I prevent the dulce de leche from being lumpy?
After opening the cooled can, if you find the dulce de leche has a few lumps, simply whisk it vigorously with a fork or a small whisk until smooth. For an extra silky texture, you can even use an immersion blender for a few seconds.
Can I use evaporated milk instead of sweetened condensed milk?
No, you cannot. Evaporated milk is unsweetened and will not caramelize in the same way, nor will it produce dulce de leche. Sweetened condensed milk is crucial for this recipe due to its high sugar content.
What if my dulce de leche is too thin or too thick?
The cooking time directly affects the consistency. If yours is too thin, it likely needed more time simmering. If it’s too thick (almost solid), it might have cooked a little too long. For the stovetop method, 3 hours is generally ideal for a spreadable consistency. If it’s too thick, you can gently warm it and whisk in a tablespoon of milk or cream at a time until desired consistency is reached.
Delicious Ways to Enjoy Your Homemade Dulce de Leche
Once you’ve made your batch of luscious dulce de leche, the possibilities for enjoyment are endless! Its rich, sweet flavor makes it a fantastic addition to both simple and elaborate desserts. Here are some of our favorite ways to use it:
- Ice Cream Topping: Drizzle generously over vanilla, chocolate, or coffee ice cream. For an extra treat, add some chopped nuts or whipped cream.
- Pie Filling: A classic for Banoffee Pie or as a delicious layer in other cream pies.
- Cookie & Bar Filling: Perfect for filling thumbprint cookies, sandwich cookies, or as a decadent layer in dessert bars.
- Cake & Cupcake Frosting: Whip it with cream cheese or butter for a rich, unique frosting.
- Coffee & Hot Chocolate Enhancer: Stir a spoonful into your morning coffee, latte, or hot chocolate for a touch of caramel sweetness.
- Fruit Dip: Serve it alongside sliced apples, bananas, or pears for a simple yet elegant snack.
- Pancake & Waffle Syrup: A luxurious alternative to traditional syrup for breakfast or brunch.
- Brownie Swirl: Swirl spoonfuls into your brownie batter before baking for marbled caramel goodness.
- On Toast or Croissants: Spread it on warm toast, croissants, or brioche for a delightful breakfast treat.
- Alfajores: This is a traditional Latin American cookie sandwich, famously filled with dulce de leche.
More Delectable Sauce Recipes to Try!
Brown Sugar Caramel Sauce
How to Make Lemon Curd
Homemade Hot Fudge Sauce
How to Make Browned Butter
View All Sauces
