Dive into the delightful world of homemade candy with these incredibly easy peppermint patties. Forget the long ingredient lists and artificial flavors of store-bought versions; with just four simple ingredients – sweetened condensed milk, powdered sugar, peppermint extract, and luscious chocolate – you can create your own gourmet peppermint patties that are often praised as being even better than the originals. Each bite offers a harmonious blend of soft, creamy mint and rich, smooth chocolate, making them an ideal treat for any occasion. Whether you’re looking for a festive gift, a show-stopping addition to holiday parties, or simply craving a classic chocolate mint candy, this recipe promises pure peppermint yumminess.

- Pin this recipe for later!
Top Reader Review
- “I really enjoyed this recipe. Everything was really easy to follow. I added the last 2 cups of powdered sugar one at a time then eventually just kneaded it like dough (w/out a mixer, the dough was just trying to kill my spatula). They are in the fridge now (so the chocolate will harden) but I tasted one and boom–peppermint yumminess!!” -Samantha
4-Ingredient Chocolate Peppermint Patties: A Taste of Homemade Bliss
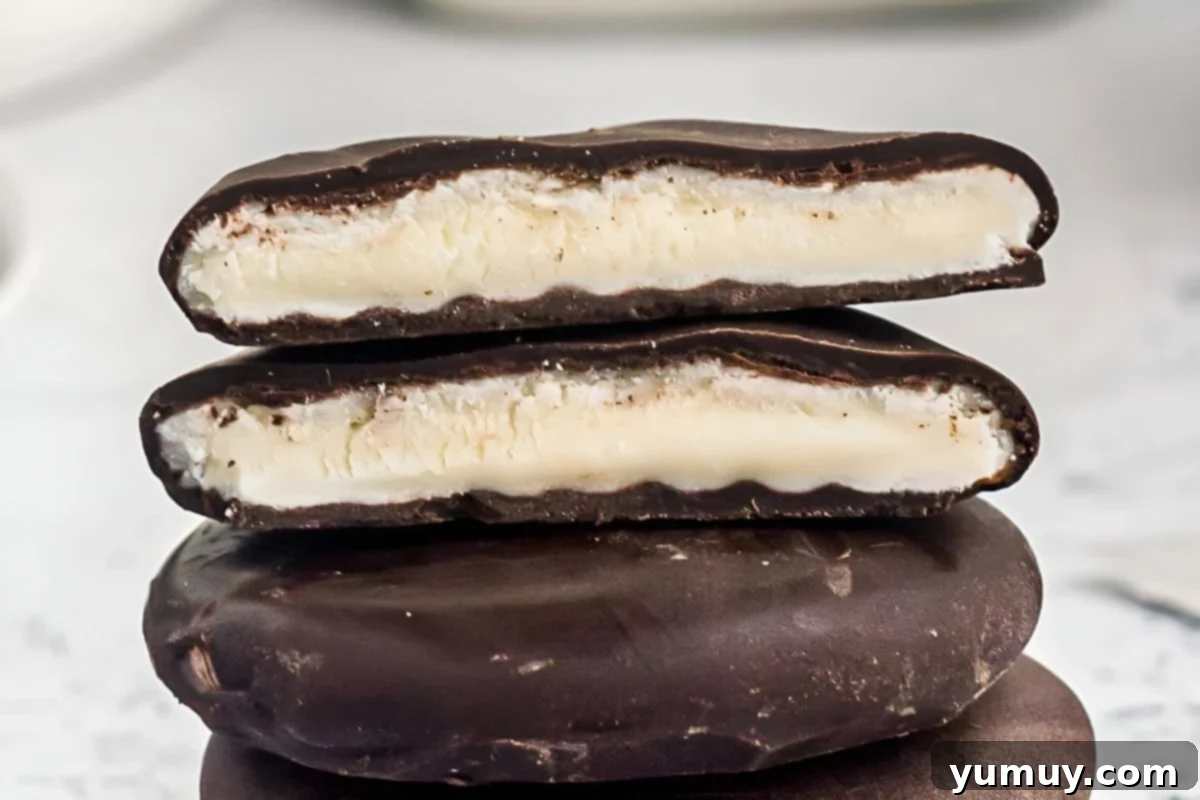
Our signature 4-ingredient peppermint patties redefine simplicity in baking, delivering a perfect balance between a lusciously creamy peppermint filling and a decadent, smooth chocolate coating. The minty center is effortlessly mixed and sets beautifully, while the dark chocolate shell provides that quintessential glossy finish and satisfying snap, reminiscent of your favorite store-bought mints but with an elevated homemade touch.
While these exquisite chocolate peppermint patties are a joy to savor all year long (and trust me, you’ll want to!), they truly shine during the holiday season. There’s something undeniably magical about minty treats during this festive time, making these Christmas peppermint patties an absolute must-make. They are not only a delightful indulgence for yourself but also make for incredibly thoughtful and impressive homemade gifts, perfect for sharing with friends, family, and neighbors.
Beyond their delicious taste, the beauty of this recipe lies in its adaptability. You can easily adjust the intensity of the peppermint, choose your preferred type of chocolate, and even get creative with decorations. This makes them a versatile dessert that caters to every palate and occasion, proving that sometimes, the simplest recipes yield the most extraordinary results.
The Secret to Perfect Peppermint Patty Texture: Why Patience Pays Off
Achieving that iconic, melt-in-your-mouth texture in homemade peppermint patties is a nuanced art, and the most crucial step often overlooked is allowing the filling an adequate air-drying period before shaping and dipping. Rushing this stage can lead to patties that are either too soft and gooey or disappointingly crumbly, making them difficult to handle and prone to cracking once coated in chocolate.
The magic happens during these few hours: the powdered sugar in the filling slightly crystalizes and firms up. This process not only makes the patties easier to manipulate into uniform shapes but also creates a stable base that will not collapse or soften excessively when submerged in warm melted chocolate. Furthermore, a properly dried patty provides a superior canvas for the chocolate, ensuring a smooth, even coating that adheres beautifully and prevents any unsightly cracks. Embrace the waiting game; it’s the key to achieving that classic, velvety peppermint texture that defines a truly exceptional homemade peppermint patty.

Homemade Peppermint Patties Recipe
30 minutes
2 hours (drying time for patties)
3 hours
30 minutes
28 patties
- Pin
Print Recipe
Rate This Recipe
Save Recipe
Ingredients
- ¾ cup sweetened condensed milk
- 2 teaspoons peppermint extract
- 4 cups powdered sugar
- 24 ounces dark melting chocolate
Equipment
- Kitchen Scale (optional, for precision)
- Stand Mixer (or hand mixer)
- Large Mixing Bowl
- Microwave-Safe Bowl
- Parchment Paper
- Baking Sheets
- Fork or Dipping Tools
Instructions
- In a large mixing bowl, combine the sweetened condensed milk, peppermint extract, and half of the powdered sugar. Beat with a hand mixer until well combined and a paste forms.¾ cup sweetened condensed milk, 2 teaspoons peppermint extract, 4 cups powdered sugar

- Gradually add the remaining powdered sugar, continuing to beat until the mixture thickens into a stiff, dry dough that is no longer sticky.

- Spoon out tablespoon-sized portions of the dough, roll each into a ball, and then press it down onto parchment paper to form a round patty, approximately ¼-inch thick.

- Allow the shaped patties to air-dry at room temperature for 2-3 hours. This step is crucial for achieving the perfect consistency and preventing cracking when dipped.
- Once the patties are dry, melt half of the dark chocolate in a medium microwave-safe bowl. Microwave for 90 seconds, then stir until smooth and creamy. If necessary, microwave in additional 30-second intervals until fully melted.24 ounces dark melting chocolate

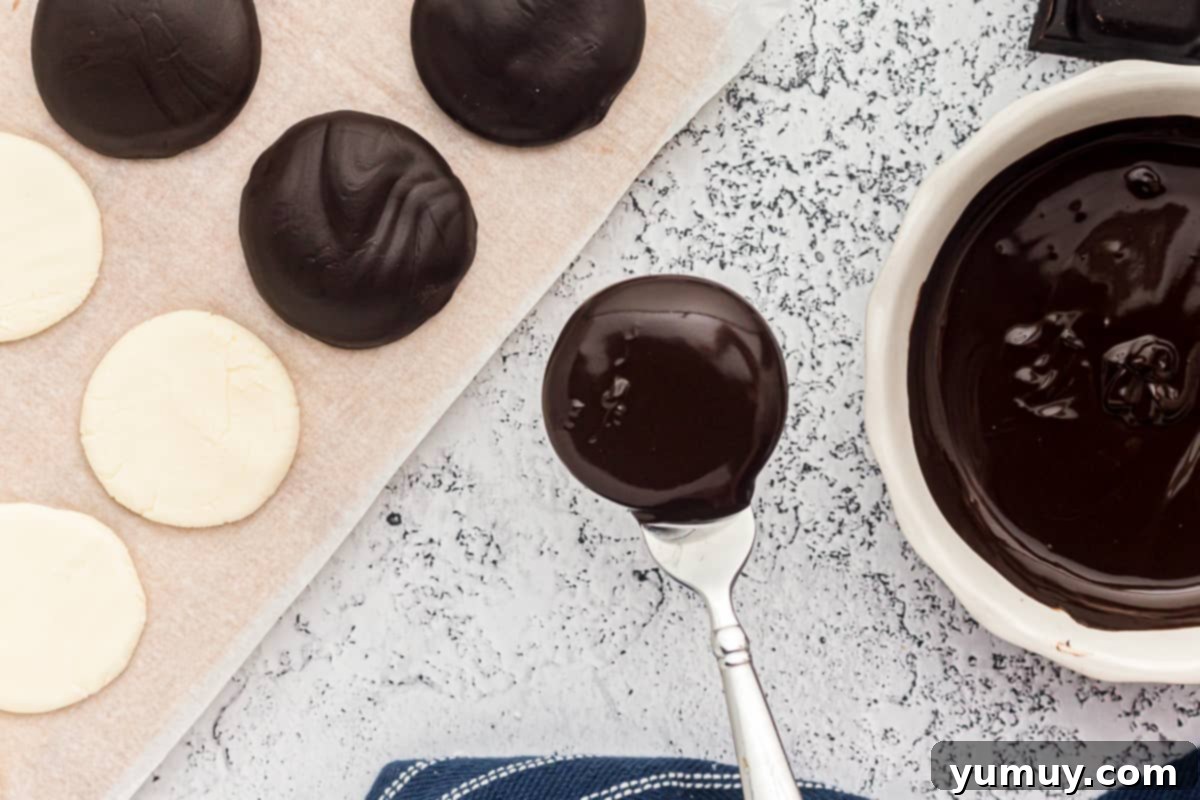
- Using a fork, dip each patty into the melted chocolate, ensuring it’s completely covered. Gently tap off excess chocolate and return the dipped patty to parchment paper to set. Repeat with remaining patties, melting the second half of the chocolate as needed.

Notes & Expert Tips
*You can substitute 3 cups of semisweet chocolate chips, mixed with 1 tsp vegetable oil, to dip the patties, but the coating will be softer. While dark chocolate is my personal favorite and the most traditional to use here, you can really substitute it for any chocolate you’d like.
Yields: This recipe makes approx. 28 (2-inch) patties.
- Room Temperature Ingredients: Always use room temperature sweetened condensed milk. Cold milk can cause the filling to seize up and make it difficult to mix into a smooth consistency.
- Sift Your Sugar: Sifting the powdered sugar is a small but mighty step that prevents lumps and ensures your peppermint filling is incredibly smooth and creamy.
- Mixing Methods: While a stand mixer with a paddle attachment is ideal for ease, a hand mixer or even a sturdy fork/spoon can be used. Be prepared for a good arm workout as the dough thickens!
- Peppermint Power: Start with 1½ teaspoons of peppermint extract, then taste a small amount of the filling. Peppermint strength varies greatly by brand, so adjust to your preference before adding the full 2 teaspoons.
- Patience is Key for Drying: Do not rush the drying process! This 2-3 hour (or even longer, depending on humidity) air-dry period is essential for the patties to firm up, preventing them from falling apart during dipping and ensuring that classic, melt-in-your-mouth consistency.
- Chocolate Temperature: Allow your melted chocolate to cool slightly to about 88-90°F (31-32°C) before dipping. This helps the coating set evenly, prevents streaks, and gives your patties a beautiful, shiny finish.
- Working in Batches: If your kitchen is warm, keep half of the undipped patties refrigerated while you work on dipping the other half. This prevents them from becoming too soft and difficult to handle.
- Excess Chocolate: After dipping, gently tap the fork lightly on the edge of the bowl. This allows any excess chocolate to drip off, preventing thick pools of chocolate at the base of your patties.
- Gifting: These homemade peppermint patties are perfect for gifting! Package them in cute baggies, decorative tins, or festive boxes for a thoughtful holiday present.
Storage: Store homemade peppermint patties in an airtight container in the refrigerator for up to 1 week. For longer storage, freeze them for up to 4 months. Enjoy them straight from the freezer for a frosty treat or let them thaw slightly at room temperature.
Calories from Fat 99
Becky Hardin
- X (Twitter)
Did You Make This?
We love seeing what you’ve made! Tag us on social media at @easydessertrecipes for a chance to be featured.
How to Make Homemade Peppermint Patties: A Detailed Step-by-Step Guide
Crafting these delectable peppermint patties is a delightful and rewarding experience. Follow these detailed steps, complete with essential tips, to ensure your homemade treats turn out perfectly every time.
Step 1: Gather Your Ingredients and Prepare for Perfection
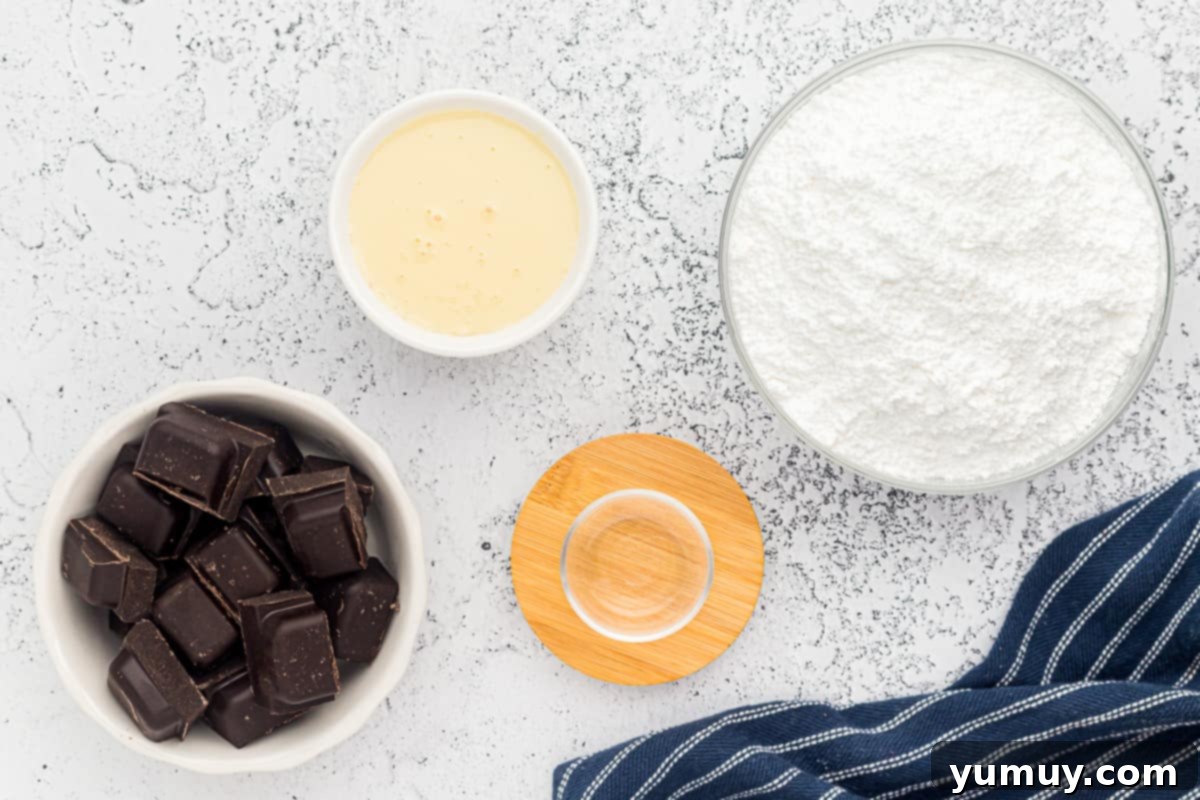
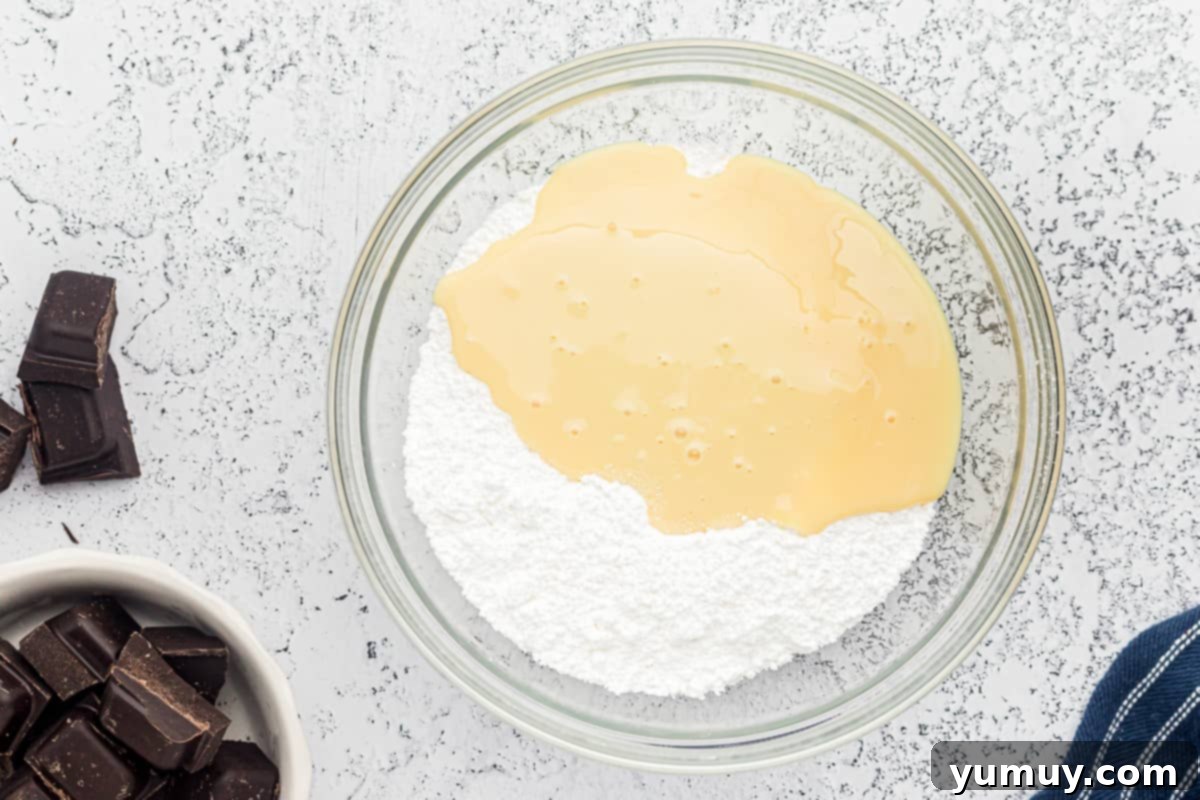
Before you begin, ensure you have all four ingredients ready: sweetened condensed milk, peppermint extract, powdered sugar, and dark melting chocolate. A crucial tip for success is to ensure all ingredients, especially the sweetened condensed milk, are at room temperature. Cold ingredients can make the mixture stiff and harder to combine smoothly. Additionally, take a moment to sift your powdered sugar if it appears lumpy. This simple step guarantees a velvety smooth filling, free from any unwanted gritty textures.
Step 2: Mixing the Creamy Peppermint Filling
In a large mixing bowl, combine ¾ cup of sweetened condensed milk, 2 teaspoons of peppermint extract, and the first 2 cups of powdered sugar. Using a hand mixer (or a stand mixer with a paddle attachment) on a low to medium speed, beat these ingredients together until they form a thick, cohesive paste. For those using a fork or spoon, be prepared for a bit more effort as the mixture thickens. A pro tip: start with 1½ teaspoons of peppermint extract, then taste the mixture. Peppermint intensity varies by brand, so you can always add the remaining ½ teaspoon if you desire a stronger mint flavor, ensuring it’s just right for your palate.
Step 3: Thickening to a Perfect Non-Sticky Dough
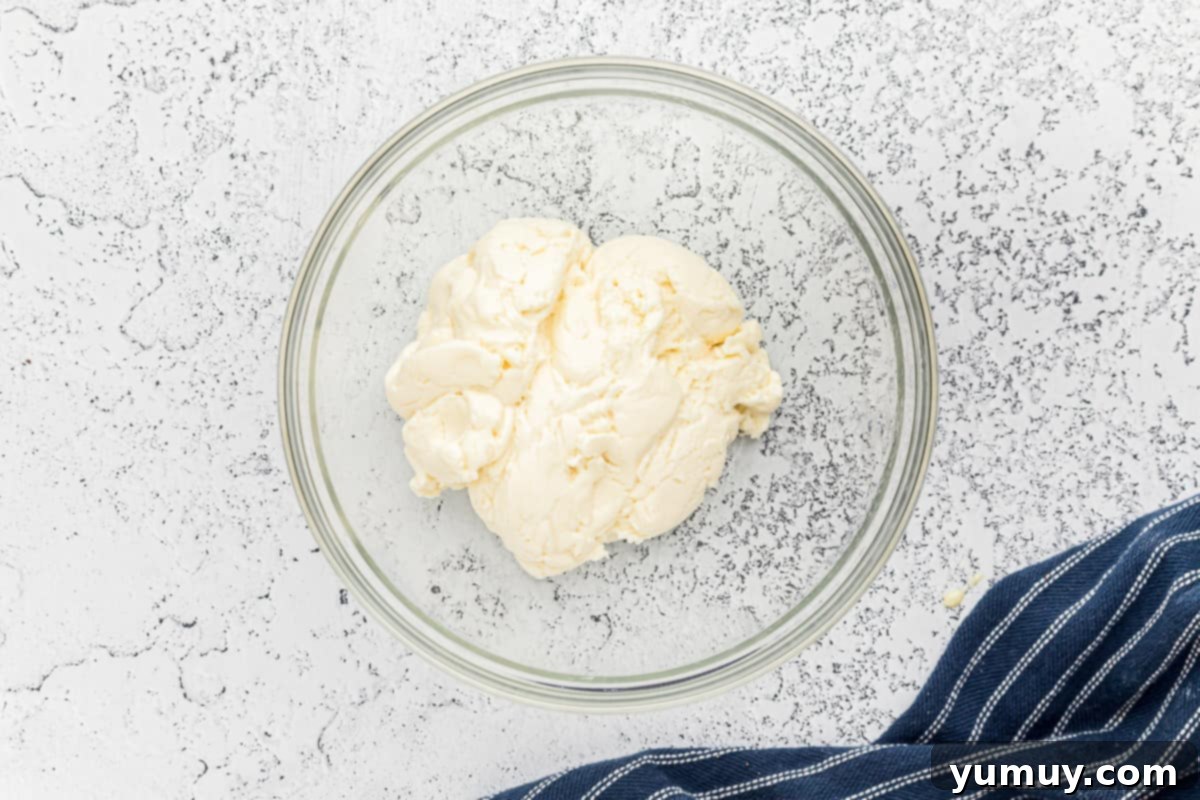
Once you have a smooth paste, gradually incorporate the remaining 2 cups of powdered sugar, adding it in small increments. Continue beating until the mixture transforms into a stiff, pliable dough that is no longer wet or sticky to the touch. The consistency should be firm enough to handle without sticking to your fingers. If, after adding all the sugar, the dough still feels a bit tacky, add a tablespoon or two more of powdered sugar until it reaches the desired dryness. Be careful not to add too much, as this could make the patties crumbly. The goal is a perfectly dry, yet still supple, dough.
Step 4: Shaping and the Crucial Drying Process
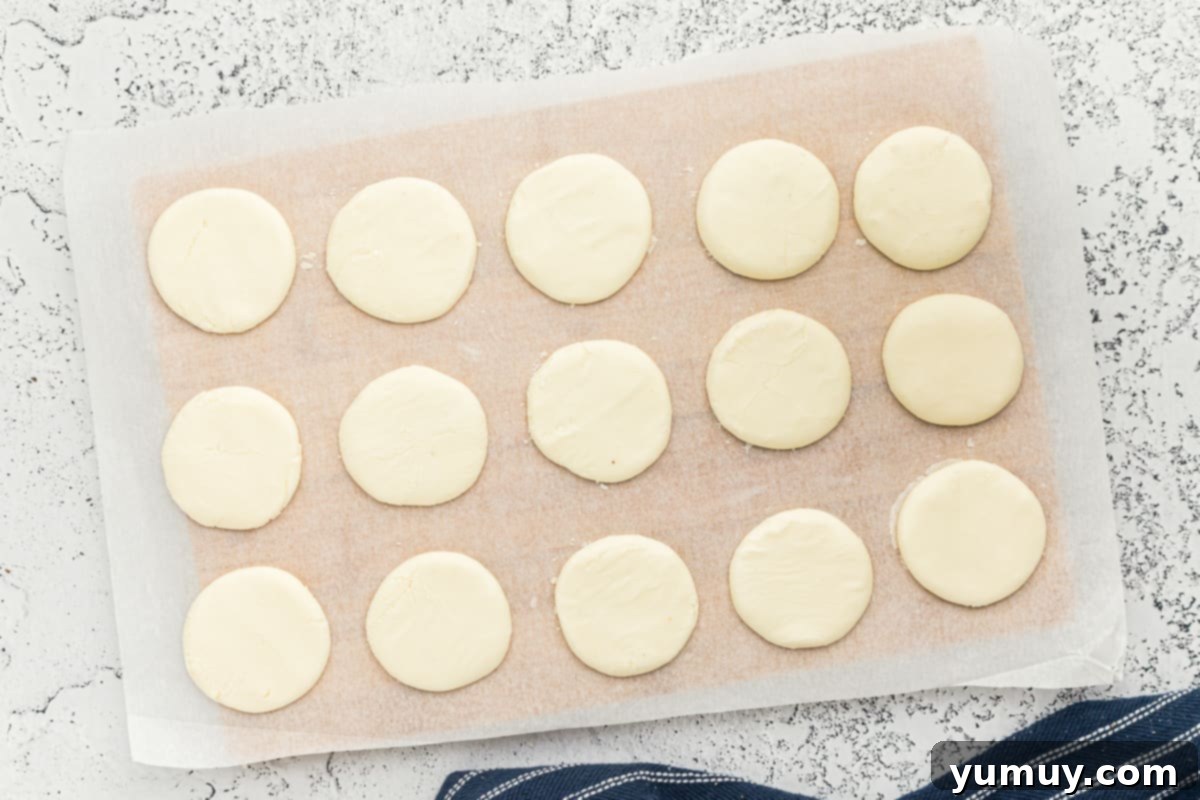
Now it’s time to shape your patties! Take a tablespoon of the peppermint filling dough and roll it into a neat ball between your palms. Place each ball onto a baking sheet lined with parchment paper, then gently press it down to form a flat, round patty, aiming for about ¼-inch in thickness. Uniformity in size will ensure even drying and a professional look. This next step is paramount for achieving the perfect texture and preventing issues during dipping: allow the shaped patties to sit at room temperature to air-dry for a minimum of 2-3 hours. Depending on the humidity in your kitchen, this process might take longer, up to 4 hours. Do not rush this drying time, as it allows the patties to firm up, creating a stable core that will hold its shape beautifully when coated in chocolate.
Step 5: Melting and Dipping in Rich Chocolate
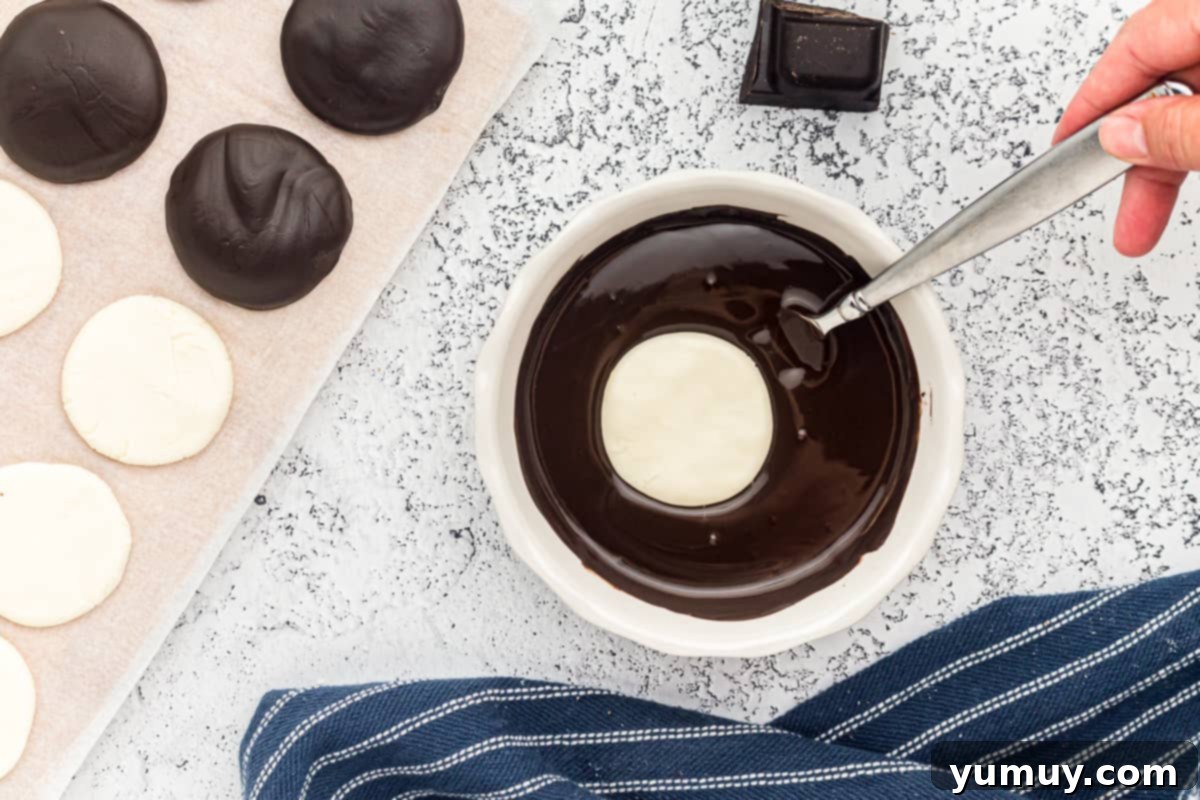
Once your patties are perfectly dry, it’s time for the chocolate coating. In a medium microwave-safe bowl, microwave 12 ounces of your dark melting chocolate for approximately 90 seconds. Remove and stir thoroughly until the chocolate is smooth and creamy. If any solid pieces remain, return the bowl to the microwave for additional 15-30 second intervals, stirring well after each, until the chocolate is fully melted and free of lumps. Before dipping, allow the melted chocolate to cool slightly to about 88-90°F (31-32°C). This optimal temperature helps the chocolate set evenly, prevents it from melting the peppermint core, and ensures a beautiful, glossy finish. Using a fork or a candy dipping tool, carefully dip each patty one at a time, ensuring it’s completely submerged and coated.
Step 6: Setting and Finishing Your Irresistible Treats
After dipping each patty, gently tap the fork against the edge of the bowl. This crucial step allows any excess chocolate to drip off, preventing thick, uneven puddles at the base of your patties and ensuring a crisp, clean edge. Carefully return the dipped patty to the parchment-lined baking sheet. Repeat this process with the remaining patties, melting the second 12 ounces of chocolate as needed. If your kitchen is particularly warm, it’s a good idea to keep the undipped patties in the refrigerator while you work in batches. This prevents them from softening and becoming difficult to handle. Once all patties are dipped, allow them to set completely at room temperature or in the refrigerator until the chocolate is firm. Once set, your delightful homemade peppermint patties are ready to be enjoyed or shared!
How to Store and Freeze Homemade Peppermint Patties
Proper storage ensures your homemade peppermint patties remain fresh and delicious for as long as possible. For immediate enjoyment, store any leftover peppermint patties in an airtight container in the refrigerator for up to 1 week. The cool temperature helps maintain their firm texture and prevents the chocolate from softening. If you’ve made a large batch or wish to enjoy these minty treats for an extended period, they freeze beautifully. Place them in a freezer-safe, airtight container, separating layers with parchment paper to prevent sticking, and they will keep well for up to 4 months. You can enjoy them straight from the freezer for a frosty bite, or let them thaw slightly at room temperature for a softer, more traditional experience.
Frequently Asked Questions (FAQ) About Peppermint Patties
Got questions about making these irresistible treats? Here are some common queries and helpful answers:
- Can I use different types of chocolate for the coating? Absolutely! While dark melting chocolate provides the most classic and rich flavor, you can certainly experiment. Milk chocolate will result in a sweeter, milder coating, while white chocolate can create a beautiful contrast. Just ensure you use a good quality melting chocolate or add a teaspoon of vegetable oil to chocolate chips to ensure a smooth, dippable consistency.
- Why are my peppermint patties sticky or too soft? The most common reason for sticky or soft patties is insufficient powdered sugar in the filling or not allowing them enough time to air-dry. Ensure you add enough powdered sugar until the dough is stiff and dry, then commit to the 2-3 hour (or more) drying period at room temperature before dipping. High humidity can also affect drying time.
- Can I add food coloring to the mint filling? Yes, you can! A few drops of green food coloring can give your peppermint patties a classic minty look, especially if you’re making them for the holidays. Add it to the sweetened condensed milk mixture before incorporating the powdered sugar.
- How can I prevent the chocolate from cracking? Several factors can cause chocolate to crack. Using a good quality melting chocolate is key. Ensure your patties are thoroughly dried before dipping, and that the melted chocolate has cooled slightly (to about 88-90°F) before use. Drastic temperature changes (e.g., dipping a very cold patty into hot chocolate) can also cause cracking.
- Are these gluten-free? Yes, this recipe is naturally gluten-free, assuming your ingredients (especially the chocolate) do not contain hidden gluten. Always check ingredient labels if this is a concern.
- Can I make these vegan? With a few substitutions, yes! You can use vegan sweetened condensed milk and dairy-free dark melting chocolate. The process remains the same.
More Delicious Homemade Candy Recipes to Try!
Homemade Peanut Butter Cups
Homemade Twix Bars
Butterfinger Balls
Chocolate Covered Oreos
View All Candy Recipes
We hope you enjoy making and sharing these delightful homemade peppermint patties. They are truly a testament to how simple ingredients can create extraordinary flavors. Happy baking!
