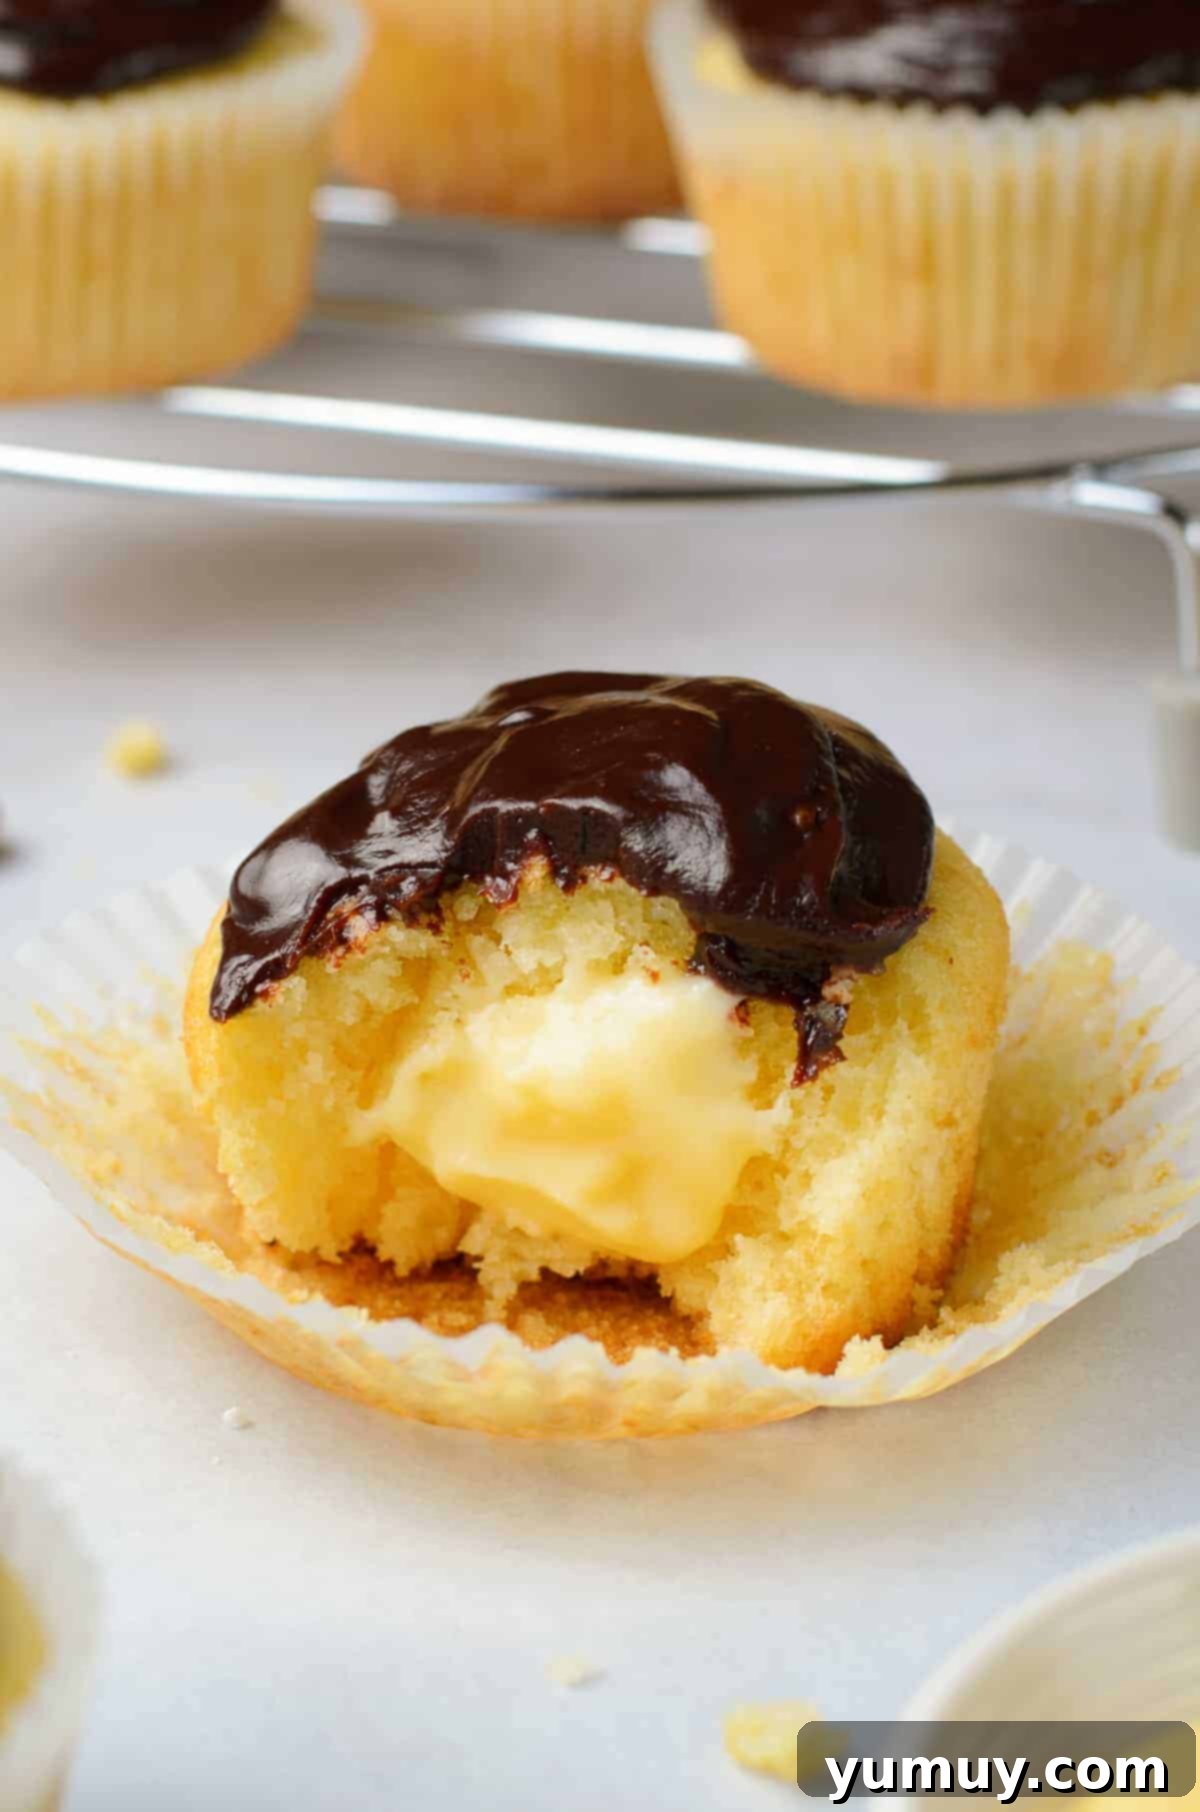
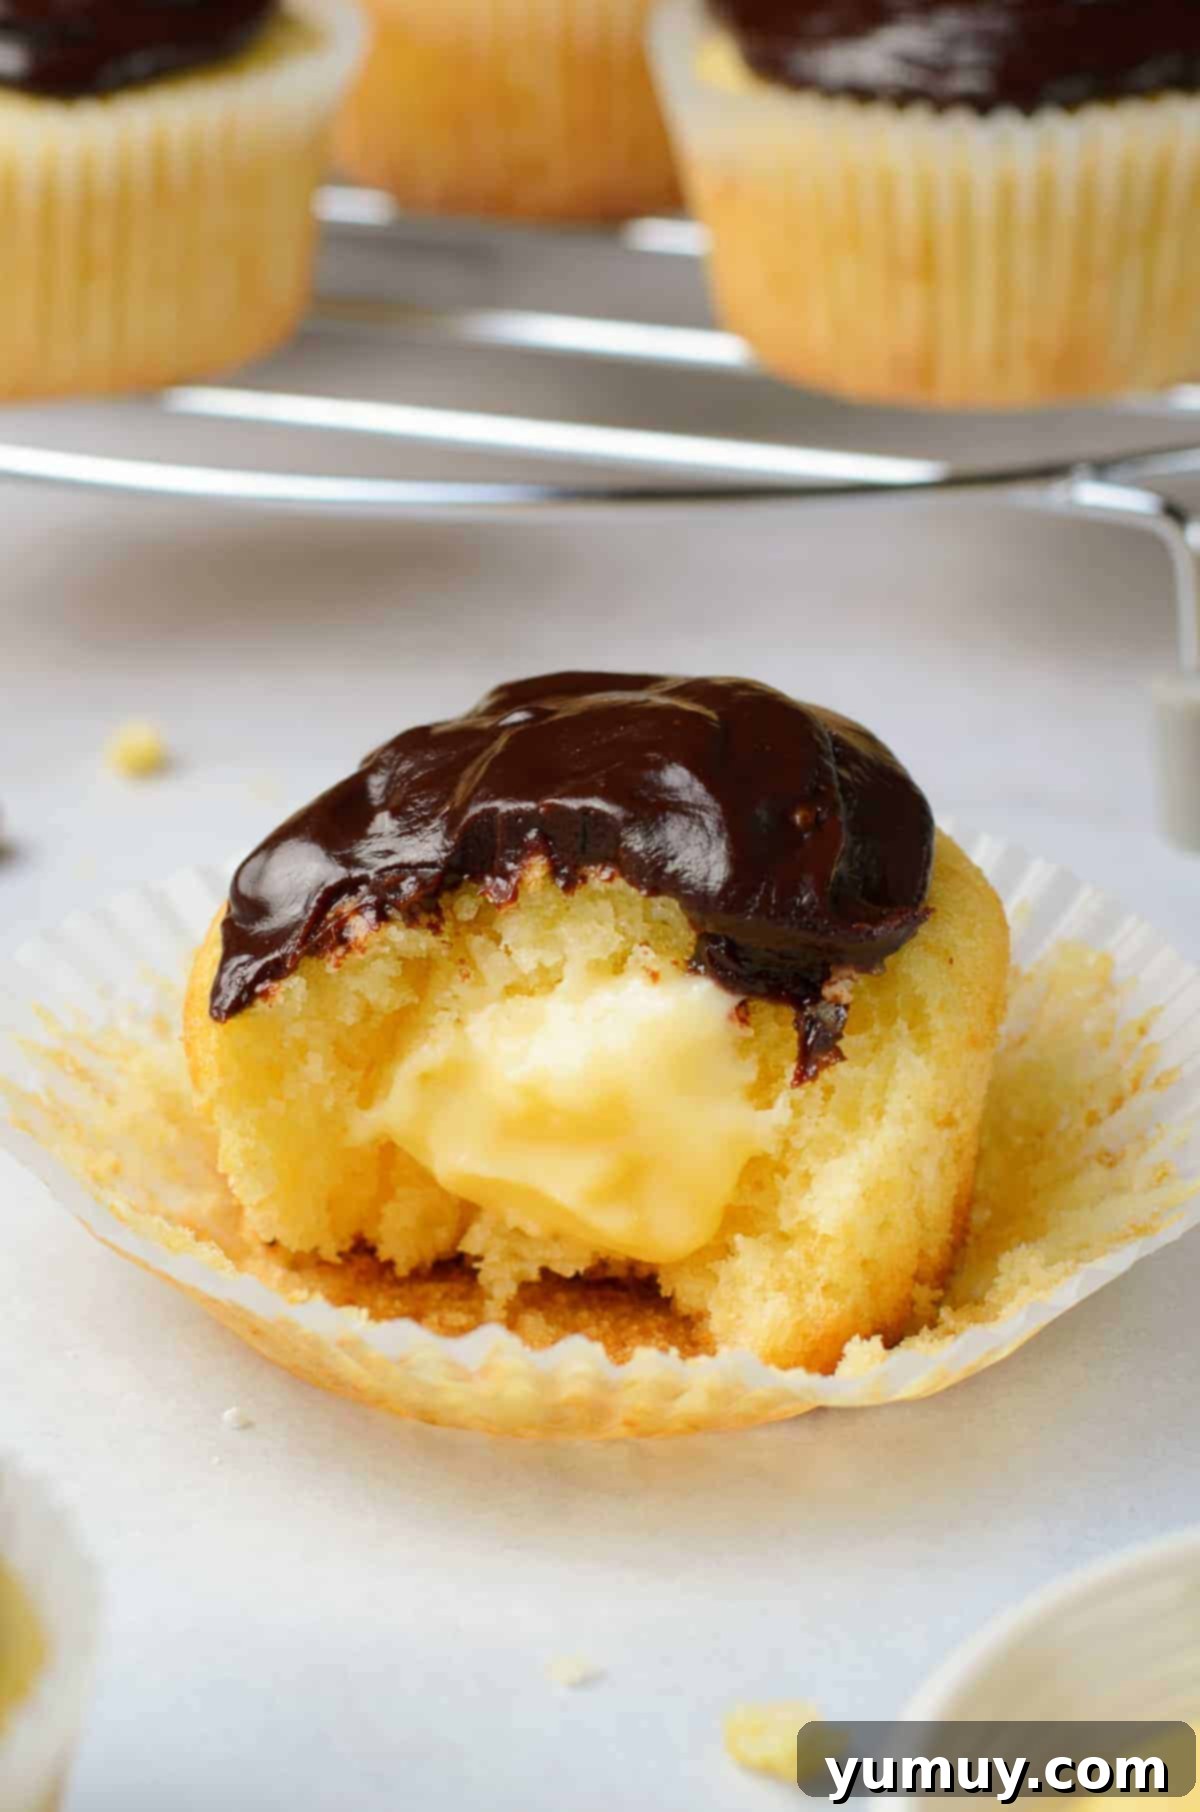
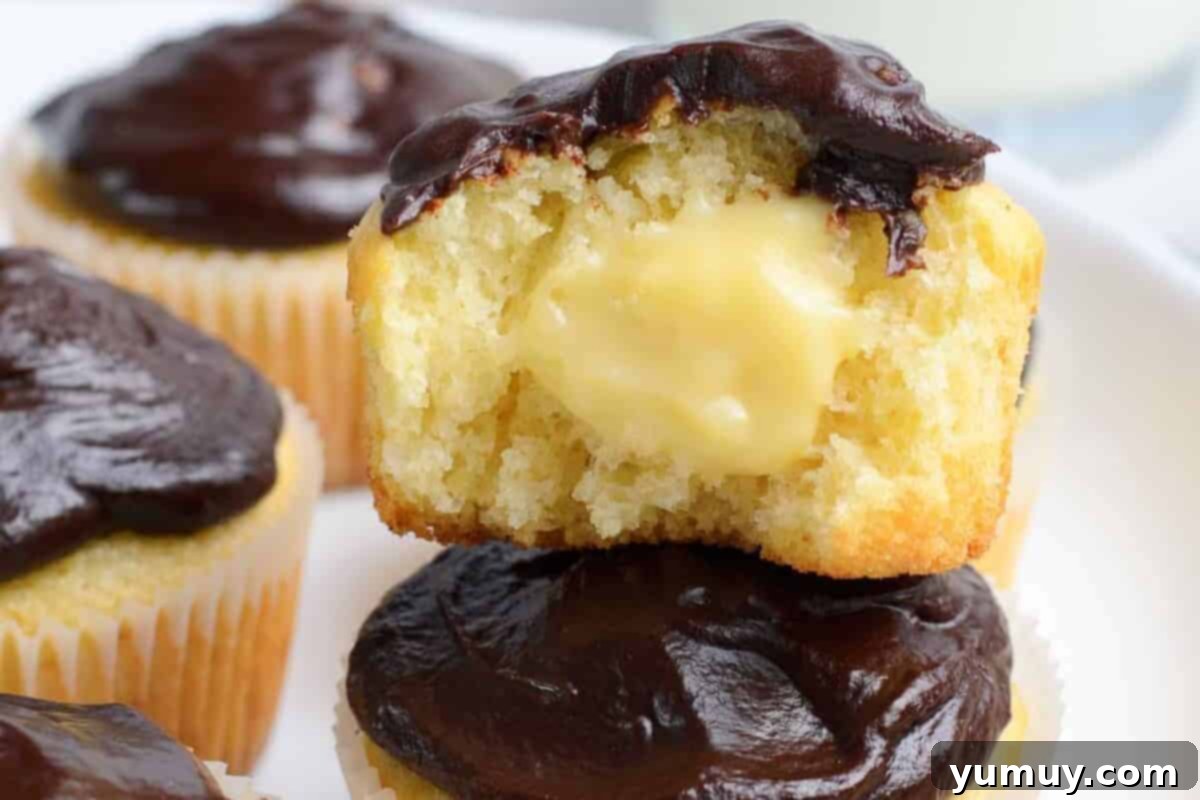
Prepare to delight your taste buds with these exquisite Boston Cream Pie Cupcakes, a charming miniature rendition of the beloved classic dessert. Imagine a moist, tender vanilla cupcake, generously filled with a velvety, rich homemade pastry cream, all crowned with a luscious, glossy chocolate ganache. Each bite delivers the iconic flavors of the famous Boston cream pie, but in a perfectly portable, individual serving. This recipe masterfully combines the convenience of a good quality cake mix with the elegance of from-scratch fillings, making these delightful treats surprisingly easy to create. Whether you’re a seasoned baker or just starting your culinary journey, these cupcakes are designed to impress with minimal fuss and maximum flavor, truly embodying the best of semi-homemade baking.
Top Reader Reviews
- “These cupcakes came out exactly as instructed. The flavor was great!!” -Emily B.
- “Absolutely phenomenal! My family devoured them. The homemade pastry cream makes all the difference.” -Sarah L.
- “I made these for a potluck and they were the first dessert to disappear. So easy and so impressive!” -Mark T.
The Allure of Boston Cream Cupcakes with Cake Mix
There’s an undeniable charm to these Boston cream cupcakes that goes beyond their stunning appearance. It’s the harmonious blend of textures and flavors that truly sets them apart. The foundation is a wonderfully soft and airy vanilla cake, which provides the perfect counterpoint to the creamy, indulgent custard hidden within. This rich filling ensures every mouthful is incredibly moist and satisfying, while the sophisticated chocolate ganache topping adds a deep, bittersweet note that perfectly balances the sweetness. It’s a symphony of flavors that evokes nostalgia for the traditional Boston cream pie, yet offers the modern convenience and fun of a cupcake.
Opting for a high-quality cake mix in this recipe is a deliberate choice that offers several advantages without compromising on taste or quality. Not only does it significantly cut down on preparation time, but it also guarantees a consistently tender and perfectly baked vanilla cupcake every single time. This consistency frees you up to focus on the more intricate, and arguably more enjoyable, aspects of the dessert: crafting the luscious pastry cream and whipping up the silken chocolate ganache. These Boston cream pie cupcakes are a phenomenal choice for any occasion – from festive birthday parties and holiday gatherings to simply wanting to spoil loved ones with a stunning homemade treat. They are surprisingly elegant, incredibly delicious, and effortlessly impressive, allowing you to create a memorable dessert without spending countless hours in the kitchen. What’s more, these cupcakes hold up beautifully when refrigerated, and many find that their flavors deepen and meld even better on the second day, making them an excellent make-ahead option.
Mastering Homemade Pastry Cream: Secrets from My Kitchen
At the heart of an exceptional Boston cream pie cupcake lies a truly remarkable pastry cream. Achieving that coveted silky-smooth texture and rich, deep flavor might seem daunting, but it’s entirely within reach with a bit of patience and attention to detail. Over my many years of baking, I’ve discovered that the secret to avoiding a lumpy, scrambled mess lies in one crucial technique: tempering the eggs. This involves gradually introducing a small amount of the hot milk mixture into the egg yolks while whisking vigorously and constantly. This slow integration gently warms the eggs, preventing them from cooking too quickly and scrambling when they’re finally combined with the remaining hot milk. It’s a step that might feel a little fiddly, but I assure you, it’s absolutely worth the effort for the flawless custard it yields. I’ve learned from past mistakes that rushing this step or walking away from the stove can quickly lead to a batch of lumpy custard, which is far from ideal! Therefore, I always recommend staying attentive at the stove and, as an extra safeguard, straining the finished pastry cream through a fine-mesh sieve. This simple step catches any minuscule cooked egg bits, ensuring your pastry cream is impeccably smooth and luxurious.
Another invaluable tip for pastry cream perfection, especially if you plan to prepare it in advance, involves proper chilling. Once your pastry cream is cooked and ready to cool, immediately press a layer of plastic wrap directly onto the surface of the cream. This crucial step prevents the formation of a ‘skin’ as it cools and chills, maintaining its beautiful glossy finish and incredibly creamy consistency. Properly stored, your homemade pastry cream can be made up to two days ahead, allowing you to streamline your baking process and enjoy these delicious cupcakes with even greater ease.
Boston Cream Pie Cupcakes Recipe
These Boston cream pie cupcakes are soft, creamy, and decadent—everything you love about the classic dessert in handheld form. Made with cake mix and filled with homemade pastry cream, they’re simple, impressive, and absolutely irresistible.
40 minutes
15 minutes
55 minutes
16 cupcakes
Rate Recipe
Save Recipe
Ingredients
For the Pastry Cream Filling*
- ¼ cup granulated sugar
- 1 tablespoon cornstarch
- 1 cup milk (whole milk recommended for richness)
- 2 large egg yolks
- 1 tablespoon unsalted butter
- 1 teaspoon pure vanilla extract
For the Vanilla Cupcakes
- 13.25 ounces yellow cake mix (1 box, standard size)
- 1 cup water
- ⅓ cup unsalted butter, melted (⅔ stick)
- 3 large eggs
For the Chocolate Ganache Frosting
- ½ cup semisweet chocolate chips
- ¼ cup heavy cream
- 2 tablespoons powdered sugar
Recipe Video
Soft, spongey vanilla cupcakes are filled with sweet pastry cream and topped with homemade chocolate ganache frosting. Boston cream pie cupcakes are tasty, impressive desserts that you’ll love serving!
Equipment
- Kitchen Scale (optional, for precise measurements)
- 2 Cupcake Tin(s) (standard 12-count)
- Hand Mixer (or stand mixer)
- Piping Tip Set (optional, for cleaner filling)
- Large Saucepan
- Whisk
- Fine-mesh sieve
- Microwave-safe bowl
Instructions
For the Pastry Cream
Prepare the Milk Mixture: In a large saucepan, combine the ¼ cup granulated sugar, 1 tablespoon cornstarch, and 1 cup milk. Whisk thoroughly until the mixture is smooth and lump-free. Cook over medium heat, stirring continuously with a whisk, until the mixture begins to thicken and gently boil. Once boiling, reduce the heat to medium-low and simmer for 1 minute, still stirring. Remove the saucepan from the heat.

Temper the Egg Yolks: In a separate medium bowl, lightly whisk the 2 egg yolks. Slowly and gradually, ladle a small amount (about ¼ cup) of the warm milk mixture into the egg yolks while whisking constantly. This process, known as tempering, gently raises the temperature of the egg yolks, preventing them from scrambling. Once tempered, pour the entire egg yolk mixture back into the saucepan with the remaining warm milk mixture.

Thicken the Custard: Return the saucepan to medium heat. Bring the mixture to a light boil, stirring continuously to prevent sticking and ensure even cooking. Continue to boil for 2 minutes, maintaining constant stirring. The custard will visibly thicken during this stage.

Enrich and Cool: Remove the thickened custard from the heat. Stir in the 1 tablespoon unsalted butter and 1 teaspoon pure vanilla extract until both are fully incorporated and the mixture is smooth and glossy. For an extra-silky texture and to remove any potential cooked egg bits, you may strain the warm custard through a fine-mesh sieve into a clean bowl. Cover the surface of the pastry cream directly with plastic wrap to prevent a skin from forming, then set aside to cool completely to room temperature before chilling in the refrigerator.

For the Vanilla Cupcakes
Preheat and Prepare: Preheat your oven to 350°F (175°C). Line two standard 12-count cupcake tins with paper cupcake liners, ensuring you have enough for 16 cupcakes.
Mix the Batter: In a large mixing bowl, combine the 13.25 ounces (1 box) yellow cake mix, 1 cup water, ⅓ cup melted unsalted butter, and 3 large eggs. Using a hand mixer or whisk, mix until just combined and smooth. Be careful not to overmix the batter, as this can lead to dry, tough cupcakes. A few small lumps are perfectly fine.

Bake the Cupcakes: Divide the cupcake batter evenly among the prepared liners, filling each about halfway full. A cookie scoop or a ¼-cup measuring cup can help ensure consistent sizing. Bake in the preheated oven for 15 minutes, or until a toothpick inserted into the center of a cupcake comes out clean. Once baked, remove the cupcakes from the tins and transfer them to a wire cooling rack to cool completely. Ensure they are fully cooled before proceeding to prevent melted filling or frosting.

For the Chocolate Ganache Frosting
Melt Chocolate and Cream: In a microwave-safe bowl, combine ½ cup semisweet chocolate chips and ¼ cup heavy cream. Microwave in 15-second intervals, stirring thoroughly after each interval, until the chocolate is completely melted and the mixture is smooth and glossy. Be careful not to overheat.

Add Sugar and Cool: Sift in 2 tablespoons of powdered sugar into the warm ganache and whisk until fully incorporated and smooth. This helps to thicken the ganache slightly and adds a touch more sweetness. Allow the ganache to cool at room temperature for approximately 10-15 minutes, stirring occasionally. It should thicken to a spreadable, pourable consistency that will hold its shape on the cupcakes without oozing off.

For Assembly
Core the Cupcakes: Once the cupcakes, pastry cream, and ganache are all completely cooled and ready, use a small paring knife or a cupcake corer (or even a large piping tip) to carefully cut a circular hole about 1 inch wide and 1 inch deep into the center of each cupcake. Remove the core, reserving the tops of the removed cake pieces.

Fill with Pastry Cream: Transfer the cooled pastry cream to a piping bag fitted with a round tip, or simply use a spoon. Generously fill each cored cupcake with approximately 1 tablespoon of the pastry cream. Piping offers a cleaner fill, but a spoon works just as well. Ensure the cream fills the cavity without overflowing.

Seal the Filling: Place the reserved tops of the cored cake pieces back over the filled pastry cream. This helps to seal in the delicious filling and creates a smooth surface for the ganache.

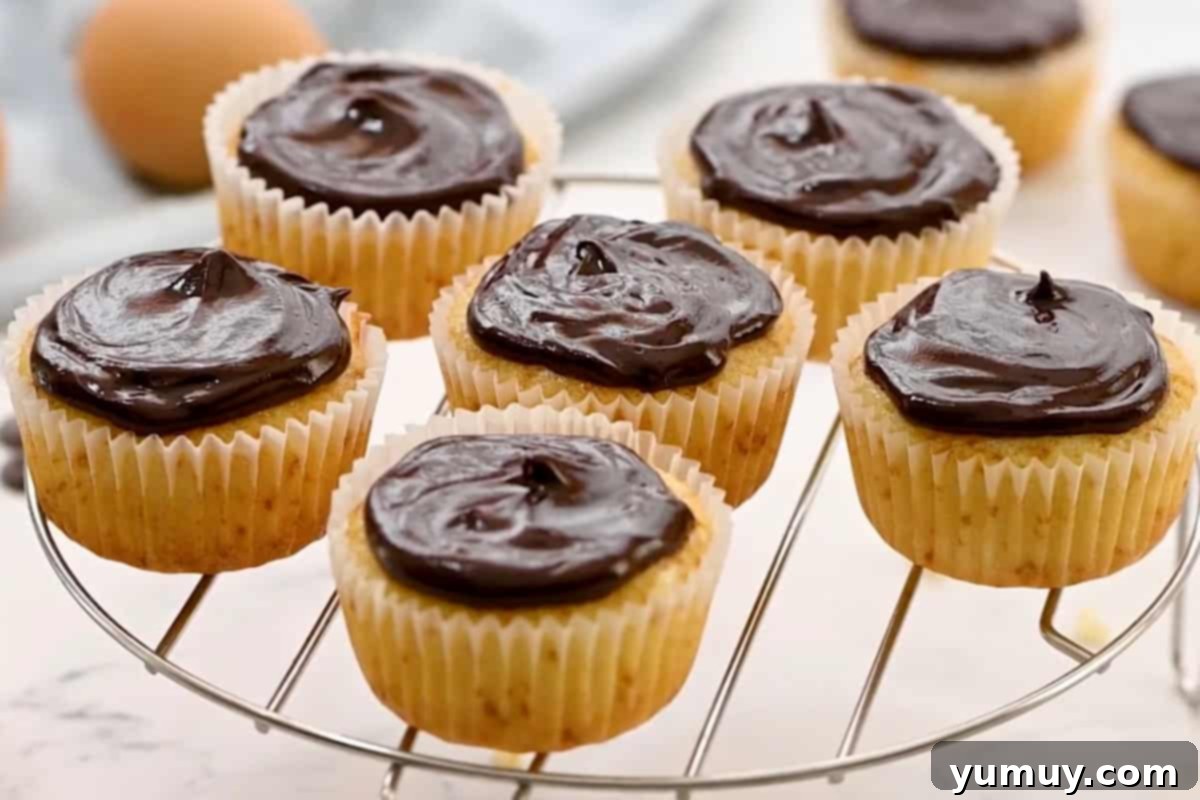
Frost with Ganache: Spoon or carefully pour the slightly cooled chocolate ganache over the top of each filled cupcake. You can spread it gently with the back of a spoon to create a smooth, glossy dome, or let it drip slightly down the sides for a rustic look. Allow the ganache to set slightly before serving. Enjoy your homemade Boston Cream Pie Cupcakes!

Notes & Expert Tips
*I wholeheartedly recommend making homemade pastry cream for its unparalleled flavor and texture, but if time is truly a constraint, a good quality instant vanilla pudding can be prepared according to package directions as a substitute.
Essential Baking Tips:
- Strain for Silkiness: If you’re concerned about having properly tempered your eggs, a quick strain of the cooked custard through a fine-mesh sieve before chilling is your best friend. This ensures an absolutely smooth, lump-free pastry cream.
- Avoid Overmixing: When preparing your cupcake batter, resist the urge to overmix. Overmixing develops gluten too much, resulting in dry, dense, and crumbly cupcakes. Mix until just combined.
- Consistent Cupcake Size: For uniformly baked and perfectly portioned cupcakes, use a cookie scoop or a ¼-cup measuring cup to fill your liners. This ensures they all bake evenly and look professional.
- Mini Versions: To create delightful mini Boston cream pie cupcakes, use a mini cupcake tin and adjust baking time to a shorter 8-12 minutes. Always check for doneness with a toothpick.
- Perfect Filling Ratio: I find that cutting about 1 inch wide and 1 inch deep into the cupcakes provides the ideal cavity for the filling, ensuring a harmonious cupcake-to-cream ratio in every bite.
- Piping Bag for Precision: While a spoon works, using a piping bag (with or without a tip) to fill the cupcakes offers superior control and creates a much cleaner, neater result, allowing you to accurately dispense about 1 tablespoon of pastry cream per cupcake.
- Ganache Consistency is Key: Patience is vital when it comes to the ganache. If you attempt to frost the cupcakes while the ganache is too warm, it will be too runny and simply slide off. Allowing it to cool for 10-15 minutes transforms it into a beautifully thick, glossy, and spreadable frosting that adheres perfectly.
Make-Ahead & Storage:
- Make-Ahead Pastry Cream: The homemade pastry cream can be prepared up to 2 days in advance. Store it covered with plastic wrap pressed directly onto its surface in the refrigerator. For easy filling, you can transfer it to a pastry bag or a Ziploc bag, then snip the tip just before assembly.
- Cupcake Storage: Due to the perishable nature of pastry cream, these Boston cream pie cupcakes must be stored in the refrigerator. They will remain fresh and delicious for up to 4 days when properly chilled.
- Freezing Not Recommended: I do not recommend freezing these cupcakes. The pastry cream tends to lose its smooth texture and can become watery and separated upon thawing, significantly compromising the quality of the dessert.
Nutrition Facts
Calories from Fat 99
Becky Hardin
Did You Make This?
We love seeing what you’ve made! Tag us on social media at @easydessertrecipes for a chance to be featured.
Step-by-Step Guide: Crafting Your Boston Cream Pie Cupcakes
Follow these detailed instructions to create your own batch of irresistible Boston Cream Pie Cupcakes. Precision and patience are your best tools!
1. Prepare the Pastry Cream: The Heart of Your Cupcakes
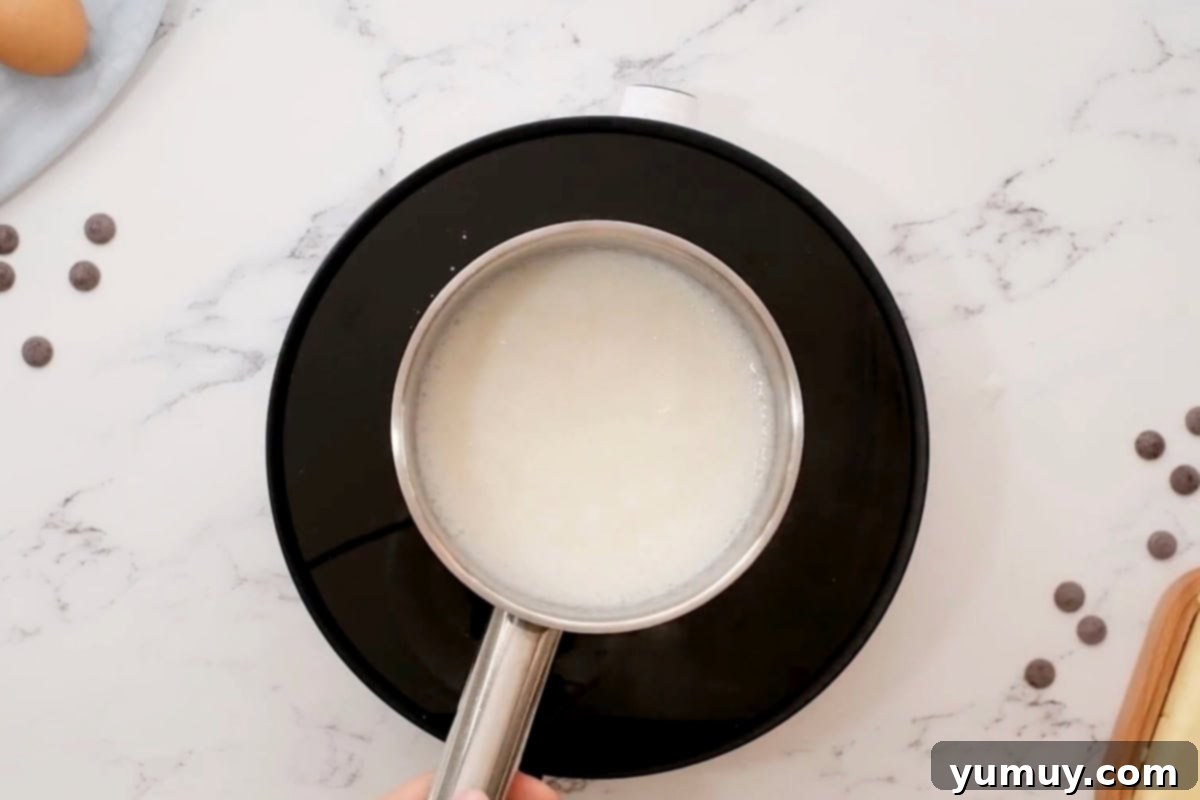
Heat the Custard Base: Begin by combining ¼ cup of granulated sugar, 1 tablespoon of cornstarch, and 1 cup of milk in a spacious saucepan. Whisk diligently until this mixture achieves a perfectly smooth consistency. Place the saucepan over medium heat and stir continuously. You’ll notice the mixture gradually thickening and eventually reaching a gentle boil. As soon as it boils, reduce the heat to medium-low and allow it to simmer for exactly 1 minute, maintaining constant stirring. Then, promptly remove the saucepan from the heat.
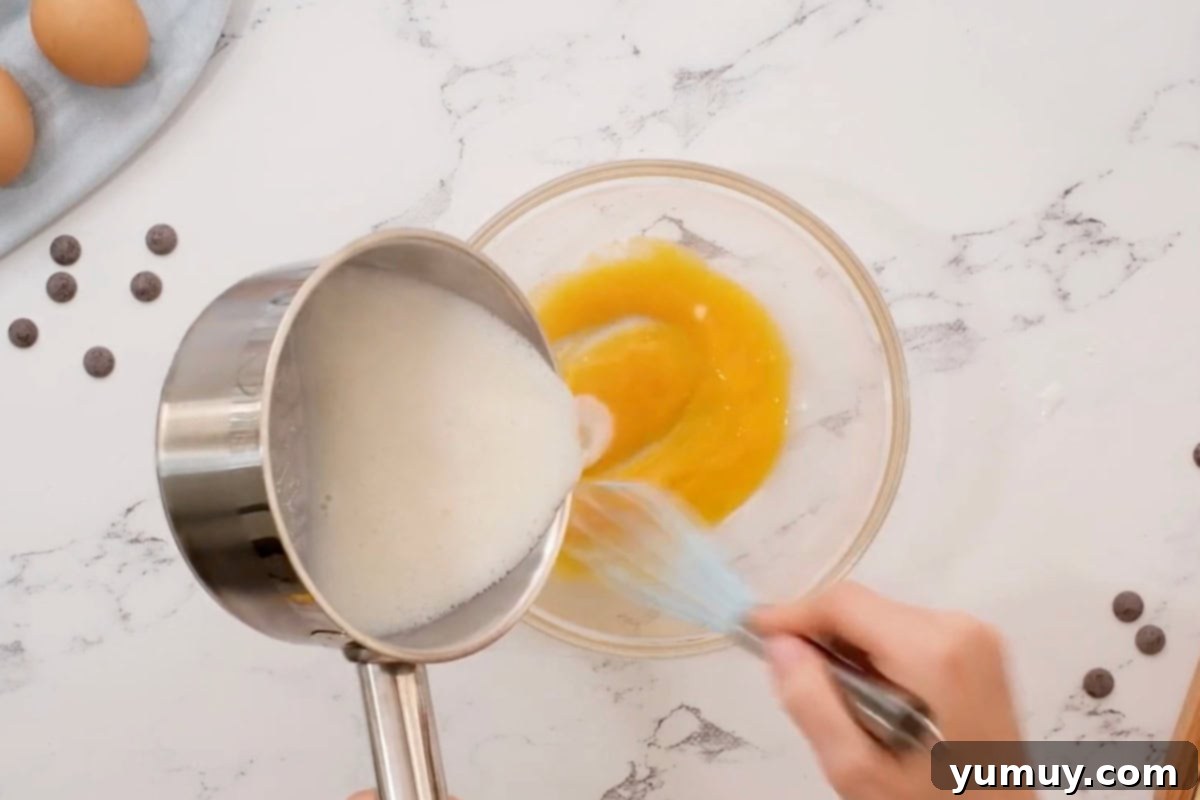
Temper the Eggs for Smoothness: In a separate bowl, lightly whisk your 2 large egg yolks. Now, carefully ladle a small portion (about ¼ cup) of the warm cornstarch/milk mixture into the egg yolks. It’s crucial to whisk vigorously and continuously as you add the warm liquid to the yolks. This gradual warming, known as tempering, prevents the eggs from scrambling. Once incorporated, pour the entire tempered egg mixture back into the remaining milk mixture in the saucepan, whisking to combine.
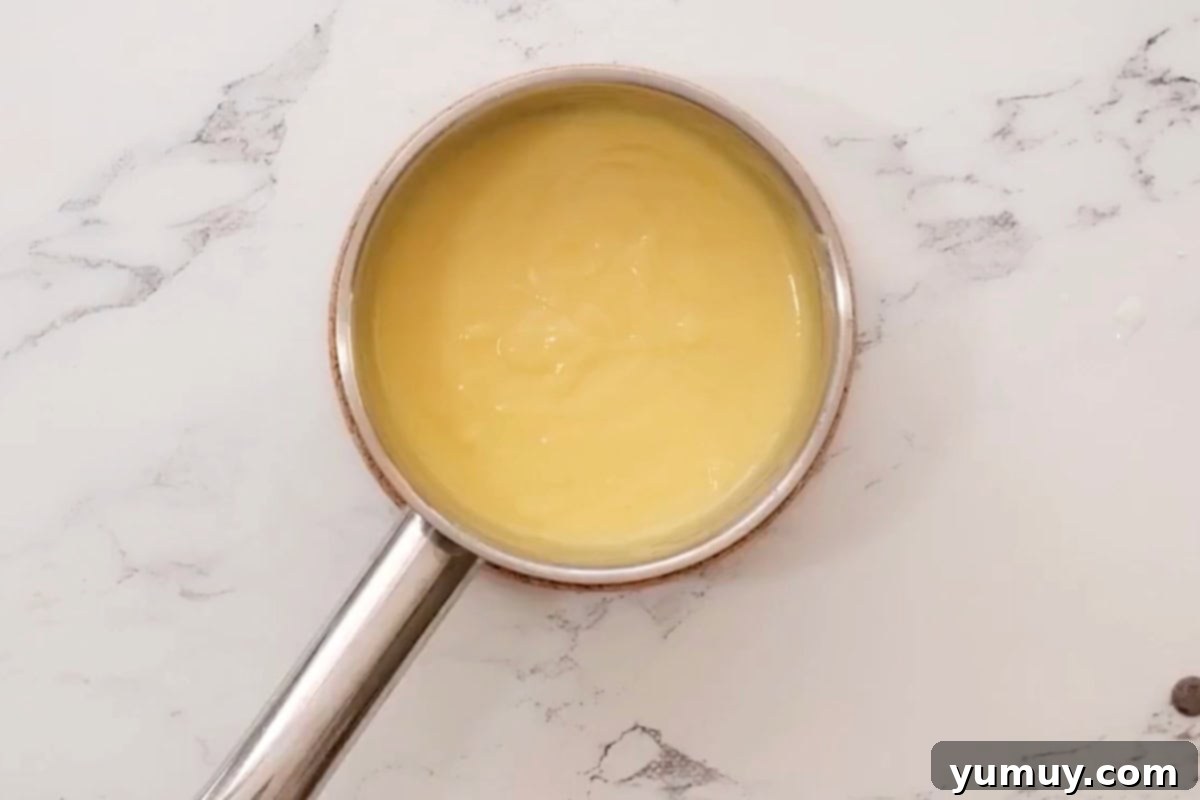
Thicken to Perfection: Return the saucepan with the combined mixture to medium heat. Bring it back to a light boil, ensuring you continue to stir non-stop to prevent any scorching at the bottom of the pan. Allow the mixture to boil for 2 full minutes. During this time, the custard will visibly thicken to a rich, luscious consistency. Remove from heat.
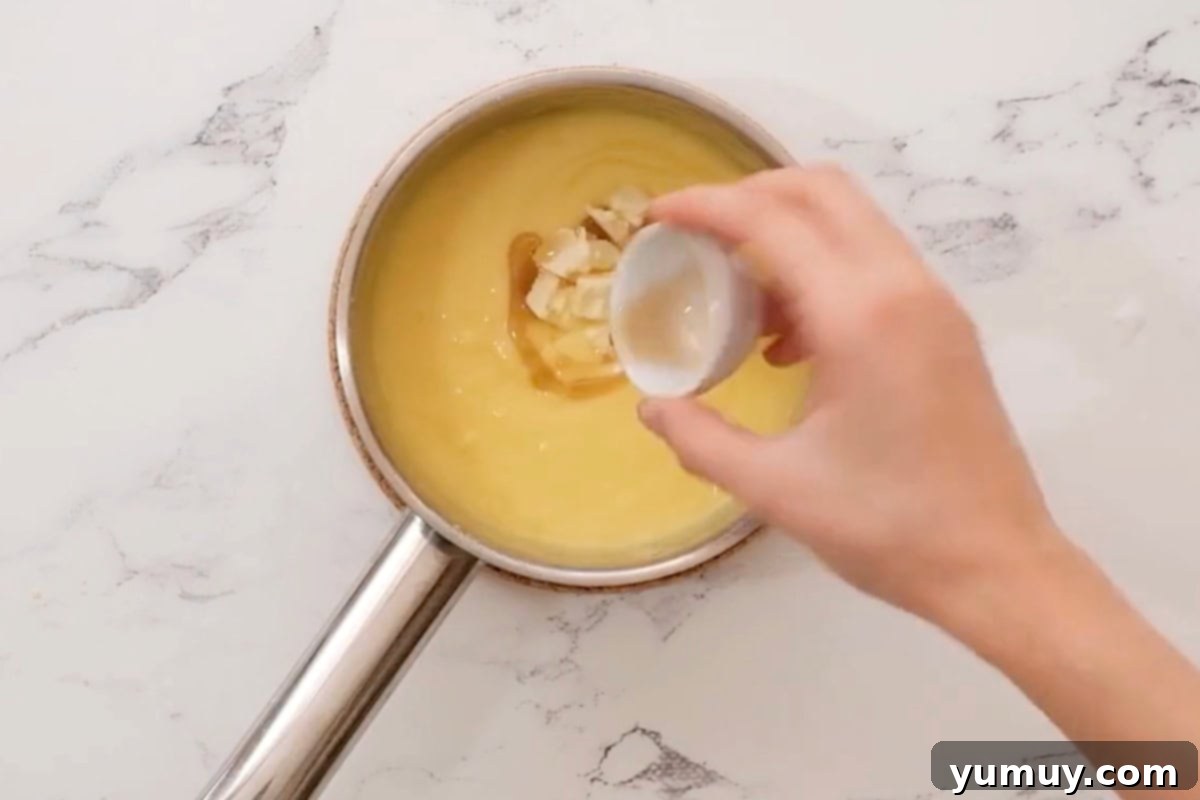
Enrich and Cool: Off the heat, stir in 1 tablespoon of unsalted butter and 1 teaspoon of pure vanilla extract until fully melted and integrated, making the custard even more luxurious. For a truly professional, silky-smooth finish, I highly recommend straining the warm custard through a fine-mesh sieve into a clean bowl; this catches any tiny cooked egg bits. Immediately press plastic wrap directly onto the surface of the custard to prevent a skin from forming, then set it aside to cool completely to room temperature before refrigerating for at least 2 hours, or until thoroughly chilled and firm.
2. Bake the Fluffy Vanilla Cupcakes
Prepare for Baking: Preheat your oven to 350°F (175°C). Line two standard 12-count cupcake tins with paper liners. This recipe yields 16 cupcakes, so you might need to bake in two batches or use a third tin if available.
Mix the Batter: In a large mixing bowl, combine the 13.25 ounces (1 box) of yellow cake mix, 1 cup of water, ⅓ cup of melted unsalted butter, and 3 large eggs. Using a hand mixer or a whisk, mix these ingredients together until the batter is just combined and appears smooth. A crucial tip here is to avoid overmixing. Overworking the batter will develop the gluten too much, resulting in dry and tough cupcakes, which is the opposite of the light and fluffy texture we’re aiming for. A few small lumps are perfectly acceptable and often indicate that you haven’t overmixed.
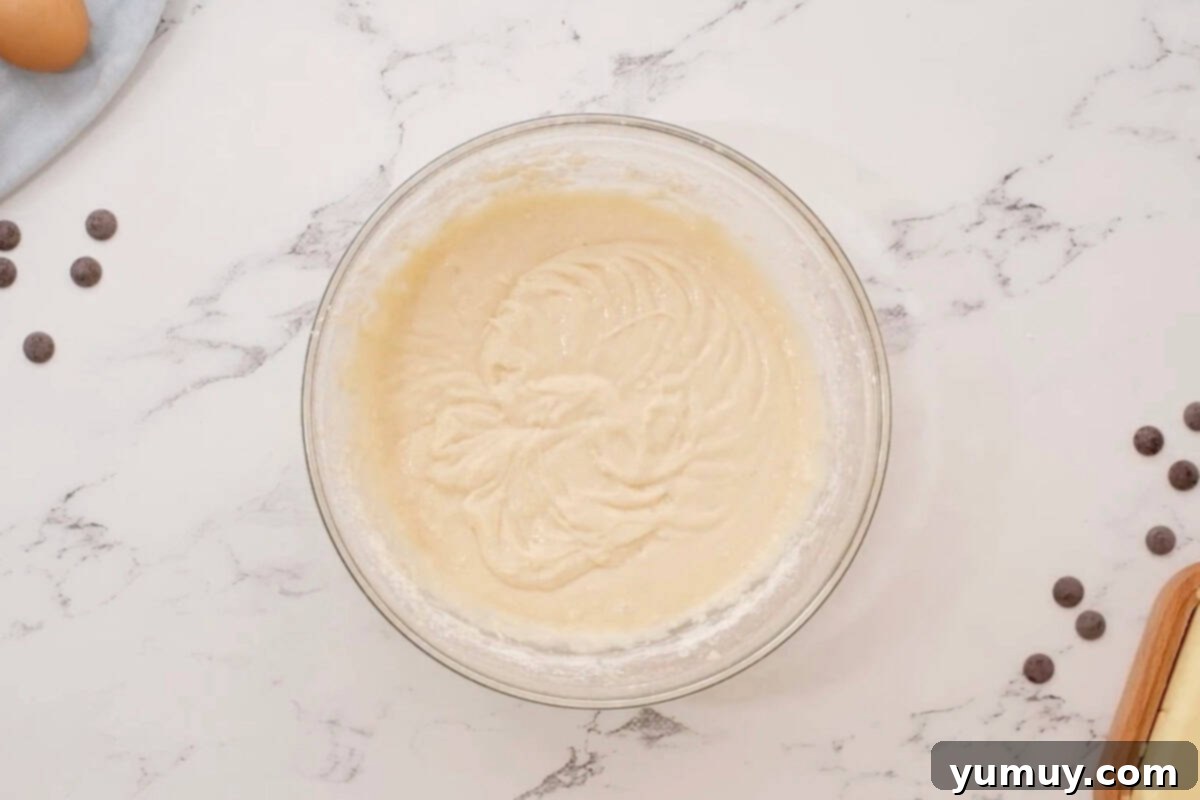
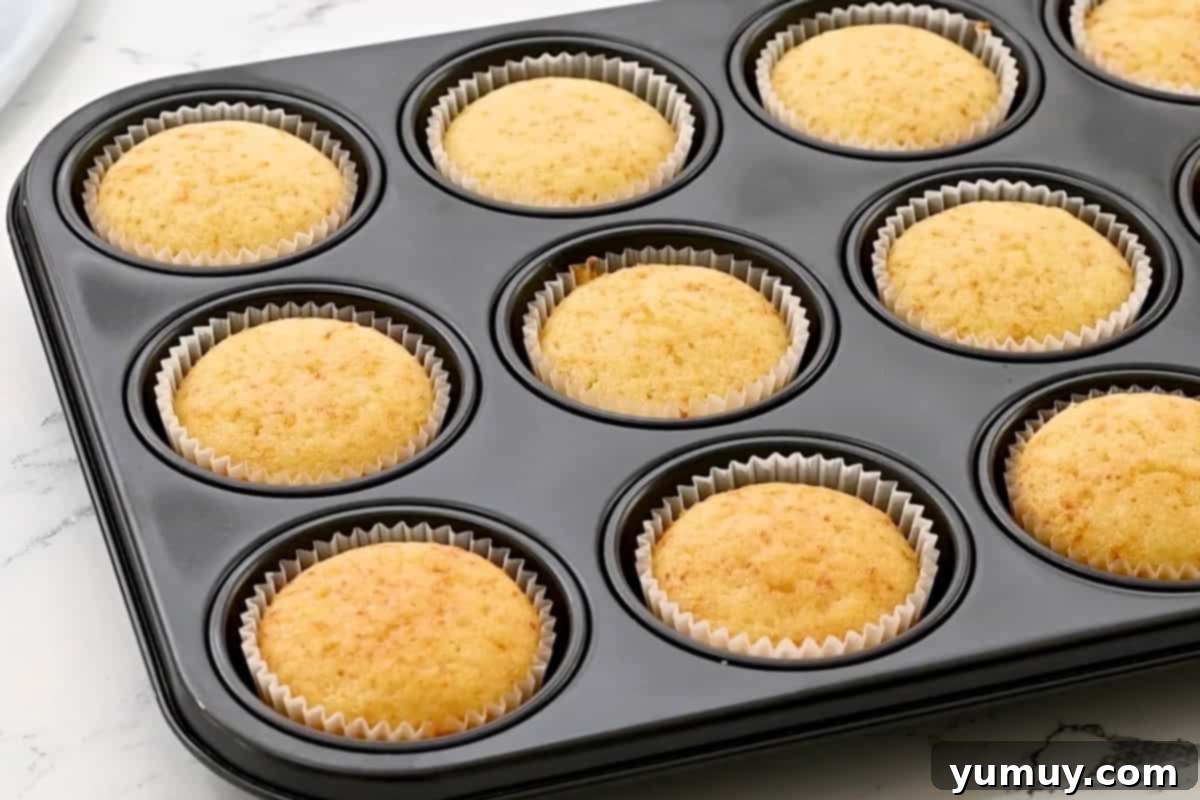
Bake and Cool: Evenly distribute the cupcake batter among the prepared liners, filling each cup about halfway full. To ensure that all your cupcakes are uniform in size and bake consistently, I highly recommend using a cookie scoop or a ¼-cup measuring cup for this step. Bake the cupcakes in your preheated oven for approximately 15 minutes, or until a wooden toothpick inserted into the center of a cupcake comes out clean, indicating they are fully baked. Once removed from the oven, transfer the cupcakes immediately to a wire cooling rack to cool down completely. It is absolutely essential that the cupcakes are entirely cool before you proceed with filling and frosting, otherwise, your pastry cream and ganache will melt.
3. Prepare the Luxurious Chocolate Ganache
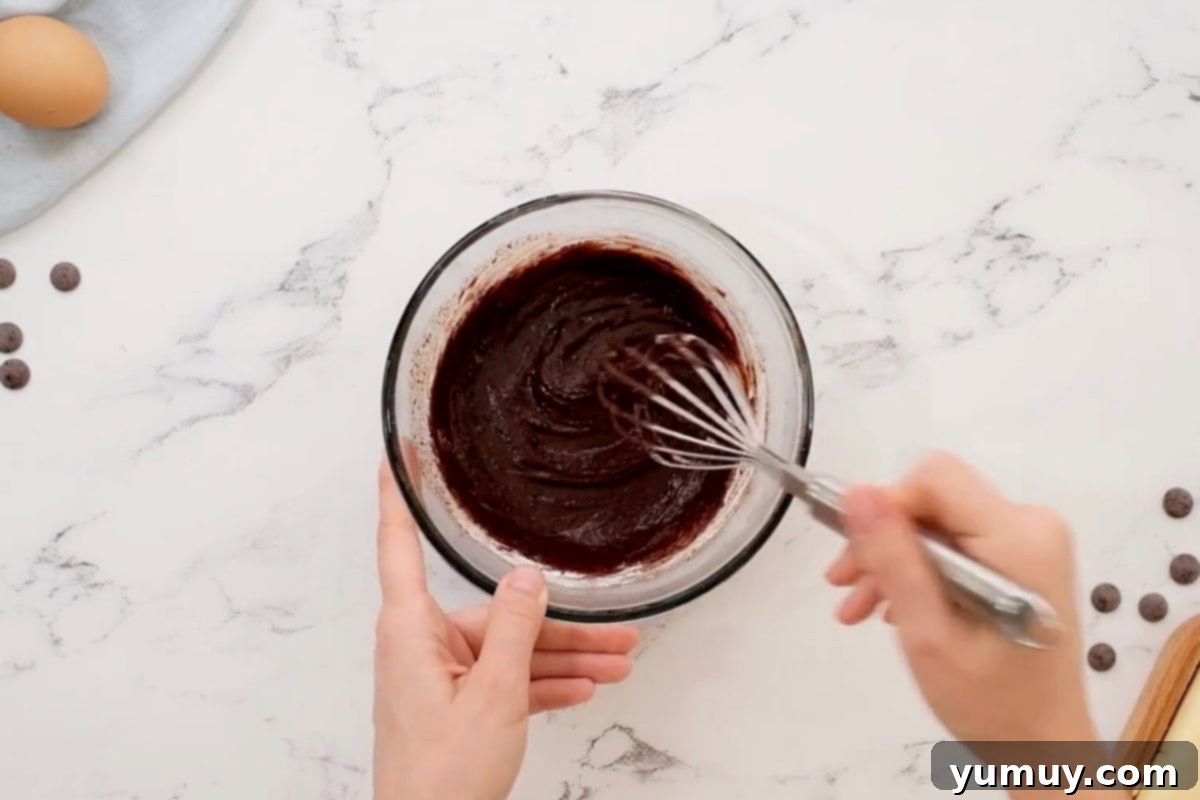
Melt the Chocolate: In a microwave-safe bowl, combine ½ cup of semisweet chocolate chips and ¼ cup of heavy cream. Place the bowl in the microwave and heat in short 15-second intervals, making sure to stir thoroughly after each interval. Continue this process until the chocolate is completely melted and the mixture transforms into a smooth, glossy ganache. Be careful not to scorch the chocolate.
Thicken and Cool the Ganache: Once your chocolate and cream are perfectly combined, sift in 2 tablespoons of powdered sugar. Whisk the powdered sugar into the ganache until it is fully incorporated and the mixture is smooth. This step subtly thickens the ganache and adds a delicate sweetness, enhancing its overall texture. Now, allow the ganache to cool at room temperature for about 10-15 minutes, stirring it occasionally. This cooling period is crucial; it allows the ganache to thicken to the ideal consistency – a deliciously thick, pourable yet spreadable texture that will sit beautifully on top of your cupcakes without running off. If it’s too warm, it will be too thin; if too cold, it will be too stiff.
4. Assemble Your Boston Cream Pie Cupcakes
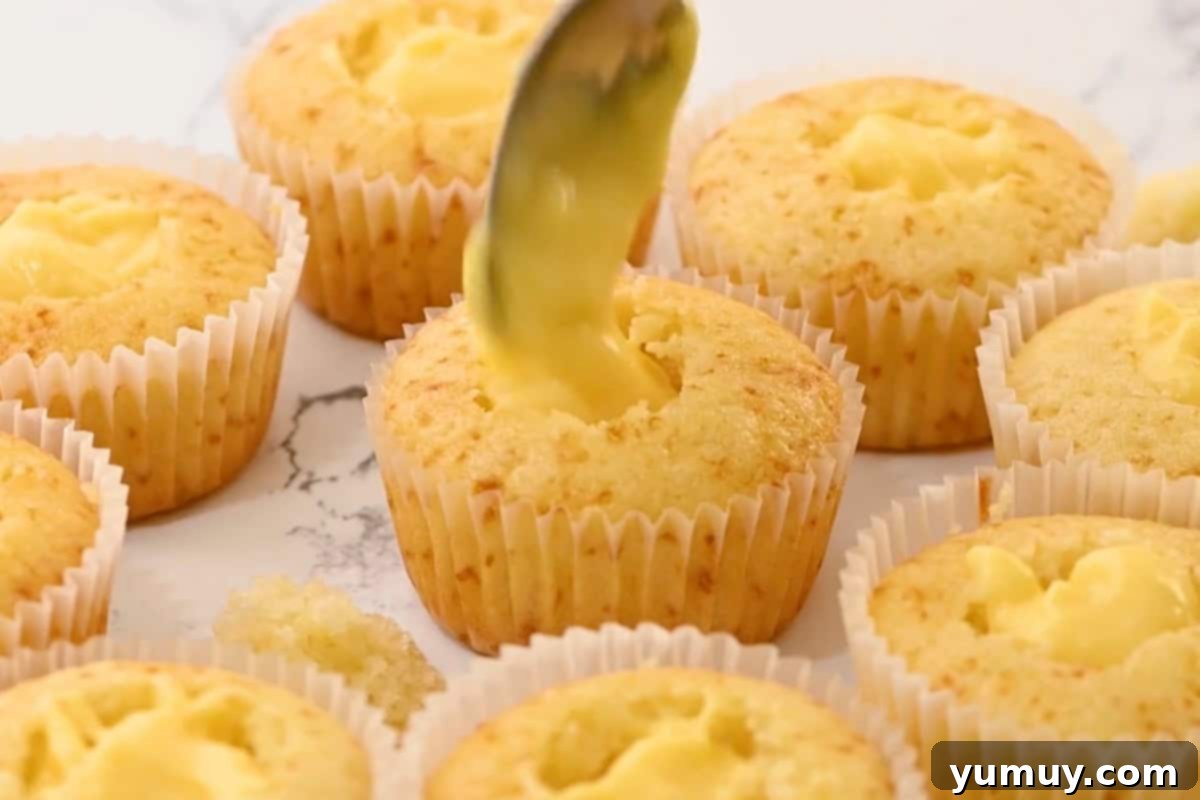
Core the Cupcakes: Ensure all your components – the cupcakes, pastry cream, and ganache – are completely cooled. With a small paring knife, a specialized cupcake corer, or even the wider end of a piping tip, carefully cut a hole into the center of each cupcake. Aim for about 1 inch wide and 1 inch deep. Gently remove the cake core, but make sure to save the small tops of these removed pieces; you’ll need them later.
Fill with Pastry Cream: Transfer your chilled pastry cream into a piping bag, ideally fitted with a round tip for precision. If you don’t have a piping bag, a sturdy Ziploc bag with a corner snipped off works, or simply a small spoon. Generously fill the cored centers of each cupcake with the luscious pastry cream. I typically use about 1 tablespoon per cupcake, striking a perfect balance of cake to cream. Piping allows for a much cleaner and more controlled fill, but a spoon is perfectly functional if you’re careful.
Seal the Filling: Take the small tops of the cake cores you reserved earlier and gently place them back over the pastry cream filling in each cupcake. This creates a neat seal, keeping the cream securely inside and providing a flat, even surface ready for the chocolate ganache.
Frost with Ganache and Serve: Finally, spoon or carefully pour the slightly cooled chocolate ganache over the top of each filled cupcake. You can spread it gently with the back of a spoon to create a perfectly smooth, glossy dome, or allow it to artfully drip down the sides for a more rustic and appealing look. Allow the ganache to set for a few minutes before serving to ensure it adheres beautifully. Now, your homemade Boston Cream Pie Cupcakes are ready to be savored!
Storage and Make-Ahead Tips
Given that these delightful Boston Cream Pie Cupcakes feature a fresh, homemade pastry cream filling, proper storage is absolutely essential to maintain their quality, safety, and deliciousness. Unlike many other cupcakes, these cannot be left at room temperature. They must be refrigerated due to the dairy and egg-based custard.
- Refrigeration is Key: Store your cream-filled Boston cream pie cupcakes in an airtight container in the refrigerator. This will keep them fresh and tasting their best for up to 4 days. Allowing them to sit at room temperature for extended periods can lead to spoilage and loss of texture.
- Make-Ahead Convenience: To simplify your baking day, you can prepare the pastry cream up to 2 days in advance. Once it’s made and cooled, cover it tightly with plastic wrap pressed directly onto its surface (to prevent a skin from forming), and store it in the refrigerator. When you’re ready to assemble the cupcakes, simply give it a quick whisk to loosen it up, then transfer it to a piping bag.
- Freezing Not Recommended: Unfortunately, freezing these cupcakes is not advised. The delicate texture of the pastry cream tends to break down when frozen and thawed, resulting in a watery, unappetizing consistency. It’s best to enjoy these fresh within their refrigerated shelf life.
Variations to Explore
While the classic Boston Cream Pie Cupcake is a masterpiece in itself, there’s always room for creative twists! Here are a few ideas to customize your next batch:
- Chocolate Cake Base: For chocolate lovers, swap the yellow cake mix for a devil’s food or chocolate fudge cake mix. The rich chocolate cake with the vanilla pastry cream creates an even more decadent experience.
- Coffee-Infused Cream: Add a teaspoon of instant espresso powder to your pastry cream as it cools. The subtle coffee flavor pairs beautifully with chocolate and vanilla, adding depth.
- White Chocolate Ganache: Instead of semisweet, use white chocolate chips for your ganache. This offers a sweeter, creamier topping that contrasts wonderfully with the vanilla cake and pastry cream.
- Fruit Embellishments: Before adding the ganache, top the pastry cream with a few fresh raspberries or thinly sliced strawberries for a burst of fruity freshness and a pop of color.
- Miniature Delights: As mentioned in the tips, baking these in mini cupcake tins creates adorable, bite-sized versions perfect for parties or sampling multiple desserts. Just remember to adjust baking times.
Common Questions About Boston Cream Pie Cupcakes
What exactly is Boston Cream Pie?
Boston Cream Pie is a classic American dessert that originated at the Parker House Hotel in Boston. Despite its name, it’s actually a cake, not a pie! It typically features two layers of sponge cake (often a genoise), filled with a rich custard or pastry cream, and topped with a glossy chocolate glaze.
Can I use store-bought pastry cream?
While homemade pastry cream truly elevates these cupcakes, you can certainly use a good quality store-bought version if you’re short on time. Many bakeries and gourmet stores offer decent ready-made pastry cream. Alternatively, a box of instant vanilla pudding prepared with slightly less milk for a thicker consistency can also work as a quick substitute.
My ganache is too thin/thick. What should I do?
If your ganache is too thin, try letting it cool for an additional 10-15 minutes, stirring occasionally. You can also place it in the refrigerator for 5-10 minutes (watching closely!) to speed up thickening. If it’s too thick and firm, microwave it in very short 5-second bursts, stirring well after each, until it reaches the desired pourable consistency.
Can I make these gluten-free?
Yes, you can! Simply use your favorite gluten-free yellow cake mix in place of the regular mix. Ensure all other ingredients (like cornstarch, butter, chocolate chips) are certified gluten-free if cross-contamination is a concern. The pastry cream and ganache are naturally gluten-free.
