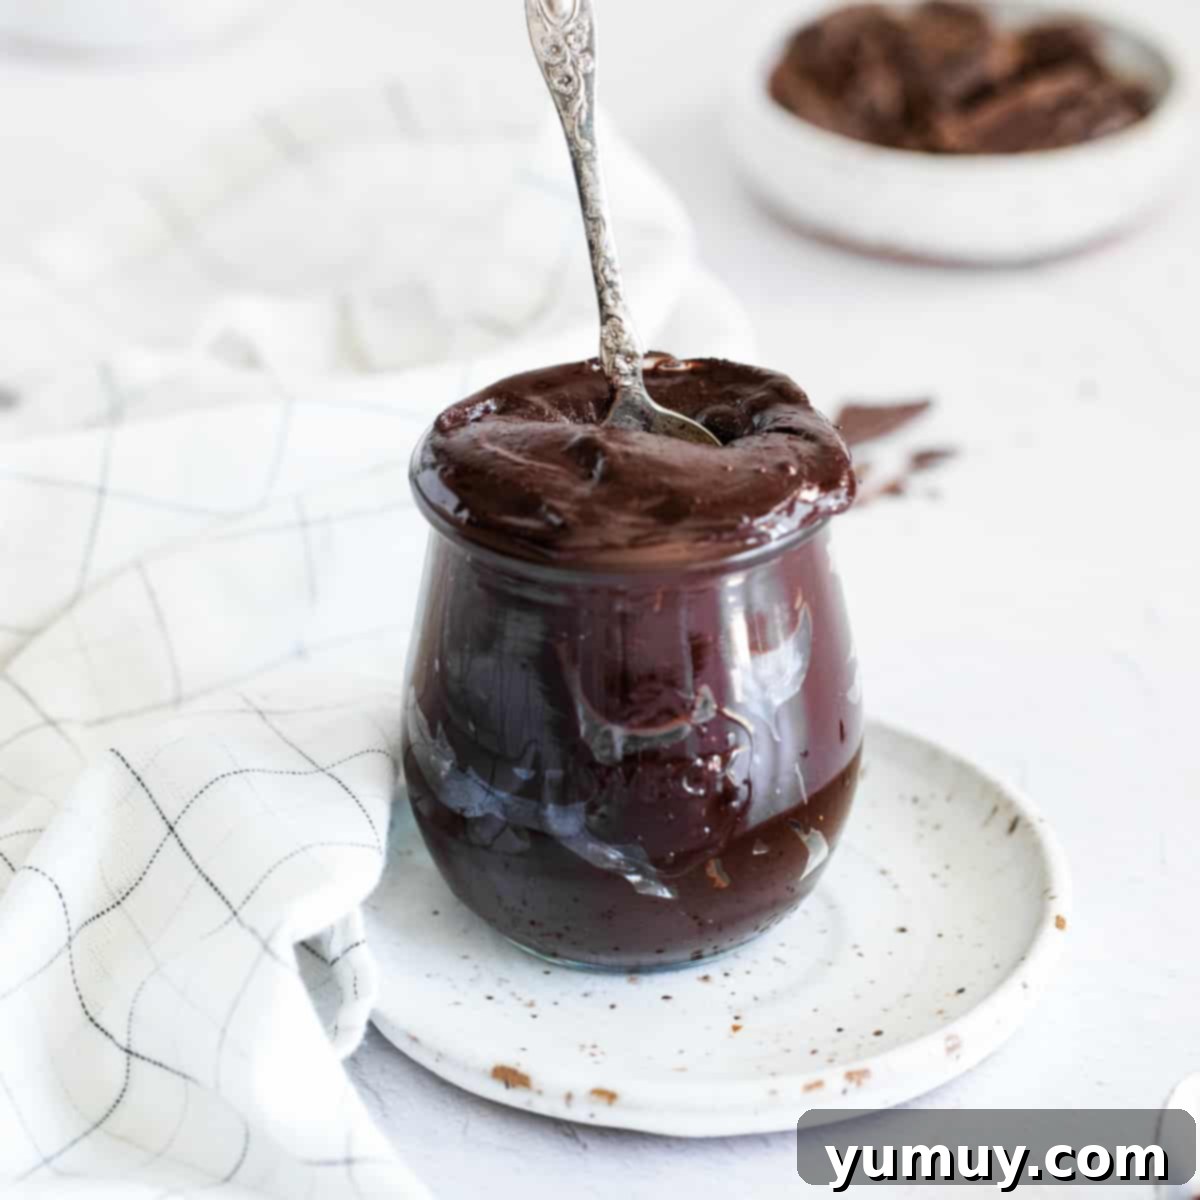
If you’ve ever found yourself utterly captivated by the rich, creamy allure of chocolate hazelnut spread but wished for a version that was both healthier and infinitely more flavorful, then this homemade Nutella recipe is your culinary destiny. Ditch the store-bought jars with their long ingredient lists and excessive sugar, because this recipe empowers you to create a decadent, velvety spread with pure, unadulterated goodness. It’s incredibly satisfying to know exactly what goes into every spoonful, allowing you to tailor the sweetness and intensity to your exact preferences – whether you’re a devoted dark chocolate enthusiast or prefer a milder, sweeter note. This isn’t just a spread; it’s a game-changer for your breakfast, baking, and even late-night snack cravings, delivering a smooth, spreadable texture that is undeniably addictive.
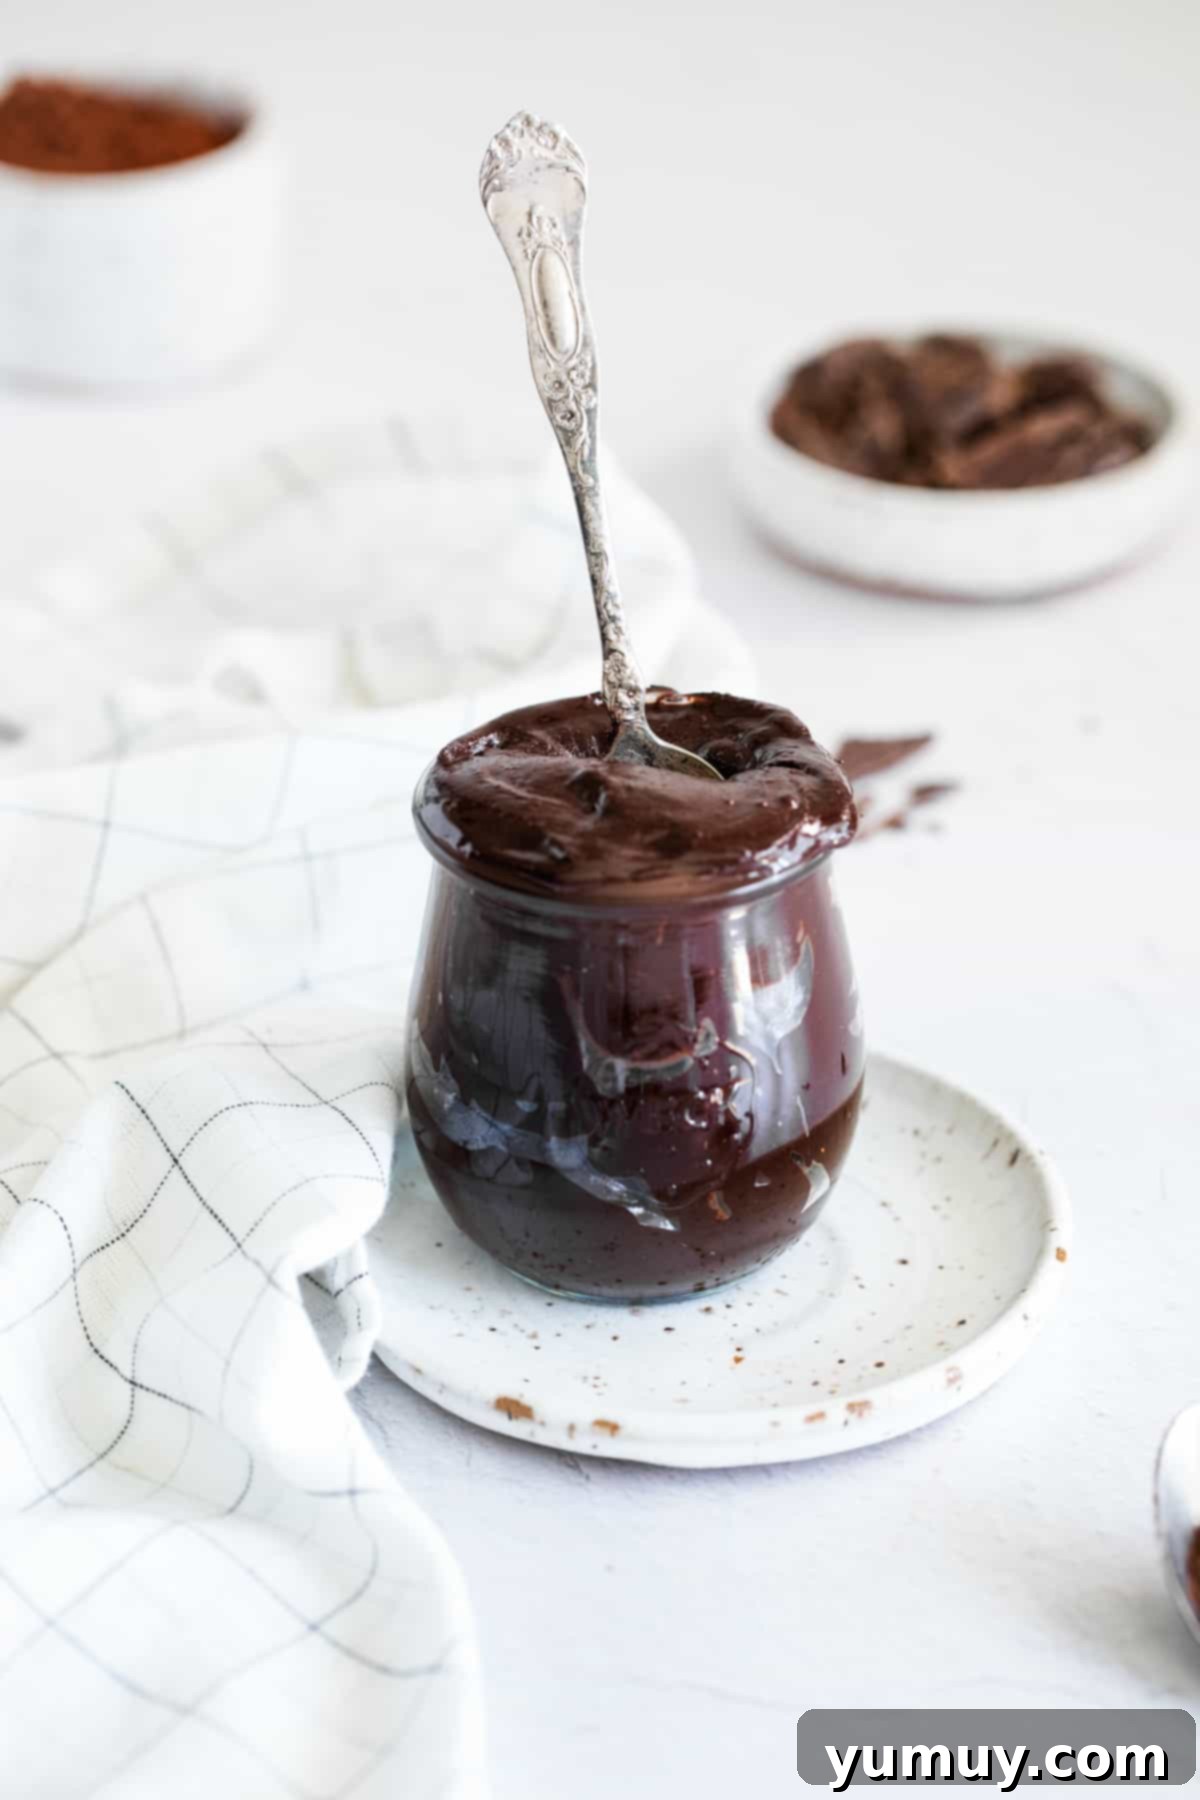
Unbeatable Homemade Chocolate Hazelnut Spread
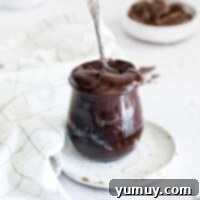
This homemade chocolate hazelnut spread doesn’t just taste like the real deal; it surpasses it. The secret lies in roasting fresh hazelnuts, which unlocks their deeply aromatic, warm, and nutty essence, forming the perfect foundation for this indulgent treat. Combined with high-quality cocoa powder and premium melted chocolate, it achieves a level of richness and depth of flavor that store-bought versions can only dream of. The best part? It’s incredibly versatile. Slather it generously on warm toast or fluffy pancakes, swirl it into your favorite brownie batter for an extra layer of decadence, or simply grab a spoon and enjoy it straight from the jar – we promise, there’s no judgment here. My kids constantly beg for this hazelnut chocolate spread, and I take immense pride in knowing every wholesome ingredient that goes into their favorite treat.
Once you experience the unparalleled taste and texture of this easy homemade Nutella, you’ll likely never look back at the pre-made jarred versions again. It’s not just a recipe; it’s an invitation to elevate your snacking and dessert game, bringing a touch of gourmet quality right into your kitchen. The process is straightforward, the ingredients are simple, and the reward is a truly magnificent spread that caters to every chocolate and hazelnut lover.
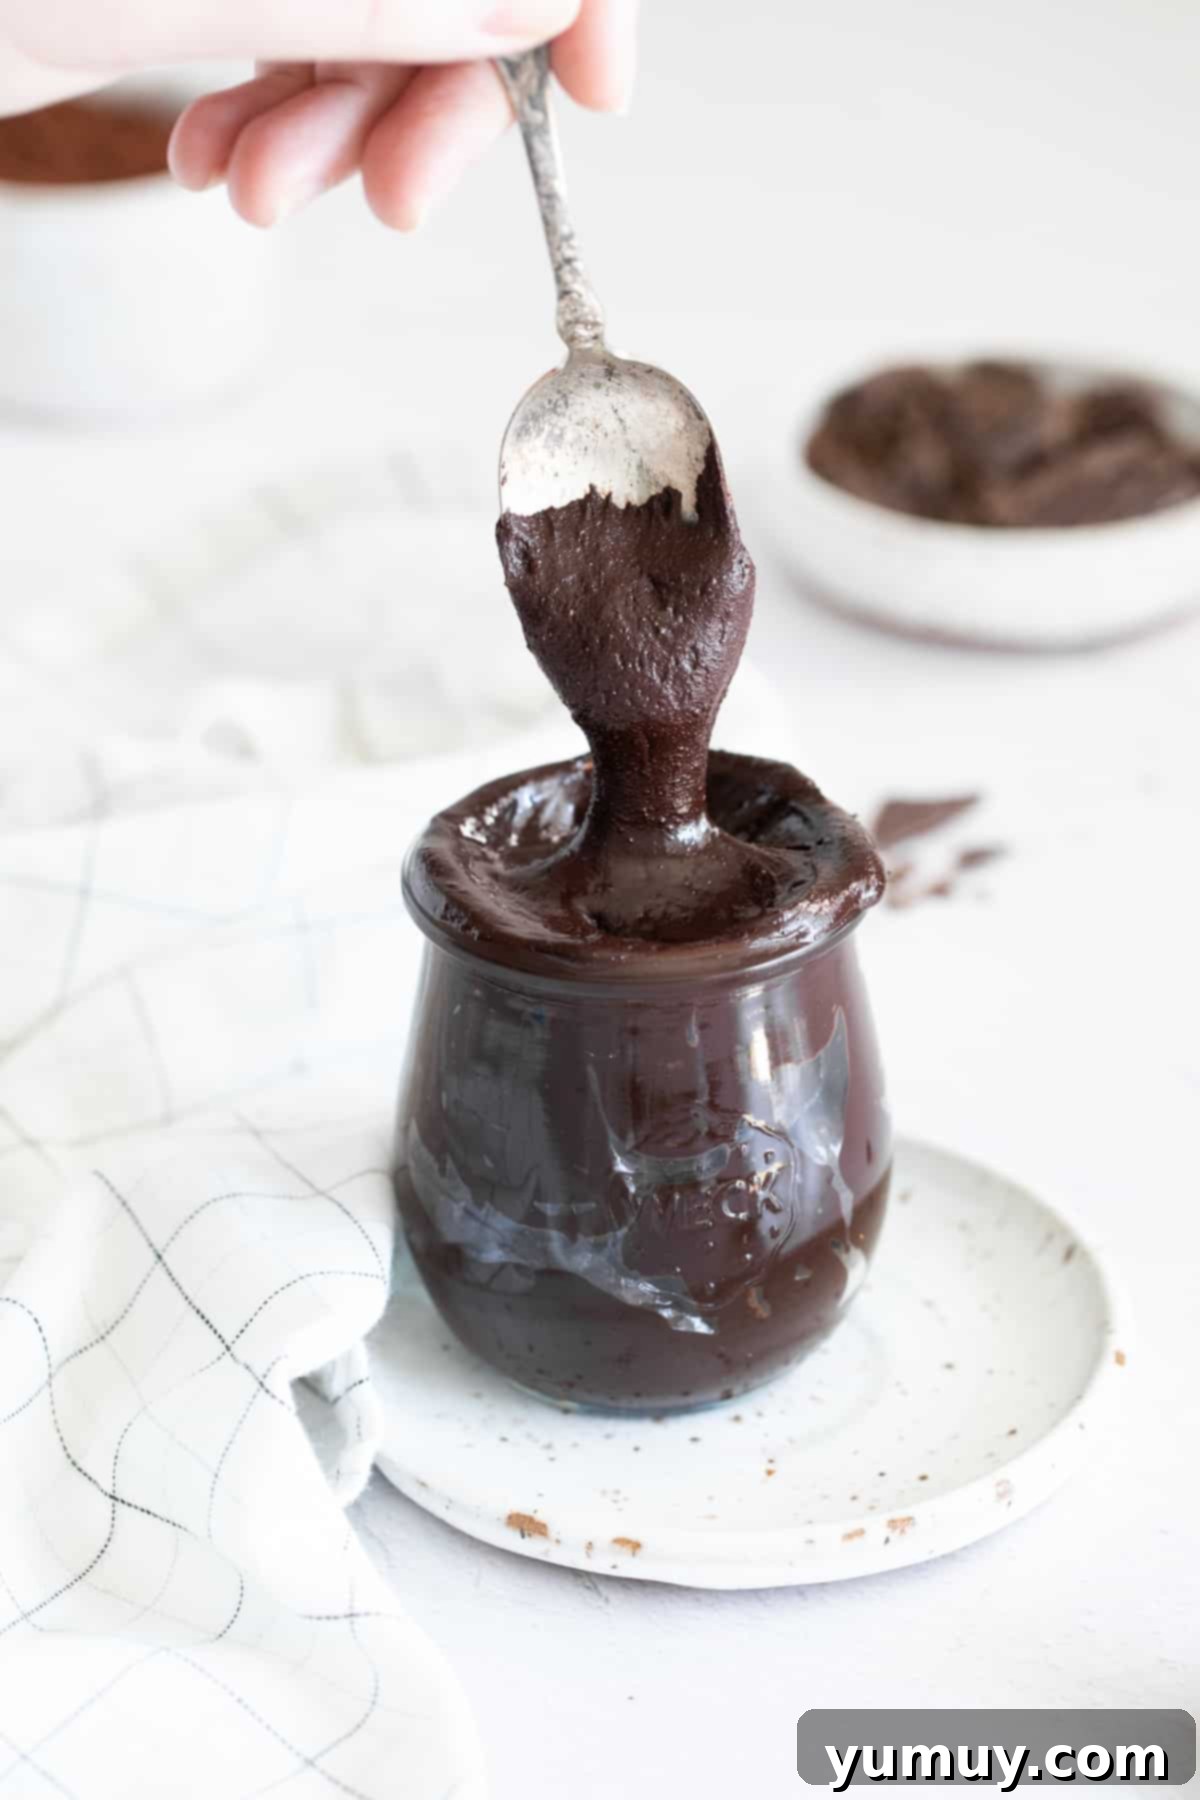
Mastering the Silky Texture: Secrets for Store-Bought Smoothness in Homemade Nutella
Achieving that perfectly silky-smooth, almost liquid-gold texture that characterizes the best chocolate hazelnut spreads is entirely possible at home with a few key techniques. The first crucial step is blanching your hazelnuts after roasting. While it might seem like an extra effort, removing the skins is paramount. Hazelnut skins can introduce a slightly bitter note and, more importantly, a gritty texture to your finished spread. By gently rubbing them off in a towel, you reveal the pure, sweet kernel, allowing it to blend into an incredibly smooth butter. This simple act drastically enhances both the flavor and consistency of your homemade Nutella.
Secondly, for an ultra-creamy, lump-free spread, pay attention to your powdered sugar and cocoa powder. Sifting these dry ingredients before adding them to the food processor is a small but mighty step. It breaks up any potential clumps, ensuring they integrate seamlessly into the hazelnut butter. This prevents any unwanted grainy bits and contributes significantly to that luxurious, velvety consistency. This additional step is particularly beneficial if you’re planning to gift your homemade spread or serve it to guests with discerning palates. The effort is minimal, but the payoff in terms of refined texture is immense, setting your homemade creation apart from all others.
Homemade Nutella Recipe
Print
Rate
Save
Ingredients
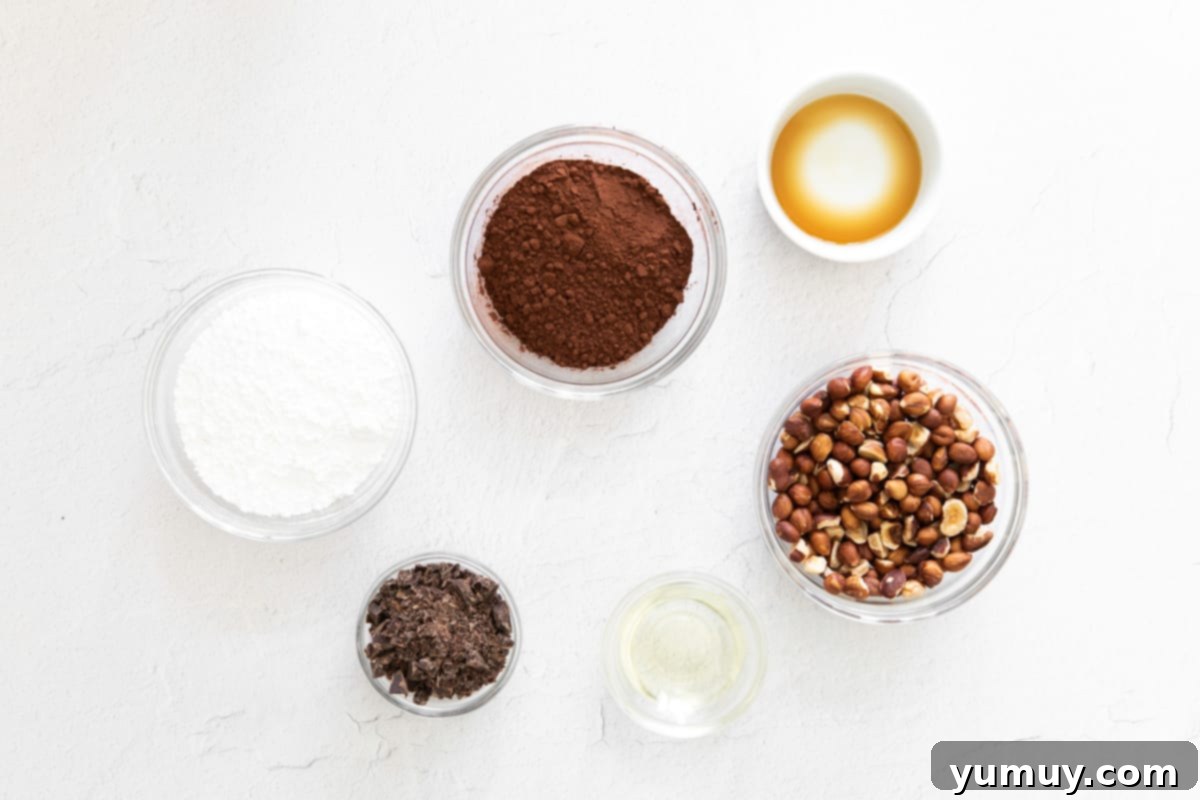
- 1 cup raw hazelnuts *
- ¾ cup powdered sugar
- ½ cup unsweetened cocoa powder **
- 2 tablespoons vegetable oil
- 1 teaspoon pure vanilla extract
- ¼ cup chopped chocolate **
- ⅛ teaspoon sea salt to taste
Equipment
- Kitchen Scale (optional, for precision)
- Baking Sheet
- Food Processor (essential for achieving smooth texture)
Instructions
- Preheat your oven to 400°F (200°C). Prepare a baking sheet for roasting.

- Spread the raw hazelnuts evenly on the prepared baking sheet. Bake for 10 minutes, making sure to stir them halfway through to ensure even roasting and prevent burning. This step is crucial for developing their deep, nutty flavor.1 cup raw hazelnuts
- Once roasted, remove the hazelnuts from the oven and let them cool slightly on the baking sheet until they are just warm enough to handle. Transfer the warm hazelnuts to a clean kitchen towel. Fold the towel over the nuts and gently rub them together vigorously for about 5 minutes. This friction will help remove their papery skins, which can add bitterness and a gritty texture if left on. Discard the skins.
- Place the blanched, roasted hazelnuts into a powerful food processor. Begin to pulse them, initially about 10-15 times, until they break down into a finely ground coffee-like consistency. It’s important to scrape down the sides of the bowl frequently during this stage to ensure all nuts are processed evenly.

- Add the powdered sugar (preferably sifted), unsweetened cocoa powder (also sifted to prevent lumps), vegetable oil, pure vanilla extract, and chopped chocolate to the food processor with the ground hazelnuts. Process continuously for approximately 5 minutes, or until the mixture transforms into a smooth, luscious, and creamy spread. Be patient; the mixture will first appear thick and crumbly before the oils release and it becomes wonderfully fluid. Scrape down the sides of the bowl several times during this process to ensure all ingredients are thoroughly combined. Finally, add ⅛ teaspoon of sea salt, or to your personal taste preference, blending briefly to incorporate.¾ cup powdered sugar, ½ cup unsweetened cocoa powder, 2 tablespoons vegetable oil, 1 teaspoon pure vanilla extract, ¼ cup chopped chocolate, ⅛ teaspoon sea salt

Notes
*For those looking to save a bit of time, you can certainly purchase whole roasted or pre-blanched hazelnuts. Just ensure they are unsalted; otherwise, the final spread might become excessively salty and overpower the delicate chocolate-hazelnut balance.
**I personally adore using dark chocolate and special dark cocoa powder in this recipe to achieve a deeper, more intense dark chocolate Nutella. However, feel free to experiment with any type of chocolate or cocoa powder you have on hand or prefer, from milk chocolate for a sweeter profile to bittersweet for a richer, less sweet version.
Expert Tips for Perfection:
- Always be diligent about scraping down the sides of your food processor bowl. This ensures that all ingredients are thoroughly incorporated and prevents uneven blending, which can lead to a less smooth texture.
- Don’t underestimate the power of vanilla extract. Adding a good quality pure vanilla extract really enhances the overall flavor, adding a warm, aromatic note that complements the chocolate and hazelnut beautifully.
- Patience is key during the blending phase. The hazelnuts will go through several stages: from ground meal to a thick paste, and finally, as their natural oils release, to a smooth, creamy butter. Resist the urge to add extra liquid too early.
Storage: To maintain its freshness and delightful consistency, store your homemade Nutella in an airtight container. It will keep perfectly at room temperature for up to 2 weeks. If you prefer to extend its shelf life, you can refrigerate it for up to 3 weeks. Keep in mind that refrigeration will cause it to firm up, so I recommend letting it sit on the counter for about 15-30 minutes before using to return it to its ideal spreadable texture.
Calories from Fat 63
Beyond the Jar: Creative Uses for Your Homemade Nutella
Once you’ve successfully whipped up a batch of this luscious homemade Nutella, a world of delicious possibilities opens up! Its versatility makes it a fantastic ingredient for everything from simple snacks to elaborate desserts. Here are just a few ideas to inspire your culinary creativity:
- **Gourmet Toast & Breakfast Items:** Move beyond plain toast. Spread it on warm croissants, brioche, or even a simple slice of soft white bread, then top with colorful sprinkles for a whimsical and nostalgic treat reminiscent of fairy bread. Swirl it into oatmeal or yogurt for a rich, flavorful breakfast, or use it as a decadent filling for crêpes and waffles.
- **Elevated Desserts:** Incorporate it into your baking. It makes an incredible filling for cakes, cupcakes, and tarts. For a quick dessert, spoon it into a warm s’mores quesadilla for a melty, chocolatey center. Stir it into no-bake cookies for a rich, fudgy twist on the classic, or drizzle it over ice cream.
- **Unique Snacks & Drinks:** Use it as a dip for fresh fruit like strawberries and bananas. Blend it into milkshakes for an ultimate chocolate-hazelnut beverage. You can even melt it slightly and use it as a sauce for churros or pretzels.
However you choose to enjoy it, this homemade Nutella adds the perfect touch of creamy, nutty sweetness and deep chocolate flavor, transforming everyday items into extraordinary indulgences.
How to Make Homemade Nutella: A Detailed Step-by-Step Guide
Creating your own delicious chocolate hazelnut spread is a straightforward process when broken down into manageable steps. Follow these instructions carefully to achieve a rich, smooth, and utterly irresistible homemade Nutella.
1. Roast and Blanch the Hazelnuts for Optimal Flavor: Begin by preheating your oven to a precise 400°F (200°C). Arrange 1 cup of raw hazelnuts in a single layer on a clean baking sheet. Bake them for approximately 10 minutes, ensuring you stir them halfway through the baking time. This critical roasting step brings out their natural oils and deepens their nutty flavor, which is essential for the characteristic taste of Nutella. Once roasted, remove them from the oven and let them cool just enough so they are warm to the touch but not too hot to handle. Immediately transfer the warm hazelnuts to a clean kitchen towel. Fold the towel over and vigorously rub the nuts together for about 5 minutes. This friction will cause the papery skins to loosen and rub off, revealing the smooth, pale kernels underneath. Removing these skins is vital for preventing any bitterness and ensuring a truly silky-smooth spread. Discard the skins once separated.
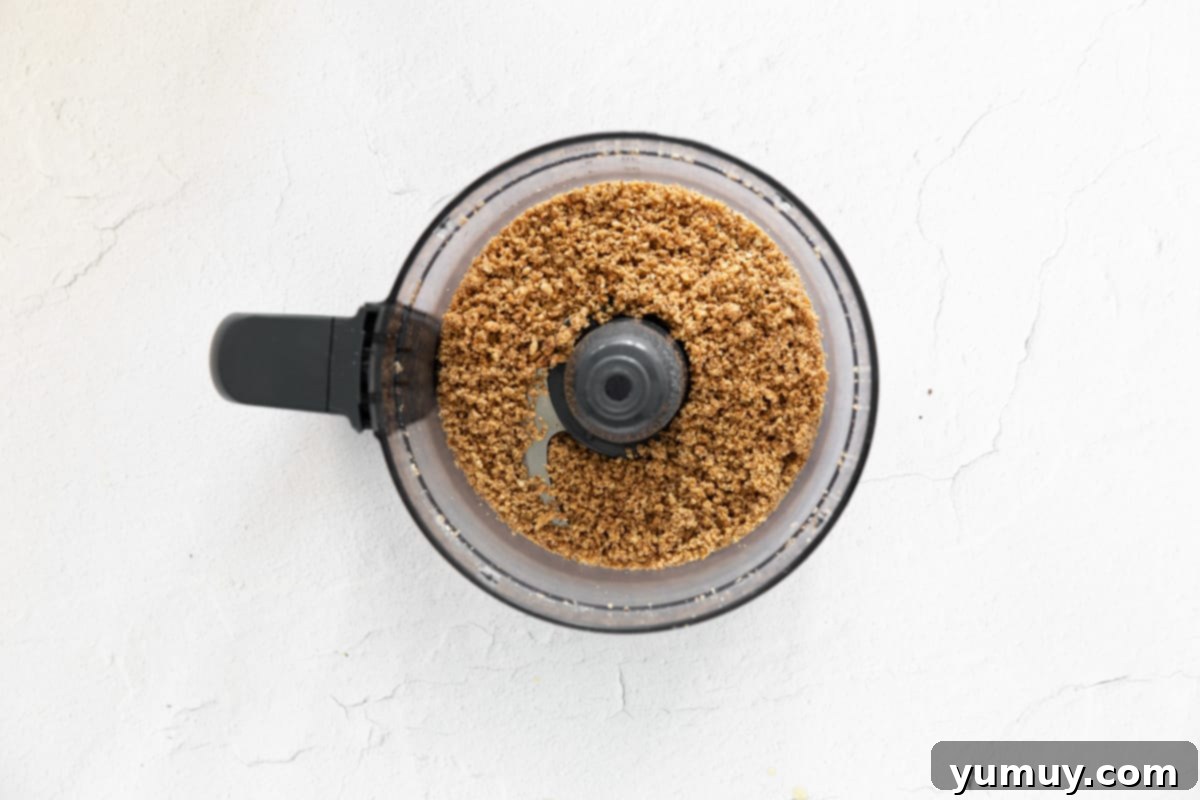
2. Grind the Hazelnuts to a Fine Butter: Carefully transfer your roasted and blanched hazelnuts into the bowl of a high-powered food processor. Begin by pulsing the hazelnuts in short bursts, about 10-15 times, until they break down into a coarse, finely ground powder, much like ground coffee. This initial stage is important to ensure an even grind before continuous processing. Scrape down the sides of the food processor bowl with a spatula to push any clinging nuts back into the center. Continue processing, and you’ll observe the hazelnuts gradually transform. They will progress from a crumbly meal to a thicker, pasty consistency, and then, as their natural oils are released, they will miraculously smooth out into a rich, creamy hazelnut butter. Be patient during this stage; it can take a few minutes of continuous processing to achieve this smooth texture.
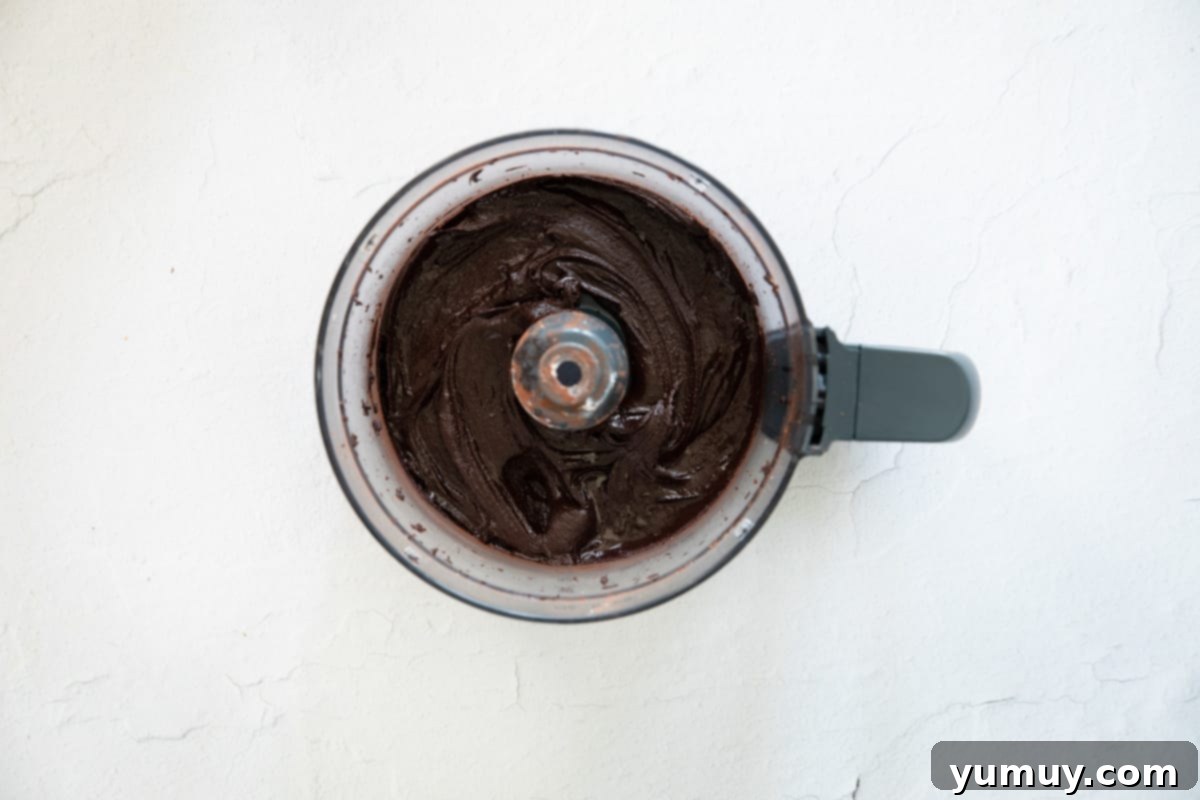
3. Blend All Ingredients for a Velvety Spread: Once your hazelnuts have reached a creamy, butter-like consistency, it’s time to add the remaining ingredients. Introduce ¾ cup of sifted powdered sugar, ½ cup of sifted unsweetened cocoa powder, 2 tablespoons of vegetable oil (or a neutral oil like grapeseed oil for minimal flavor interference), 1 teaspoon of pure vanilla extract, and ¼ cup of finely chopped chocolate (your preferred type, whether dark, milk, or bittersweet). Continue to process the mixture in the food processor. This blending phase will take approximately 5 minutes. Initially, the mixture may thicken slightly or appear a bit dry, but as the ingredients combine and the chocolate melts from the friction and heat of the processor, it will become incredibly smooth and creamy. Remember to stop and scrape down the sides of the bowl frequently to ensure everything is fully incorporated and no dry spots remain. Finally, add ⅛ teaspoon of sea salt, or adjust to your personal preference, and process for a few more seconds to evenly distribute the salt. The salt helps to enhance the chocolate and hazelnut flavors, creating a perfectly balanced spread. The result will be a decadent, velvety smooth homemade Nutella, ready to be devoured.
Storing Your Homemade Chocolate Hazelnut Spread
Proper storage is essential to maintain the freshness and delightful texture of your homemade Nutella. After preparing your batch, transfer the chocolate hazelnut spread to an airtight container. A glass jar with a tight-fitting lid works perfectly. You have a couple of options for storage, depending on how quickly you plan to consume it:
- **Room Temperature:** Your homemade Nutella can be safely stored at cool room temperature for up to 2 weeks. Ensure it’s kept away from direct sunlight or heat sources, as this can cause the chocolate to separate or the spread to go rancid more quickly.
- **Refrigerator:** For extended freshness, store your Nutella in the refrigerator for up to 3 weeks. Keep in mind that refrigeration will cause the spread to firm up considerably due to the solidifying of the oils and chocolate. When you’re ready to use it, simply take it out of the refrigerator and let it sit on the counter for about 15 to 30 minutes. This will allow it to soften and return to its wonderfully creamy, spreadable consistency. Give it a quick stir if needed before serving.
No matter how you store it, ensuring an airtight seal is crucial to prevent the spread from drying out or absorbing any odors from other foods.
More Essential Baking Basics to Master!
Homemade Peanut Butter
Homemade Marshmallow Fluff
How to Make Lemon Curd
How to Make Browned Butter
