Dive into a world of rich chocolate, vibrant colors, and pure nostalgia with these incredible Cosmic Brownie Cookies! Inspired by the beloved childhood treat and popularized by Crumbl Cookies, this recipe brings together the best of fudgy brownies and soft, chewy cookies. Each bite is a journey back to simpler times, packed with double chocolate goodness, coated in a luscious chocolate ganache, and adorned with those iconic rainbow candy-coated chips. They are undoubtedly a showstopper, always a hit with friends and family, and the perfect dessert for any chocolate lover.

Crumbl Copycat Cosmic Brownie Cookies: A Nostalgic Delight from Scratch
For many, Cosmic Brownies were a treasured snack during childhood – a perfect blend of rich chocolate and playful sprinkles. When the popular Crumbl Cookies introduced their own cookie version, it sparked a wave of excitement, and for good reason! While it’s easy to make delicious brownie mix cookies, I was determined to recreate the unique texture and deep flavor of these cosmic brownie cookies entirely from scratch. The goal was to capture that specific fudgy yet chewy consistency, and after careful experimentation, the result was nothing short of perfect!
Imagine sinking your teeth into a cookie that’s incredibly soft, intensely fudgy, and generously studded with chocolate chips throughout. Then, picture that decadent cookie enrobed in a smooth, glossy chocolate ganache. Just thinking about it makes my mouth water! The finishing touch, of course, is the shower of colorful rainbow chips, which instantly transports you back to the classic cosmic brownie. These cookies aren’t just a dessert; they’re an experience – bringing joy and a burst of vibrant fun to any gathering.
One challenge I encountered when perfecting this recipe was sourcing those distinct, signature rainbow candy-coated chocolate chips. They aren’t always readily available in standard grocery stores. However, don’t despair! I’ve found them online through retailers like Amazon and Nuts.com. If you still have trouble locating them, fret not! You can easily substitute them with mini M&M’s or classic rainbow sprinkles. For the best visual appeal and textural similarity, I recommend using the round, confetti-style sprinkles if you go that route.

Plan Ahead: Make-Ahead Tips for Perfect Cosmic Brownie Cookies
Life can be busy, but that shouldn’t stop you from enjoying homemade treats! These cosmic brownie cookies are fantastic for making ahead, allowing you to prepare portions of the recipe when you have time and bake them fresh later. The cookie dough is incredibly versatile. You can store it securely wrapped in the refrigerator for up to 3 days. This is perfect for preparing the dough on a weeknight and baking a fresh batch for a weekend gathering. For longer storage, the cookie dough freezes beautifully for up to 3 months. Just be sure to wrap it tightly in plastic wrap and then place it in an airtight freezer bag or container to prevent freezer burn. When you’re ready to bake from frozen dough, there’s no need to thaw completely; simply add an extra 1-2 minutes to the recommended baking time to ensure they cook through evenly and develop that perfect fudgy center.

Rating: 5 out of 5 stars (based on 1 vote)
Ultimate Cosmic Brownie Cookies Recipe
Inspired by the beloved Crumbl Cookies and a classic childhood treat, these copycat cosmic brownie cookies offer an irresistible blend of nostalgia and gourmet flavor. Each fudgy, chocolatey cookie is generously coated in a decadent chocolate ganache and sprinkled with vibrant rainbow chips, making them a truly out-of-this-world dessert experience.
15 minutes
10 minutes
25 minutes
20 cookies
- Pin this recipe for later!
Print
Rate
Save
Ingredients
For the Cookies
- 1 cup unsalted butter, melted (2 sticks)
- ¾ cup granulated sugar
- ½ cup brown sugar
- ½ cup unsweetened cocoa powder *
- 2 large eggs, room temperature
- 1 teaspoon pure vanilla extract
- 2 cups all-purpose flour
- ½ teaspoon baking powder
- ½ teaspoon kosher salt
- ½ cup semisweet chocolate chips
For the Chocolate Ganache
- 1 cup semisweet chocolate chips
- ½ cup heavy cream
- ¼ cup rainbow candy-coated chocolate chips for topping**
Equipment
- Kitchen Scale (optional)
- Baking Sheet
- Stand Mixer
- Cookie Portion Scoop
Instructions
For the Cookies
Preheat oven to 350°F. Line a baking sheet with parchment paper and set aside.

In the bowl of a stand mixer fitted with the paddle attachment, beat the melted butter, sugars, and cocoa powder until well-combined. (Ingredients: 1 cup unsalted butter, ¾ cup granulated sugar, ½ cup brown sugar, ½ cup unsweetened cocoa powder)
Add in the eggs and vanilla extract and beat until incorporated. (Ingredients: 2 large eggs, 1 teaspoon pure vanilla extract)
In a separate bowl, whisk the flour, baking powder, and salt together. (Ingredients: 2 cups all-purpose flour, ½ teaspoon kosher salt, ½ teaspoon baking powder)
Add the dry ingredients to the wet ingredients and beat until just incorporated.
Fold in the chocolate chips with a rubber spatula. (Ingredients: ½ cup semisweet chocolate chips)

Let the dough chill in the refrigerator for 15 minutes.
Use a cookie scoop to portion the dough. Roll the dough portions between your palms until rounded, then place them on the prepared baking sheet. Slightly press down on each cookie ball with the palm of your hand to flatten.

Bake for 9-11 minutes.

Let cool completely before coating with ganache.
For the Chocolate Ganache
Place the chocolate chips in a bowl. (Ingredients: 1 cup semisweet chocolate chips)
Heat the heavy cream for 1-2 minutes in a microwave or on the stove. (Ingredients: ½ cup heavy cream)
Once heated, pour the cream over the chocolate chips.
Gently stir until the chocolate has melted and the mixture is smooth and creamy.
Spoon about 1 tablespoon of ganache over each cooled cookie.

Sprinkle rainbow chips over the ganache. (Ingredients: ¼ cup rainbow candy-coated chocolate chips)
Let the ganache set before enjoying!
Notes & Expert Tips
*While you can use any unsweetened cocoa powder you prefer, I like to use Dutch-process cocoa powder here because there isn’t any baking soda in the recipe to neutralize the acidity of natural cocoa powder. Dutch-process cocoa will give you a darker, smoother chocolate flavor without requiring additional leavening agents.
**If you can’t find rainbow candy-coated chocolate chips, don’t worry! Mini M&M’s or festive rainbow sprinkles (especially the round confetti kind) make excellent substitutes that still capture the fun, colorful essence of cosmic brownies.
- Accurate Flour Measurement: Always measure your flour using the spoon-and-level method. Spoon the flour into your measuring cup and then level it off with the back of a knife. Scooping directly from the bag can compact the flour, leading to too much flour and potentially dry, tough cookies.
- Don’t Overmix: Once you add the dry ingredients to the wet, mix only until they are just combined. Overmixing the cookie dough can develop the gluten too much, resulting in cookies that are tough rather than wonderfully chewy and fudgy.
- Perfectly Baked: Keep a close eye on your baking time. These cookies should be set around the edges but still appear slightly soft and underbaked in the very center. They will continue to cook and firm up as they cool on the hot baking sheet.
- Cooling is Key: Allow the cookies to cool completely on the baking sheet before transferring them or applying the ganache. This not only helps them set properly but also prevents the ganache from melting into a messy puddle.
- Ganache Application: Ensure the cookies are fully cooled before frosting. When sprinkling the candy-coated chocolate chips, do so while the ganache is still wet and glossy. This allows the chips to adhere beautifully and prevents them from falling off once the ganache sets.
Storage: For optimal freshness and texture, store your cosmic brownie cookies in an airtight container in the refrigerator for up to 5 days. If you’ve made a large batch and wish to enjoy them later, these cookies freeze wonderfully. Arrange them in a single layer on a parchment-lined baking sheet and freeze until solid (approximately 1-2 hours). Once frozen, transfer the cookies to an airtight freezer bag or container, separating layers with parchment paper to prevent sticking. They can be stored in the freezer for up to 1 month. Thaw them on the counter for about 30 minutes before indulging for the best experience.
Calories from Fat 153
Becky Hardin
Did You Make This?
We love seeing what you’ve made! Tag us on social media at @easydessertrecipes for a chance to be featured.
A Detailed Guide to Crafting Your Cosmic Brownie Cookies
Let’s walk through each step to ensure your Cosmic Brownie Cookies turn out perfectly fudgy, chewy, and utterly irresistible. Precision and a little patience are your best friends here!
Step 1: The Initial Preparation
Before you even think about mixing, take a moment for prep work. This ensures a smooth and stress-free baking process. Preheat your oven to 350°F (175°C) so it’s ready when your dough is. Line a large baking sheet with parchment paper or a silicone baking mat; this prevents sticking and makes cleanup a breeze. Set this aside. Crucially, melt your butter (either in the microwave or a small saucepan) and allow your eggs to come to room temperature. Room temperature eggs emulsify better with other ingredients, creating a smoother, more uniform dough structure for those perfect fudgy cookies.
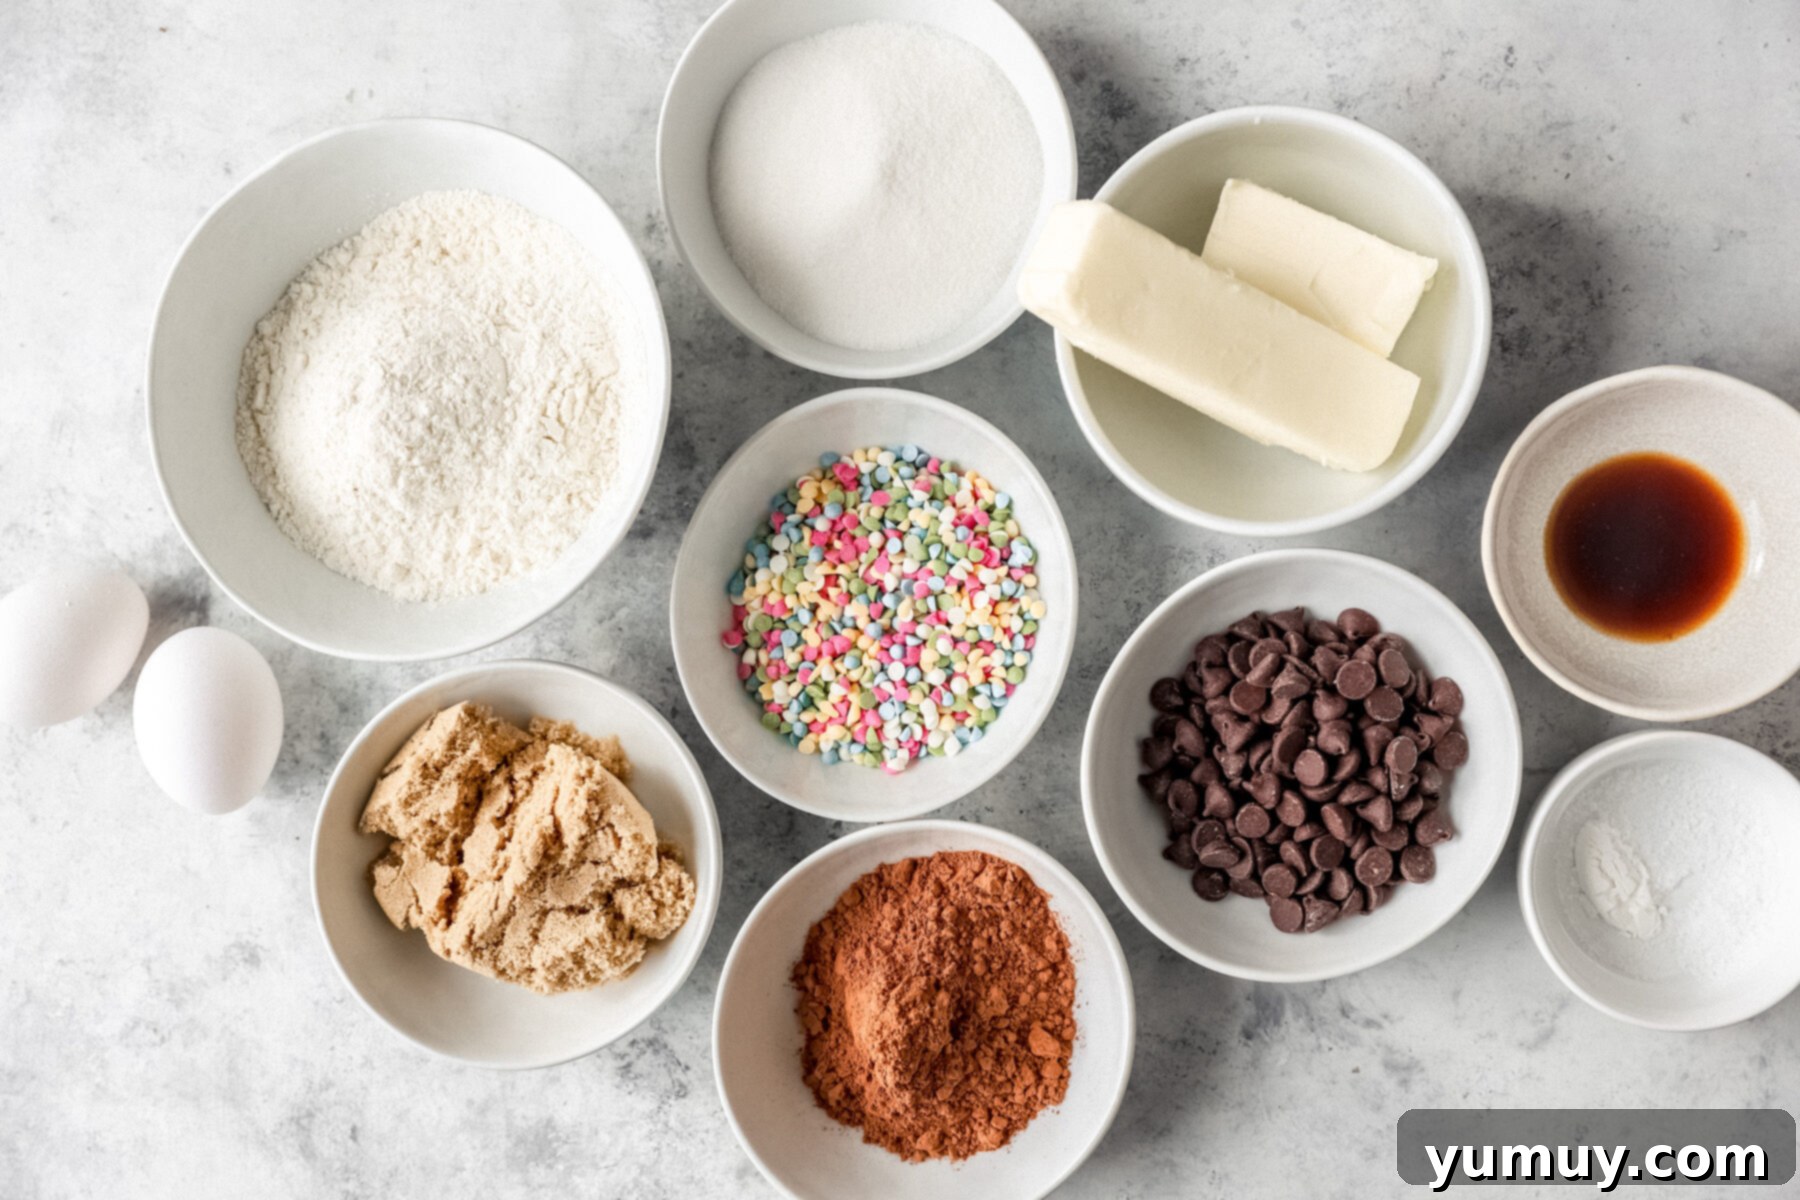
Step 2: Mixing the Rich Chocolate Dough
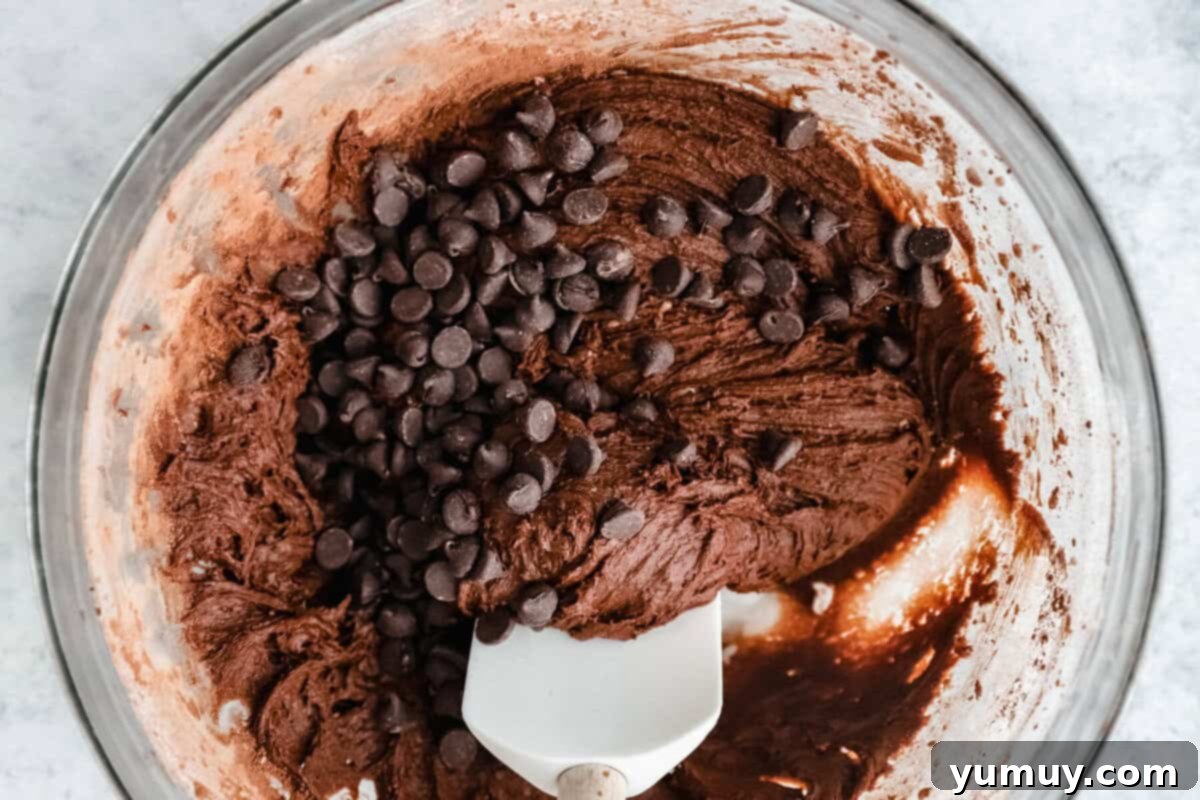
In the spacious bowl of a stand mixer, fitted with the paddle attachment, combine your melted unsalted butter, granulated sugar, brown sugar, and unsweetened cocoa powder. Beat these ingredients together on medium speed until they are thoroughly well-combined and visually smooth, usually about 1-2 minutes. This step is crucial for incorporating air and creating a light base. Next, crack in your two large room-temperature eggs and add the pure vanilla extract. Continue beating until these wet ingredients are fully incorporated, scraping down the sides of the bowl as needed to ensure everything is evenly mixed. In a separate, smaller bowl, whisk together your dry ingredients: all-purpose flour, kosher salt, and baking powder. This pre-mixing of dry ingredients helps distribute the leavening agents evenly. Gradually add the dry mixture to the wet mixture in your stand mixer. Beat on low speed only until the flour streaks have just disappeared. Be careful not to overmix; overdeveloping the gluten will lead to tougher cookies. Finally, switch to a rubber spatula and gently fold in the semisweet chocolate chips. The spatula ensures you don’t crush the chips and allows for gentle mixing. Once the dough is ready, cover the bowl and chill it in the refrigerator for at least 15 minutes. This chilling period helps the butter firm up, preventing the cookies from spreading too much during baking and ensuring a thicker, chewier result.
Step 3: Portioning for Uniform Cookies
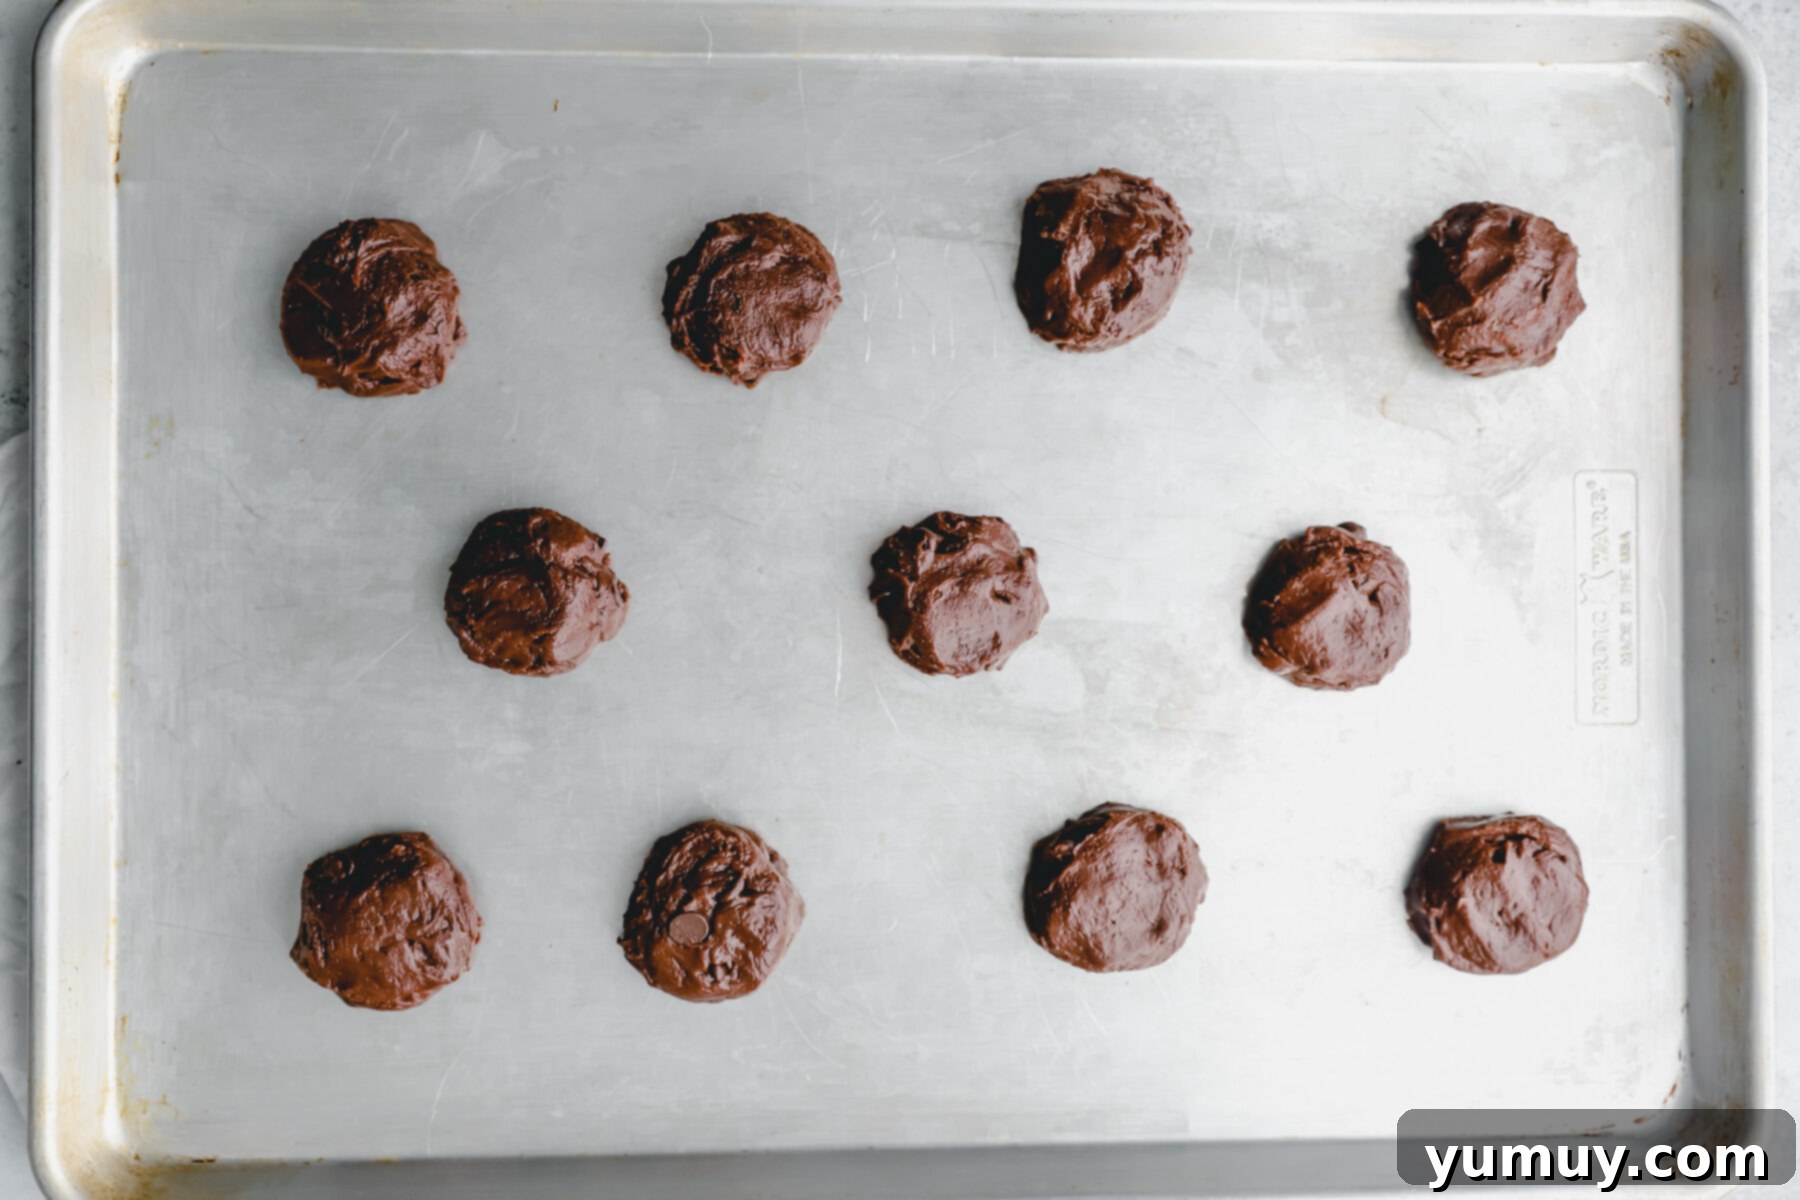
Once your dough is nicely chilled, it’s time to portion it. A standard cookie scoop (around 2 tablespoons) is your best tool here for achieving uniform cookie sizes, which ensures even baking. Scoop out portions of the dough, then gently roll each portion between your palms until it forms a smooth, rounded ball. This step helps create a nice, even shape for your cookies. Place these dough balls onto your prepared baking sheet, leaving ample space between each one to allow for spreading. Finally, lightly press down on each cookie ball with the palm of your hand to slightly flatten it. This slight flattening encourages the cookies to spread out into a classic, broad cookie shape rather than remaining as a perfectly round mound.
Step 4: Baking to Perfection
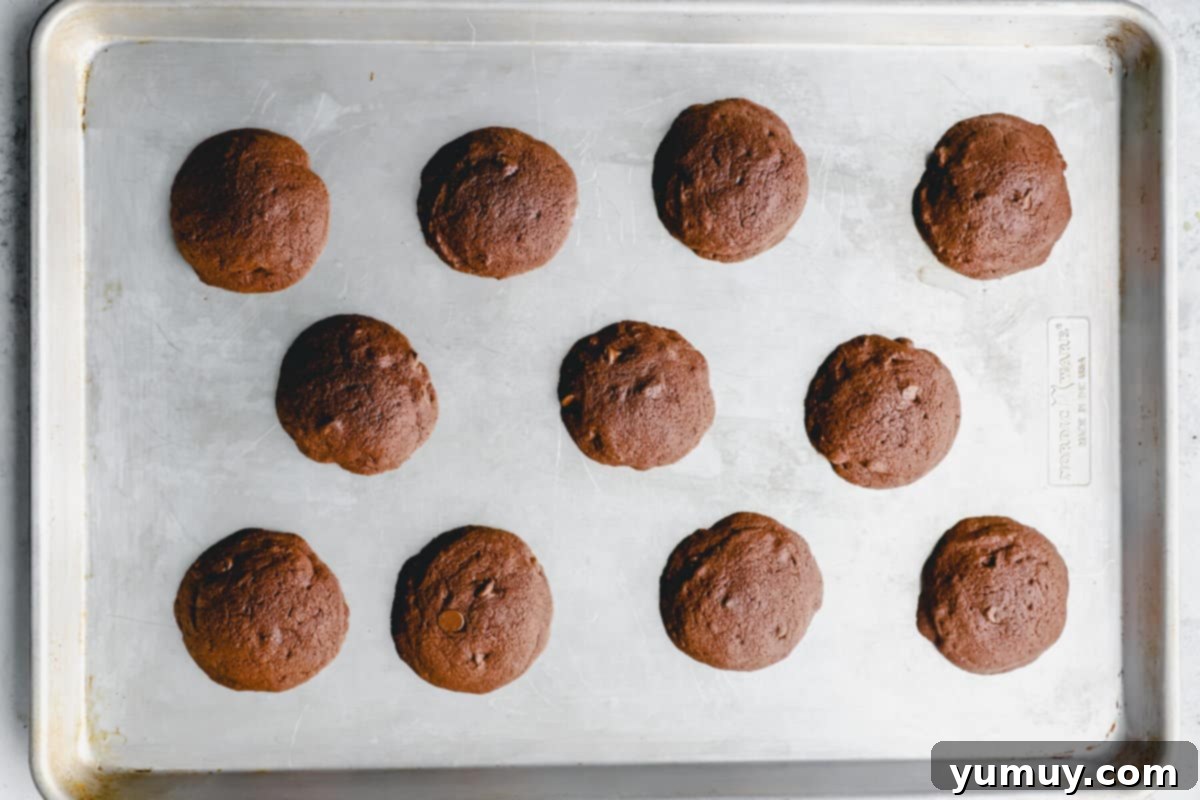
Carefully transfer your baking sheet with the portioned cookies into the preheated 350°F (175°C) oven. Bake for approximately 9-11 minutes. The exact baking time can vary slightly depending on your oven and the size of your cookies, so keep an eye on them. You’re looking for cookies that are set around the edges but still appear soft and slightly underbaked in the very center. They might even look a little puffy. This ensures a wonderfully fudgy interior once cooled. Overbaking will lead to dry, crumbly cookies, so it’s better to err on the side of slightly underbaked. Once baked, remove the baking sheet from the oven and allow the cookies to cool completely on the sheet. This residual heat helps them continue to cook gently and firm up without becoming dry. Resist the urge to move them too soon, as they can be delicate when warm.
Step 5: Crafting the Silky Chocolate Ganache
While your cookies are cooling, prepare the luxurious chocolate ganache. Place 1 cup of semisweet chocolate chips into a medium-sized, heat-safe bowl. In a separate microwave-safe bowl or small saucepan, heat ½ cup of heavy cream until it’s just simmering or steaming, but not boiling. This usually takes 1-2 minutes in a microwave on high power. Immediately pour the hot cream over the chocolate chips. Let it sit undisturbed for about 5 minutes; this allows the heat from the cream to melt the chocolate evenly. After 5 minutes, gently stir the mixture with a whisk or rubber spatula, starting from the center and working your way outwards. Continue stirring until all the chocolate has completely melted and the mixture transforms into a smooth, glossy, and creamy ganache. If there are any stubborn lumps, you can gently heat the bowl over a double boiler or microwave for short bursts (5-10 seconds), stirring after each, until smooth. Once the cookies are fully cooled, spoon approximately 1 tablespoon of this decadent ganache over the top of each cookie, allowing it to naturally spread or gently coaxing it with the back of the spoon.
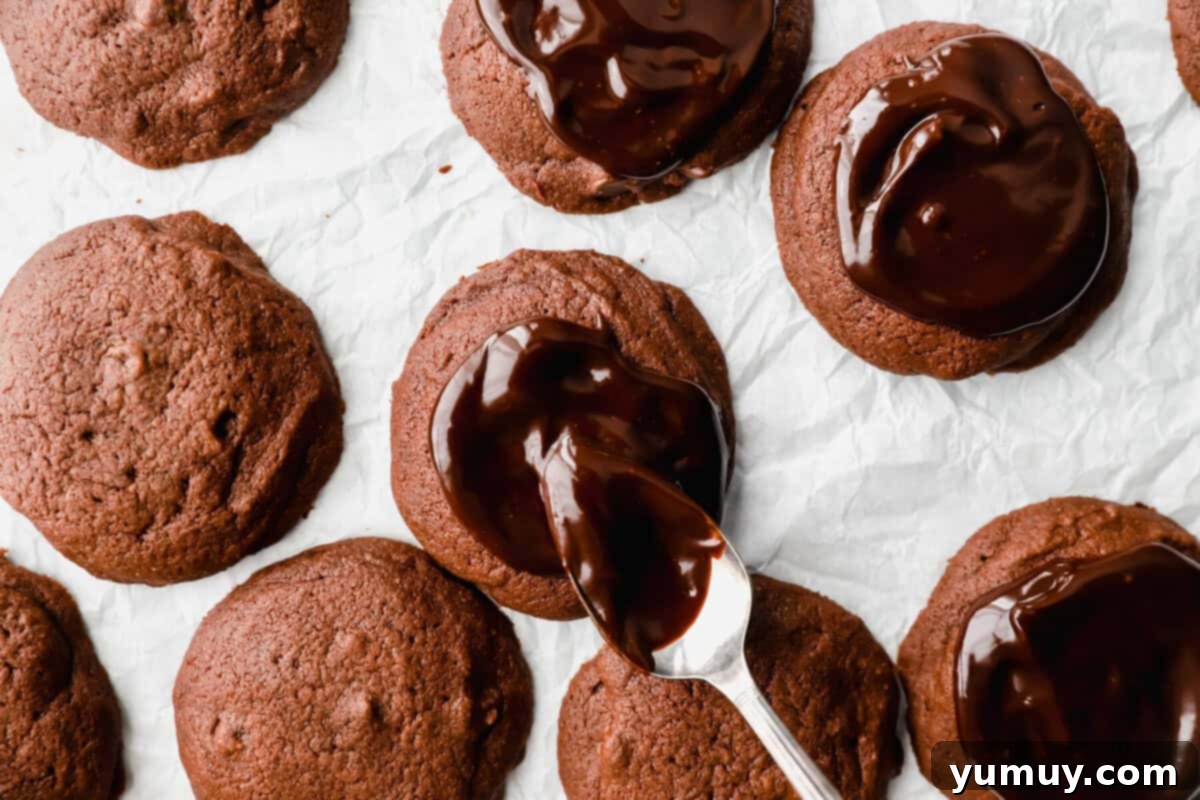
Step 6: The Iconic Decoration and Final Set
This is where the “cosmic” magic truly comes to life! Immediately after spooning the ganache onto each cookie (while it’s still wet and shiny), generously sprinkle ¼ cup of rainbow candy-coated chocolate chips over the top. The wet ganache acts as a perfect adhesive, ensuring the colorful chips stick firmly in place. Arrange the chips playfully to recreate that signature cosmic brownie look. Once all your cookies are decorated, allow the ganache to set. You can leave them at room temperature for an hour or so, or for a quicker set, place them in the refrigerator for about 15-20 minutes. The ganache will firm up, creating a beautiful, slightly hardened chocolate topping. Once set, these nostalgic and utterly delicious Cosmic Brownie Cookies are ready to be enjoyed! Prepare for smiles, compliments, and maybe a trip down memory lane.
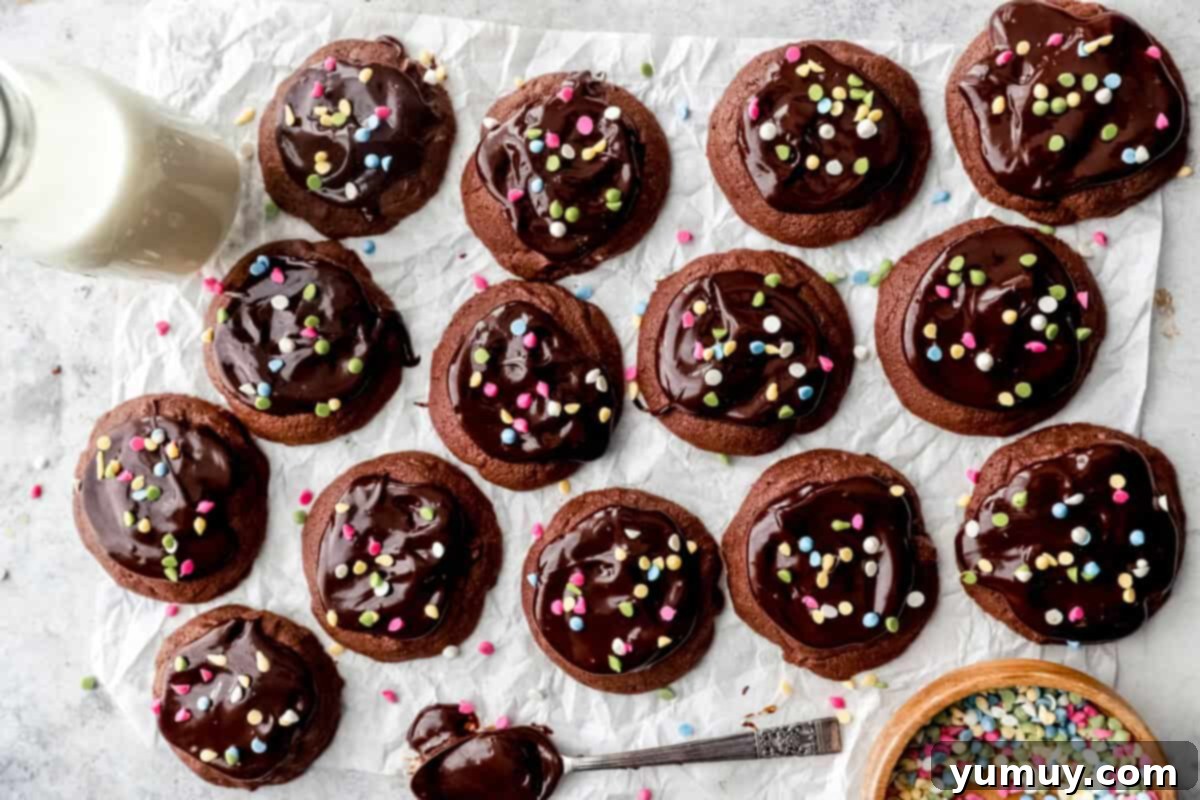
Storage & Freezing for Lasting Freshness
To keep your Cosmic Brownie Cookies tasting their best, proper storage is essential. Store any leftover cookies in an airtight container in the refrigerator for up to 5 days. The chilling helps maintain the ganache’s consistency and keeps the cookies moist. If you’re planning to make a larger batch or want to save some for a rainy day, these cookies freeze beautifully. To freeze, arrange the fully cooled and decorated cookies in a single layer on a baking sheet lined with parchment paper. Freeze them until they are completely solid, which usually takes about 1-2 hours. Once frozen, transfer the individual cookies to an airtight freezer-safe container or a heavy-duty Ziploc bag. For best results and to prevent sticking, place a piece of parchment paper between each cookie layer. They can be stored in the freezer for up to 1 month. When you’re ready to enjoy a frozen treat, simply remove the desired number of cookies from the freezer and let them thaw on the counter for about 30 minutes to an hour before indulging. They’ll be just as delicious as when they were freshly baked!
More Irresistible Cookie Recipes to Try!
Confetti Cake Cookies
Brownie Mix Crinkle Cookies
M&M Brownie Cookies
Chocolate Pudding Cookies
Note: While we typically champion recipes with fewer ingredients to keep things delightfully simple and quick, these Cosmic Brownie Cookies are a delicious exception! Their incredible flavor and delightful nostalgic appeal make the slightly longer ingredient list absolutely worthwhile if you have the time and resources. This recipe is too good not to share, proving that sometimes, a few extra ingredients can lead to truly extraordinary results!
