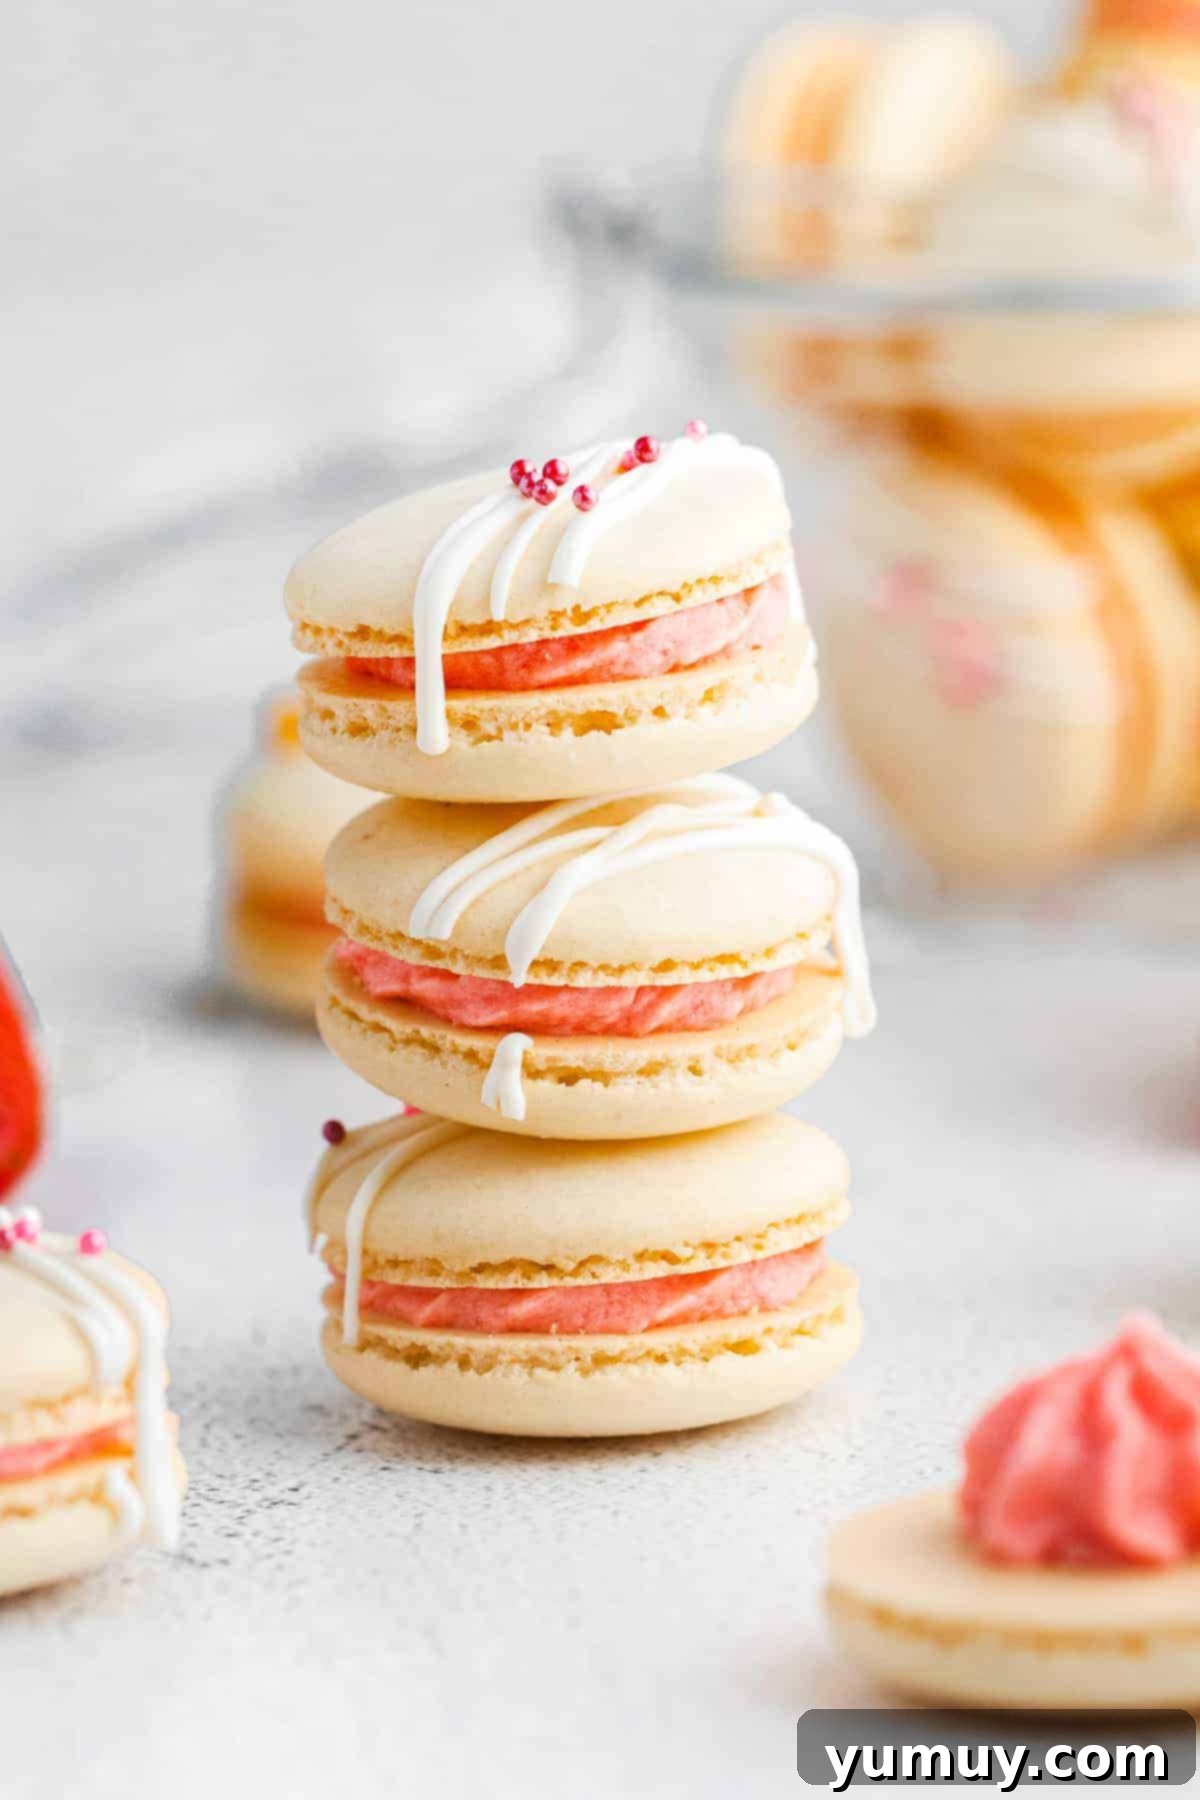
Delight in the charm and exquisite flavor of these homemade strawberry macarons. Perfectly pink, with a delicate crisp shell yielding to a delightfully chewy interior, each macaron is generously filled with a creamy strawberry buttercream that bursts with authentic fruit flavor. Crafted with real strawberry jam, this filling ensures a truly natural and irresistible taste experience. Whether you’re preparing a romantic Valentine’s Day treat, an elegant dessert for a baby shower, or simply seeking a rewarding weekend baking adventure, this comprehensive and easy-to-follow macaron recipe will guide you seamlessly through every step, ensuring stunning results without the usual overwhelm.
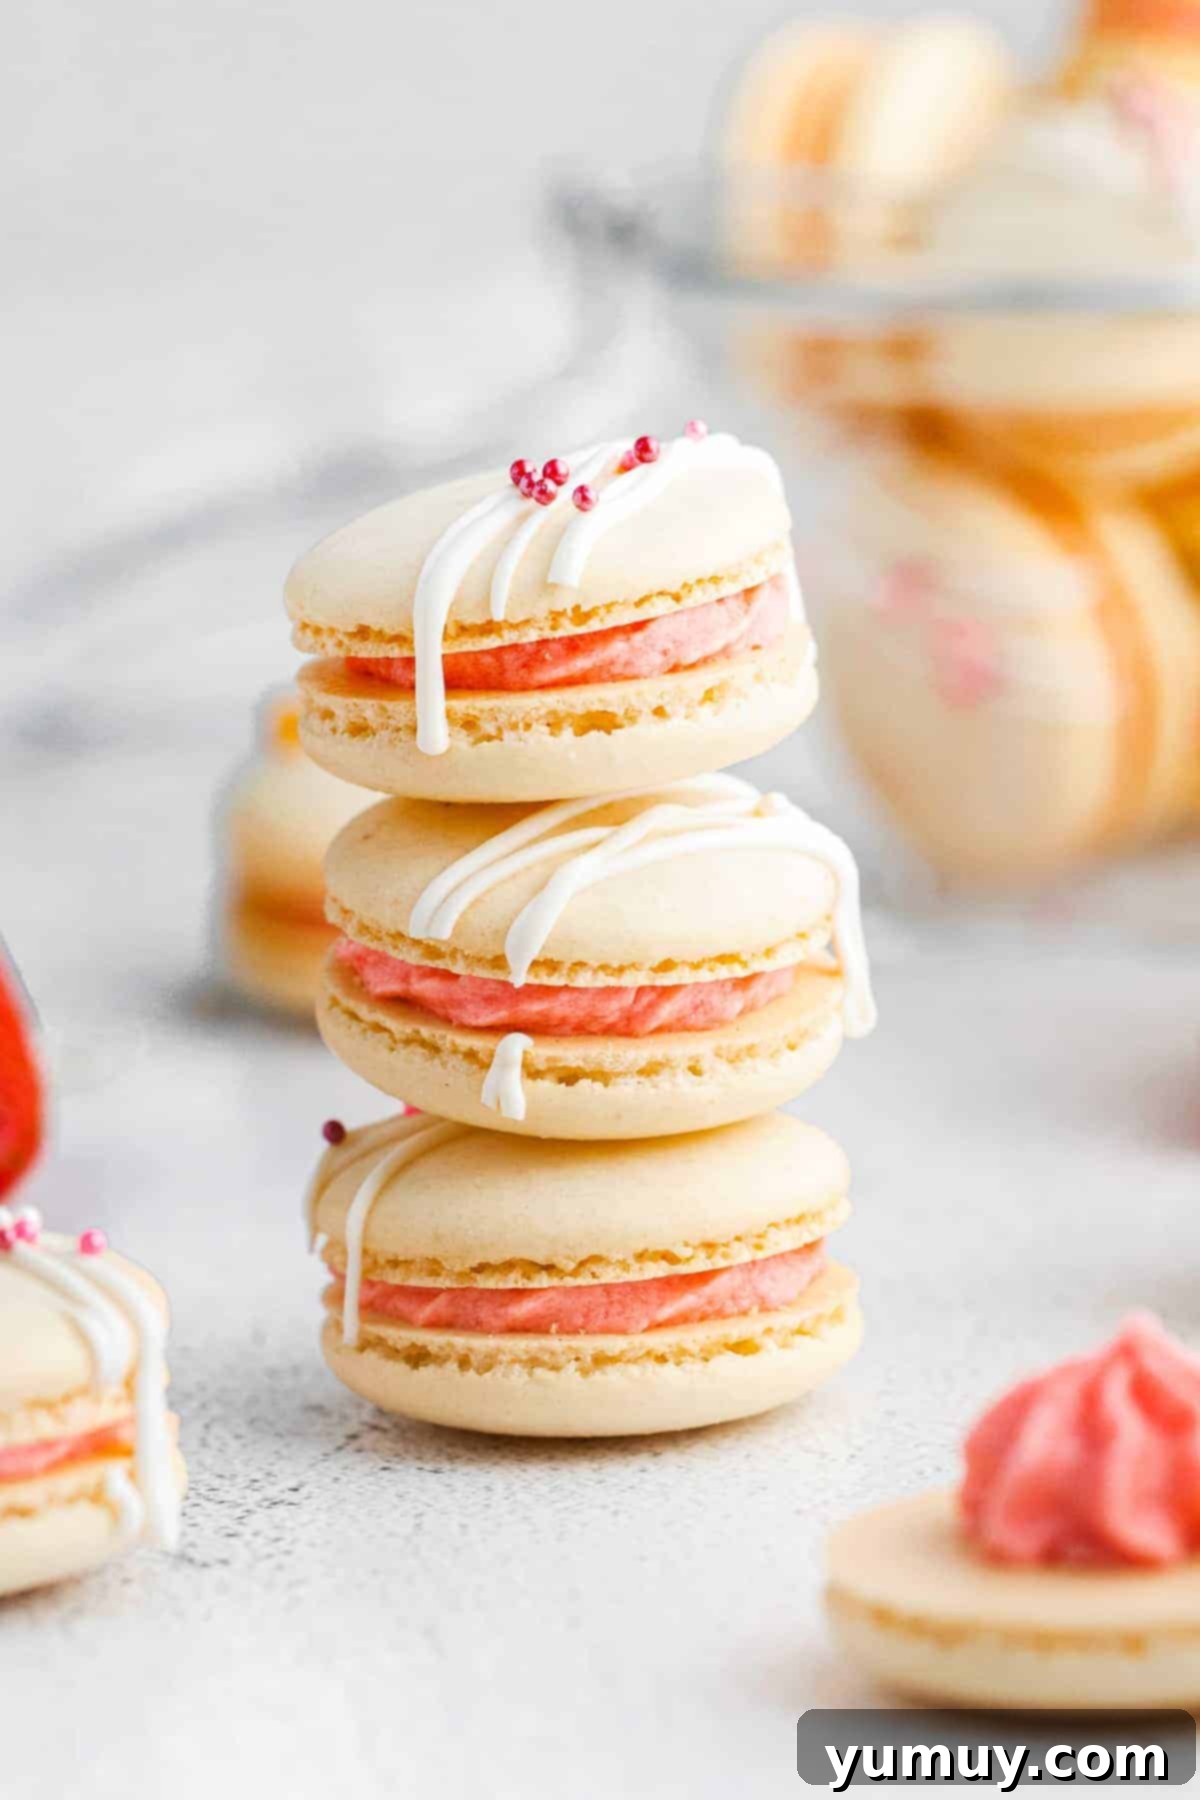
Mastering Macarons with Luscious Strawberry Filling
For many home bakers, macarons can seem like an intimidating challenge, often leading to frustration. If you’ve attempted macarons before only to be met with less-than-perfect results, rest assured—you’re not alone. I’ve experienced those baking setbacks myself, which is precisely why I developed this simplified, visual-cue-driven strawberry macaron recipe. Instead of solely relying on precise measurements, paying close attention to the visual and textural indicators of your batter will be your greatest asset. By following these guidelines, you’ll consistently achieve light, airy, and perfectly chewy macaron shells, exquisitely paired with the dreamiest strawberry buttercream filling.
While every macaron flavor holds its unique charm, these strawberry-infused delights truly capture a special place in my heart. The vibrant, sweet, and creamy strawberry filling beautifully complements the delicate, almond-flavored macaron shells. The blend of textures—the crisp exterior, the soft chewiness, and the smooth, fruit-forward filling—creates an unforgettable sensory experience that is both sophisticated and comforting. This recipe focuses on delivering a truly authentic strawberry taste, steering clear of artificial flavors, making each bite a celebration of fresh, fruity goodness.
The Art of Macaronage: Achieving the Perfect Batter Consistency
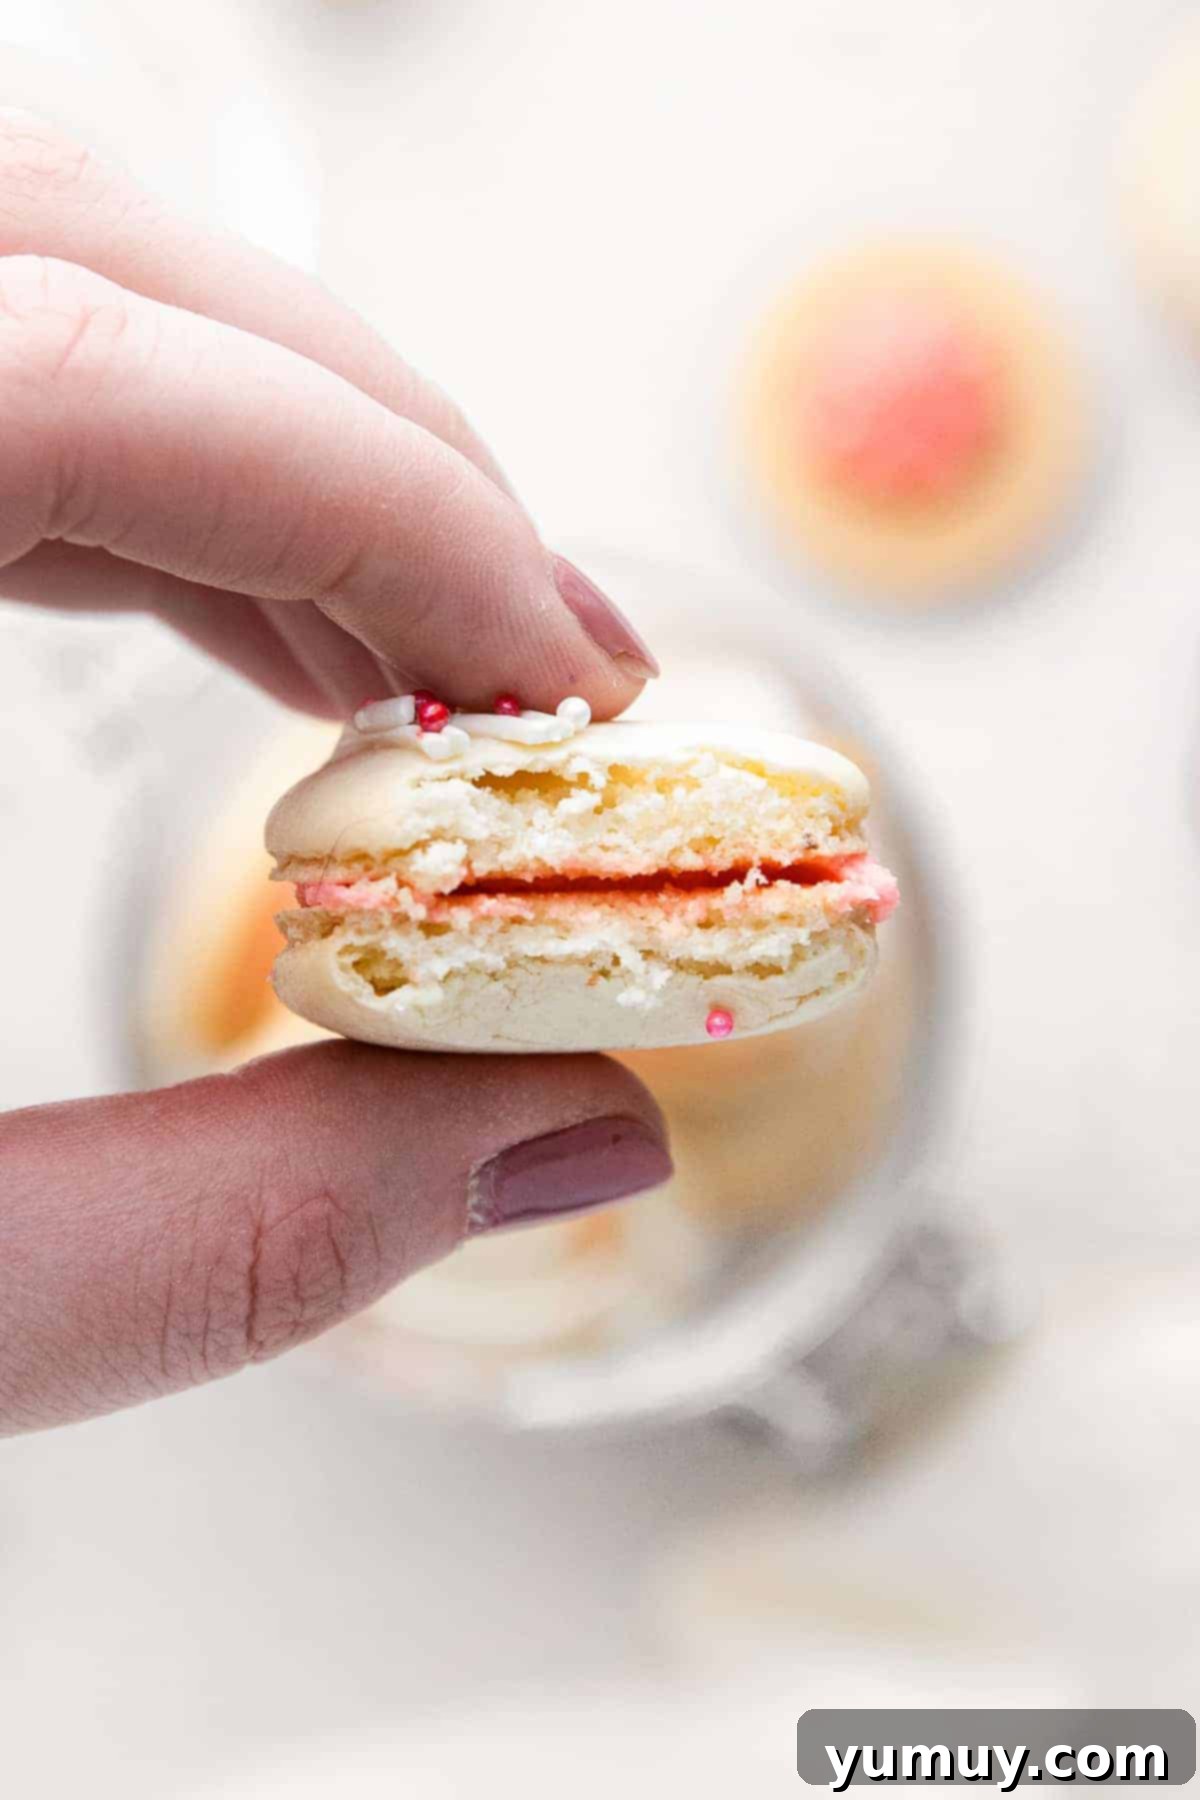
Macarons are often considered one of the most technical cookies to bake, a reputation that can deter even experienced bakers. However, with the right guidance, the process becomes less daunting and much more rewarding. The secret to consistently perfect French macarons lies not in rigid adherence to a stopwatch, but in meticulously observing the consistency of your batter—a crucial stage known as “macaronage.” This delicate balance is vital for developing the signature “feet” and achieving the ideal texture of the shells.
Your macaron batter reaches its peak when it flows slowly and continuously, much like molten lava, off your spatula. The ultimate test is being able to draw a figure eight with the ribbon of batter falling back into the bowl without it breaking. This “figure 8 stage” is your golden moment, indicating that the batter has been perfectly mixed. Over-mixing can lead to runny batter and flat shells, while under-mixing results in stiff batter, preventing the formation of those coveted feet. Learning to recognize this precise consistency is transformative for macaron success, ensuring crisp exteriors and delightfully chewy centers every time.

Irresistible Strawberry Macarons: An Easy Recipe
15 minutes
30 minutes
1 hour 15 minutes
30 minutes
24 macarons
Ingredients
For the Macaron Shells
- 3 large egg whites
- ½ cup granulated sugar
- ⅘ cup powdered sugar
- 1 cup almond flour
For the Strawberry Buttercream Filling
- ½ cup unsalted butter room temperature (1 stick)
- 2¼ cups powdered sugar
- ½ cup strawberry jam or preserves
Equipment You’ll Need
- Baking Sheets (2 large)
- Silpat Mat (optional, but highly recommended for even baking)
- Kitchen Scale (optional, but recommended for precision in macaron recipes)
- Stand Mixer (with whisk and paddle attachments)
- Piping Bag and Small Round Piping Tip (e.g., Wilton #10)
- Oven Thermometer (optional, but recommended for accurate oven temperature)
Step-by-Step Instructions
Crafting the Delicate Macaron Shells
- Prepare your baking sheets by lining two large ones with either parchment paper or Silpat mats. This non-stick surface is crucial for easily removing your delicate macaron shells once baked.

- Create a double boiler setup: heat a small pot with simmering water over medium-low heat. In a separate heatproof bowl, combine the 3 large egg whites and ½ cup of granulated sugar. Place this bowl over the simmering water, ensuring it doesn’t touch the water directly. Whisk the mixture constantly for approximately 2 minutes, or until the sugar crystals have completely dissolved and the mixture is warm to the touch. This process, known as the Swiss meringue method, helps stabilize the egg whites for a more consistent meringue.
- Once the sugar has dissolved, transfer the warm egg white mixture to the bowl of a stand mixer fitted with the whisk attachment. Beat on medium-high speed until stiff, glossy peaks form. This can take anywhere from 5 to 7 minutes. The meringue should be firm enough to hold its shape when the whisk is lifted.

- Using a fine-mesh sieve, carefully sift the ⅘ cup of powdered sugar and 1 cup of almond flour into the whipped egg white mixture. Sifting is essential to remove any lumps and ensure a smooth, uniform macaron shell. Discard any larger pieces that don’t pass through the sieve; do not force them.

- Begin the “macaronage” process by gently folding the sifted dry ingredients into the meringue using a rubber spatula. The goal is to incorporate the dry ingredients without deflating too much of the air from the egg whites.
- Once all the dry ingredients are just incorporated, continue folding the meringue. This time, gently “smush” or press the batter against the sides of the bowl with your spatula, then fold it back towards the center. Repeat this smushing and folding motion a few times.
- Continue the smush-and-fold technique, testing the batter periodically for the “Figure 8 stage.” The batter is ready when you can lift your spatula and draw a continuous figure 8 with the flowing batter without the stream breaking. It should be thick enough to hold its shape but fluid enough to level out after piping. This is a critical step for perfect macaron texture and “feet” formation.

- Transfer the meringue to a piping bag fitted with a small round tip (a Wilton #10 works wonderfully). Hold the piping bag perpendicular to the baking sheet and pipe 1-inch macaron shells onto the prepared trays, leaving at least 2 inches between each shell. Once a tray is piped, firmly tap it on your counter a few inches high about 5-6 times. This helps release any trapped air bubbles, preventing hollow shells. Repeat with the second tray.

- Allow the piped macaron shells to “rest” at room temperature for at least 25 minutes. This crucial resting period allows a thin skin to form on the surface, which is vital for the development of the characteristic “feet” during baking and prevents cracking. They are ready to bake when you can gently touch the surface without the meringue sticking to your finger.
- While your macarons are resting, preheat your oven to a precise 325°F (160°C). An oven thermometer is highly recommended to ensure accuracy, as oven temperatures can vary significantly.
- Bake the macarons, one tray at a time, for approximately 13 minutes. To ensure even baking and symmetrical “feet,” make sure to rotate the tray halfway through the baking cycle.
- Once baked, allow the macarons to cool completely to room temperature on the baking sheets before attempting to remove them. Rushing this step can cause the delicate shells to break or stick.
Preparing the Creamy Strawberry Filling
- In the bowl of a stand mixer fitted with the paddle attachment, add the ½ cup of unsalted butter (at room temperature). Beat on medium speed until the butter becomes light, airy, and pale in color, typically 2-3 minutes. Reduce the mixer speed to low and gradually add the 2¼ cups of powdered sugar, followed by the ½ cup of strawberry jam or preserves. Mix until just combined. If the filling appears too thick or dry, add a tablespoon of milk or cream, one teaspoon at a time, until the desired consistency is reached.

- Increase the mixer speed to high and beat for another 2 minutes, or until the buttercream becomes beautifully light and fluffy. This aeration is key to a smooth and spreadable filling.
- Transfer the finished strawberry buttercream to a piping bag. Set it aside until you’re ready to fill the cooled macaron shells.
Assembling and Aging Your Strawberry Macarons
- Carefully sort your cooled macaron shells into similar-sized pairs. Take one shell, pipe a small dollop of the strawberry buttercream filling onto its flat side, and then gently place a matching shell on top. Press down lightly until the filling just reaches the edges of the shells.

- (Optional) For an extra touch of elegance, decorate your strawberry macarons with a delicate drizzle of melted white chocolate and a scattering of festive sprinkles before they set.
- Transfer the assembled macarons to an airtight container and place them in the refrigerator to “age” overnight. This crucial aging process allows the moisture from the filling to soften the shells, resulting in that perfectly chewy texture synonymous with authentic French macarons. Bring them to room temperature for about 15-30 minutes before serving to fully appreciate their delicate flavors and textures.

Pro Tips for Macaron Success
- **Precision is Key:** Macaron baking is a science as much as it is an art. For the most consistent and accurate results, I highly recommend using a kitchen scale and measuring your ingredients in grams, especially for the dry components and egg whites. This eliminates variability introduced by volume measurements.
- **Oven Accuracy:** Your oven’s temperature plays a critical role in macaron formation. Even small fluctuations can lead to hollows or cracked shells. Invest in an oven thermometer to ensure your oven maintains a precise 325°F (160°C).
- **The Importance of Aging:** While tempting to enjoy immediately, strawberry macarons are best consumed after they’ve “aged” in the refrigerator for at least 12 hours. This process allows the moisture from the filling to slightly soften the crisp shells, creating that signature chewy texture that makes macarons so delightful.
- **Mastering Macaronage:** The step of folding the dry ingredients into the meringue (macaronage) is arguably the most crucial. The batter should reach the “Figure 8 stage” where it flows like thick lava and you can draw an unbroken figure eight with the batter falling from your spatula. If you’re unsure, numerous online videos demonstrate this perfect consistency.
- **Piping Perfection:** To achieve uniformly round macaron shells, hold your piping bag perfectly perpendicular to the baking tray. Avoid attempting to “draw” circles; simply pipe a consistent amount of batter, and it will naturally settle into a circular shape.
- **The Rest Period:** The brief resting period after piping allows a skin to form on the macaron shells. This skin prevents the tops from cracking during baking and encourages the batter to rise outwards, creating those distinct “feet” at the base.
- **Avoiding Hollow Shells:** Hollow macarons are a common issue. To prevent them, ensure you don’t over-mix your meringue during macaronage, and always bake for the recommended amount of time at the correct temperature. Proper tapping of the trays to release air bubbles also contributes to solid shells.
Make-Ahead Tips: Unfilled macaron shells offer great flexibility. They can be frozen in an airtight container, separated by layers of parchment paper, for up to 4 months. When ready to use, allow them to defrost completely at room temperature for about 30 minutes before filling and decorating.
Storage: Store your assembled strawberry macarons in an airtight container in the refrigerator for up to 3 days. For longer storage, they can be frozen for up to 3 months. Always bring them to room temperature before enjoying for the best flavor and texture experience.
Calories from Fat 54
Becky Hardin
- Pin this recipe for later!
- Share on Facebook
- Share on X
- Send over email
Did You Make This?
We love seeing what you’ve made! Tag us on social media at
@easydessertrecipes for a chance to be featured.
How to Make Strawberry Macarons: A Detailed Step-by-Step Guide
Embark on your macaron-making journey with confidence! This detailed guide walks you through each critical step to create flawless strawberry macarons, from preparing the delicate shells to whipping up the vibrant strawberry filling. Precision and patience are your best friends here, ensuring beautifully risen shells with perfect “feet” and an irresistible chew.
Step 1: Gather Your Ingredients and Prepare Equipment
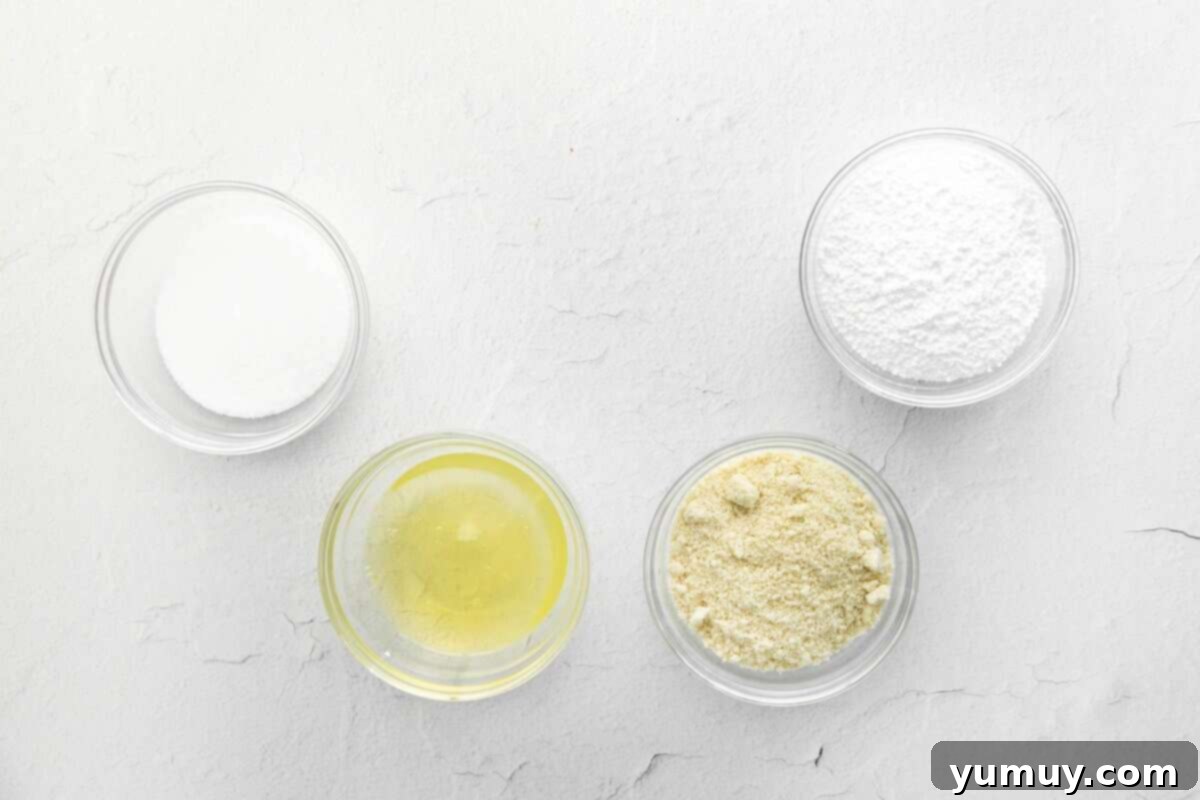
Begin by meticulously gathering all the ingredients for your macaron shells and filling. Given the technical nature of macaron baking, I cannot stress enough the importance of using a reliable kitchen scale. Measuring ingredients by weight (grams) rather than volume (cups) eliminates inconsistencies and drastically improves your chances of success. Line two large baking sheets with high-quality parchment paper or Silpat mats, creating a non-stick surface that is crucial for the macarons to bake and release properly. Set these prepared sheets aside while you work on the batter.
Step 2: Dissolve the Sugar for Stable Meringue
To create a robust and stable Swiss meringue, you’ll first need to dissolve the granulated sugar into the egg whites using a double boiler method. Heat a small pot of water to a gentle simmer over medium-low heat. In a separate heatproof bowl (preferably a metal or glass bowl from your stand mixer), combine 90 grams (approximately 3 large) egg whites and 90 grams (about ½ cup) of granulated sugar. Place this bowl over the simmering water, ensuring the bottom of the bowl does not touch the water. Whisk the mixture constantly for about 2 minutes. The goal is to gently warm the egg whites and fully dissolve the sugar, indicated when the mixture is smooth and no longer gritty when rubbed between your fingers.
Step 3: Whip the Egg Whites to Stiff Peaks
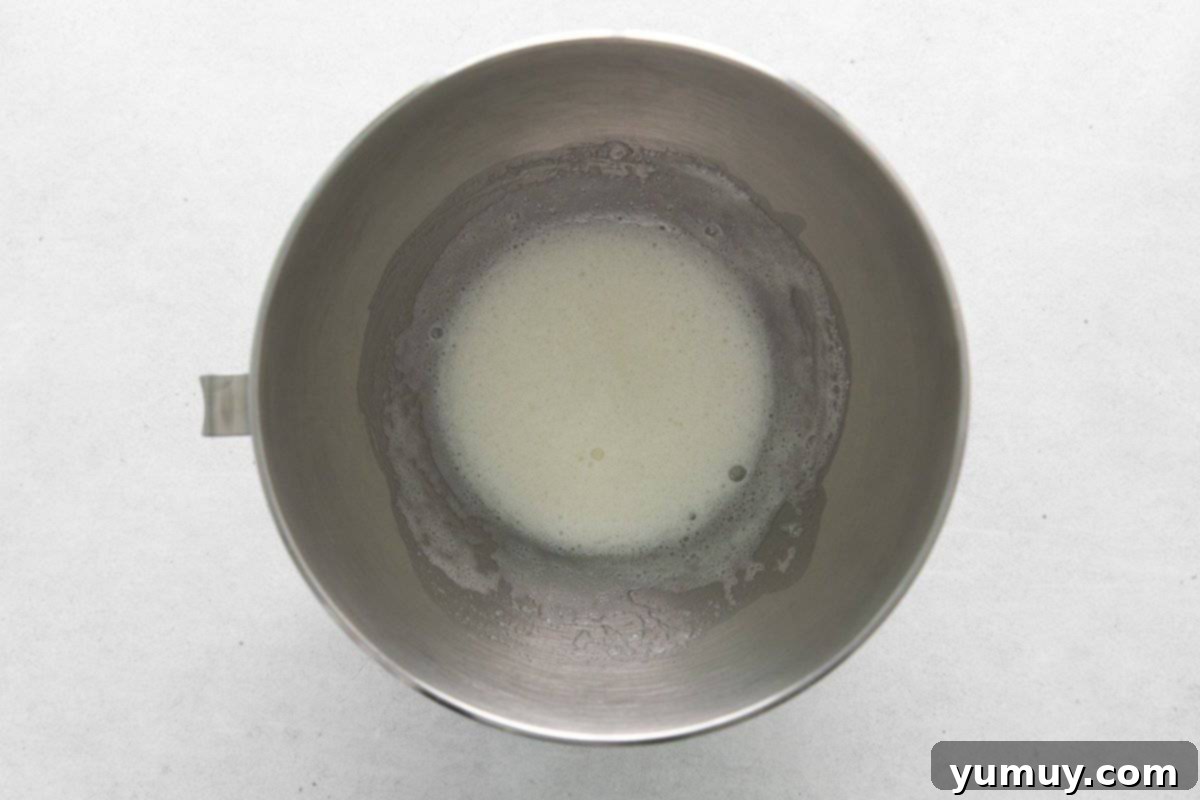
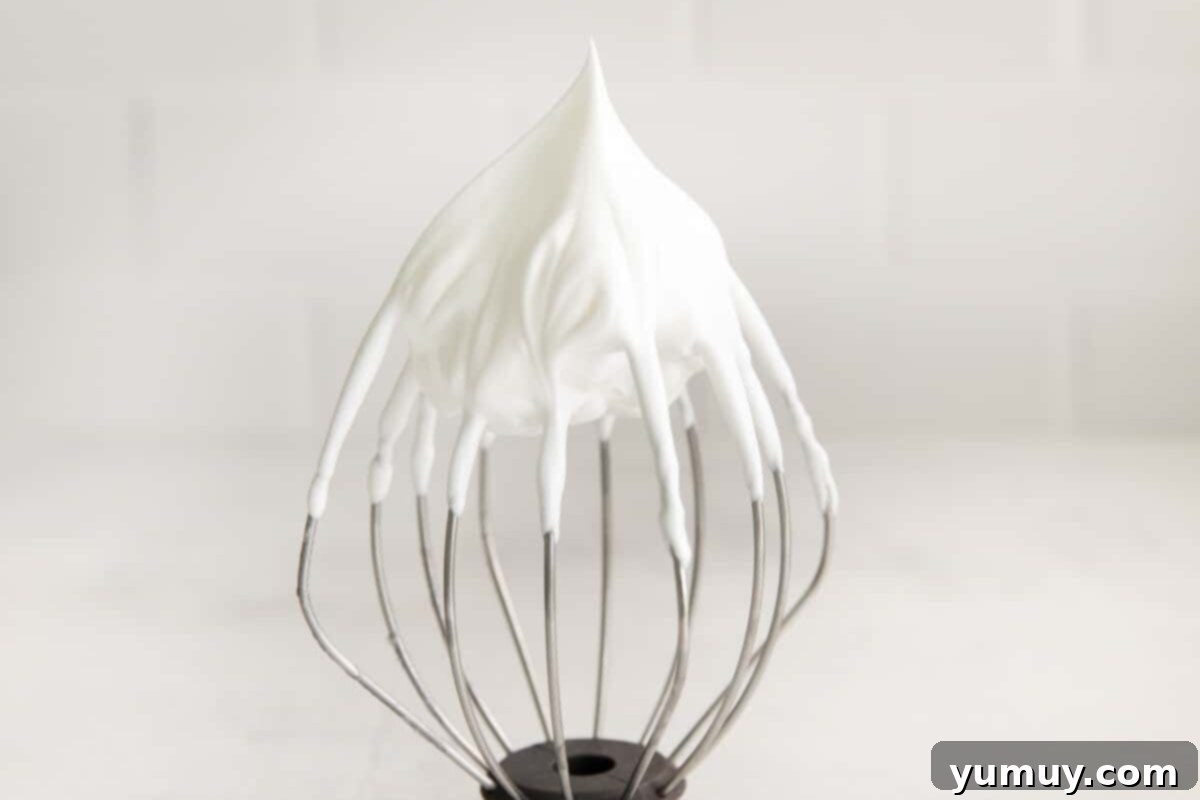
Once the sugar is dissolved, immediately transfer the warm egg white mixture to the bowl of your stand mixer, fitted with the whisk attachment. Beat on medium-high speed until the egg whites transform into stiff, glossy peaks. This typically takes between 5 to 7 minutes. The meringue should be firm enough to hold its shape beautifully when the whisk is lifted, forming a distinct peak that stands upright without drooping. This perfectly whipped meringue provides the necessary structure for your macaron shells.
Step 4: Sift the Dry Ingredients
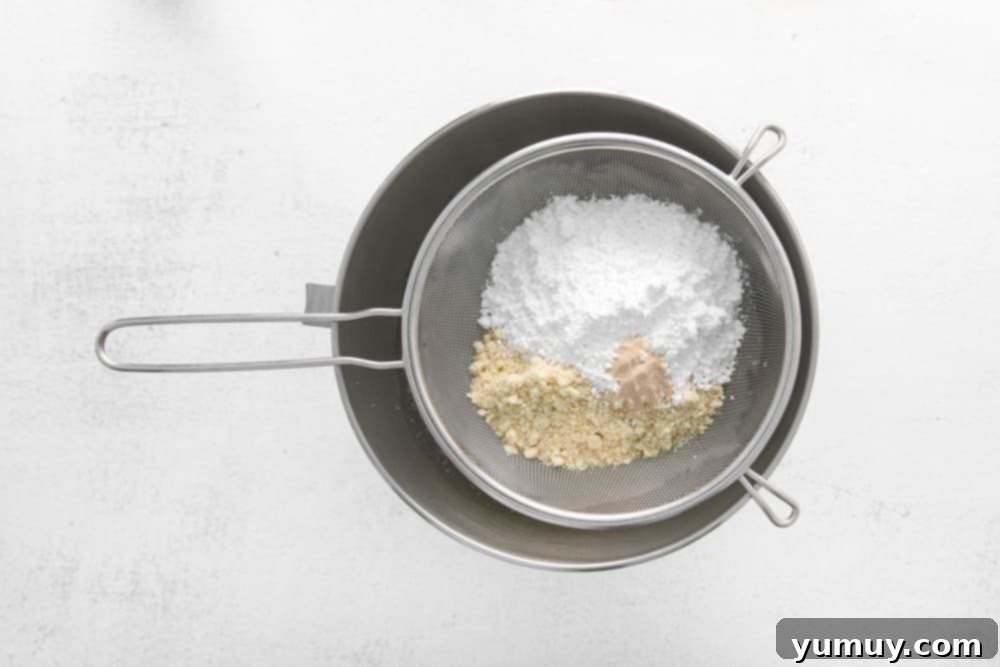
Precision continues with the dry ingredients. Using a fine-mesh sieve, sift 96 grams (approximately ⅘ cup) of powdered sugar and 95 grams (about 1 cup) of almond flour directly into your stiff meringue. Sifting is non-negotiable for macarons; it removes any larger granules or lumps, ensuring a smooth, uniform batter and ultimately, smooth macaron shells. Make sure to discard any larger pieces that remain in the sieve; do not force them through.
Step 5: The Essential Macaronage (Smush and Fold Technique)
This is where the magic of “macaronage” happens! Using a wide rubber spatula, gently begin to fold the sifted dry ingredients into the meringue. The initial folds should be light, aiming to incorporate the dry components without deflating the airy meringue too much. Once the dry ingredients are mostly combined, switch to a more specific technique: gently “smush” or press the batter against the sides of the bowl with your spatula, then fold it back towards the center. Repeat this smush-and-fold motion several times. Continuously test the batter for the “Figure 8 stage” by lifting your spatula and letting the batter fall back into the bowl. It should flow slowly and continuously, allowing you to draw an unbroken figure eight. This consistency ensures perfectly spreadable batter and the development of those desired “feet” on your macarons.
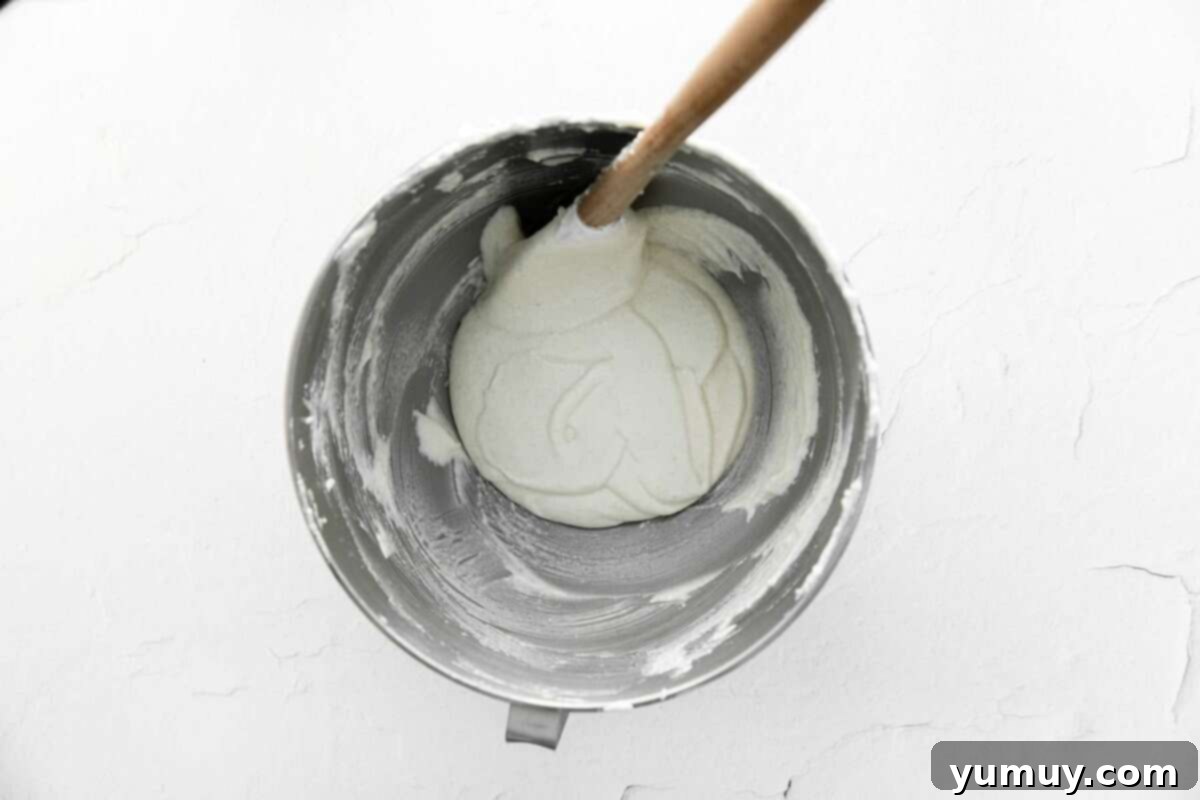
Step 6: Pipe, Rest, and Bake the Macaron Shells
Transfer your perfectly prepared meringue batter into a piping bag fitted with a small round tip (a Wilton #10 is ideal). Hold the bag vertically, perpendicular to your prepared baking sheet, and pipe uniform 1-inch macaron shells. Maintain at least 2 inches of space between each shell to prevent them from merging. After piping each tray, firmly tap it against your counter 5-6 times from a few inches up. This helps release any internal air bubbles, which can cause hollows or cracks. Repeat for the second tray. Set both trays aside to “rest” at room temperature for about 25 minutes. They are ready to bake when the surface forms a slight skin, and you can gently touch them without any batter sticking to your finger. During this resting period, preheat your oven to 325°F (160°C). Bake the macarons, one tray at a time, for exactly 13 minutes. Rotate the tray halfway through baking to ensure the “feet” rise evenly. Once baked, let them cool completely on the pan before attempting to remove them.
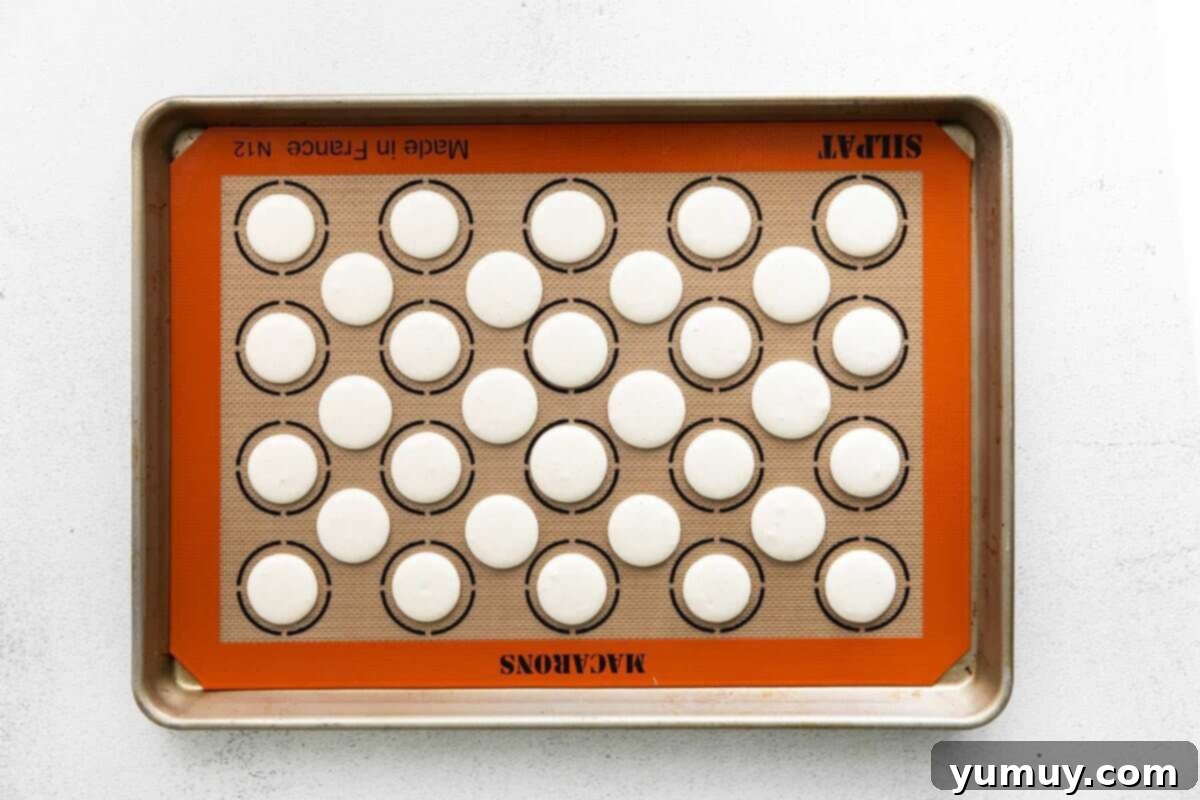
Step 7: Prepare the Rich Strawberry Buttercream Filling
While the macaron shells cool, prepare your luscious strawberry buttercream filling. In the bowl of a stand mixer fitted with the paddle attachment, beat 113 grams (½ cup, or one stick) of unsalted butter at room temperature until it becomes noticeably airy and light, about 2-3 minutes. Reduce the mixer speed to low and gradually add 254 grams (2¼ cups) of powdered sugar, followed by 170 grams (½ cup) of high-quality strawberry jam or preserves. Mix until just combined. If the buttercream seems too thick, add a tablespoon of milk or heavy cream, one teaspoon at a time, until you achieve a smooth, pipeable consistency. Increase the mixer speed to high and beat for another 2 minutes until the buttercream is light, fluffy, and perfectly smooth. Transfer the creamy filling to a piping bag and set aside.
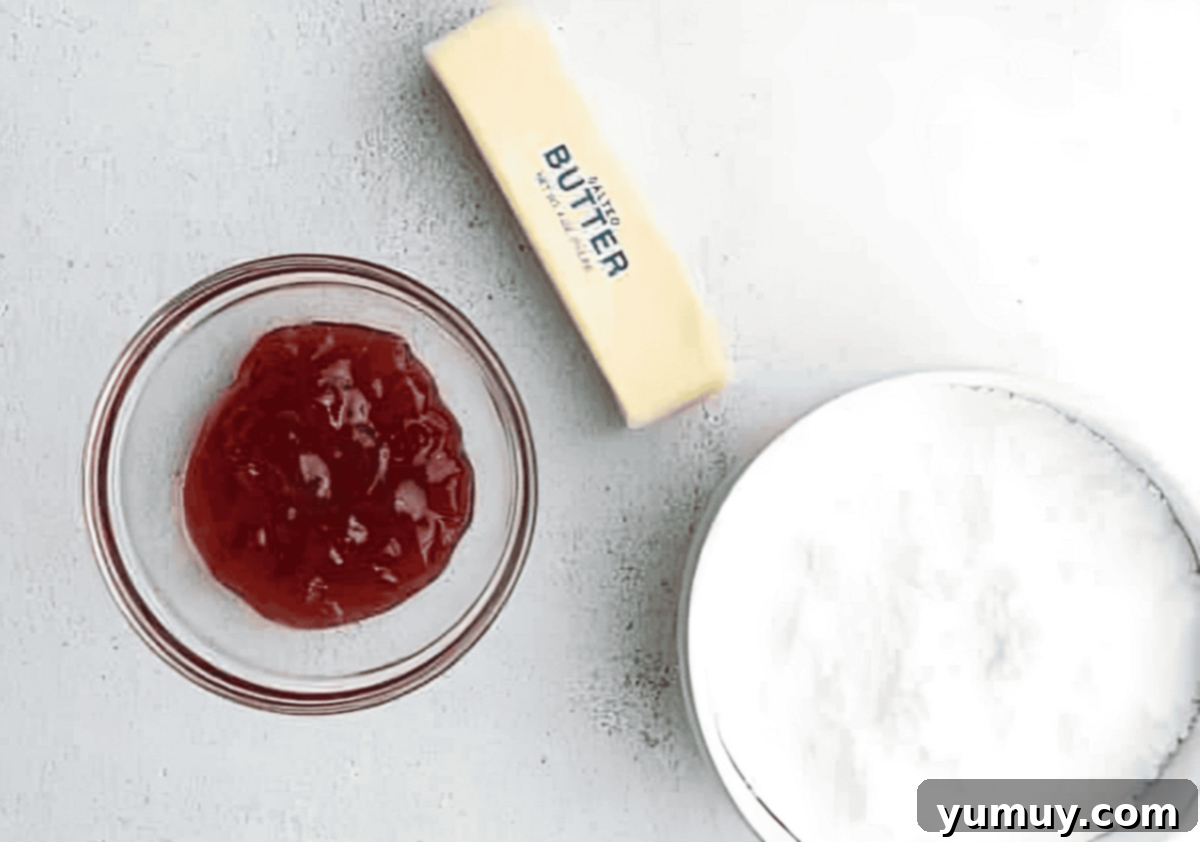
Step 8: Assemble Your Strawberry Macarons
Once your macaron shells are completely cool, gently pair them up into similar sizes. Take one shell, pipe a generous dollop of the strawberry buttercream filling onto its flat side, and carefully place another matching shell on top. Gently press down until the filling just reaches the edges of the shells, creating a beautifully finished macaron sandwich.

Step 9: Decorate and Age for Perfect Texture
For an optional, yet delightful, finishing touch, drizzle your assembled strawberry macarons with melted white chocolate and sprinkle with decorative sprinkles. This adds visual appeal and a complementary flavor note. After decorating, transfer the macarons to an airtight container and place them in the refrigerator to “age” overnight, or for a minimum of 12 hours. This crucial step allows the moisture from the filling to infuse into the shells, transforming them from brittle to wonderfully chewy. Always bring your macarons back to room temperature for about 15-30 minutes before serving to experience their optimal flavor and texture. Enjoy your perfectly crafted, incredibly delicious homemade strawberry macarons!
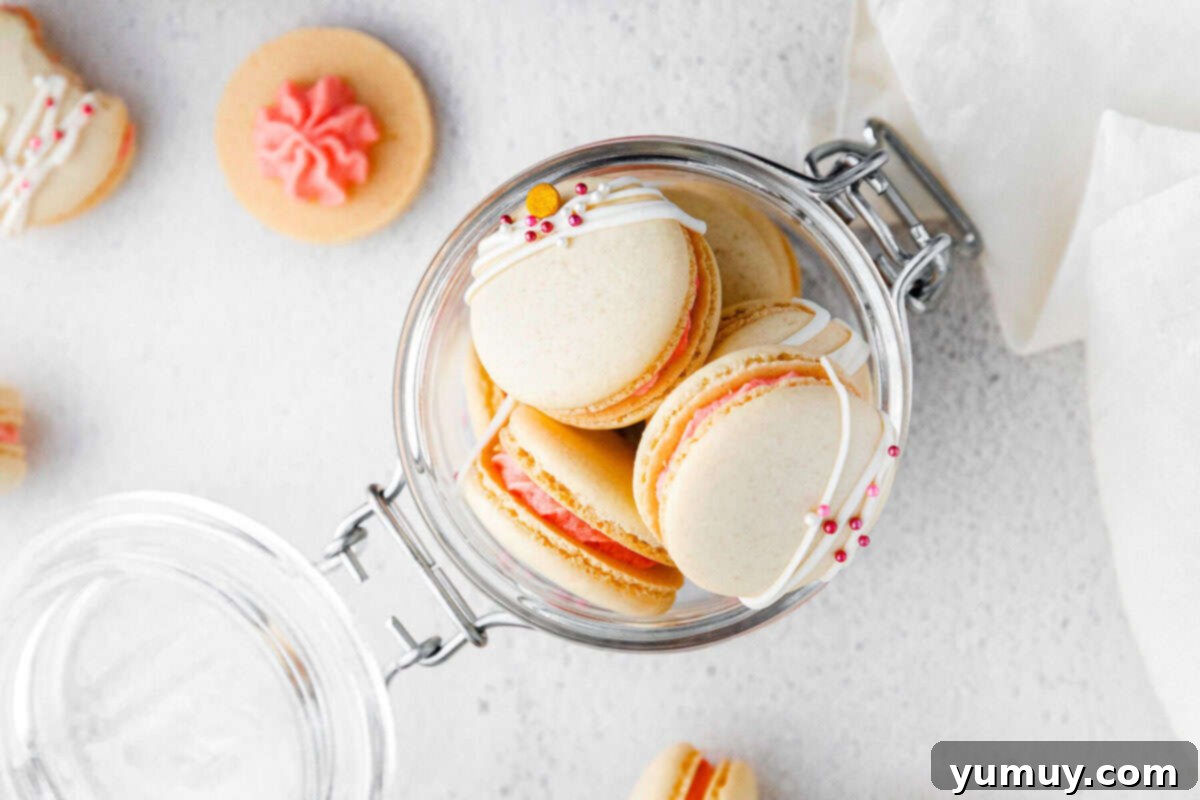
Storing Your Delectable Strawberry Macarons
Proper storage is essential to maintain the delicate texture and fresh flavor of your strawberry macarons. Once filled, transfer any leftover macarons to an airtight container. They will remain fresh and delicious in the refrigerator for up to 3 days. The aging process in the fridge is key to achieving their signature chewy texture, as the filling’s moisture softens the shells over time. Before indulging, always allow refrigerated macarons to come to room temperature for about 15-30 minutes; this enhances their flavor and ensures the best possible texture. For convenience, macarons can also be left at room temperature in an airtight container for up to 24 hours, perfect for same-day enjoyment or gifting.
For longer-term storage, strawberry macarons freeze beautifully. Place them in an airtight freezer-safe container, separating layers with parchment paper to prevent sticking. They can be frozen for up to 3 months. When you’re ready to enjoy them, simply transfer the container to the refrigerator overnight to thaw, and then bring them to room temperature for approximately 30 minutes before serving. This makes them an excellent make-ahead dessert for entertaining or a delightful treat whenever a craving strikes.
More Macaron Recipes to Delight Your Senses!
If you’ve fallen in love with making these strawberry macarons, you’ll be thrilled to explore other exciting flavors and designs. Macarons offer endless possibilities for creativity and taste exploration. Here are a few more popular macaron recipes to expand your baking repertoire:
Whimsical Easter Macarons
Decadent Chocolate Strawberry Macarons
Elegant Tiramisu Macarons
Charming Valentine’s Day Pink Macarons
Explore All Cookie Recipes
