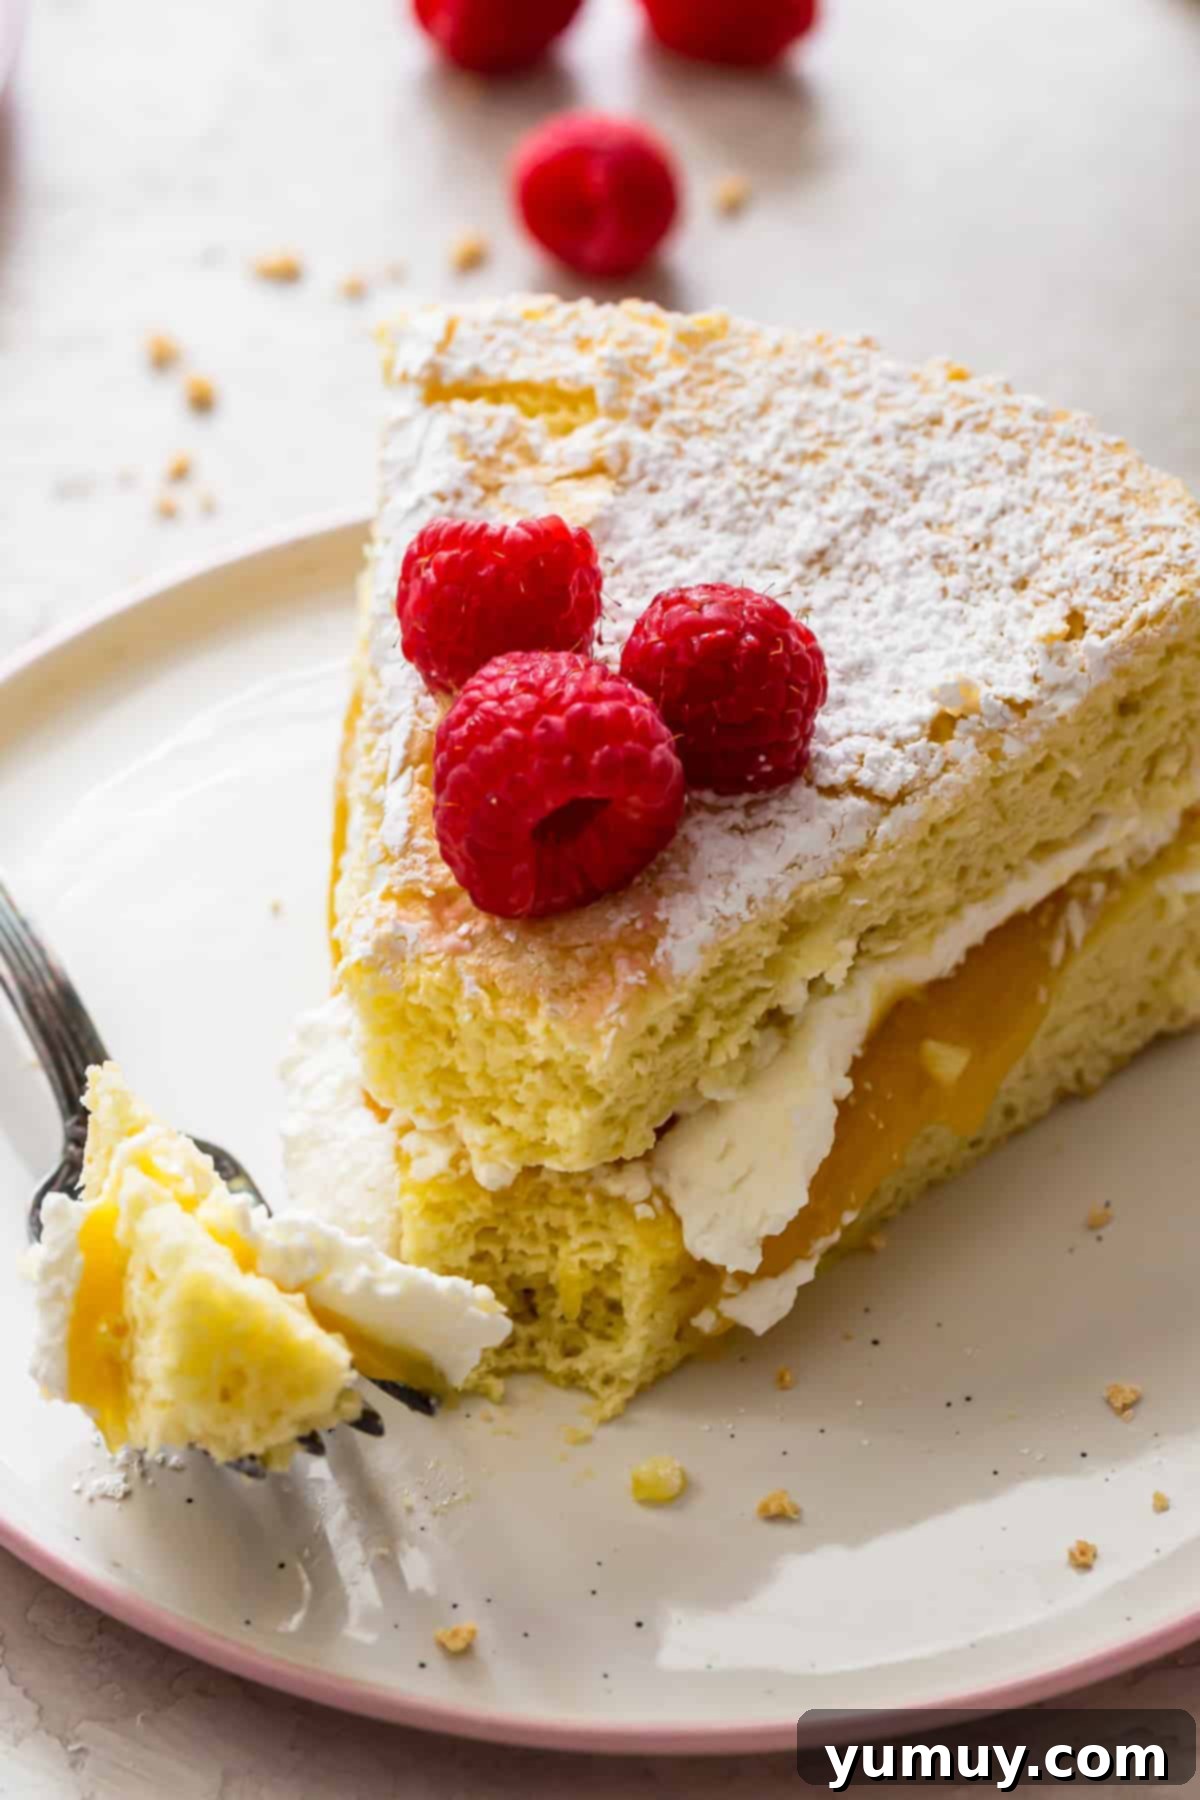
Discover the elegance and simplicity of a classic Italian sponge cake, often referred to as a genoise. This beloved dessert is a testament to the beauty of baking with minimal ingredients, yielding a cake that is incredibly light, wonderfully fluffy, and delicately sweet. Unlike many modern cake recipes, this genoise relies purely on the masterful whipping of eggs to create its impressive height and airy texture, foregoing the need for baking powder or butter. It’s a versatile foundation for countless desserts, promising impressive results even for those new to the art of baking.

Mastering the Simple Vanilla Sponge Cake: The Genoise
The Italian sponge cake, or Genoise as it’s known in culinary circles, stands out as a fundamental classic in European patisserie. Its charm lies not in a long list of fancy ingredients, but in the precision and technique applied to just four basic components: eggs, sugar, flour, and a hint of vanilla. What sets the genoise apart from many other cakes is its unique leavening method. Instead of relying on chemical leaveners like baking powder or soda, or fats like butter for moisture and tenderness, this cake achieves its remarkable rise and characteristic springy texture through the air whipped into whole eggs. This method is similar to how an angel food cake rises solely from beaten egg whites, but the genoise uses both yolks and whites, resulting in a richer, yet still incredibly light crumb.
The beauty of this simple vanilla sponge cake extends beyond its delicate structure. Its subtly sweet and vanilla-forward flavor profile makes it an incredibly versatile canvas for a wide array of fillings and toppings. Whether you’re looking to create a sophisticated layered dessert or a quick, elegant treat, this genoise is the perfect foundation. Imagine it layered with luscious whipped cream, tangy lemon curd, vibrant fruit jams, or simply adorned with fresh berries and a dusting of powdered sugar. For aspiring bakers, mastering the genoise is an invaluable step. It teaches essential techniques like proper egg whipping and gentle folding, which are the building blocks of many classic European-style cakes, without being overly complicated or intimidating. This recipe proves that you don’t need elaborate tools or a professional background to create a truly impressive, from-scratch dessert that can be dressed up for any occasion, from a casual tea party to a formal celebration.
Precision in Baking: The Importance of a Kitchen Scale
When it comes to delicate cakes like the genoise, precision is paramount. The success of a truly light and airy sponge cake hinges significantly on accurate ingredient measurements, especially when it comes to flour. Measuring flour by volume, typically with standard measuring cups, can unfortunately lead to inconsistent and often disappointing results. This is because flour can be easily compacted in a cup, meaning you might inadvertently use too much. Excess flour in your batter can weigh down the delicate egg foam, preventing the cake from rising properly and resulting in a dense, heavy texture rather than the desired ethereal lightness.
To ensure your Italian sponge cake achieves its perfect, signature springy crumb every time, we highly recommend using a digital kitchen scale to weigh your flour. A general guideline is that 1 cup of all-purpose flour typically weighs around 120 grams, though this can vary slightly depending on the flour type and how it’s handled. By weighing your ingredients, you eliminate the guesswork and variability associated with volume measurements, guaranteeing consistent ratios in your batter. This seemingly small step makes a significant difference, helping to maintain the delicate balance required for the eggs to perform their leavening magic effectively. Below in the recipe card, you’ll find a convenient “Metric” button that allows you to convert all ingredient measurements into grams, making it easier than ever to achieve professional-level accuracy in your home kitchen. Investing in a reliable kitchen scale is a game-changer for any baker, particularly for those who appreciate the nuanced textures of European-style cakes.

Classic Italian Sponge Cake Recipe (Genoise)
20 minutes
30 minutes
50 minutes
10 slices
Ingredients
- 6 large eggs, separated
- 1 teaspoon pure vanilla extract
- 1 cup granulated sugar, divided
- 1 cup cake flour *
Optional Fillings/Toppings
- Whipped cream
- Lemon curd
- Powdered sugar
- Fresh berries
Equipment
- Kitchen Scale (optional, but highly recommended for accuracy)
- 2 9-inch Round Cake Pan(s)
- Hand Mixer or Stand Mixer
Instructions
- Preheat your oven to 350°F (175°C). Prepare two 9-inch round cake pans by lining their bottoms with parchment paper and lightly greasing the sides. This helps prevent sticking and ensures easy removal.

- Carefully separate the 6 large eggs. Place the egg whites in a very large, clean metal or glass mixing bowl (ensure no trace of grease or yolk contaminates the whites, as this will prevent them from whipping properly). Place the egg yolks in a separate, smaller mixing bowl. Add 1 teaspoon of pure vanilla extract to the egg yolks.
- Add ½ cup of granulated sugar to the bowl containing the egg whites. Using a hand mixer (or stand mixer with a whisk attachment), begin beating on low speed until the mixture becomes foamy. Gradually increase the speed to high and continue beating until stiff, glossy peaks form. This should take approximately 5 minutes, and the meringue should hold its shape when the beater is lifted.

- In the bowl with the egg yolks and vanilla, add the remaining ½ cup of granulated sugar. Beat this mixture with the hand mixer until it becomes very thick, pale yellow, and significantly increased in volume. It should resemble a light, creamy custard.

- Gently fold the beaten egg yolk mixture into the whipped egg whites. Use a large, soft rubber spatula and employ a light hand, carefully cutting down through the center and folding up from the bottom of the bowl. The goal is to combine the mixtures without deflating the precious air you’ve incorporated.

- Sift 1 cup of cake flour (or the DIY substitute, see notes) over the egg mixture in three separate additions. After each addition, gently fold the flour into the batter until just combined. Be extremely careful not to overmix, as this will develop the gluten and result in a tough cake. The batter should remain light and airy. Divide the batter evenly between the two prepared cake pans (approximately 312 grams per pan if using a scale). Bake for about 30 minutes, or until a wooden skewer or toothpick inserted into the center comes out clean.

- Once baked, remove the cake pans from the oven and transfer them to a wire cooling rack. Allow the cakes to cool in their pans for about 10 minutes. This brief cooling period helps the cake structure set. After 10 minutes, carefully invert the cakes onto the wire rack to cool completely. Ensure they are fully cooled before attempting to frost or fill them to prevent melting or tearing.

- Once completely cooled, your Italian sponge cakes are ready for your creative touch! Fill them with your favorite jam, pastry cream, or fruit curd. Serve with a generous dollop of fresh berries, a sprinkle of powdered sugar, and a cloud of homemade whipped cream for an unforgettable dessert experience.

Notes
*In a pinch, you can substitute all-purpose flour for cake flour. However, be aware that the cake will have a slightly denser and chewier texture due to the higher protein content of all-purpose flour. For best results and to achieve that signature delicate crumb, we highly recommend making a DIY cake flour substitute if you don’t have cake flour on hand. This typically involves using all-purpose flour mixed with cornstarch.
Tips for Success:
- When separating eggs, ensure no egg yolk gets into the whites. Even a tiny bit of fat can prevent the whites from whipping to stiff peaks.
- For the best volume, use room temperature eggs. They whip up much fuller and faster than cold eggs.
- Always sift your flour before folding it into the egg mixture. This prevents lumps and helps to keep the batter airy.
- Gentle folding is key! Overmixing after adding the flour will deflate the batter and result in a heavy cake.
- Do not open the oven door during the first 20 minutes of baking, as this can cause the cake to collapse.
- Cooling the cakes on a wire rack immediately after the initial 10-minute pan rest prevents them from becoming soggy from trapped steam.
- Consider brushing cooled cake layers with a simple syrup (flavored with citrus or a liqueur) before filling for added moisture and flavor.
- Nutritional information provided does not include any optional fillings or toppings.
Storage Recommendations:
Unfilled and unfrosted Italian sponge cake can be stored in an airtight container at room temperature for up to 2 days, or in the refrigerator for up to 1 week. For longer storage, wrap the cooled cake layers tightly in plastic wrap and then aluminum foil, then freeze for up to 4 months. To serve, thaw overnight in the refrigerator before decorating or enjoying. If your sponge cake is already filled or topped with perishable ingredients like whipped cream or fresh fruit, store it in an airtight container in the refrigerator for up to 5 days. For optimal freshness, consume within 2-3 days.
Calories from Fat 27
Becky Hardin
Did You Make This?
We love seeing what you’ve made! Tag us on social media at
@easydessertrecipes for a chance to be featured.
How to Make Italian Sponge Cake Step-by-Step for a Perfect Genoise
Creating a light and perfect Italian sponge cake, or genoise, is a rewarding experience that highlights the elegance of simple baking techniques. Follow these detailed steps to ensure your cake turns out beautifully airy and delicious every time.
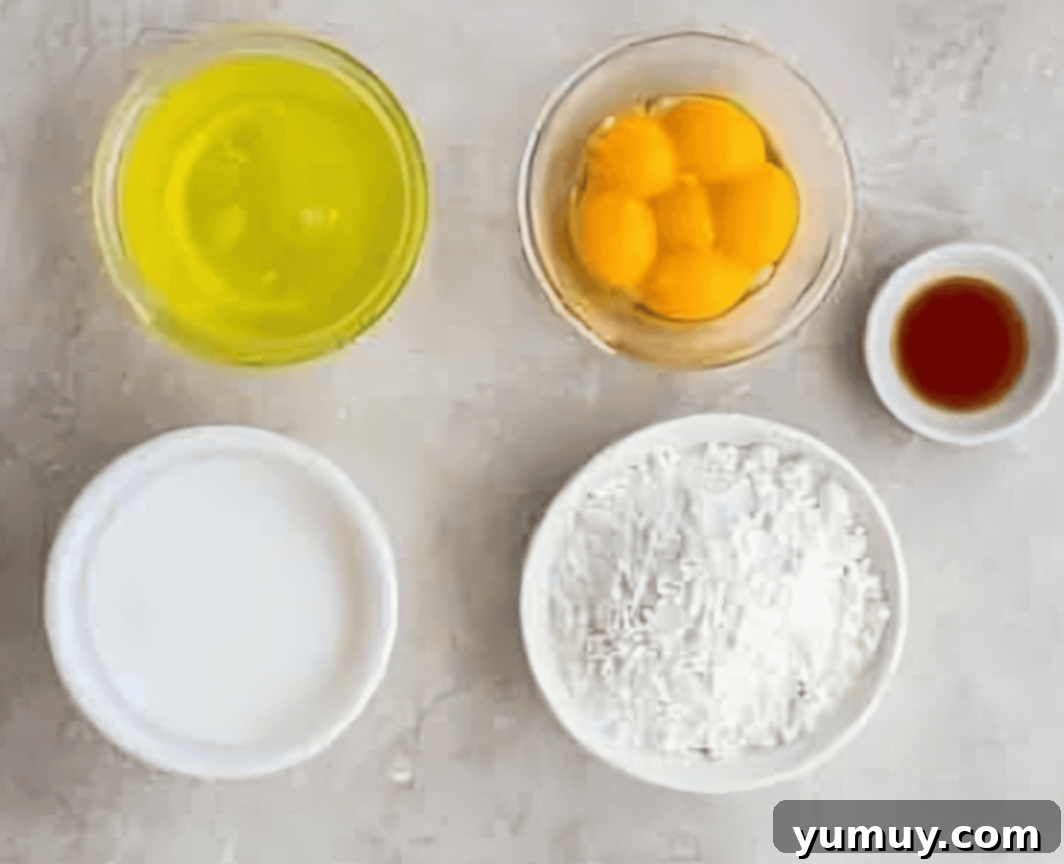
1. Prepare Your Workspace and Ingredients: Begin by preheating your oven to 350°F (175°C). Next, prepare two 9-inch round cake pans. Line the bottom of each pan with a circle of parchment paper and lightly grease the sides. This crucial step prevents the delicate cake from sticking and makes for easy release later. Gather all your ingredients: 6 large eggs (ensure they are at room temperature for optimal whipping), 1 teaspoon of pure vanilla extract, 1 cup of granulated sugar, and 1 cup of cake flour. Separate the 6 large eggs, placing the whites (approximately 210g) in a very large, impeccably clean metal or glass mixing bowl. Any trace of fat or yolk in the whites will hinder their ability to whip properly. Place the egg yolks (approximately 90g) in a separate, smaller mixing bowl, and add the vanilla extract to them. Having everything measured and ready is key to a smooth baking process.
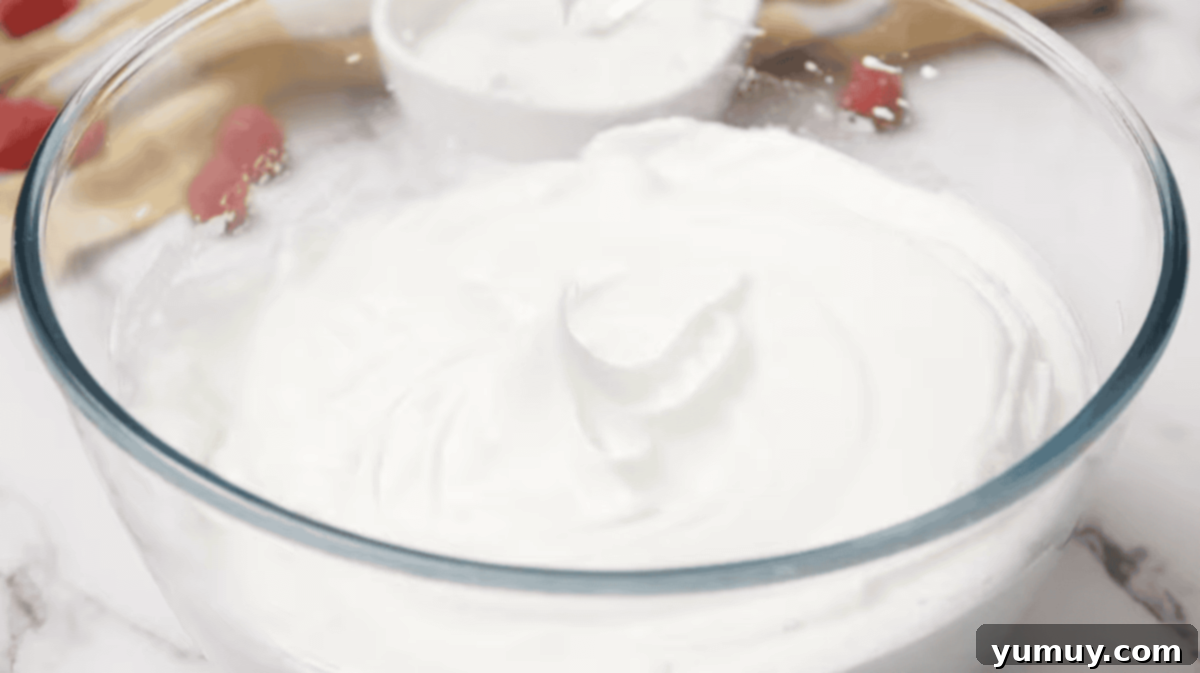
2. Whip the Egg Whites to Stiff Peaks: Add ½ cup of the granulated sugar (100g) to the bowl with the egg whites. Using an electric hand mixer (or a stand mixer fitted with a whisk attachment), begin beating the egg whites and sugar mixture on a low speed until it becomes visibly foamy. This initial slow speed helps stabilize the protein structure. Gradually increase the mixer speed to high and continue beating. You’ll notice the whites transforming into a thick, white, and voluminous meringue. Continue beating until stiff, glossy peaks form, which typically takes about 5 minutes. To test for stiff peaks, lift the whisk; the meringue should stand straight up without collapsing. This aeration is vital for the cake’s lift, so do not under-whip.
3. Beat the Egg Yolks to a Pale, Thick Consistency: Now, turn your attention to the egg yolks. Add the remaining ½ cup of granulated sugar (100g) to the bowl containing the egg yolks and vanilla. Using the same hand mixer (no need to wash if you’re quick), beat this mixture vigorously until it becomes very thick, pale yellow, and significantly increased in volume. The mixture should fall in a thick ribbon when the beater is lifted. This process, known as “ribbon stage,” incorporates air into the yolks and sugar, contributing to the cake’s overall lightness and creating a stable emulsion.
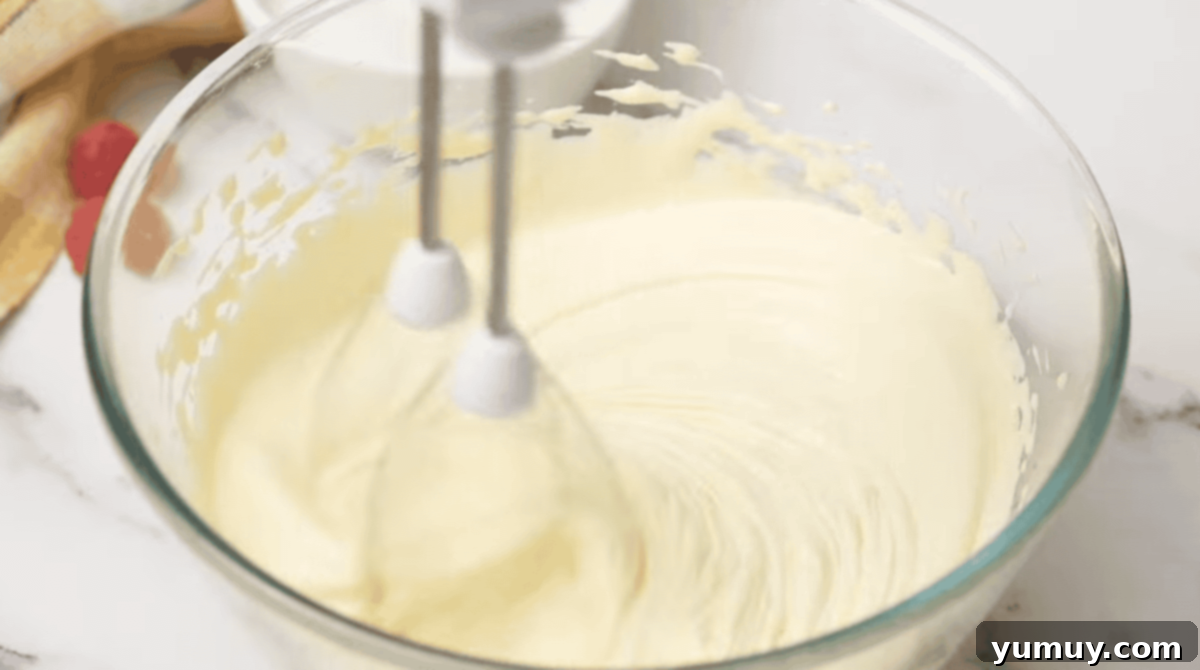
4. Gently Fold the Mixtures Together: This step requires a delicate touch to preserve the air you’ve worked so hard to incorporate. Carefully pour the beaten egg yolk mixture over the whipped egg whites. Using a large, soft rubber spatula, gently fold the two mixtures together. The technique involves cutting down through the center of the bowl and then sweeping up from the bottom, turning the bowl as you go. Continue folding until the mixtures are just combined and no streaks of egg yolk or white remain. Avoid overmixing, as aggressive folding will deflate the whites and result in a dense cake.
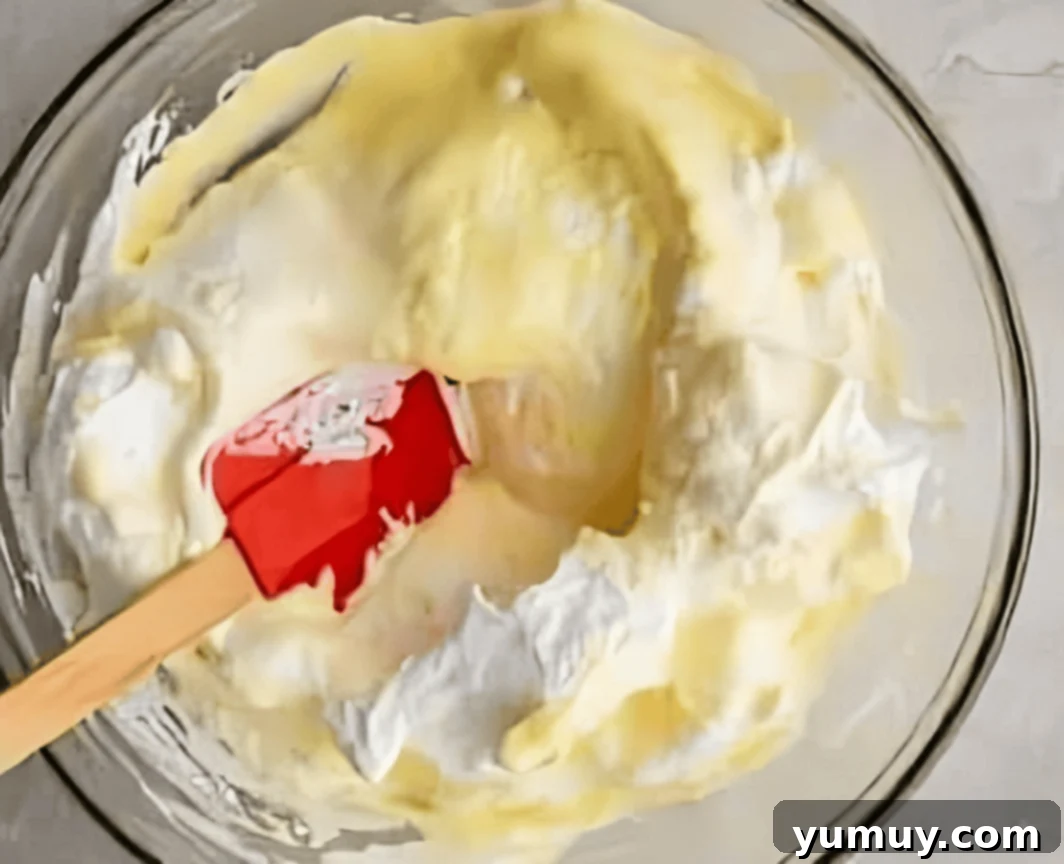
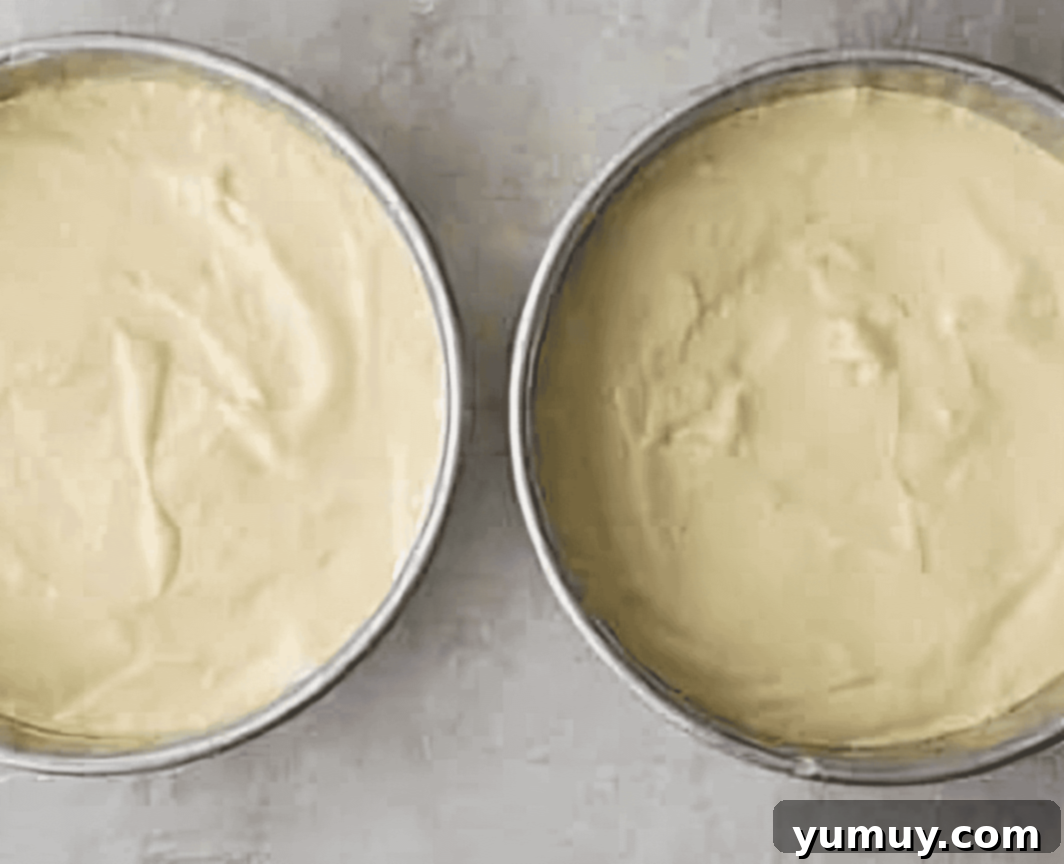
5. Incorporate the Flour and Bake: Sift the 1 cup of cake flour (120g) directly over the egg mixture in three separate additions. After each addition, again, gently fold the flour into the batter using your rubber spatula. Work quickly and lightly, just until the flour disappears into the batter. The key is to avoid overmixing, which develops gluten and can make your cake tough. Once the flour is just combined, divide the light and airy batter evenly between your two prepared cake pans (aim for approximately 312 grams per pan if you’re using a kitchen scale for precision). Place the pans into the preheated oven and bake for approximately 30 minutes. The cake is done when it’s golden brown, springs back lightly when touched, and a wooden skewer or toothpick inserted into the center comes out completely clean. The aroma will fill your kitchen with a delightful sweetness.
6. Cool Your Cakes Properly: After removing the baked sponge cakes from the oven, resist the urge to immediately flip them out. Transfer the hot cake pans to a wire cooling rack and allow the cakes to cool in their pans for a full 10 minutes. This resting period allows the delicate structure of the cake to set, making it less likely to break or collapse when handled. After 10 minutes, carefully invert the cakes onto the wire rack. Gently peel off the parchment paper from the bottoms. Let the cakes cool completely on the rack before attempting to frost, fill, or even slice them. A fully cooled cake is much easier to work with and yields cleaner cuts.
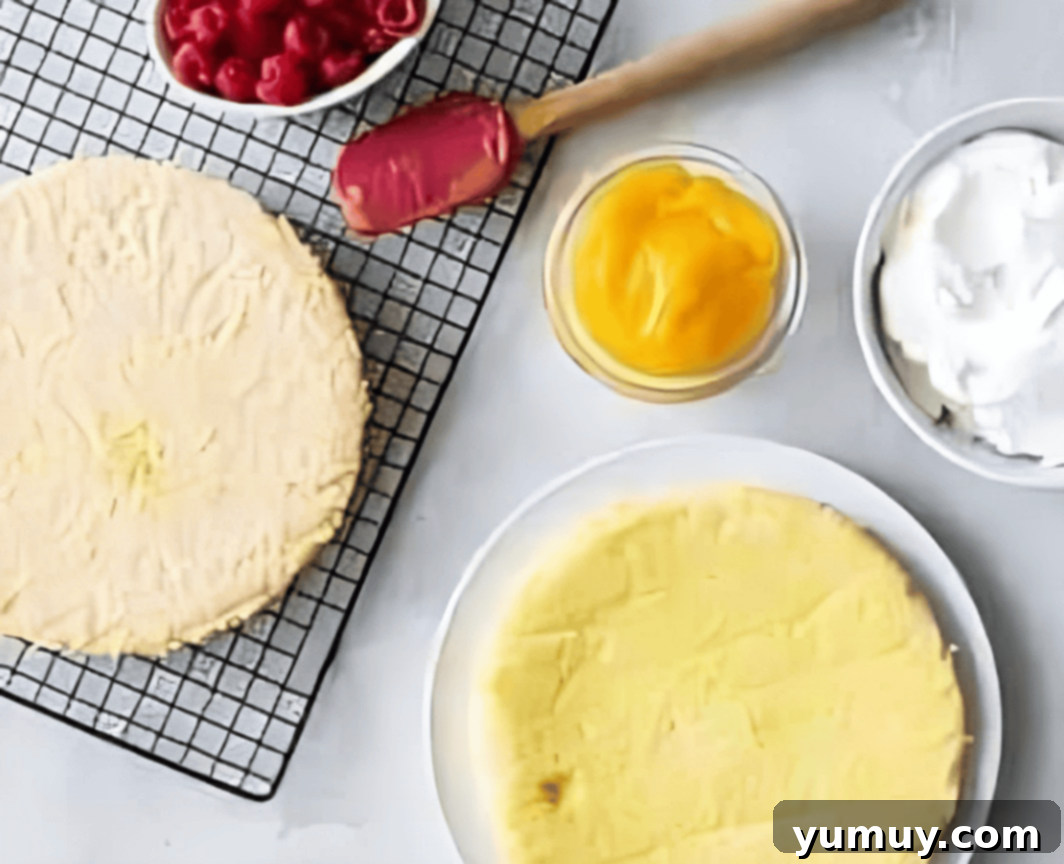
7. Top, Fill, and Serve Your Masterpiece: Once your Italian sponge cakes are completely cool, the fun begins! They are now ready to be transformed into your desired dessert. Slice each cake layer horizontally if you desire more layers. Fill them with your favorite sweet accompaniments, such as a rich fruit jam, a creamy pastry cream, or a zesty lemon curd. For a classic presentation, serve slices with a generous topping of fresh berries, a light dusting of powdered sugar, and a cloud of freshly whipped cream. The subtle vanilla flavor of the genoise pairs beautifully with almost any fresh fruit or creamy component, making it a truly versatile and impressive dessert that’s perfect for any occasion.

How to Store Your Italian Sponge Cake for Optimal Freshness
Proper storage is essential to maintain the delicate texture and flavor of your homemade Italian sponge cake. Whether you’ve baked it in advance or have leftovers, these tips will help keep your genoise fresh and delicious.
Unfilled and Unfrosted Cake: If your sponge cake is plain, without any fillings or frosting, it can be stored at room temperature for up to 2 days. To do this, ensure it is completely cooled, then wrap it tightly in plastic wrap to prevent it from drying out. Place the wrapped cake in an airtight container to add an extra layer of protection. Alternatively, you can store it in the refrigerator for up to 1 week using the same method. Wrapping it well prevents it from absorbing odors from other foods in the fridge.
Filled or Frosted Cake: For cakes that have been assembled with fillings like whipped cream, lemon curd, fresh berries, or other perishable toppings, refrigeration is a must. Store the cake in an airtight container in the refrigerator for up to 5 days. It’s best to consume these within 2-3 days for the optimal taste and texture, especially if fresh fruit is involved, as it can soften and release moisture over time.
Freezing for Long-Term Storage: The Italian sponge cake freezes remarkably well, making it perfect for preparing ahead of time. Once completely cooled, wrap each cake layer individually and very tightly in at least two layers of plastic wrap, followed by a layer of aluminum foil. This double-layer protection prevents freezer burn and helps maintain moisture. Store the wrapped cake layers in the freezer for up to 4 months. When you’re ready to enjoy, transfer the frozen cake layers to the refrigerator and let them thaw overnight. Once thawed, you can proceed with filling, frosting, and decorating as desired. Freezing allows you to enjoy homemade genoise with minimal effort whenever a craving strikes.
More Delightful Cake Recipes to Explore!
White Wedding Cake
Cotton Candy Cake
Mango Cake
Doctored White Cake Mix
Browse All Cakes


