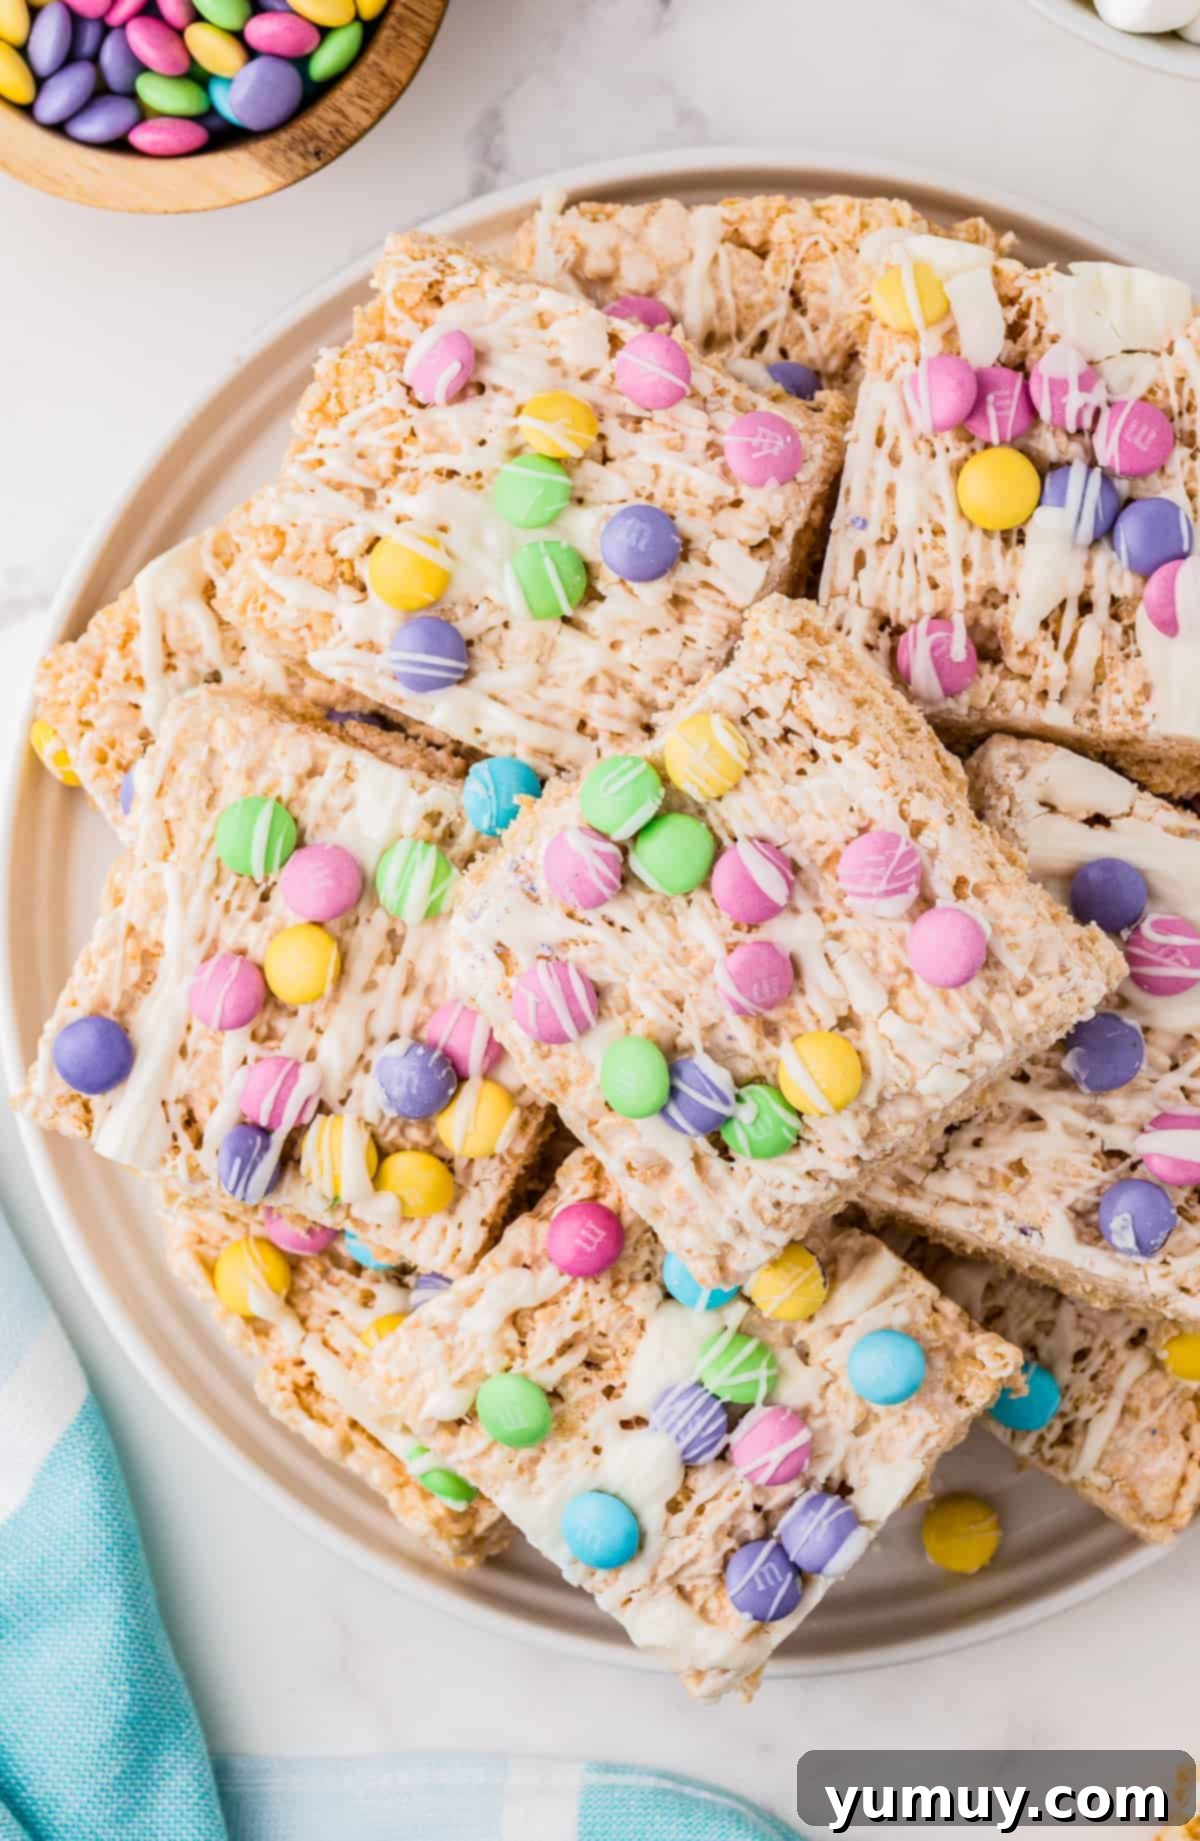
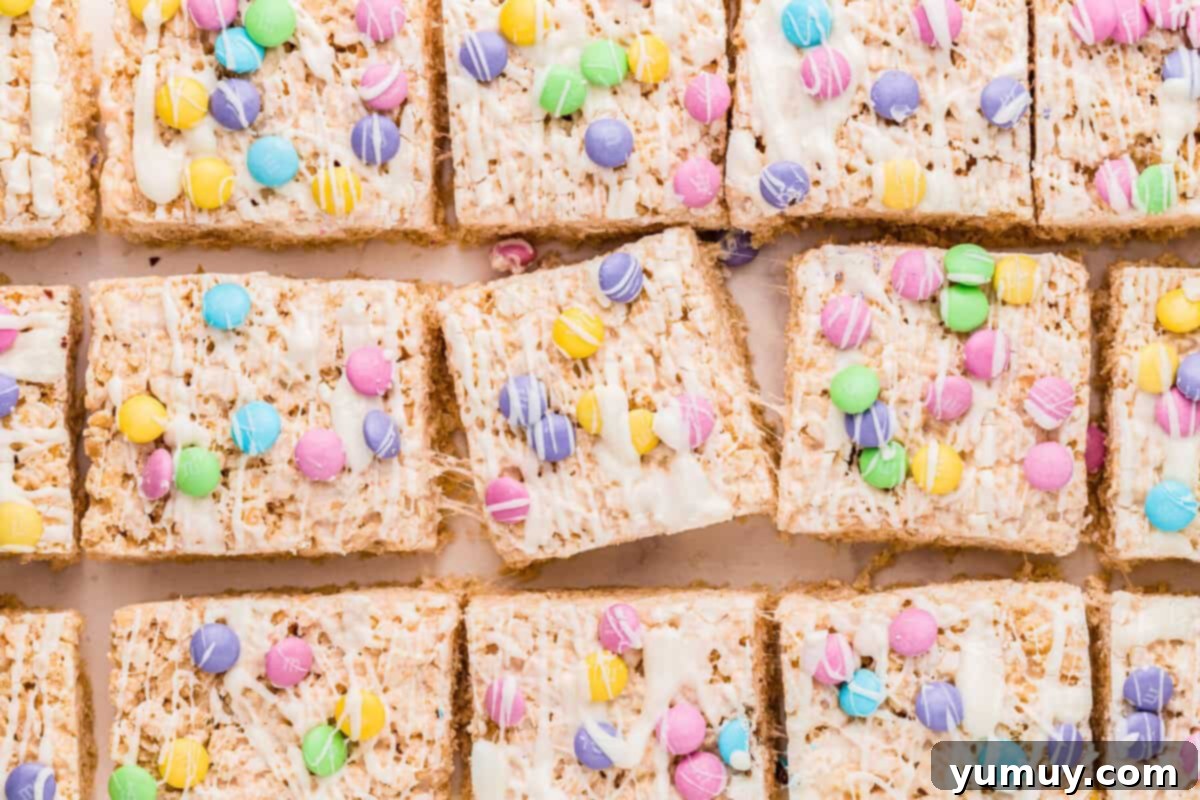
Brighten your holiday table with these irresistibly cute, fun, and vibrantly colorful Easter Rice Krispie Treats! A delightful twist on a timeless classic, these treats are perfectly crafted to bring smiles to faces of all ages. Each square boasts that beloved buttery and marshmallow-infused flavor, elevated with creamy swirls of white chocolate drizzle and delightful bursts of crunchy, pastel-colored M&Ms. We’ve taken the cherished original recipe and given it a festive Easter makeover that’s sure to be a holiday hit!
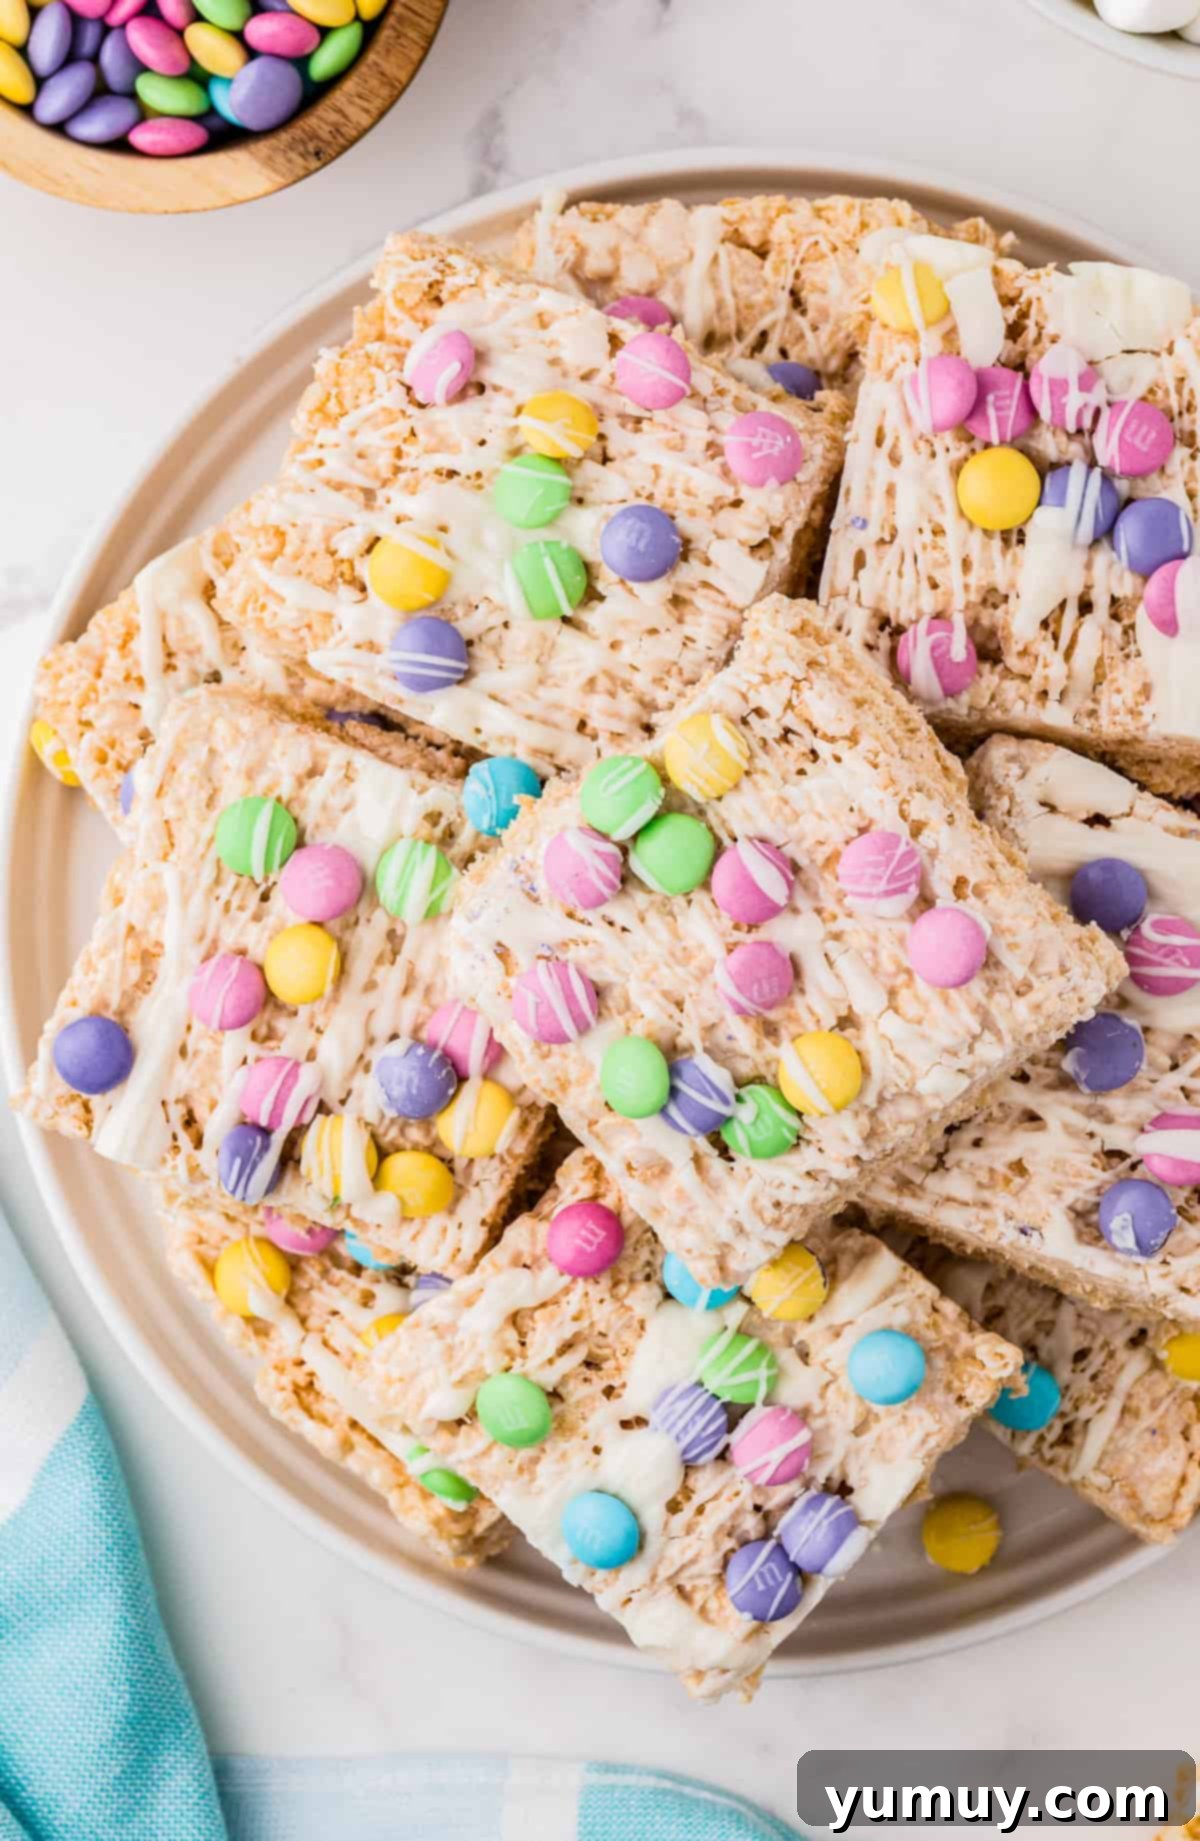
Easy Easter Rice Krispies Treats: A Festive Delight
Easter gatherings are a time for joy, family, and, of course, delicious treats! While many holiday desserts can be intricate and time-consuming, our Easter Rice Krispie Treats offer a refreshingly simple yet incredibly festive option. It’s an ingenious way to elevate classic Rice Krispie treats into something truly special for the holiday without any baking required. All it takes is a simple drizzle of melted white chocolate and a generous sprinkle of cheerful, pastel Easter M&M’s.
The addition of chocolate M&Ms introduces a delightful crunch and extra layer of flavor that complements the chewy marshmallow perfectly. But don’t feel limited to just M&Ms! These versatile treats can also be adorned with colorful sprinkles, chocolate chips, or even chopped nuts for different textures and tastes. The decorating possibilities are truly endless, making these treats adaptable for any holiday or special occasion throughout the year. Imagine them with red and green sprinkles for Christmas, or orange and black for Halloween!
It’s no surprise that these Easter Rice Krispie Treats are an absolute favorite among kids and adults alike. From my own children to their cousins, these disappear from the dessert table faster than any other confection. Their vibrant appearance and delightful taste make them an instant crowd-pleaser, and I confess, I’m often guilty of sneaking a few extra myself. Who could possibly resist such a charming and delicious snack?
Expert Tips for Perfect Rice Krispie Treats
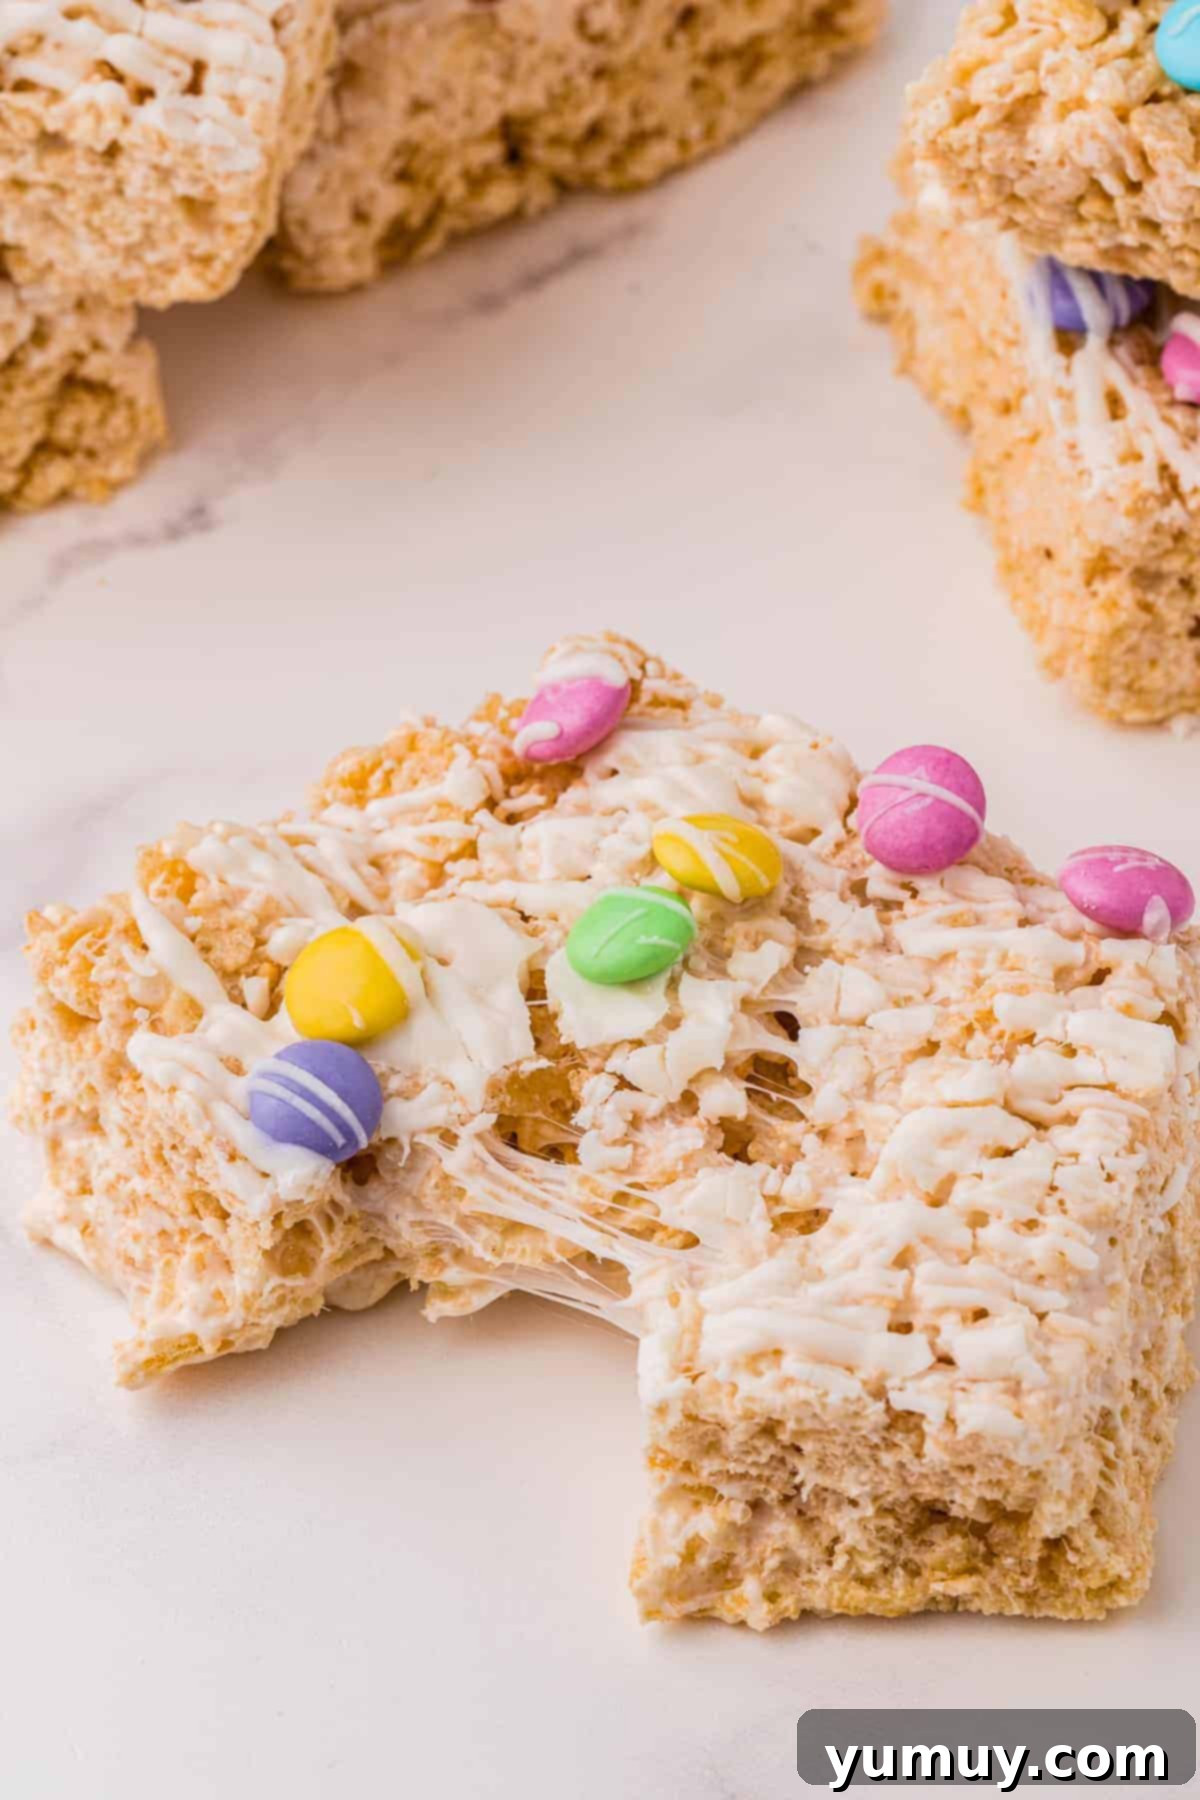
Achieving the ideal texture for your Rice Krispie treats is key to their deliciousness. If you find your cereal and marshmallow mixture feeling too soft or sticky during preparation, there’s a simple fix: gradually incorporate a little extra Rice Krispies cereal until you reach a consistency that is easy to handle and press into the pan. This minor adjustment can make all the difference in achieving that perfect chewiness.
Beyond consistency, here are a few more pro tips to ensure your Easter Rice Krispie Treats turn out wonderfully every time:
- **Gentle Pressing is Key:** When transferring the mixture to the baking pan, avoid pressing down too firmly. Over-compressing the treats can result in a hard, dense texture instead of the soft, chewy squares everyone loves. A light, even press is all that’s needed.
- **Use Fresh Marshmallows:** The freshness of your marshmallows directly impacts the chewiness of your treats. Older marshmallows tend to be drier and can lead to a tougher end product. Always opt for fresh, soft mini marshmallows for the best results.
- **Low Heat for Melting:** Patience is a virtue when melting butter and marshmallows. Keep the heat on low to prevent the marshmallows from becoming too hard or grainy. A slow, gentle melt ensures a smooth, gooey mixture that will create wonderfully soft treats.
- **Butter Your Tools:** Lightly grease your spatula, hands (if pressing directly), and the parchment paper with butter or non-stick spray. This will prevent the sticky mixture from clinging to everything and make the process much smoother.
- **Cool Completely:** Allow your treats to set completely at room temperature before cutting. This ensures they hold their shape and that the chocolate drizzle has hardened, preventing a mess when serving.
Easter Rice Krispie Treats Recipe
These cute, fun, and colorful Rice Krispie treats are perfect to serve this Easter. Topped with M&Ms and drizzled with white chocolate, they are a great treat for kids of all ages!
Rating: 4.67 from 6 votes
Prep Time: 10 minutes
Cook Time: 20 minutes
Total Time: 30 minutes
Servings: 12 treats
Ingredients
- ¼ cup unsalted butter (½ stick)
- ¼ teaspoon pure vanilla extract
- ¼ teaspoon kosher salt
- 25 ounces mini marshmallows (2½ (10-ounce) bags)*
- 10 cups Rice Krispies cereal
- 8 ounces white melting chocolate (2 bars)
- ½ cup Easter M&M’s
Equipment
- Kitchen Scale (optional)
- 9×13 Baking Pan
- Dutch Oven (optional)
Instructions
- Line a 9×13-inch baking pan with parchment paper. Extend the parchment over both ends of the baking pan. Lightly spray the surface of the parchment that is inside the pan with nonstick spray to avoid the treats sticking after they set.
- Using a large, deep pot or Dutch oven, heat the butter over low heat. Using a silicone spatula, stir the butter until it is melted.
- Stir in the pure vanilla extract and salt.
- Pour in the mini marshmallows. Take your time to stir the mixture slowly until it is completely melted.
- Remove the pot from heat. Begin to fold in the Rice Krispies cereal right away. Ensure all of the cereal is completely coated with the marshmallow mixture.
- Transfer the mixture to the prepared pan.
- Using a silicone spatula, carefully distribute the mixture equally across the pan.
- Very gently press the mixture down into the pan so it is even across the top and remains secure. An easy way to press the treats into place is to spray a piece of parchment paper with cooking spray. Place the parchment over the treats and very gently press them with your hands.
- Melt the white chocolate in a small microwavable bowl in the microwave according to package instructions. Drizzle the melted chocolate with a tablespoon over the entire pan of treats.
- Immediately sprinkle Easter M&M’s onto the warm drizzled white chocolate.
- For best results, let the treats set for at least 30-60 minutes at room temperature. This will allow the chocolate to harden.
- Before cutting, remove the Rice Krispie treats by using both sides of the parchment paper to lift them out of the pan and placing them onto a cutting surface. Cut into equal portions.
Notes
*You could also use a 16-ounce tub of marshmallow fluff instead of mini marshmallows!
Tips:
- Spray a sheet of wax paper the size of your pan with cooking spray and use it to gently spread and press the treats evenly in the pan.
- Maintain a low cooking heat for melting the butter and marshmallows. This will help keep the chewy consistency of the treat. If you attempt to increase the heat, your treats will likely be on the tough side. This is what helps you achieve the gooeyness of the treats.
- To help speed up the melting process, it may help to slice the butter in small pieces.
- Do not over press the treats when placing them in the cake pan. Over pressing will cause the treats to be harder than desired.
Storage: Store Easter Rice Krispie treats in an airtight container or Ziplock bag in the refrigerator for up to 5 days. For longer storage, tightly wrap individual squares in plastic wrap before freezing them in an airtight container or Ziplock bag for up to 6 weeks. Let them thaw at room temperature for 15-30 minutes before enjoying.
Nutrition Facts
Easter Rice Krispie Treats Recipe
Amount Per Serving (1 treat)
Calories 456 | Calories from Fat 117
% Daily Value*
Fat 13g (20%)
- Saturated Fat 7g (44%)
- Trans Fat 1g
- Polyunsaturated Fat 1g
- Monounsaturated Fat 3g
Cholesterol 15mg (5%)
Sodium 242mg (11%)
Potassium 87mg (2%)
Carbohydrates 85g (28%)
- Fiber 1g (4%)
- Sugar 53g (59%)
Protein 4g (8%)
Vitamin A 1695IU (34%)
Vitamin C 15mg (18%)
Calcium 52mg (5%)
Iron 7mg (39%)
* Percent Daily Values are based on a 2000 calorie diet.
Author: Becky Hardin
How to Make Easter Rice Krispie Treats Step-by-Step
Creating these delightful Easter Rice Krispie Treats is a straightforward process that yields impressive results. Follow these simple steps to bring a touch of holiday magic to your kitchen:
1. Gather Your Ingredients and Prepare the Pan
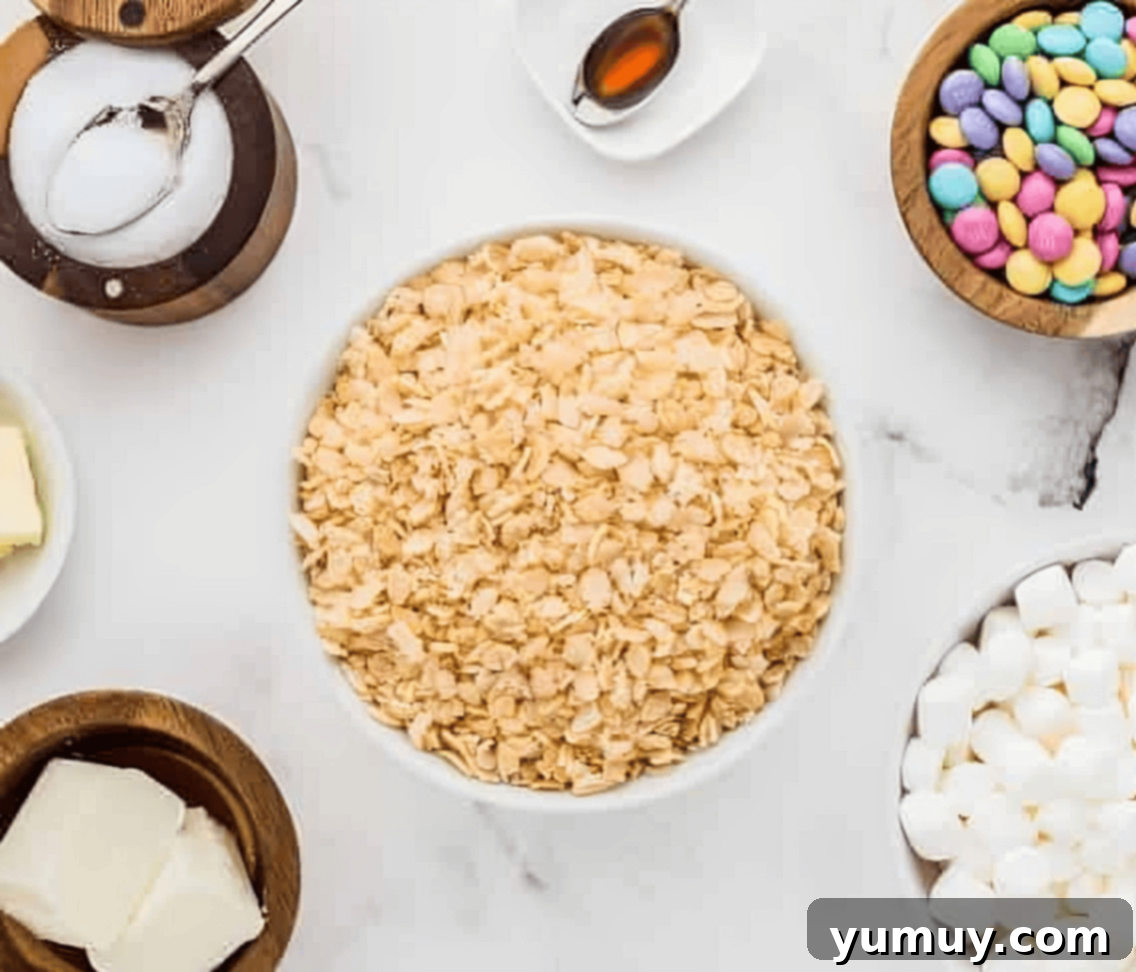
First, ensure you have all your ingredients measured and ready to go. Preparation is key for smooth cooking. Line a 9×13-inch baking pan with parchment paper, allowing the paper to extend over both ends. This creates convenient “handles” that will help you lift the entire slab of treats out of the pan easily later. Lightly spray the surface of the parchment paper that will be in contact with the treats with a nonstick cooking spray. This crucial step prevents the sticky marshmallow mixture from adhering to the paper or the pan, ensuring a clean release.
2. Melt the Marshmallows
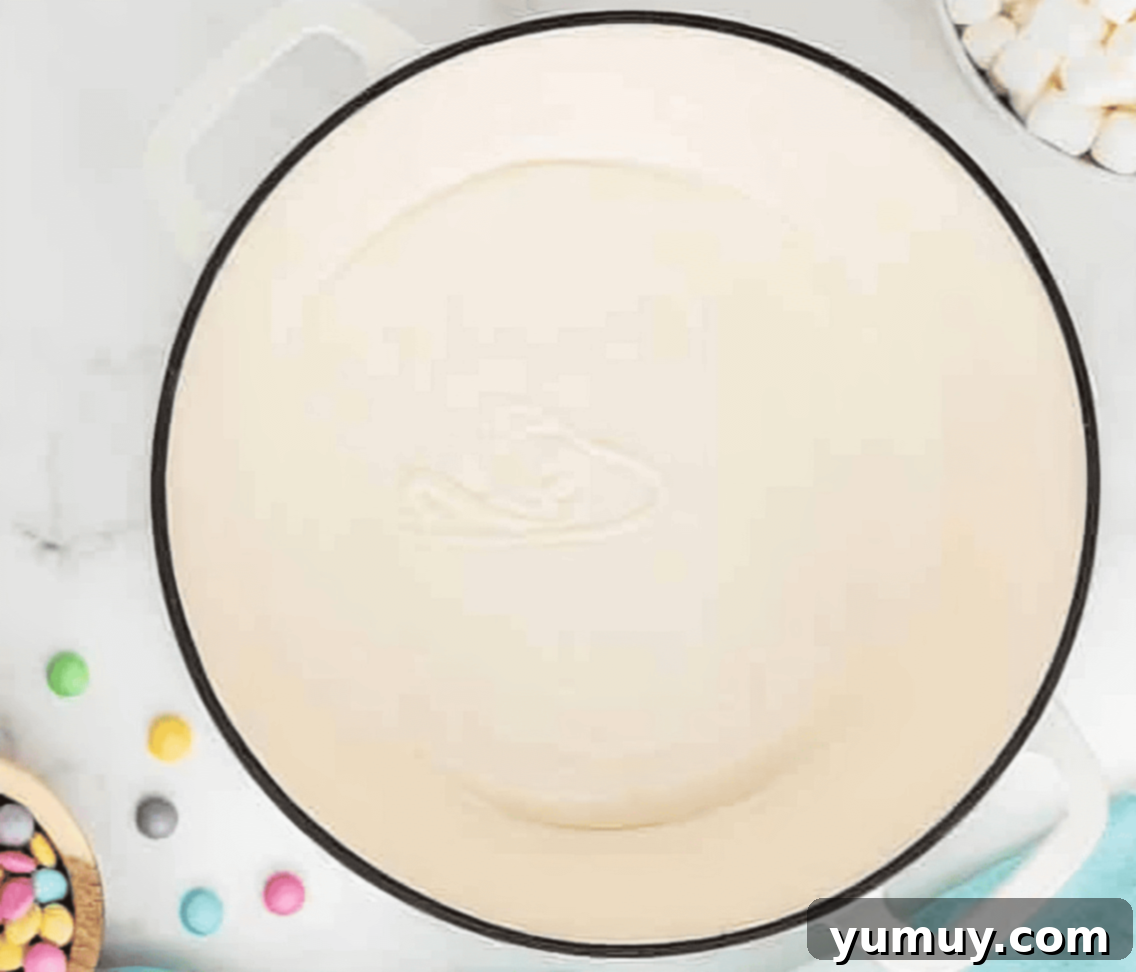
In a large, deep pot or a Dutch oven, begin by melting ¼ cup of unsalted butter over low heat. Using a silicone spatula, stir the butter continuously until it is completely melted and smooth. Next, stir in ¼ teaspoon of pure vanilla extract and ¼ teaspoon of kosher salt. These additions enhance the flavor of the marshmallow base, adding depth to the classic taste. Finally, pour in 25 ounces (approximately 2½ standard 10-ounce bags) of mini marshmallows. Continue to stir slowly and patiently over low heat until the marshmallows are entirely melted into a smooth, gooey liquid. It’s important not to rush this step by increasing the heat, as high heat can make the marshmallows tough.
3. Fold in the Cereal
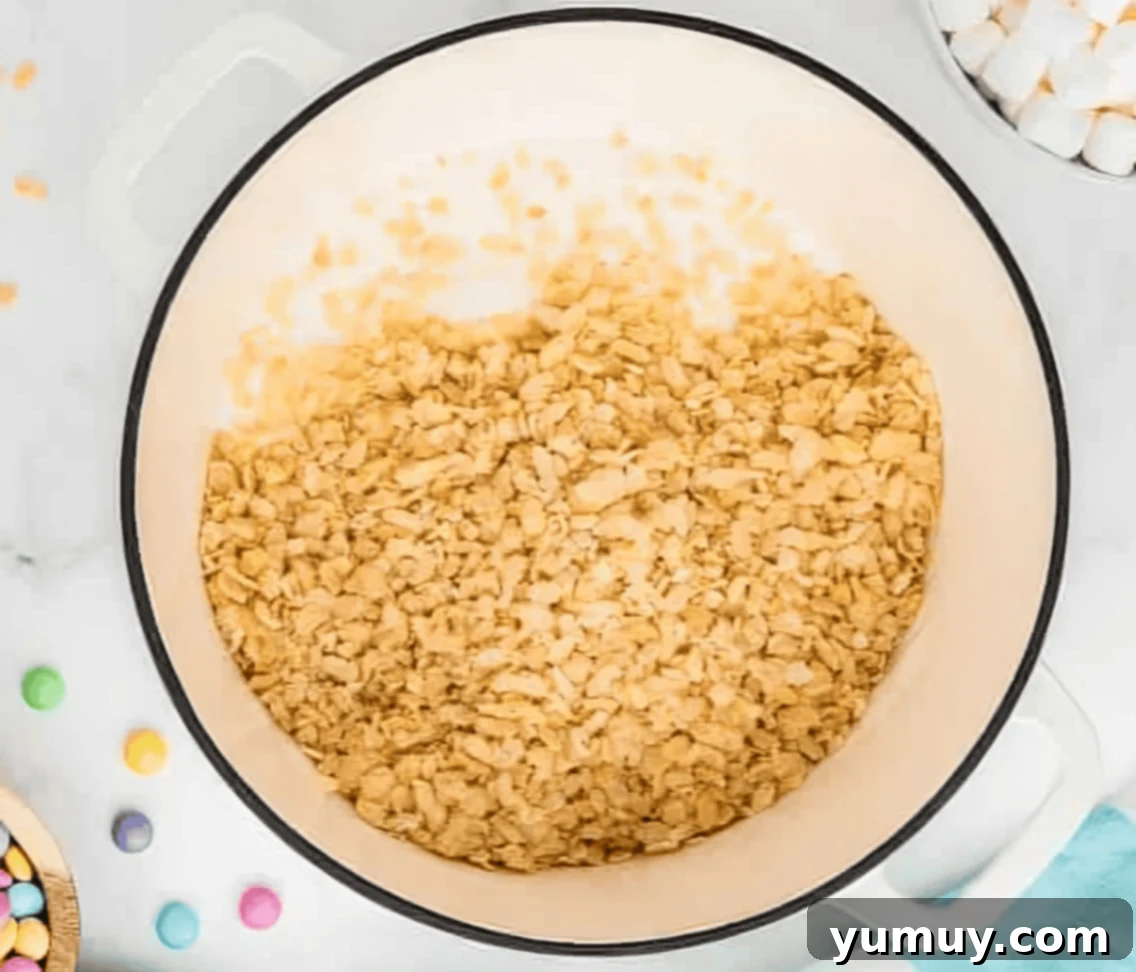
Once the marshmallows are fully melted and the mixture is smooth, immediately remove the pot from the heat. Quickly add 10 cups of Rice Krispies cereal into the pot. Using your silicone spatula, begin to fold the cereal into the warm marshmallow mixture. Work efficiently but gently, ensuring that every single flake of cereal is thoroughly coated with the gooey marshmallow. This step should be done swiftly before the marshmallow starts to cool and harden.
4. Press the Treats into the Pan
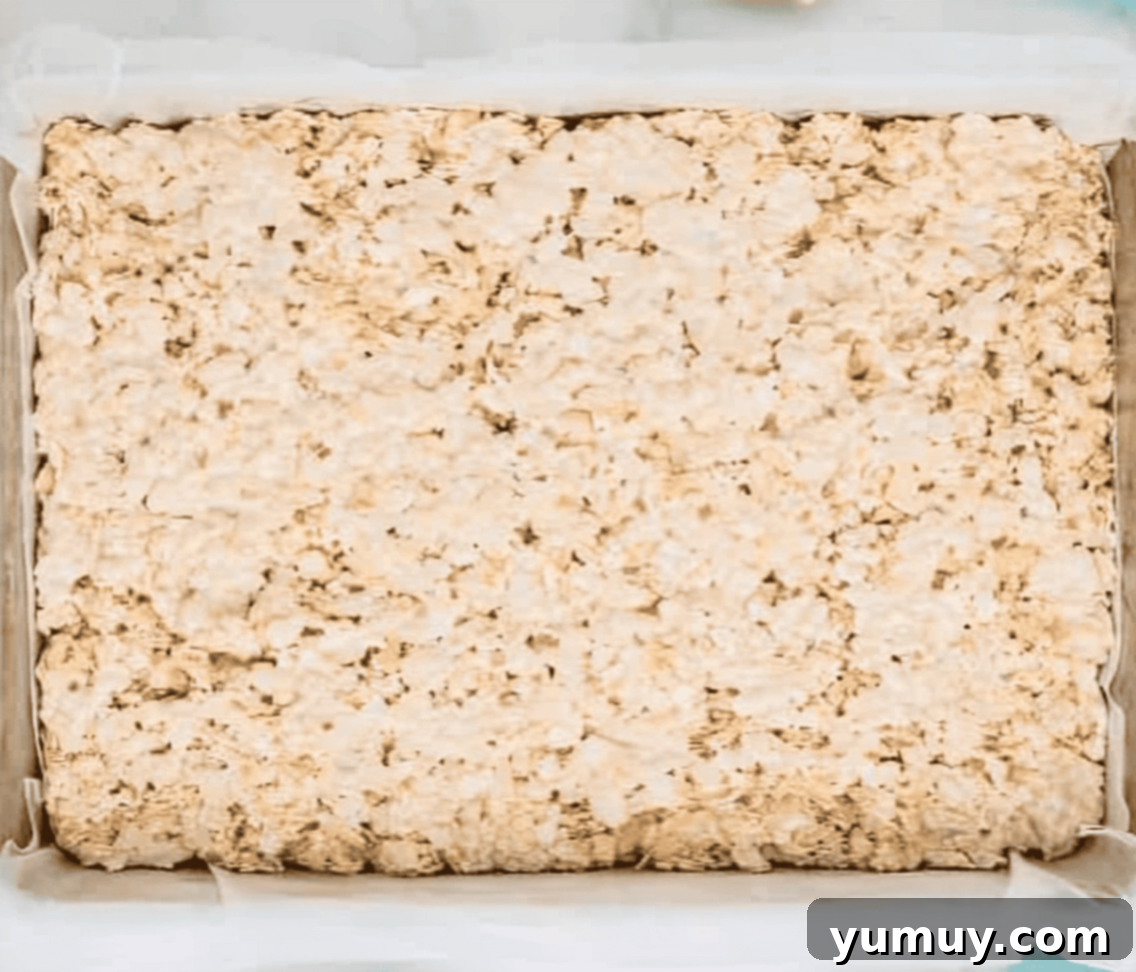
Immediately transfer the entire cereal mixture into your prepared 9×13-inch baking pan. Using your silicone spatula, carefully and evenly distribute the mixture across the pan. Now, for the crucial pressing step: very gently press the mixture down into the pan. The goal is to achieve an even layer across the top and ensure the treats are secure without making them too dense. A handy trick for this is to spray another piece of parchment paper or wax paper with cooking spray. Place this greased paper over the treats and then use your hands to gently press down, creating a smooth and even surface without over-compressing.
5. Decorate Your Festive Treats
Now comes the fun part: decorating! In a small microwavable bowl, melt 8 ounces (equivalent to 2 bars) of white melting chocolate according to the package instructions. Be careful not to overheat the chocolate, as it can seize. Once smooth and melted, use a tablespoon to drizzle the melted white chocolate artfully over the entire pan of Rice Krispie treats. Immediately after drizzling, sprinkle ½ cup of festive Easter M&M’s generously over the warm white chocolate. The warmth of the chocolate will help the M&Ms adhere nicely as it cools.

6. Set and Cut
For the best texture and to ensure the chocolate hardens beautifully, allow the decorated treats to set at room temperature for at least 30-60 minutes. This setting time is crucial for easy cutting and a clean presentation. Once fully set, use the parchment paper overhangs to carefully lift the entire slab of Rice Krispie treats out of the pan and place it onto a clean cutting surface. Using a sharp, buttered knife, cut the large slab into equal portions. Squares are classic, but you could also use cookie cutters for fun Easter shapes (ensure they are greased first!).
Serving Suggestions for Your Easter Rice Krispie Treats
These delightful treats are incredibly versatile and perfect for a variety of Easter celebrations. Serve them:
- As part of your Easter brunch dessert spread.
- Packaged individually as charming party favors for guests.
- As a delightful snack for school parties or picnics.
- Arranged on a tiered stand for an elegant presentation at a holiday gathering.
- As a simple, sweet reward for children after an egg hunt.
Customizing Your Treats for Any Occasion
While M&Ms and white chocolate make these perfect for Easter, don’t hesitate to get creative for other holidays or themes:
- **Birthday Parties:** Use brightly colored sprinkles and fun-shaped candies.
- **Christmas:** Drizzle with red and green melted candy melts, and top with holiday sprinkles.
- **Halloween:** Use orange or black melting chocolate, and top with candy corn or spooky sprinkles.
- **Game Day:** Use team-colored M&Ms or sprinkles to show your spirit.
- **Seasonal Flavors:** Add a touch of pumpkin spice for fall or peppermint extract for winter to the marshmallow mixture.
More Cereal Treat Recipes to Try!
Halloween Rice Krispie Treats
Fruity Pebbles Treats
Lucky Charms Rice Krispie Treats
Grinch Rice Krispie Treats
