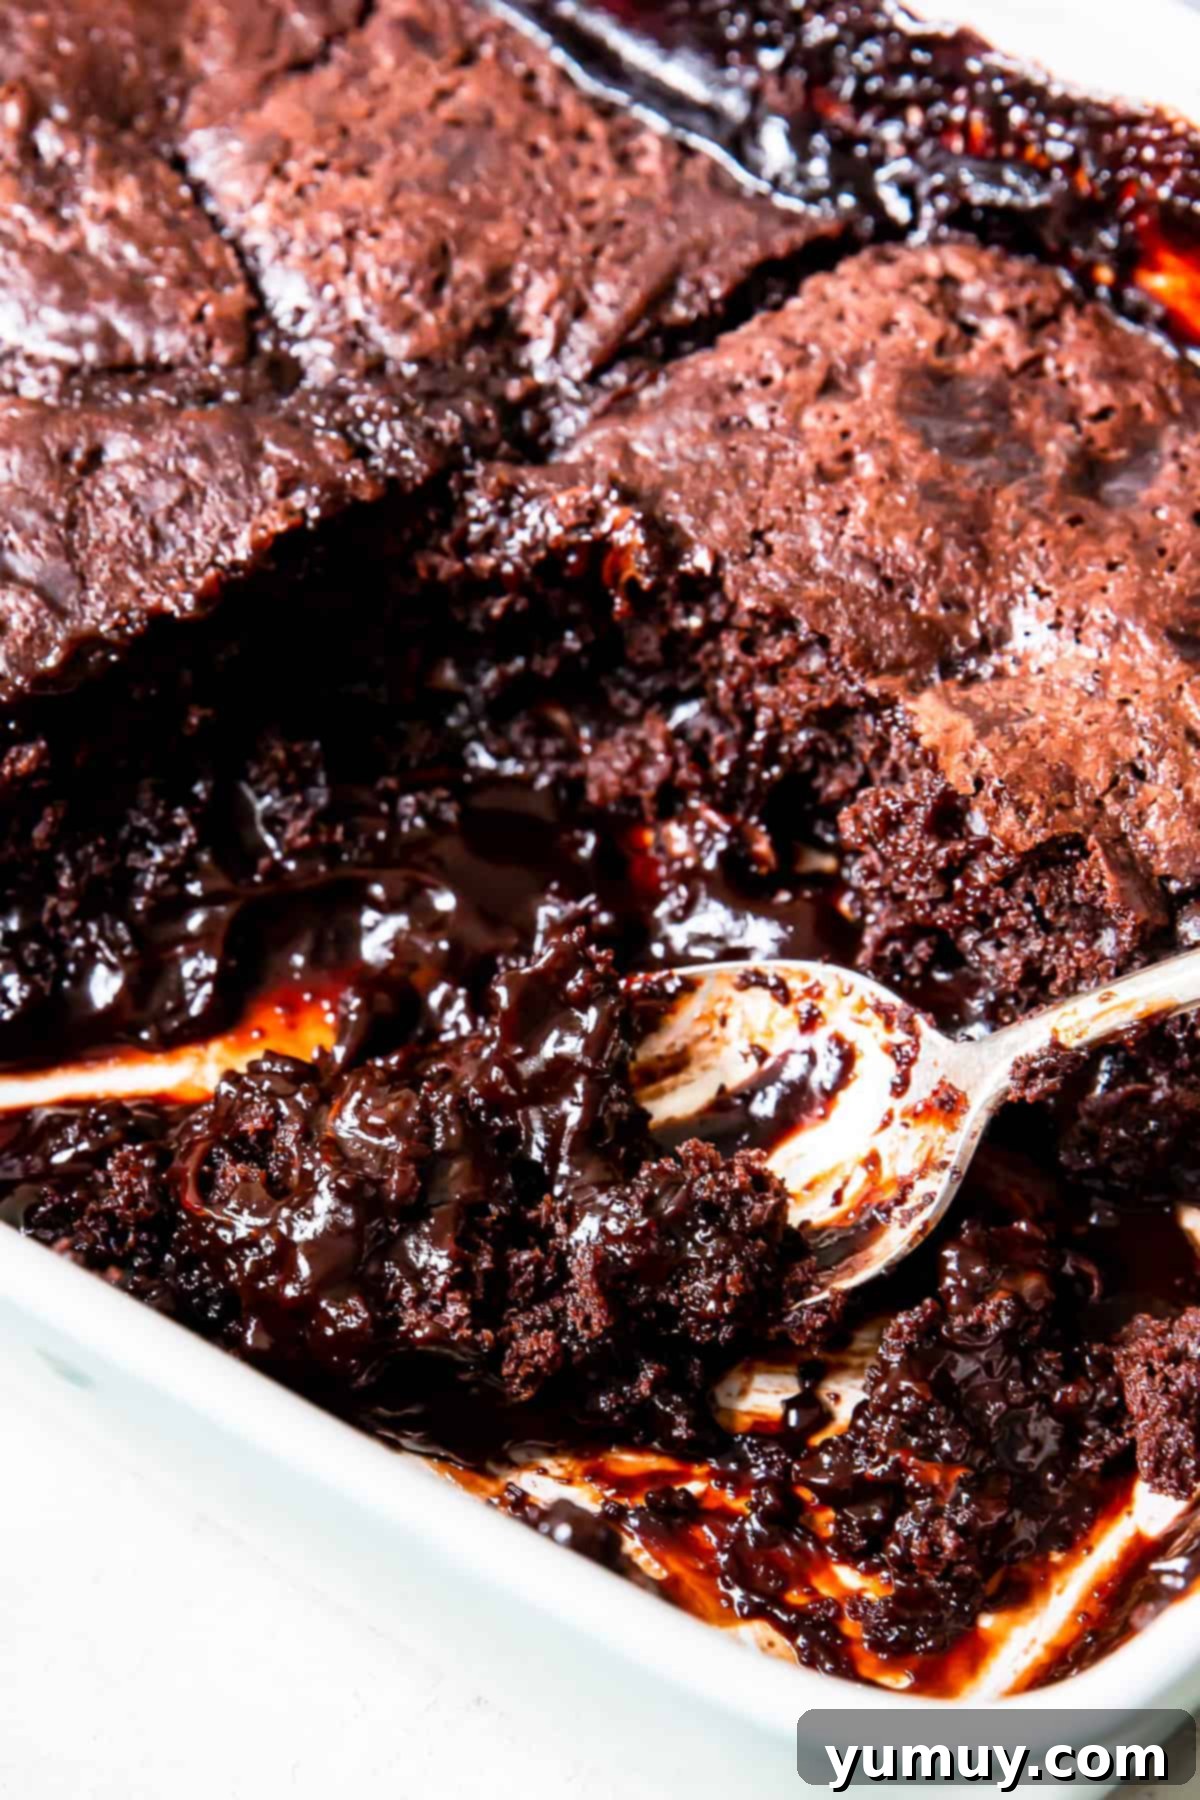
Indulge in the ultimate chocolate experience with this sensational **Easy Chocolate Cobbler Recipe**. This beloved Southern classic is more than just a dessert; it’s a warm, comforting hug in a dish, brimming with rich, fudgy chocolate goodness. Imagine a soft, cake-like topping giving way to a hidden layer of luscious, molten chocolate sauce, all baked to perfection. It’s a truly magical treat that’s incredibly simple to prepare, yet delivers an unforgettable, decadent flavor. Perfect for any occasion, this homemade chocolate cobbler promises moist, rich bites that are utterly impossible to resist.
Easy Chocolate Cobbler: A Southern Delight
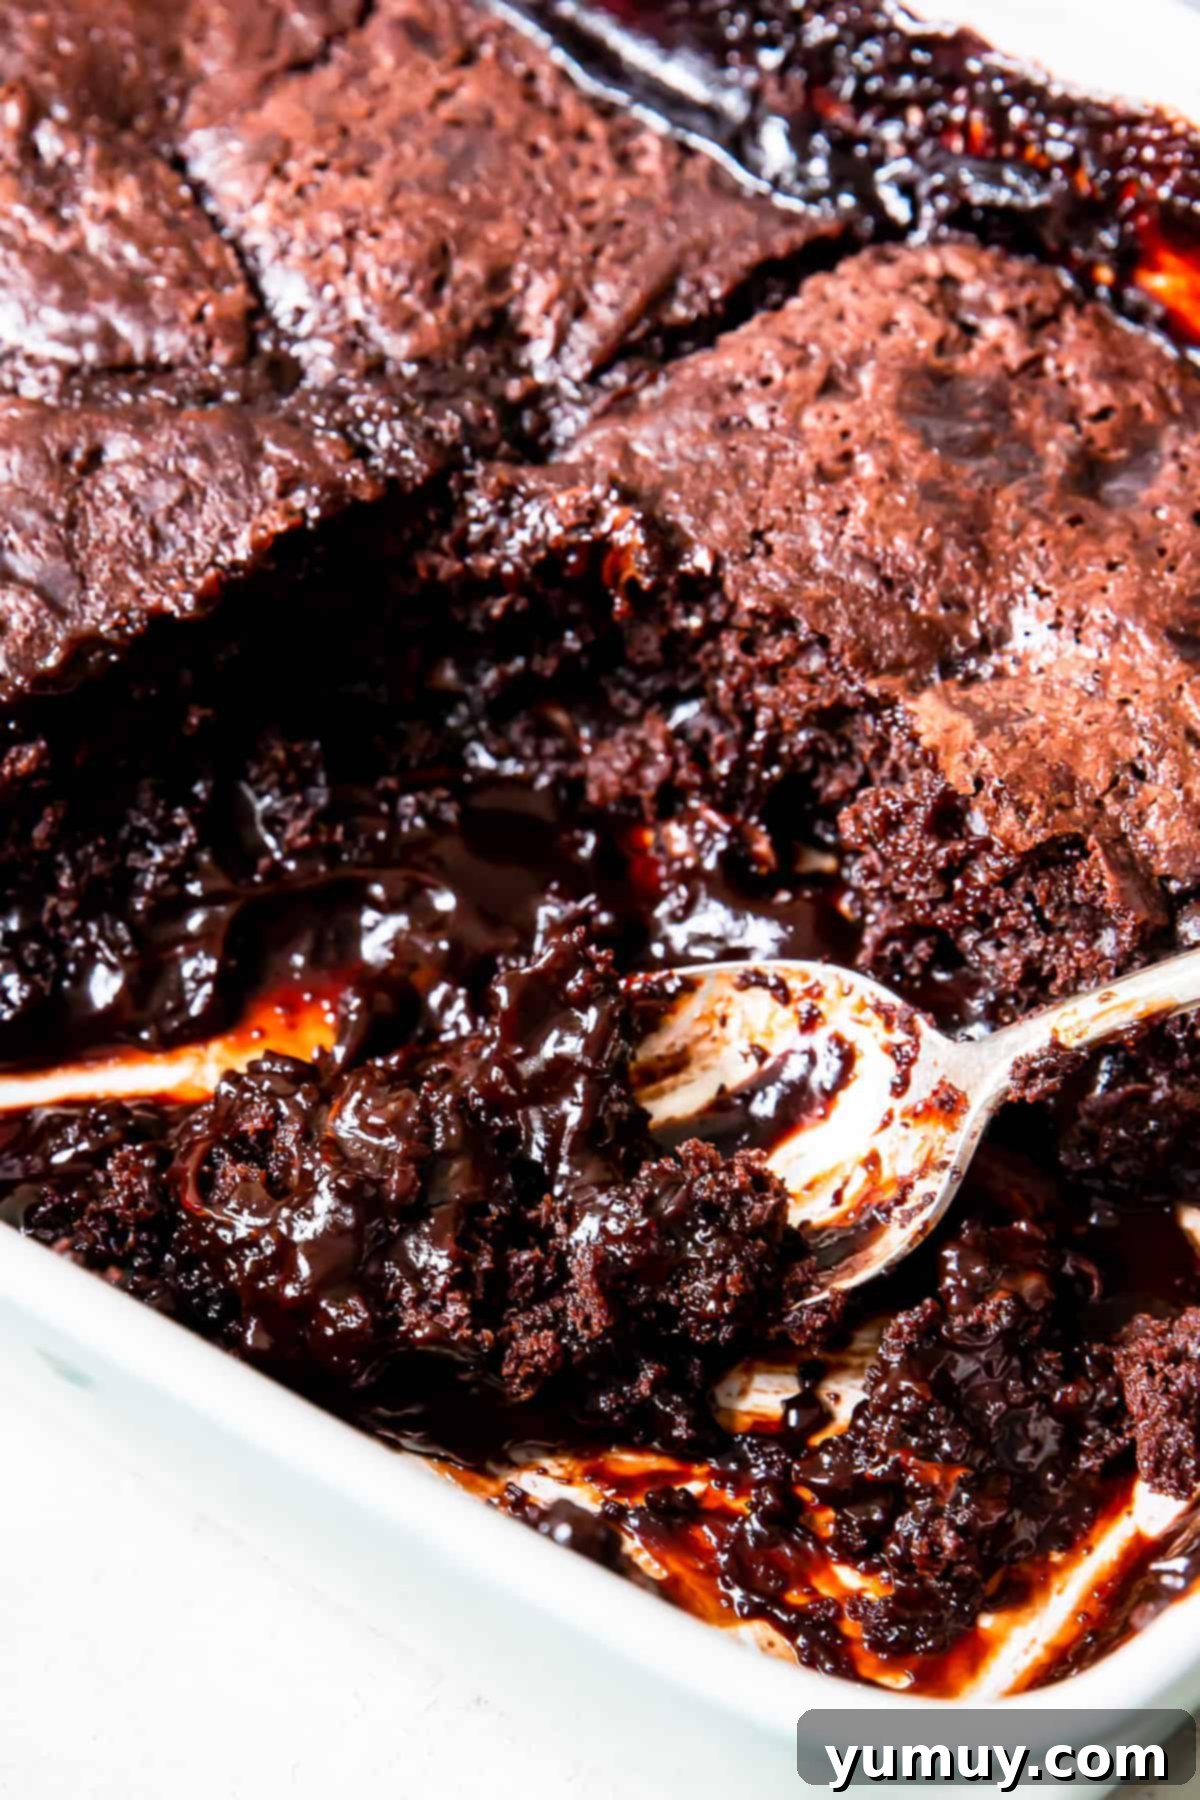
Unlike a traditional cake or a dense brownie, this chocolate cobbler is a remarkable self-saucing dessert. This means that as it bakes, it ingeniously creates two distinct, delightful layers: a wonderfully tender, cake-like topping and a deep, molten chocolate sauce pooling beneath. The secret to this culinary alchemy lies in a simple, yet ingenious technique: after spreading the batter, you sprinkle a mixture of sugar and cocoa over the top, then carefully pour boiling water across it, without stirring. While it might seem counterintuitive to add boiling water to a dessert batter, trust the process! In the heat of the oven, this liquid transforms into the most luxurious, thick, and velvety hot fudge sauce you’ve ever tasted. Each spoonful offers a harmonious blend of textures and intense chocolate flavor. Served warm with a generous scoop of creamy vanilla ice cream, this easy chocolate cobbler truly shines, embodying the comforting essence of Southern hospitality and becoming an instant family favorite.
Mastering the Self-Saucing Secret: Tips for a Perfect Cobbler
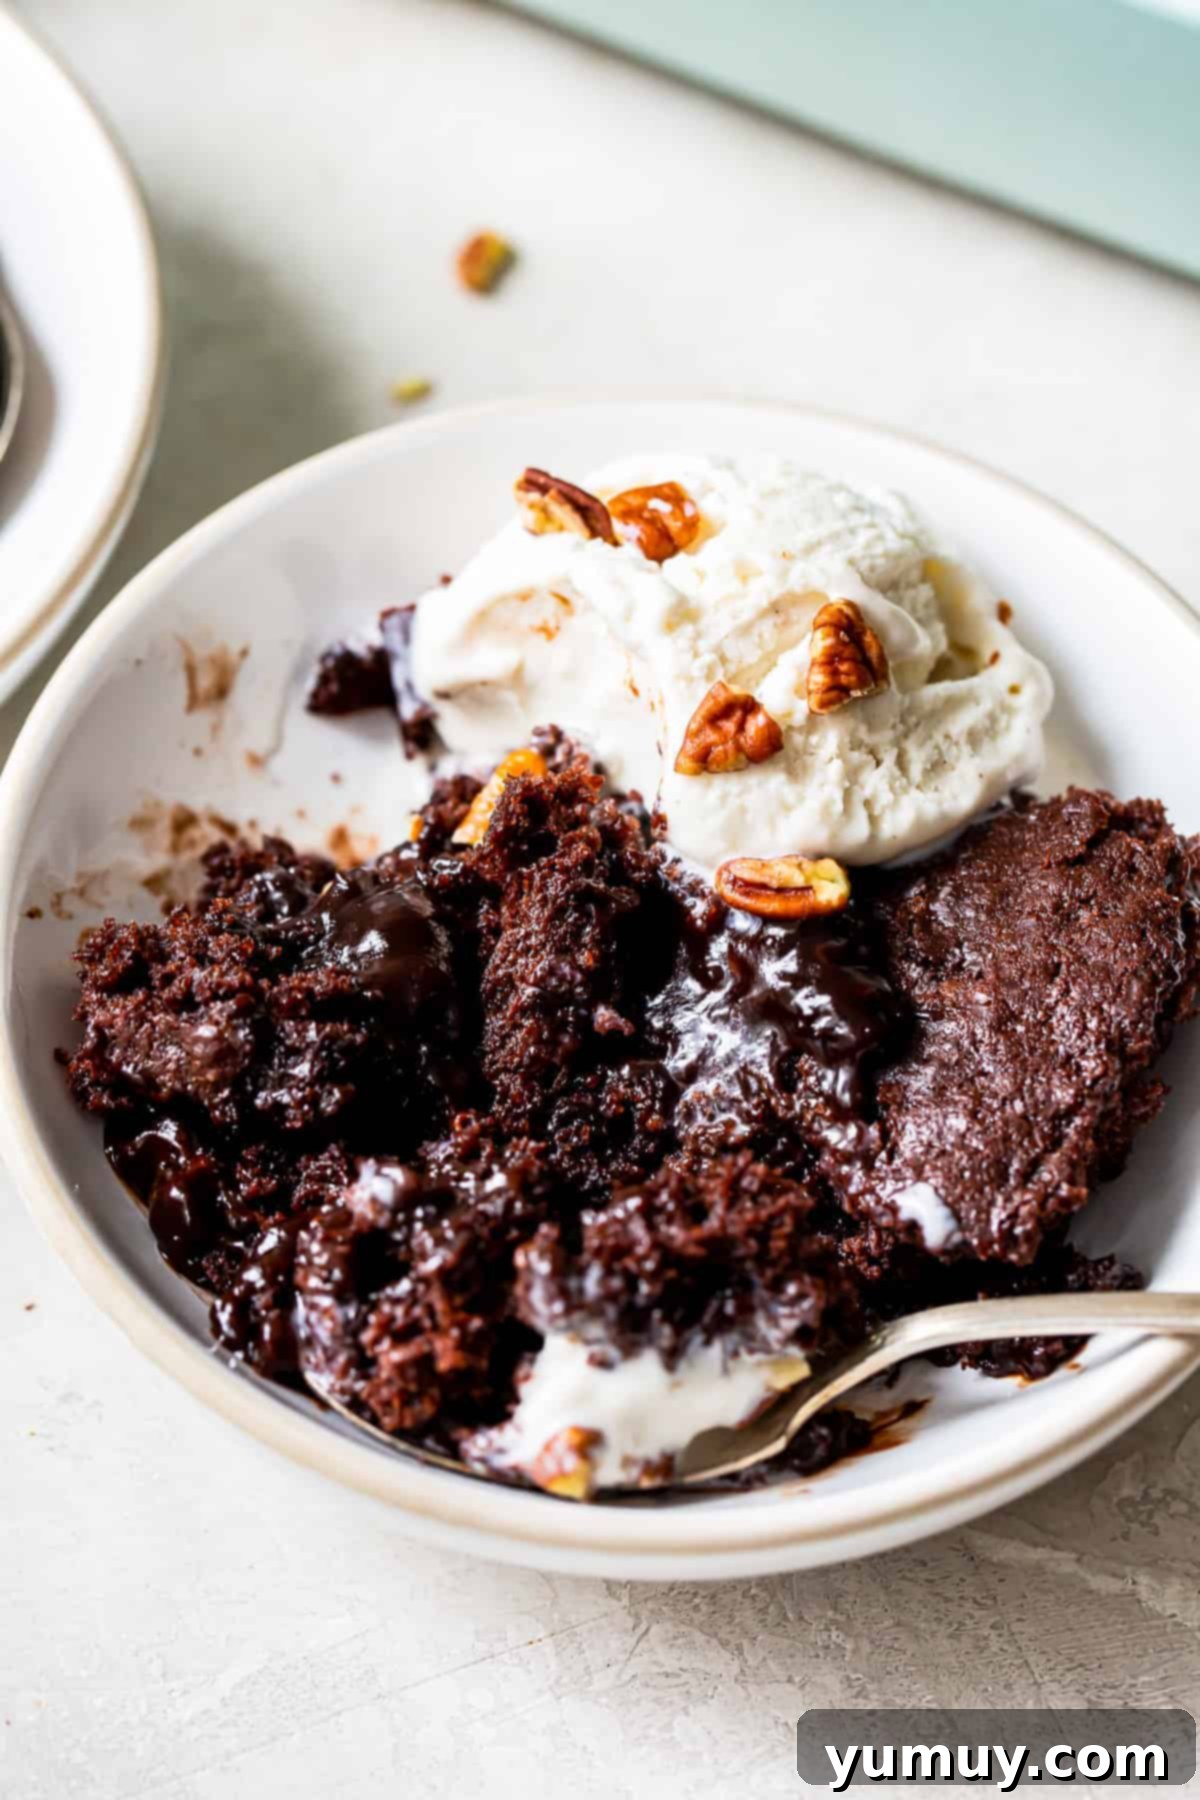
The hallmark of an exceptional chocolate cobbler is its distinctive self-saucing characteristic, where a rich, thick chocolate pudding forms magically beneath a tender cake layer. To achieve this perfect separation and luscious sauce every time, precision in pouring the boiling water is crucial. Instead of directly dousing the batter, I recommend pouring the boiling water slowly and evenly over the back of a spoon. This gentle method allows the water to settle delicately on top of the sugar and cocoa mixture without disrupting the underlying batter. This seemingly small step is vital; it ensures the liquid remains on the surface to create that signature molten fudge sauce as it bakes, rather than thinning out the batter or preventing the layers from forming properly. Without this technique, the sauce can turn out thin and watery, rather than achieving the desired thick, rich, and fudgy consistency that makes this dessert so irresistible.
Easy Chocolate Cobbler Recipe
Ingredients
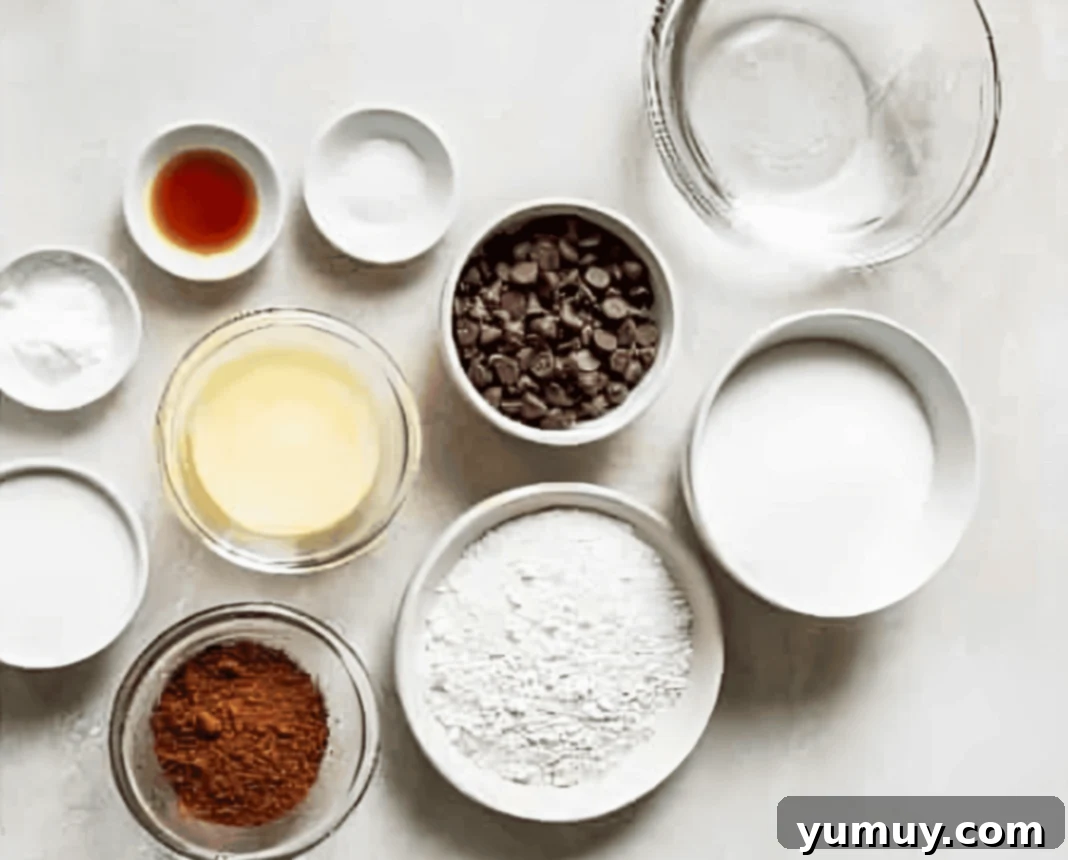
- 1 cup all-purpose flour
- 1⅔ cups granulated sugar divided
- 6 tablespoons unsweetened cocoa powder divided*
- 2 teaspoons baking powder
- ½ teaspoon kosher salt
- ½ cup milk
- 6 tablespoons unsalted butter melted and cooled (¾ stick)
- 1 teaspoon pure vanilla extract
- ¾ cup chocolate chips
- 1½ cups boiling water
- Vanilla ice cream optional, for serving
Equipment
- Kitchen Scale (optional, for precise measurements)
- 8×8 Baking Pan
- Large Mixing Bowls
- Whisk
- Small Saucepan or Kettle (for boiling water)
Instructions
- Preheat your oven to 350°F (175°C). Prepare an 8×8-inch baking pan by buttering it thoroughly, then set it aside. This ensures your cobbler won’t stick and will release easily.

- In a medium-sized mixing bowl, combine the dry ingredients for the cobbler batter. Whisk together 1 cup of all-purpose flour, ⅔ cup of granulated sugar (reserving the remaining sugar for the topping), ¼ cup of unsweetened cocoa powder, 2 teaspoons of baking powder, and ½ teaspoon of kosher salt until they are well combined and no lumps remain. Sifting the cocoa powder beforehand can help achieve a smoother batter.1 cup all-purpose flour,
1⅔ cups granulated sugar,
6 tablespoons unsweetened cocoa powder,
2 teaspoons baking powder,
½ teaspoon kosher salt
- In a separate bowl, prepare the wet ingredients. Whisk together ½ cup of milk, 6 tablespoons of unsalted butter (which should be melted and then cooled to room temperature), and 1 teaspoon of pure vanilla extract until the mixture is smooth and emulsified. Cooling the butter is important to prevent curdling the milk when combined.½ cup milk,
6 tablespoons unsalted butter,
1 teaspoon pure vanilla extract
- Pour the wet mixture into the bowl with the dry ingredients. Stir gently with a spoon or spatula just until a thick, uniform batter forms. Be careful not to overmix, as this can lead to a tough or gummy cobbler. Once combined, transfer the batter evenly into your prepared 8×8-inch baking dish.

- In a separate small bowl, combine the remaining granulated sugar (which should be 1 cup, as ⅔ cup was used in the batter) and the remaining 2 tablespoons of unsweetened cocoa powder. Stir these together thoroughly. Sprinkle this sweet cocoa mixture evenly over the surface of the batter in the baking dish. A sieve can be used for a perfectly uniform layer.

- Evenly sprinkle ¾ cup of chocolate chips over the cocoa-sugar layer. Now for the magic step: carefully and slowly pour 1½ cups of boiling water over the entire surface of the mixture. It’s best to do this over the back of a spoon to prevent disturbing the chocolate chips and the topping layer, ensuring an even distribution and proper self-saucing action. Do not stir!¾ cup chocolate chips,
1½ cups boiling water
- Carefully place the baking dish into your preheated oven. Bake for approximately 30-40 minutes, or until the top layer appears set and a toothpick inserted into the cakey part comes out mostly clean, though the underlying sauce will still be molten. The center should still be slightly soft, not completely firm. Serve this incredible chocolate cobbler slightly warm for the best experience, ideally with a scoop of creamy vanilla ice cream.Vanilla ice cream

Notes
Expert Tips for Perfect Chocolate Cobbler:
- Handle with Care: Once the boiling water has been added, the baking pan will become extremely hot. Always use oven mitts when handling it to prevent burns.
- Prevent Drips: To protect your oven from any potential spills or boil-overs, especially during the self-saucing process, it’s a good practice to place your baking dish on a larger sheet pan before putting it into the oven. This catches any accidental drips.
- Rest for Perfection: Allow your chocolate cobbler to cool for at least 5 minutes after baking before serving. This brief resting period allows the molten sauce to settle and thicken slightly, making for an even more decadent experience.
- Best Served Warm: While delightful even when cold, this dessert truly shines when served warm, allowing the chocolate sauce to remain perfectly molten. Pair it with a scoop of classic vanilla ice cream, or for a different twist, a dollop of freshly whipped cream or a drizzle of rich table cream also makes for excellent accompaniments.
- Nutritional information provided does not include optional ingredients like vanilla ice cream or whipped cream.
Storage & Reheating: If you’re lucky enough to have leftovers, store this delightful chocolate cobbler in an airtight container in the refrigerator for up to 4 days. For longer storage, it can be frozen for up to 3 months. When ready to enjoy from the freezer, let it thaw overnight in the refrigerator. Individual servings can be quickly reheated in the microwave until warm and fudgy again.
How to Make Chocolate Cobbler: A Detailed Step-by-Step Guide
Creating this easy chocolate cobbler is a straightforward process, but following these detailed steps ensures a perfect, fudgy outcome every time. Get ready to bake a truly irresistible dessert!
Step 1: Preheat Oven & Prepare Your Pan
Begin by preheating your oven to 350°F (175°C). While the oven heats up, prepare your baking vessel. Take an 8×8-inch baking pan and generously butter its interior. Ensuring the pan is well-greased will prevent the cobbler from sticking and allow for easy serving. Set the prepared pan aside. Also, if your butter for the wet ingredients is not already melted, now is a good time to microwave it for 30-60 seconds until completely liquid, then let it cool to room temperature. This cooling step is critical for a smooth batter.
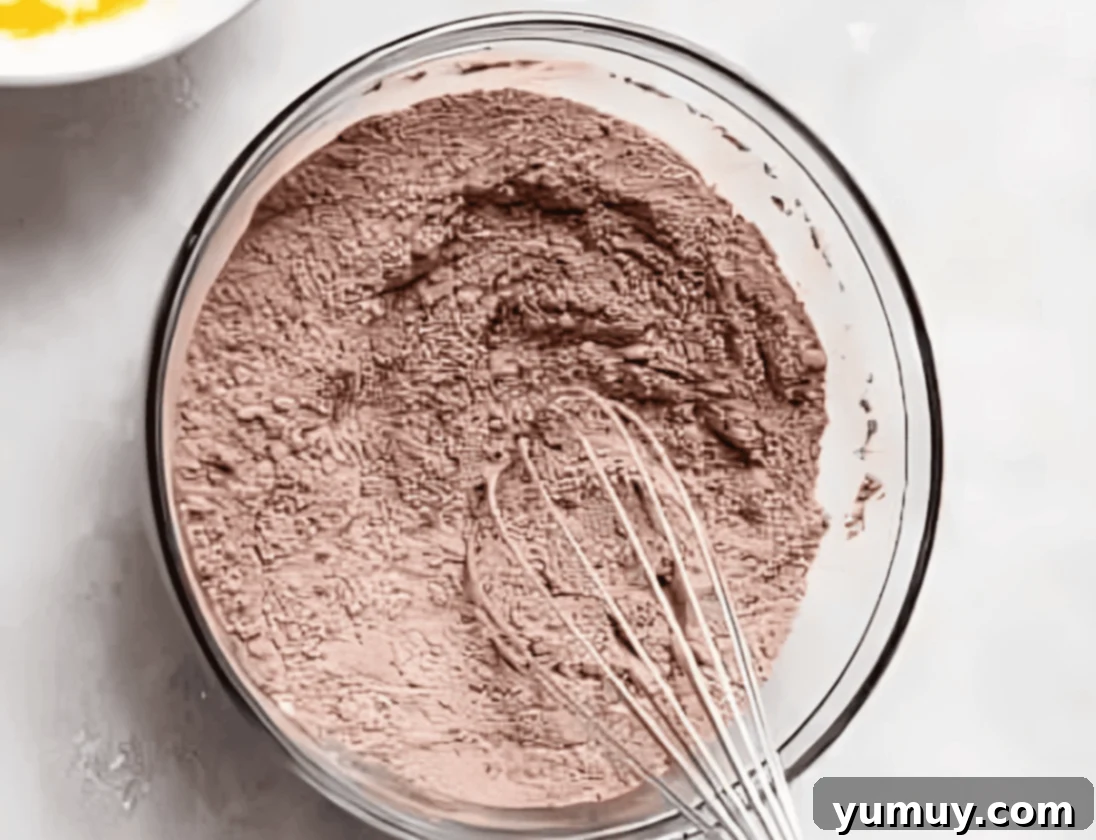
Step 2: Combine Dry Ingredients
In a large mixing bowl, measure out and whisk together all your dry ingredients for the main cobbler batter. This includes 1 cup of all-purpose flour, ⅔ cup of the granulated sugar (remember to save the remaining 1 cup for the topping!), ¼ cup of unsweetened cocoa powder, 2 teaspoons of baking powder, and ½ teaspoon of kosher salt. Whisk vigorously until all ingredients are thoroughly combined and any lumps, especially from the cocoa powder, are gone. For an extra smooth batter, consider sifting your cocoa powder before adding it to the flour mixture.
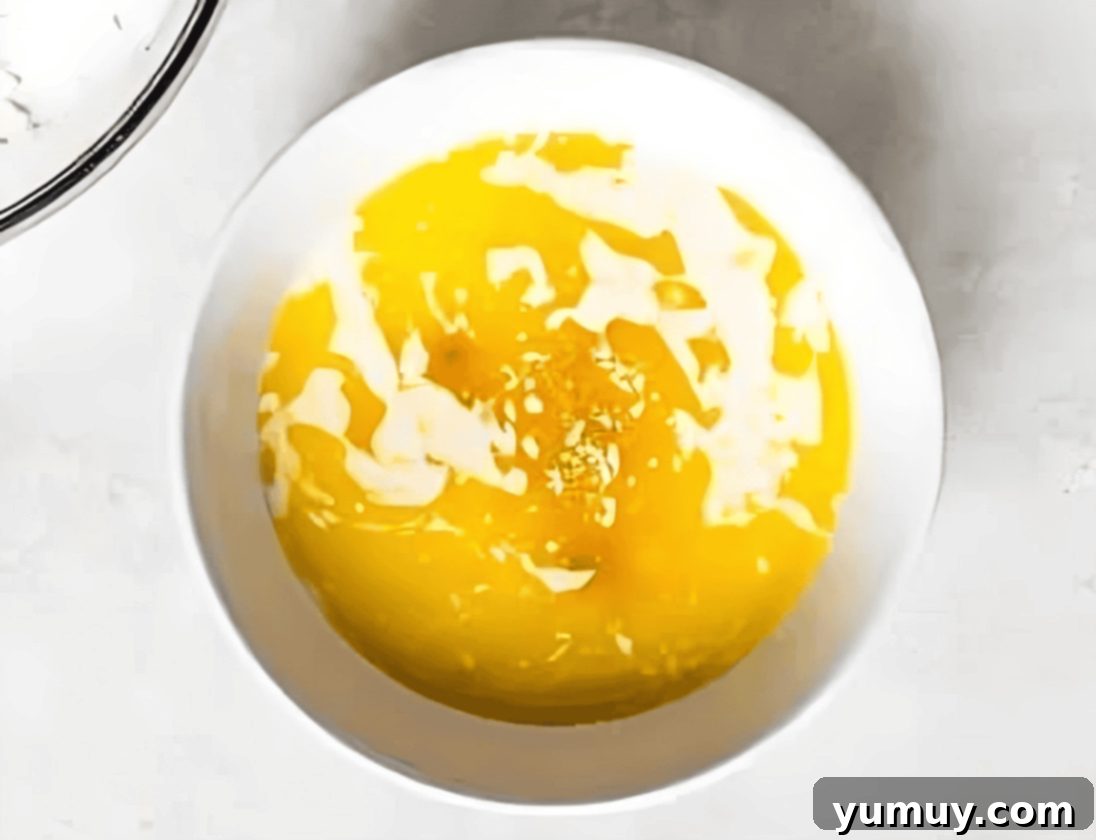
Step 3: Whisk Wet Ingredients
Grab a separate, medium-sized bowl for your liquid components. Into this bowl, whisk together ½ cup of milk, the 6 tablespoons of unsalted butter (which you melted and cooled earlier), and 1 teaspoon of pure vanilla extract. Continue whisking until the mixture is completely smooth and cohesive. It’s crucial that your melted butter has cooled to room temperature; if it’s too hot, it can cause the milk proteins to curdle, which would affect the final texture of your cobbler.
Step 4: Create the Cobbler Batter
Now, it’s time to bring the two mixtures together. Pour the whisked wet ingredients directly into the bowl containing your dry ingredients. Using a spoon or spatula, gently stir to combine them. Mix just until no dry streaks of flour remain and you have a thick, uniform batter. Be very careful not to overmix the batter; excessive mixing can develop the gluten in the flour, resulting in a tougher, gummier cobbler instead of a tender, cake-like consistency. Once the batter is ready, pour it evenly into your buttered 8×8-inch baking dish, spreading it gently to the edges.
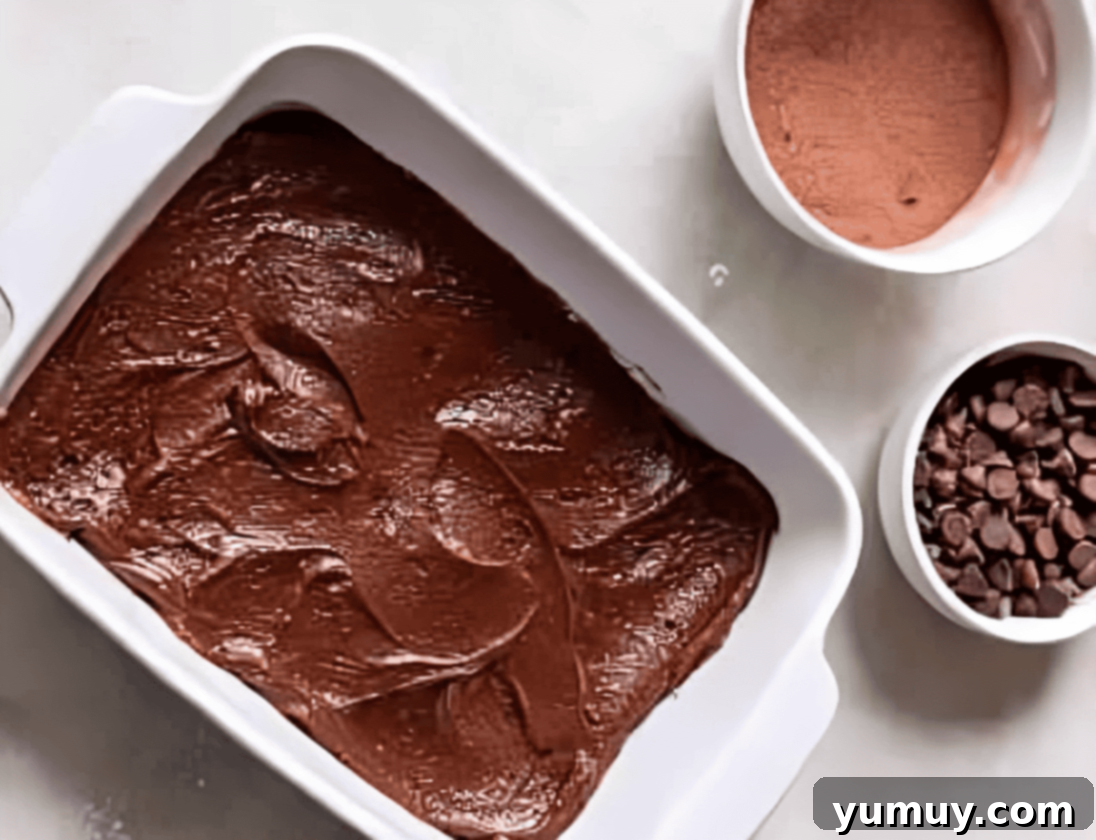
Step 5: Prepare and Add the Topping
For the magical self-saucing layer, prepare your topping mixture. In a small, clean bowl, combine the remaining 1 cup of granulated sugar with the remaining 2 tablespoons of unsweetened cocoa powder. Stir these two ingredients together thoroughly until they are well blended. If your cocoa powder is prone to lumps, quickly sift this mixture as well for a smooth application. Once prepared, evenly sprinkle this sugar-cocoa topping over the entire surface of the batter in the baking dish. Aim for an even, generous layer.
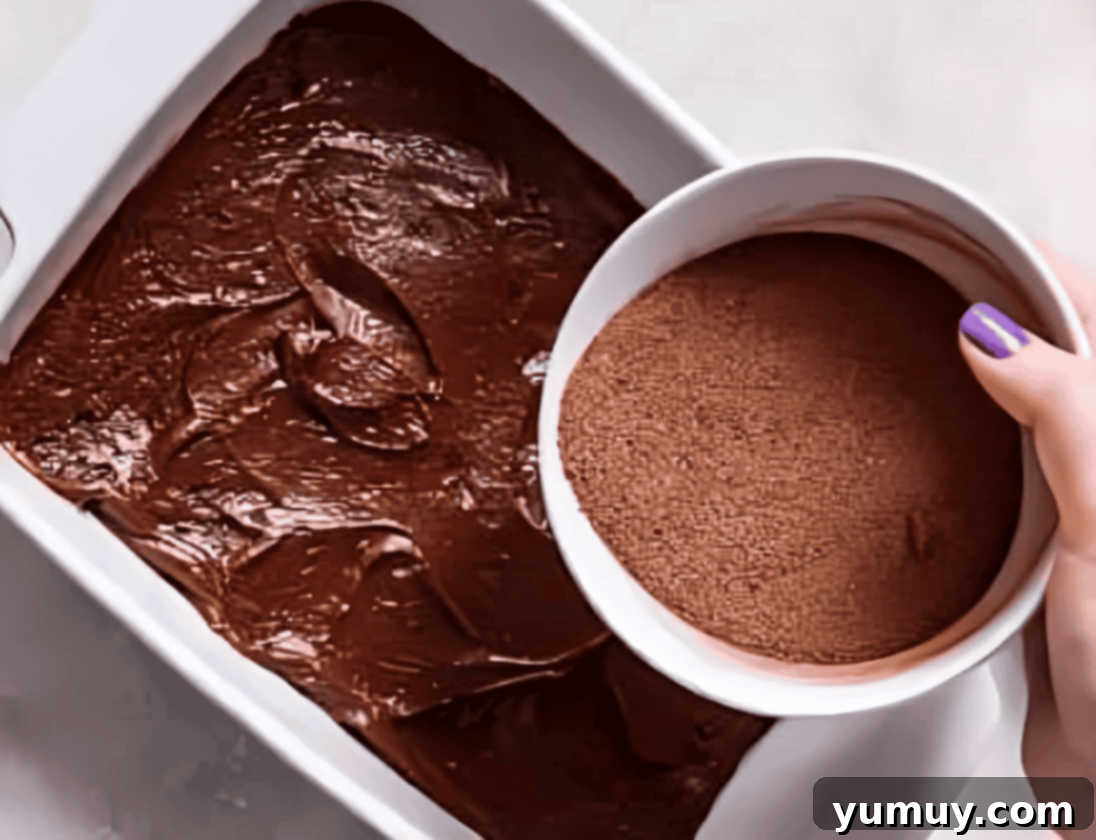
Step 6: Add Chocolate Chips & Boiling Water
Sprinkle ¾ cup of your favorite chocolate chips evenly over the sugar-cocoa topping. These will melt into delicious pockets of chocolatey goodness. Now for the crucial step that creates the molten sauce: slowly and carefully pour 1½ cups of boiling water over the entire top surface of the mixture. To avoid disturbing the layers you’ve just created, it’s highly recommended to pour the water over the back of a spoon, allowing it to gently cascade over the topping. This technique ensures the water settles uniformly without mixing into the batter below, which is essential for the self-saucing effect. Do not stir the layers after adding the water.
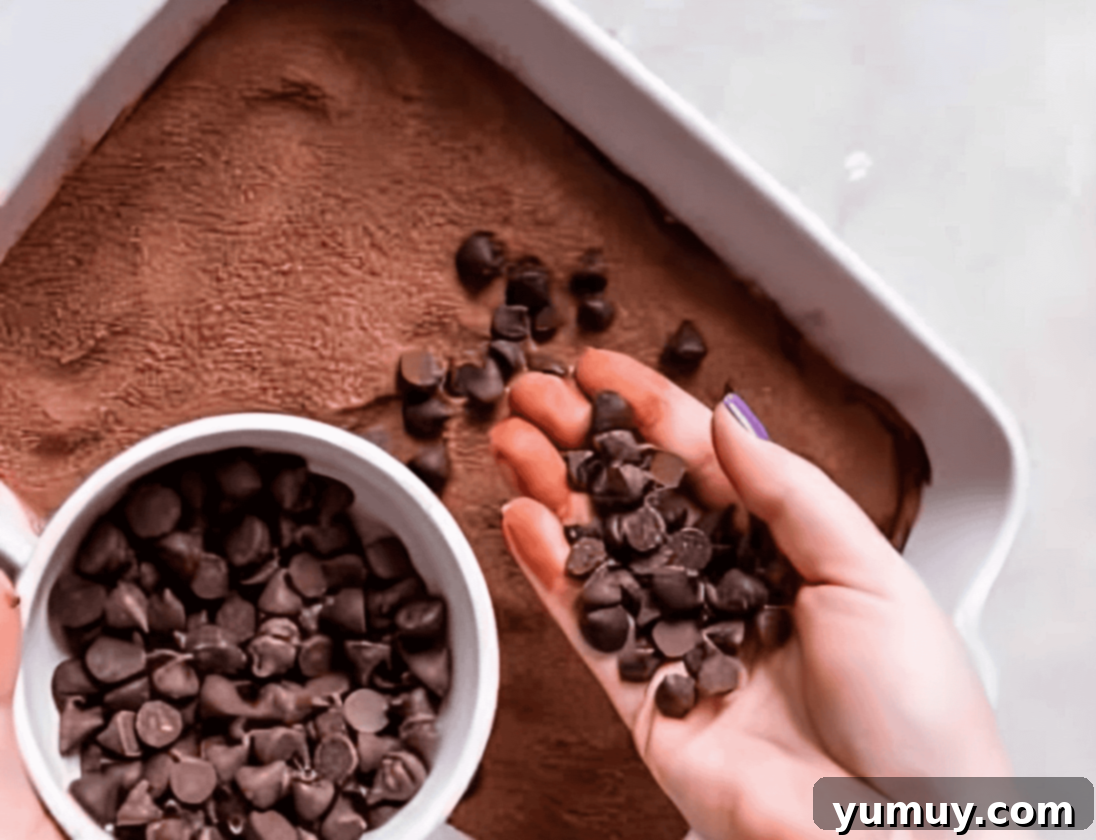
Step 7: Bake to Perfection & Serve
Carefully transfer your baking dish to the preheated oven. Bake for 30-40 minutes. The cobbler is ready when the top cake layer appears set, and a gentle jiggle reveals a slightly soft, molten center beneath. A toothpick inserted into the cakey topping should come out mostly clean, but it’s okay if it has a bit of moist crumb, as the sauce below will still be very wet. Once baked, remove the cobbler from the oven and let it cool for about 5 minutes. This allows the hot fudge sauce to thicken slightly. Serve this incredibly easy chocolate cobbler warm, perhaps with a scoop of vanilla ice cream, and prepare for a truly unforgettable dessert experience!
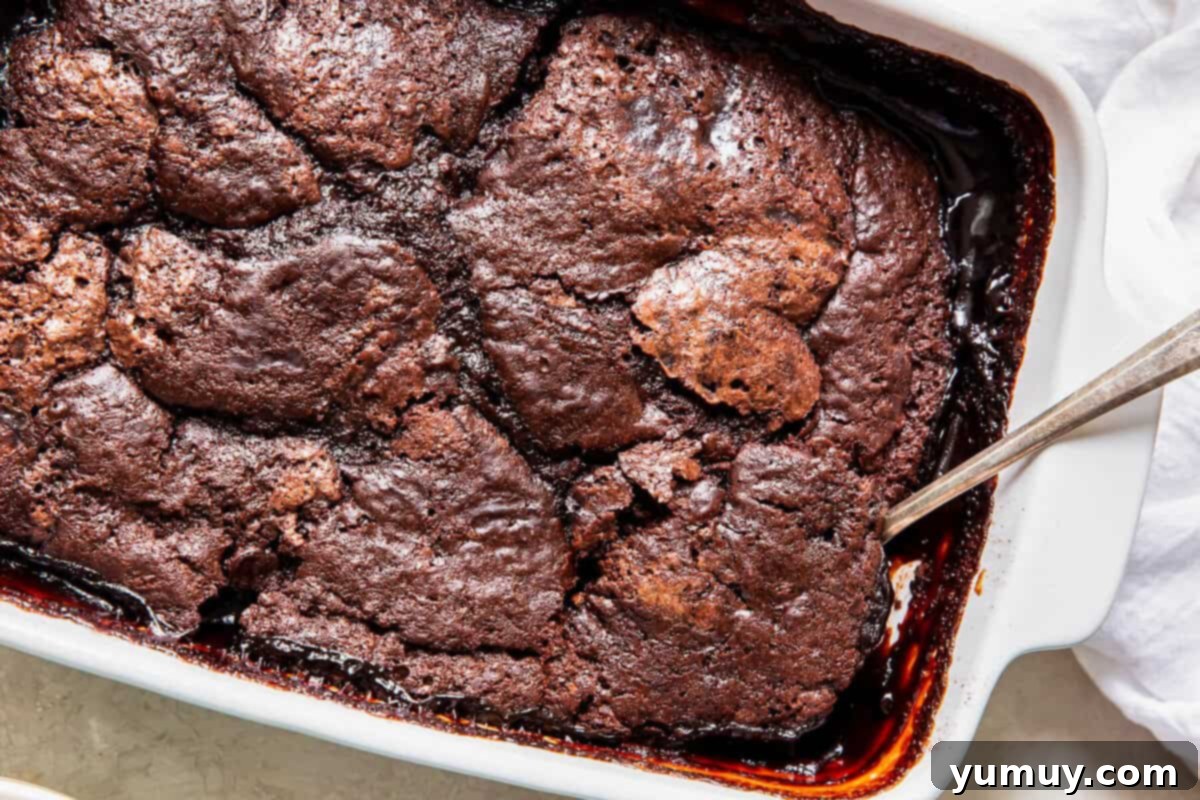
Storing and Reheating Your Chocolate Cobbler
This chocolate cobbler is so delicious, you might not have any leftovers! However, if you do, proper storage will ensure you can enjoy its rich flavor for days to come. Store any leftover chocolate cobbler in an airtight container in the refrigerator for up to 4 days. This helps maintain its moisture and prevents it from drying out. For longer-term storage, chocolate cobbler freezes exceptionally well. Simply transfer cooled cobbler to a freezer-safe, airtight container or wrap individual portions tightly in plastic wrap and then foil. It can be stored in the freezer for up to 3 months. When you’re ready to enjoy a frozen portion, let it thaw overnight in the refrigerator. Individual servings can then be easily reheated in the microwave for a minute or two until warm and the sauce is perfectly gooey again. The oven can also be used for reheating larger portions, covered loosely with foil, at a low temperature (around 300°F) until warmed through.
More Chocolate Recipes to Try!
Dirt Cake Cups
Chocolate Rice Krispie Treats
Chocolate Mug Cake
Chocolate Cake Pops
Explore All Chocolate Recipes
This Easy Chocolate Cobbler recipe is a testament to simple ingredients creating extraordinary flavors. Its unique self-saucing feature makes it a show-stopping dessert that requires minimal effort. Whether you’re craving a nostalgic taste of the South or simply want a deeply satisfying chocolate treat, this cobbler delivers every time. With its warm, fudgy bottom layer and tender cake topping, it’s the perfect end to any meal or a delightful indulgence on its own. So, gather your ingredients, follow these steps, and prepare to fall in love with the ultimate chocolate comfort food. Happy baking!
