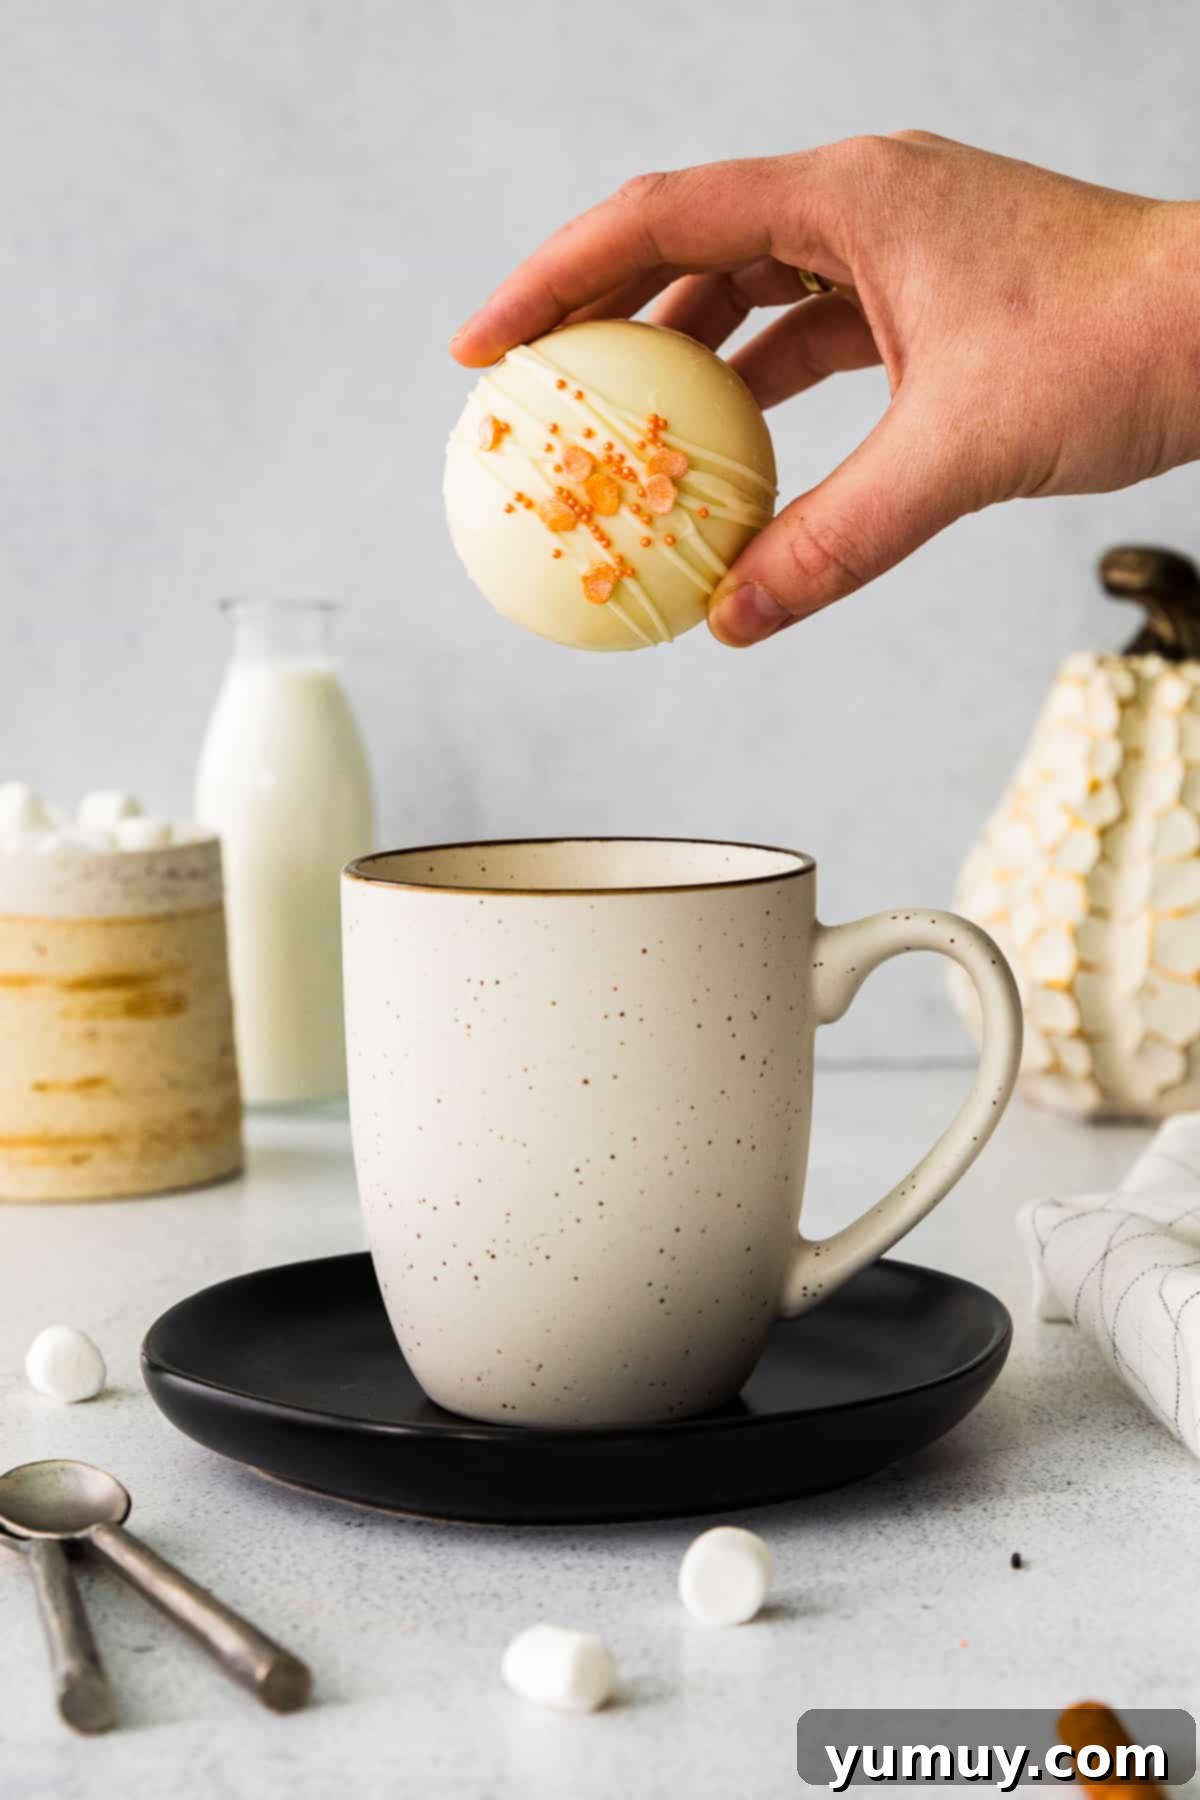
If pumpkin spice season is your absolute favorite time of year, then prepare for a new obsession: homemade Pumpkin Hot Chocolate Bombs. Forget the usual latte; imagine the warm, spiced embrace of autumn, only creamier, richer, and completely caffeine-free, all encased in a luscious, velvety white chocolate shell. These delightful fall hot cocoa bombs promise to transform your ordinary mug of hot milk into a comforting, pumpkin-spiced dream, making them as enchanting to watch as they are to savor. They are the quintessential cold-weather indulgence, perfect for a cozy evening curled up on the couch, or as a thoughtful, impressive gift for friends and family at your next Thanksgiving gathering or holiday celebration.
There’s something uniquely magical about hot chocolate bombs. The anticipation as you pour steaming milk over the hardened chocolate sphere, watching it slowly melt away to reveal a treasure trove of cocoa mix, marshmallows, and delightful add-ins, is an experience in itself. But when you infuse that magic with the beloved flavors of pumpkin spice, you elevate it to an entirely new level. These aren’t just drinks; they’re an event, a moment of pure autumnal bliss captured in a delicious, edible package.
Embrace Autumn with Delicious Pumpkin Hot Chocolate Bombs
My journey into crafting Pumpkin Hot Chocolate Bombs began as a delightful experiment to infuse the quintessential flavors of fall into a beloved classic without overwhelming the senses. I wanted a balance, a harmonious blend where pumpkin spice complemented the rich chocolate, rather than dominating it. Each perfectly smooth white chocolate shell is a protective casing for a homemade hot chocolate mix. This carefully curated blend includes rich cocoa powder, finely powdered sugar, delicate chopped milk chocolate, fluffy mini marshmallows, and, of course, just the right amount of aromatic pumpkin pie spice. The magic truly unfolds when you pour piping hot milk over these bombs. The white chocolate shell gently melts away, slowly releasing all that chocolatey, spiced goodness, transforming your mug into a decadent, pumpkin-infused cocoa bomb dream.
What truly sets these hot chocolate bombs apart is their incredible versatility and undeniable charm. They are far more than just a sweet treat; they’re an experience waiting to happen. Imagine them as adorable, personalized party favors for your autumn gatherings, thoughtful and unique hostess gifts for Thanksgiving, or simply a fun, engaging kitchen project to embark on with your children on a chilly afternoon. Their creation is part of the joy, making memories as you craft each delicate sphere. And for those new to candy making, rest assured: I specifically use high-quality melting chocolate instead of requiring precise chocolate tempering. This crucial choice makes the process entirely beginner-friendly, eliminating the need for complicated candy thermometers or the stress of achieving perfect crystallization. It’s just pure, unadulterated fall comfort, effortlessly delivered in every single delicious cup.
Pro Tip: Achieve Picture-Perfect Shells with Warm Molds
For hot chocolate bombs with an exquisitely smooth, even, and flawless finish, consider this expert tip: slightly warm your silicone mold before introducing the melted chocolate. A quick rinse under hot water (ensuring it’s thoroughly dried afterward) or placing it momentarily near a warm oven can make a significant difference. This subtle warming technique helps to prevent the melted chocolate from setting too rapidly upon contact, which is often the culprit behind unsightly streaks, frustrating air bubbles, or an uneven coating. A gently warmed mold encourages the chocolate to spread more smoothly and evenly, resulting in those beautiful, glossy shells that are truly picture-perfect and a joy to work with.
Pumpkin Hot Chocolate Bombs Recipe
: 20 minutes
Print
Rate
SaveSaved!
Ingredients
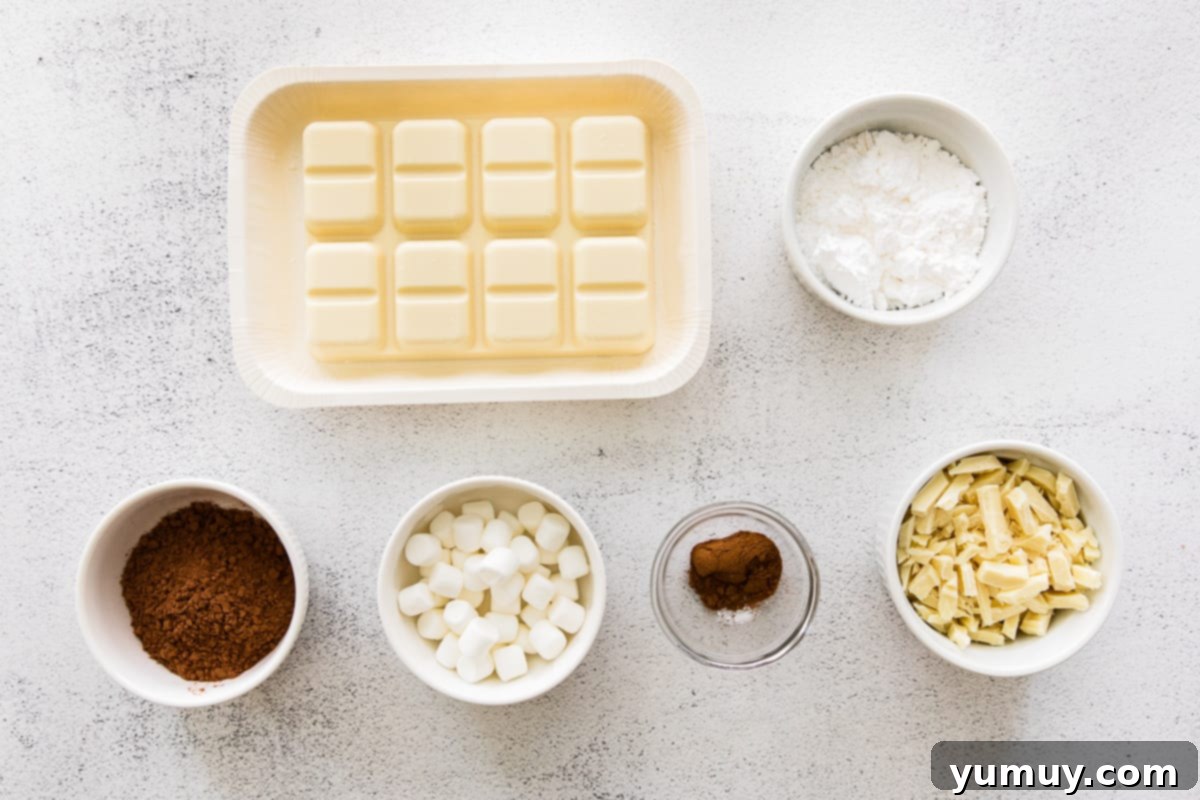
- ½ cup powdered sugar
- ¼ cup unsweetened cocoa powder *
- ¼ cup chopped milk chocolate
- ½ cup mini marshmallows
- 1 teaspoon pumpkin pie spice
- 16 ounces white melting chocolate **
Equipment
- Kitchen Scale (optional)
- Silicone Half-Sphere Mold
Instructions
- In a small, clean bowl, thoroughly combine all the dry ingredients intended for the bomb’s filling. This includes the powdered sugar, unsweetened cocoa powder, finely chopped milk chocolate, fluffy mini marshmallows, and the aromatic pumpkin pie spice. Stir them well until they are evenly distributed.½ cup powdered sugar, ¼ cup unsweetened cocoa powder, ¼ cup chopped milk chocolate, ½ cup mini marshmallows, 1 teaspoon pumpkin pie spice

- Carefully melt the 16 ounces of white melting chocolate, strictly following the specific instructions provided on its packaging. This usually involves microwaving in short bursts or using a double boiler. Once melted and smooth, use a spoon or a clean pastry brush to generously coat the wells of a silicone half-sphere mold. Aim for a thick, even layer of chocolate, ensuring complete coverage, as this will prevent your finished chocolate bomb shells from breaking or cracking.16 ounces white melting chocolate
- Once coated, transfer the mold to the refrigerator and chill the chocolate until it is completely firm and set, which typically takes about 5 minutes. This step is crucial for easy removal and strong shells.

- With gentle care, remove the hardened chocolate half-spheres from the silicone mold. Take half of these shells and fill each one with approximately 1 tablespoon of your prepared hot chocolate powder mixture. Ensure the filling is level and contained within the half-sphere.
- Carefully remove the chocolates from the mold and fill half of them with 1 tablespoon of the hot chocolate powder.

- To flawlessly seal the two chocolate halves together, gently heat a small, dry skillet over medium-low heat until it is just warm to the touch. Immediately remove the skillet from the heat. Take one of the unfilled chocolate halves, place its cut side down onto the warm pan for only 1-2 seconds, just long enough for the edges to slightly melt. Quickly press this melted edge onto the top of one of the filled chocolate halves, creating a complete sphere. The melted chocolate will act as a “glue.”

- Continue this sealing process until all of your pumpkin hot chocolate bombs are perfectly formed.
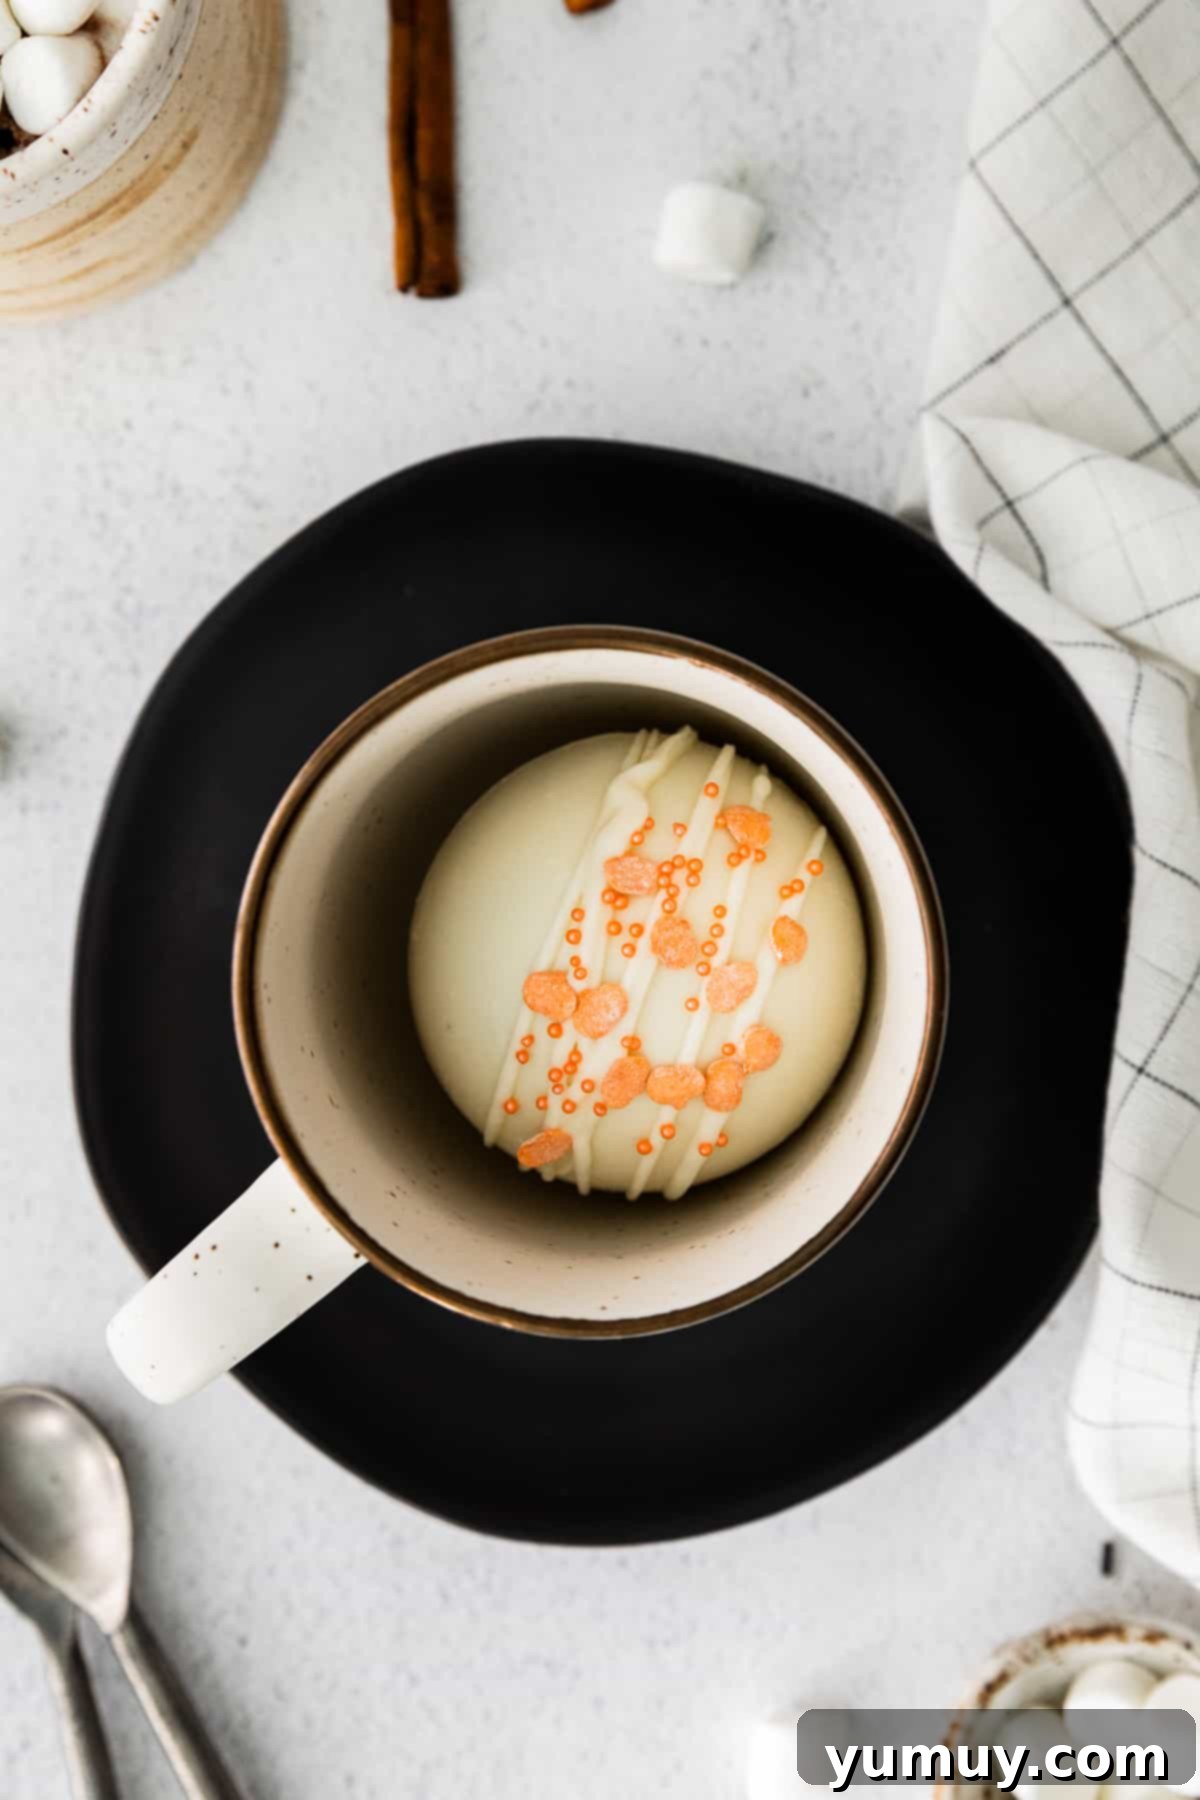
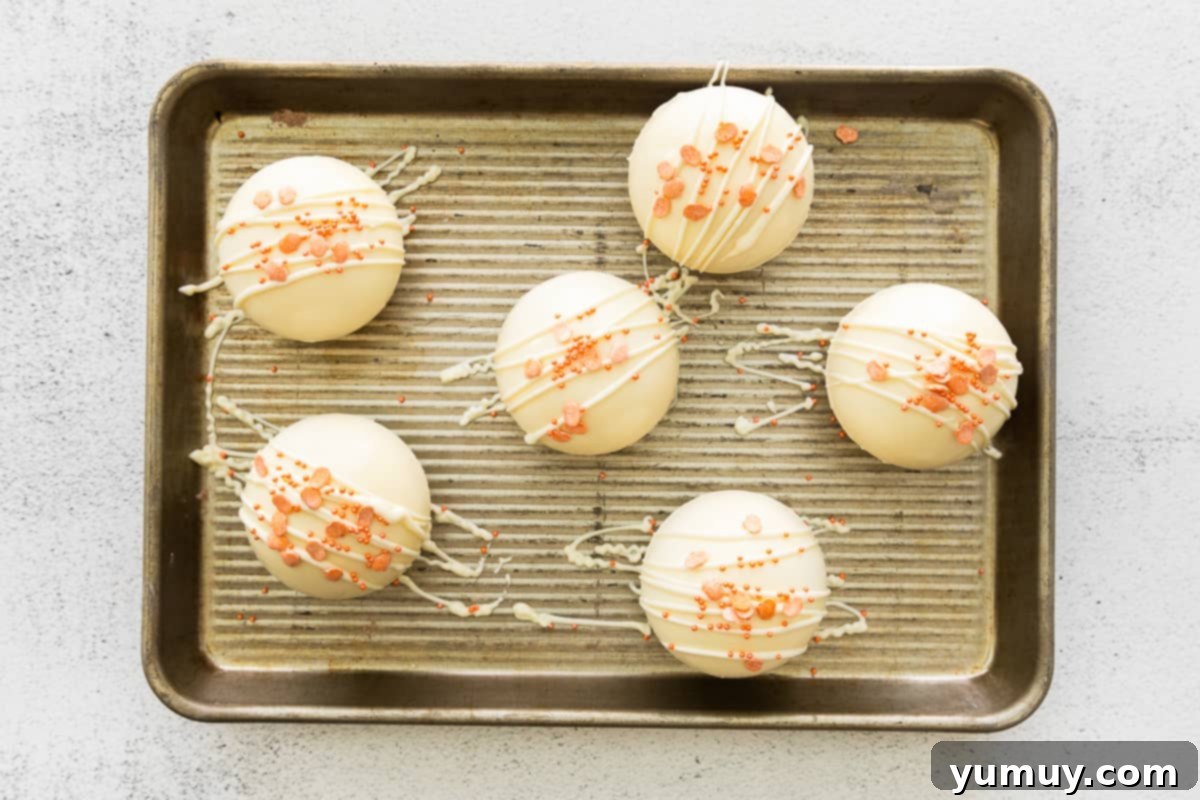
- For an elegant finish, garnish your completed bombs with a delicate drizzle of additional melted white chocolate. If you desire extra festivity, add a scattering of sprinkles before the chocolate sets.

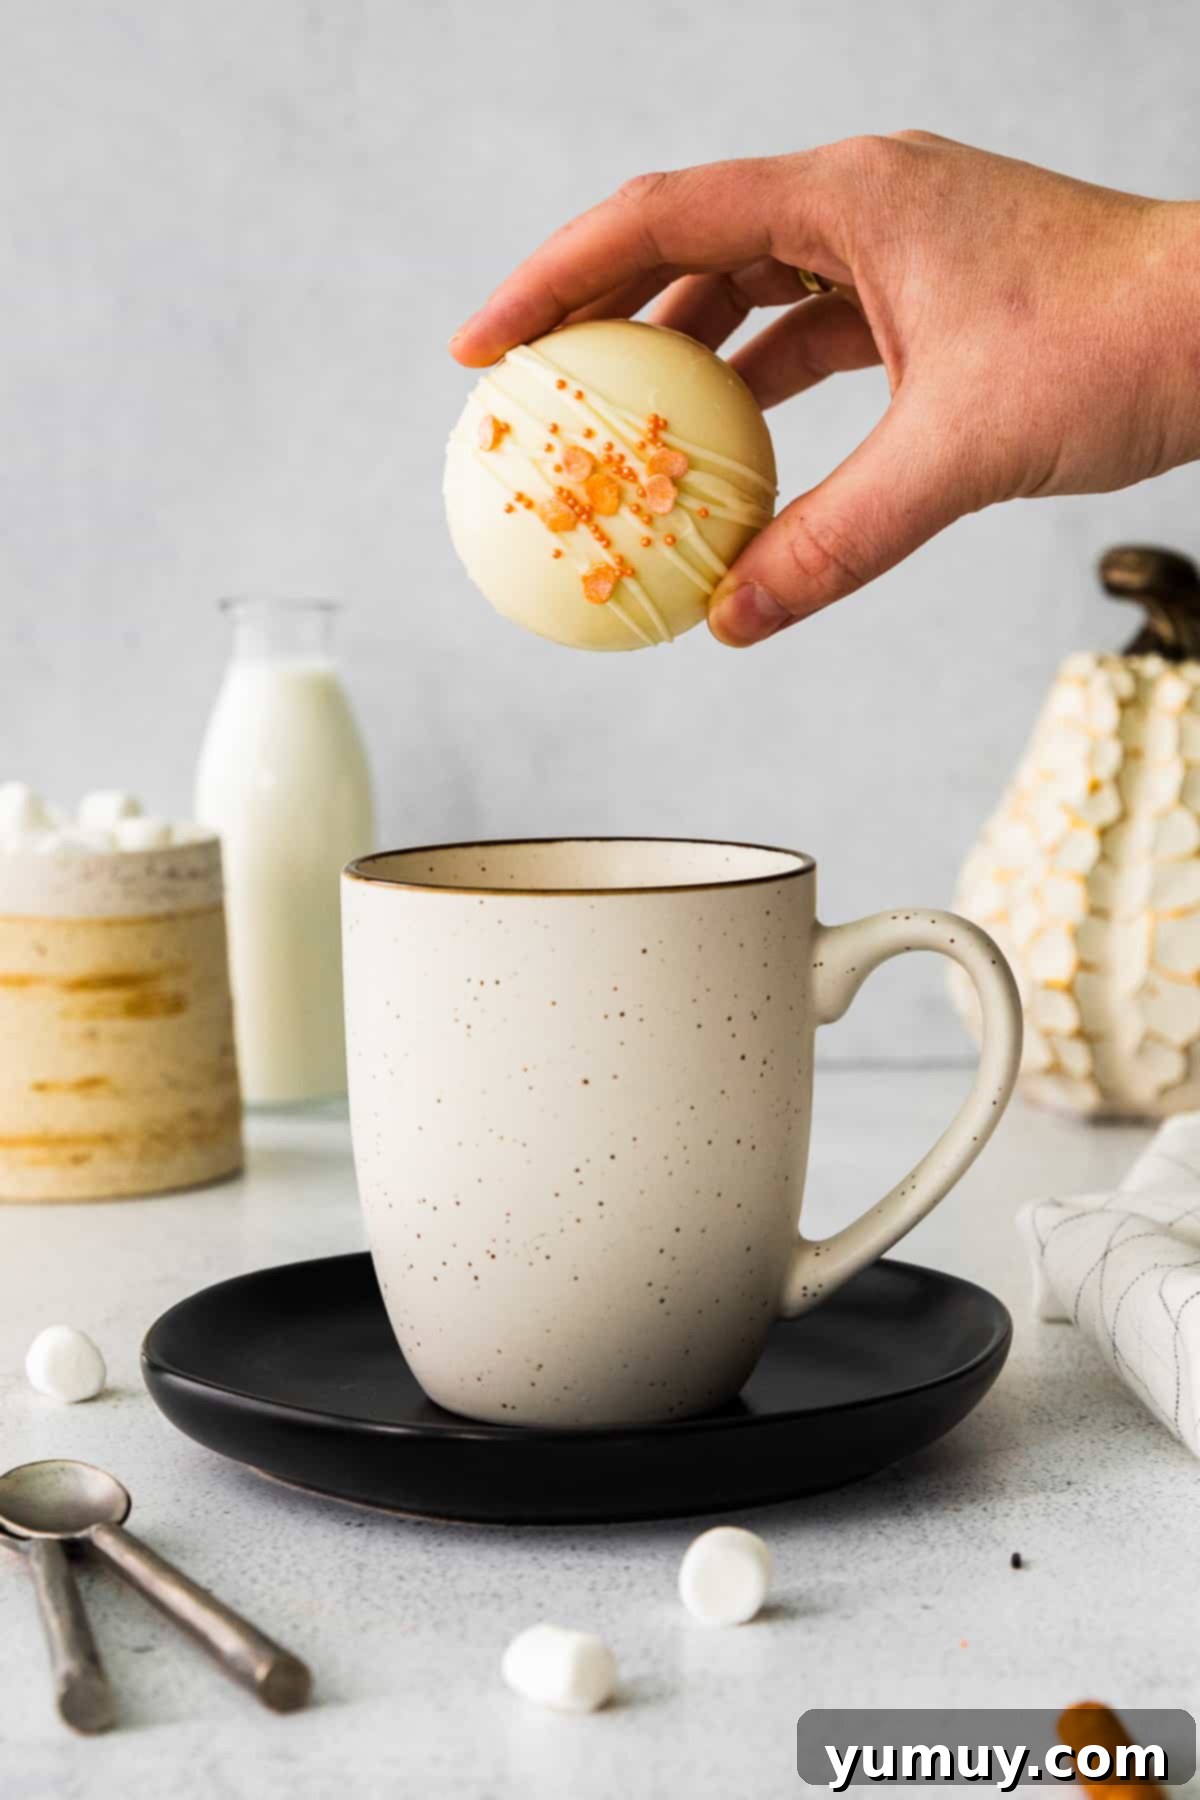
- To serve these delightful bombs, place one gently into your favorite mug. Pour at least 8 ounces of piping hot milk (dairy or non-dairy works beautifully) directly over the bomb. Watch as the chocolate shell melts and the contents burst forth, creating a creamy, spiced hot chocolate. For an extra touch of pumpkin spice aroma, you can top with a light sprinkle of pumpkin pie spice or even a dollop of whipped cream and a cinnamon stick, if desired.
Notes
**When choosing your chocolate, feel free to use any brand and flavor of melting chocolate that you prefer. While white melting chocolate creates a beautiful contrast and allows the pumpkin spice flavor to shine, you could also experiment with milk chocolate or even dark chocolate for a richer, more intense chocolate experience. Make sure it’s specifically “melting chocolate” or “candy melts” for ease of use.
Tips for Success:
- Add extra flair to your bombs by incorporating a few festive sprinkles directly into the hot chocolate mix along with the cocoa powder and mini marshmallows. They’ll create a fun burst of color when the bomb melts.
- When melting the edges of your chocolate shells on the warm pan, be quick! Don’t hold the shell on the hot surface for too long, or the entire shell will begin to melt and lose its shape. A quick 1-2 second touch is all you need.
- If you find your bombs aren’t sealing perfectly, you can always brush a tiny bit more melted white chocolate around the seam with a small brush or your fingertip, then let it set.
Storage & Longevity: To maintain their freshness and structure, store your delightful pumpkin hot chocolate bombs in an airtight container. They will keep beautifully at room temperature for up to 1 week, or in the refrigerator for an extended period of up to 2 weeks. This makes them excellent for preparing in advance for gifts or parties.
Calories from Fat 225
@easydessertrecipes
for a chance to be featured.
Crafting Your Own Pumpkin Hot Cocoa Bombs: A Step-by-Step Guide
Making your own pumpkin hot chocolate bombs is a surprisingly simple and incredibly rewarding process. Follow these detailed steps to create your own batches of autumnal bliss, perfect for gifting or enjoying solo:
1. Gather Your Ingredients and Equipment: Before you begin, take a moment to collect and organize all your ingredients and essential equipment. Precision and speed are key when working with melted chocolate, so having everything readily accessible will ensure a smooth and enjoyable process. This includes your powdered sugar, cocoa, chopped milk chocolate, mini marshmallows, pumpkin pie spice, white melting chocolate, and your silicone half-sphere mold. Having a clean workspace also helps.
2. Prepare the Irresistible Filling: In a small, dry bowl, meticulously combine ½ cup of powdered sugar, ¼ cup of unsweetened cocoa powder, ¼ cup of finely chopped milk chocolate, ½ cup of soft mini marshmallows, and 1 full teaspoon of fragrant pumpkin pie spice. Use a whisk or spoon to thoroughly mix these ingredients until they are uniformly combined. This ensures every sip of your hot chocolate will be perfectly balanced with both chocolatey sweetness and warm fall spices.

3. Melt the Chocolate & Mold Your Shells: Begin by melting 16 ounces of your chosen white melting chocolate. Adhere strictly to the package instructions for melting, typically involving short intervals in the microwave or a gentle double boiler method, until the chocolate is smooth and lump-free. Once melted, immediately use a spoon or a small, clean food-grade brush to generously coat the interior of each well in your silicone half-sphere mold. It’s crucial to create a thick, even layer that covers the entire surface to ensure durable shells that won’t easily break. For the best results, aim for a consistent thickness across all your half-spheres. After coating, place the filled mold into the refrigerator. Allow the chocolate to chill and set completely for approximately 5 minutes. This quick chill time ensures the shells are firm enough for easy handling in the next steps.

4. Fill the Chocolate Shells: Once the chocolate shells are perfectly firm, carefully remove them from the silicone mold. The flexibility of the mold should make this relatively easy, but always handle them gently to prevent breakage. Lay them out on a clean surface. Take half of your chocolate half-spheres and fill each one with a generous tablespoon of the hot chocolate powder mixture you prepared earlier. Distribute the filling evenly, ensuring it sits neatly within the half-sphere, ready to be encased.

5. Expertly Seal Your Bombs: To seal the two chocolate halves into perfect spheres, gently heat a small, dry skillet over a medium-low flame. The goal is to get it just warm enough to melt chocolate on contact, not to scorch it. As soon as the skillet is warm (test by lightly touching it or observing steam), remove it from the heat. Take one of the *empty* chocolate half-spheres and quickly place its cut edge down onto the warm pan for merely 1-2 seconds. This brief contact will create a lightly melted edge. Immediately press this melted edge onto the top of one of your filled chocolate halves, forming a complete bomb. The melted chocolate will act as a natural adhesive, binding the two halves securely. This technique creates a clean, smooth seam.
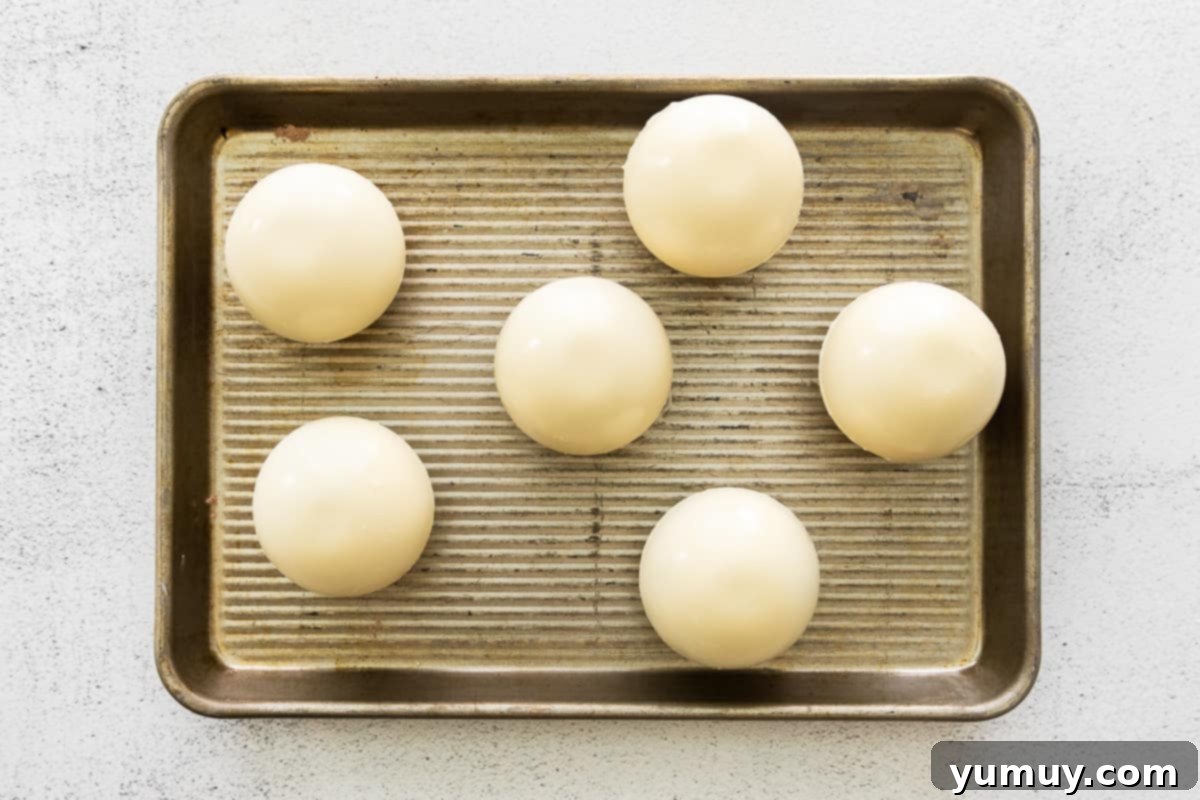
6. Garnish and Prepare for Serving: Continue the sealing process, working efficiently until all of your delightful pumpkin hot chocolate bombs are assembled. For an extra touch of security and a polished finish, you can brush a small amount of additional melted white chocolate around any visible seams. Finally, get creative with your garnishes! A delicate drizzle of contrasting white chocolate can add visual appeal, and a sprinkle of festive autumn-themed sprinkles, or even a dash of extra pumpkin pie spice, will make them truly irresistible. These finishing touches elevate your homemade bombs from simple treats to culinary works of art, ready to impress and delight.
Storing Your Pumpkin Hot Chocolate Bombs
Proper storage is key to keeping your homemade pumpkin hot chocolate bombs fresh and ready for when the craving strikes. Simply place any leftover bombs in an airtight container. They will maintain their quality and delicious flavor wonderfully at room temperature for up to 1 week, allowing for convenient access. If you wish to extend their freshness, especially in warmer climates or for longer-term storage, they can be safely stored in the refrigerator for up to 2 weeks. Just ensure the container is tightly sealed to prevent any moisture or external odors from affecting their taste and texture.
Why You’ll Love These Pumpkin Hot Chocolate Bombs
These aren’t just another seasonal treat; they’re a celebration of autumn wrapped in chocolate. Here’s why these pumpkin hot chocolate bombs are destined to become a fall favorite:
- Unforgettable Flavor: The combination of rich white chocolate and a balanced pumpkin pie spice blend creates a cozy, aromatic, and incredibly satisfying drink that tastes like fall in a cup.
- Visually Stunning: The magic of watching the bomb melt and erupt with cocoa and marshmallows is captivating, making it a truly engaging experience for all ages.
- Easy to Make: With melting chocolate, there’s no need for complicated tempering, making this recipe accessible even for beginner bakers and confectioners.
- Perfect for Gifting: Beautifully packaged, these bombs make charming and heartfelt gifts for holidays, hostess tokens, or just a sweet surprise for friends and family.
- Customizable Fun: Easily adapt the filling with different chocolates, spices, or even a pinch of instant coffee for an adult twist. The decorative possibilities are endless!
- Cozy Comfort: There’s nothing quite like a warm, spiced beverage to chase away the chill of an autumn evening. These bombs deliver ultimate comfort with every sip.
So, whether you’re looking for a delightful personal indulgence, a creative kitchen project, or a unique gift, these pumpkin hot chocolate bombs tick all the boxes. They embody the warmth, spice, and sweetness of the season, making every moment a little more special.
More Must-Try Pumpkin Recipes for Fall!
Decadent Chocolate Pumpkin Cupcakes
Delightful Pumpkin Spice Cookies
Chewy Pumpkin Brownies
The Best Easy Pumpkin Pie
Browse All Pumpkin Recipes
