Authentic Homemade Greek Baklava: An Easy Recipe Guide
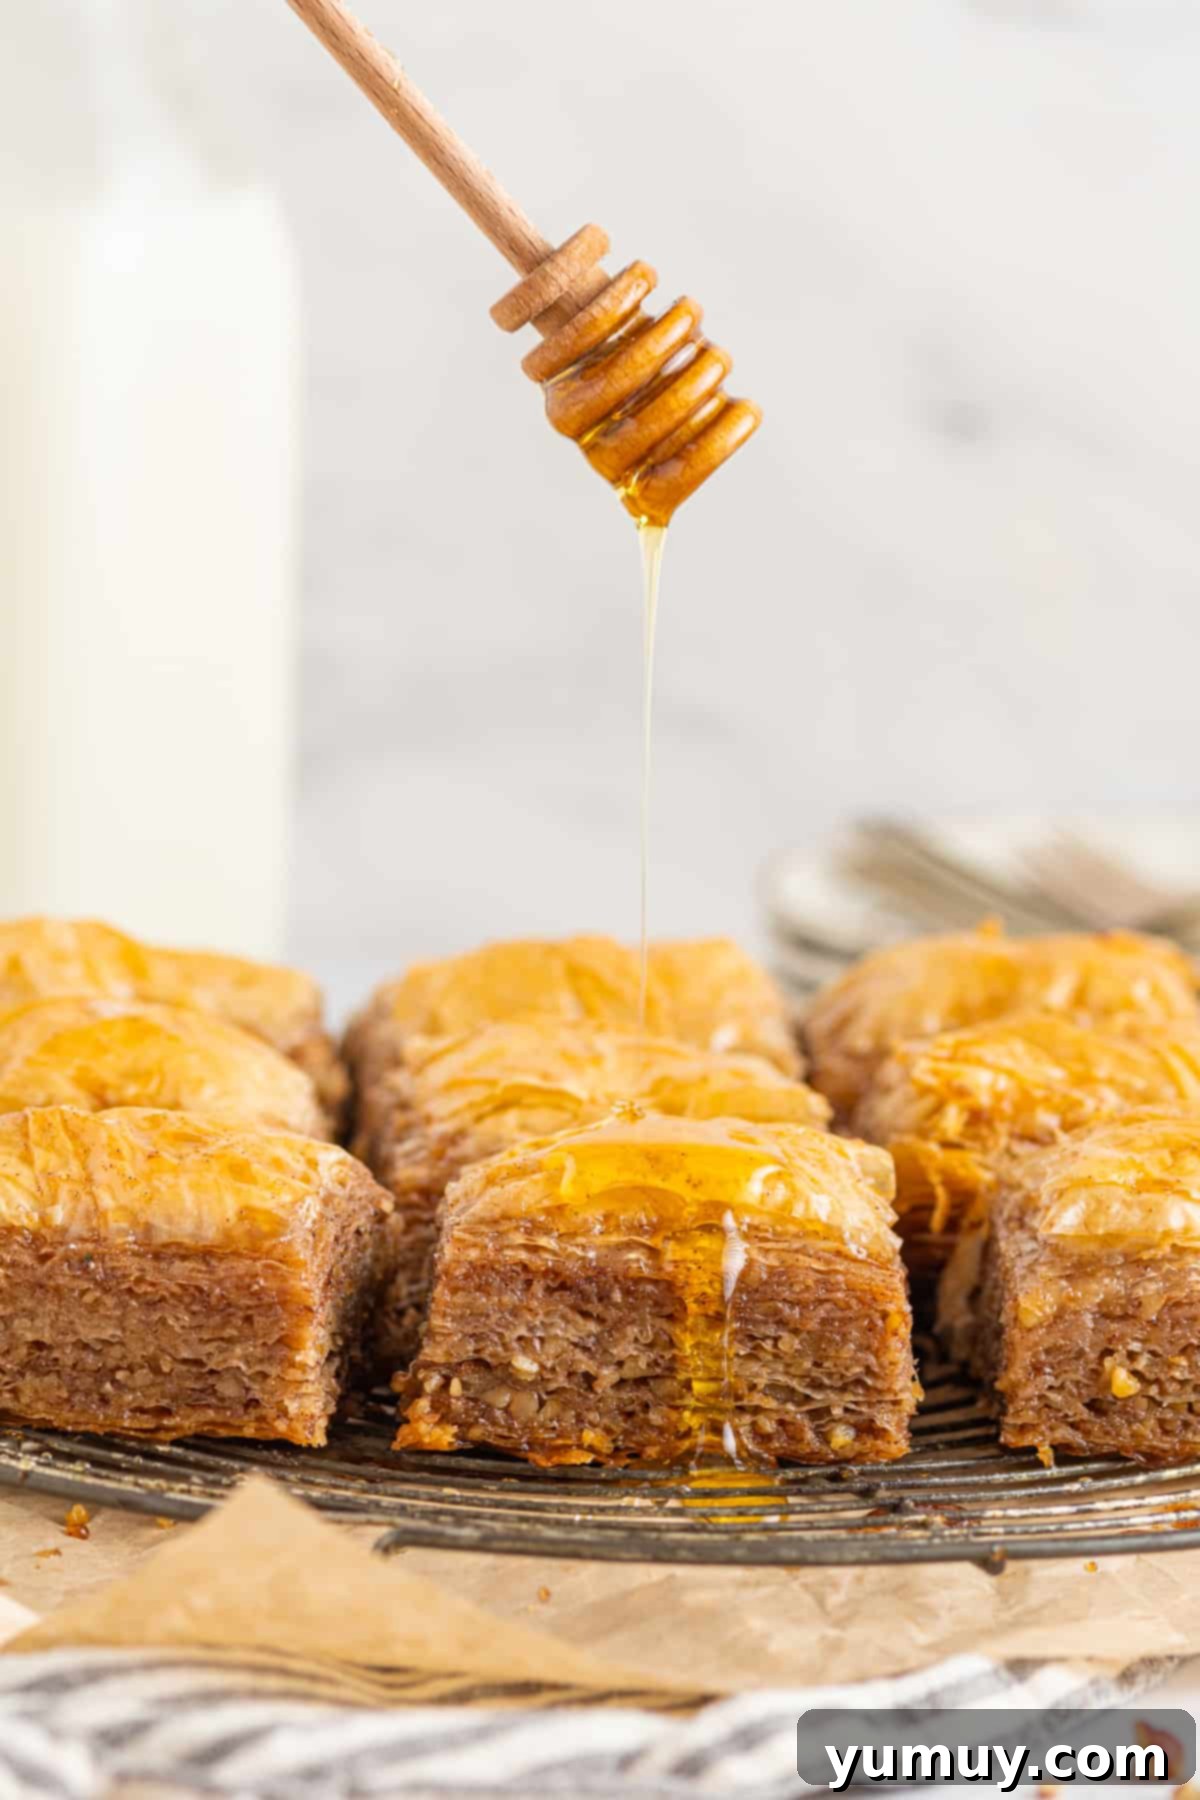
Unlock the secrets to crafting a truly unforgettable Greek baklava right in your own kitchen! This meticulously developed recipe simplifies the process of making this iconic Mediterranean dessert, allowing you to achieve remarkable results without any unnecessary stress. By leveraging convenient store-bought phyllo dough, we can dedicate our focus to perfecting the heart of the baklava: a rich, aromatic homemade walnut filling and a warmly spiced honey syrup. The combination of crunchy walnuts, fragrant cinnamon, exotic allspice, and pure, golden honey creates a symphony of flavors and textures in every single flaky layer. Prepare to delight your senses with a homemade baklava that delivers the quintessential balance of sweetness, crispiness, and comforting warmth.

Effortless Elegance: Your Guide to Quick and Easy Walnut Baklava
For many years, the idea of preparing baklava at home seemed daunting, a culinary challenge reserved for experienced pastry chefs. However, I soon discovered a delightful secret: even professionals often opt for readily available store-bought phyllo dough to streamline the process. This revelation transformed my approach, leading to this incredibly easy baklava recipe. It centers around a straightforward, yet exquisitely flavorful, three-ingredient walnut filling and a luxurious, deeply spiced honey syrup that thoroughly saturates every delicate layer. The result is a dessert that tastes profoundly homemade: wonderfully crispy, perfectly sticky, and bursting with an authentic, rich flavor profile.
Distinguishing itself from Turkish or Lebanese variations, my Greek baklava recipe embraces the robust character of finely crushed walnuts, beautifully complemented by a medley of warming spices like cinnamon and allspice. This creates a filling that is both comforting and vibrant. Furthermore, the syrup is generously sweetened with pure honey, elevating the overall depth of flavor and providing that signature Mediterranean sweetness. When combined with the meticulously butter-brushed phyllo layers, this simplified baklava achieves a remarkably light and flaky texture. It’s designed to be perfectly balanced – not overly sticky or heavy – just the way this timeless treat should be enjoyed. Each bite offers a delightful crunch followed by the rich, nutty sweetness of the filling and the aromatic honey syrup, making it an irresistible indulgence.
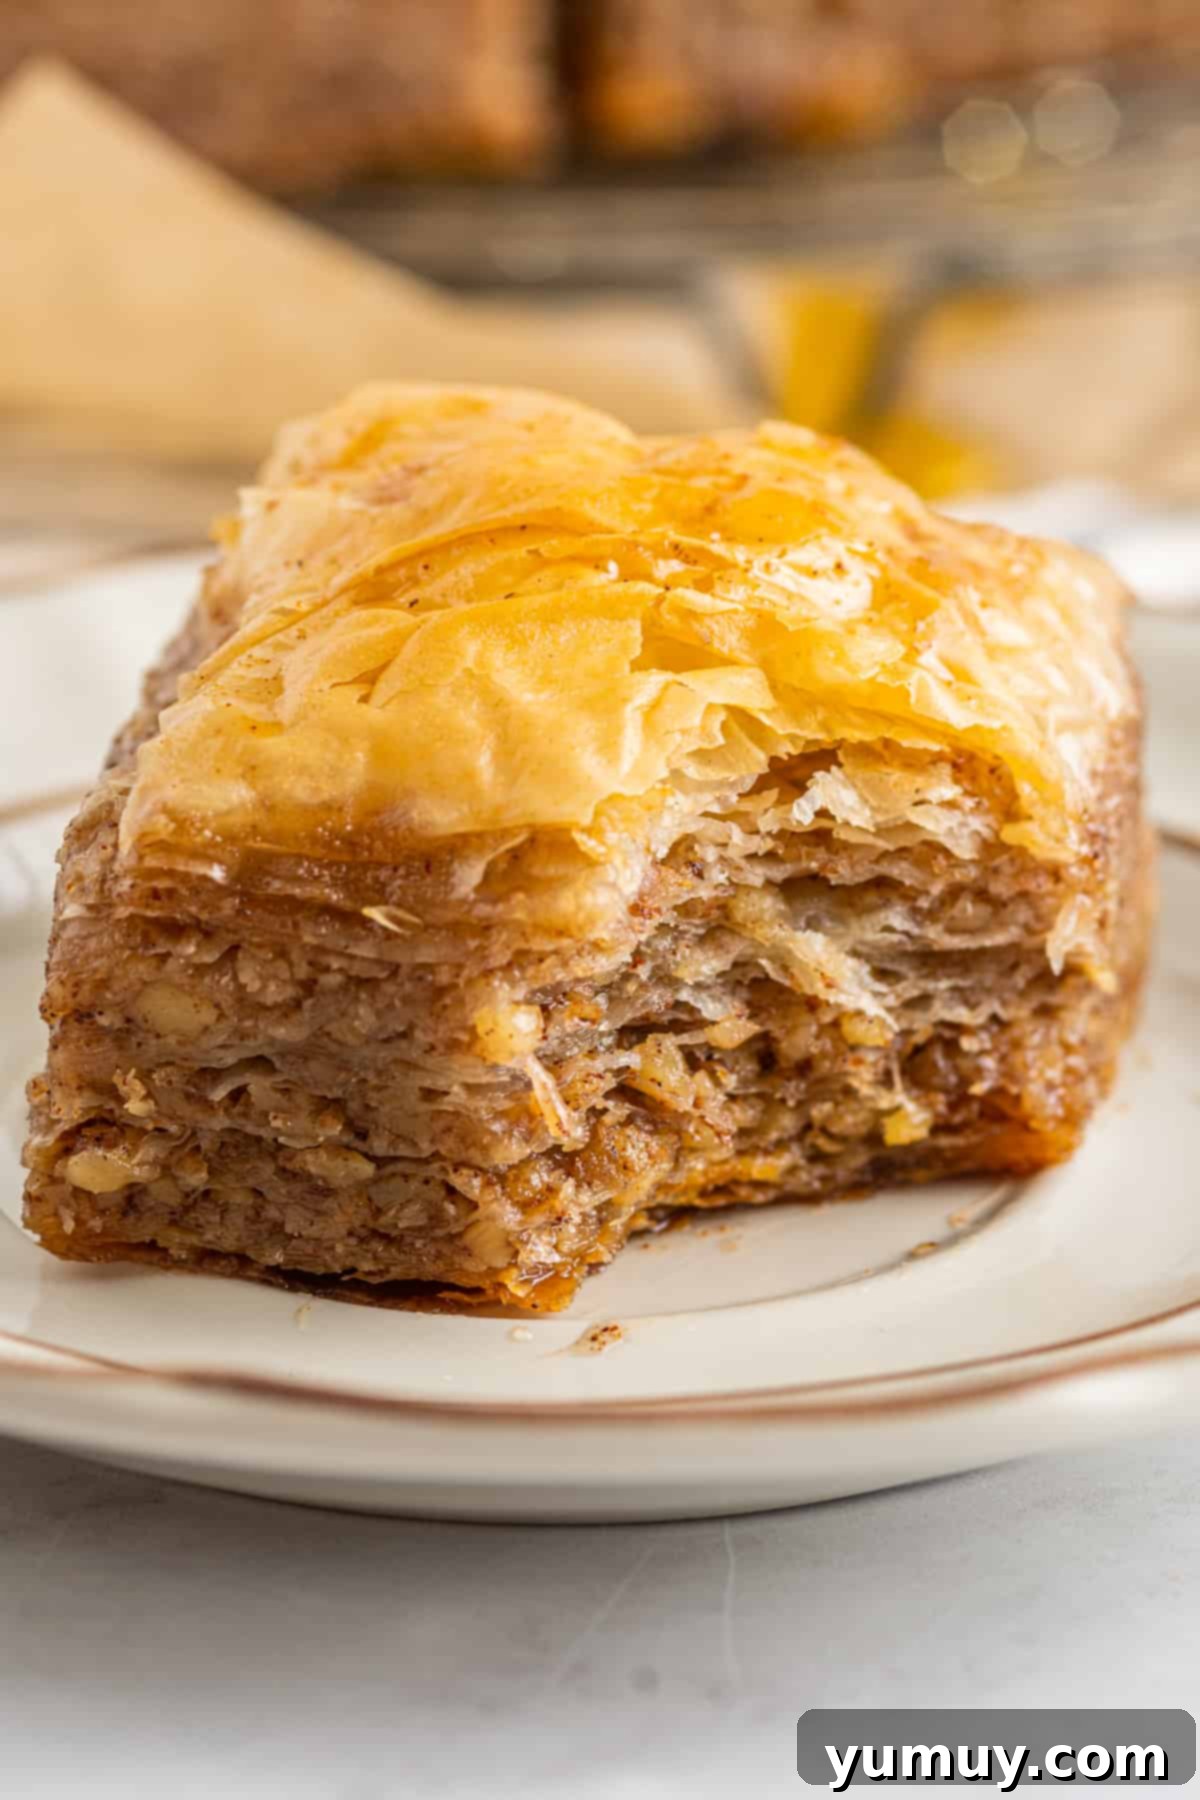
Mastering Phyllo Dough: Essential Tips for Tear-Free Layers
Working with phyllo dough can sometimes feel intimidating, primarily because of its delicate nature; it tends to dry out and tear with remarkable ease. However, with a few simple techniques, you can ensure your phyllo remains perfectly pliable and easy to handle throughout the entire baking process. My golden rule is to always keep the unused sheets covered with a slightly damp kitchen towel while you’re working. This creates a humid environment that prevents the thin pastry from drying out and becoming brittle, which is the main culprit behind tearing.
Beyond moisture, generous brushing with melted butter is another critical step. Each individual phyllo layer, or every couple of layers, should be lightly yet thoroughly coated with butter. This not only imbues the baklava with its characteristic rich flavor but is also fundamental to achieving that coveted flaky texture. The butter acts as a barrier, preventing the layers from sticking together while baking and encouraging them to puff up into distinct, crispy sheets. This meticulous layering process serves a dual purpose: it effectively prevents the dough from drying out and guarantees that your baklava bakes evenly, developing that perfect, harmonious balance of crispness and tender softness that defines this classic dessert.
Homemade Greek Baklava Recipe
15 minutes
45 minutes
1 hour
12 people
Rate Recipe
Ingredients
For the Baklava
- 16 ounces phyllo dough, thawed (1 package)
- 1 pound finely chopped walnuts
- 2 teaspoons ground cinnamon
- ½ teaspoon kosher salt
- 2⅓ cups unsalted butter, melted and slightly cooled (4⅔ sticks)
For the Syrup
- 1 cup granulated sugar
- 1 cup water
- 10 tablespoons honey *
- 1 teaspoon pure vanilla extract
- 1 teaspoon ground cinnamon
- ¼ teaspoon allspice **
Video instructions available for “Homemade Baklava” – Watch here.
Equipment
- Kitchen Scale (optional)
- 9×13 Baking Pan
- Pastry Brush
- Large Saucepan
Instructions
- Preheat oven to 350°F (175°C). Carefully unwrap the phyllo dough and immediately wrap it with a damp cloth to prevent it from drying out. Set aside.
- In a medium-sized bowl, combine the finely chopped walnuts, ground cinnamon, and kosher salt. Mix well and set aside.

- Using a pastry brush, generously coat the bottom and sides of a deep 9×13-inch (23×33 cm) baking dish with melted unsalted butter.

- Place 2 sheets of phyllo dough into the bottom of the prepared pan. Brush evenly with melted butter. Place another 2 sheets of phyllo dough on top and brush with butter. Repeat these steps until you have a stack of 8 phyllo sheets. After buttering the eighth sheet, sprinkle approximately 2-3 tablespoons of the walnut mixture evenly over its surface. Don’t worry if the entire surface isn’t completely covered; with the numerous layers, there will be ample walnut flavor in every bite.

- Continue the layering process: place 2 sheets of phyllo dough on top of the walnut mixture, brush with butter, then sprinkle another 2-3 tablespoons of the walnut mixture over the surface. Repeat this sequence until you have about 6 sheets of phyllo dough remaining and have used all the walnut mixture. (If, like me, a few sheets get sticky, don’t fret; just ensure you have enough for the top layers). For the final layers, place 2 sheets of dough on top and brush with butter. Repeat until all phyllo dough is used. Generously brush the very top layer with any remaining melted butter. If you run out of butter at any point, simply melt another tablespoon and continue.

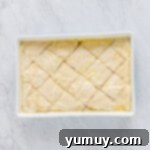
- Using a sharp knife, gently score the top 6 layers of dough into your desired final shapes (e.g., diamonds or squares). It’s crucial not to cut completely through to the bottom of the pan at this stage. The bottom layers should remain uncut to prevent the hot syrup from saturating the very bottom and making it soggy during baking.

- Place the prepared baklava into the preheated oven to bake for 45 minutes, or until deeply golden brown and crispy.
- While the baklava is baking, prepare the aromatic syrup. Combine the granulated sugar, water, honey, vanilla extract, ground cinnamon, and allspice in a large saucepan over medium heat. Whisk constantly for the first minute until all ingredients have dissolved and melted together. Once the mixture is homogenous, bring it to a boil. Reduce the heat to medium-low and let it simmer for about 10 minutes, or until it has thickened noticeably and coats the back of a wooden spoon. Remember to whisk intermittently while simmering to prevent scorching or boiling over. Once thickened, remove the saucepan from the heat and set aside for a few minutes while the baklava finishes baking.

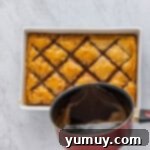
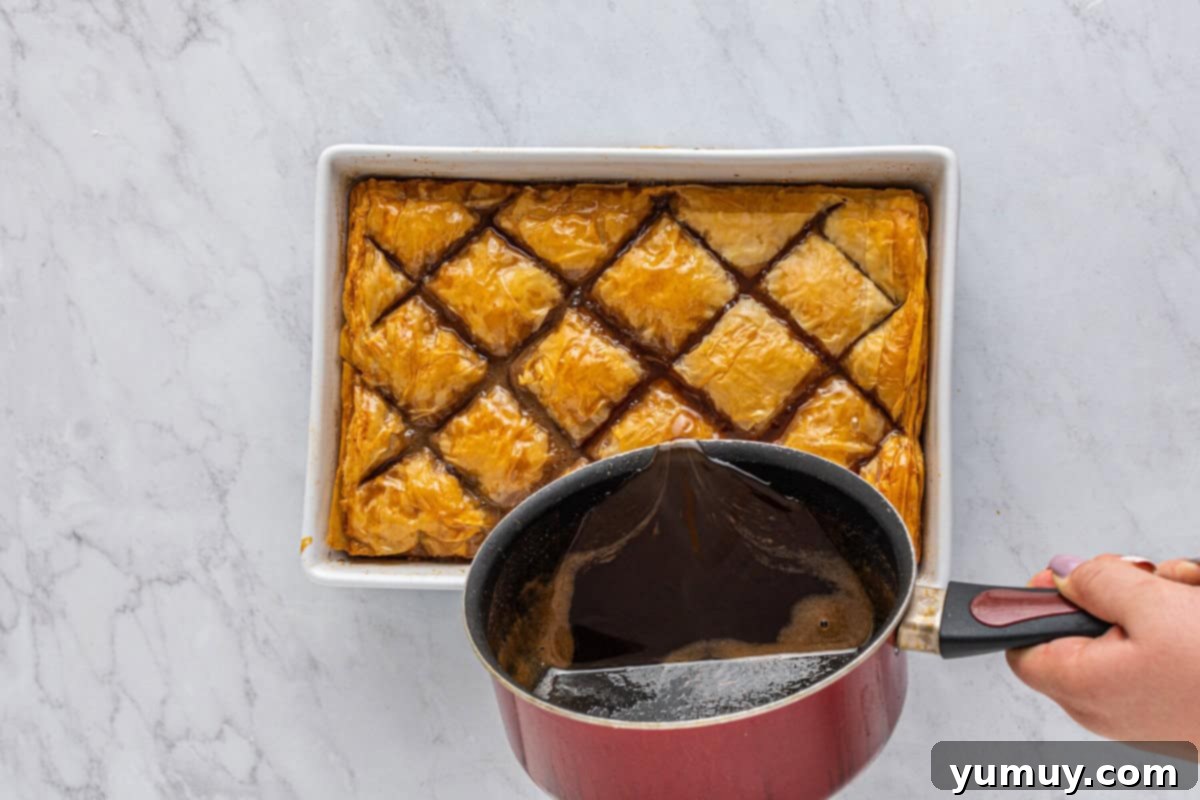
- As soon as the baklava is finished baking, remove it from the oven and transfer it to a cooling rack. Immediately and evenly pour the hot syrup over the entire surface of the hot baklava. Allow it to sit undisturbed for at least 30 minutes to fully absorb the syrup and begin cooling down.

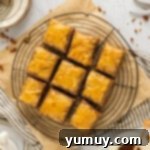
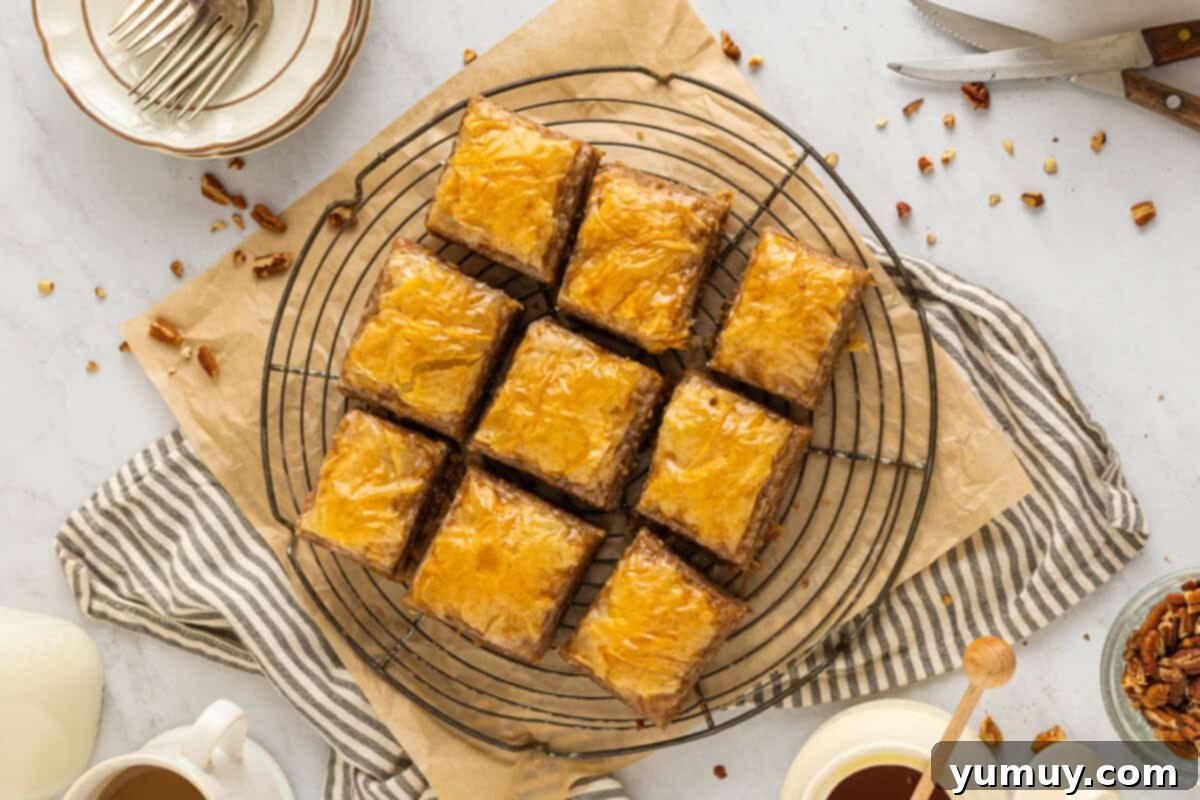
- Once sufficiently cooled, use a sharp knife to carefully cut all the way down through the baklava layers, following your scored lines. Serve immediately, or for the best flavor integration, allow the syrup to continue soaking for 8-24 hours at room temperature.

Notes & Pro Tips
*If you prefer not to use honey, you can replace the specified amounts of sugar, water, and honey in the syrup with 3 cups of granulated sugar and 1½ cups of water for a classic sugar syrup.
**If you don’t have allspice on hand, a suitable substitute can be created by combining ⅛ teaspoon of ground cloves with ⅛ teaspoon of ground nutmeg.
Essential Tips for Baklava Success:
- Phyllo Thawing: For best results and to prevent tearing, always defrost your phyllo dough in its original packaging in the refrigerator for at least 12 hours before you plan to use it.
- Perfectly Chopped Walnuts: The easiest and most efficient way to achieve finely chopped walnuts is to use a food processor. Process them in small batches to ensure even chopping; attempting to do too many at once can result in a paste at the bottom and larger pieces at the top.
- Keep Phyllo Covered: It’s critical to re-cover any unused phyllo dough sheets with a damp kitchen towel immediately after taking some out. This simple step is your best defense against the dough drying out and becoming brittle.
- Butter Application: The key to non-soggy baklava is light, even coatings of butter on each layer. Avoid excessive butter, as it can pool at the bottom of the pan and lead to a less desirable, soggy texture.
- Scoring for Presentation: To create classic diamond shapes, first cut parallel lines about 2 inches apart along the long sides of the baking dish. Then, cut diagonal lines, also about 2 inches apart, across these parallel lines.
- Precision Cutting: Remember to only score the top layers before baking. Cutting all the way through before the baklava has baked and absorbed the syrup can cause butter and syrup to seep to the bottom, creating a less desirable result.
- Flavor Development: While you can enjoy baklava immediately, I highly recommend letting it sit for 8-24 hours at room temperature before serving. This allows the flavors to meld beautifully and the syrup to fully penetrate every layer, enhancing the overall taste and texture.
Storage Guidelines:
To maintain its freshness and delightful crunch, store homemade baklava in an airtight container at room temperature for up to 1 week. For longer preservation, it can be kept in the refrigerator for up to 2 weeks, or even frozen for up to 3 months. If freezing, allow it to thaw in the refrigerator or at room temperature before enjoying to restore its perfect texture.
Calories from Fat 567
Becky Hardin
Did You Make This?
We love seeing what you’ve made! Tag us on social media at
@easydessertrecipes for a chance to be featured.
Your Step-by-Step Journey to Perfect Baklava
Creating homemade baklava is a rewarding experience, and this detailed guide will walk you through each stage, ensuring a successful and delicious outcome. Follow these steps for an authentic taste of Greece.
1. Prepare the Aromatic Walnut Filling
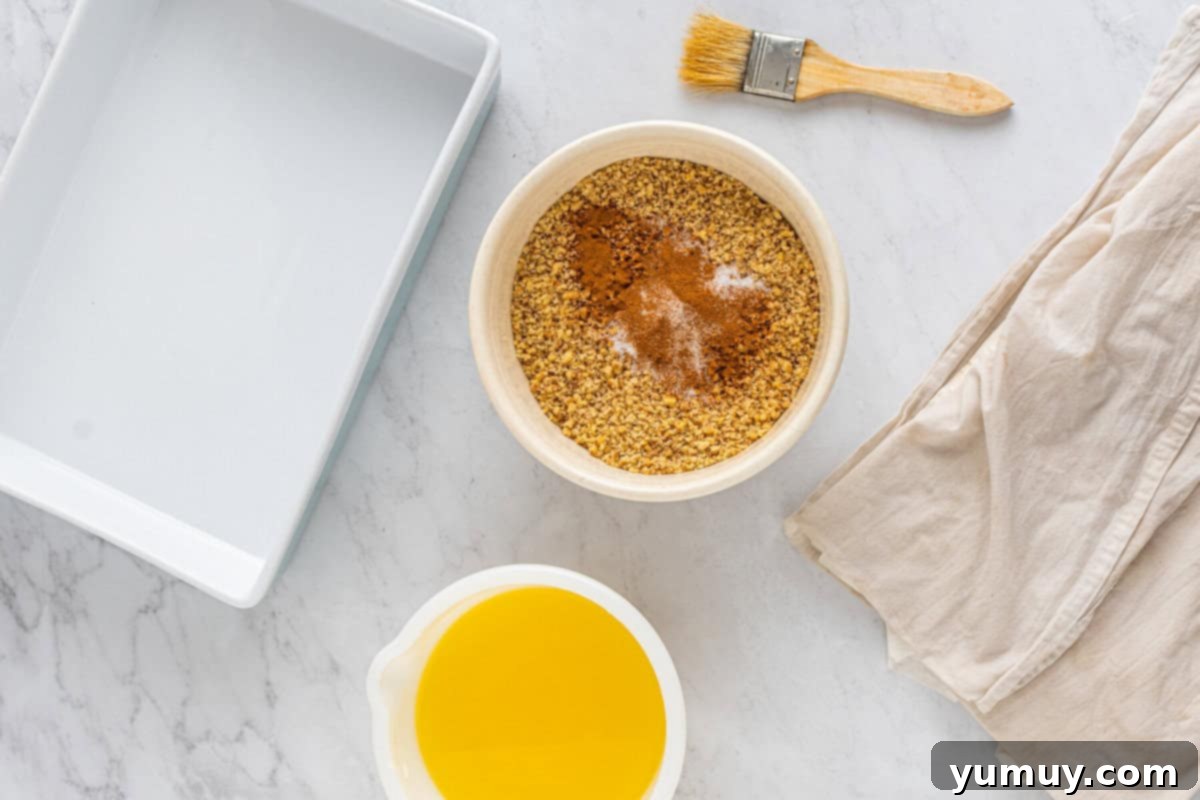
Begin by preheating your oven to a precise 350°F (175°C). Next, carefully unwrap your 16 ounces (one package) of phyllo dough. Phyllo is incredibly delicate and dries out quickly, so immediately wrap it tightly in a slightly damp kitchen towel to keep it pliable while you work. Set this aside. In a medium-sized bowl, combine 1 pound of finely chopped walnuts, 2 teaspoons of ground cinnamon, and ½ teaspoon of kosher salt. Use a spoon or your hands to mix these ingredients thoroughly until the walnuts are evenly coated with the spices. This simple yet potent mixture forms the heart of your baklava’s flavor profile. Set the bowl aside; it’s now ready for layering.
2. Butter the Baking Pan
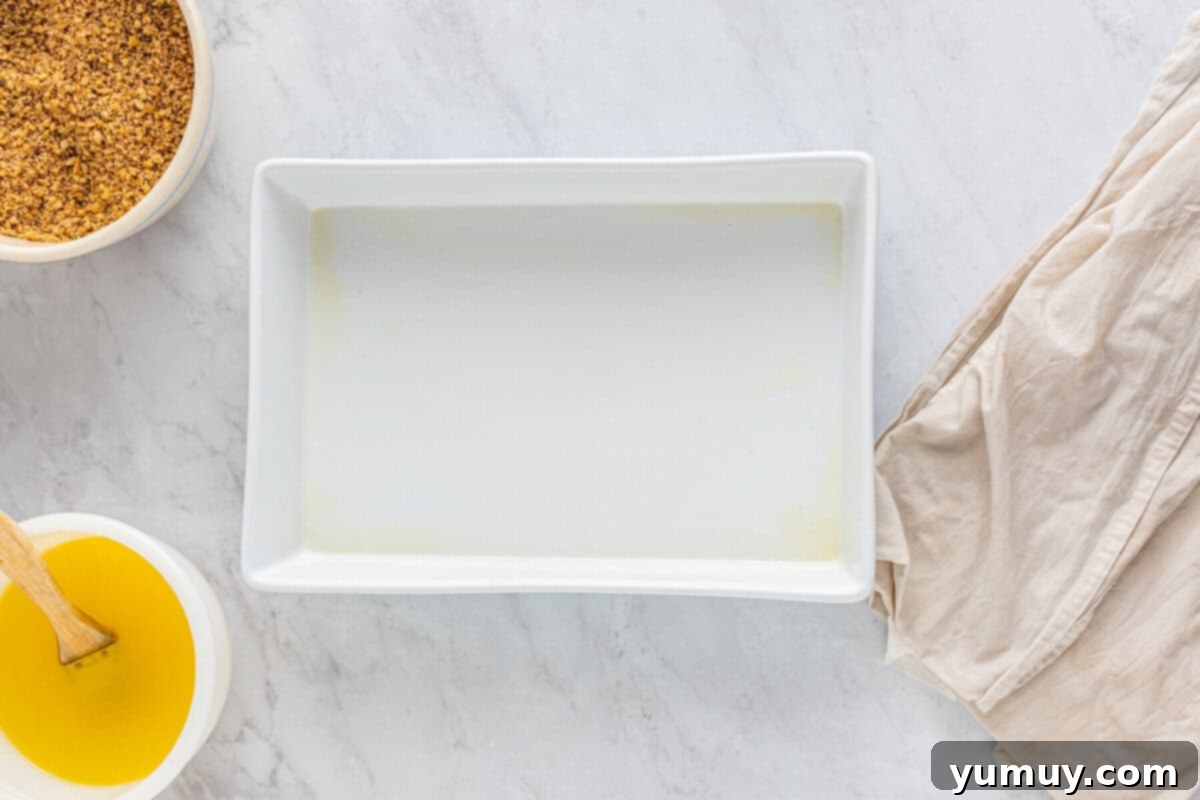
Melt 2⅓ cups of unsalted butter and allow it to cool slightly; it should still be liquid but not scalding hot. Take a deep 9×13-inch baking dish and, using a pastry brush, generously coat the bottom and all sides with a light, even layer of the melted butter. The goal here is to prevent sticking and add a foundational layer of richness, not to drench the pan. A few thorough swipes of the brush will suffice, ensuring every corner is covered without pooling butter.
3. Begin Layering the Baklava Foundation
Carefully unwrap your covered phyllo dough. Place two sheets of phyllo dough into the bottom of the prepared pan, allowing them to gently conform to the shape. Using your pastry brush, lightly but thoroughly brush the entire surface of these two sheets with melted butter. Place another two sheets of phyllo on top, and again, brush them evenly with butter. Continue this precise layering process until you have formed a stack of eight phyllo sheets at the bottom of your pan, each pair buttered. After buttering the eighth sheet, evenly sprinkle about 2 to 3 tablespoons of your prepared walnut mixture over the surface of the dough. It’s perfectly fine if the entire surface isn’t completely covered; with the numerous layers you’ll build, every bite will be packed with delicious walnut flavor.
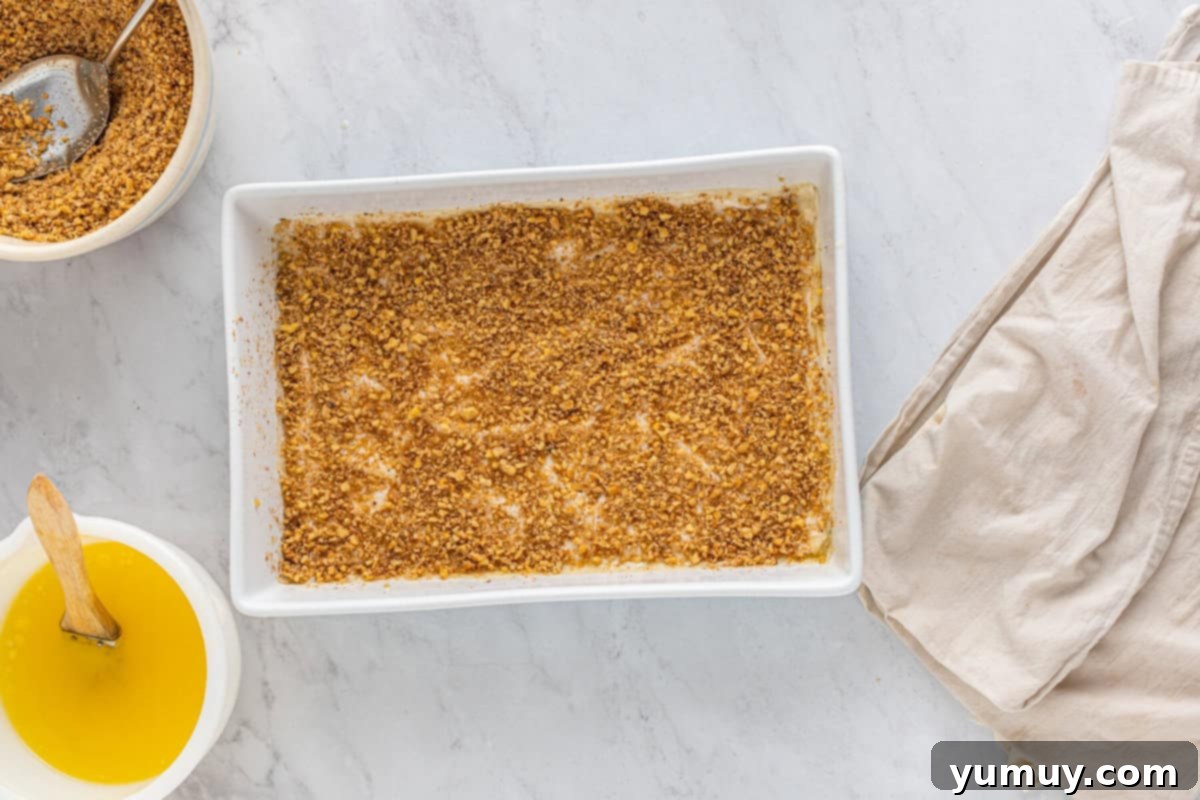
4. Continue Building Layers to the Top
Now, place two more sheets of phyllo dough directly on top of the walnut mixture. Brush these sheets with melted butter. Follow this with another sprinkle of 2 to 3 tablespoons of the walnut mixture. Continue this alternating pattern of two phyllo sheets (buttered) and a sprinkle of walnut mixture until you have approximately six sheets of phyllo dough remaining and have utilized all of your walnut filling. Don’t worry if a few of your phyllo sheets become sticky or tear slightly from the damp cloth; simply do your best to lay them flat. For the final top layers, place two sheets of dough on top and brush generously with butter. Repeat this until all your phyllo dough has been used. Make sure the very top layer is well-coated with butter, ensuring a beautiful golden-brown crust. At this stage, you might have some extra melted butter, which is completely normal. If you run out of butter before finishing, simply melt another tablespoon or two as needed.
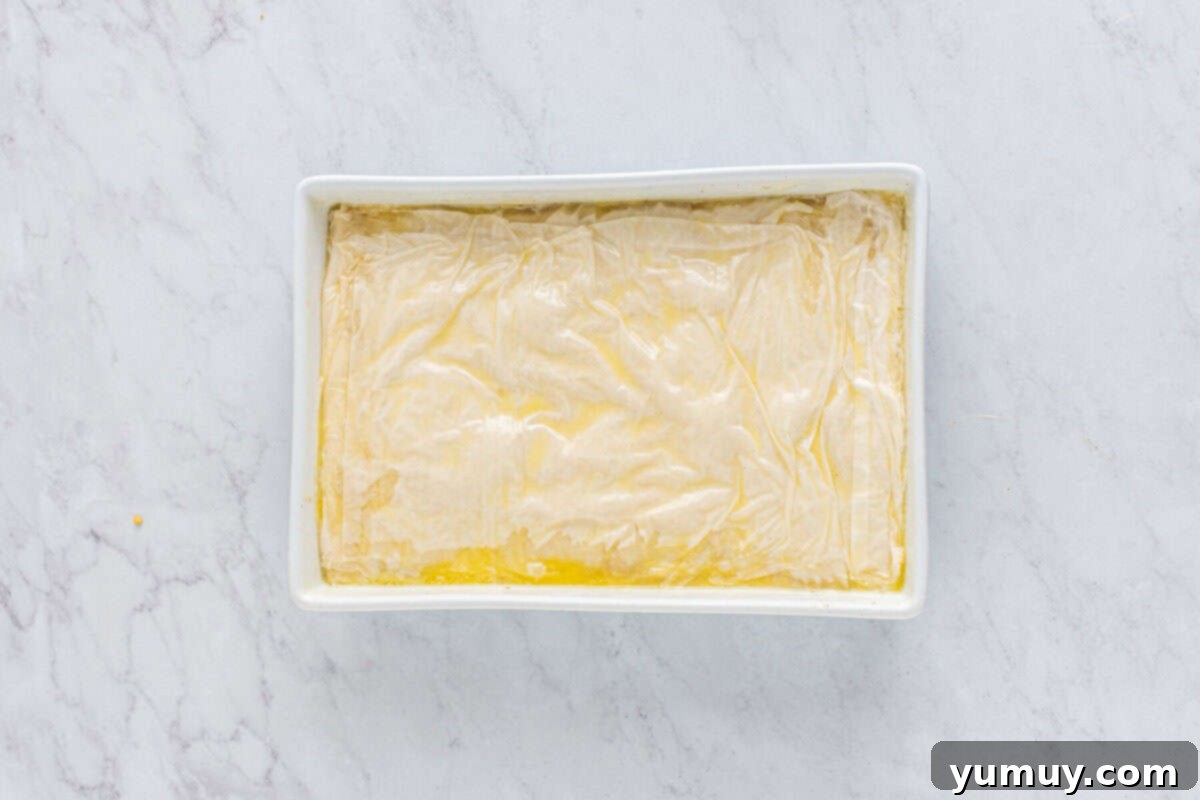
5. Score and Bake to Golden Perfection
Before baking, take a very sharp knife and gently score the top six layers of dough into your desired final serving shapes, whether traditional diamonds or neat squares. This scoring is crucial for two reasons: it guides your final cuts after baking and helps the baklava bake evenly. However, it’s vital *not* to cut all the way through to the bottom layers of dough at this stage. Leaving the bottom layers uncut prevents the butter and eventually the syrup from seeping through to the very bottom, which can make your baklava soggy. Once scored, carefully place the baking pan into your preheated oven and bake for approximately 45 minutes, or until the top turns a beautiful, inviting golden-brown and the layers are visibly crispy.
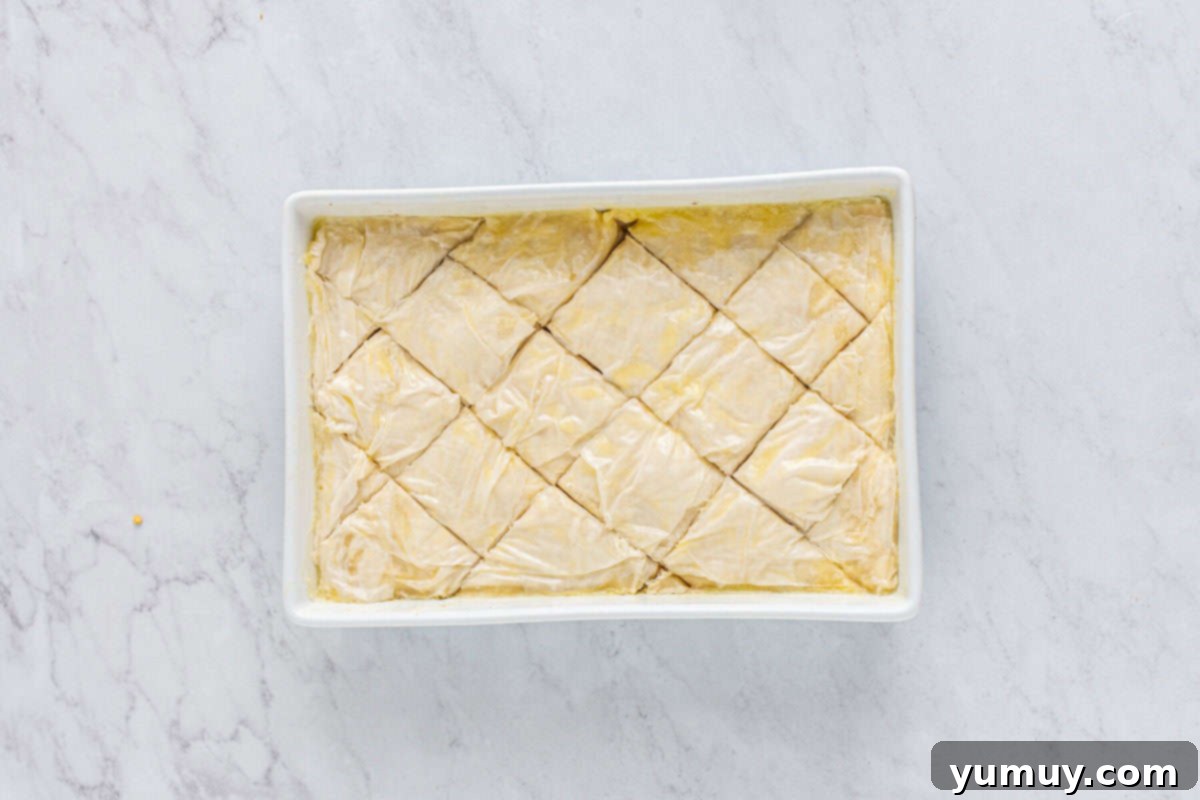
6. Craft the Aromatic Honey Syrup
While your baklava is basking in the oven, it’s the perfect time to prepare the luscious honey syrup. In a large saucepan, combine 1 cup of granulated sugar, 1 cup of water, 10 tablespoons of pure honey, 1 teaspoon of vanilla extract, 1 teaspoon of ground cinnamon, and ¼ teaspoon of allspice. Place the saucepan over medium heat and whisk constantly for the first minute, ensuring all the sugar dissolves and the ingredients fully meld together. Once the mixture is smooth, bring it to a rolling boil. As soon as it boils, reduce the heat to medium-low and allow it to simmer gently for approximately 10 minutes. The syrup should thicken significantly and achieve a consistency that coats the back of a wooden spoon. Throughout the simmering process, remember to whisk intermittently to prevent any scorching at the bottom or the syrup boiling over. Once it reaches the desired thickness, remove the saucepan from the heat and set it aside, keeping it warm while your baklava finishes baking.
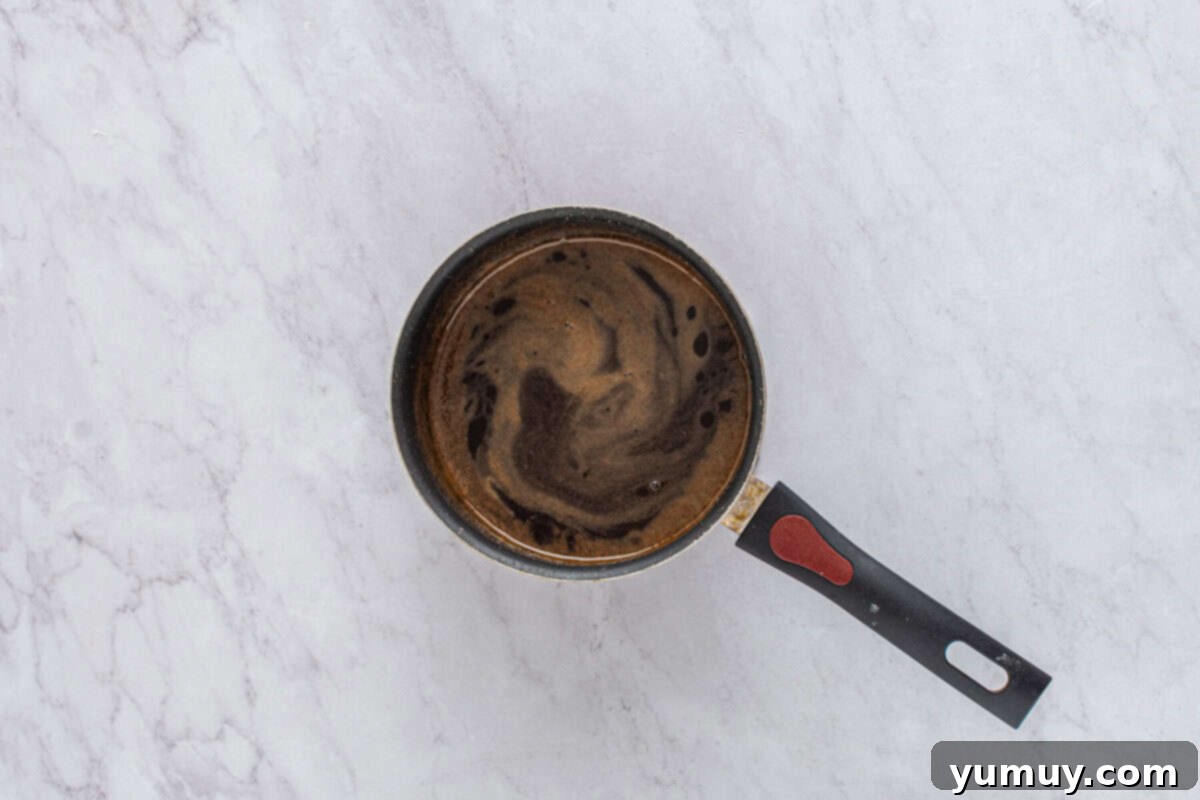
7. Bathe the Baklava in Syrup
The moment your baklava emerges from the oven, golden and fragrant, immediately transfer the hot pan to a cooling rack. Without delay, pour the hot, prepared syrup evenly over the entire surface of the hot baklava. You’ll hear a satisfying sizzle as the syrup begins to absorb into the warm, flaky layers. This temperature contrast is key for optimal absorption. Allow the baklava to sit undisturbed on the cooling rack for at least 30 minutes. This crucial resting period ensures that the syrup fully soaks into every layer, infusing the pastry with moisture and flavor, and also allows the baklava to cool down sufficiently.
8. Final Cut and Serve
Once the baklava has cooled sufficiently and absorbed most of the syrup, it’s time for the final cut. Using that same sharp knife, carefully complete your pre-scored cuts all the way down through all the layers. This will yield perfectly shaped individual pieces. You can serve your baklava immediately for a warm, slightly softer treat, but for the absolute best flavor and texture development, I highly recommend allowing the syrup to continue soaking for an additional 8 to 24 hours at room temperature. This extended resting period allows the flavors to deepen and harmonize, resulting in baklava that is truly exceptional.
Serving and Storing Your Delectable Baklava
Once your homemade Greek baklava has had ample time to cool and fully absorb its exquisite honey syrup, it’s ready to be presented. Serve it as a delightful dessert, a sophisticated addition to a brunch, or a special treat with your afternoon coffee or tea. A single piece is often rich and satisfying, but don’t be surprised if your guests reach for another!
To ensure your leftover walnut baklava retains its crispness and fresh flavor, proper storage is key. Store it in an airtight container at room temperature for up to 1 week. If you need to keep it longer, transfer the airtight container to the refrigerator, where it will remain fresh for up to 2 weeks. For extended preservation, baklava freezes exceptionally well. Place individual pieces, or the entire pan tightly wrapped, in the freezer for up to 3 months. When ready to enjoy frozen baklava, simply let it thaw gently in the refrigerator overnight or at room temperature for a few hours until it returns to its perfect texture. This versatile dessert is a joy to have on hand for any occasion!
Frequently Asked Questions About Baklava
What makes Greek baklava distinct from other versions?
Greek baklava typically features walnuts as its primary nut filling, often combined with warming spices like cinnamon and sometimes cloves or allspice. The syrup is predominantly honey-based, giving it a rich, distinct sweetness. Turkish baklava, on the other hand, frequently uses pistachios and a lighter, often less spiced sugar syrup. Lebanese versions might incorporate a mix of nuts and a rosewater or orange blossom water infused syrup.
Can I prepare baklava ahead of time for an event?
Absolutely! Baklava is one of those rare desserts that benefits significantly from being made ahead. Preparing it a day or even two in advance allows the flavors of the honey syrup, nuts, and spices to meld together more deeply and fully penetrate the phyllo layers. This results in a richer, more cohesive, and truly delicious experience. Just store it at room temperature in an airtight container after it has completely cooled.
What is phyllo dough, and why is it so delicate?
Phyllo (or “filo”) dough is an unleavened dough used in various pastries around the Middle East, Balkans, and Greece. It’s made from flour, water, and a small amount of oil, then rolled and stretched into incredibly thin, translucent sheets, almost like paper. Its delicacy comes from this extreme thinness and very low moisture content, which is why it dries out so quickly and requires careful handling, like keeping it covered with a damp towel.
What kind of nuts can I use if I don’t prefer walnuts?
While walnuts are traditional for Greek baklava, you can certainly experiment with other nuts or a combination. Pistachios are a popular alternative, especially for Turkish-style baklava, offering a vibrant color and distinct flavor. Pecans also work wonderfully, providing a slightly buttery and less bitter profile than walnuts. Almonds can also be used for a milder taste. The key is to finely chop them so they distribute well throughout the layers.
How do I know when the syrup has thickened enough?
The syrup is sufficiently thickened when it coats the back of a spoon without immediately running off. If you run your finger across the coated spoon, it should leave a clear trail. It won’t be as thick as maple syrup, but it should have a noticeable viscosity. If it’s too thin, it might make the baklava overly soggy. If it’s too thick, it won’t absorb properly.
