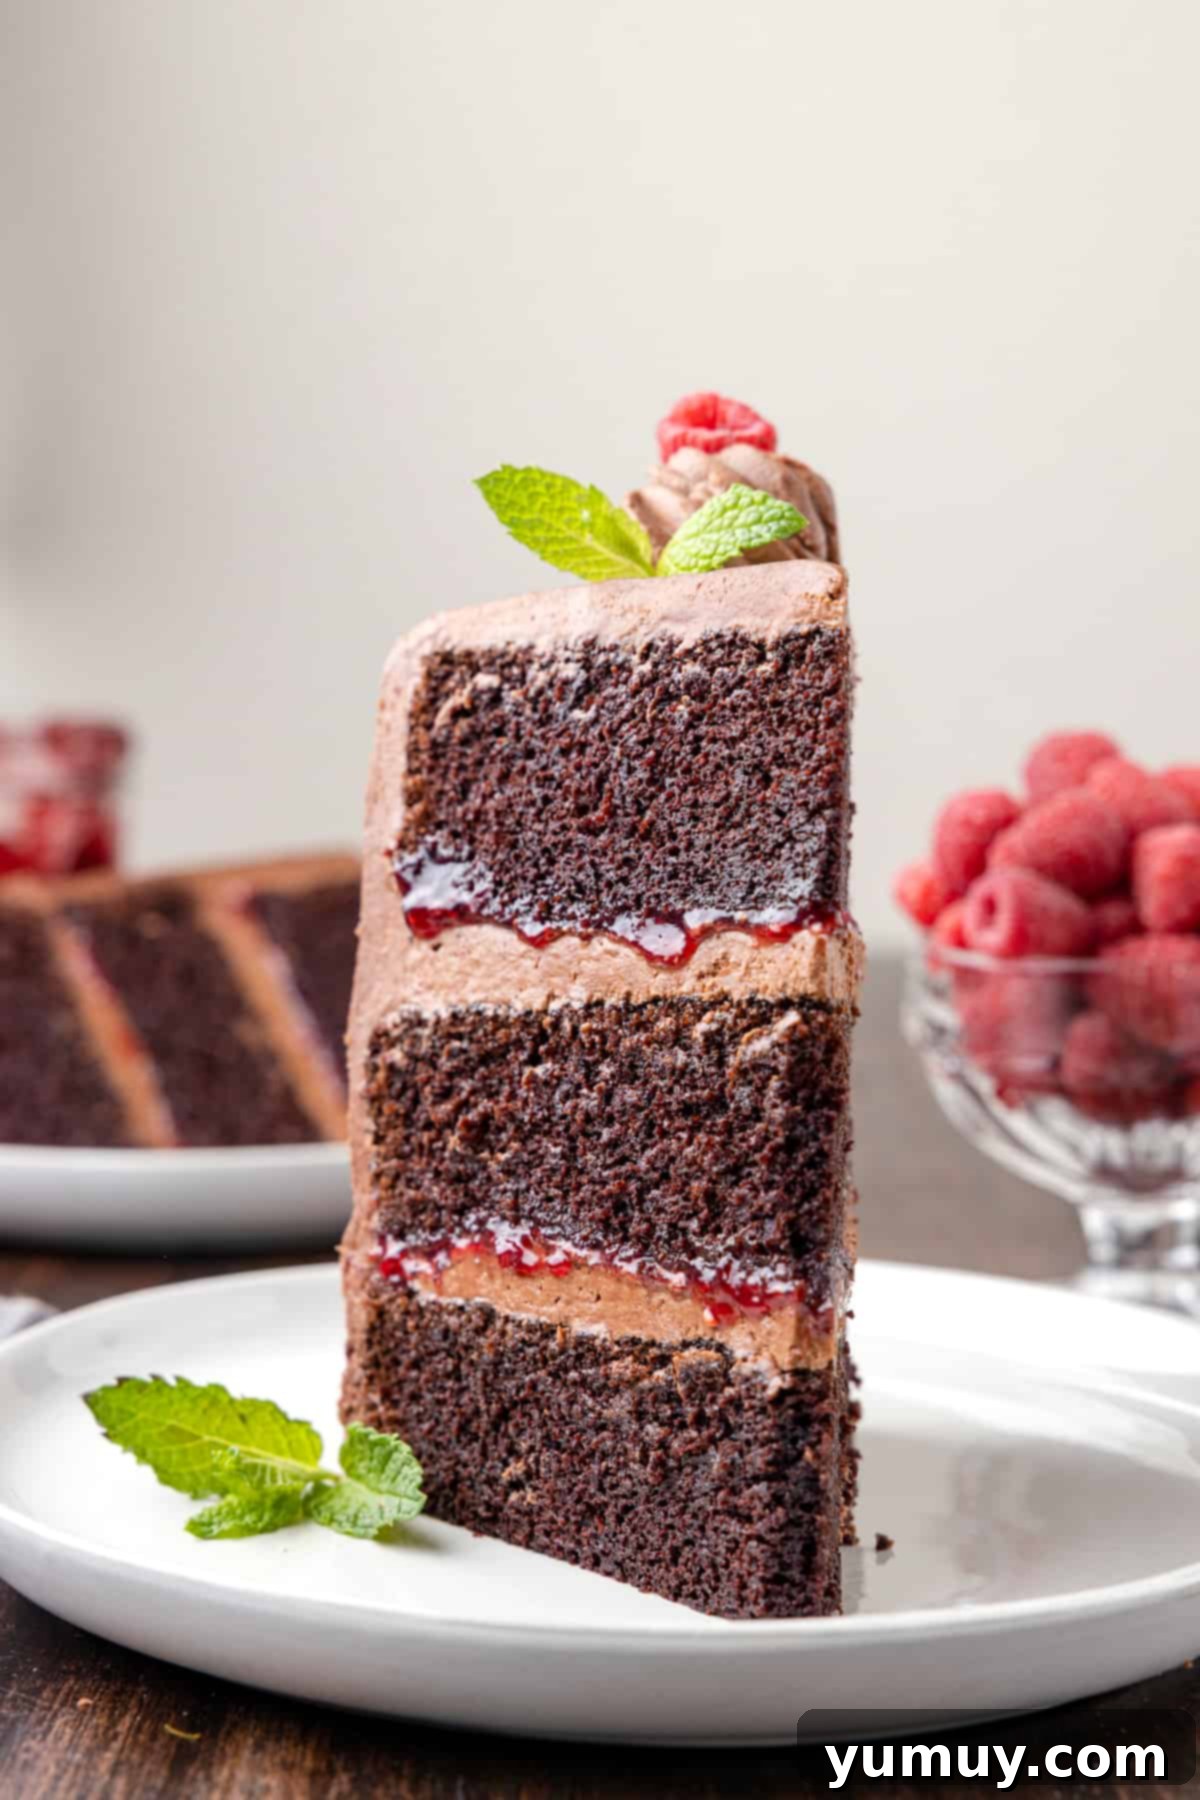
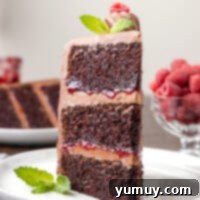
There’s an undeniable magic that happens when the rich, deep notes of dark chocolate meet the bright, tangy burst of fresh raspberries. This isn’t just a dessert; it’s an experience – a symphony of flavors and textures designed to captivate your senses. Our irresistible dark chocolate raspberry cake is a true showstopper, balancing bold cocoa with the vibrant tartness of berries in the most exquisite way. Imagine three tender, deeply chocolatey cake layers, generously filled with luscious raspberry preserves, and enveloped in a cloud of silky, decadent chocolate buttercream. While it boasts a sophisticated, bakery-quality finish, this cake is surprisingly straightforward to create, even featuring a clever cake mix shortcut to streamline your baking process. It’s the perfect centerpiece for cherished celebrations like birthdays and Valentine’s Day, or simply for those moments when you crave an extraordinary slice of sweetness that truly satisfies.
- Pin this recipe for later!
Indulge in the Decadence: Dark Chocolate Raspberry Cake
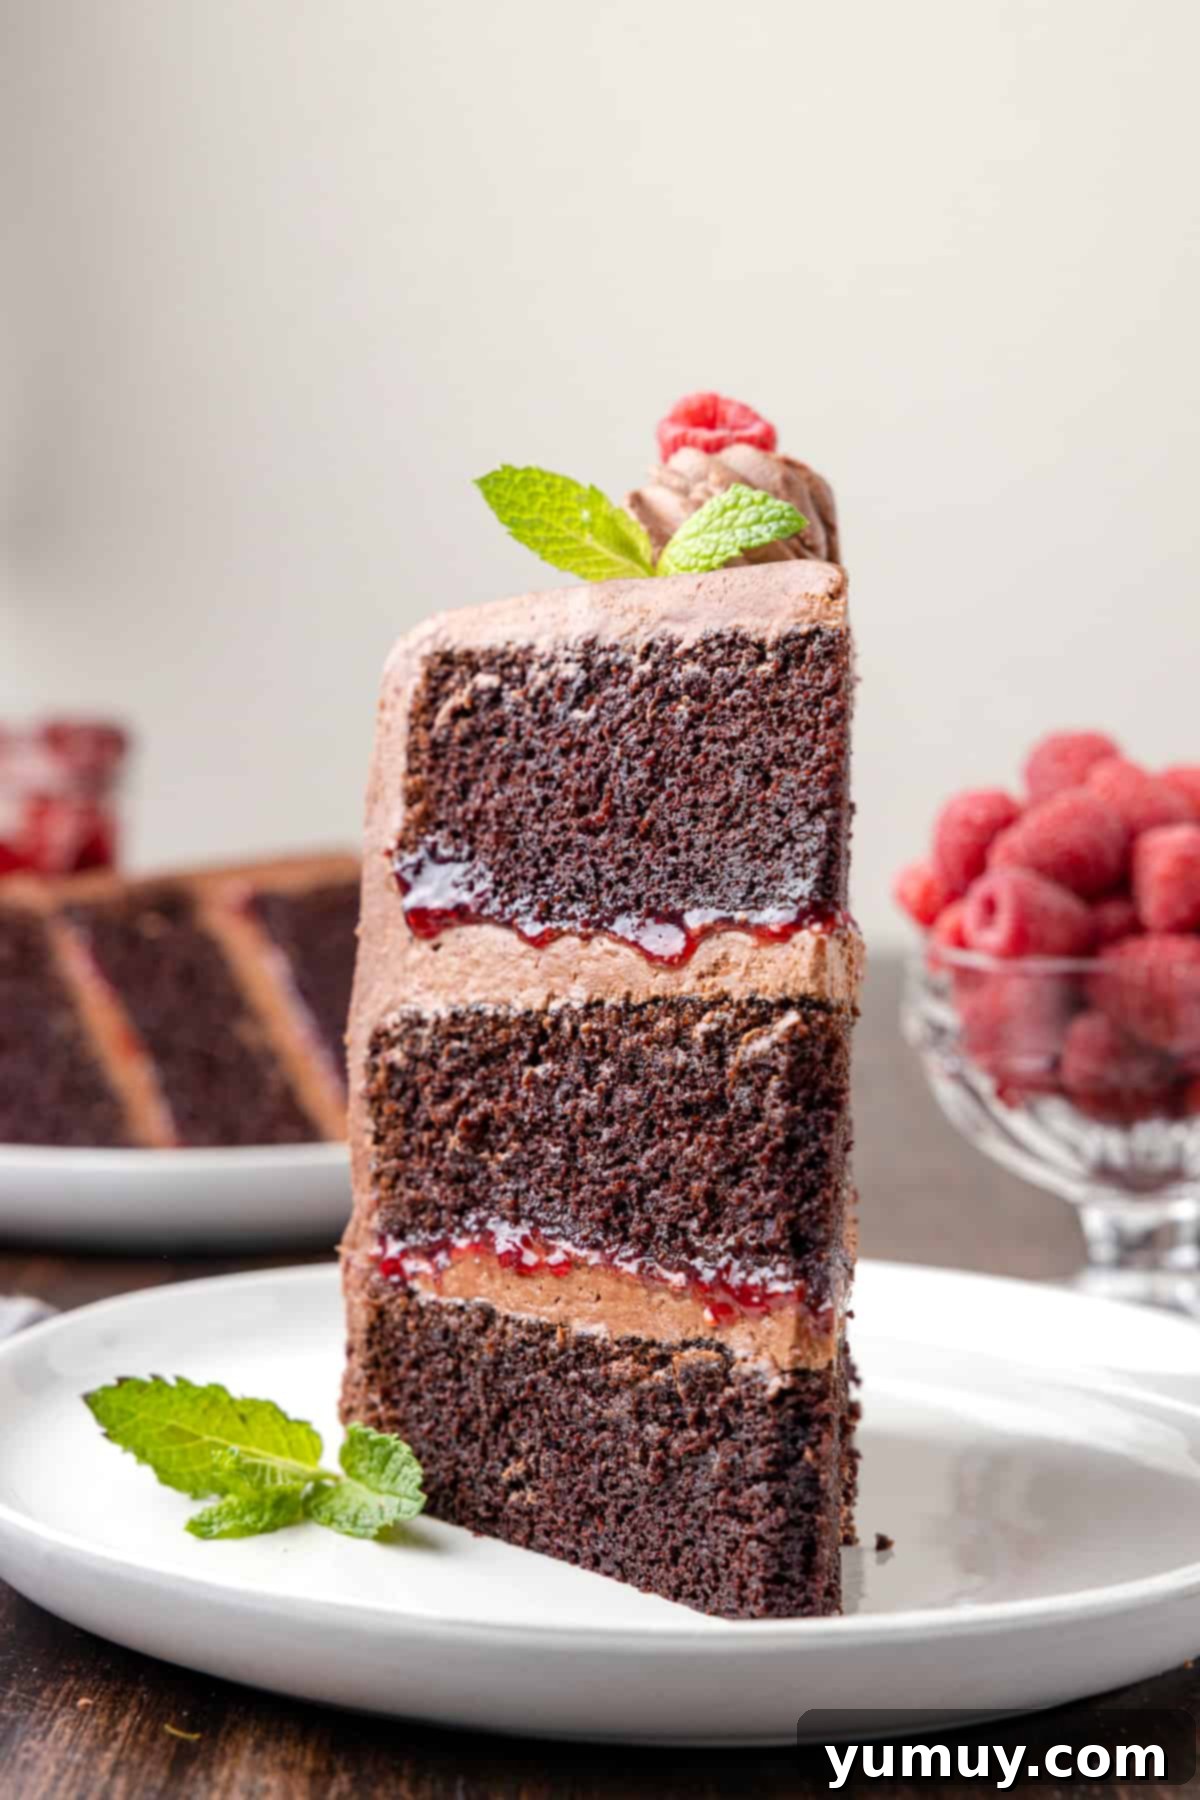
Every single layer of this exquisite raspberry chocolate cake is a testament to perfect baking. It’s incredibly tender, wonderfully moist, and bursting with a rich, complex flavor. The dark chocolate provides just the right amount of bitterness, creating a sophisticated depth that prevents the cake from feeling overly sweet or heavy. This richness is then beautifully complemented and cut through by the vibrant tartness of the raspberry jam, creating a delightful dance on the palate.
And let’s not forget the star of the frosting show: our homemade chocolate buttercream. It’s not just frosting; it’s a dream – impeccably smooth, wonderfully fluffy, and pipes with an effortless grace that makes decorating a joy. We love to layer this cake in a true bakery style, complete with a meticulous crumb coat, to achieve a polished, professional finish that remains surprisingly approachable. You absolutely don’t need to be a professional pastry chef to master this showstopper. With a little patience and perhaps a sprinkle of fresh raspberries on top for that extra touch of elegance, you’ll create a dessert that will impress everyone.
If you’ve ever dreamt of crafting a raspberry dark chocolate cake that rivals the creations of a high-end patisserie, yet proudly emerges from your own kitchen, then your search ends here. This recipe is your guide to achieving that luxurious taste and stunning presentation, inviting you to savor every single, magnificent bite.
The Secret to Flawless Layers: Creating a Frosting Dam
After countless trials and a dozen delicious versions of this chocolate raspberry jam cake, we’ve unlocked the ultimate secret to achieving perfect, stable layers every single time: the ingenious frosting dam. This simple yet crucial technique ensures that your cake maintains its beautiful structure and prevents any messy surprises. Before you even think about adding your tangy raspberry preserves, you’ll first spread a thin, even layer of chocolate buttercream directly onto the cake layer. This initial layer acts as a delicious adhesive and a foundational barrier. Then, using a piping bag, create a continuous ring of frosting around the very edge of the cake layer. This ring serves as a robust dam, expertly holding the jam securely in place, preventing it from squishing out the sides when the next layer is added or from seeping into the delicate cake, which could make it soggy. This small step makes a monumental difference in both the aesthetics and stability of your finished masterpiece, guaranteeing a clean and impressive cut every time.
Dark Chocolate Raspberry Cake Recipe
1 hour hour
35 minutes minutes
2 hours hours
5 minutes minutes
30 minutes minutes
12 slices
Print
Rate
Ingredients
For the Chocolate Cake
- ▢ 39.75 ounces dark chocolate cake mix (3 x 13.25-ounce boxes)
- ▢ 3 cups water
- ▢ 1½ cups vegetable oil
- ▢ 9 large eggs
For the Chocolate Buttercream
- ▢ 1½ cups unsalted butter (room temperature, 3 sticks)
- ▢ 1 cup vegetable shortening (1 stick)
- ▢ 1 cup unsweetened cocoa powder
- ▢ 8 cups powdered sugar
- ▢ ¼ cup milk (room temperature)
- ▢ 2 teaspoons pure vanilla extract
For Assembly
- ▢ 1¼ cups raspberry preserves (store-bought or homemade)
- ▢ Fresh raspberries (optional, for garnish)
Equipment
- Kitchen Scale (optional)
- 3 9-inch Round Cake Pans
- Stand Mixer
- Piping Tip Set
Instructions
For the Chocolate Cake
- Preheat oven to 350°F (175°C). Spray three 9-inch round cake pans with nonstick spray and add a parchment circle to the bottoms. Set aside.
- In a large bowl, mix the cake mix, water, oil, and eggs together until just combined. Be careful not to overmix.3 cups water,
1½ cups vegetable oil,
9 large eggs,
39.75 ounces dark chocolate cake mix
- Divide the batter equally between the 3 prepared cake pans (approximately 852 grams per pan if using a kitchen scale).

- Bake for 35-45 minutes, or until a gentle touch to the center of the cake causes it to spring back.
- Allow the cakes to cool in their pans for 5 minutes before carefully transferring them to a wire cooling rack to cool completely. Ensure they are fully cooled before frosting.

For the Chocolate Buttercream
- In the bowl of a stand mixer fitted with the whisk attachment, cream together the unsalted butter, vegetable shortening, and unsweetened cocoa powder until smooth.1½ cups unsalted butter,
1 cup vegetable shortening,
1 cup unsweetened cocoa powder - Place the mixer on low speed and gradually incorporate the powdered sugar, a cup at a time, until all of it is fully mixed in.8 cups powdered sugar
- Slowly pour the room-temperature milk and pure vanilla extract into the buttercream. Increase the mixer speed to medium-high and beat for about two minutes, until the buttercream becomes light, fluffy, and perfectly smooth.¼ cup milk,
2 teaspoons pure vanilla extract
For Assembly
- Using a serrated knife, carefully trim off any domed tops from your cooled cake layers to ensure they are perfectly level for stacking.
- Place the first cake layer onto your chosen serving plate or a cardboard cake circle. Spread an even layer of chocolate buttercream, about a quarter-inch thick, over the cake. Then, spread half of the raspberry preserves evenly over the buttercream, leaving a small border to create your frosting dam. Repeat this process with the second cake layer, spreading buttercream, then the remaining raspberry preserves. Finish by placing the third cake layer on top.1¼ cups raspberry preserves

- Apply a very thin layer of buttercream all around the entire cake – this is your “crumb coat.” This traps any loose crumbs, ensuring a smooth final finish. Refrigerate the cake for at least 15 minutes to allow the crumb coat to set.
- Once the crumb coat is firm, apply a thicker, final layer of buttercream around the sides and top of the cake. Use an offset spatula or bench scraper to smooth out the edges and top for a polished look. Return the cake to the fridge for an additional 15 minutes to firm up.
- For decoration, transfer some of the remaining buttercream to a pastry bag fitted with your favorite star piping tip. Pipe elegant swirls or borders onto your cake as desired.

- Garnish generously with fresh raspberries on top for a beautiful and delicious finish.Fresh raspberries
Notes for Baking Success
- Room Temperature Ingredients: For the smoothest buttercream and a perfectly blended cake batter, ensure your butter, shortening, milk, and eggs are all at room temperature before you begin. This allows them to emulsify correctly.
- High-Altitude Adjustments: If you’re baking at a high altitude, consider adding an extra 2 tablespoons of all-purpose flour to your cake batter. This helps to balance the reduced atmospheric pressure, preventing cakes from rising too quickly and collapsing.
- Avoid Overmixing: When combining your cake batter ingredients, mix only until they are just incorporated. Overmixing can develop the gluten in the flour, leading to a dry and dense cake with a tough texture, rather than the desired moist and tender crumb.
- Cool Completely: Patience is key! Always allow your cake layers to cool completely on a wire rack before attempting to trim, fill, or frost them. Warm cakes will crumble easily and melt your buttercream, leading to a messy and unstable dessert.
- Softening Preserves: If your raspberry preserves are too thick or firm to spread easily, microwave them in a heat-safe bowl for a few seconds (5-15 seconds) until they reach a more pliable consistency. Stir well before using.
- Creative Garnish: For an extra touch of fruitiness and visual appeal, consider breaking some fresh raspberries in half or lightly mashing them and sprinkling them directly on top of the raspberry jam filling within the cake layers.
- Secure Cake Base: To create a solid, non-slip foundation for decorating and serving, place a small dollop of frosting onto your cake board or serving stand before centering the first cake layer. This “glues” the cake in place, preventing it from sliding.
- Leveling Cakes: For a beautifully even and stable stack, use a long serrated knife to carefully slice off any domed tops from your cooled cake layers. This ensures that each layer sits flat and the finished cake has a clean, professional appearance.
- The Crumb Coat Advantage: The initial thin layer of buttercream (the crumb coat) is essential for a smooth, crumb-free exterior. It seals in all the loose crumbs, prevents them from mixing into your final frosting layer, and acts as a barrier to prevent the raspberry jam from leaking out the sides. Don’t skip the chilling step after the crumb coat!
Storage: Store any leftover dark chocolate raspberry cake in an airtight container or under a cake dome in the refrigerator for up to 1 week. For longer preservation, this cake can be frozen whole or cut into individual slices. Wrap it tightly in 2 layers of plastic wrap and then 1 layer of aluminum foil to prevent freezer burn, and it will keep for up to 1 month. To enjoy, simply let it thaw overnight in the refrigerator before serving.
Calories from Fat 783
Becky Hardin
Did You Make This?
We love seeing what you’ve made! Tag us on social media at
@easydessertrecipes for a chance to be featured.
Baking Your Masterpiece: A Step-by-Step Guide to Dark Chocolate Raspberry Cake
Creating this magnificent dark chocolate raspberry cake is a rewarding culinary journey, and with our detailed guide, you’ll achieve perfection. Let’s walk through each stage of the process, ensuring every component is just right for an unforgettable dessert.
Preparing Your Cake Layers
Step 1: Get Ready to Bake! First things first, preheat your oven to 350°F (175°C). This ensures your oven is at the optimal temperature for even baking from the moment your cakes go in. Prepare three 9-inch round cake pans by spraying them thoroughly with nonstick baking spray. For an extra layer of non-stick assurance and easy release, press a parchment paper circle into the bottom of each pan. This little trick prevents sticking and makes demolding a breeze. Set these prepared pans aside.
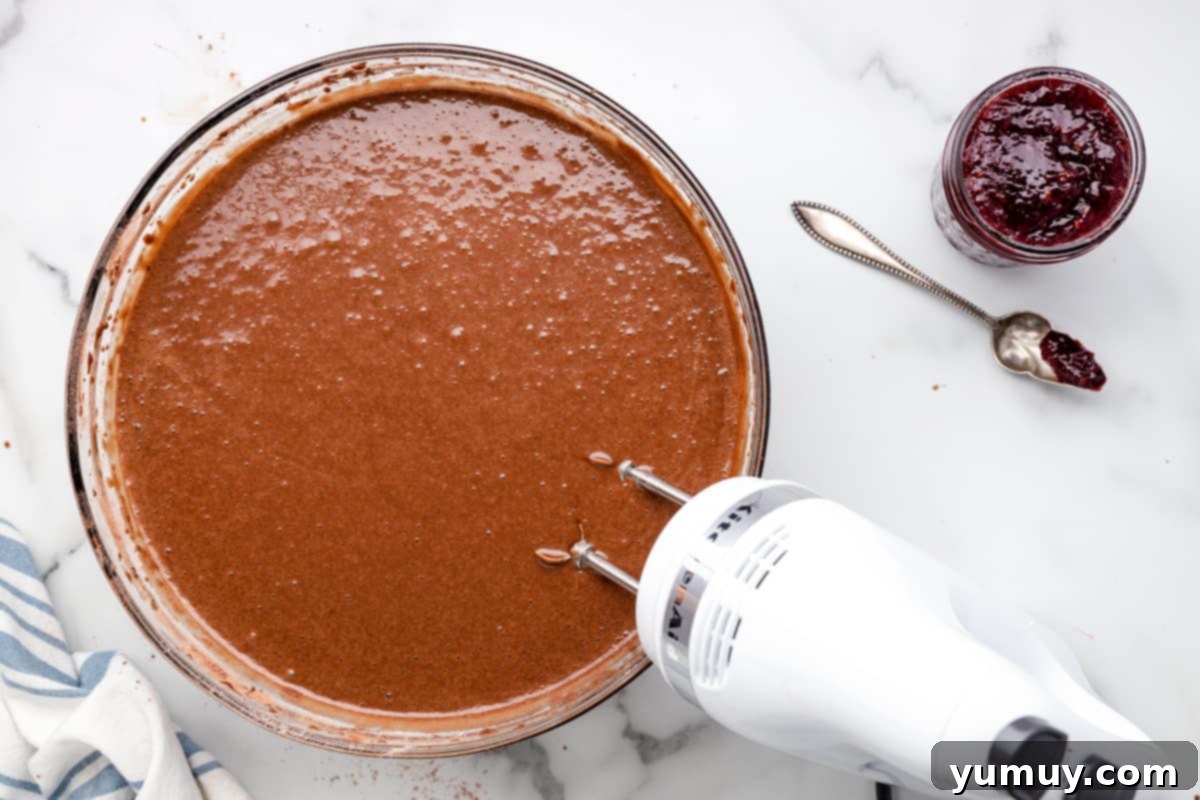
Step 2: Mix the Batter to Perfection. In a large mixing bowl, combine the entire contents of your dark chocolate cake mix (all 3 boxes, totaling 39.75 ounces), along with 3 cups of water, 1½ cups of vegetable oil, and 9 large eggs. Using a hand mixer or a stand mixer on low speed, mix these ingredients until they are just combined and smooth. It’s crucial not to overmix the batter; overmixing can lead to a dry, tough cake. Stop mixing as soon as no dry streaks of cake mix remain, ensuring a tender and moist crumb.
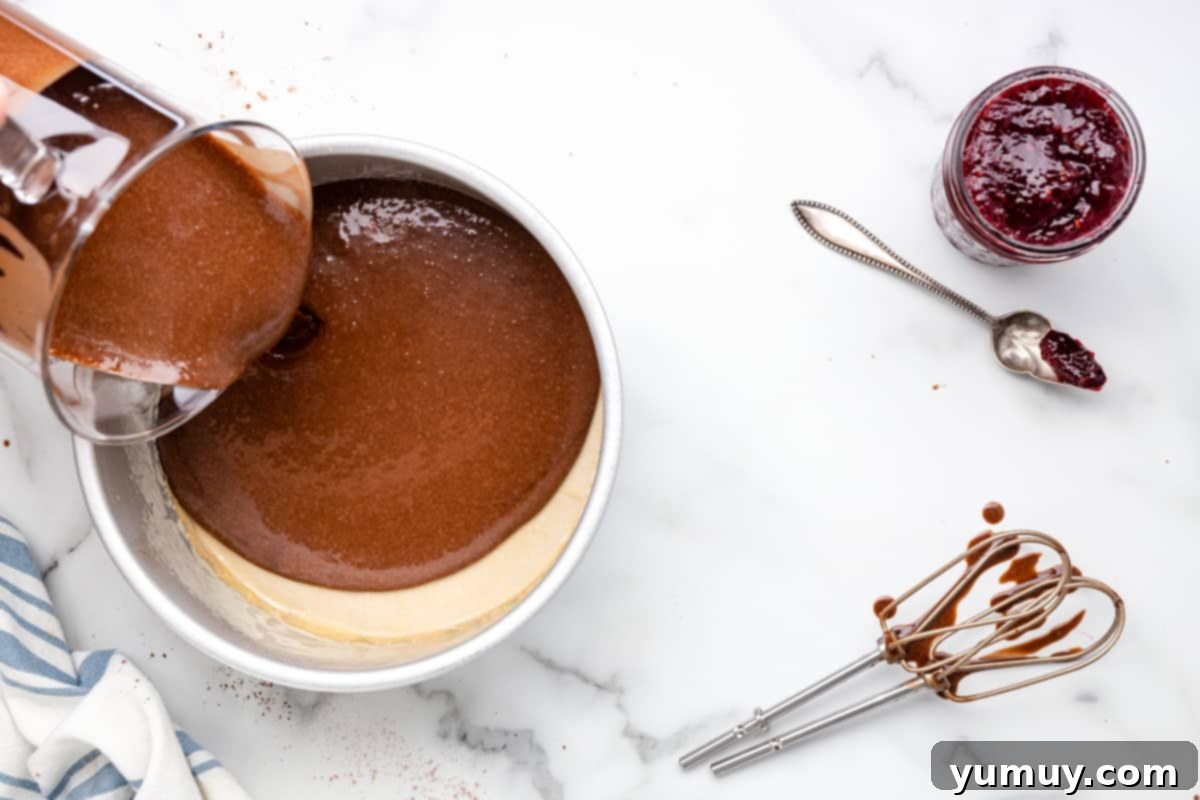
Step 3: Evenly Portion for Uniformity. Achieving uniform cake layers is vital for a beautifully stacked cake. Divide the prepared batter equally among your three 9-inch cake pans. For ultimate precision, especially if you have a kitchen scale, aim for approximately 852 grams of batter in each pan. This ensures that all cake layers bake evenly and have the same height, making assembly much simpler and more aesthetically pleasing.
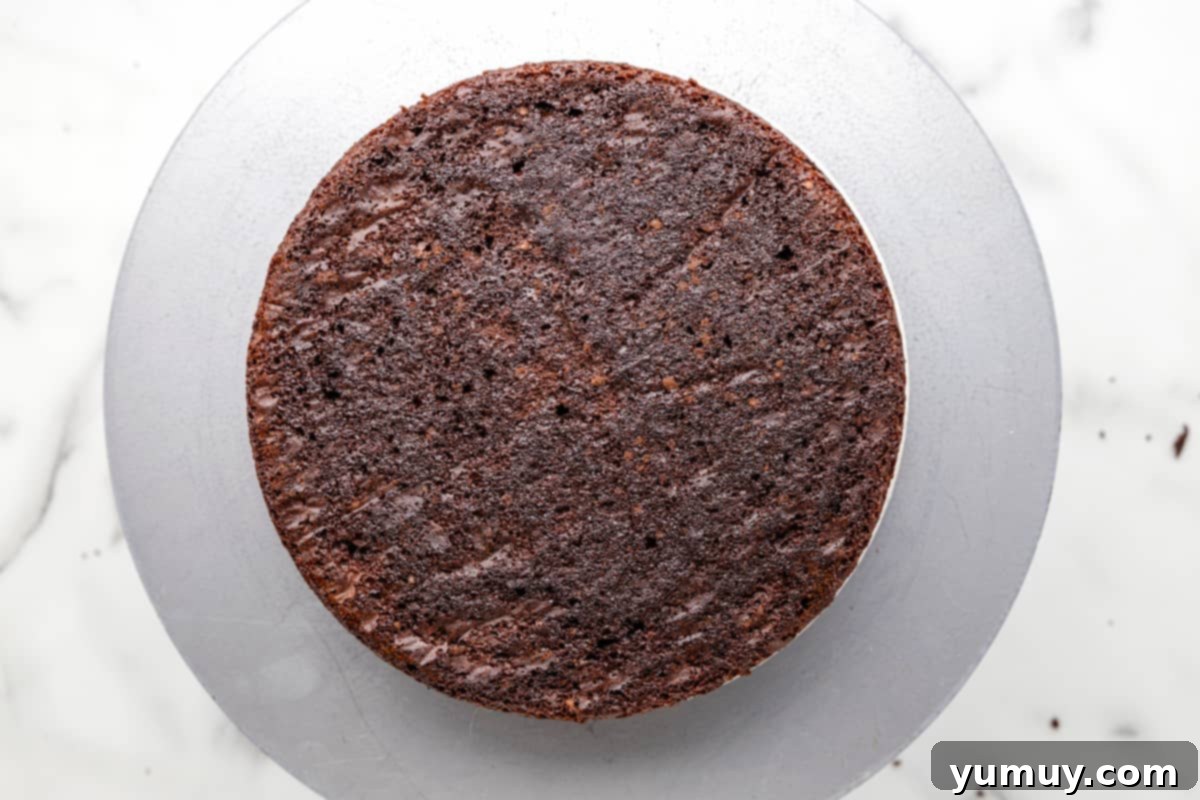
Step 4: Bake Until Golden and Tender. Carefully place your filled cake pans into the preheated oven. Bake for approximately 35-45 minutes. The best way to test for doneness is to gently touch the center of a cake with your finger; if it springs back, it’s ready. Alternatively, a wooden skewer or toothpick inserted into the center should come out clean. Once baked, remove the cakes from the oven. Allow them to cool in their pans for a crucial 5 minutes. This brief cooling period helps the cakes firm up slightly before you attempt to move them. After 5 minutes, invert the cakes onto a wire cooling rack and allow them to cool completely. This means they should be at room temperature before you even think about frosting them, which could take a couple of hours. Patience here prevents crumbled cakes and melted frosting!
Crafting the Silky Chocolate Buttercream
Step 5: Begin the Buttercream. While your cakes are cooling, it’s time to prepare the luxurious chocolate buttercream. In the bowl of a stand mixer fitted with the whisk attachment, combine 1½ cups of room-temperature unsalted butter, 1 cup of vegetable shortening, and 1 cup of unsweetened cocoa powder. Start mixing on low speed, gradually increasing to medium, and cream these ingredients together until the mixture is smooth and well combined. This initial creaming ensures a consistent base for your frosting.
Step 6: Gradually Add Sweetness. Reduce the mixer speed to low. Begin to slowly incorporate the 8 cups of powdered sugar, adding it one cup at a time. This methodical approach prevents a sugar cloud from engulfing your kitchen and allows the sugar to fully dissolve into the butter mixture, ensuring a smooth, grit-free buttercream. Continue mixing on low until all the powdered sugar is incorporated and the mixture is thick.
Step 7: Achieve Peak Fluffiness. Now for the magic touch! Slowly pour in ¼ cup of room-temperature milk and 2 teaspoons of pure vanilla extract. Once added, increase the mixer speed to medium-high and beat the buttercream for about 2 minutes. Watch as it transforms into a light, airy, and incredibly fluffy consistency. The vanilla enhances the chocolate flavor, and the extra beating time incorporates air, making the buttercream irresistibly smooth and spreadable.
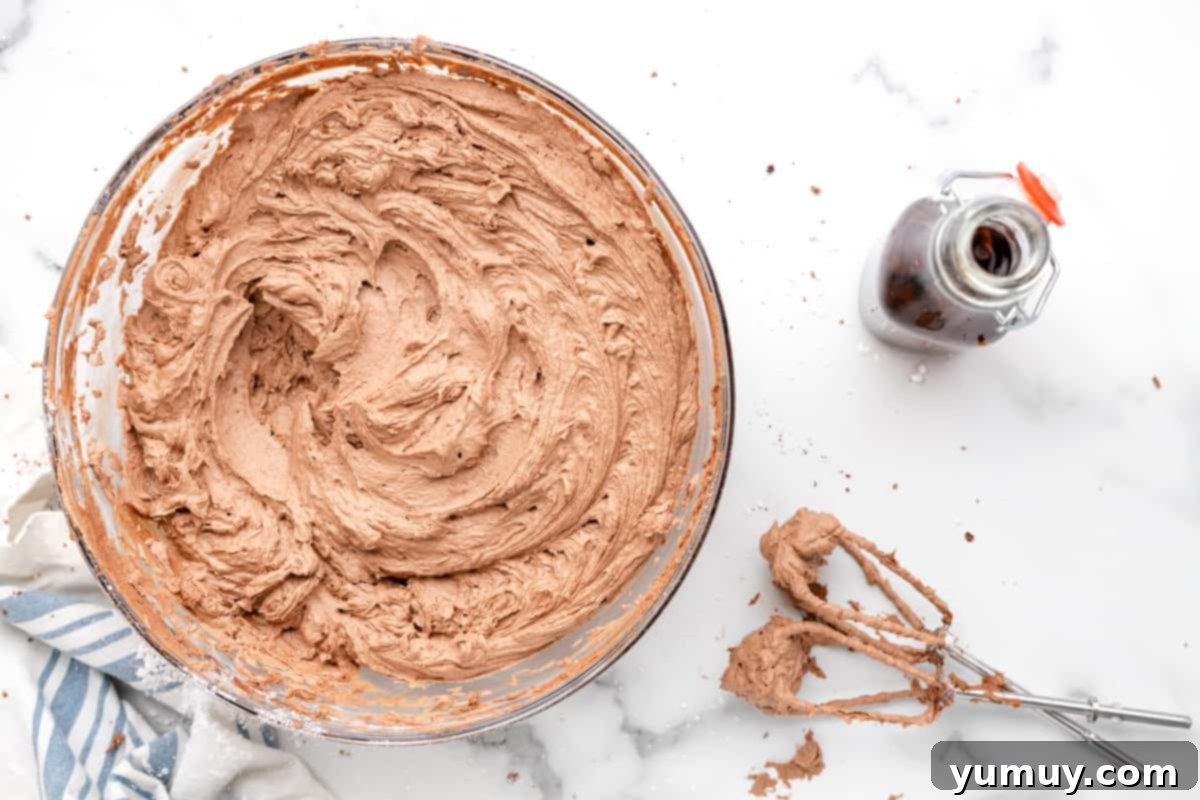
Assembling Your Stunning Cake
Step 8: Level the Layers. Once your cake layers are completely cooled, use a long serrated knife to carefully trim off any domed tops, making each layer perfectly flat. This ensures your cake will stack evenly and look professional.
Step 9: Fill with Raspberry Delight. Place one of the leveled cake layers onto your desired serving plate or a sturdy cardboard cake circle. Spread an even layer of chocolate buttercream, about ¼-inch thick, across the entire surface of this bottom layer. Now, pipe a ring of frosting around the very edge of the cake layer – this is your “frosting dam” to contain the jam. Within this dam, spread half of the 1¼ cups of vibrant raspberry preserves. Repeat this process with the second cake layer: buttercream, then the remaining raspberry preserves within another frosting dam. Finally, gently place the third cake layer on top, creating a beautifully stacked foundation.
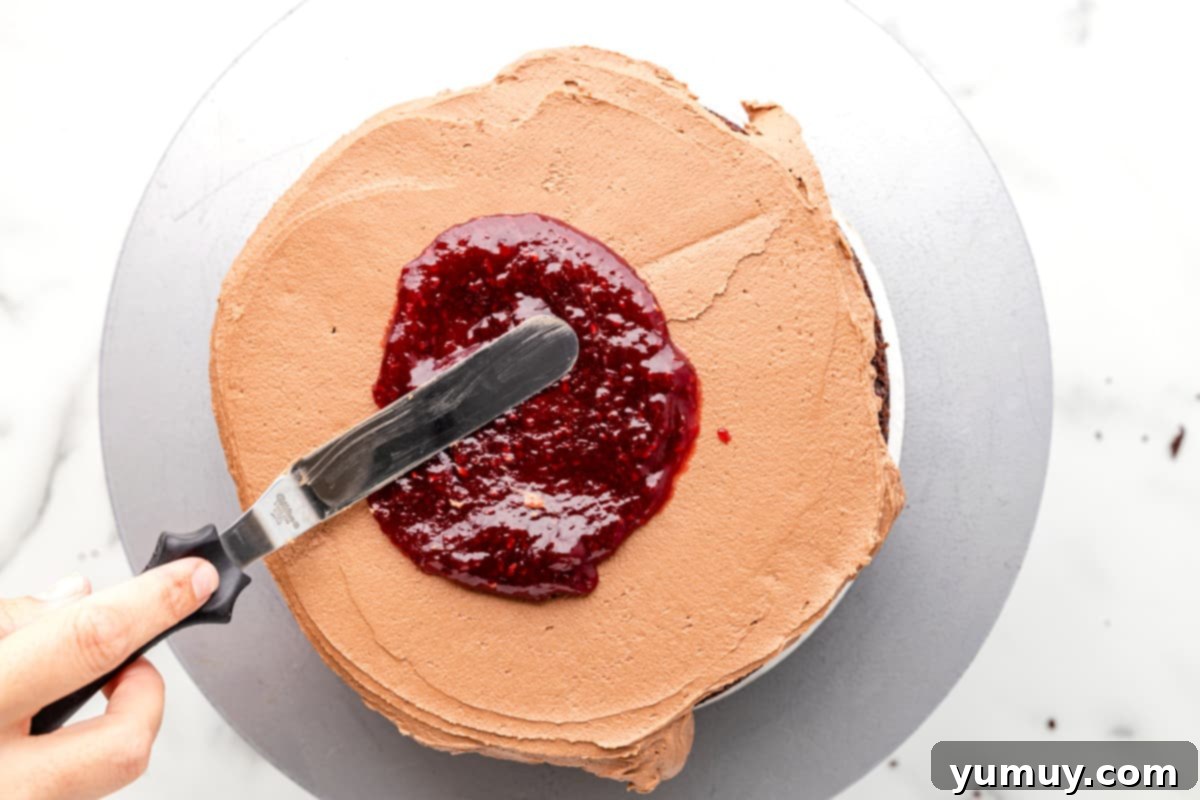
Step 10: The Essential Crumb Coat. With your cake layers stacked, it’s time for the all-important crumb coat. Apply a very thin layer of chocolate buttercream all around the sides and top of the entire cake. This thin layer acts as a “sealant,” trapping any stray crumbs and preventing them from showing up in your final, pristine layer of frosting. Once applied, transfer the cake to the refrigerator for at least 15 minutes. This chilling time allows the crumb coat to firm up, creating a stable base for the next step.
Step 11: Final Frosting and Smoothing. After the crumb coat has set, remove the cake from the fridge. Apply a thicker, more generous layer of chocolate buttercream over the entire cake. Use an offset spatula or a bench scraper to smooth out the sides and top, aiming for a clean, professional finish. Return the cake to the fridge for an additional 15 minutes to allow this final layer of frosting to firm up, which will make decorating much easier.
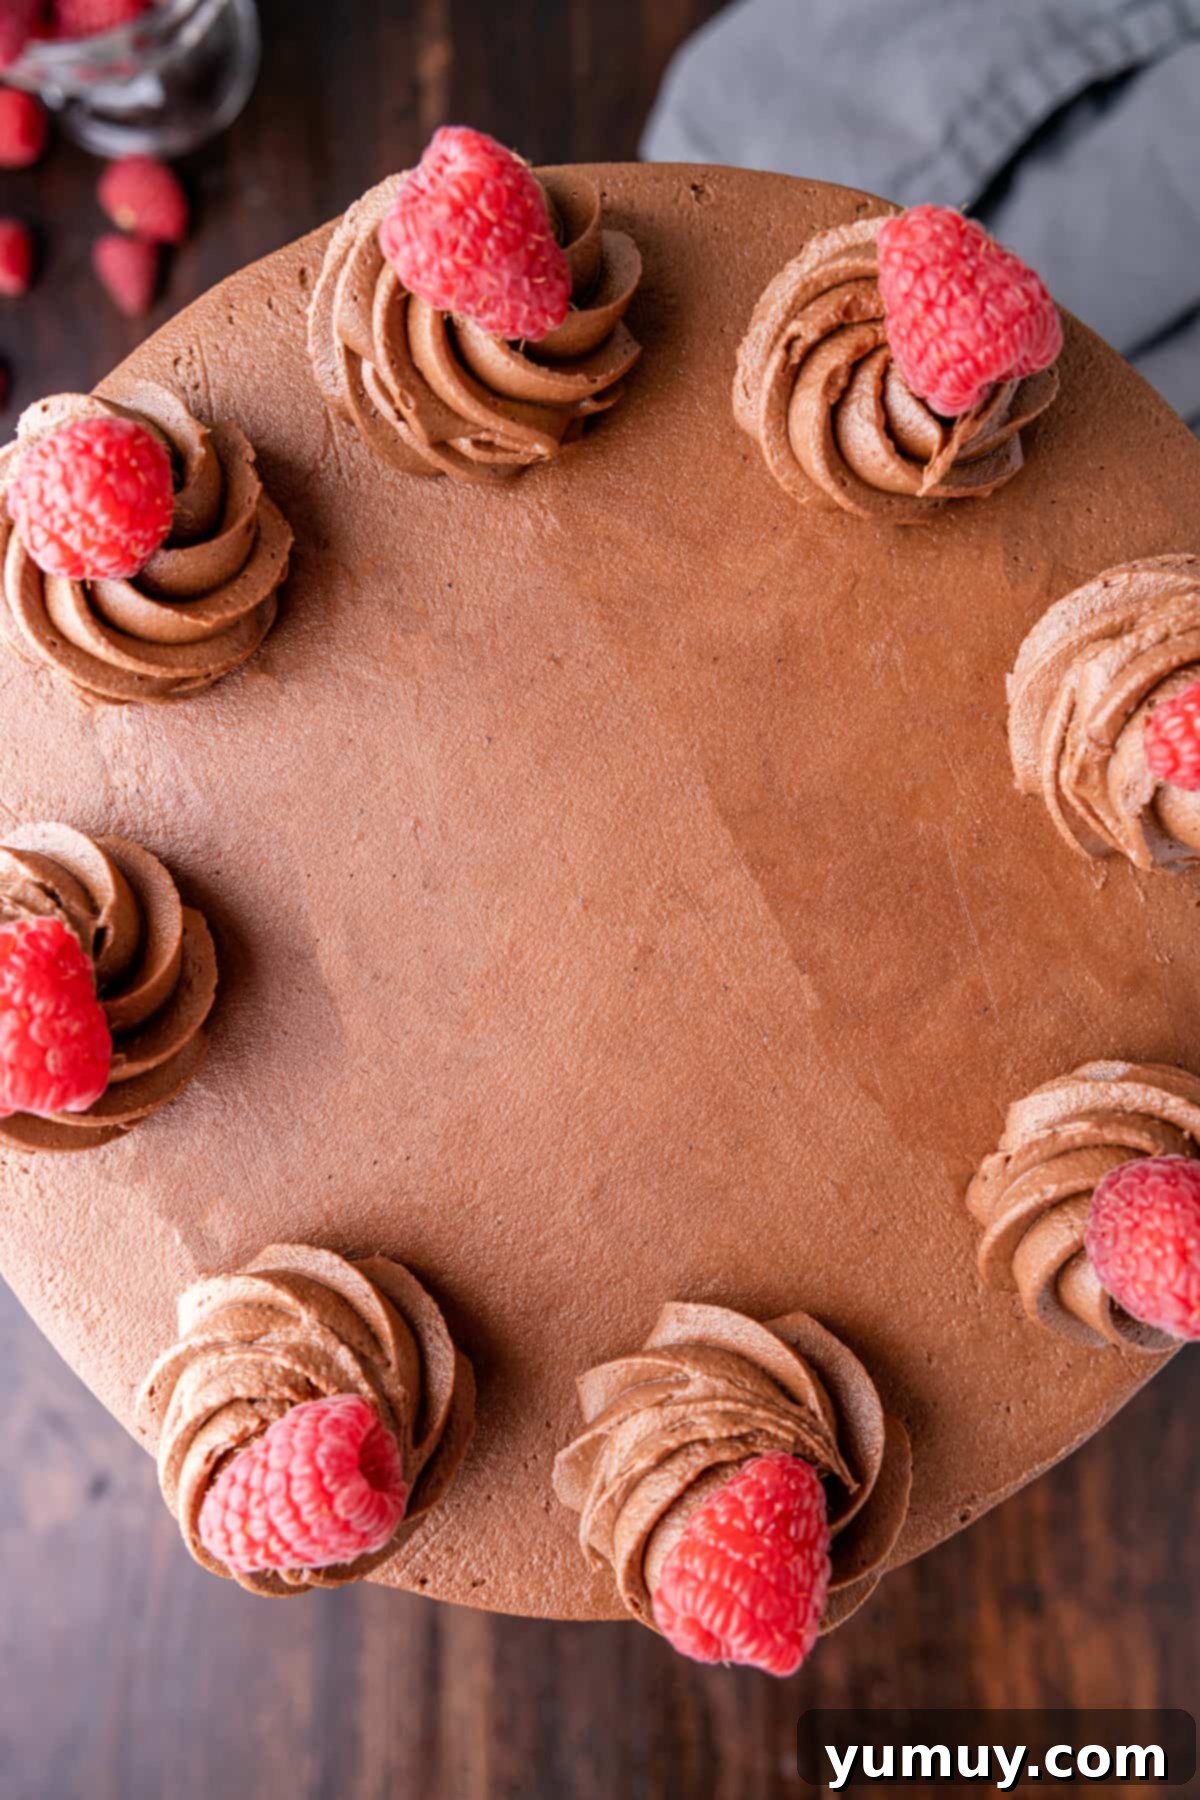
Step 12: Decorate and Garnish. Now for the artistic touch! Transfer any remaining buttercream into a pastry bag fitted with your favorite star piping tip. Pipe beautiful swirls, rosettes, or elegant borders onto the top and/or bottom edge of your cake. For that perfect final flourish, artfully sprinkle fresh raspberries on top of the cake. These not only add a pop of color but also a burst of fresh flavor. Your decadent dark chocolate raspberry cake is now ready to impress and be enjoyed!
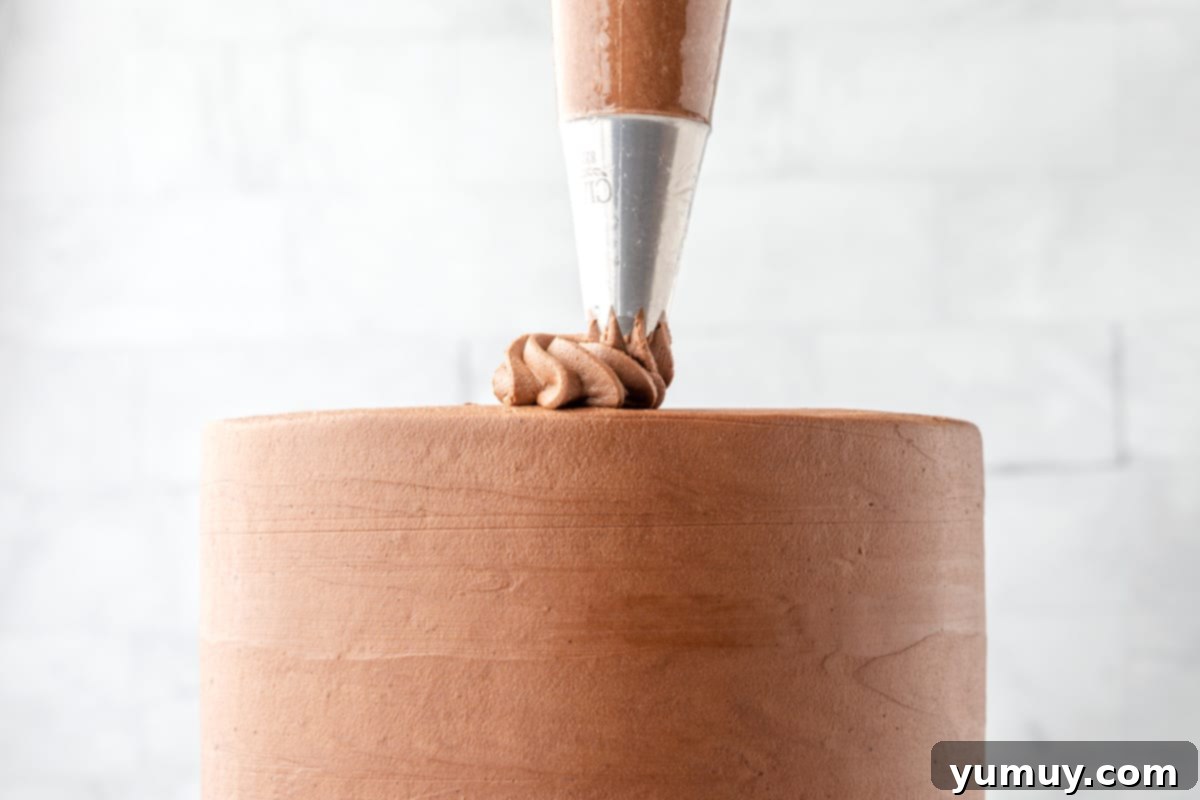
Storing Your Dark Chocolate Raspberry Cake for Freshness
Ensuring your beautifully crafted dark chocolate raspberry cake remains fresh and delicious is simple with proper storage techniques. After all the effort put into baking, you want every slice to be as perfect as the first.
Refrigerator Storage
For short-term storage, any leftover slices or the entire cake should be placed in an airtight container or covered securely with a cake dome. This protects the cake from drying out and absorbing odors from other foods in your refrigerator. Stored this way, your dark chocolate raspberry cake will remain wonderfully moist and flavorful for up to 1 week. Remember to bring chilled cake to room temperature for about 30 minutes before serving for the best texture and flavor experience.
Freezer Storage for Longer Enjoyment
If you wish to extend the life of your cake, it freezes beautifully! You can freeze the cake whole or cut it into individual slices, which is perfect for portion control and enjoying a treat whenever a craving strikes. To freeze, wrap the cake (whole or sliced) tightly in two layers of plastic wrap, ensuring no air can get in. Then, add a final layer of aluminum foil for extra protection against freezer burn. Properly wrapped, this cake can be stored in the freezer for up to 1 month. When you’re ready to enjoy a slice (or the whole cake), transfer it from the freezer to the refrigerator and let it thaw overnight. This gradual thawing process helps maintain its delicate texture and prevents excess moisture. Once thawed, you can bring it to room temperature briefly before serving.
More Decadent Chocolate Cake Recipes to Try!
Chocolate Cake Pops
Chocolate Sour Cream Pound Cake
Chocolate Mug Cake
Chocolate Mousse Cake
Browse All Cakes
