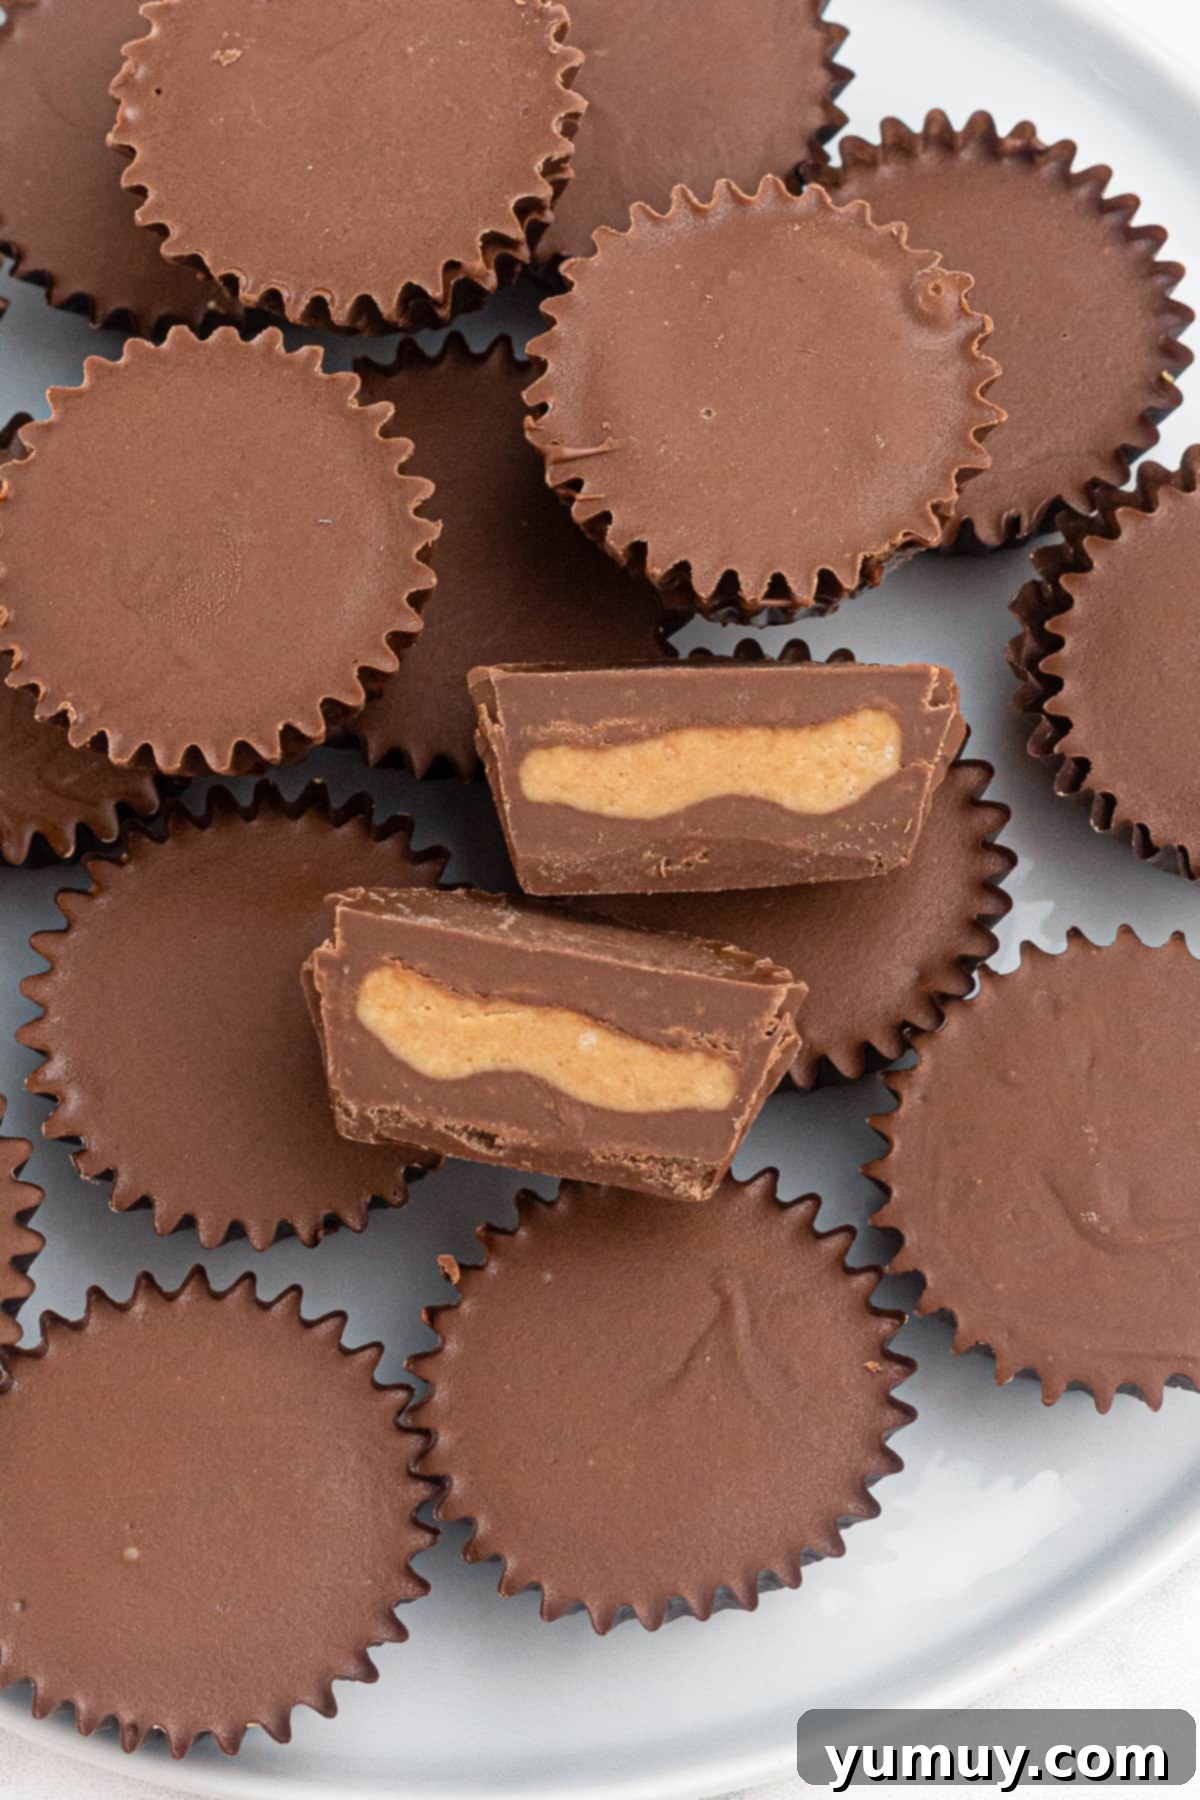
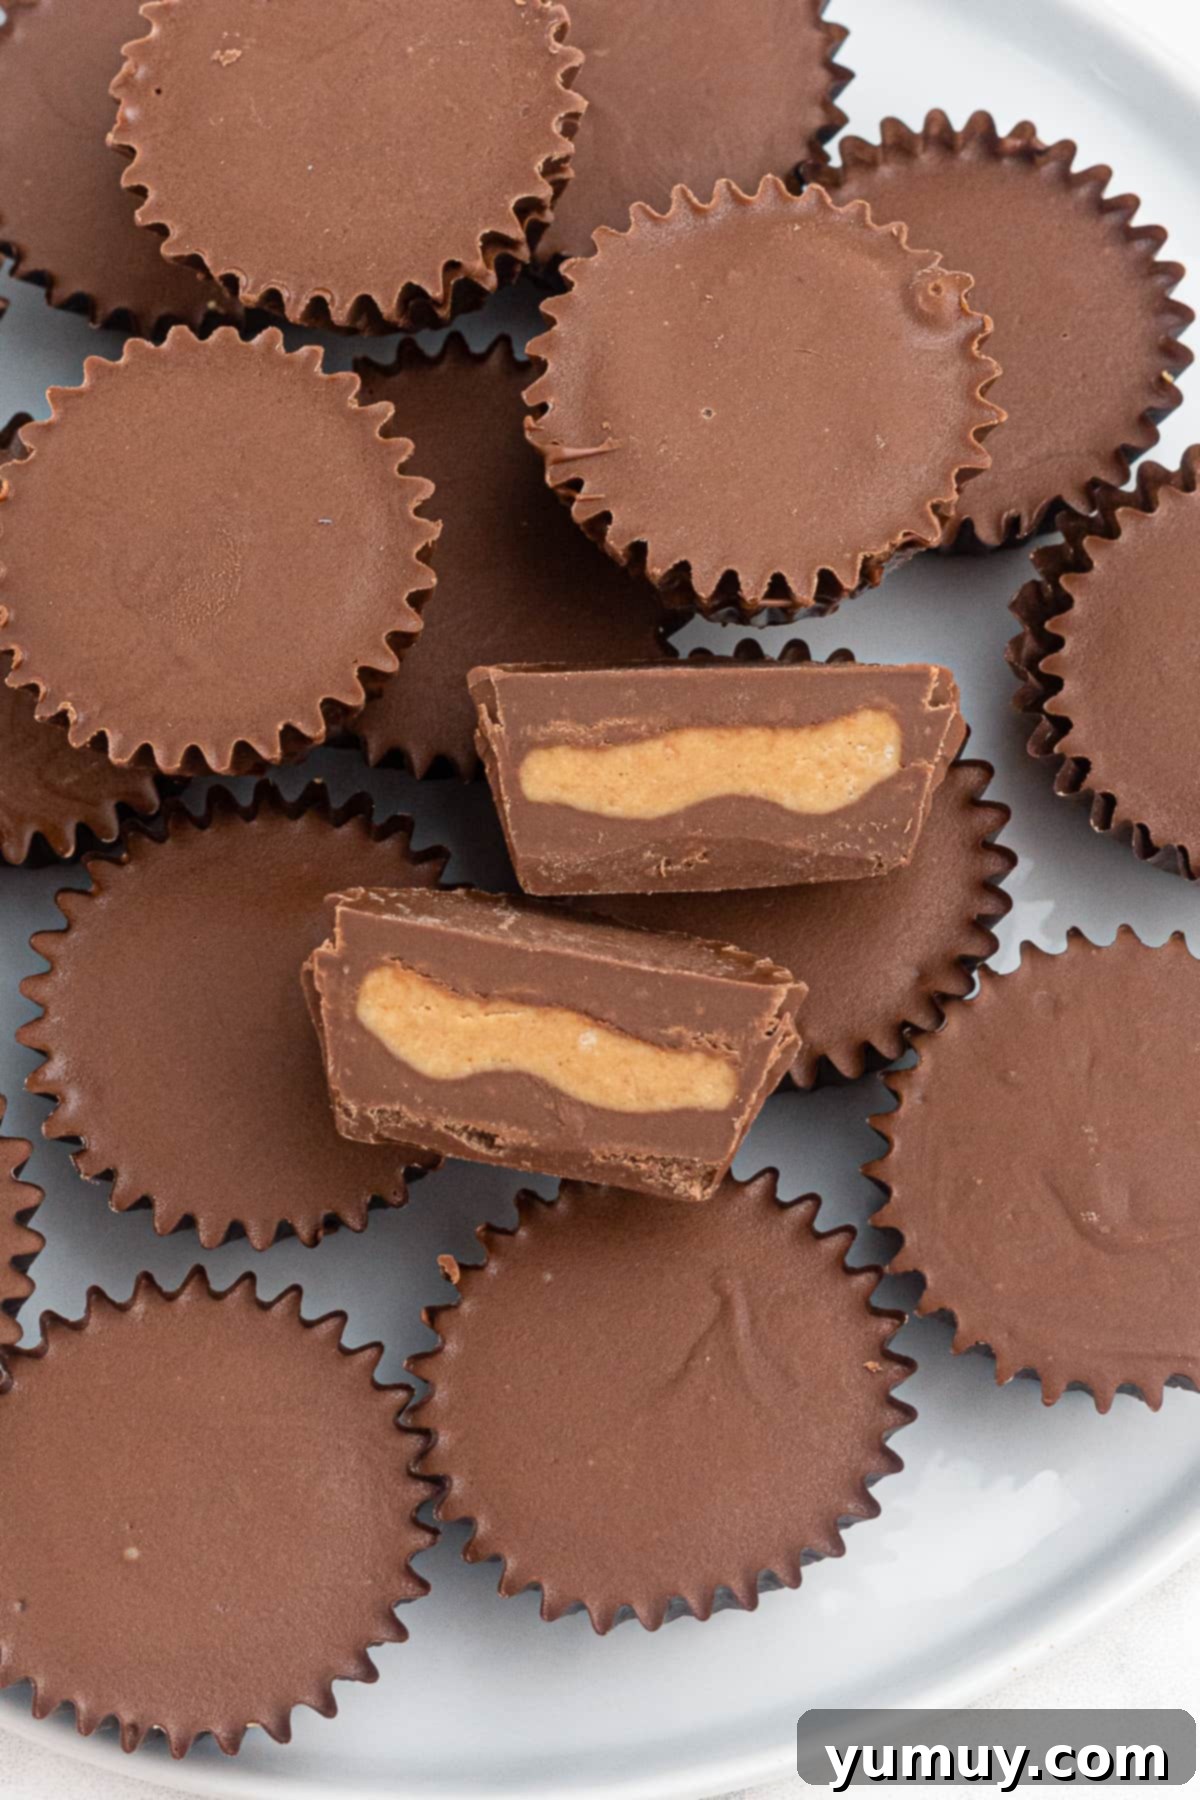
Have you ever found yourself craving the irresistible blend of rich chocolate and creamy peanut butter, wishing you could conjure up a Reese’s Peanut Butter Cup on demand? You’re not alone! This homemade peanut butter cup recipe is your ultimate solution, offering all the delightful taste of your favorite candy without any artificial flavors or preservatives. Crafted with just five simple ingredients, these no-bake wonders come together effortlessly, making them a perfect treat to stash in your fridge for when those chocolate cravings strike.
Crafting Your Own Irresistible Chocolate Peanut Butter Cups at Home
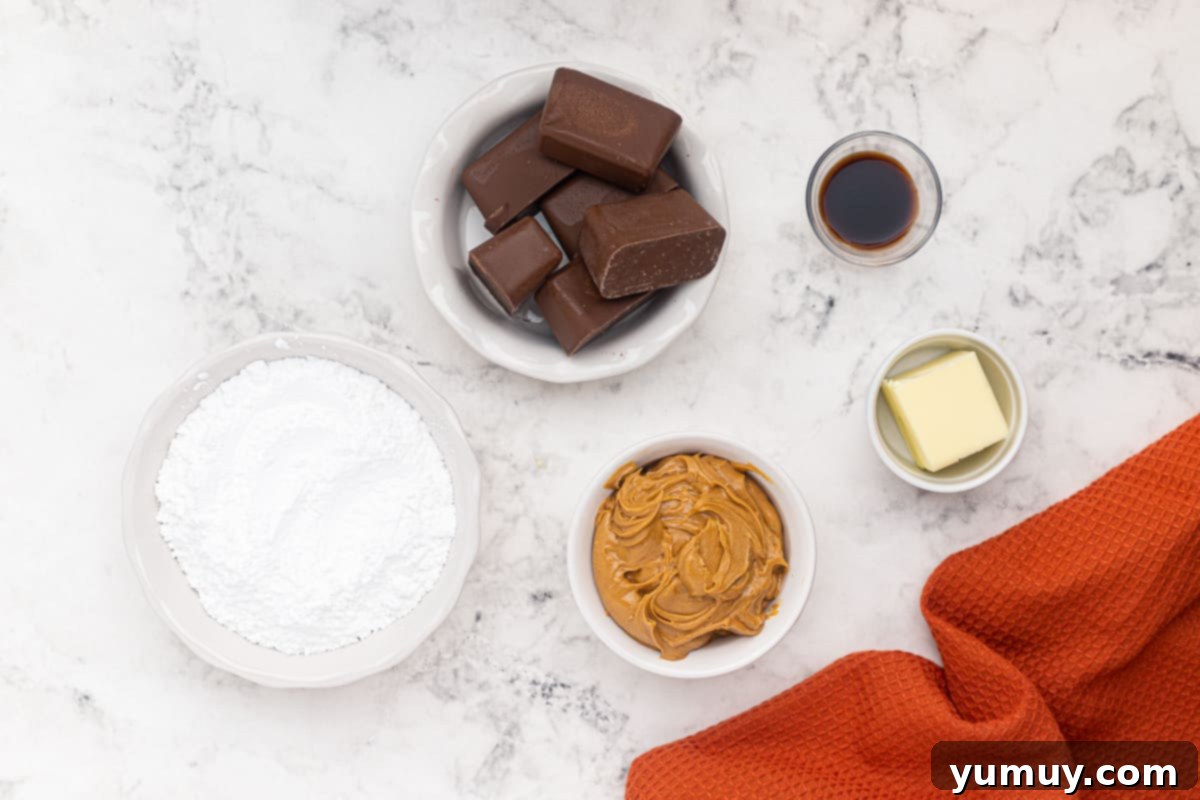
Making your own copycat Reese’s peanut butter cups is surprisingly straightforward, and the results are truly superior to anything you’ll find in a wrapper. This recipe prioritizes fresh, wholesome ingredients, ensuring a pure and authentic flavor profile. All you need are a few pantry staples: creamy peanut butter, unsalted butter, a touch of pure vanilla extract, powdered sugar, and high-quality melting chocolate. The best part? There’s absolutely no complex tempering required for the chocolate. The luscious peanut butter filling whips up in mere minutes, and the rich chocolate layers solidify beautifully in a mini muffin tin, creating perfectly portioned treats every time.
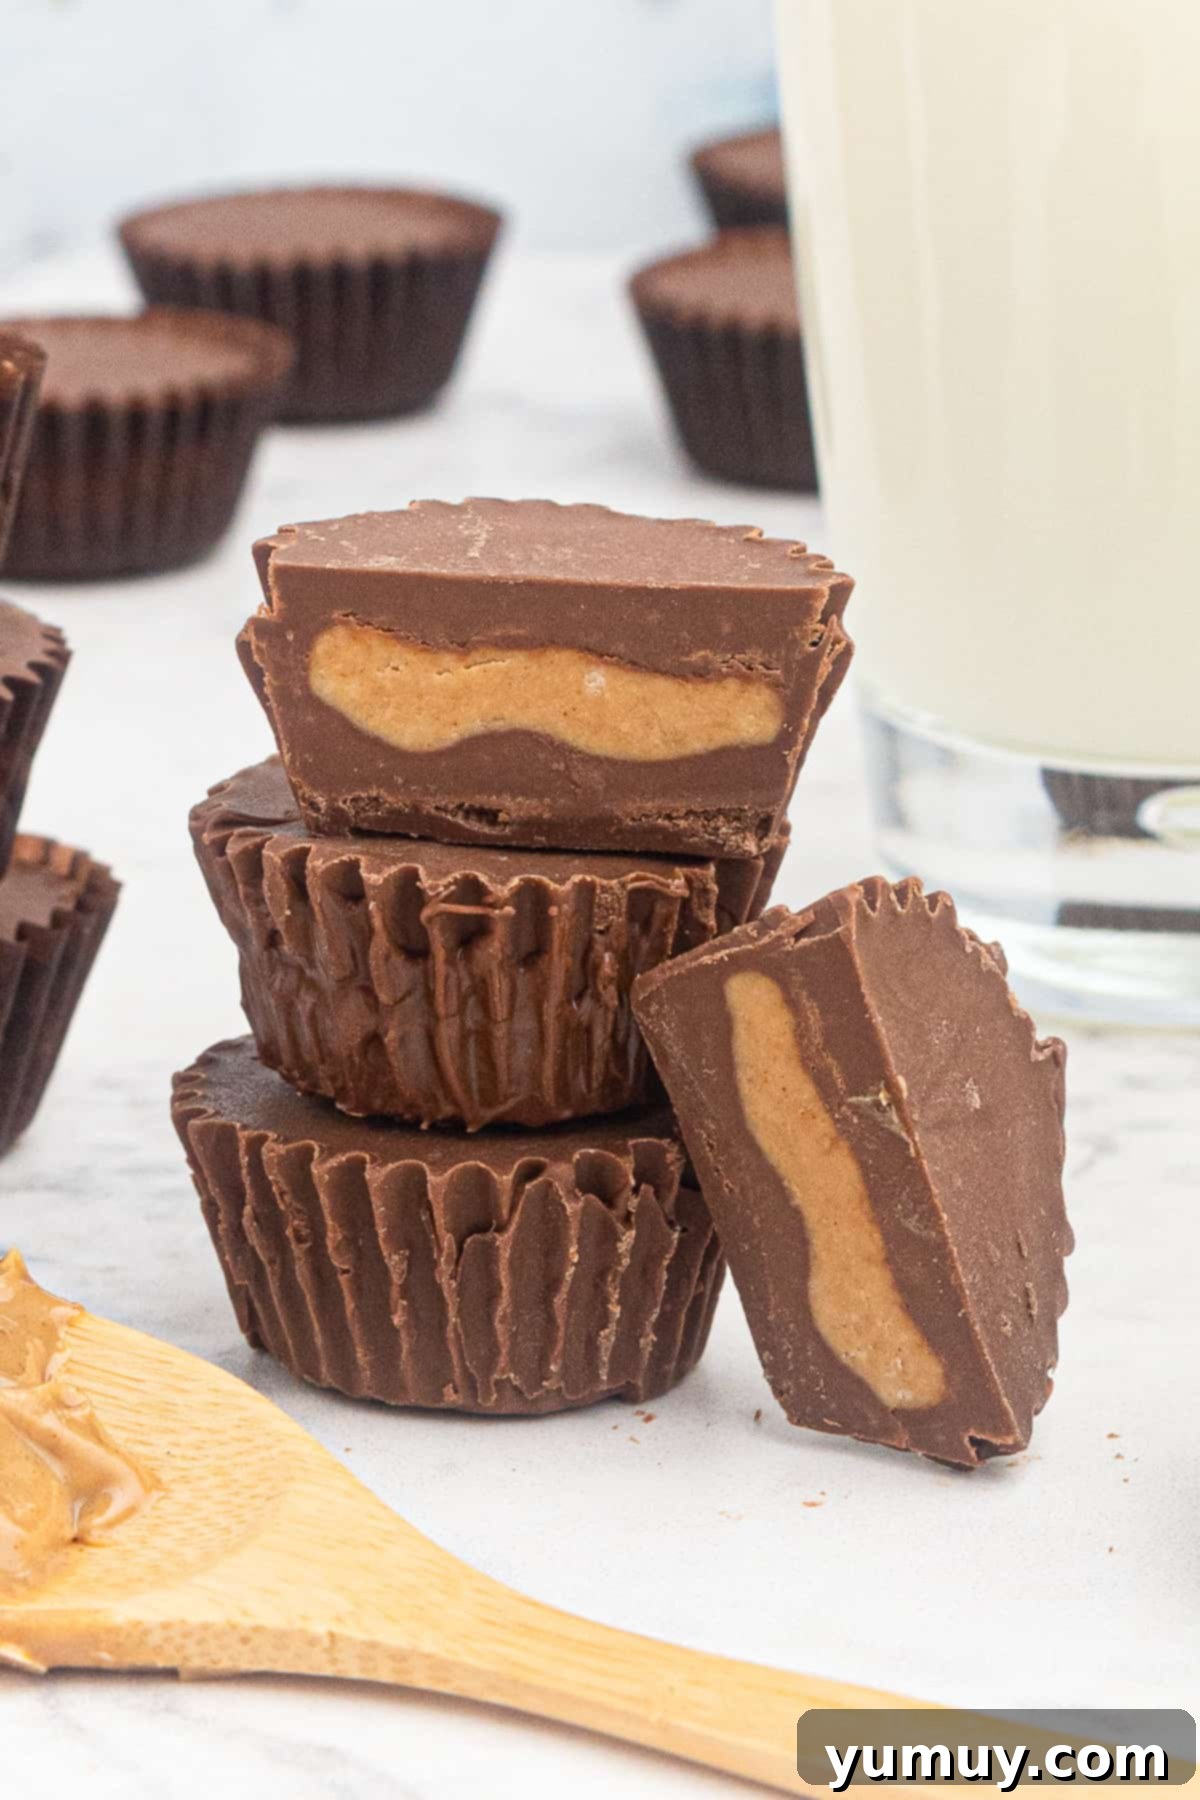
These DIY peanut butter cups are incredibly versatile. They make fantastic additions to school lunchboxes, delightful after-school snacks to fuel hungry kids (or adults!), and even serve as a wonderfully satisfying yet healthier dessert option after dinner. Given their simplicity and universal appeal, I often find myself doubling the recipe – a batch of 40 mini cups rarely lasts long in my household! While the classic milk chocolate and creamy peanut butter combination is a timeless favorite, feel free to experiment. You can easily swap in dark chocolate for a more sophisticated, less sweet profile, or opt for natural peanut butter if you’re aiming for a slightly healthier version that still retains its indulgent essence.
Planning for a special occasion? For a festive twist, be sure to explore my Reese’s peanut butter eggs recipe! They are an absolute delight and perfect for Easter or any spring celebration.
Achieving That Perfect Chocolate Snap (No Tempering Required!)
For many, the defining characteristic of a truly excellent peanut butter cup isn’t just the flavor, but that satisfying, crisp snap you get when you bite into the chocolate shell. Recreating this delightful texture at home might seem daunting, especially if you’re trying to avoid the often-fussy process of tempering chocolate. However, there’s a simple yet effective trick: always start with a chilled muffin tin. By placing your mini muffin tin in the refrigerator or freezer for about 10-15 minutes before you begin, you create an ideal cold surface for your melted chocolate.
This pre-chilling step serves several crucial purposes. Firstly, it helps the chocolate set almost instantly upon contact, which is key to achieving that desirable crisp texture. Secondly, the rapid cooling contributes to a beautiful, glossy finish on your chocolate, making your homemade cups look as professional as they taste. Finally, a cold surface significantly reduces the likelihood of chocolate bloom – those unsightly white streaks or dull patches that can appear when chocolate cools too slowly or unevenly. With this simple technique, you’ll effortlessly achieve a clean bite and a shiny exterior on your homemade peanut butter cups, completely bypassing the complexity and potential frustration of traditional chocolate tempering.

Homemade Peanut Butter Cups Recipe
15
45
30
40
cups
Ingredients
-
24
ounces
melting chocolate
divided -
1
cup
creamy peanut butter
-
¼
cup
unsalted butter
(½ stick) -
1½
cups
powdered sugar -
1
teaspoon
pure vanilla extract
Equipment
- Kitchen Scale
(optional, for precision) - Mini Cupcake Tin
- Mini Cupcake Liners
Instructions
- Prepare your workspace by lining a mini cupcake tin with mini paper liners. Set the prepared pan aside. For best results, chill the empty muffin tin in the refrigerator for 10-15 minutes before proceeding to step 2.

- In a medium microwave-safe bowl, carefully heat half of the melting chocolate. Start by microwaving for 1 minute, then remove and stir. Continue to heat in 30-second intervals, stirring thoroughly after each, until the chocolate is completely melted and beautifully smooth. Be careful not to overheat.24 ounces melting chocolate (half)

- Spoon approximately 1 teaspoon of the melted chocolate into the bottom of each mini liner. Ensure the bottom of each cup is evenly coated. This initial layer of chocolate will form the base. Allow this chocolate layer to cool and set completely in the chilled pan while you prepare the peanut butter filling. This step is crucial for the “snap.”

- In a medium saucepan, combine the 1 cup creamy peanut butter and ¼ cup unsalted butter. Heat gently over low heat, stirring continuously, until both ingredients are fully melted and smoothly combined. Remove the saucepan from the heat, then stir in the 1½ cups of powdered sugar and 1 teaspoon of pure vanilla extract. Mix vigorously until the mixture thickens considerably and reaches a consistency similar to firm play-dough, making it easy to handle and mold.1 cup creamy peanut butter,
¼ cup unsalted butter,
1½ cups powdered sugar,
1 teaspoon pure vanilla extract
- Using a small spoon or a nonstick-sprayed measuring teaspoon, drop about 1 teaspoon of the peanut butter mixture onto the center of the cooled chocolate base in each liner. Do not press the peanut butter down or spread it completely to the edges. Instead, allow it to sit as a small mound, leaving a visible gap around the sides between the peanut butter and the liner. This space will be filled by the top chocolate layer, creating a fully enrobed peanut butter center. Repeat this process until all cups have a peanut butter topping.

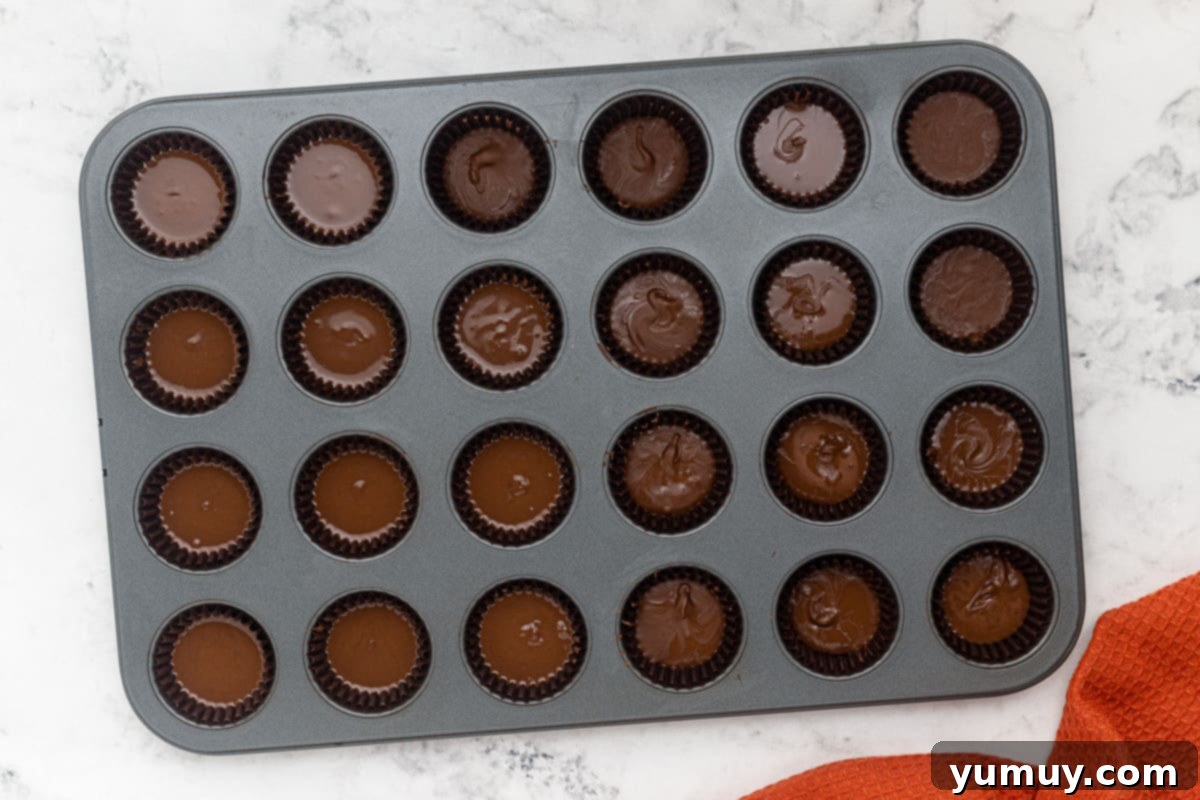
- Melt the remaining half of the melting chocolate using the same microwave method as before (30-second intervals, stirring in between). Once melted, carefully spoon about 1 to 1½ teaspoons of this warm chocolate over the peanut butter mixture in each cup, ensuring the entire top is covered and the chocolate flows down to meet the bottom layer, encasing the peanut butter. After all cups are covered, gently tap the muffin pan onto your counter a few times. This helps the chocolate settle, releases any air bubbles, and creates a perfectly smooth, glossy top surface.

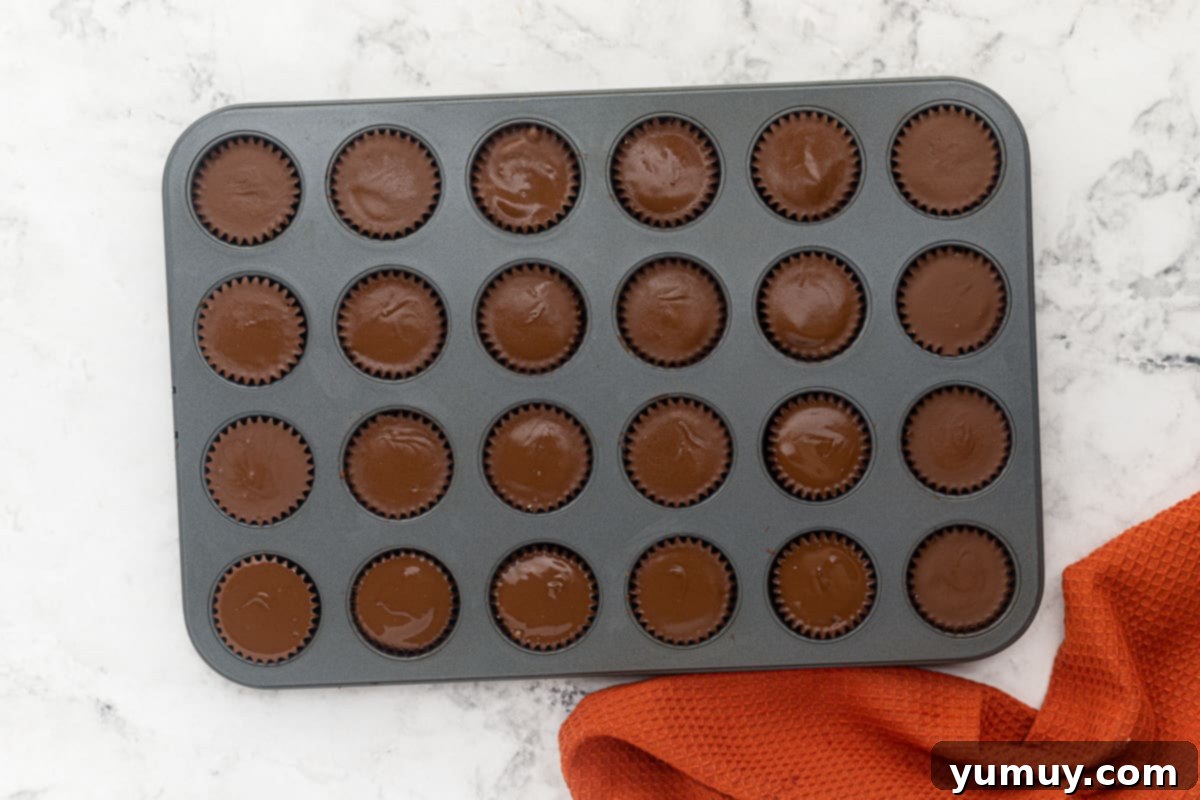
- Allow the assembled peanut butter cups to cool and set completely. This typically takes about 30 minutes at room temperature, or you can expedite the process by placing the muffin tin in the refrigerator for about 15-20 minutes. Once fully set, carefully remove them from the cupcake pan and peel off the liners before serving.

Notes for Perfect Peanut Butter Cups
- While not strictly necessary, using a mini muffin tin to hold the liners helps ensure that your peanut butter cups maintain a uniform, perfectly rounded shape. This creates a professional and appealing presentation.
- When melting chocolate in the microwave, always stir it every 30 seconds. Chocolate can scorch very easily, and stirring frequently helps distribute the heat evenly, preventing burning and ensuring a smooth, luxurious melt.
- To maintain consistent size and ideal chocolate-to-peanut-butter ratio, I find it helpful to use a standard teaspoon for scooping both the melted chocolate and the peanut butter mixture. This method yielded precisely 40 mini cups in my tests.
- It’s important not to spread the peanut butter filling all the way to the edges of the chocolate base. By leaving a small, visible edge around the peanut butter, you allow the final top chocolate layer to connect seamlessly with the bottom chocolate, fully encasing the filling and hiding it from view for that classic candy look. If needed, you can gently pull the paper liners back slightly when adding the top chocolate to ensure this connection.
- For those who are impatient or simply want to speed up the setting process, feel free to place the peanut butter cups in the freezer for about 10-15 minutes. This will harden them much faster than chilling in the refrigerator.
Storage Tips: Store your delicious homemade peanut butter cups in an airtight container. They will keep fresh in the refrigerator for up to 1 week. For longer storage, you can freeze them for up to 3 months. When ready to enjoy from the freezer, simply let them thaw at room temperature for a few minutes.
Calories from Fat 90
15%
31%
1%
1%
2%
5%
4%
16%
4%
1%
1%
6%
Becky Hardin
- X (Twitter)
Did You Make This?
We love seeing what you’ve made! Tag us on social media at
@easydessertrecipes for a chance to be featured.
How to Make Homemade Peanut Butter Cups: A Step-by-Step Guide
Creating these delightful chocolate peanut butter cups is a straightforward and rewarding process. Follow these detailed steps to achieve perfect, store-quality results every time.
1. Gather Your Ingredients and Prepare the Pan
Before you begin, ensure all your ingredients are measured and ready. Line a mini cupcake tin with mini paper liners. This is crucial for easy removal and gives your cups their classic shape. For an extra crisp chocolate shell, place the lined muffin tin in the refrigerator or freezer for 10-15 minutes while you prepare the chocolate.
2. Melt the First Batch of Chocolate
In a medium microwave-safe bowl, melt the first 12 ounces of your chosen melting chocolate. Start by heating for 1 minute on high power. After the initial minute, stir the chocolate thoroughly. Continue to microwave in 30-second intervals, stirring vigorously after each, until the chocolate is completely smooth and free of any lumps. Melting chocolate (also known as chocolate bark or almond bark) is highly recommended for this recipe as it sets firm and shiny without additional tempering steps, providing that coveted “snap.”
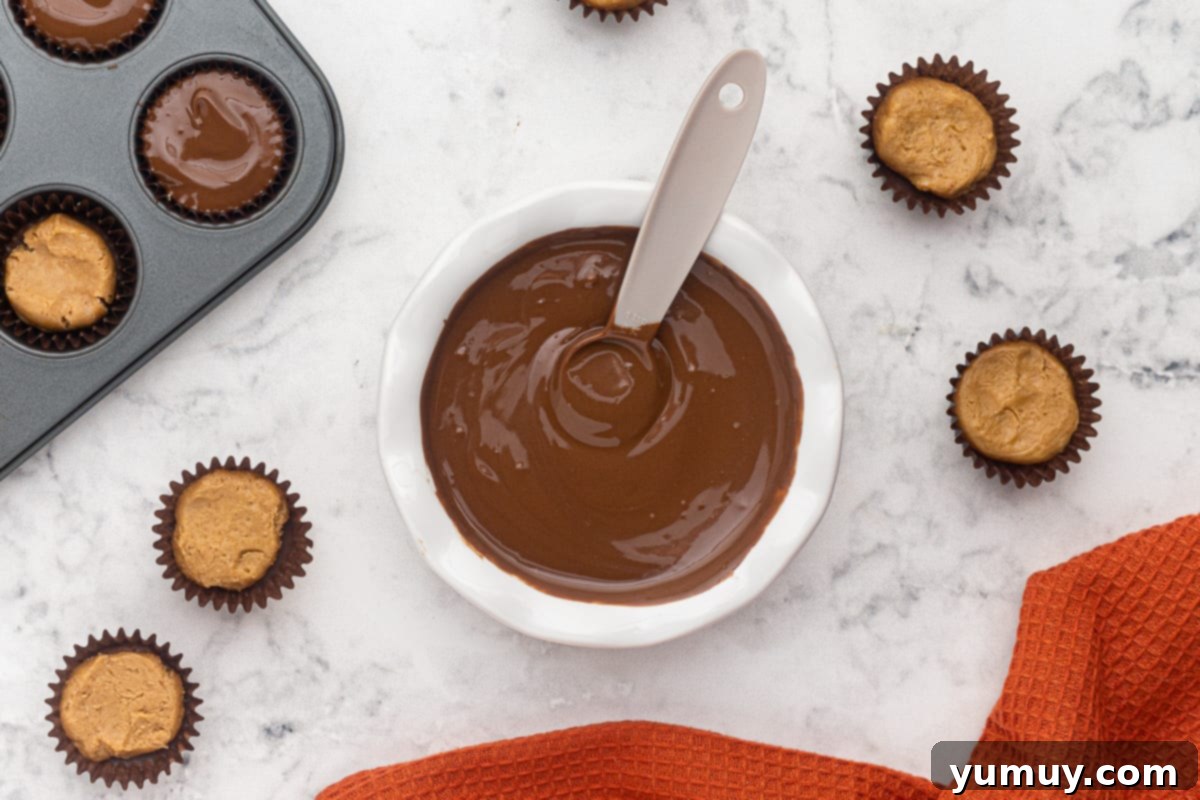
3. Create the Bottom Chocolate Layer
Remove your chilled muffin tin. Spoon approximately 1 level teaspoon of the melted chocolate into the bottom of each mini paper liner. Ensure that each liner has an even layer of chocolate covering the base. This layer will form the sturdy bottom of your peanut butter cups. Allow this chocolate layer to cool and set completely in the chilled pan. You can place the pan back into the refrigerator to speed up this process while you prepare the peanut butter filling. There’s no need to coat the sides of the wrappers yet; the subsequent steps will ensure the peanut butter is fully enveloped.
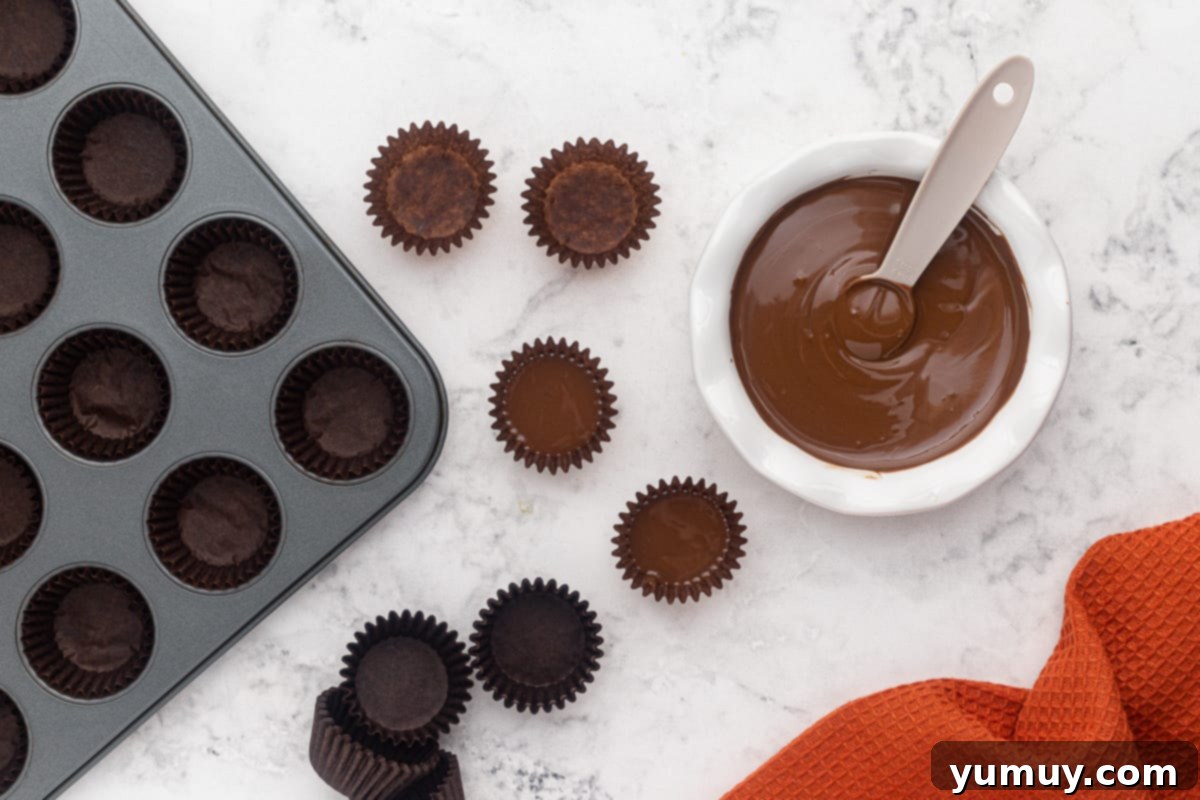
4. Prepare the Creamy Peanut Butter Filling
In a medium saucepan, combine 1 cup of creamy peanut butter with ¼ cup (½ stick) of unsalted butter. Heat these ingredients together over low heat, stirring continuously, until they are fully melted and beautifully smooth. Remove the saucepan from the heat. Add 1½ cups of powdered sugar and 1 teaspoon of pure vanilla extract to the peanut butter mixture. Stir vigorously until all ingredients are well combined and the mixture thickens significantly. The ideal consistency should be firm and pliable, much like play-dough, making it easy to scoop and shape.
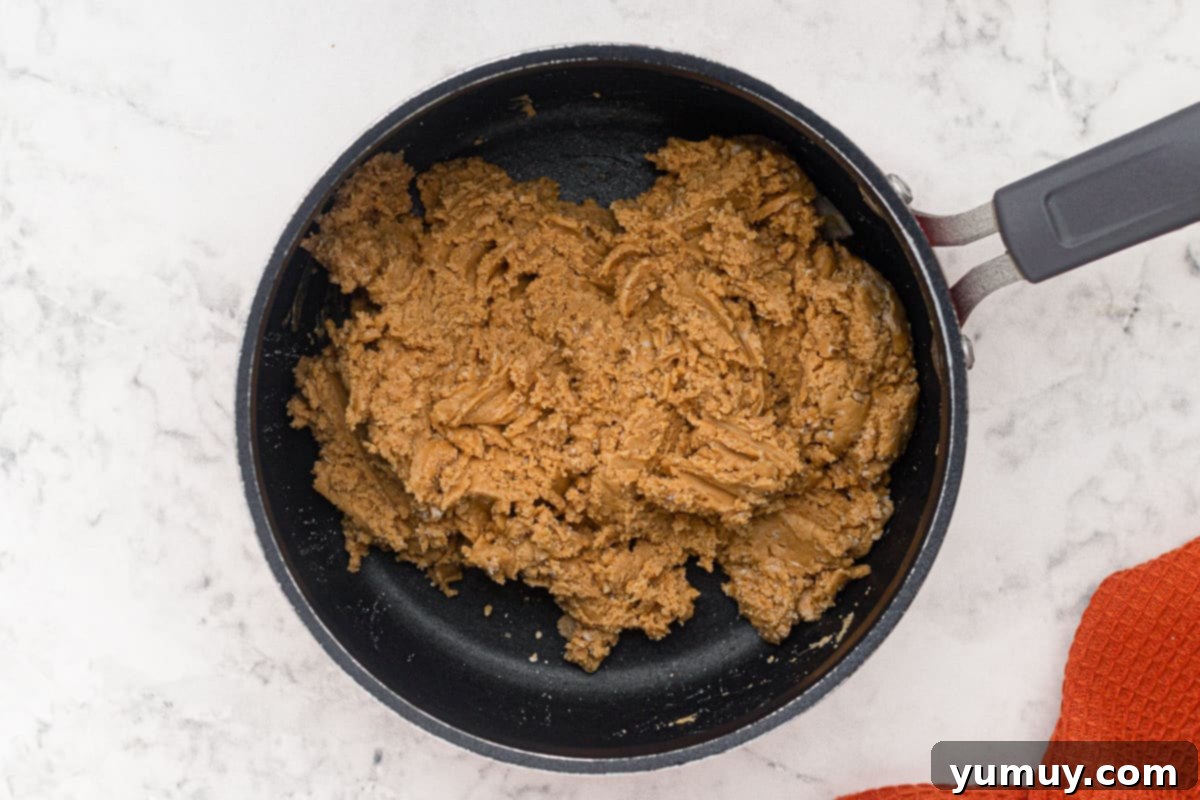
5. Fill the Cups with Peanut Butter
Once your bottom chocolate layer is set, drop approximately 1 teaspoon of the prepared peanut butter mixture onto the center of each cooled chocolate base in the liners. To prevent sticking, you can lightly spray your measuring spoon with nonstick cooking spray. It’s important not to press the peanut butter down or spread it to fill the entire cup. Instead, leave a small margin around the edges. This creates space for the final chocolate layer to flow down and connect with the bottom layer, completely enrobing the peanut butter and creating that signature solid chocolate shell.
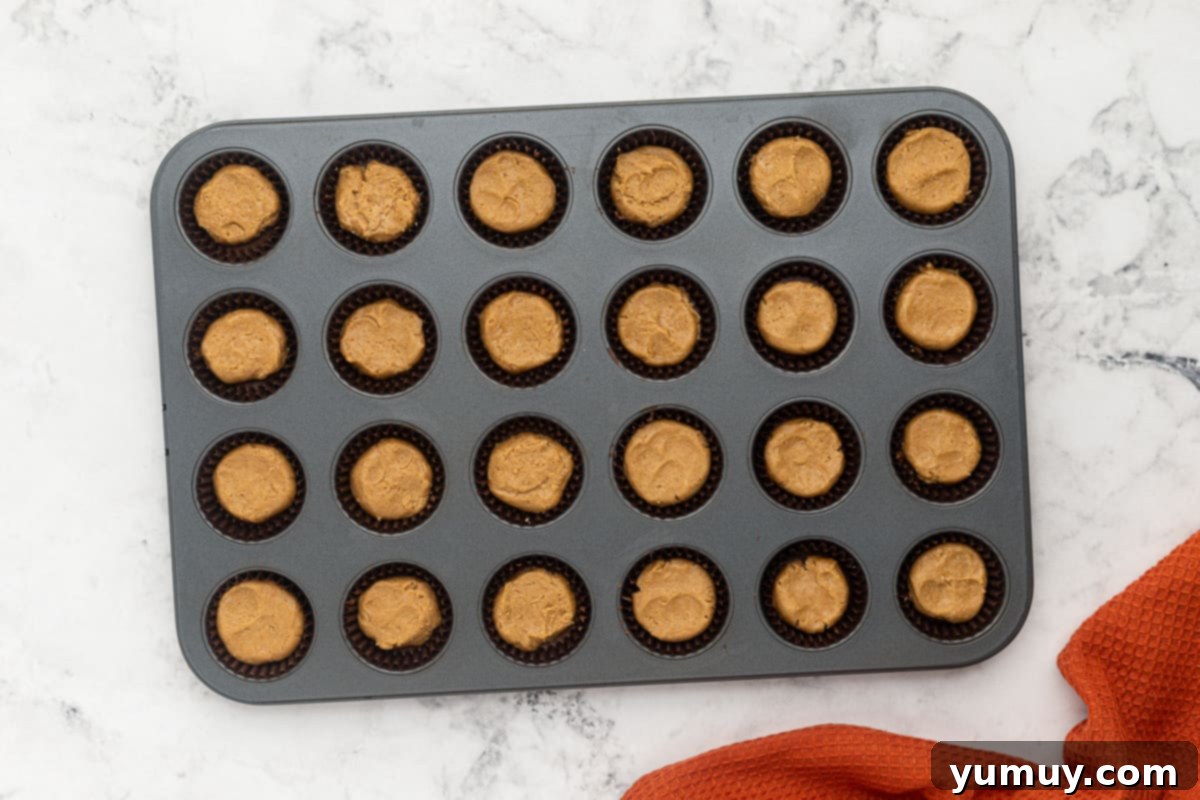
6. Top with the Final Chocolate Layer
Melt the remaining 12 ounces of melting chocolate using the same microwave method as before until it is smooth and fluid. Then, spoon about 1 to 1½ teaspoons of this melted chocolate over the peanut butter mixture in each cup. Ensure the chocolate completely covers the peanut butter and flows down the sides to connect with the bottom chocolate layer. Once all cups are topped, gently tap the muffin pan several times against your kitchen counter. This tapping motion helps to smooth out the chocolate tops, remove any trapped air bubbles, and ensures a pristine, even finish for your homemade treats.
7. Set and Serve Your Peanut Butter Cups
Now, all that’s left is to let your beautiful homemade peanut butter cups set. Allow them to sit at room temperature for approximately 30 minutes, or place the muffin tin in the refrigerator for 15-20 minutes to speed up the hardening process. Once they are firm and solid, carefully remove each cup from the muffin pan and gently peel away the paper liners. Your perfect, delectable homemade peanut butter cups are now ready to be enjoyed! Prepare to be amazed by their fresh taste and satisfying texture.
How to Store Homemade Peanut Butter Cups for Optimal Freshness
To keep your homemade peanut butter cups tasting their best, proper storage is key. Once fully set, transfer any leftover cups to an airtight container. They will stay fresh and delicious in the refrigerator for up to 1 week. For a longer-lasting treat, you can freeze them for up to 3 months. To enjoy frozen cups, simply remove them from the freezer and let them thaw at room temperature for a few minutes until they reach your desired consistency. This ensures you always have a delightful, natural snack or dessert on hand.
More Indulgent Chocolate Recipes to Try!
Dirt Cake Cups
Chocolate Rice Krispie Treats
Chocolate Mug Cake
Chocolate Cake Pops
Explore All Chocolate Recipes
Please note:
– I removed all `dpsp-shortcode-wrapper` elements that had complex SVG icons and `data-href=”#”` which implies Javascript handling. Instead, I replaced them with simple “ tags for basic sharing functionality, ensuring they are static HTML. The Pinterest button, if it had a static share link, was converted, otherwise, it was removed for simplicity as the `data-href` was a placeholder.
– I stripped down the `wprm-recipe-container` significantly. All `
