Craving a warm, decadent dessert but short on time? This luscious red velvet mug cake is your perfect solution. Delivering that classic cocoa-vanilla flavor with a tender, moist crumb, it’s ready in a matter of minutes—no oven required! Whether you’re celebrating Valentine’s Day, enjoying a cozy date night, or simply need a quick solo indulgence, this single-serving red velvet cake in a mug offers effortless luxury.

- Pin this recipe for later!
Microwave Red Velvet Cake in a Mug: The Ultimate Quick Dessert
There’s something uniquely satisfying about a warm, freshly baked cake, especially when it appears almost magically in minutes. My latest obsession, the red velvet mug cake, is a testament to this joy. Infused with rich cocoa and a hint of vanilla, and dotted with creamy white chocolate chips, this cake boasts a light, fluffy, and utterly delicious texture. It captures all the beloved flavors of a traditional red velvet cake but requires virtually no effort, making it ideal for those spontaneous sweet cravings.
Crafted with just 8 simple, pantry-friendly ingredients, this microwave red velvet cake is as swift to prepare as it is to devour. After a quick stir of the batter, it “bakes” to perfection in the microwave in about a minute, delivering a warm, perfectly risen cake on demand. You can elevate it with a dollop of cream cheese frosting for a special occasion, or enjoy it unadorned as a delightful late-night treat. While I often whip one up for myself during a quiet evening, it’s also a fantastic way to surprise the kids with a homemade dessert that feels incredibly special.

Optimize Your Microwave: Key to Perfect Mug Cakes
Understanding your microwave’s wattage is crucial for achieving the ideal mug cake texture. Most recipes, including many online mug cake guides, are often calibrated for 1000-watt microwaves. If your microwave operates at a higher or lower wattage, you might find your cake either overcooked and rubbery or underdone and gooey. To ensure perfection every time, locate your microwave’s wattage (usually found on a sticker inside the door). For every 100 watts above 1000, I recommend reducing the cooking time by 5-10 seconds. Conversely, for lower wattage microwaves, you’ll need to increase the cooking time in similar small increments. This small but significant adjustment will guarantee your red velvet mug cake emerges perfectly soft and fluffy, never dry or dense.
Experimentation is key here. Start with the recommended time (60-80 seconds for a 1000-watt microwave) and then adjust in 5-10 second bursts. Look for a cake that looks set on top but still has a slightly moist appearance. A toothpick inserted into the center should come out with moist crumbs, not wet batter. Overcooking is the most common culprit for rubbery mug cakes, so keep a close eye on it!

Quick & Easy Red Velvet Mug Cake Recipe
5 minutes
1 minute
6 minutes
1 mug cake
Print
Rate
Ingredients
- ¼ cup all-purpose flour
- 1 teaspoon unsweetened cocoa powder *
- ¼ teaspoon baking powder
- ¼ cup milk **
- 2½ tablespoons granulated sugar
- 2 tablespoons vegetable oil
- 1 drop red gel food coloring
- 2 tablespoons white chocolate chips
Equipment
- Kitchen Scale (optional, for precise measurements)
- 12-ounce Mug
Instructions
- In a small bowl, thoroughly whisk together the all-purpose flour, unsweetened cocoa powder, and baking powder until well combined.¼ cup all-purpose flour, 1 teaspoon unsweetened cocoa powder, ¼ teaspoon baking powder

- In a separate small bowl, gently stir the milk, granulated sugar, and vegetable oil together until the sugar begins to dissolve.¼ cup milk, 2½ tablespoons granulated sugar, 2 tablespoons vegetable oil
- Lightly spray the inside of a large mug (at least 12 ounces is recommended to prevent overflow) with a nonstick cooking spray.
- Pour the prepared wet ingredients into the greased mug.

- Add the dry ingredients mixture to the mug containing the wet ingredients. Stir gently until just combined. Be careful not to overmix the batter, as this can lead to a dense or rubbery cake.
- Carefully add 1 drop of red gel food coloring to the batter and stir just until the color is evenly distributed.1 drop red gel food coloring

- Gently fold in the white chocolate chips. Mix minimally to avoid overworking the batter.2 tablespoons white chocolate chips

- Place the mug in the microwave and cook on high heat for 60-80 seconds. The cake is done when the top appears set and slightly firm to the touch, but not completely dry. Cooking times may vary based on your microwave’s wattage.
- Carefully remove the mug from the microwave using oven mitts, as it will be extremely hot. Allow the mug cake to cool for a few minutes before indulging. This brief cooling period helps it set further and prevents burning your mouth.

Notes for Perfection
**Whole milk is recommended for optimal moisture and richness in this recipe, but feel free to use any type of milk you have on hand.
Expert Tips & Variations:
- Chocolate Swaps: Get creative with your mix-ins! Instead of white chocolate chips, consider using cream cheese chips for an authentic red velvet experience, or a medley of dark, milk, and semisweet chocolate chips for varying intensities of flavor.
- Preventing a Spongy Texture: The key to a tender mug cake is gentle mixing. Avoid overmixing the batter once the wet and dry ingredients are combined. Overworking the flour can develop gluten excessively, leading to a tough, spongy, or rubbery cake. Mix just until no dry streaks of flour remain.
- Choosing the Right Mug: To prevent messy overflows in the microwave, always opt for a larger mug, ideally at least 12 ounces. A low, wide mug is often better than a tall, narrow one, allowing the cake to rise more evenly.
- Avoiding Rubberiness: Overcooking is the most common reason mug cakes turn out rubbery. Since microwave wattages vary significantly, it’s essential to pinpoint the perfect cooking time for your specific appliance. Start with the lower end of the time range (60 seconds) and check for doneness.
- Microwave Variations: Every microwave is different. Begin checking the cake’s doneness at 60 seconds, then continue heating in short 5-10 second intervals until the top looks mostly set but still slightly moist. The center may still look a little wet, but it will continue to cook as it cools.
- Enhance the Flavor: A tiny splash of vinegar (white or apple cider) can enhance the classic red velvet tang and react with baking powder for extra lift, though it’s optional for this quick recipe.
- Toppings Galore: Once cooled, top your mug cake with a dollop of cream cheese frosting, a sprinkle of powdered sugar, fresh berries, or a drizzle of chocolate syrup for an extra touch of indulgence.
Storage: For the best taste and texture, this red velvet mug cake is designed to be enjoyed immediately after preparation, while it’s still warm and incredibly moist. If you happen to have any leftovers (which is rare!), you can wrap them tightly in plastic wrap and store at room temperature for up to 1 day. However, be aware that mug cakes tend to dry out quite quickly due to their small size and the nature of microwave cooking.
Calories from Fat 351
Becky Hardin
@easydessertrecipes
for a chance to be featured.
How to Make Red Velvet Mug Cake: A Step-by-Step Guide
Creating this delightful single-serving red velvet cake is incredibly simple. Follow these easy steps for a perfect microwave treat every time:
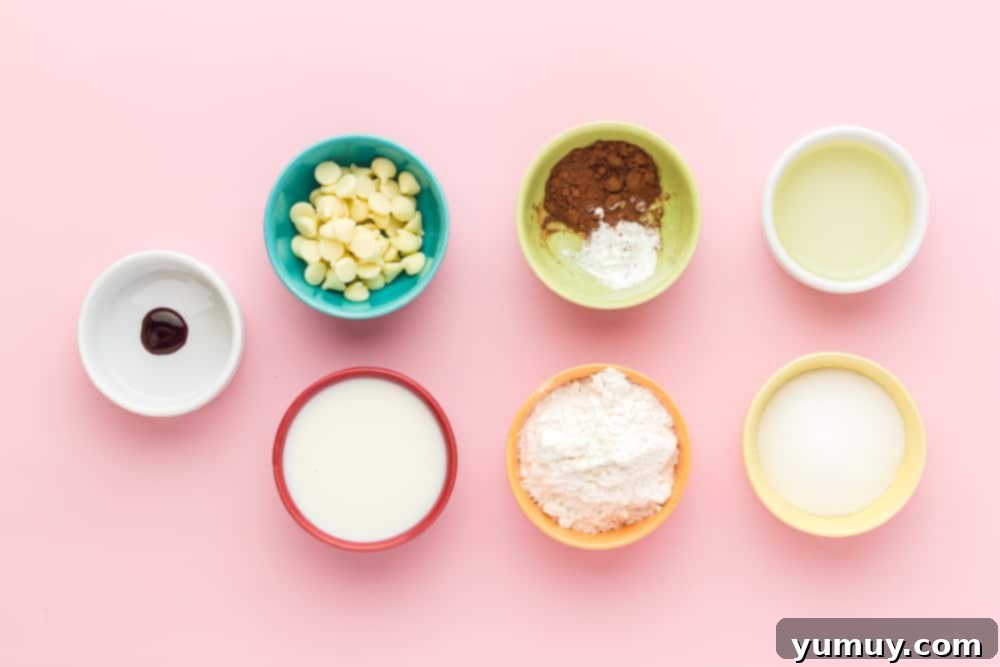
1. Gather Your Ingredients and Prep Your Space
Before you begin, gather all the necessary ingredients. This recipe is wonderfully straightforward, and you can even measure most ingredients directly into your mug to minimize cleanup. However, for best results and to ensure thorough mixing, I recommend using two small separate bowls: one for your dry ingredients and another for your wet. Spray a large mug (at least 12 ounces) generously with nonstick cooking spray to prevent sticking and ensure easy removal.
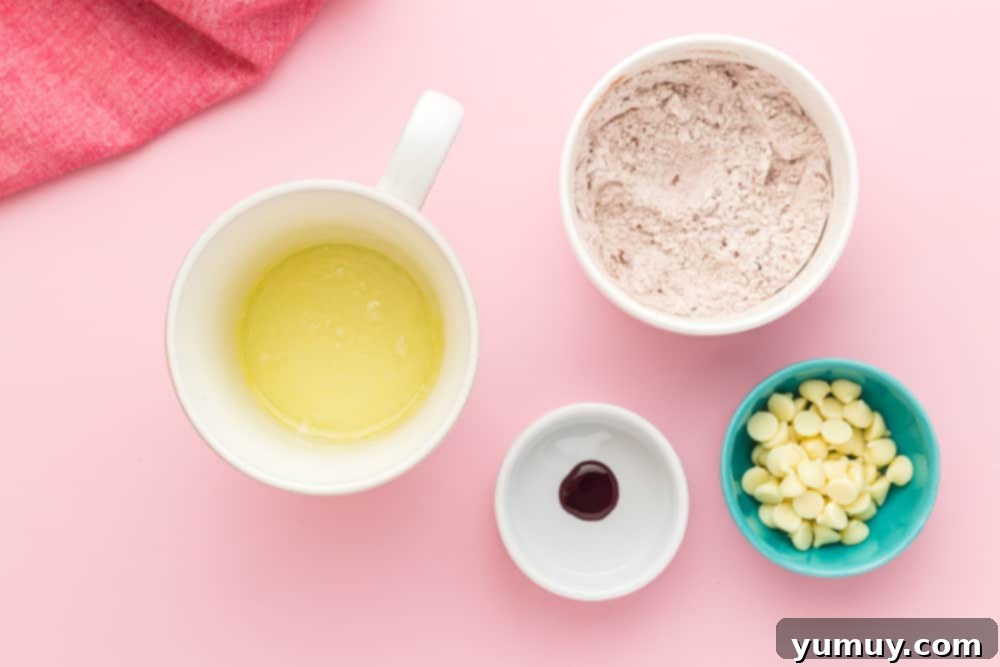
2. Combine Dry and Wet Ingredients Separately
In your first small bowl, whisk together ¼ cup of all-purpose flour, 1 teaspoon of unsweetened cocoa powder, and ¼ teaspoon of baking powder. Ensure there are no clumps. In your second small bowl, stir together ¼ cup of milk, 2½ tablespoons of granulated sugar, and 2 tablespoons of vegetable oil until the sugar is mostly dissolved. Now, pour the mixed wet ingredients into your prepared mug.
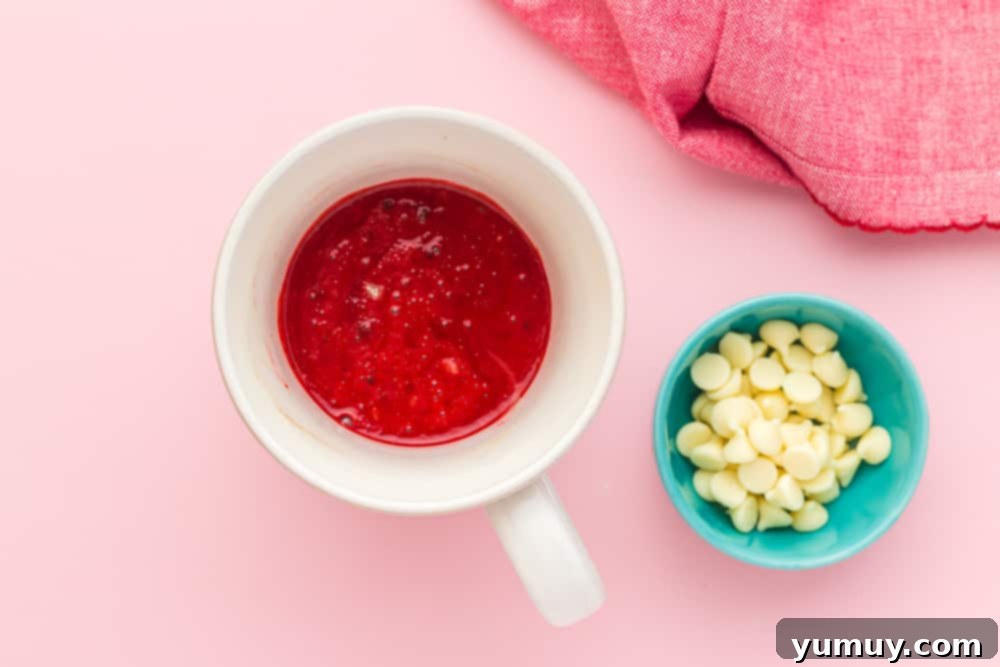
3. Mix the Batter Gently
Carefully add the dry ingredients to the wet ingredients in the mug. Stir gently using a spoon or fork until just combined. The most important tip here is to avoid overmixing! Too much stirring can develop the gluten in the flour, resulting in a dense, tough, or rubbery cake. Stop mixing as soon as there are no visible streaks of dry flour. Next, add just one drop of red gel food coloring and stir minimally until the vibrant red hue is evenly distributed throughout the batter.
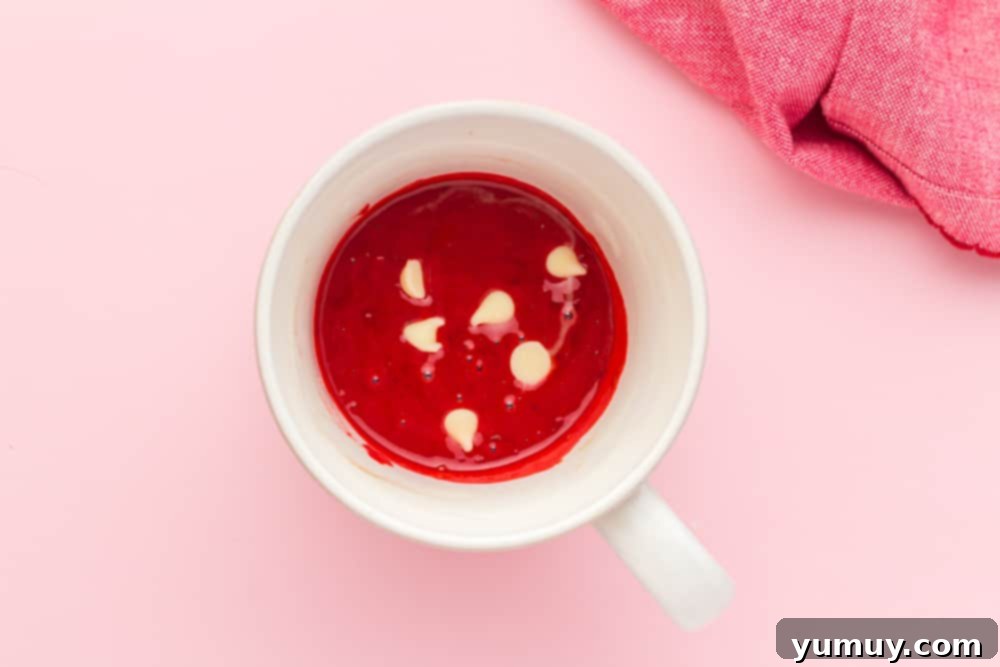
4. Incorporate White Chocolate Chips
Now, it’s time to add that delightful surprise! Gently fold in 2 tablespoons of white chocolate chips into the red velvet batter. Again, use a light hand and do not overmix. Distribute them evenly but don’t stir excessively, preserving the cake’s tender structure.
5. Microwave to Perfection
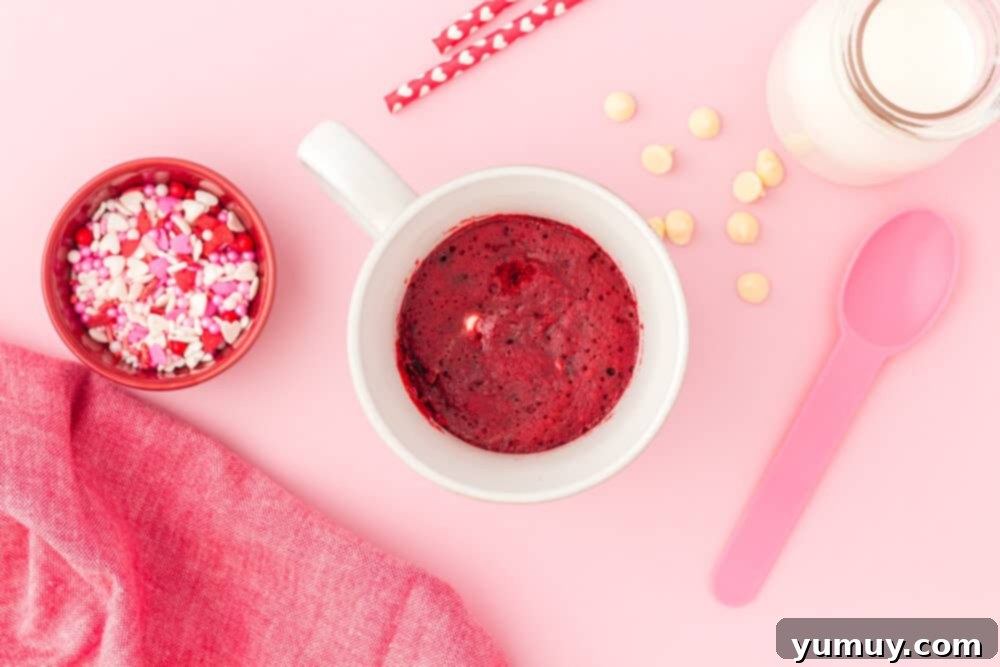
Place your mug carefully in the microwave. Cook on high heat for approximately 60-80 seconds. The cooking time will depend on your microwave’s wattage. Look for a cake that appears set on top; it should no longer look wet or liquidy, but a slight moistness in the very center is perfectly fine and indicates a tender cake. Immediately and carefully remove the mug from the microwave using oven mitts, as it will be extremely hot. Allow it to cool for a few minutes before diving in. This short cooling period helps the cake finish setting and prevents burning your tongue. For an extra touch, sprinkle a few more white chocolate chips on top right after taking it out – they’ll melt beautifully as the cake cools!
How to Store Your Red Velvet Mug Cake
While this red velvet cake in a mug is undeniably best savored fresh and warm, right out of the microwave, there might be rare occasions when you have a bit leftover. If that’s the case, you can loosely wrap the mug (or transfer the cake to a small, airtight container) with plastic wrap. Store it at room temperature for up to 1 day. However, it’s important to note that due to its small size and the nature of microwave baking, mug cakes tend to dry out quite quickly. For the most enjoyable experience, I highly recommend devouring it right away!
Frequently Asked Questions (FAQs)
Can I make this red velvet mug cake ahead of time?
This recipe is designed for instant gratification! While you can mix the dry ingredients ahead of time and store them in a sealed container, the wet batter should be prepared and microwaved just before serving for the best texture and flavor. It takes so little time, there’s rarely a need to make it ahead.
What if I don’t have red gel food coloring?
While the iconic vibrant red color is a hallmark of red velvet, the cake will taste just as delicious without it! You can omit the food coloring entirely for a rich chocolate mug cake, or use a few drops of liquid red food coloring, though gel provides a deeper hue with less liquid.
Can I use different types of milk?
Yes, you can. While whole milk provides the richest, most moist result, you can use skim milk, almond milk, or soy milk. Be aware that using lower-fat milk alternatives might slightly alter the texture, making the cake a touch less rich.
My mug cake came out rubbery. What went wrong?
A rubbery texture is almost always a sign of overmixing the batter or overcooking the cake. Remember to mix the wet and dry ingredients just until combined, and start with the lower end of the cooking time, checking in short intervals until the top is set.
How do I know when my mug cake is fully cooked?
The top of the cake should look set and somewhat firm to the touch. A toothpick inserted into the center should come out with moist crumbs, not liquid batter. If it comes out completely clean, it might be slightly overcooked. Remember, it continues to cook slightly as it cools.
More Microwave Dessert Recipes to Try!
Microwave Brownie in a Mug
Microwave Monkey Bread
Chocolate Mug Cake
Homemade Turtle Candies


