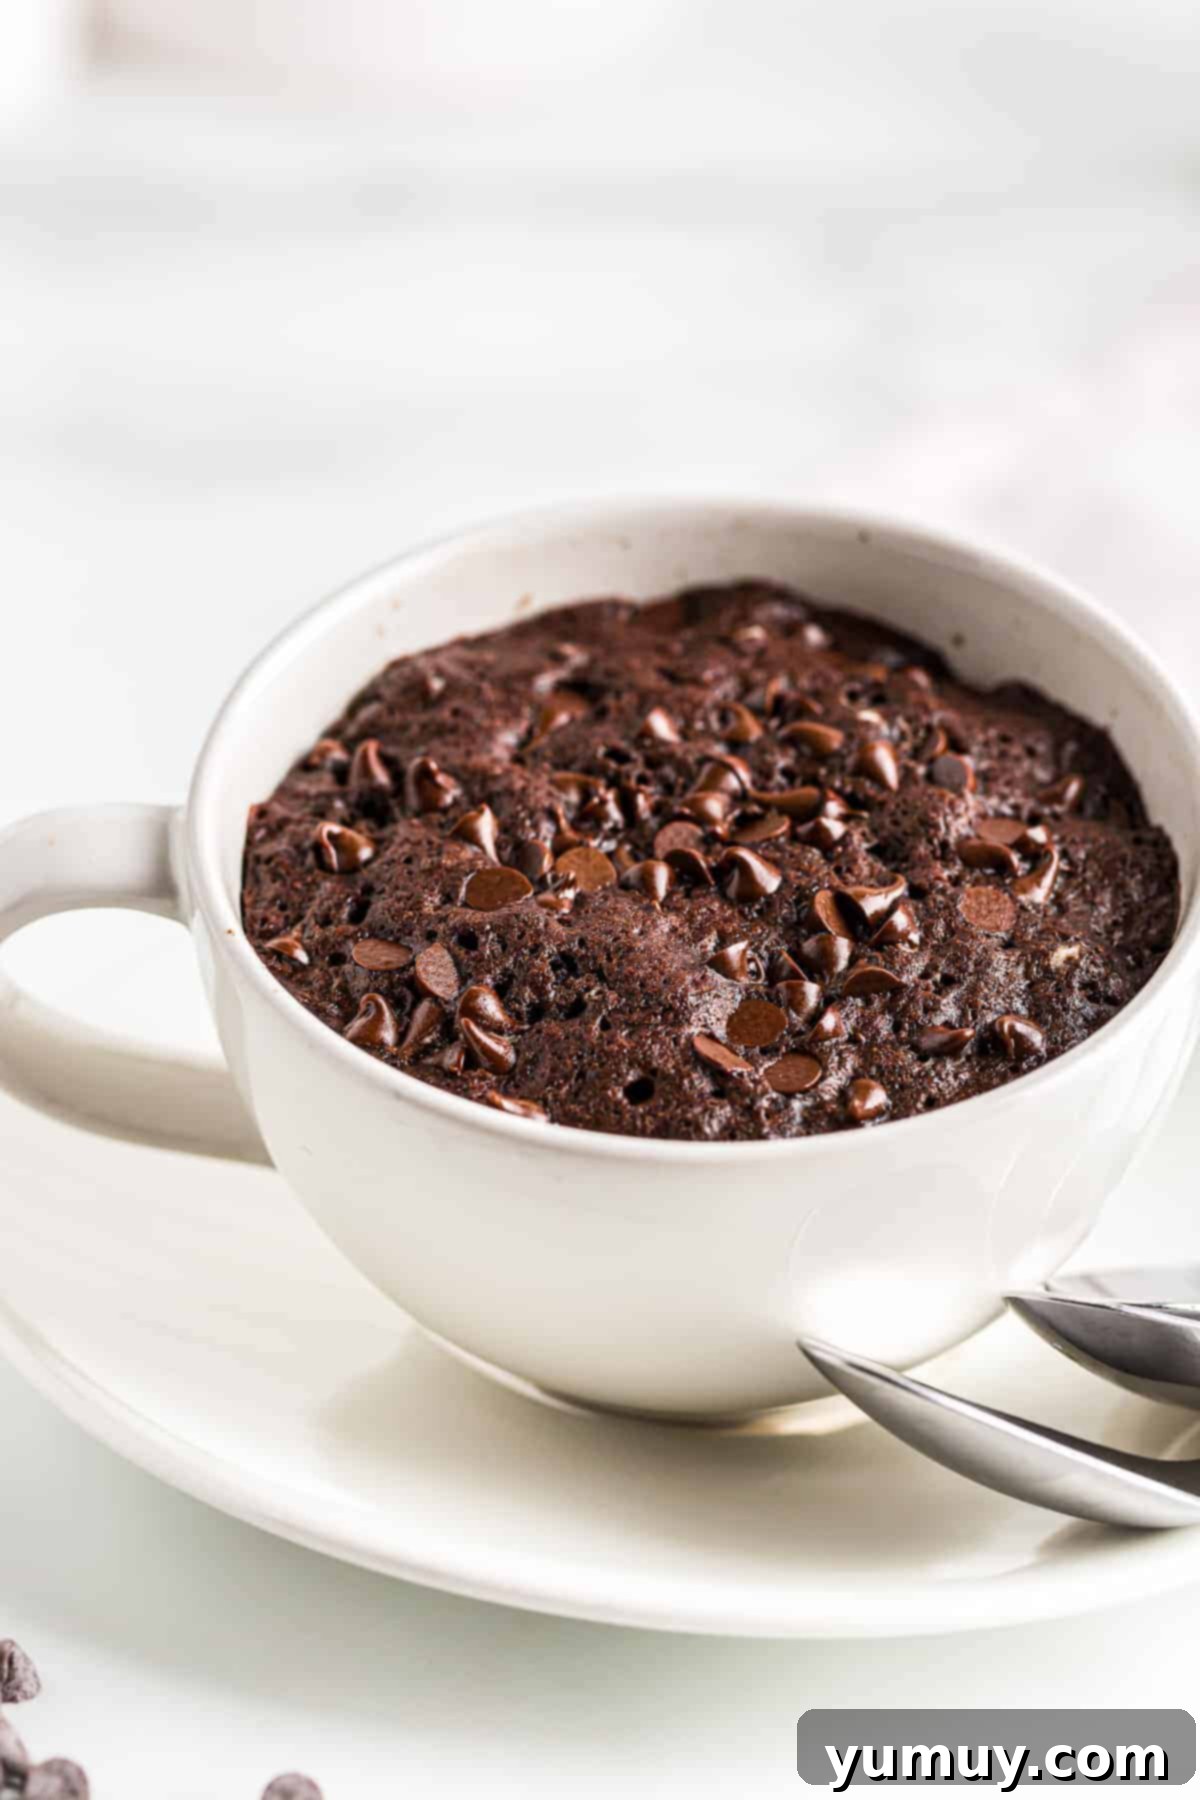
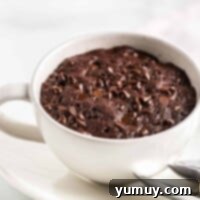
Welcome to the ultimate solution for your chocolate cravings: an incredibly easy, moist, and rich chocolate mug cake you can whip up in your microwave in just minutes! As someone who cherishes simple, cozy desserts, this recipe has become my go-to for those rare, quiet evenings when a warm, comforting treat is exactly what’s needed. Forget complicated baking; this delightful single-serving cake goes from zero to delicious in about 6 minutes, making it the perfect quick fix for any sudden sweet tooth. Packed with gooey chocolate chips and boasting a wonderfully soft, moist crumb, this microwave chocolate mug cake delivers pure indulgence without the wait or the fuss. It’s truly a game-changer for chocolate lovers seeking instant gratification.
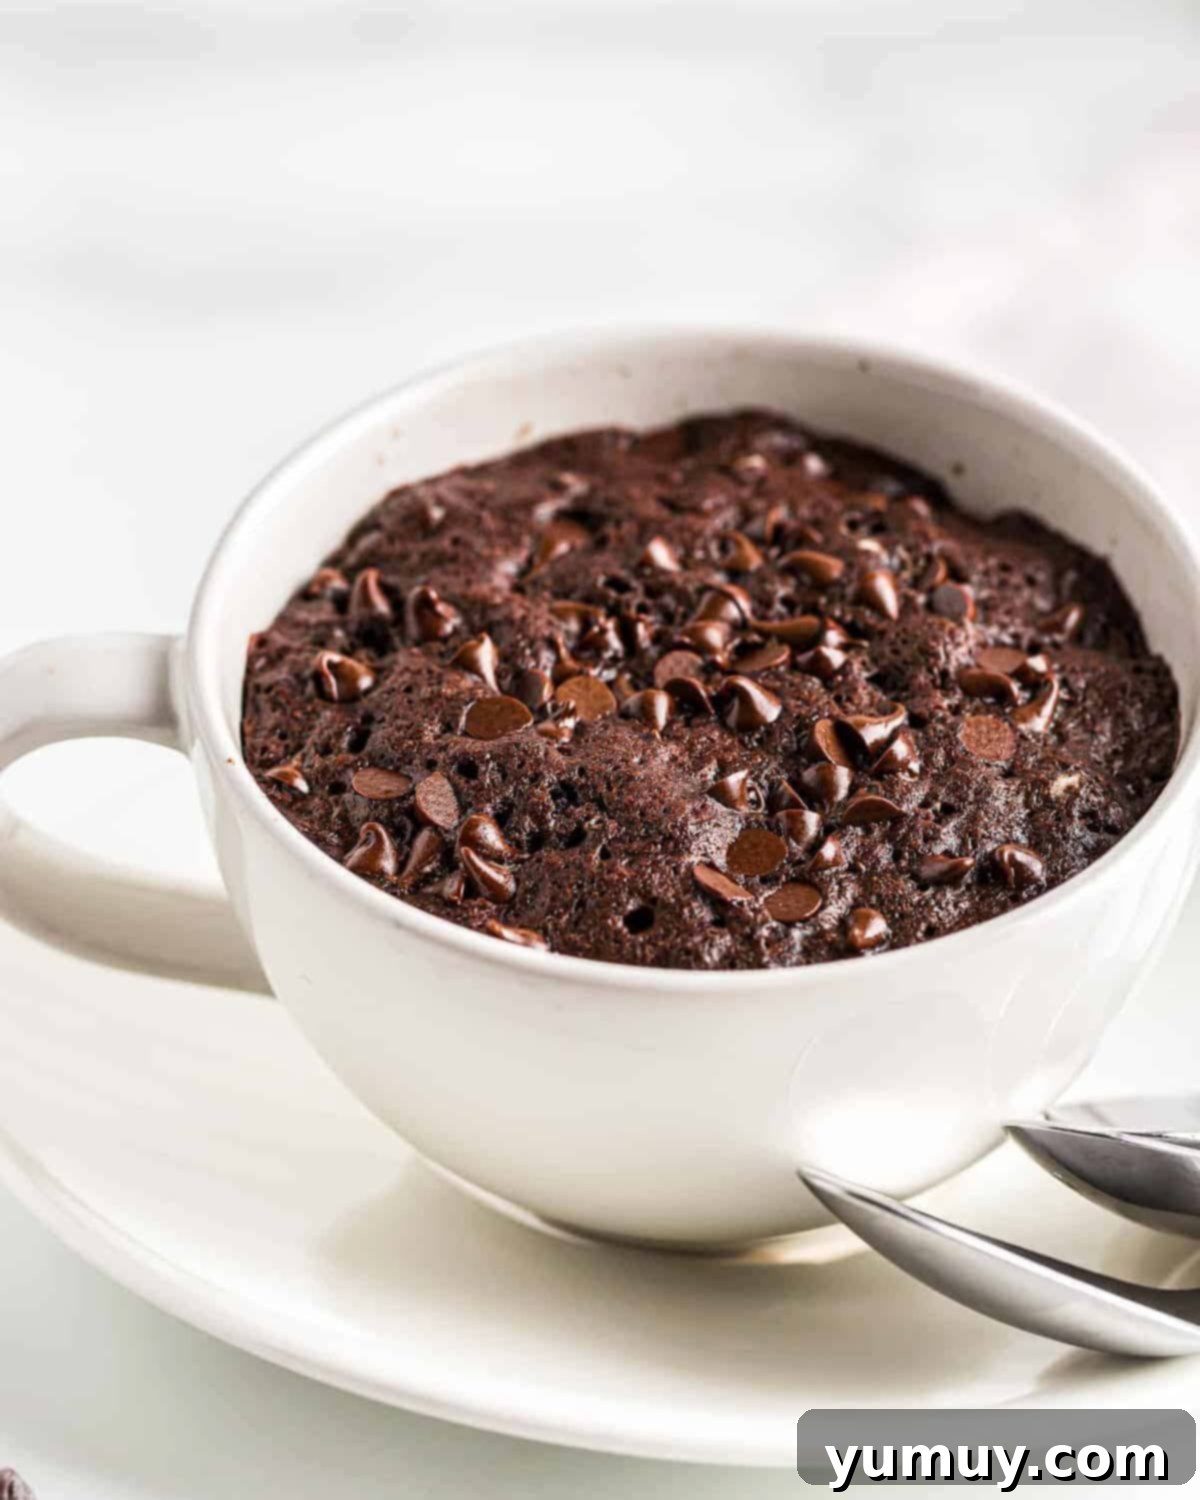
Chocolate Cake in a Mug: Your Ultimate Quick Dessert
There’s nothing quite like the simple pleasure of curling up on the couch, unwinding with a favorite show, and indulging in a warm, freshly made chocolate mug cake after a long day. This isn’t just any microwave dessert; it’s a rich, deeply satisfying treat that tastes like it came straight from a conventional oven. The secret lies in a blend of quality ingredients and a few simple techniques that ensure a light, fluffy texture and a bold, intense cocoa flavor. We achieve this profound chocolate taste by using a good quality cocoa powder, which truly elevates the humble mug cake to a gourmet experience.
One of the most appealing aspects of this DIY mug cake recipe is its incredible versatility. While the classic chocolate version is always a winner, you can easily customize it to suit any craving. Imagine a rich peanut butter mug cake swirl, a sweet butterscotch twist, or even a festive red velvet mug cake for a special occasion. No matter how you choose to personalize it, you’re guaranteed a wonderfully moist and utterly delicious cake ready in mere minutes. It’s the perfect canvas for your dessert creativity!
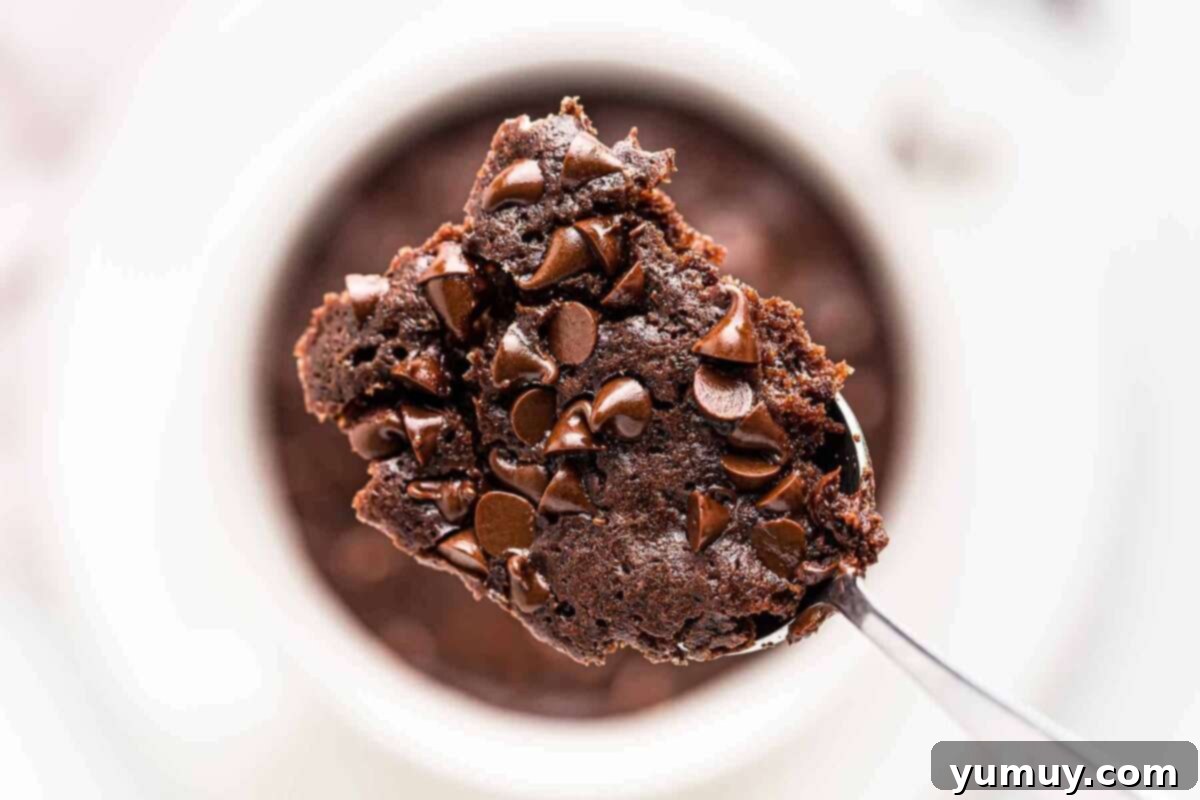
Pro Tip: Mix Directly in the Mug for Less Cleanup!
While some recipes might suggest using a separate bowl for mixing, one of my favorite time-saving and mess-reducing hacks for this chocolate mug cake is to combine all ingredients directly in your chosen mug. This is especially effective if you have a mug with a wider opening that allows for easy stirring. Not only does this save you an extra dish to wash, but it also streamlines the entire process, making this quick dessert even quicker! Just ensure your mug is large enough (12-16 ounces) to accommodate all the ingredients and allow for proper mixing without overflowing.
Quick & Easy Chocolate Mug Cake Recipe
: 6 minutes
Print
Rate SaveSaved!
Ingredients
- ¼ cup all-purpose flour
- 2 tablespoons unsweetened cocoa powder *
- 3 tablespoons granulated sugar
- ¼ teaspoon baking powder
- ¼ cup whole milk **
- 2 tablespoons salted butter melted
- ¼ teaspoon pure vanilla extract
- ½ tablespoon mini semisweet chocolate chips ***
Equipment
- Kitchen Scale (optional, for precise measurements)
- 12-16 ounce microwave-safe coffee mug
Instructions
- In a small bowl, or directly in your chosen microwave-safe mug, whisk together the flour, cocoa powder, sugar, and baking powder until thoroughly combined. This ensures even distribution of dry ingredients.¼ cup all-purpose flour, 2 tablespoons unsweetened cocoa powder, 3 tablespoons granulated sugar, ¼ teaspoon baking powder

- To the dry mixture, add the milk, melted butter, and pure vanilla extract. Stir gently with a fork or small whisk until just combined and smooth. Be careful not to overmix, as this can lead to a tough cake.¼ cup whole milk, 2 tablespoons salted butter, ¼ teaspoon pure vanilla extract

- If you mixed in a separate bowl, lightly spray a 12-16 ounce microwave-safe mug with cooking spray. If you mixed directly in the mug, ensure it’s already sprayed.
- Carefully transfer the cake mixture to the prepared mug, if not already in it. Allow the batter to rest in the mug for 2-3 minutes. This crucial step helps activate the leavening agents for a lighter, fluffier cake.

- Evenly sprinkle the mini semisweet chocolate chips over the top of the cake batter. This creates those delightful pockets of melted chocolate.½ tablespoon mini semisweet chocolate chips

- Microwave the mug cake for 90 seconds. Keep a close eye on it, especially around the 60-second mark, to prevent it from bubbling over. If your microwave is particularly powerful, you might want to start with 60-75 seconds and then proceed in 10-second increments. The cake is done when the top looks set, and a small amount of cake residue sticks to your fingertip when lightly touched.

Notes for the Perfect Mug Cake
**The type of milk you choose can influence the texture and richness of your mug cake. Whole milk provides the best results due to its fat content, contributing to a wonderfully moist crumb. Skim milk can also be used. For a dairy-free alternative, unsweetened almond milk or oat milk are good choices, as their consistency is similar to whole milk. However, be aware that dairy-free options might slightly alter the final flavor and texture.
***While mini semisweet chocolate chips are a classic choice and melt beautifully throughout the cake, don’t be afraid to get creative! Peanut butter chips, butterscotch chips, white chocolate chips, or even a mix of different chocolate varieties can add exciting new dimensions to your mug cake. You can also mix in chopped nuts, a swirl of hazelnut spread, or a dollop of caramel for extra indulgence.
Tips for Success:
- **Don’t Forget to Spray!** Generously spraying your mug with cooking spray (especially butter-flavored spray) is non-negotiable! This crucial step prevents the cake from sticking, ensuring an easy release and significantly simplifying cleanup. Trust me, scrubbing stuck cake residue is no fun!
- **Proper Flour Measurement:** Accurate flour measurement is key to a light and fluffy mug cake. Always use the “spoon and level” method: spoon flour into your measuring cup until it overflows, then level it off with the back of a knife. Never scoop flour directly from the bag, as this compacts it and can lead to a dense, dry cake.
- **Microwave in Intervals:** Microwaves vary significantly in power. To avoid overflow and ensure even cooking, microwave in 30-second increments initially. This allows you to monitor the cake’s rise and prevent a messy eruption.
- **Test for Doneness:** The perfect mug cake is moist but cooked through. Gently touch the top of the cake with your fingertips. If a small amount of cake residue sticks, it’s perfectly baked and ready to enjoy. If it’s still very wet, continue microwaving in short 10-second bursts.
- **Avoid Overcooking:** Overcooking is the number one enemy of a great mug cake! Microwaving for too long will result in a dry, rubbery, or chewy texture. Aim for that slight stickiness – it indicates ideal moisture.
- **Practice Makes Perfect:** If your first mug cake isn’t exactly picture-perfect, don’t despair! Even easy recipes can take a little practice to master your specific microwave. Remember, even a less-than-perfect mug cake is still incredibly delicious.
Storage: In the rare event of leftovers, store your chocolate mug cake tightly covered with plastic wrap at room temperature for up to 1 day. For best enjoyment, either savor it at room temperature or gently reheat it in the microwave for 20-30 seconds to restore its warmth and moistness.
Calories from Fat 261
@easydessertrecipes
for a chance to be featured.
The Secret to a Super Fluffy Mug Cake: Resting the Batter
Through years of experimenting with various mug chocolate cake recipes, I stumbled upon a simple yet transformative trick: allowing the batter to rest for just 2–3 minutes before microwaving. This seemingly minor step yields a noticeably fluffier, softer, and more tender cake. I initially discovered this by accident one evening when a phone call delayed my microwaving, and the result was astonishingly better.
But why does this work so effectively? Resting the batter provides critical time for the leavening agents, like baking powder, to fully activate and react with the liquid ingredients. This reaction creates tiny air pockets within the batter, which then expand more evenly during microwaving. Furthermore, it allows the flour to fully hydrate, resulting in a more tender crumb and preventing a gummy texture. This simple pause transforms an already easy chocolate mug cake into something that truly rivals a traditional oven-baked dessert, giving it an airy, melt-in-your-mouth quality you’d scarcely believe came from a microwave.
How to Make a Chocolate Mug Cake: Step-by-Step Perfection
Making this single-serving chocolate cake is incredibly straightforward. Follow these steps for a perfect microwave dessert every time:
Step 1: Gather and Prepare Your Ingredients
Before you begin, ensure you have all your ingredients measured out. Melt the butter in the microwave briefly and set it aside to cool slightly. Having everything ready streamlines the process and makes baking a breeze.

Step 2: Whisk the Dry Ingredients
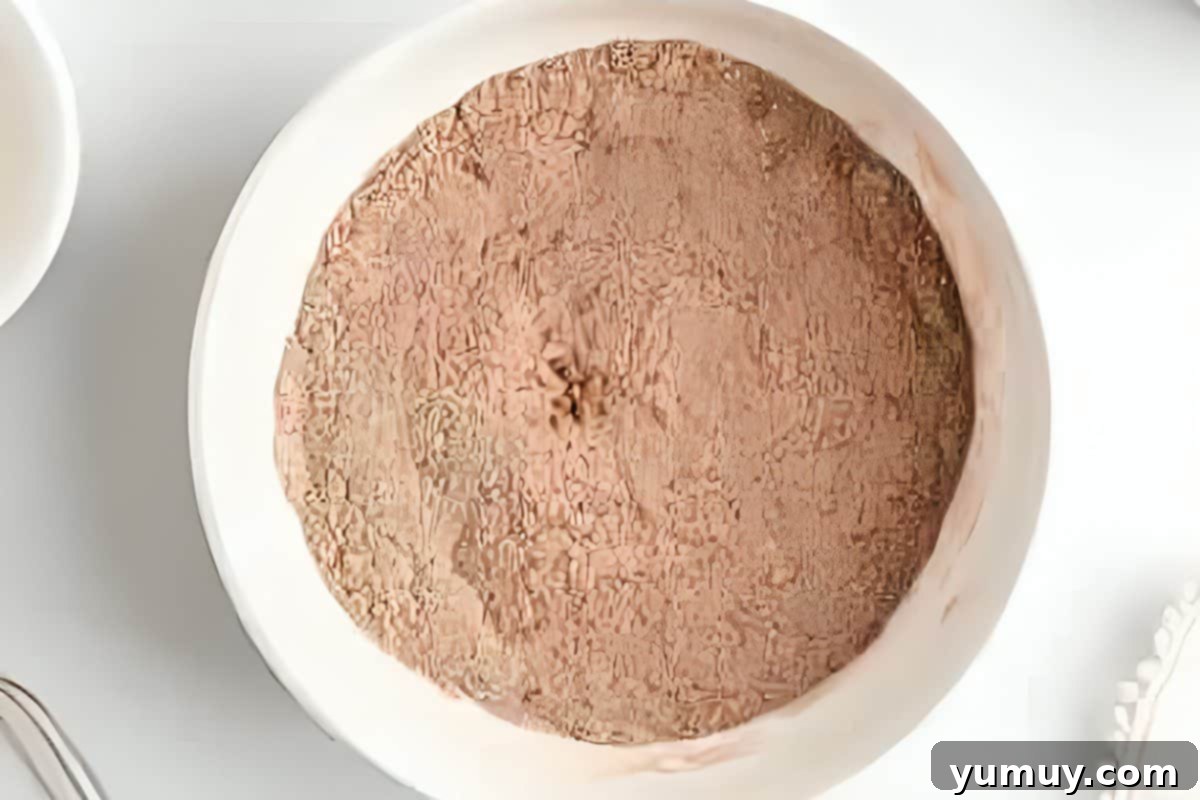
In a small bowl, or directly in your spacious 12-16 ounce microwave-safe mug, combine ¼ cup of all-purpose flour, 2 tablespoons of unsweetened cocoa powder, 3 tablespoons of granulated sugar, and ¼ teaspoon of baking powder. Whisk these dry ingredients thoroughly to ensure they are well-mixed and there are no lumps. This is crucial for an even rise and consistent flavor. *Remember to measure your flour using the spoon-and-level method to avoid a dense cake: gently spoon flour into your measuring cup until it’s full, then level it off with a straight edge.*
Step 3: Incorporate the Wet Ingredients
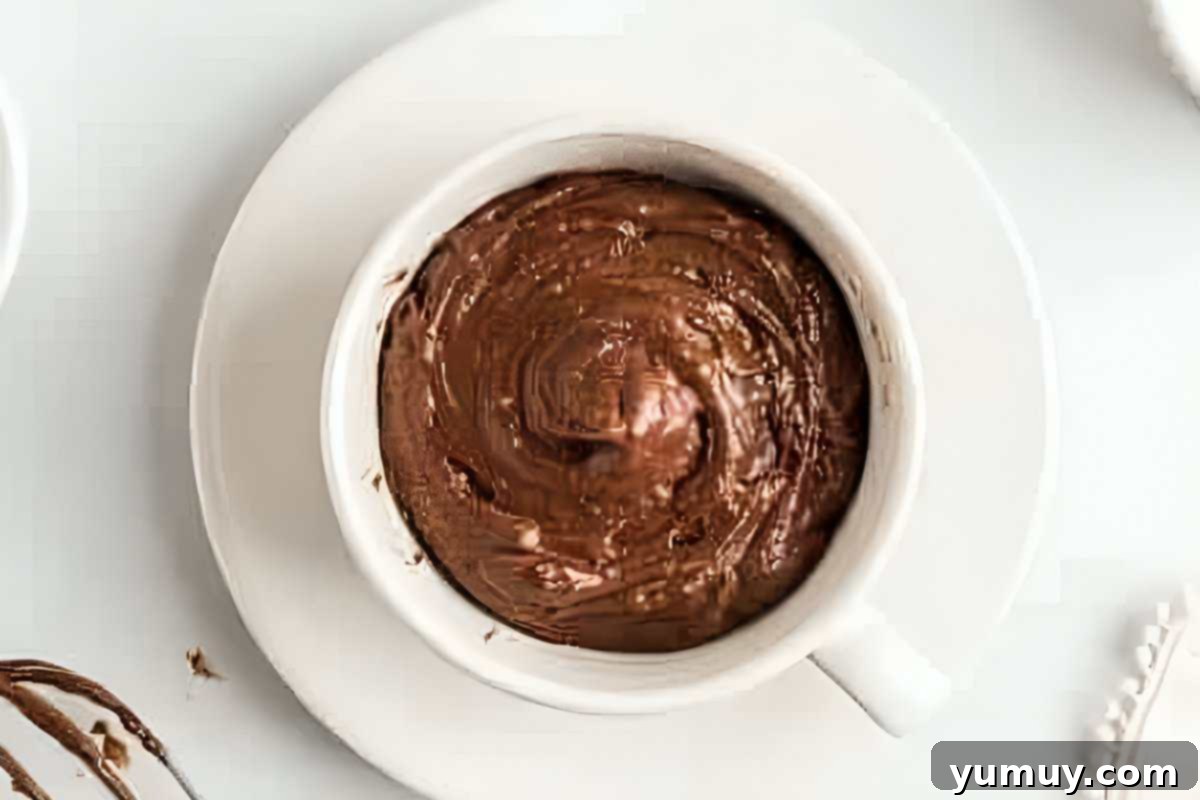
Add ¼ cup of whole milk, 2 tablespoons of melted salted butter, and ¼ teaspoon of pure vanilla extract to the dry mixture. Stir gently with a fork or small whisk until the ingredients are just combined and the batter is smooth. Be careful not to overmix, as this can activate too much gluten and result in a tougher, less tender cake.

Step 4: Prepare the Mug and Rest the Batter
If you mixed in a separate bowl, lightly spray a 12-16 ounce microwave-safe coffee mug with cooking spray to prevent sticking. A butter-flavored spray can enhance the overall flavor. Then, transfer the cake batter into the prepared mug. Now, for our secret tip: allow the batter to rest in the mug for 2-3 minutes. This short rest period allows the leavening agents to begin working, contributing to a lighter, airier, and more delightful cake texture.
Step 5: Add Chocolate Chips (and other goodies!)
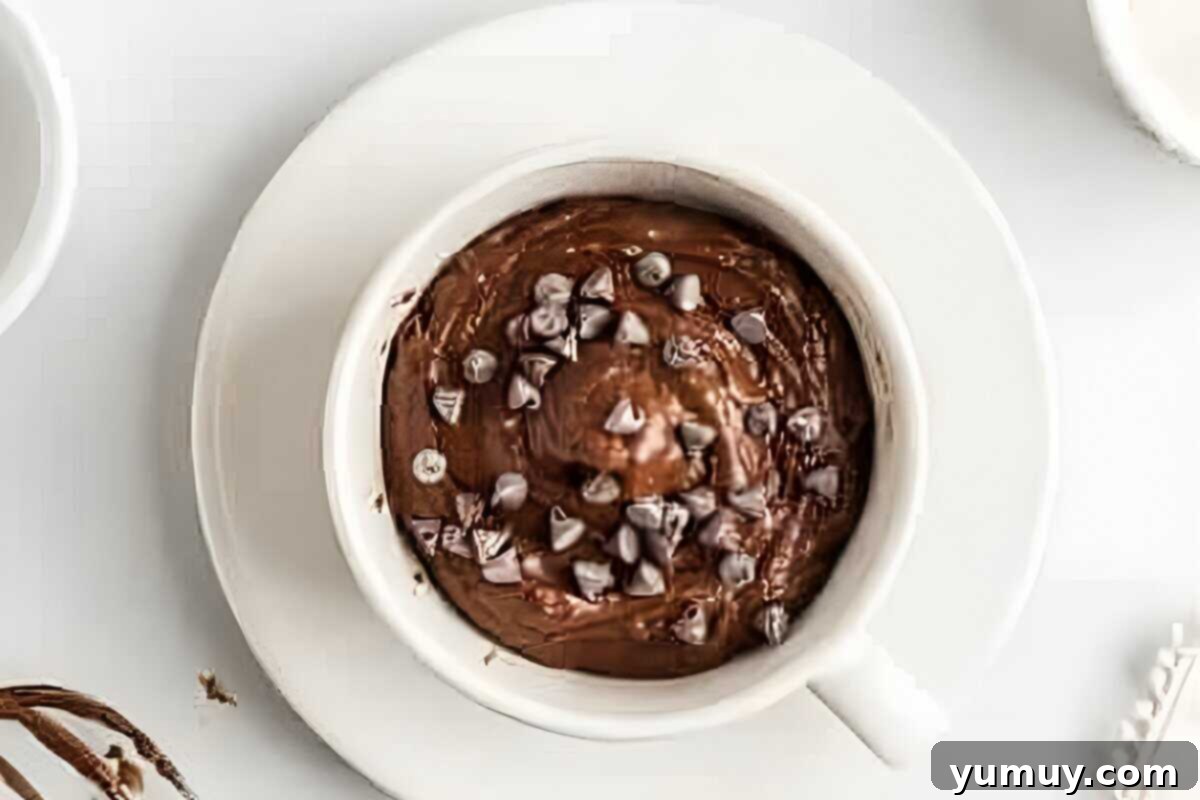
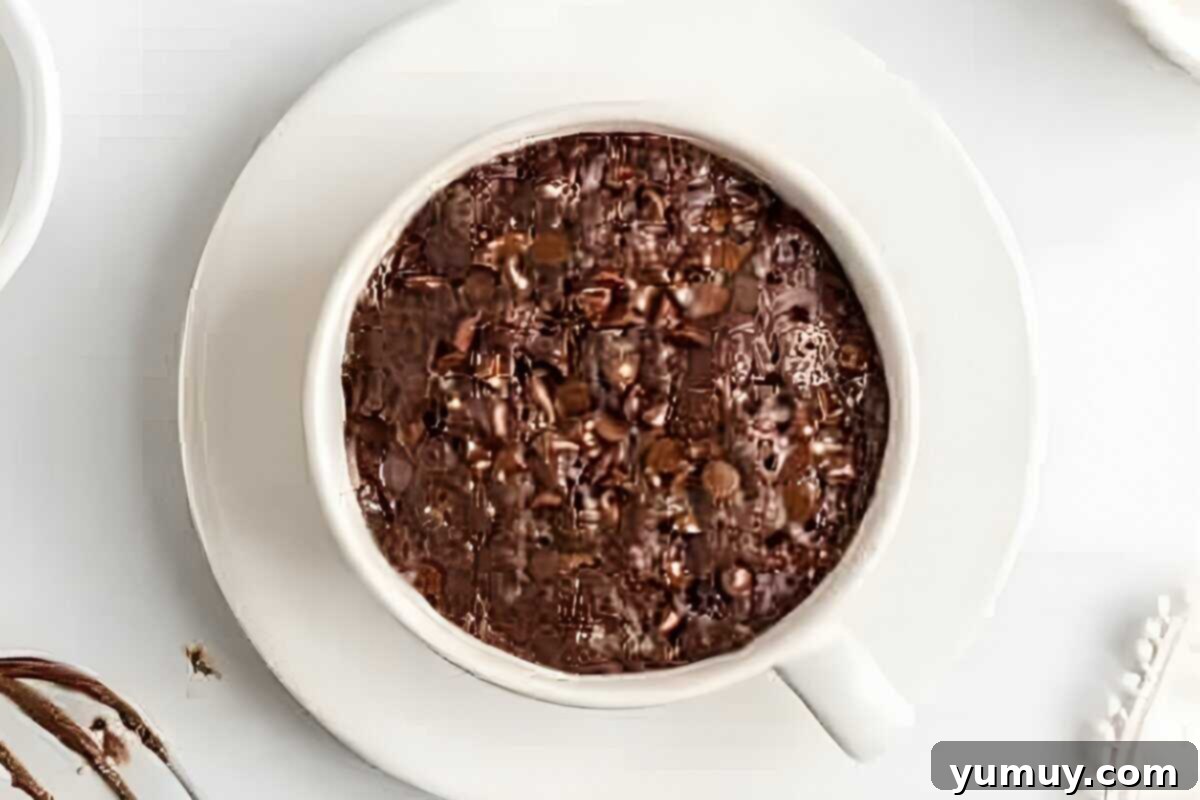
For an irresistible burst of molten chocolate, generously sprinkle ½ tablespoon of mini semisweet chocolate chips over the top of the cake batter. These smaller chips melt beautifully and distribute evenly. Feel free to experiment with other toppings like a sprinkle of sea salt, a dollop of peanut butter, or even a few chopped nuts for added crunch.
Step 6: Microwave to Perfection
Place your mug in the microwave and cook for a total of 90 seconds. It’s best to microwave in 30-second increments initially, closely watching to ensure the batter doesn’t bubble over the sides of the mug. If, at the 90-second mark, your cake still appears a bit gooey or undercooked, continue microwaving in short 10-second intervals until the top looks set and a light touch leaves minimal residue on your fingertip. *It’s crucial not to overcook the cake, as this will result in a dry, dense, and chewy texture. A slightly gooey center is often desirable for mug cakes!*
Customizing Your Chocolate Mug Cake: Endless Possibilities
While this classic chocolate mug cake is divine on its own, it’s also a fantastic base for creativity! Here are some ideas to make it uniquely yours:
- Extra Chocolatey: Mix in white chocolate chips, milk chocolate chunks, or even a spoonful of Nutella into the batter before microwaving. A drizzle of chocolate syrup or a dusting of cocoa powder on top can also amplify the flavor.
- Nutty Indulgence: Add chopped pecans, walnuts, or almonds to the batter for a delightful crunch. A spoonful of peanut butter swirled in can create a “Reese’s” style cake.
- Fruity Twist: Stir in a few fresh raspberries, sliced strawberries, or even dried cherries for a hint of fruitiness that pairs wonderfully with chocolate.
- Warm Spices: A tiny pinch of cinnamon, nutmeg, or a dash of chili powder can add an unexpected depth and warmth to your chocolate cake.
- Topping Galore: Beyond chocolate chips, consider toppings like whipped cream, a scoop of vanilla ice cream, sprinkles, caramel sauce, a sprinkle of sea salt flakes, or even a mini marshmallow for a s’mores effect.
- Coffee Kick: Dissolve a quarter teaspoon of instant coffee granules in the melted butter or milk to enhance the chocolate flavor and add a subtle coffee note.
Don’t be afraid to experiment and discover your favorite combination!
Storage and Reheating Tips for Your Mug Cake
While it’s highly improbable that you’ll have any leftovers of this irresistible chocolate mug cake, sometimes life happens! If you find yourself with an unfinished treat, you can absolutely store it for later enjoyment. Simply cover the mug tightly with plastic wrap to prevent it from drying out, and keep it at room temperature for up to 1 day. For optimal freshness, consuming it on the same day is always recommended.
When you’re ready to indulge again, you can enjoy the mug cake at room temperature, or for that warm, gooey, fresh-baked experience, gently reheat it in the microwave. Start with 20-30 seconds on medium power, then check and reheat in shorter 10-second bursts until it reaches your desired warmth. Be cautious not to overheat, as this can dry out the cake. The goal is to bring back that lovely soft texture and melted chocolate goodness.
Frequently Asked Questions (FAQ) About Chocolate Mug Cakes
Here are some common questions about making the best chocolate mug cake:
Q: Can I use different types of chocolate chips?
A: Absolutely! While semisweet chocolate chips are a classic, feel free to use milk chocolate, dark chocolate, white chocolate, or even a mix. Peanut butter chips or butterscotch chips are also excellent additions for flavor variation.
Q: What if my mug cake is dry?
A: A dry mug cake is almost always a sign of overcooking. Microwaves vary significantly in power, so it’s crucial to watch your cake closely. Start with slightly less time (e.g., 60-75 seconds) and add 10-second increments until just set. Ensure you’re also using the “spoon and level” method for measuring flour to avoid adding too much.
Q: Can I make this mug cake dairy-free or vegan?
A: Yes! For dairy-free, substitute whole milk with an unsweetened non-dairy milk like almond or oat milk. For vegan, replace the butter with a vegan butter alternative or an oil like vegetable or coconut oil, and ensure your chocolate chips are dairy-free. The flavor and texture might vary slightly but will still be delicious.
Q: My mug cake overflowed in the microwave. What went wrong?
A: This can happen if your mug is too small or if you microwaved it for too long without supervision. Ensure you’re using a 12-16 ounce mug to give the cake room to rise. Also, watching it and microwaving in shorter increments can help prevent overflow.
Q: Can I add an egg to this recipe?
A: This particular recipe is designed to be egg-free for simplicity and quick preparation. Adding an egg would require adjusting other liquid ingredients and potentially baking time, changing the fundamental nature of this quick mug cake. If you prefer egg-based mug cakes, look for recipes specifically formulated with egg.
Q: How can I make my mug cake extra gooey?
A: To achieve an extra gooey center, you can slightly undercook it by about 10-15 seconds. The residual heat will continue to cook it a little. You can also press a square of chocolate into the center of the batter before microwaving, which will create a molten core.
By keeping these tips in mind, you’ll be able to consistently create a perfect, indulgent chocolate mug cake that satisfies your cravings every time!
More Microwave Desserts to Try!
Peanut Butter Mug Cake
Microwave Brownie in a Mug
Microwave Monkey Bread
Red Velvet Mug Cake
