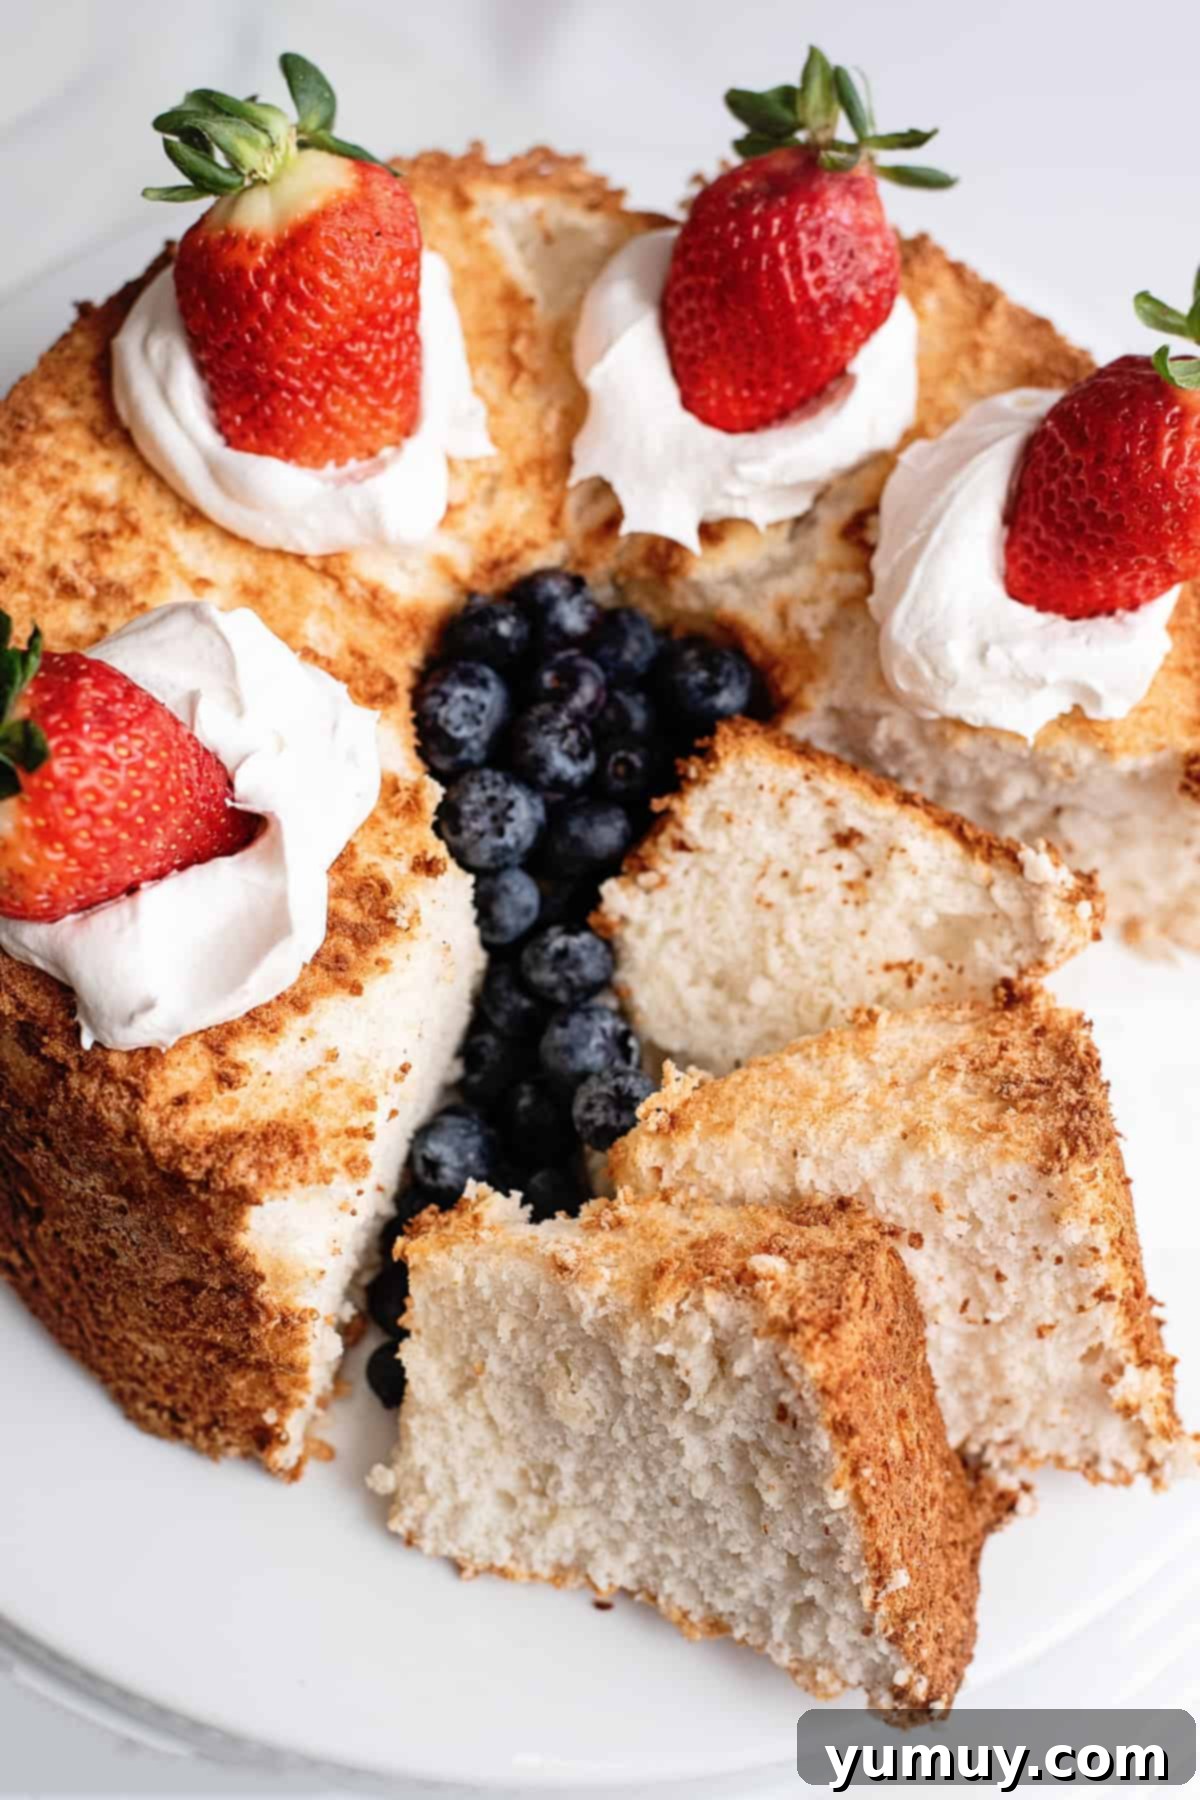
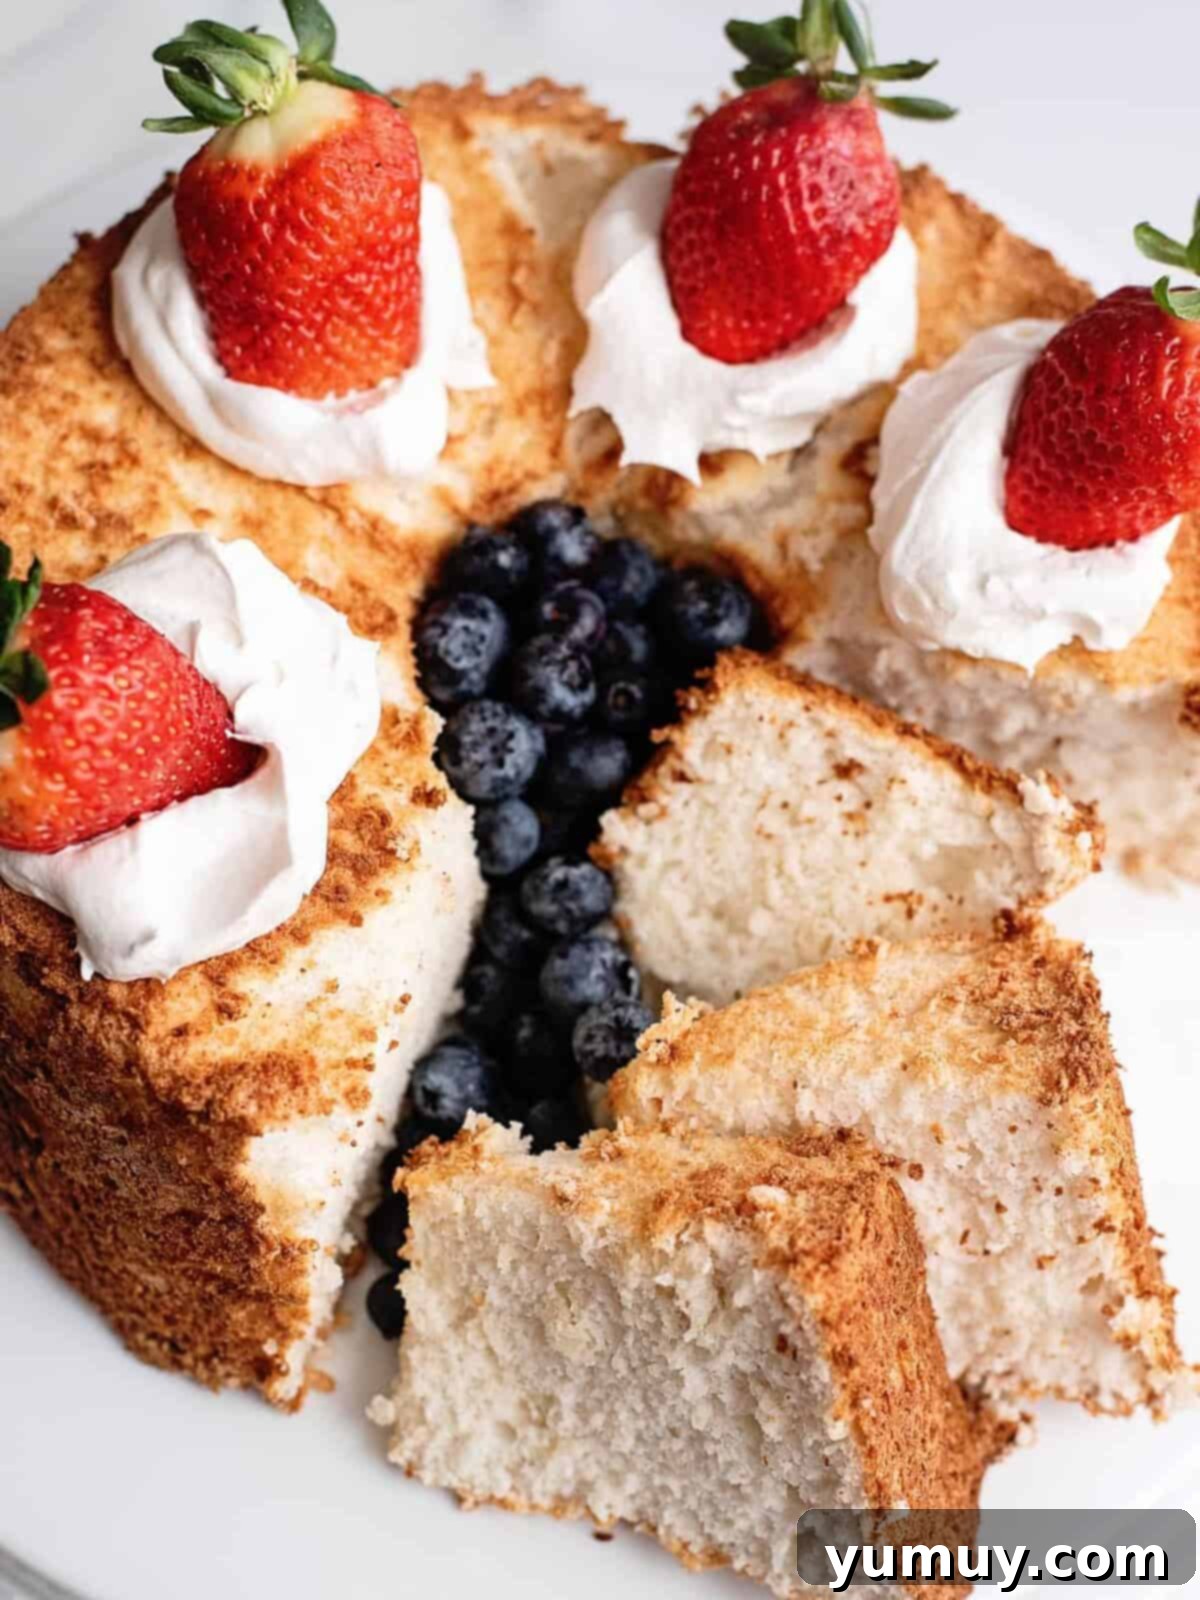
If you’ve ever dreamed of baking a dessert that defines lightness, our homemade Angel Food Cake is your ultimate guide. This exquisite cake is renowned for its ethereal, cloud-like texture, a delicate crumb that practically melts in your mouth, and a perfectly golden-brown exterior. Unlike many traditional cakes, Angel Food Cake achieves its incredible lift and tender structure solely through whipped egg whites, sugar, and a touch of flour. By intentionally omitting butter and egg yolks, this recipe naturally offers a lower-fat alternative without compromising on its indulgent taste, making it a surprisingly healthy dessert option. It’s a versatile treat, perfect for celebratory gatherings like Easter and Mother’s Day, yet simple enough to elevate any weeknight dinner into a special occasion. Once you master the art of making Angel Food Cake from scratch, you’ll discover a world of flavor and texture far superior to any store-bought version, forever changing your perception of this classic dessert.
The Art of Angel Food Cake: Light, Fluffy, and Health-Conscious
While often compared to sponge cake, homemade Angel Food Cake offers a distinctly different and superior experience. The fundamental difference lies in their composition: sponge cakes typically incorporate both egg yolks and whites, resulting in a richer, denser crumb due to the fat content of the yolks. Angel Food Cake, conversely, is a masterpiece of culinary minimalism, relying exclusively on meticulously whipped egg whites for its extraordinary lift and volume. This unique characteristic, coupled with the complete absence of added oil or butter, is what gives Angel Food Cake its signature cloud-like lightness and delicate texture.
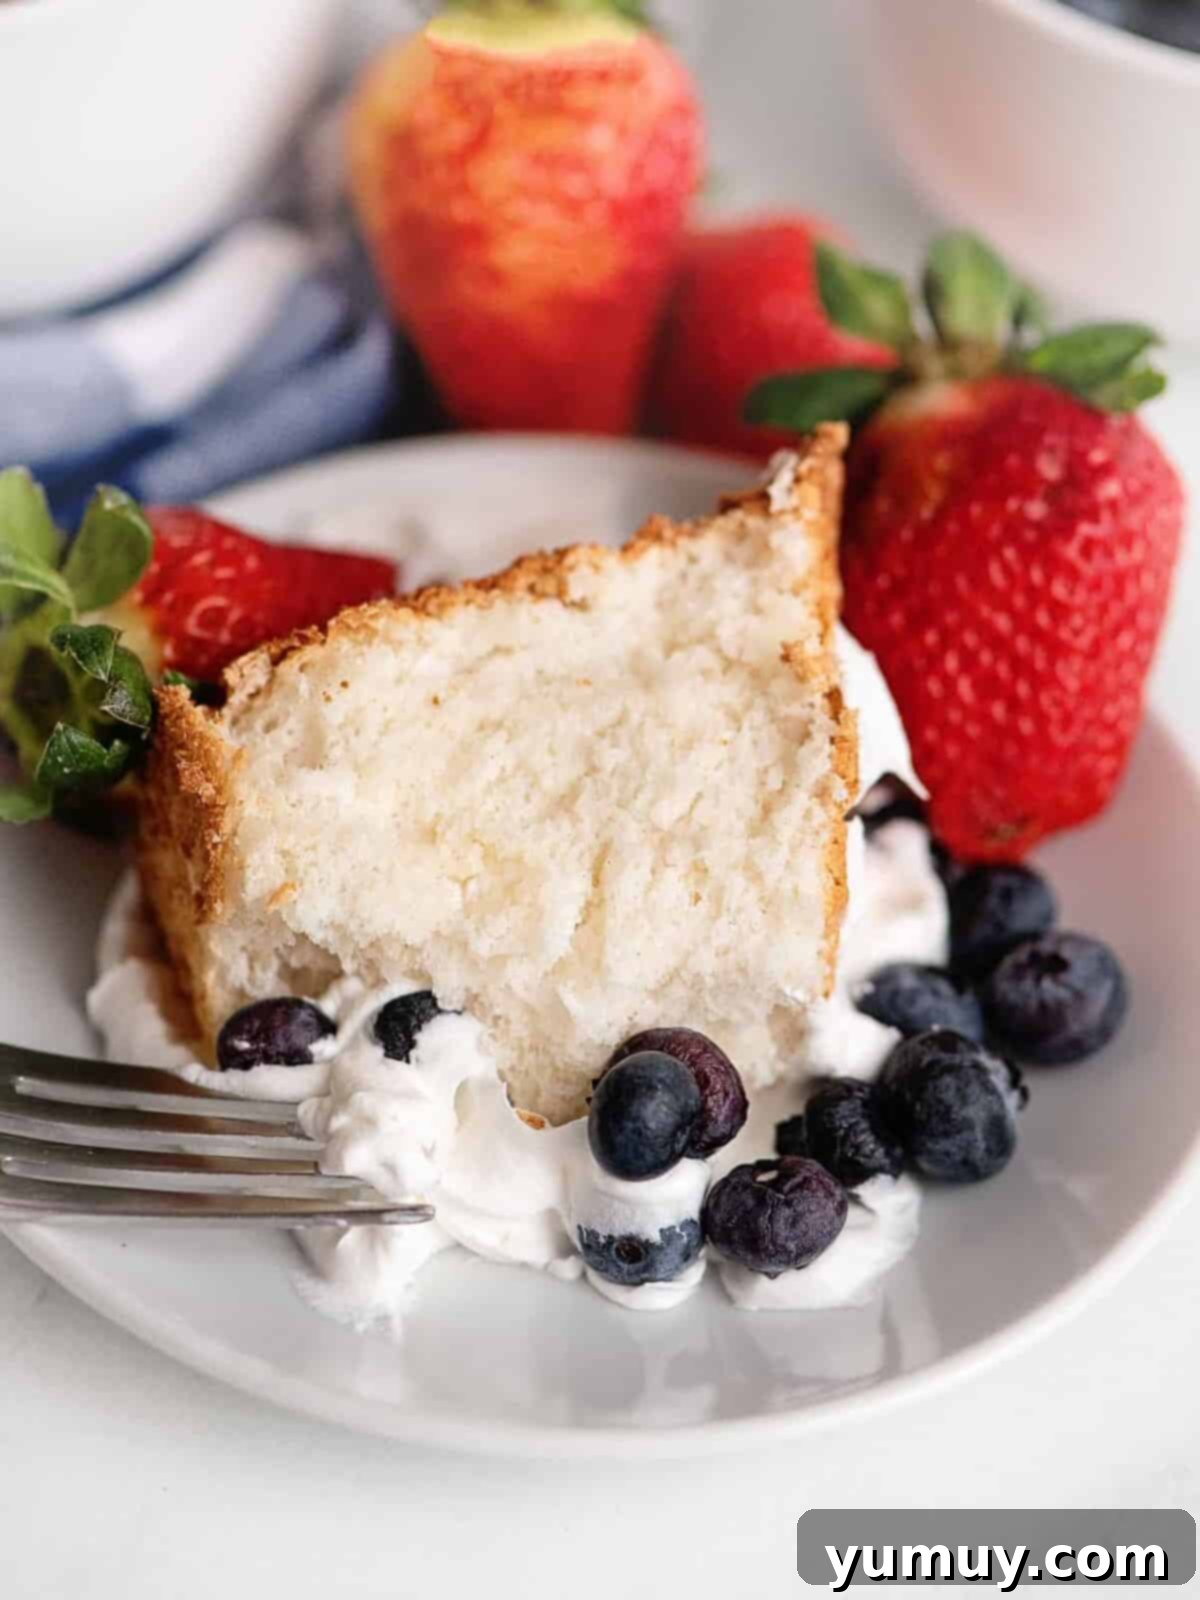
Don’t let its elegant appearance fool you; this really is an easy angel food cake recipe that even novice bakers can master. Requiring only 7 basic ingredients and straightforward techniques, you can achieve a bakery-worthy result right in your own kitchen. This makes it an ideal choice for those seeking a guilt-free indulgence, a dessert that feels luxurious without being heavy. Serve it simply for a naturally sweet treat, or elevate it further with vibrant toppings. A dollop of stabilized whipped cream and a medley of fresh berries transform it into a stunning dessert perfect for any celebration, always leaving you feeling satisfied, never weighed down. It’s truly a testament to how simple ingredients can create something extraordinary.
The Essential Cooling Secret for Unrivaled Texture
Achieving the perfect, airy texture in your Angel Food Cake doesn’t end when it comes out of the oven. In fact, a crucial step in preventing collapse and ensuring an impeccably fluffy crumb is how you cool it. Angel Food Cake absolutely must cool upside down. This prevents the delicate, airy structure from compressing under its own weight as it cools, which would otherwise result in a dense, rubbery cake. However, how you execute this cooling process can make a significant difference in the final result.
Many recipes suggest balancing the tube pan on the neck of a narrow wine bottle. While this method does achieve the upside-down position, it often traps steam within the cake, particularly at the bottom. This trapped moisture can lead to an undesirable slightly gummy or dense texture in the lower portion of the cake. Through countless tests, I’ve found a superior method: flip your tube pan over two equal-height, heatproof mugs (or utilize the built-in feet if your pan is equipped with them). This technique ensures maximum airflow around the entire cake as it cools. The improved circulation allows steam to escape efficiently, preserving the cake’s delicate structure and resulting in an extra fluffy, consistently tender crumb from top to bottom. This cooling trick is a game-changer and has never failed me in producing the lightest, most perfectly textured Angel Food Cake.

Angel Food Cake Recipe: Your Guide to a Heavenly Dessert
20 minutes
45 minutes
1 hour
5 minutes
12
slices
Print
Rate
Save
Saved!
Ingredients
- ⅞ cup all-purpose flour
- 2 tablespoons cornstarch
- 1½ cups granulated sugar divided
- 12 egg whites
- 1½ teaspoons pure vanilla extract
- 1½ teaspoons cream of tartar
- ½ teaspoon kosher salt
Equipment
- Kitchen Scale (optional, for precise measurements)
- Tube Pan (essential for proper rise and cooling)
- Hand Mixer or Stand Mixer (for whipping egg whites to perfection)
Instructions
- Prepare your oven and pan: Move the top oven rack to the lowest position. Preheat oven to 350°F (175°C). A 10-inch tube pan with a removable bottom is essential for this recipe, allowing for proper rise and easy removal. Do not grease or spray the pan; the batter needs to cling to the sides to climb and achieve its signature height.
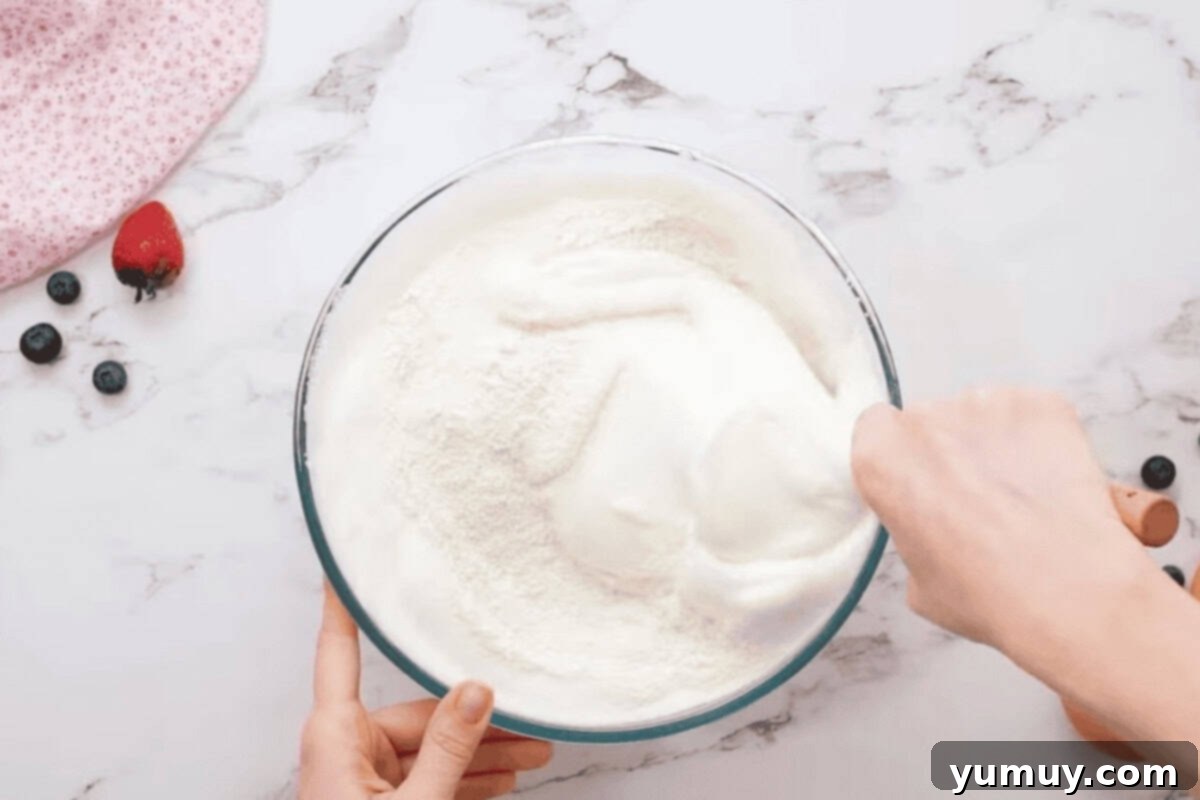
- Sift dry ingredients: In a medium bowl, meticulously sift together the ⅞ cup of all-purpose flour, 2 tablespoons of cornstarch, and ¾ cup of the granulated sugar. Sifting is crucial here as it removes lumps and aerates the mixture, contributing to the cake’s light texture. The cornstarch helps to reduce the protein content of all-purpose flour, mimicking the fine texture of cake flour and preventing a tough cake. Set aside the remaining ¾ cup of sugar and the sifted dry ingredients.⅞ cup all-purpose flour,
2 tablespoons cornstarch,
1½ cups granulated sugar (¾ cup for this step)
- Whip egg whites to soft peaks: In a very large, clean bowl (preferably glass or metal, as plastic can retain grease), using a hand or stand mixer fitted with the whisk attachment, beat the 12 egg whites, 1½ teaspoons of pure vanilla extract, 1½ teaspoons of cream of tartar, and ½ teaspoon of kosher salt on a high speed until soft peaks have been reached. Soft peaks hold their shape but curl slightly at the tip when the whisk is lifted. Ensure no trace of egg yolk is present, as any fat will prevent the whites from whipping properly. Cream of tartar is vital here; it stabilizes the egg whites and helps them achieve maximum volume and a fine, even texture.12 egg whites,
1½ teaspoons pure vanilla extract,
1½ teaspoons cream of tartar,
½ teaspoon kosher salt
- Gradually add remaining sugar: Once soft peaks are achieved, slowly and gradually add the remaining ¾ cup of granulated sugar to the egg mixture, one tablespoon at a time, while continuously beating on high speed. This slow addition allows the sugar to dissolve properly, creating a stable, glossy meringue. Continue beating until stiff peaks have formed. Stiff peaks will stand straight up and hold their shape firmly when the whisk is removed. The meringue should be shiny and smooth.1½ cups granulated sugar (remaining ¾ cup)

- Gently fold in dry ingredients: Once the egg whites have reached a stiff, glossy peak, it’s time to incorporate the dry ingredients. Use a large spoon or a rubber spatula to gently fold the sifted dry ingredients into the meringue. Do this in two or three additions, folding just until no streaks of flour remain. The key here is to be extremely gentle to preserve as much of the air trapped in the egg whites as possible. Overmixing will deflate the batter, leading to a flat, dense cake. Use a light, circular motion, lifting from the bottom of the bowl and folding over the top.

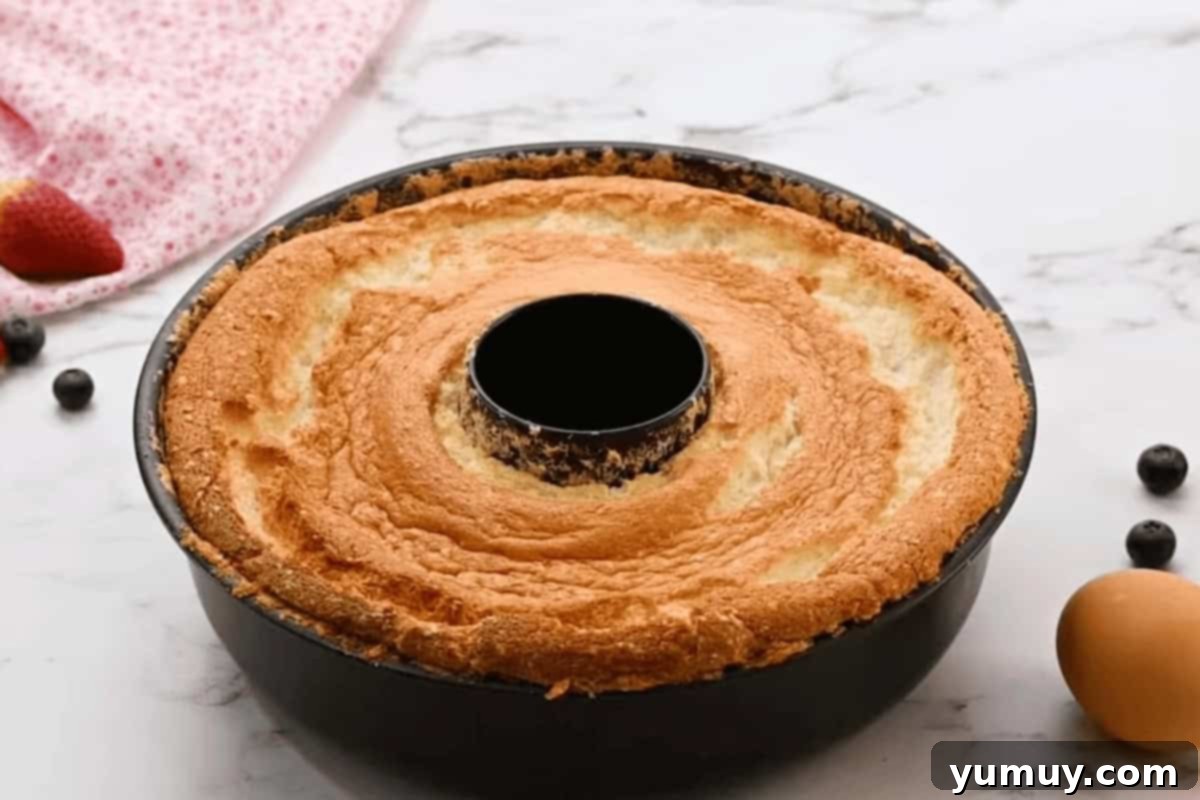
- Bake to perfection: Carefully pour the delicate batter into your ungreased tube pan. Distribute it evenly without tapping or shaking the pan, which could release air. Bake in the preheated oven for 40-45 minutes. The cake is done when the top is beautifully browned, feels completely dry to the touch, and has started to show small cracks around the edges. Avoid opening the oven door unnecessarily during baking, especially in the first 30 minutes, as this can cause the cake to deflate.

- Cool upside down: This is a critical step for preventing collapse and maintaining the cake’s airy texture. Immediately after removing the pan from the oven, invert it. Balance the pan upside down on top of two equal-sized heatproof mugs. This allows plenty of air circulation, preventing steam from getting trapped and ensuring the cake cools without sinking. Cool the cake completely upside down for at least 1 hour, or until it is entirely cool to the touch. Once cooled, carefully remove the cake by sliding a thin knife or offset spatula along the edges of the pan and around the center core until the cake is released.

Pro Tips & Notes
- Pan Choice is Key: You absolutely need a tube pan for this recipe. Ideally, one with a removable bottom and small feet, as this design is crucial for both baking and the essential upside-down cooling process. A Bundt pan will not work, as its intricate design makes removal impossible without greasing, and the batter needs to cling to the sides.
- No Yolks Allowed: Be meticulously careful not to let any egg yolk contaminate your egg whites. Even a tiny speck of fat from the yolk will prevent the egg whites from whipping up to full volume and achieving stable peaks. Use fresh eggs for easier separation.
- Don’t Waste Yolks: Have leftover egg yolks? Don’t toss them! They’re perfect for enriching custards, curds, or making a delicious batch of butterscotch budino or homemade ice cream.
- Mixer Matters: While a stand mixer with a whisk attachment will make quick work of whipping egg whites to stiff peaks, a hand mixer can also be used effectively. Just be aware that it might take double the time and a bit more arm muscle to achieve the desired consistency.
- Stiff Peaks for Stability: Ensure your egg whites are beaten into firm, glossy stiff peaks. This is paramount for the cake to hold its structure and height during baking and cooling. Under-beaten whites will result in a flat, dense cake, while over-beaten whites can become dry and crumbly.
- Gentle Folding: When incorporating the dry ingredients, always fold them into the egg whites gently. This technique helps retain as much air as possible in the batter, which is what gives Angel Food Cake its signature lightness.
- Room Temperature Eggs: For best results, use egg whites that are at room temperature. They whip up to a greater volume and more quickly than cold egg whites.
Storage & Longevity: Once your Angel Food Cake has completely cooled, gently remove it from the pan. For optimal freshness and flavor, it’s best enjoyed on the day it’s made. However, it will keep beautifully for up to 2 days when stored in an airtight container at room temperature, or covered tightly with plastic wrap to prevent it from drying out. For extended storage, the cake will remain fresh in the refrigerator for up to 1 week.
Freezing Instructions: Angel Food Cake freezes exceptionally well. To freeze, ensure the cake is completely cooled. Wrap it tightly first in plastic wrap, then in aluminum foil, or place it in a freezer-safe airtight container to prevent freezer burn. It can be stored in the freezer for up to 6 months. To enjoy, thaw the frozen cake at room temperature for 3-4 hours, or simply leave it overnight, before serving.
Calories from Fat 9
Becky Hardin
Did You Make This?
We love seeing what you’ve made! Tag us on social media at
@easydessertrecipes for a chance to be featured.
How to Make Angel Food Cake: A Detailed Step-by-Step Guide
Creating a perfect Angel Food Cake is a rewarding baking experience. Follow these detailed steps to ensure your cake is light, airy, and truly heavenly.
Step 1: Prepare Your Oven and Sift Dry Ingredients
Begin by positioning your top oven rack to the lowest possible setting. This ensures the tall cake has enough room to rise without hitting the top heating element and allows for more even baking. Preheat your oven to 350°F (175°C). While the oven heats, take a medium-sized bowl and sift together ⅞ cup of all-purpose flour, 2 tablespoons of cornstarch, and ¾ cup of the granulated sugar. Sifting is not just about removing lumps; it’s a vital step for aerating the dry ingredients, which contributes significantly to the cake’s overall lightness. The cornstarch, in particular, helps to tenderize the cake by diluting the gluten in the all-purpose flour, acting as a clever substitute for cake flour. Set aside the remaining ¾ cup of sugar and your meticulously sifted ingredients. Remember, do not grease or spray your tube pan; the cake batter needs to cling to the sides of the pan to climb and achieve its signature tall structure.

Step 2: Whip Egg Whites to Soft Peaks
In a large, impeccably clean bowl (preferably glass or stainless steel, as plastic can harbor greasy residues that hinder egg white whipping), combine 12 large egg whites, 1½ teaspoons of pure vanilla extract, 1½ teaspoons of cream of tartar, and ½ teaspoon of kosher salt. Using a hand mixer or a stand mixer fitted with a whisk attachment, beat the mixture on high speed until soft peaks have been reached. Soft peaks are characterized by their ability to hold a shape, but the very tip will gently curl over when the whisk is lifted. It is absolutely crucial that no egg yolk whatsoever enters the egg whites, as any fat will prevent them from whipping properly. Cream of tartar plays a critical role here by lowering the pH of the egg whites, which stabilizes their protein structure. This not only helps them whip to a greater volume but also maintains that volume throughout the baking process, ensuring a truly fluffy cake. Using room temperature egg whites also aids in achieving maximum volume.

Step 3: Gradually Add Sugar and Beat to Stiff Peaks
Once your egg whites have achieved the soft peak stage, it’s time to incorporate the remaining ¾ cup of granulated sugar. This process needs to be done slowly and gradually, adding the sugar about a tablespoon at a time, while continuously beating the mixture on high speed. The slow introduction of sugar allows it to dissolve completely into the egg whites, forming a stable, glossy meringue. Continue beating until stiff peaks are formed. When you lift the whisk, the peaks should stand upright and hold their shape firmly without drooping. The meringue should also appear beautifully shiny and smooth, indicating that the sugar has fully dissolved and the structure is strong. This ensures the cake will have the necessary stability and sweetness.

Step 4: Gently Fold Dry Ingredients into the Meringue
With your egg whites at a stiff, glossy peak, it’s time for the delicate folding process. Using a large spoon or a flexible rubber spatula, very gently fold the previously sifted dry ingredients into the meringue. Do this in two or three additions to make the incorporation easier and more even. The objective is to mix just until no streaks of flour are visible, and the mixture is uniformly combined. The keyword here is “gentle” – you want to preserve as much of the air that you’ve diligently incorporated into the egg whites as possible. Overmixing will cause the meringue to deflate, which will result in a flat, dense, and less-than-angelic cake. Use a light, lifting motion from the bottom of the bowl, folding the mixture over itself, rather than stirring or beating.
Step 5: Bake the Angel Food Cake
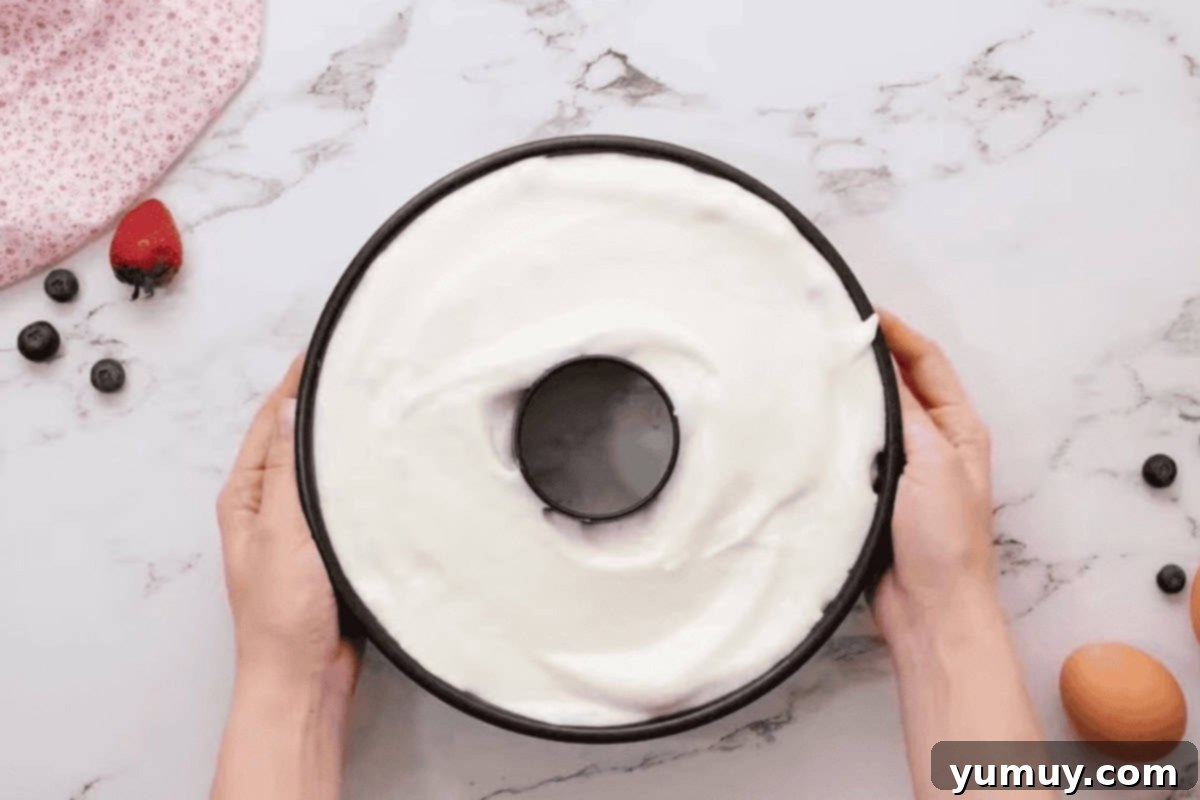
Carefully pour the delicate Angel Food Cake batter into your ungreased tube pan. Use your spatula to evenly spread the batter, but resist the urge to tap or shake the pan, which can release precious air from the mixture. Place the pan into your preheated 350°F (175°C) oven, on the lowest rack. Bake for approximately 40-45 minutes. The cake is perfectly baked when its top is beautifully browned, feels firm and dry to the touch, and you start to see small cracks appear on the surface. These cracks are a good indicator that the cake has risen fully and set properly. To maintain the cake’s structure, avoid opening the oven door, especially during the first 30 minutes of baking, as sudden temperature changes can cause it to collapse.
Step 6: Cool Upside Down for Perfect Texture
This final step is as critical as any in the baking process. Immediately upon removing the baked Angel Food Cake from the oven, you must invert the pan. The best way to do this is to place the hot tube pan upside down on top of two sturdy, equal-sized heatproof mugs or on its built-in feet if your pan has them. This ingenious method prevents the cake from collapsing under its own weight as it cools, ensuring that the light and airy structure you worked so hard to create is perfectly preserved. It also allows steam to escape, preventing a gummy bottom. Allow the cake to cool completely upside down for at least 1 hour, or until the pan is cool to the touch. Once cooled, to remove the cake, carefully slide a thin knife or offset spatula along the inner and outer edges of the pan until the cake is gently released. A removable bottom pan makes this part effortless.
How to Store and Freeze Your Angel Food Cake
Proper storage is essential to maintain the delicate texture and freshness of your homemade Angel Food Cake. Once your cake has completely cooled down, gently remove it from the tube pan. While it is undeniably at its absolute best when enjoyed on the day it’s baked, the cake will retain its quality for a few days if stored correctly. For short-term storage, keep the cake in an airtight container at room temperature for up to 2 days. If you don’t have an airtight container large enough, you can cover it meticulously with plastic wrap to prevent it from drying out and absorbing other odors. For slightly longer enjoyment, the cake can be stored in the refrigerator for up to 1 week, ensuring it remains well-covered.
This versatile cake also freezes remarkably well, allowing you to prepare it in advance or save leftovers for a future treat. To freeze, ensure the cake is completely cooled to prevent condensation and ice crystals from forming. Wrap the entire cooled cake tightly first in plastic wrap, ensuring no air pockets remain, and then enclose it in a layer of heavy-duty aluminum foil. Alternatively, place the wrapped cake into a freezer-safe airtight container or freezer bag. Properly wrapped, it will maintain its quality in the freezer for up to 6 months. When you’re ready to indulge, simply thaw the frozen cake at room temperature for 3-4 hours, or for best results, allow it to thaw slowly overnight in the refrigerator before bringing it to room temperature. This gradual thawing helps preserve its tender crumb and delicate flavor.
Serving Suggestions for Your Heavenly Angel Food Cake
Angel Food Cake’s subtle sweetness and light texture make it a perfect canvas for a variety of toppings and accompaniments. Keep it simple and elegant with a dusting of powdered sugar, or elevate it into a show-stopping dessert with these ideas:
- Fresh Berries and Whipped Cream: A classic pairing that never disappoints. The natural sweetness and slight tartness of strawberries, raspberries, blueberries, or mixed berries complement the cake beautifully. A dollop of homemade whipped cream adds a creamy, luxurious touch.
- Fruit Compotes or Sauces: Warm berry compote, cherry sauce, or a vibrant mango or peach puree can add a burst of flavor and moisture.
- Lemon Curd or Citrus Zest: The bright, zesty tang of lemon curd or freshly grated lemon/lime zest provides a wonderful contrast to the cake’s sweetness.
- Chocolate Drizzle: A simple drizzle of melted dark or milk chocolate can satisfy any chocoholic’s craving without overpowering the cake.
- Nutty Toppings: Toasted slivered almonds or finely chopped pistachios can add a delightful crunch and subtle nutty flavor.
- Simple Glaze: A light glaze made from powdered sugar and a little milk or citrus juice can add an extra layer of sweetness and visual appeal.
Frequently Asked Questions About Angel Food Cake
Q: Why did my Angel Food Cake collapse or turn out dense?
A: Several factors can cause this. The most common reasons include: 1) Not whipping the egg whites to stiff peaks; they need enough structure to hold up the cake. 2) Overmixing the batter after adding the flour, which deflates the air from the egg whites. 3) Greasing the pan, which prevents the batter from climbing the sides. 4) Opening the oven door too early, causing a sudden temperature drop. 5) Not cooling the cake upside down immediately after baking.
Q: Can I use liquid egg whites from a carton?
A: While possible, fresh egg whites are always recommended for Angel Food Cake. Carton egg whites may not whip up to the same volume and stability as fresh ones, potentially resulting in a less airy cake. If you must use them, ensure they are at room temperature and be prepared for slightly different results.
Q: What if I don’t have cream of tartar?
A: Cream of tartar is highly recommended for its stabilizing properties. If you don’t have it, you can substitute with an equal amount of lemon juice or white vinegar (1½ teaspoons). While these provide acidity to stabilize the egg whites, cream of tartar generally yields the most reliable and consistent results.
Q: My cake is tough, what went wrong?
A: A tough Angel Food Cake usually indicates overmixing after the dry ingredients have been added. The gluten in the flour can develop too much if agitated excessively, leading to a chewy rather than tender texture. Remember to fold gently and stop as soon as the flour streaks disappear.
Q: Can I add other flavorings to the cake?
A: Absolutely! While vanilla is classic, you can experiment. Almond extract can be a lovely addition (use sparingly, about ½ to 1 teaspoon). Citrus zests (lemon, orange, lime) can be folded in with the dry ingredients for a brighter flavor. Ensure any liquid flavorings are added with the other wet ingredients (vanilla) to avoid deflating the meringue.
More Cake Recipes to Try!
White Wedding Cake
Cotton Candy Cake
Mango Cake
Doctored White Cake Mix
Browse All Cakes
