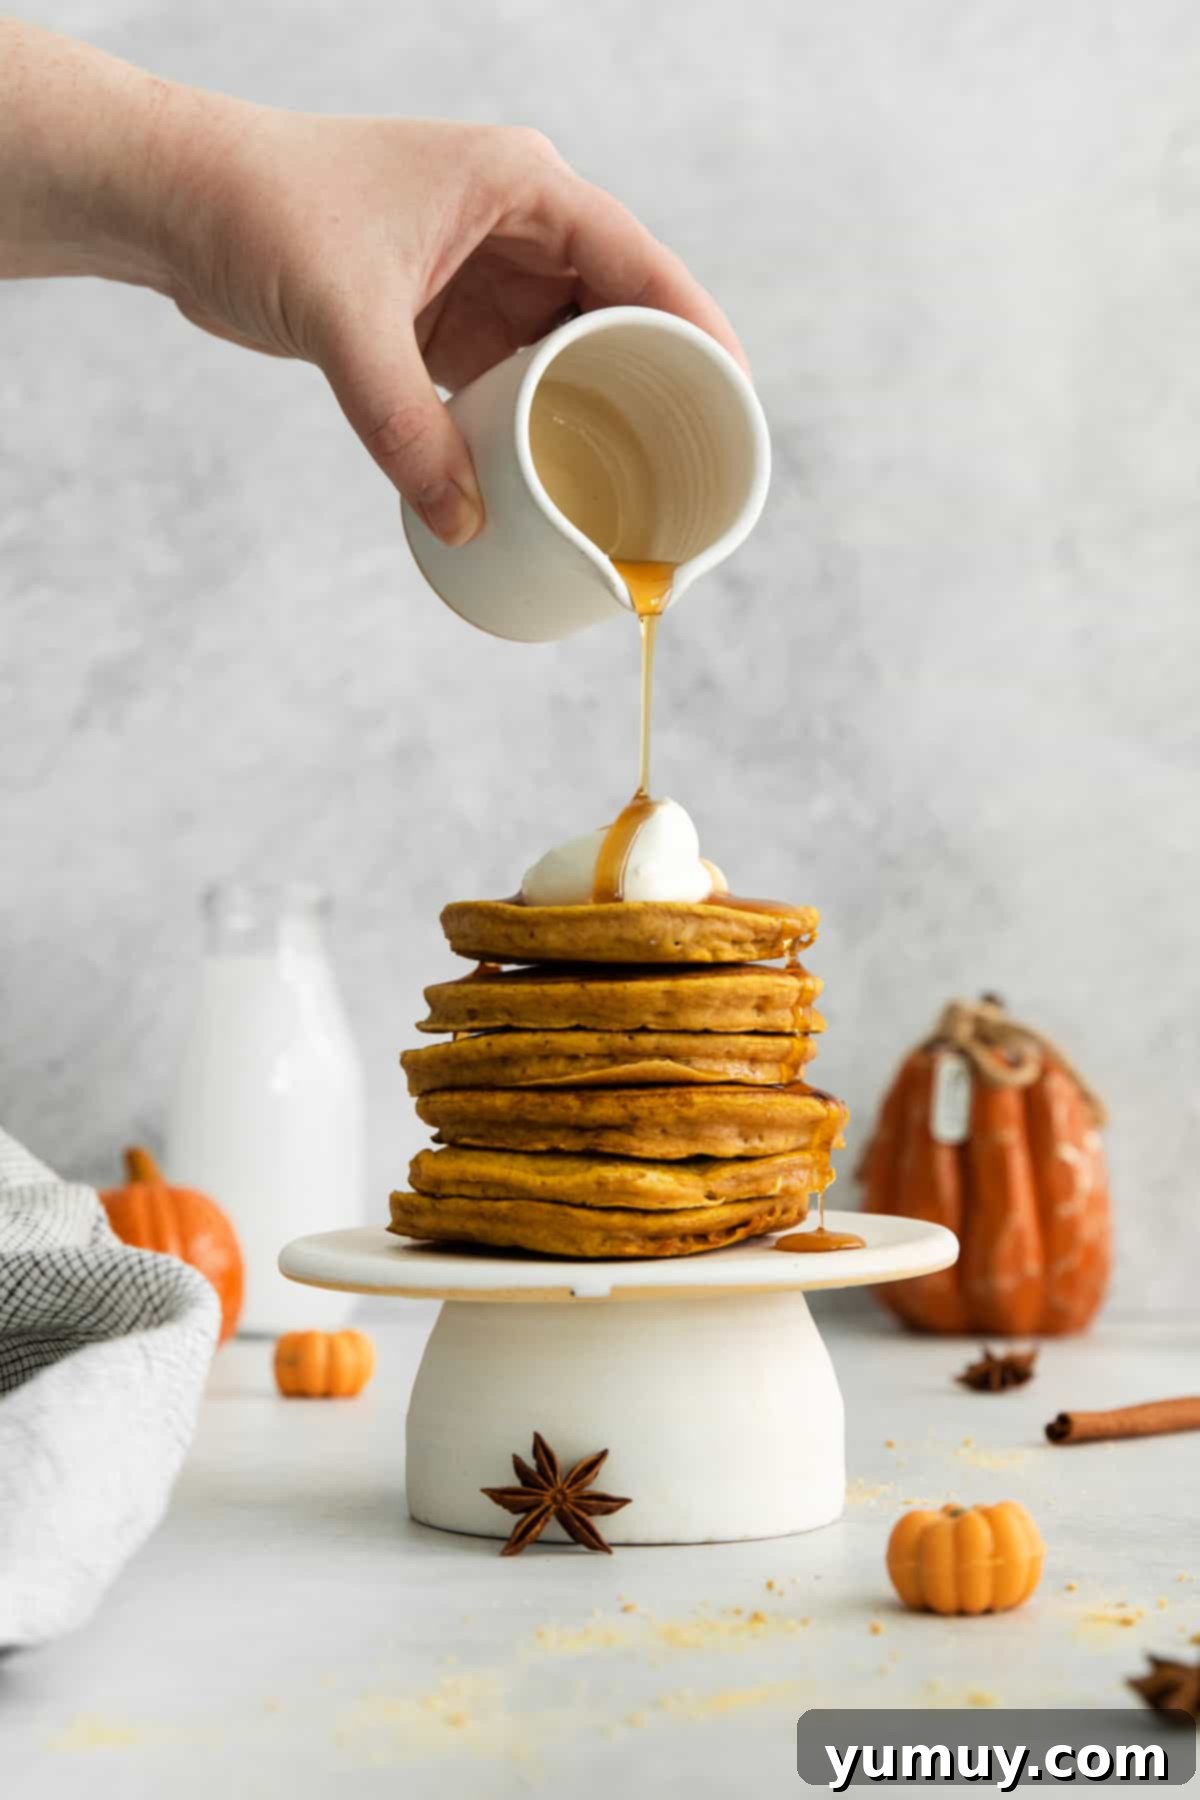
There’s nothing quite as comforting on a crisp fall morning as a towering stack of freshly made pumpkin pancakes. These golden, perfectly spiced beauties capture all the cozy flavors of classic pumpkin pie, transformed into a delightful breakfast experience. Each bite reveals a soft, incredibly fluffy texture with just the right amount of sweetness. I especially love how the pumpkin puree infuses the pancakes with a rich, moist consistency, while a blend of warm spices fills my entire kitchen with an irresistible autumnal aroma. Whether you’re planning a leisurely weekend breakfast, a festive holiday brunch, or simply craving a taste of fall, these pumpkin puree pancakes are always a cherished treat that brings joy to any table.
Share this delicious recipe:
- Pin this recipe for later!
- Share on Facebook
- Send over email
Ultimate Fluffy Pumpkin Pancakes Recipe: Your Go-To Fall Breakfast
Prepare to fall in love with these utterly soft, impossibly fluffy homemade pumpkin pancakes. Each one is a delightful explosion of autumnal flavor, making them the perfect centerpiece for any fall-themed breakfast or brunch. The best part? The batter comes together in mere minutes, utilizing everyday pantry staples along with a generous scoop of pure pumpkin puree. The result is a stack of light, airy pancakes that rise beautifully on the griddle, promising a tender, cake-like interior. Brown sugar lends a subtle, caramel-like sweetness that complements the robust pumpkin notes, while a custom blend of pumpkin pie spice ties everything together with an inviting, warm embrace.
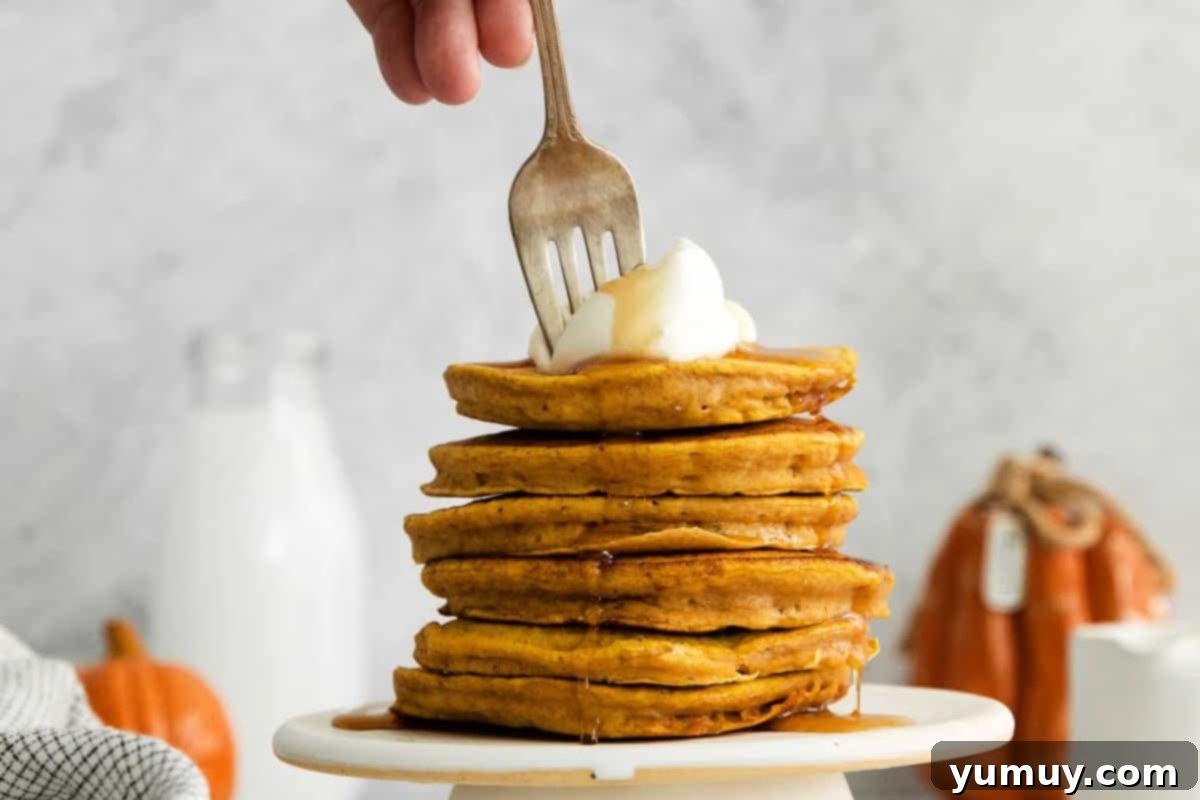
I adore serving these pancakes piled high, adorned with a pat of melting butter, a cascade of pure maple syrup, or even a dollop of stabilized whipped cream for an extra festive touch. They’re not just for special occasions; these pumpkin puree pancakes also reheat exceptionally well, allowing you to whip up a large batch ahead of time and savor the comforting flavors of fall throughout the entire week. Imagine grabbing a few from the fridge or freezer for a quick, wholesome breakfast that tastes gourmet!
The Secret to Fluffier Pancakes: Draining Your Pumpkin Puree
One of the most common challenges when baking with pumpkin puree is its naturally high water content. Too much moisture in your pancake batter can lead to heavy, dense, or even gummy pancakes, far from the light and airy texture we all crave. While you can often eyeball the batter and add a bit more flour if it seems too thin, a proactive step can guarantee optimal results every time: draining the pumpkin puree before incorporating it into your mix.
My preferred method is simple yet remarkably effective: spoon the pumpkin puree onto two or three layers of paper towels or a clean, absorbent kitchen towel. Gently press down on the puree to absorb and remove the excess liquid. You’ll be surprised by how much water is released! This seemingly minor step makes a significant difference in the final product. By reducing the moisture, your pancakes will cook through more evenly, achieve a much taller rise, and develop that coveted soft, cake-like texture that distinguishes truly great pumpkin pancakes from merely good ones. It ensures a consistent, delightful fluffiness that will make your breakfast truly special.
No ratings yet. Be the first to rate this recipe!
Homemade Fluffy Pumpkin Pancakes Recipe
These incredibly fluffy homemade pumpkin pancakes are crafted with real pumpkin puree and a medley of warm, aromatic spices, creating the ultimate fall breakfast experience that’s both easy to make and utterly delicious.
10 minutes
15 minutes
25 minutes
12 pancakes (4 servings)
- Pin
Print Recipe
Ingredients
-
1¾ cups whole milk -
½ cup pumpkin puree (not pumpkin pie filling!) -
1 large egg (room temperature) -
1 teaspoon pure vanilla extract -
2 cups all-purpose flour -
¼ cup brown sugar -
1 tablespoon baking powder -
2 teaspoons pumpkin pie spice
Equipment
- Large Mixing Bowl
- Whisk
- Non-Stick Skillet or Griddle
- Measuring Cups and Spoons
- Spatula
Instructions
Prepare Wet Ingredients: In a large mixing bowl, combine the 1¾ cups of whole milk, ½ cup of pumpkin puree (ensure it’s drained for fluffier results, see tip above!), 1 large room-temperature egg, and 1 teaspoon of pure vanilla extract. Whisk these wet ingredients together thoroughly until they are perfectly smooth and well combined.

Combine Dry Ingredients: To the bowl with the wet ingredients, add the 2 cups of all-purpose flour, ¼ cup of brown sugar, 1 tablespoon of baking powder, and 2 teaspoons of pumpkin pie spice. Mix gently until no large clumps of flour remain. A few small lumps are perfectly fine and even desirable – resist the urge to overmix, as this can lead to tough pancakes! At this stage, you can assess the batter’s consistency; it should be thick yet pourable. If it seems too thick, add milk a tablespoon at a time. If too thin, add a teaspoon of flour. For optimal fluffiness, allow the batter to rest for 5-10 minutes. This resting period gives the gluten in the flour time to relax and the baking powder to start working its magic.

Heat Skillet: Place a non-stick skillet or griddle over medium heat. Allow it to heat up for a few minutes. You can test if it’s ready by dropping a few drops of water onto the surface; they should sizzle and evaporate almost immediately.
Cook Pancakes: Lightly grease the hot skillet with a small amount of butter or a spray of nonstick cooking spray. Using a ¼ cup measuring cup, carefully pour mounds of pancake batter onto the prepared pan, leaving enough space between each pancake. Cook for approximately 2-3 minutes per side, or until the bottom is beautifully golden brown and numerous bubbles have formed and are breaking on the surface around the edges. This indicates they are ready for the next step.
Flip and Finish: With a spatula, gently flip the pancakes over and cook for another 1-2 minutes, or until the second side is also golden brown and the pancake is cooked through. Repeat this process with the remaining batter, remembering to lightly grease the pan between batches to prevent sticking and ensure even cooking.

Serve: Serve these delightful pumpkin pancakes immediately with your favorite toppings, such as a pat of butter, a generous drizzle of warm maple syrup, fresh whipped cream, or a sprinkle of cinnamon. Enjoy them while they’re warm and perfectly fluffy!
Notes for Perfect Pumpkin Pancakes
Yield: This recipe yields approximately 3 cups of pancake batter, which makes about 12 medium-sized pancakes, enough for 4 servings.
- Milk Choice: While this recipe works with any kind of milk, I highly recommend using whole milk. Its higher fat content contributes significantly to a richer flavor and the ultimate fluffy texture that makes these pancakes stand out.
- Pumpkin Puree vs. Pie Filling: Always use pure pumpkin puree, not pumpkin pie filling. Pie filling contains added spices and sugar, which will alter the flavor balance and texture of your pancakes. Look for cans labeled “100% pure pumpkin.”
- Fresh Pumpkin Puree: If you’re using homemade fresh pumpkin puree, be aware that its consistency can vary. It might be thinner than canned puree. If your batter seems too thin after mixing, add a little extra flour (1-2 tablespoons) until it reaches a thick but pourable consistency.
- Do Not Overmix: This is crucial for tender pancakes. Mix the wet and dry ingredients until they are just combined. A few small lumps are perfectly acceptable and indicate you haven’t overmixed. Overmixing develops the gluten in the flour too much, resulting in tough, chewy pancakes.
- Resting the Batter: For an even lighter and fluffier result, allow your pancake batter to rest for 5-10 minutes after mixing. This resting period gives the baking powder time to activate and the flour to fully hydrate, leading to a superior texture.
- Cooking Temperature: Pumpkin pancakes are often denser than regular pancakes. To ensure they cook through evenly without burning the outside, use medium-low heat (approximately 325-350°F on an electric griddle).
- When to Flip: You’ll know the pancakes are ready to flip when bubbles start forming on the surface and begin to break, leaving small holes that don’t immediately close back up. The edges should also lose their wet, shiny appearance and start to look dry or matte. Gently lift an edge with your spatula to check for a beautiful golden-brown underside before flipping.
- Keeping Warm: If you’re cooking a large batch, you can keep finished pancakes warm in a single layer on a baking sheet in a 200°F (95°C) oven for up to 30 minutes.
- Topping Ideas: Beyond butter and maple syrup, consider adding whipped cream, candied pecans, a dusting of cinnamon sugar, a drizzle of caramel sauce, or even a scoop of vanilla ice cream for an indulgent treat.
Storage: Leftover homemade pumpkin pancakes can be stored in an airtight container in the refrigerator for up to 3 days. For longer storage, freeze them for up to 3 months. To freeze, place cooled pancakes in a single layer on a baking sheet until solid, then transfer to a freezer-safe bag with parchment paper between them to prevent sticking.
Calories from Fat 45
Becky Hardin
- X (Twitter)
Did You Make This?
We love seeing what you’ve made! Tag us on social media at
@easydessertrecipes
for a chance to be featured.
How to Make Fluffy Pumpkin Pancakes with Pumpkin Puree: A Step-by-Step Guide
Creating these delightful pumpkin pancakes is a straightforward process, even for beginner cooks. Follow these detailed steps to ensure perfectly fluffy and flavorful results every time:
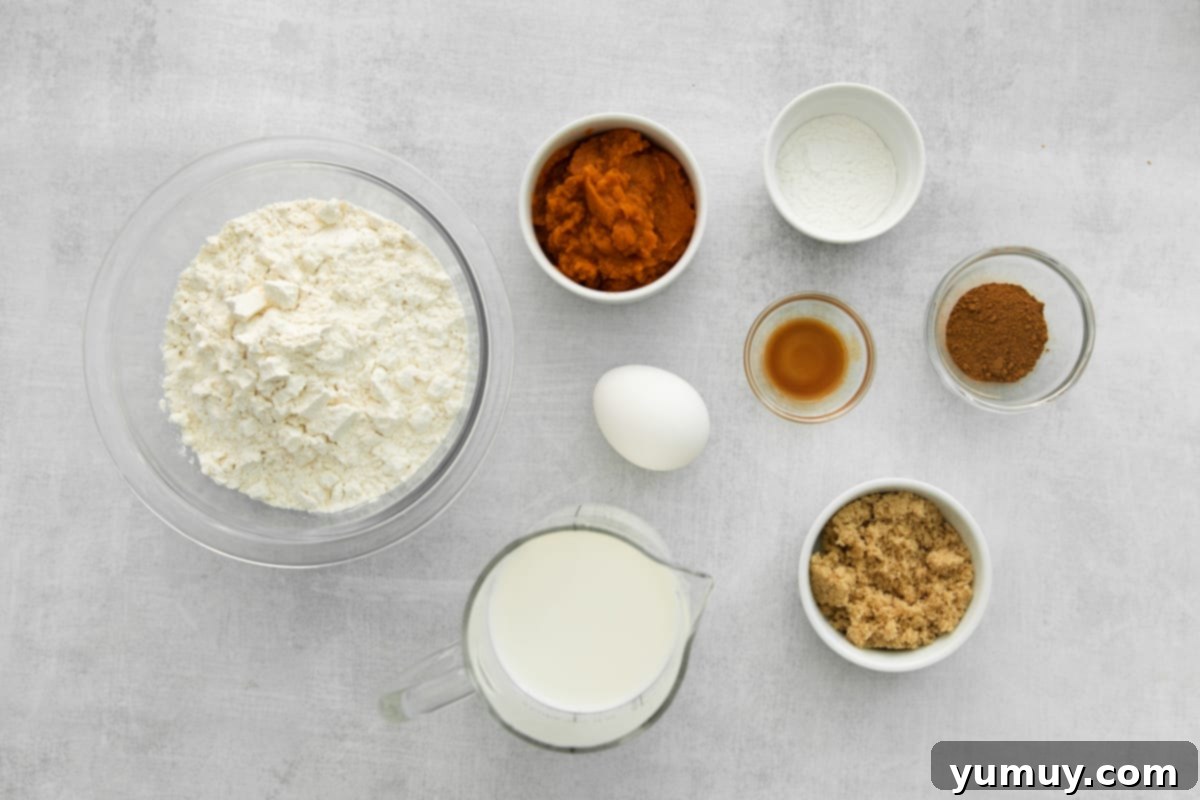
Step 1: Prep Your Ingredients for Success
Start by gathering all the necessary ingredients to make these irresistibly fluffy pumpkin pancakes. A crucial tip for achieving the best possible texture is to bring your large egg to room temperature. This typically takes about 30-60 minutes on the countertop. Room temperature eggs emulsify better with other ingredients, creating a smoother, more uniform batter and ultimately lighter pancakes. Also, if you plan to drain your pumpkin puree as recommended, do that now!
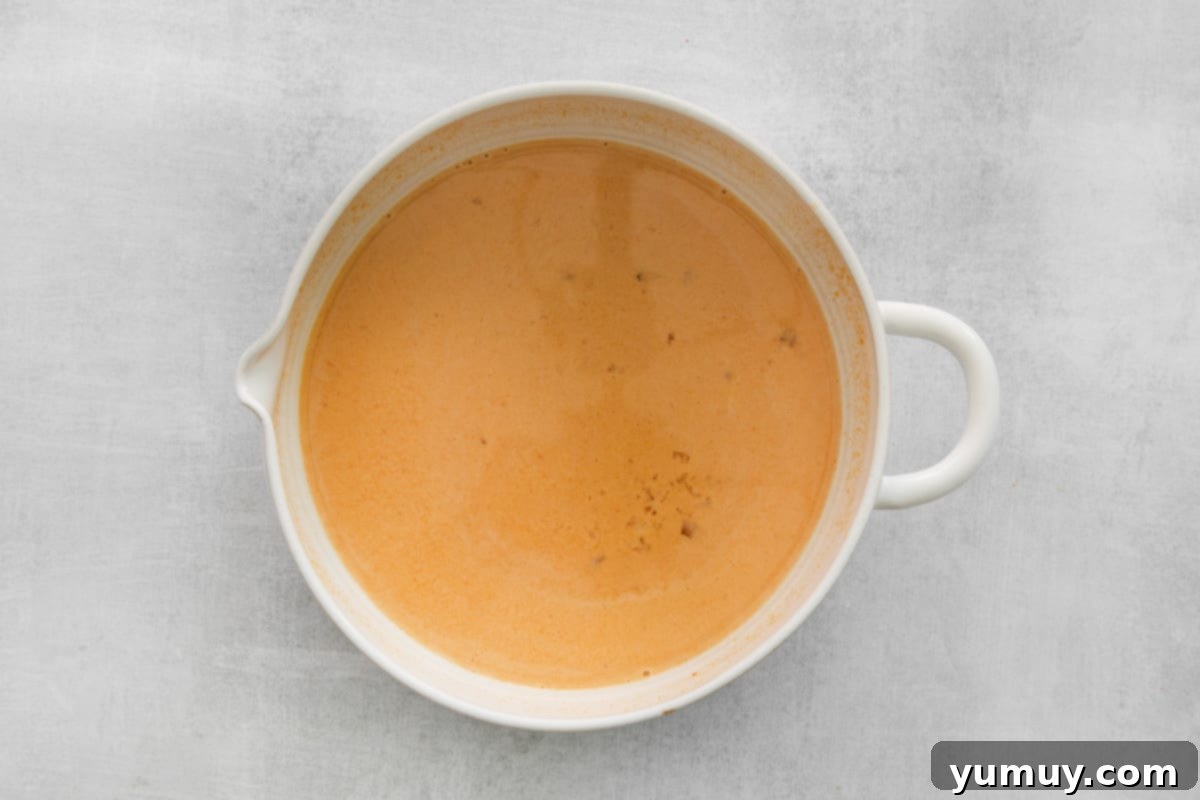
Step 2: Whisk the Wet Ingredients Smooth
In a spacious mixing bowl, combine the liquid components: 1¾ cups of whole milk, ½ cup of pure pumpkin puree (remember to drain it slightly if you want extra fluffy results!), 1 large room-temperature egg, and 1 teaspoon of rich vanilla extract. Using a whisk, vigorously beat these ingredients together until they are completely smooth and thoroughly combined. This ensures even distribution of flavor and moisture throughout the batter.
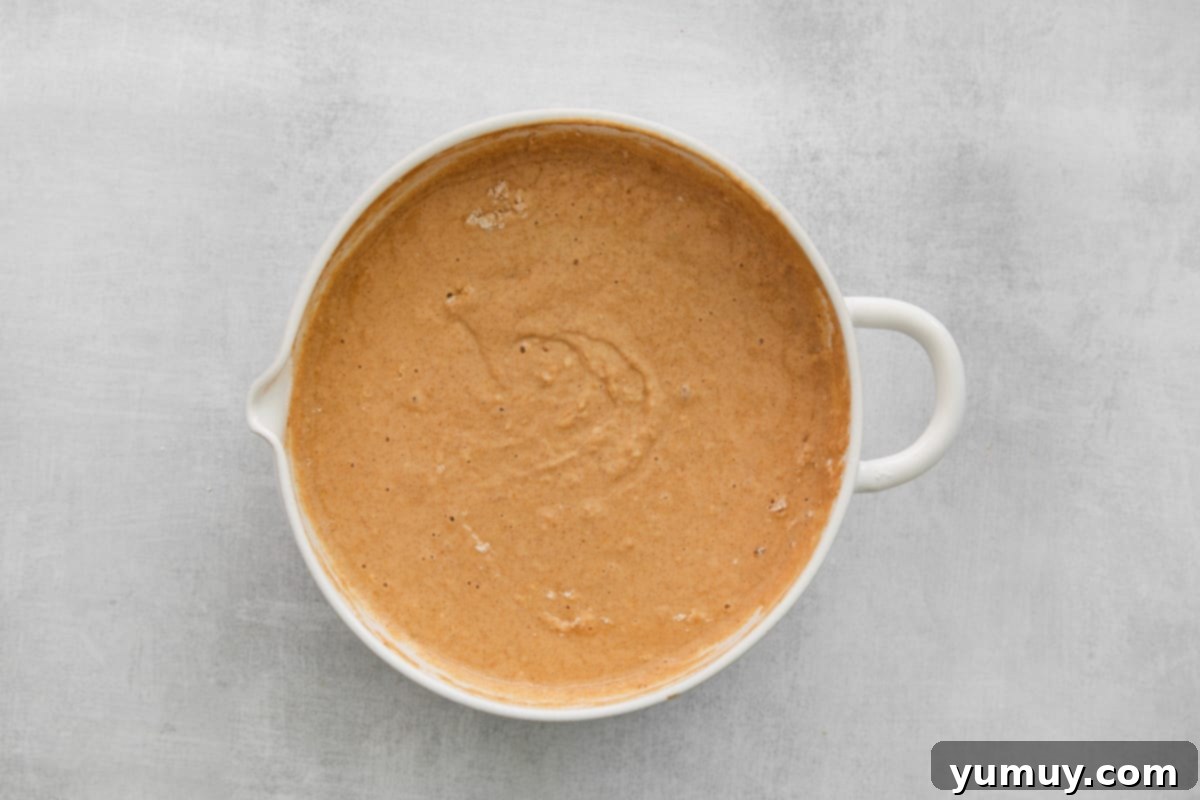
Step 3: Gently Fold in the Dry Ingredients & Rest the Batter
Now, it’s time to introduce the dry components to your wet mixture. Add 2 cups of all-purpose flour, ¼ cup of brown sugar, 1 tablespoon of baking powder, and 2 teaspoons of aromatic pumpkin pie spice to the bowl. Using a spatula or whisk, mix these ingredients together just until no large pockets of dry flour remain. It’s perfectly normal, and even beneficial, for a few small lumps to be visible in the batter; the key is to avoid overmixing! Overworking the batter develops the gluten, which can lead to tough, rather than fluffy, pancakes. At this point, assess the consistency. The batter should be thick, but still pourable. If it’s too thick, add milk in tiny increments (1 teaspoon at a time) until it reaches the desired consistency. If it’s too thin, a pinch of extra flour can help. For an even lighter, airier pancake, allow the batter to rest for 5-10 minutes on the counter. This resting period allows the flour to fully hydrate and the leavening agents to begin their work, resulting in a superior rise.
Step 4: Cook Your Golden Pancakes to Perfection
Preheat a non-stick skillet or griddle over medium heat. This is important to get an even, golden-brown crust. You can test the temperature by flicking a few drops of water onto the surface; if they sizzle and evaporate quickly, it’s ready. Lightly grease the hot cooking surface with a small amount of butter or a quick spray of nonstick cooking spray. This should be done between each batch to prevent sticking. Using a ¼ cup measuring scoop, carefully pour several mounds of pancake batter onto the prepared pan, ensuring there’s enough space between each one for even cooking and easy flipping. Cook the pancakes for approximately 2-3 minutes on the first side. You’ll know they’re ready to flip when the surface is covered in bubbles that begin to pop and don’t immediately close, and the edges look matte and slightly dry. Carefully slide a thin spatula under each pancake and flip it.
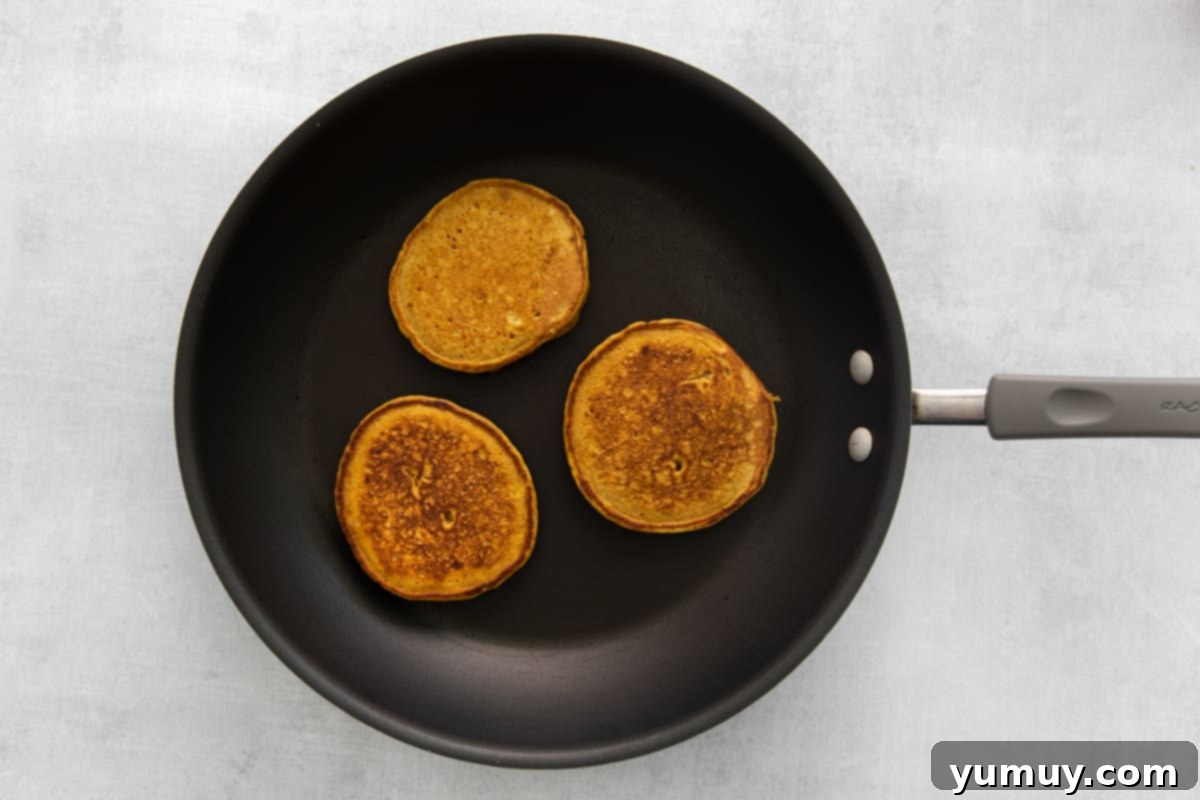
Step 5: Finish Cooking & Serve Warm
Once flipped, cook the pancakes for an additional 1-2 minutes on the second side, or until they are cooked through and boast a beautiful golden-brown color on both sides. Repeat this process with the remaining batter, always remembering to lightly grease the pan between batches. Serve your freshly cooked, fluffy pumpkin pancakes immediately with your favorite toppings. A classic drizzle of warm maple syrup, a generous pat of melting butter, or a cloud of homemade whipped cream are all fantastic choices. Enjoy these warm and comforting autumnal treats!
How to Store, Freeze, and Reheat Your Pumpkin Pancakes
Making a large batch of these delicious pumpkin pancakes is a fantastic idea, as they store and reheat wonderfully, making busy mornings a breeze! Properly storing your leftovers ensures you can enjoy the taste of fall for days or even months to come.
- Refrigeration: Any leftover pumpkin pancakes should be placed in an airtight container or a resealable plastic bag and stored in the refrigerator. They will maintain their freshness and flavor for up to 3 days.
- Freezing: For longer storage, these pancakes freeze beautifully. Once completely cooled, arrange the pancakes in a single layer on a baking sheet and freeze until solid (this prevents them from sticking together). Once firm, transfer them to a freezer-safe bag or airtight container, placing parchment paper between layers to prevent them from freezing into a solid block. They can be stored in the freezer for up to 3 months, ready whenever a pumpkin craving strikes.
- Reheating from the Fridge: To reheat pancakes from the refrigerator, you can pop them into a 350°F (175°C) oven for about 5-7 minutes, or warm them in the microwave in 30-second increments until heated through.
- Reheating from the Freezer: For frozen pancakes, you can reheat them directly from the freezer. Place them in a 350°F (175°C) oven for approximately 10-15 minutes, or use the microwave in 1-minute increments until warm and soft. A toaster or toaster oven also works great for a slightly crispy exterior.
Having a stash of these fluffy pumpkin pancakes in your freezer means a quick, cozy, and flavorful breakfast is always just minutes away, no matter how hectic your schedule gets.
More Must-Try Pumpkin Recipes to Embrace the Season!
If you’re a true pumpkin enthusiast, your culinary adventure doesn’t have to end with these fluffy pancakes. Dive deeper into the rich and versatile world of pumpkin with these other fantastic recipes, perfect for celebrating the autumnal season.
Pumpkin Biscotti
Pumpkin Madeleines
Pumpkin Crescent Rolls
Pumpkin Cake with Cream Cheese Frosting
Explore All Pumpkin Recipes
Frequently Asked Questions (FAQs) About Pumpkin Pancakes
Here are some common questions and helpful answers to ensure your pumpkin pancake making experience is a delightful one:
- Q: Can I use pumpkin pie filling instead of pumpkin puree?
- A: No, it’s highly recommended to use 100% pure pumpkin puree. Pumpkin pie filling already contains spices and sweeteners, which will alter the flavor profile and potentially the texture of your pancakes, making them overly sweet or spiced in an unbalanced way.
- Q: What makes these pancakes so fluffy?
- A: Several factors contribute to their fluffiness! Using room-temperature eggs, not overmixing the batter, allowing the batter to rest for 5-10 minutes, and the correct amount of baking powder are all key. Additionally, draining excess moisture from the pumpkin puree helps prevent dense pancakes.
- Q: My pancakes are burning on the outside but still raw inside. What am I doing wrong?
- A: This usually means your griddle or skillet is too hot. Reduce the heat to medium-low. Pumpkin pancakes are often a bit denser than regular ones and require a slightly lower temperature to cook through evenly without charring the exterior.
- Q: Can I add mix-ins to the batter?
- A: Absolutely! Pumpkin pancakes are fantastic with additions like chocolate chips, chopped nuts (pecans or walnuts work beautifully), dried cranberries, or a swirl of cream cheese frosting (added just before serving). Just gently fold them into the batter after it has rested.
- Q: How can I tell when the pancakes are ready to flip?
- A: Look for bubbles forming and breaking on the surface, especially towards the center. The edges of the pancake should also appear set, matte, and slightly dry. A quick peek with a spatula to ensure the underside is golden brown will confirm they’re ready.
- Q: Can I make the batter ahead of time?
- A: While the batter is best used within 15-30 minutes of mixing, you can refrigerate it for up to 1-2 hours. If storing longer, the baking powder may lose some potency, resulting in slightly less fluffy pancakes. If making ahead, sometimes adding a tiny pinch more baking powder just before cooking can help revive some lift.
- Q: Are these pumpkin pancakes suitable for freezing?
- A: Yes, they are perfect for freezing! Once completely cooled, lay them flat on a baking sheet to freeze, then transfer to an airtight freezer bag or container. They will last up to 3 months and can be reheated in a toaster, microwave, or oven for a quick breakfast.
