Delightful Pink Velvet Cake: The Ultimate Valentine’s Day Treat for Families
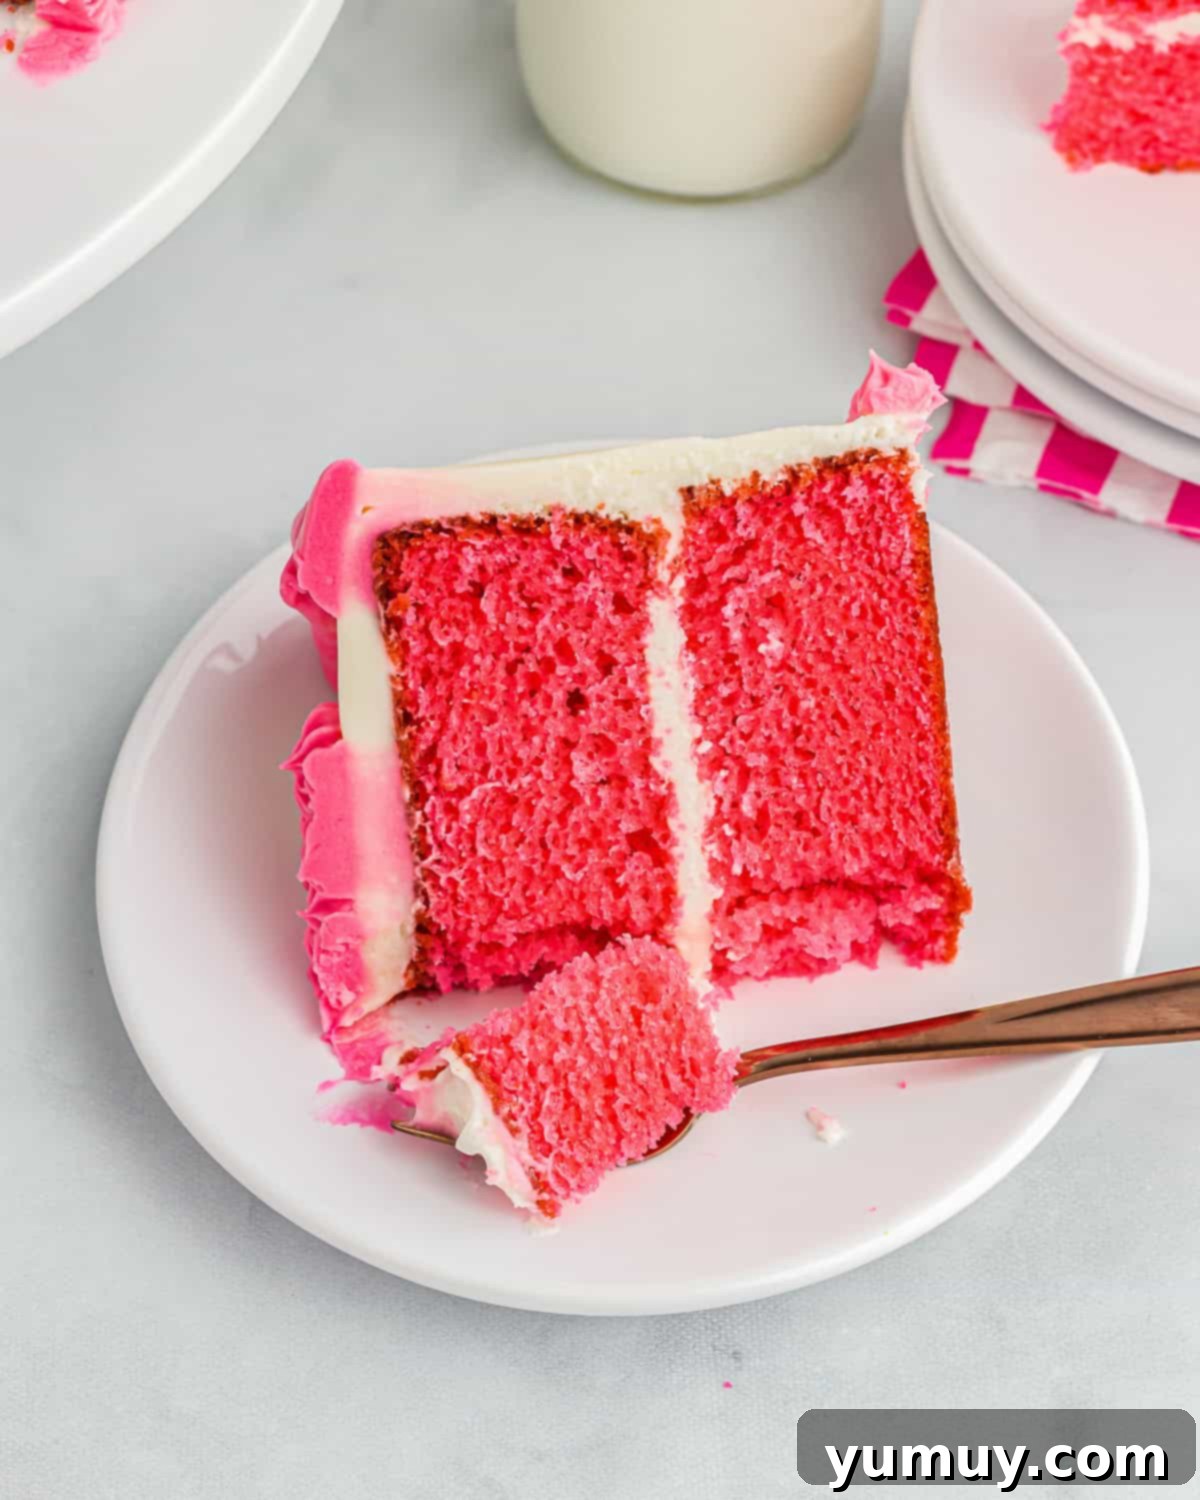
As the holidays evolve, Valentine’s Day often transforms from a romantic occasion for couples into a heartwarming celebration centered around family, especially children. This vibrant pink velvet cake perfectly embodies that shift, offering a playful and sweet twist on the classic red velvet. Imagine a dessert that’s not just delicious but also radiates joy with its eye-catching neon pink hue and an artfully crafted heart design on top. It’s a treat that promises to bring smiles and make any kid-centric Valentine’s Day celebration extra special. Designed for ease and enjoyment, this stunning cake requires minimal ingredients, making it a stress-free baking adventure for everyone.
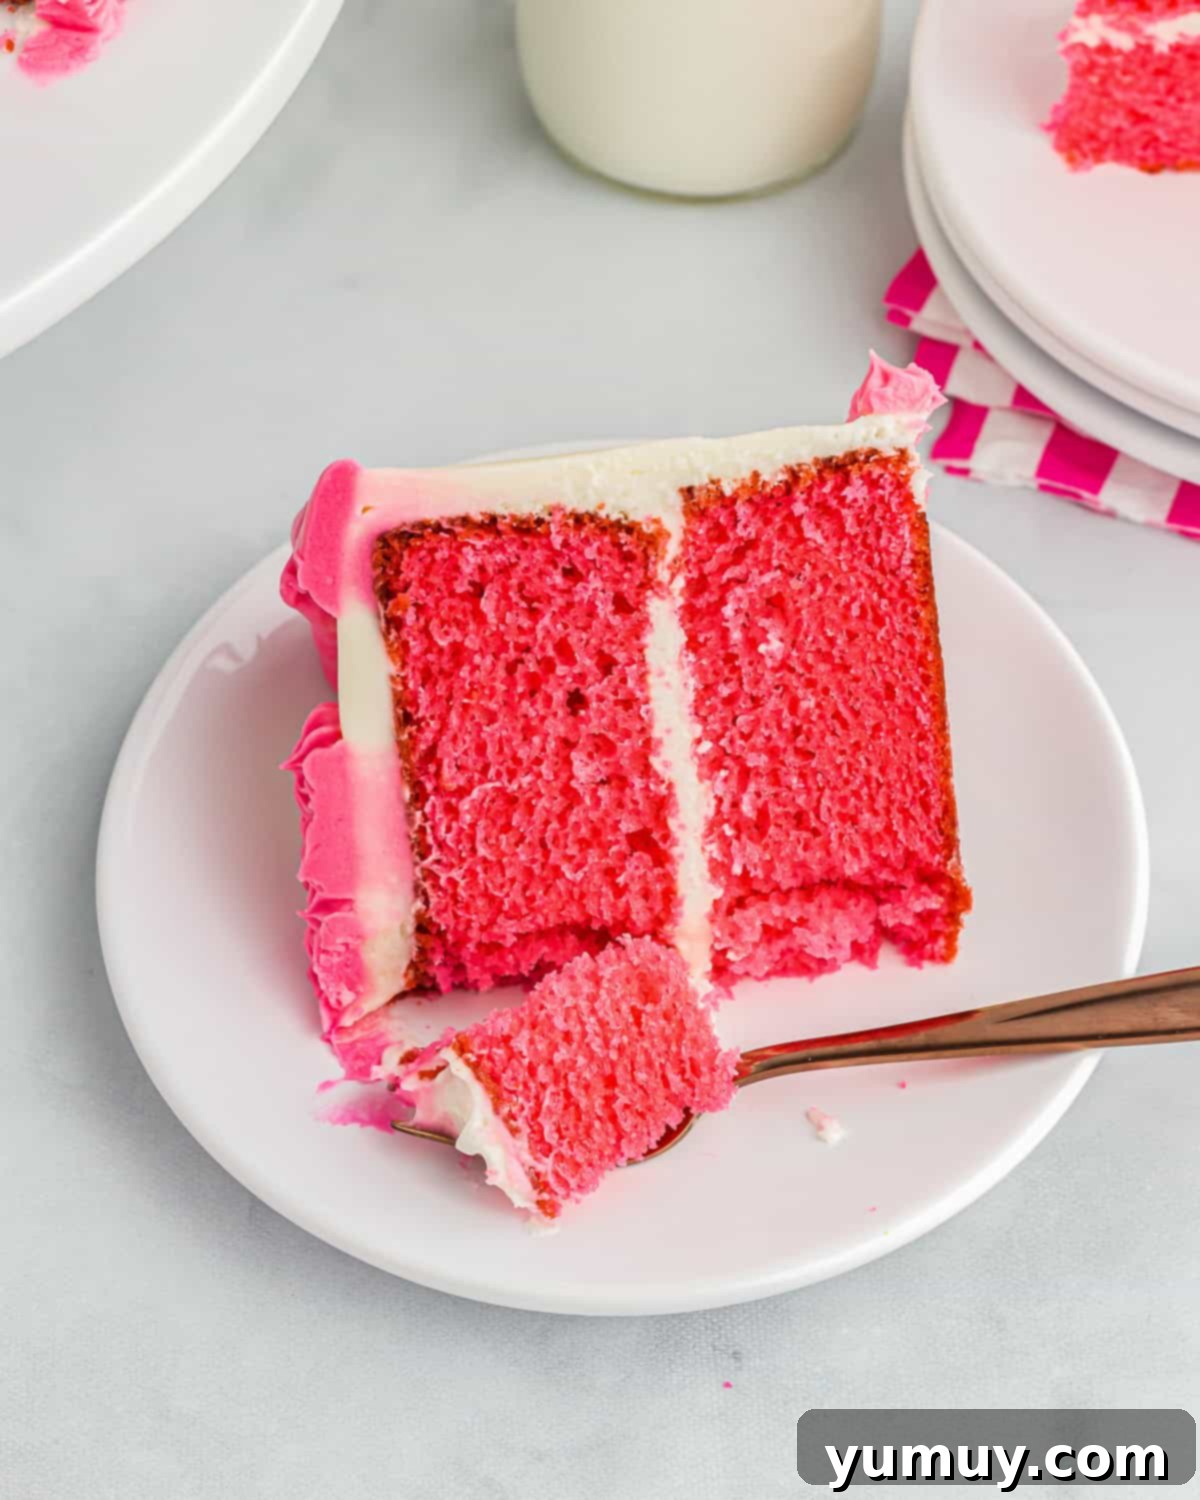
Unveiling the Charm of Pink Velvet Cake for Valentine’s Day
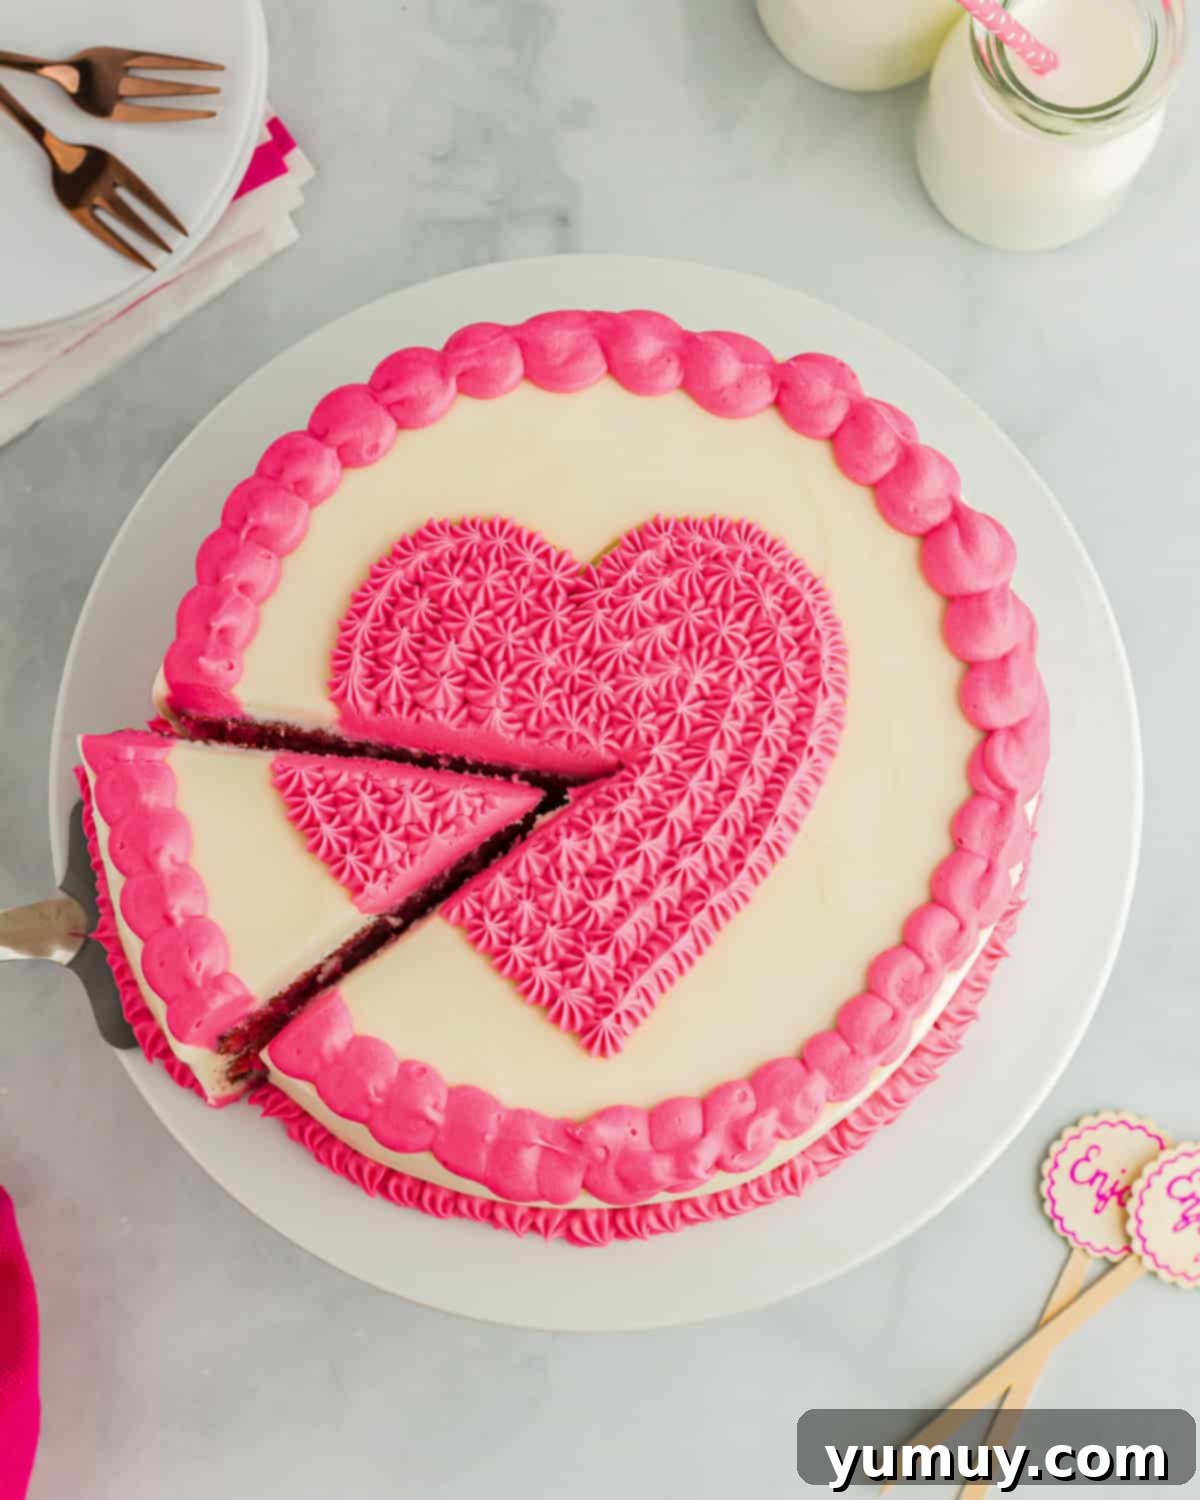
This pink velvet cake recipe is a delightful, flirtatious adaptation of my beloved easy red velvet cake recipe. To ensure that anyone can recreate this festive dessert with minimal fuss, I’ve streamlined the process by utilizing a convenient boxed cake mix. This approach leaves ample time and energy to focus on the fun part: decorating! For Valentine’s Day, I opted for a charming pink heart atop the cake, adding a touch of whimsy and love. However, the beauty of this recipe lies in its versatility. Should you prefer a more understated elegance, you can simplify the icing design with an all-white, all-pink, or even a sophisticated marbled white and pink frosting.
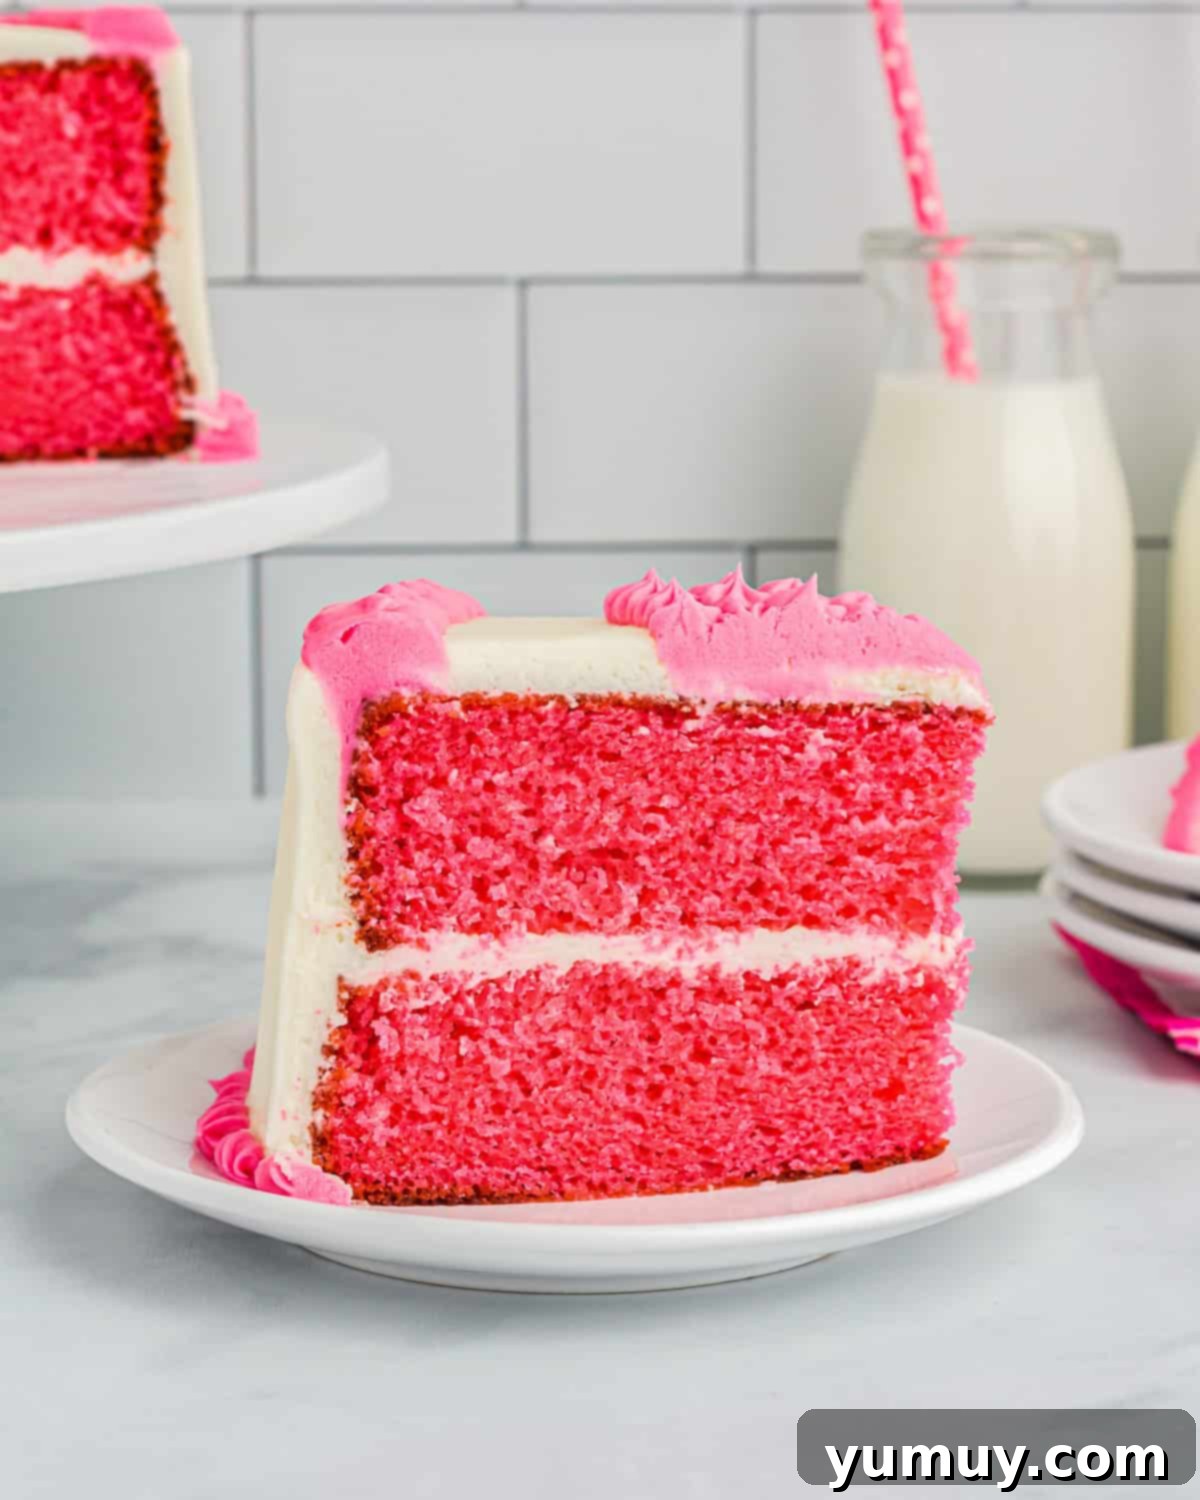
The secret to this cake’s irresistible melt-in-your-mouth fluffiness lies in a combination of tenderizing buttermilk and a hint of white vinegar. These ingredients work in harmony to create a wonderfully moist crumb that’s simply divine. To crown this masterpiece, I’ve chosen a classic tangy cream cheese frosting, which provides a perfect counterpoint to the cake’s sweetness with its delightful zing. The cake’s striking electric pink hue is achieved with high-quality gel food coloring, transforming it into a truly festive centerpiece that’s as exciting to look at as it is to eat. This vibrant color makes it a fantastic choice for any celebration, particularly one as joyful as Valentine’s Day with loved ones.
Optimal Storage for Your Pink Velvet Cake
Ensuring your delicious pink velvet cake stays fresh and delightful for as long as possible is key. For any leftovers, simply transfer the cake into an airtight container. This will help maintain its moisture and prevent it from absorbing any refrigerator odors. When stored correctly in the refrigerator, your pink velvet cake will remain fresh for up to 4 days, allowing you to enjoy slices over several days. If you wish to extend its life even further, the cake can be frozen for up to 3 months. To serve a frozen cake, remember to let it thaw overnight in the refrigerator, ensuring it returns to its perfect texture and flavor before indulging.
Expert Tips for a Flawless Pink Velvet Cake Every Time
Achieving a show-stopping pink velvet cake is easier than you think with these simple, yet crucial, tips:
- Choosing Your Cake Mix: While you can use a yellow or vanilla cake mix, be aware that the final pink color may not be as intensely vivid. A white cake mix provides the best canvas for that striking neon pink hue.
- Achieving Vibrant Color: For that truly electric pink, I highly recommend Chefmaster Liqua-gel in Neon Pink. Gel food colorings are much more concentrated than liquid versions, allowing for vibrant results without altering the cake batter’s consistency.
- Food Coloring Considerations: If you opt for water-based food coloring, the pink shade will be more subdued. This might be preferable for a softer, pastel look, but won’t give you the neon pop.
- Room Temperature Ingredients are Key: Always use room temperature ingredients for both the cake batter and the frosting. This ensures a smooth, well-emulsified batter and frosting, preventing lumps and resulting in a uniformly textured cake. Cold ingredients can cause the batter to seize and affect the final texture.
- Avoid Overmixing the Batter: When combining wet and dry ingredients, mix just until everything is incorporated. Overmixing develops the gluten in the flour, leading to a dry, dense, and rubbery cake. A light hand and patience will yield a wonderfully tender and moist crumb.
- Managing Frosting Consistency: If your cream cheese frosting starts to become too soft during the decorating process, simply place it in the refrigerator for 10-15 minutes to firm up. A firmer frosting is much easier to work with, especially when piping intricate designs.
- Leveling Your Cake Layers: For a professional-looking cake, leveling the cooled cake layers by gently slicing off the domed tops ensures a flat surface for stacking. This prevents your cake from leaning and makes frosting much easier. Don’t discard the trimmed tops – they make for delicious baker’s treats!
Pink Velvet Cake Recipe
This fun and flirty pink velvet cake is an absolute showstopper, perfect for Valentine’s Day or any occasion that calls for a touch of whimsy. Featuring a moist and fluffy neon pink cake base generously topped with a rich, tangy cream cheese icing, it’s a dessert that will captivate both eyes and taste buds.
Ingredients
For the Cake
- 26.5 ounces white cake mix (2 boxes)
- 1½ cups buttermilk, room temperature
- 3 large eggs, room temperature
- ½ cup vegetable oil
- 1 tablespoon white vinegar
- 2 teaspoons pure vanilla extract
- 1-2 drops pink gel food coloring (for neon pink, use Chefmaster Liqua-gel Neon Pink)
For the Cream Cheese Frosting:
- 8 ounces cream cheese, room temperature (1 brick)
- ¾ cup unsalted butter, slightly melted (1½ sticks)
- 1 tablespoon pure vanilla extract
- 5 cups powdered sugar
- 1-2 drops pink gel food coloring (optional, for decorative accents)
Equipment
- Kitchen Scale (optional, for even cake layers)
- 2 8-inch Round Cake Pans
- Hand Mixer (or stand mixer)
- Piping Tip Set (small star tip like Wilton 32, small round tip like Wilton 12)
- Cake Scraper (for smooth frosting)
- Parchment Paper
- Wire Racks
- Large Serrated Knife
- Cake Board or Cake Plate
- Food-Safe Plastic Wrap
Instructions
- Prepare Pans: Preheat your oven to 350°F (175°C). Lightly spray two 8-inch round cake pans with nonstick spray. Line the bottom of each pan with parchment paper to prevent sticking. Set aside.
- Combine Dry Ingredients: Place the white cake mix into a large mixing bowl. Set aside.

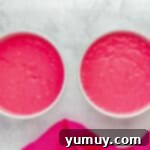
- Mix Wet Ingredients: In a separate medium bowl, combine the buttermilk, large eggs, vegetable oil, white vinegar, pure vanilla extract, and pink gel food coloring. Using a hand mixer on low speed, beat just until all ingredients are barely mixed.

- Form Batter: Pour the wet mixture from the medium bowl into the large bowl containing the cake mix. Beat on low speed until just combined. Be careful not to overmix; a few streaks of flour are okay. Use a spatula to scrape down the sides of the bowl to ensure even mixing.

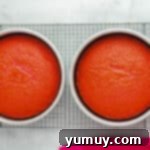
- Bake Layers: Divide the pink cake batter evenly between the two prepared cake pans. Approximately 691 grams of batter per pan is a good guideline if using a kitchen scale for precision. Bake in the preheated oven for 33-35 minutes, or until a toothpick inserted into the center of a cake comes out clean.

- Cool Cakes: Remove the baked cakes from the oven and let them cool in their pans for about 15 minutes. After this initial cooling, carefully invert them onto wire racks to cool completely to room temperature. This prevents moisture buildup and helps firm up the cake layers.

- Chill Cake Layers: Once the cakes have reached room temperature, wrap each cake layer individually in food-safe plastic wrap. Refrigerate them for at least 2 hours. Chilling makes the cakes firmer and much easier to handle, level, and frost.
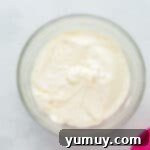
- Prepare Cream Cheese Frosting: In a large bowl, using a hand mixer, beat the room temperature cream cheese, slightly melted unsalted butter, and pure vanilla extract on high speed until the mixture is smooth and creamy, which usually takes about 2 minutes. Gradually add the powdered sugar, beating until the frosting is smooth and light, approximately another 2 minutes.

- Level Cake Layers: After the cake layers are thoroughly chilled, use a large serrated knife to carefully slice off the domed tops from both cakes, creating perfectly flat surfaces. These leveled tops will ensure a stable and even cake structure. The leftover cake tops are perfect for a quick snack!
- Assemble First Layer: Place a thin layer of frosting (about 2 tablespoons) in the center of your chosen cake board or cake plate. This acts as an anchor. Carefully place one cake layer (cut side facing up) directly on top of the frosting.

- Stack Second Layer: Spread a generous layer of cream cheese frosting over the first cake layer. Carefully place the second cake layer on top of the first, ensuring the bottom of the second cake faces up for an even top surface.

- Apply Crumb Coat: Using an offset spatula or a cake scraper, apply a thin layer of frosting around the top and sides of the stacked cake. This “crumb coat” traps any loose crumbs, creating a clean base for your final frosting layer. Smooth it out as much as possible.

- Chill Crumb Coat: Place the crumb-coated cake into the freezer for about 10 minutes. This quick chill allows the crumb coat to firm up, making it easier to apply the final, smooth layer of frosting without disturbing the crumbs.
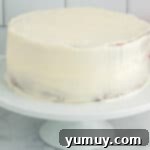
- Apply Final Frosting Layer: Remove the cake from the freezer and apply the second, thicker layer of cream cheese frosting. Use your cake scraper to spread this layer as smoothly and evenly as you can across the top and sides of the cake for a polished finish.
- Decorate with Pink Heart and Stars: Take about 1 cup of the remaining cream cheese frosting and color it pink with 1-2 drops of pink gel food coloring. Transfer this pink frosting into an icing bag fitted with a small star tip (like a Wilton 32). Pipe a charming heart design in the center of the cake. Then, pipe small stars around the bottom outer edge of the cake for an elegant border.
- Add Pink Circles: With the rest of the pink frosting, place it into an icing bag fitted with a small round tip (like a Wilton 12). Gently pipe decorative circles around the top of the cake, outside the heart. Be mindful that the frosting may soften slightly from the warmth of your hands in the bag; if it gets too thin, chill it again briefly. Avoid piping the circles too close to the edge to prevent dripping.
- Final Chill for Decoration: For the finishing touch, place the decorated cake back into the freezer for approximately 10 minutes. This final chill will help firm up all the intricate icing details, ensuring they hold their shape beautifully until serving.

Notes
Storage: To keep your pink velvet cake fresh, store it in an airtight container in the refrigerator for up to 4 days. For longer preservation, it can be frozen for up to 3 months. Always thaw frozen cake overnight in the refrigerator before serving to ensure optimal taste and texture.
Nutrition Facts
Calories from Fat 288
Serving Your Stunning Pink Velvet Cake
This pink velvet cake is truly a celebration in itself. With its striking color and delightful flavor, it’s perfect for a variety of occasions beyond just Valentine’s Day. Serve it as the grand finale at a birthday party, a baby shower, or any gathering where you want to add a vibrant pop of color and sweetness. Pair slices with fresh berries for a refreshing contrast, or a scoop of vanilla bean ice cream for an extra indulgent treat. A light dusting of edible glitter can enhance its festive appeal, making it sparkle even more! Remember, the joy of this cake is not just in its taste, but also in its presentation, so serve it with pride and watch the smiles light up the room.
Frequently Asked Questions About Pink Velvet Cake
- Can I make this cake from scratch instead of using a boxed mix?
- Absolutely! If you prefer to bake from scratch, you can adapt any classic white or vanilla cake recipe. Just remember to incorporate buttermilk and white vinegar for the velvet texture, and add pink gel food coloring to achieve the desired vibrant hue. You might need to adjust the wet ingredient ratios slightly to get the perfect batter consistency.
- What’s the difference between red velvet and pink velvet cake?
- Historically, red velvet cake got its reddish hue from a reaction between cocoa powder, buttermilk, and vinegar. Modern red velvet cakes typically use red food coloring. Pink velvet cake, like this recipe, is essentially a variation where pink food coloring is used instead of red, often with a white or vanilla cake base. It shares the characteristic moist, tender crumb and tangy cream cheese frosting but offers a softer, more playful aesthetic.
- Can I make cupcakes with this recipe?
- Yes, this recipe is easily adaptable for cupcakes! Simply divide the batter among lined cupcake tins, filling each about two-thirds full. Bake for approximately 18-22 minutes, or until a toothpick comes out clean. The cooking time will be significantly shorter than for a full cake. Frost once completely cooled.
- How can I prevent my cake layers from sticking to the pan?
- The key is thorough preparation. Always spray your pans generously with nonstick baking spray (with flour if possible), and line the bottom with parchment paper. Once baked, let the cakes cool in the pans for about 15 minutes before inverting them onto wire racks. This allows the cake to pull away from the sides naturally.
- My frosting is too thin/thick. How can I fix it?
- If your cream cheese frosting is too thin, gradually add more powdered sugar, one tablespoon at a time, beating after each addition until it reaches the desired consistency. If it’s too thick, add a very small amount of milk (about half a teaspoon) at a time until it’s smooth and spreadable. Remember, slightly melted butter can also make it thinner, so ensure your butter is just soft, not liquid.
Discover More Delicious Cake Recipes!
White Wedding Cake
Cotton Candy Cake
Mango Cake
Doctored White Cake Mix
Browse All Cakes
