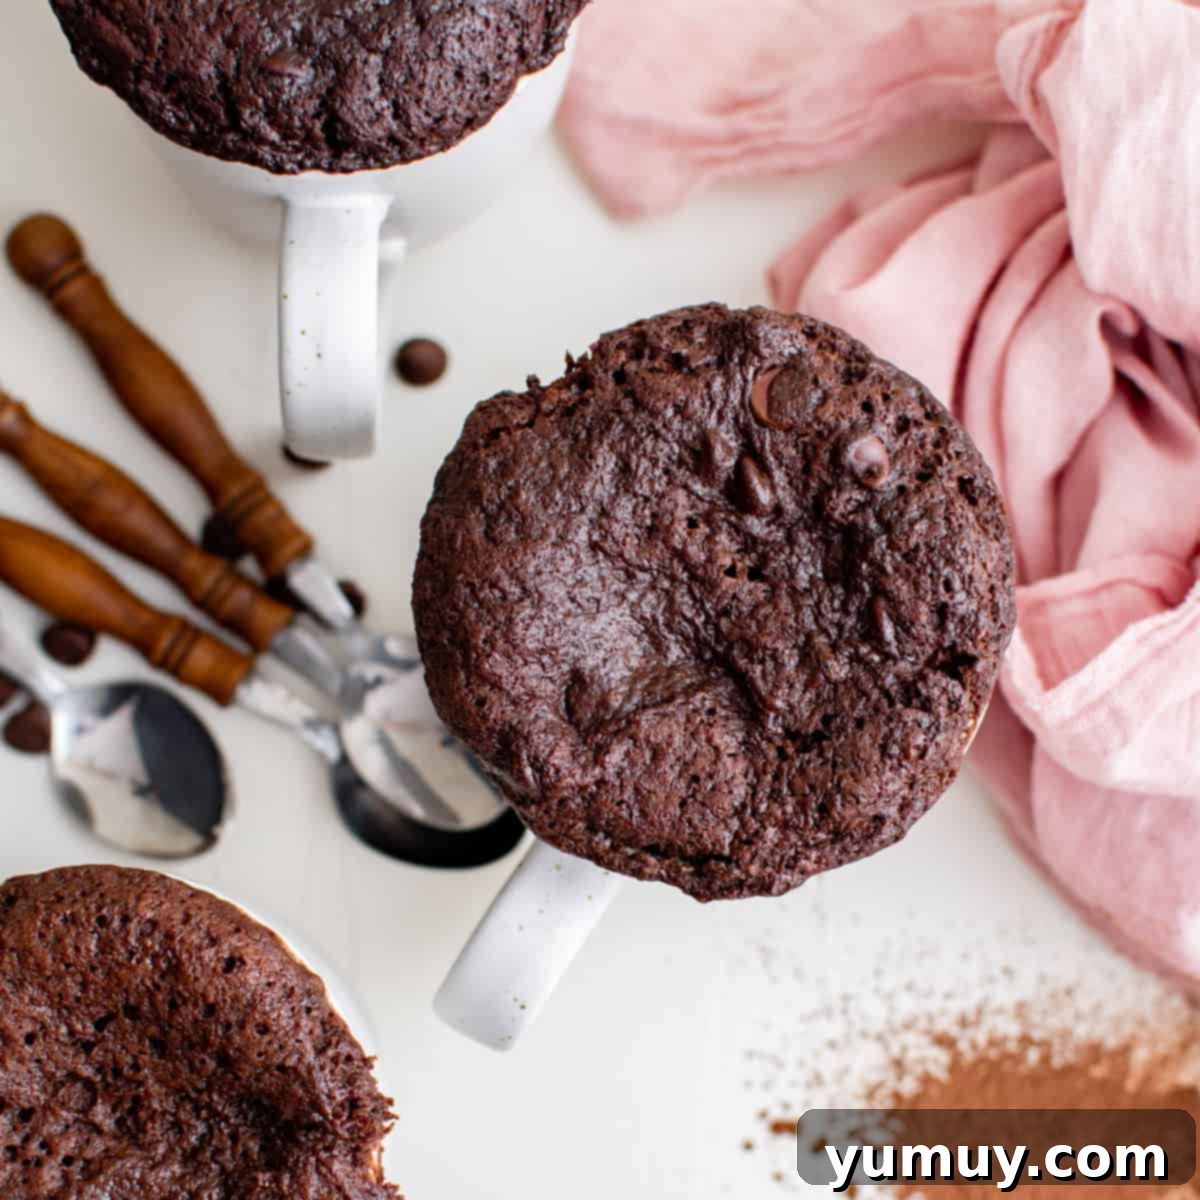
Irresistible Microwave Mug Brownie: Your Ultimate Guide to a 5-Minute Chocolate Fix
There are days when a chocolate craving hits with an urgency that simply cannot be ignored. For those moments, when instant gratification is the only solution, this microwave brownie in a mug recipe is your ultimate savior. Forget waiting for an oven to preheat or dealing with a sink full of dishes; this decadent dessert takes less than 10 minutes from start to finish, requiring just a handful of common pantry ingredients and minimal cleanup.
This isn’t just a quick fix; it’s a wonderfully rich and fudgy brownie experience, perfectly portioned for one. Whether you’re enjoying a rare moment of solitude and don’t want to bake an entire batch, or you simply need to satisfy a sudden sweet tooth, this single-serve treat delivers pure chocolate bliss. No fuss, no fighting over leftovers – just a warm, gooey brownie ready when you are. It’s the ideal solution for any chocolate emergency, offering maximum indulgence with minimum effort.
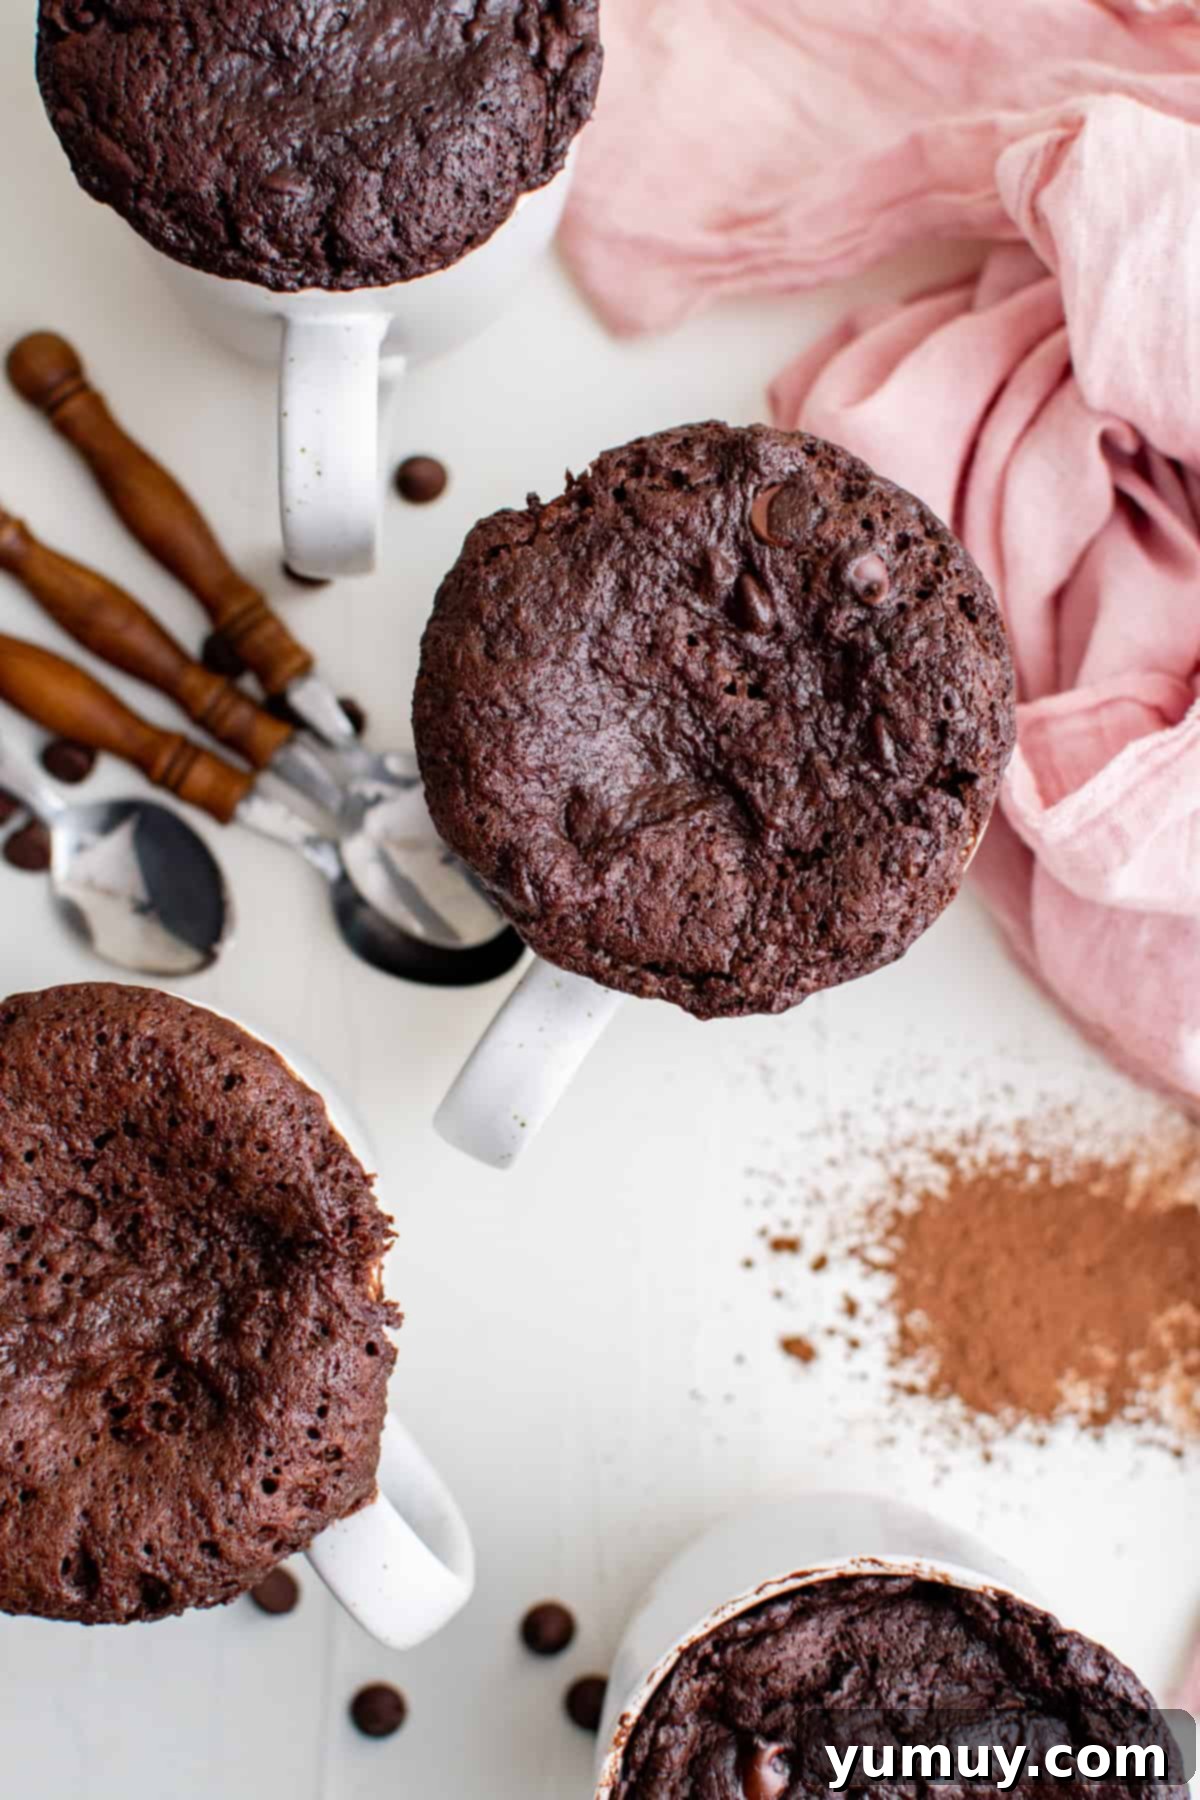
The Magic Behind the Mug Brownie Recipe
While I certainly appreciate a classic cakey brownie that takes time to bake, sometimes the craving strikes too intensely to wait an hour. This microwave mug brownie recipe was specifically crafted for those “I need chocolate right now” moments. It delivers all the delightful texture and profound flavor of a traditional brownie, but in a fraction of the time.
Beyond its incredible speed, this recipe stands out for its simplicity. Made with basic pantry staples like all-purpose flour, granulated and brown sugar, unsweetened cocoa powder, a touch of baking powder, salt, vegetable oil, milk, and vanilla extract, it’s a recipe you can whip up almost anytime. For an extra layer of indulgence, a handful of chocolate chips transforms this quick treat into a truly irresistible dessert. It’s a testament to how easily you can create something truly satisfying without a lengthy process.
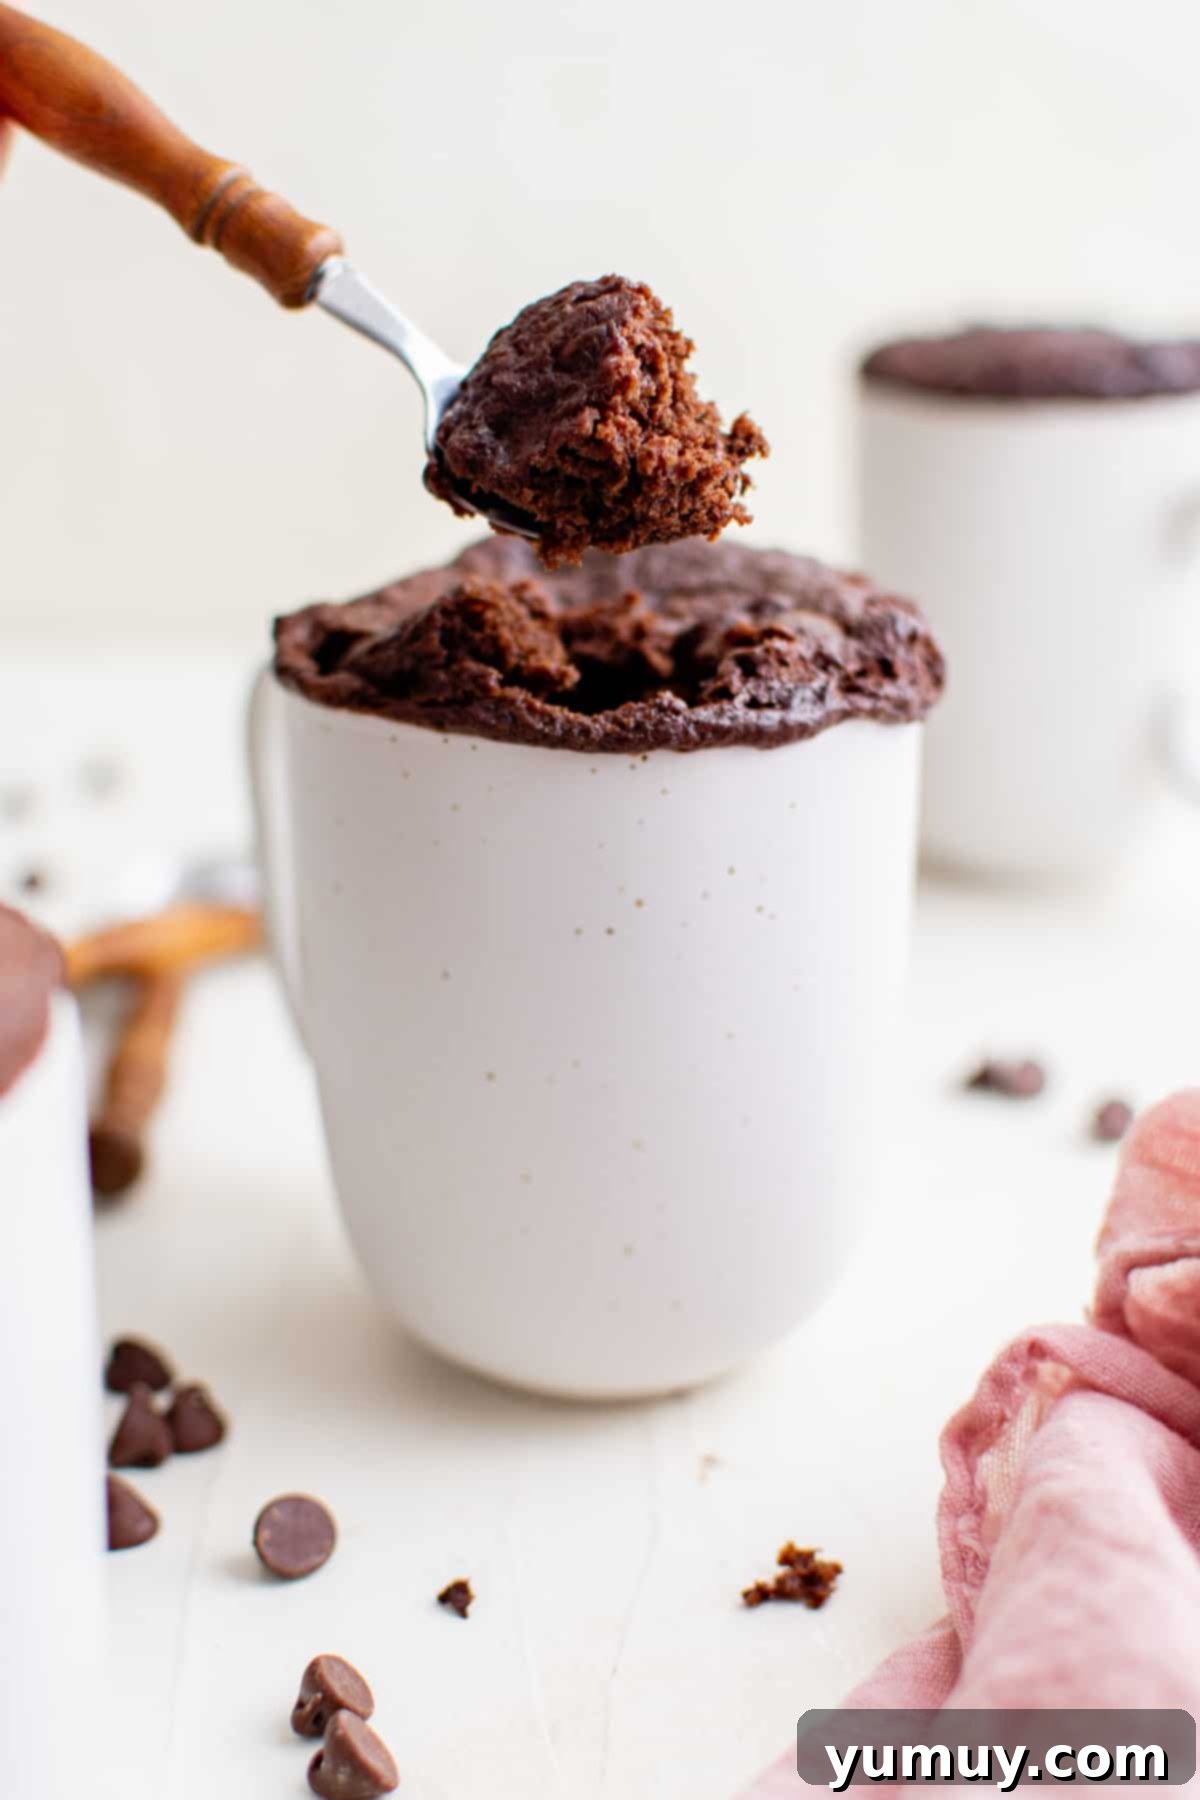
Choosing the Right Mug for Microwaving
The choice of mug is crucial for a successful microwave brownie. You’ll need a 12-ounce ceramic coffee mug. Ceramic is an excellent choice because it’s generally microwave-safe and retains heat well, allowing the brownie to cook evenly. It’s important to avoid plastic mugs unless they are explicitly labeled as microwave-safe, as many plastics can melt or leach chemicals into your food when heated. A small, microwave-safe bowl or dish can also work if you don’t have a suitable mug on hand. Always double-check that your chosen vessel is safe for microwave use before you begin.

Microwave Mug Brownie Recipe
Rate
Save
Ingredients
- 6 tablespoons all-purpose flour
- ¼ cup semisweet chocolate chips
- 3 tablespoons unsweetened cocoa powder *
- 3 tablespoons brown sugar
- 2 tablespoons granulated sugar
- ½ teaspoon baking powder
- ¼ teaspoon kosher salt
- ⅓ cup milk
- 2 tablespoons vegetable oil
- 1½ teaspoons pure vanilla extract
Equipment
- Kitchen Scale (optional)
- 12-ounce Microwave-Safe Mug
Instructions
- Add the flour, chocolate chips, cocoa powder, brown sugar, granulated sugar, baking powder, and salt to a large mug and stir to combine thoroughly until no clumps remain.6 tablespoons all-purpose flour, ¼ cup semisweet chocolate chips, 3 tablespoons unsweetened cocoa powder, 3 tablespoons brown sugar, 2 tablespoons granulated sugar, ½ teaspoon baking powder, ¼ teaspoon kosher salt

- Pour in the milk, vegetable oil, and vanilla extract. Continue to stir until all ingredients are well combined and a smooth, consistent batter forms. Ensure there are no dry pockets of flour.⅓ cup milk, 2 tablespoons vegetable oil, 1½ teaspoons pure vanilla extract

- Microwave the mug brownie for 1 minute and 45 seconds on high. Cooking times may vary slightly depending on your microwave’s wattage, so keep an eye on it. The brownie should be mostly set but still slightly gooey in the center. Allow it to cool for 5 minutes before serving to let it firm up. Enjoy as is, or with a scoop of vanilla ice cream, whipped cream, or a drizzle of chocolate sauce if desired.

Notes
Tips for the Best Mug Brownie:
- For easiest preparation and minimal mess, use a fork to mix together all of your ingredients directly in the mug.
- When adding your dry ingredients, feel free to get creative with different types of chocolate chips, such as white chocolate, dark chocolate, or even peanut butter chips. You can also mix in caramel bits, chopped nuts, or a swirl of mint extract for unique flavor profiles.
- Always use a microwave-safe ceramic mug. Avoid plastic mugs that are not explicitly labeled for microwave use, as they can melt and potentially release harmful chemicals into your brownie.
- Do not overmix the batter. Mix just until the dry and wet ingredients are combined to ensure a tender, rather than tough, brownie.
- Be careful not to overcook the brownie in the microwave. It’s better to slightly undercook it for a gooey center than to overcook it, which can result in a dry and rubbery texture.
Calories from Fat 450
@easydessertrecipes
for a chance to be featured.
How to Make a Microwave Brownie in a Mug Step-by-Step
Creating this delicious mug brownie is incredibly straightforward. Follow these simple steps for a perfect chocolate treat every time:
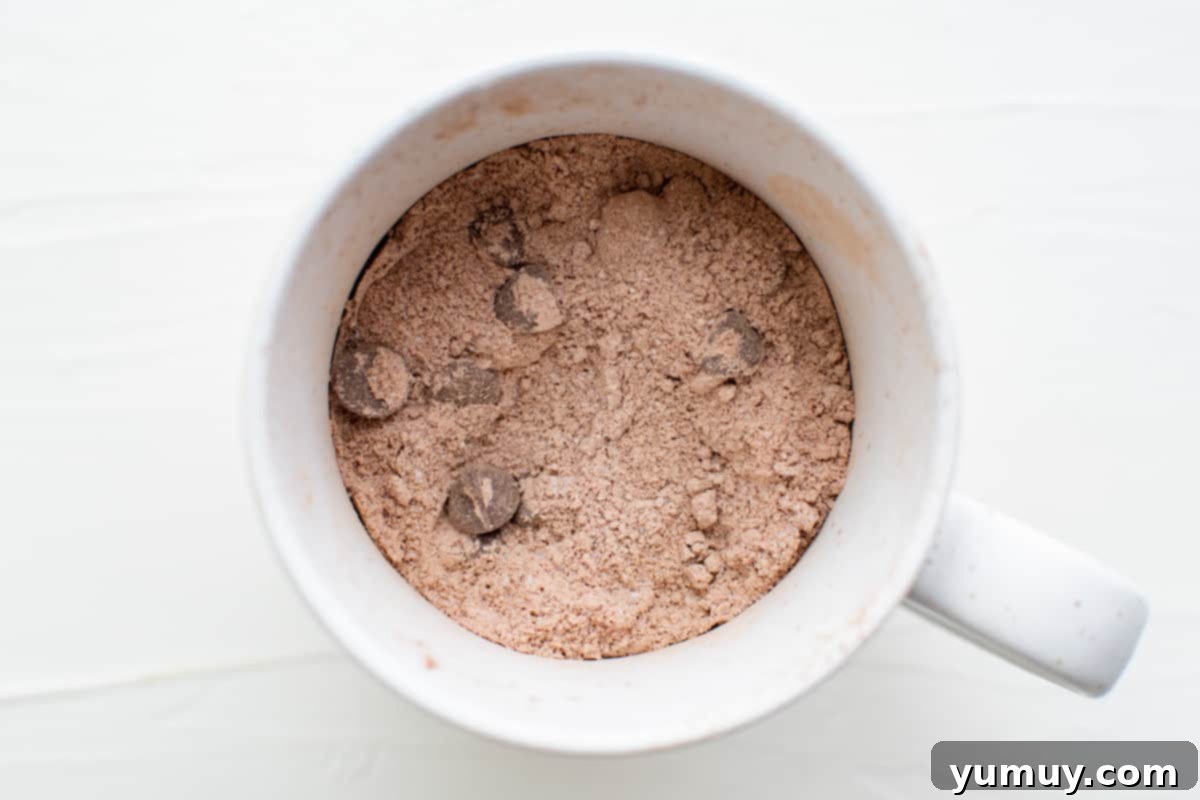
Step 1: Mix the Dry Ingredients
Begin by adding 6 tablespoons of all-purpose flour, ¼ cup of semisweet chocolate chips, 3 tablespoons of unsweetened cocoa powder, 3 tablespoons of packed brown sugar, 2 tablespoons of granulated sugar, ½ teaspoon of baking powder, and ¼ teaspoon of kosher salt into your 12-ounce microwave-safe mug. Use a fork to thoroughly stir these dry ingredients together. Ensure there are no clumps of flour or cocoa powder remaining, creating a uniform base for your brownie. This initial mixing is key for even distribution of flavors and leavening agents.
Step 2: Add the Wet Ingredients
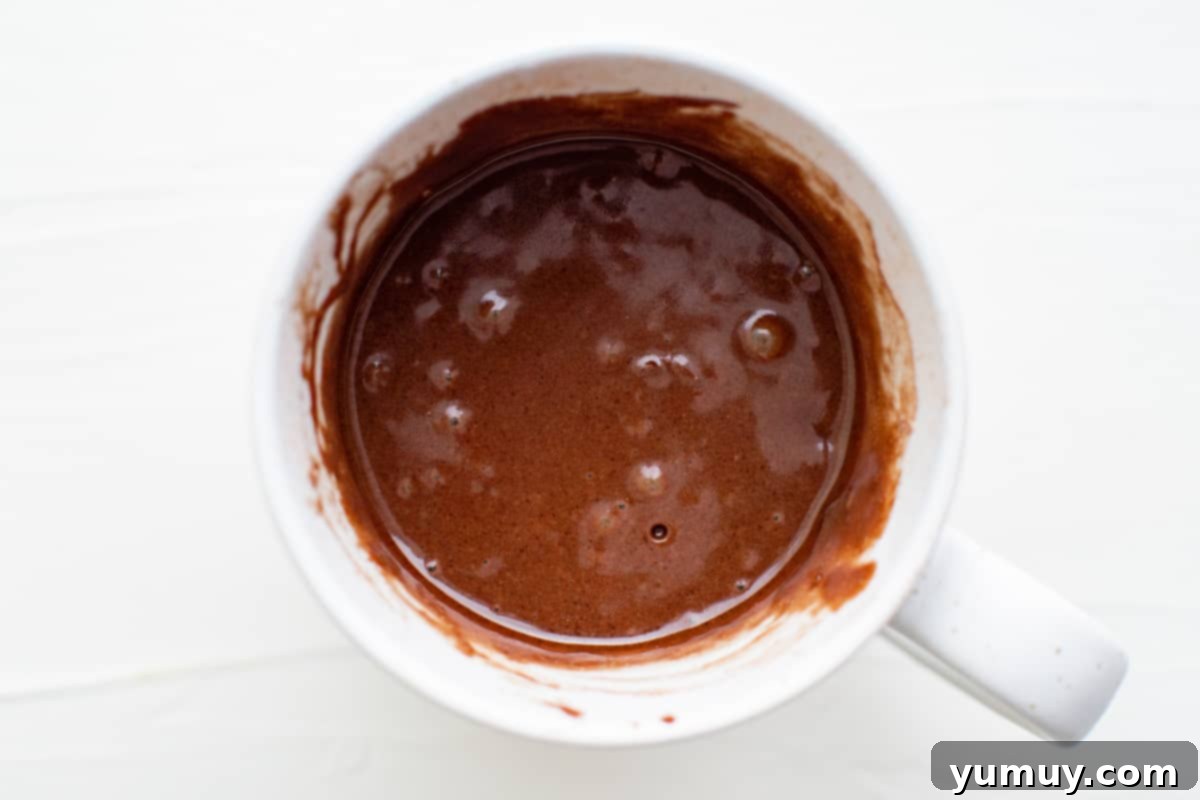
Next, pour in ⅓ cup of milk, 2 tablespoons of vegetable oil, and 1½ teaspoons of pure vanilla extract into the mug with your dry mixture. Continue to stir with your fork. Mix until all the ingredients are fully combined and you have a smooth, luscious brownie batter. It’s essential to scrape down the sides of the mug to ensure all dry bits are incorporated. Overmixing can develop the gluten in the flour, leading to a tougher brownie, so mix just until everything is combined.
Step 3: Microwave Your Brownie to Perfection
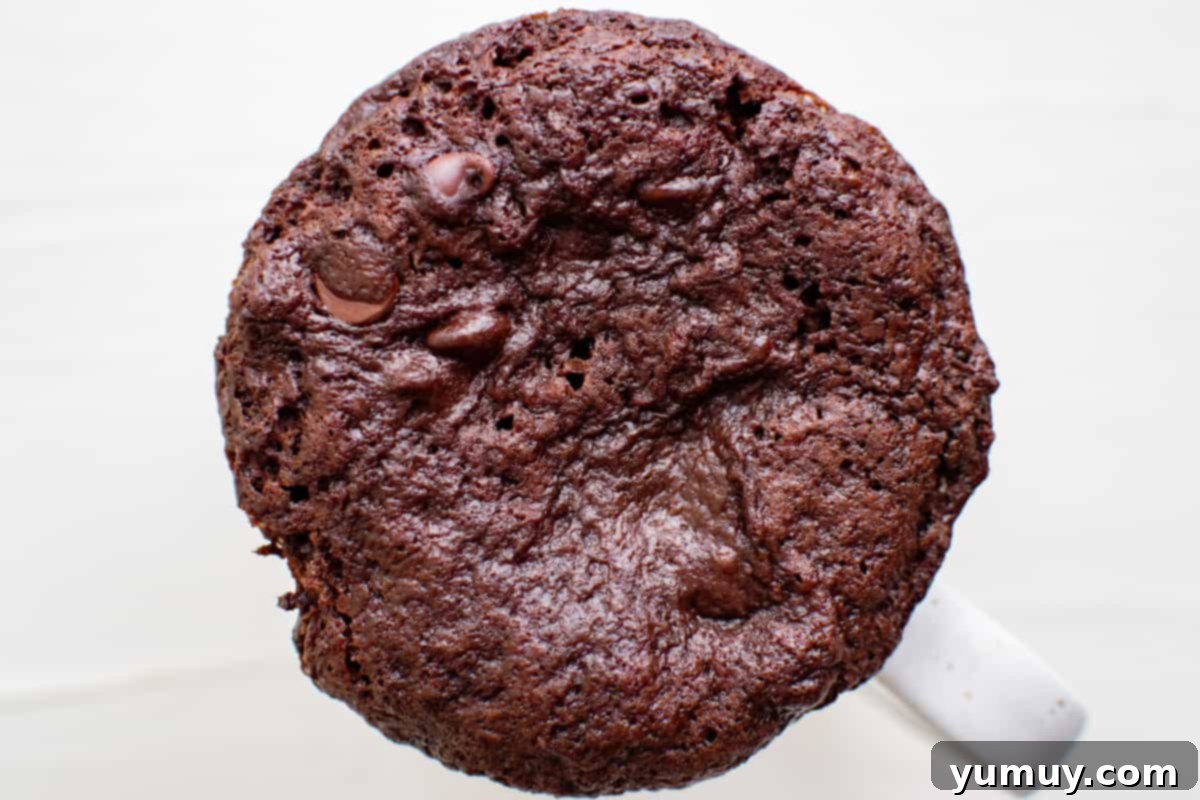
Place the mug into your microwave and cook on high for 1 minute and 45 seconds. Microwave wattages can vary, so keep an eye on your brownie. The edges should appear set, but the center should still be slightly soft and gooey. This is the secret to a moist, fudgy texture. Overcooking will result in a dry, rubbery brownie, so it’s better to err on the side of slightly undercooked. Once cooked, carefully remove the mug from the microwave (it will be hot!).
Step 4: Cool and Serve
Allow the microwave brownie to cool in the mug for about 5 minutes before diving in. This cooling period is important as it allows the brownie to set further and makes it less fragile. Serving it warm is highly recommended! For an extra special treat, top your warm brownie with a scoop of creamy vanilla ice cream, a dollop of whipped cream, or a drizzle of chocolate syrup. Enjoy your instant chocolate delight!
Delicious Variations to Try
While the classic microwave mug brownie is perfect as is, it’s also a fantastic canvas for creativity. Here are a few ideas to customize your next chocolate fix:
- Nutty Brownie: Fold in a tablespoon of chopped walnuts, pecans, or almonds with the dry ingredients for added crunch and flavor.
- Mint Chocolate Dream: Add a drop or two of peppermint extract along with the vanilla for a refreshing mint chocolate experience.
- Caramel Swirl: After mixing the batter, drizzle a teaspoon of caramel sauce on top and swirl it gently with a toothpick before microwaving.
- Espresso Kick: Dissolve ½ teaspoon of instant espresso powder in the milk before adding it to the dry ingredients. This will deepen the chocolate flavor without making it taste like coffee.
- Extra Fudgy: For an even richer brownie, add a square of dark chocolate to the center of the batter before microwaving. It will melt into a gooey pocket of deliciousness.
- Cream Cheese Swirl: Mix 1 tablespoon of softened cream cheese with ½ teaspoon of sugar and a drop of vanilla. Swirl this mixture into the brownie batter before cooking.
Frequently Asked Questions (FAQ)
Got questions about making the perfect microwave mug brownie? We’ve got answers!
Can I use butter instead of vegetable oil?
Yes, you can! Melted butter can be substituted for vegetable oil in this recipe. While vegetable oil often yields a very moist brownie due to its liquid fat content, butter will add a richer, more buttery flavor. Make sure the butter is fully melted and cooled slightly before mixing it into the batter.
How do I prevent my mug brownie from being dry or rubbery?
The key to a moist brownie is not to overcook it. Microwaves vary in power, so start with the recommended time (1 minute 45 seconds) and check for doneness. The brownie should look set around the edges but still appear slightly wet or gooey in the center. It will continue to cook slightly as it cools. Also, ensure you don’t overmix the batter, as this can develop gluten and lead to a tougher texture.
Can I make this recipe gluten-free?
Yes, you can generally substitute all-purpose flour with a 1:1 gluten-free baking flour blend. Ensure your blend contains xanthan gum, or add ¼ teaspoon yourself, to help with structure and texture. Results might vary slightly in texture, but it should still be a delicious gluten-free treat.
Is it possible to make this mug brownie vegan?
Absolutely! To make this brownie vegan, simply replace the milk with a non-dairy alternative like almond milk, soy milk, or oat milk. All other ingredients listed are typically vegan-friendly. Ensure your chocolate chips are also dairy-free if strictly following a vegan diet.
How do I know when the brownie is perfectly cooked?
A perfectly cooked microwave mug brownie will have firm, set edges but a slightly soft, moist, and gooey center. If you insert a toothpick into the center, it should come out with moist crumbs attached, not wet batter, and not completely clean (which would indicate overcooking). The top might still look a bit wet, but that’s perfectly normal for a fudgy brownie.
Can I prepare the dry mix in advance?
Yes, you can! Combine all the dry ingredients (flour, cocoa powder, sugars, baking powder, salt, and chocolate chips) in a small airtight bag or container. When a craving strikes, just pour the mix into your mug, add the wet ingredients (milk, oil, vanilla), stir, and microwave. This makes it an even quicker dessert option!
More Quick and Easy Recipes to Try!
Microwave Monkey Bread
Peanut Butter Mug Cake
Chocolate Mug Cake
S’mores Quesadilla
Embrace the Instant Indulgence
This microwave mug brownie recipe is more than just a dessert; it’s a testament to quick, convenient indulgence. It proves that you don’t need a lot of time or effort to create something truly delicious and satisfying. Perfect for those busy weeknights, unexpected cravings, or simply when you want a personalized treat, this brownie in a mug will quickly become your go-to recipe. So, the next time that irresistible chocolate craving hits, grab your mug and get ready to enjoy a warm, fudgy brownie in minutes!
We absolutely love seeing your culinary creations! If you make this delightful microwave mug brownie, be sure to tag us on social media @easydessertrecipes for a chance to be featured on our page. Happy baking!
