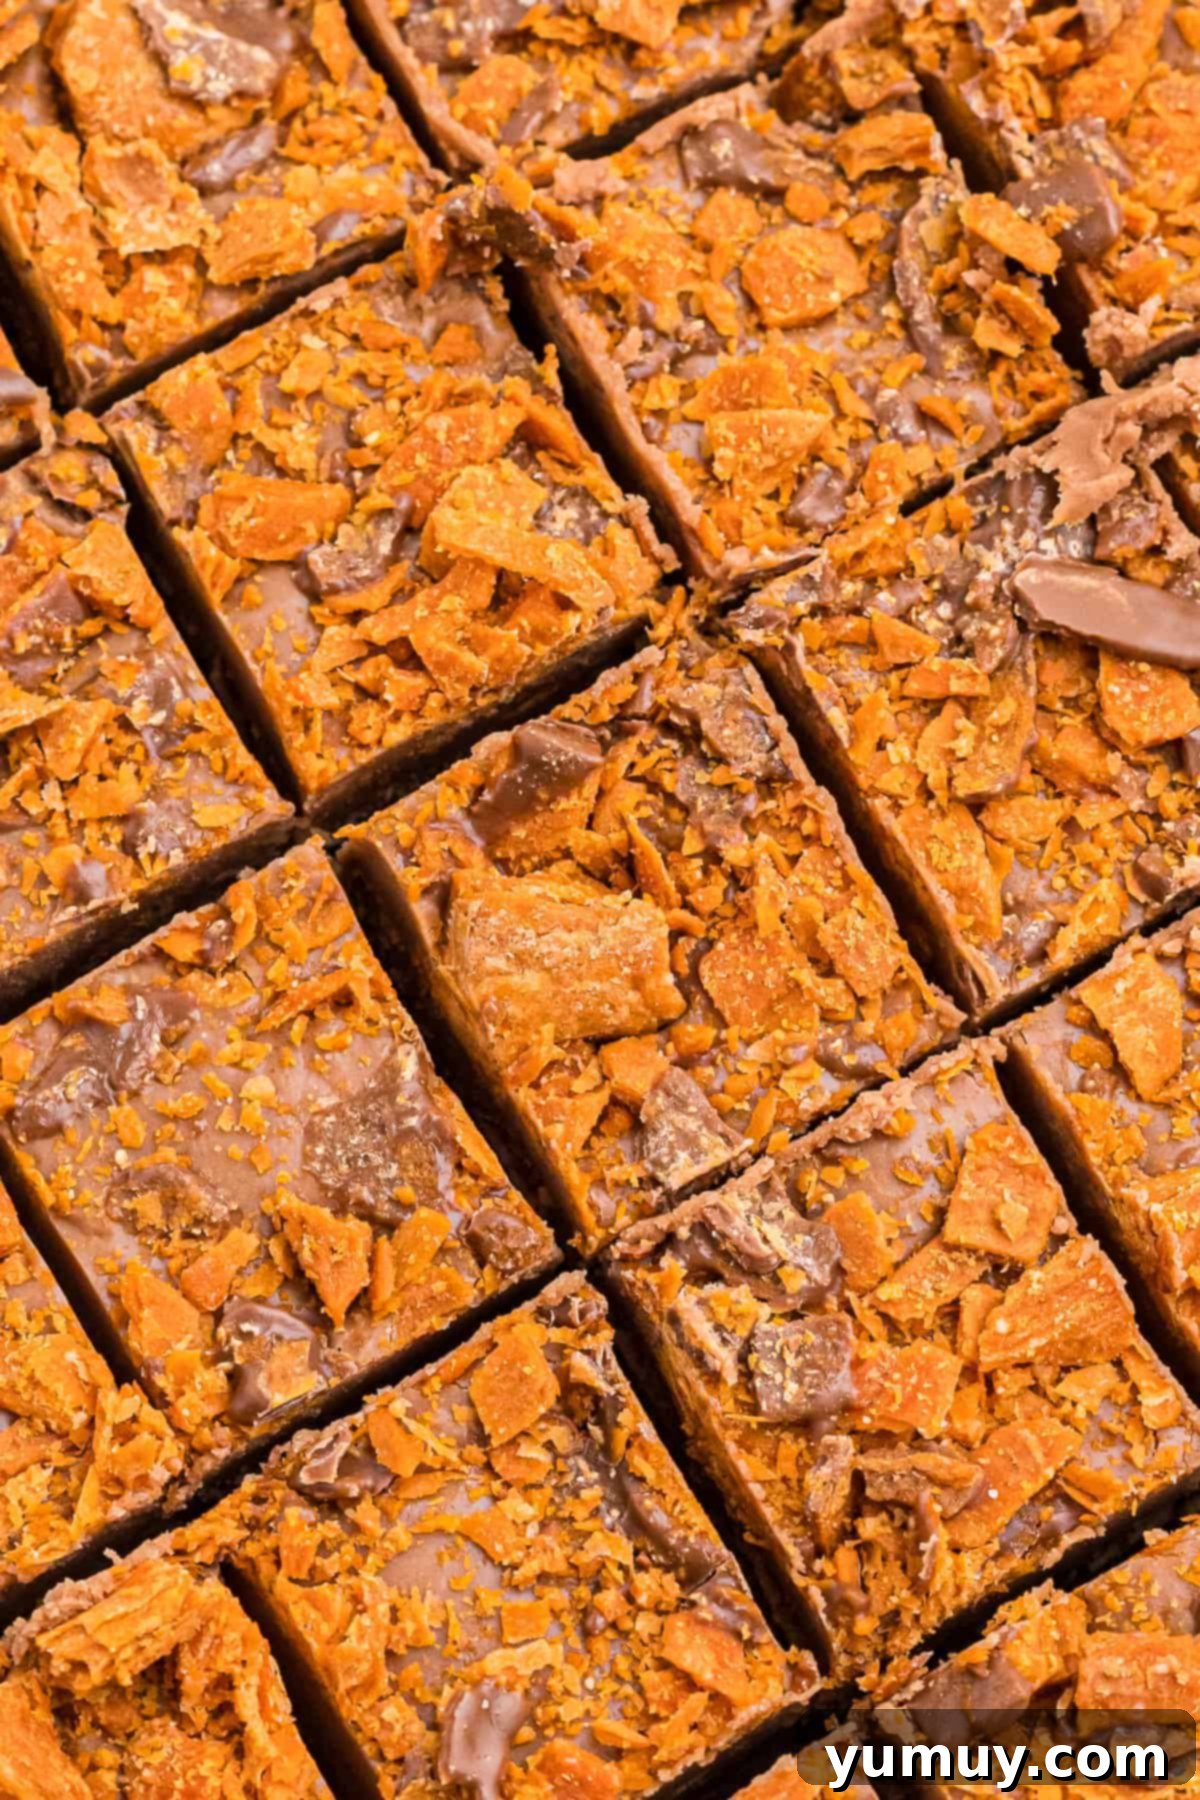
There’s an undeniable magic in a perfectly crafted piece of fudge, and when that fudge is infused with the iconic crunch and irresistible flavor of Butterfinger candy bars, it transforms into something truly extraordinary. This Butterfinger fudge recipe takes everything you adore about the classic candy bar – the crisp, peanut buttery core enrobed in chocolate – and reimagines it as a blissful, melt-in-your-mouth square of pure indulgence. Each bite delivers a rich, creamy chocolate and peanut butter base, generously studded with crunchy Butterfinger bits, creating a symphony of textures and flavors that will leave you craving more. It’s so utterly delicious and addictive that I often find myself making a double batch, as one pan simply vanishes far too quickly!

Indulge in the Ultimate Chocolate Peanut Butter Fudge with Marshmallow and Butterfinger Candy
The allure of Butterfinger candy bars is legendary. That distinctive crunch, the unmistakable peanut buttery flavor, and the smooth chocolate coating create a combination that’s simply irresistible. So, it was only natural to combine this beloved candy with homemade fudge. The result? A truly decadent chocolate and peanut butter fudge that boasts an explosion of bold flavors and captivating contrasting textures in every single square. This isn’t just a dessert; it’s an experience for your taste buds.
This Butterfinger fudge recipe stands out for its incredible ease of preparation, requiring just 8 common ingredients and a surprisingly simple process that’s practically foolproof. It’s a delightful variation of my all-time favorite fantasy fudge recipe, utilizing both marshmallow creme and evaporated milk to achieve an incredibly silky-smooth and stress-free finish. The perfect balance of sweet and salty is struck by the combination of creamy peanut butter chips and rich semisweet chocolate chips. But the real star, of course, is the generous addition of chopped Butterfinger bars, which introduce that signature fun, satisfying crunch, and irresistible caramelized flavor you expect. It truly captures everything wonderful about the candy bar, but elevated to a luxurious, homemade fudge form.
If you’re a devoted fan of Butterfingers, you absolutely must try my Butterfinger cupcakes too! They make for a fantastic birthday treat or a delightful indulgence anytime.

Achieving Perfect Crunch: Why Timing is Everything for Your Butterfinger Fudge
One of the defining characteristics of this incredible Butterfinger fudge is the distinct, satisfying crunch from the candy bar pieces. However, achieving this texture requires a little secret: precise timing when adding the Butterfingers. The candy bars themselves are coated in chocolate, which, if introduced too early into a very hot fudge mixture, can easily melt and smear, blending into the fudge rather than maintaining its individual crispy texture.
I’ve learned firsthand that folding the chopped Butterfinger pieces into fudge that is still piping hot straight off the stove can lead to disappointing results. Instead of delightful, chewy, and crunchy bites, you might end up with melted streaks of candy throughout your fudge. To avoid this common pitfall and ensure those beautiful, crunchy inclusions, the key is patience. Allow your fudge mixture to cool down for just a minute or two after removing it from the heat before you incorporate the chopped candy. This slight cooling period makes all the difference, preserving the integrity of the Butterfinger pieces and guaranteeing that signature texture in every square of this homemade delight. It’s a small step that yields a huge reward in this Butterfinger fudge recipe!
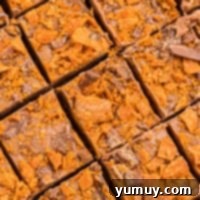
Butterfinger Fudge Recipe
5 minutes
5 minutes
2 hours 10 minutes
2 hours
24 pieces
Rate
Ingredients
- 3 cups granulated sugar
- ¾ cup unsalted butter (1½ sticks)
- 5 ounces evaporated milk *
- ¾ cup peanut butter flavored baking chips
- ¾ cup semisweet chocolate chips **
- 7 ounces marshmallow creme (1 tub)
- 1 teaspoon pure vanilla extract
- 1 cup chopped Butterfinger candy bars (4 (1.9-ounce) bars)
For Topping
- ¼ cup chopped Butterfinger candy bars optional (1 (1.9-ounce) bar)
Equipment
- Kitchen Scale (optional)
- 8×8 Baking Pan
- Candy Thermometer (optional)
Instructions
- Line an 8×8-inch baking pan with a piece of parchment paper. Make sure to cut the parchment paper a few inches longer on all sides; this creates convenient “handles” to easily lift the hardened fudge out of the pan. Set the prepared pan aside.
- In a large, heavy-bottomed saucepan, combine the 3 cups of granulated sugar, ¾ cup of unsalted butter, and 5 ounces of evaporated milk. Place the saucepan over medium heat and stir continuously until all the ingredients are melted together and well combined. Continue stirring until the mixture comes to a full boil. You will notice it becoming foamy and bubbly as it heats up.

- Once boiling, continue to stir the fudge mixture for an additional minute. After this minute, immediately remove the saucepan from the heat. Stir in the ¾ cup of peanut butter flavored baking chips, ¾ cup of semisweet chocolate chips, and the entire 7-ounce tub of marshmallow creme. Continue stirring vigorously until all the chips have completely melted and are thoroughly mixed into the marshmallow creme and the hot fudge base. This usually takes about 1-2 minutes, resulting in a smooth, unified mixture.

- Once the mixture is smooth and fully combined, stir in the 1 teaspoon of pure vanilla extract. Work quickly at this stage, as the fudge will begin to thicken and harden as it cools. Before it starts to set, swiftly fold in the 1 cup of chopped Butterfinger candy bar pieces. Ensure they are evenly distributed throughout the fudge.

- Promptly pour the Butterfinger fudge mixture into your prepared 8×8-inch baking pan. Using a rubber spatula, spread the fudge evenly into the pan, ensuring a smooth top. If desired, sprinkle the top of the fudge with the remaining ¼ cup of crushed Butterfinger candy pieces. Gently press these optional toppings into the surface of the fudge to help them adhere as it cools.

- Cover the pan with plastic wrap, ensuring it doesn’t touch the fudge surface directly if possible. Transfer the pan to the refrigerator and allow the fudge to cool and set completely for at least a few hours, or ideally, overnight. This chilling process is crucial for achieving that perfect firm, sliceable consistency. Once fully set, use the parchment paper overhang to lift the fudge from the pan. Cut it into desired 1-inch squares and serve your delicious homemade Butterfinger fudge.

Notes & Expert Tips for Success
*Evaporated milk is highly recommended for this particular fudge recipe. It contributes to the creamy texture and ideal sweetness. Please avoid substituting with sweetened condensed milk, as it will make your fudge overwhelmingly sweet and alter the consistency.
**For the chocolate component, I personally favor semisweet chocolate chips for a balanced flavor profile. However, if you enjoy a deeper, less sweet chocolate presence, dark chocolate chips can be used as a delicious alternative.
Achieving the Perfect Texture:
- Crushing Candy Bars Made Easy: Smashing candy bars can often result in a sticky, crumbly mess. To keep your kitchen clean and efficient, place your Butterfinger bars in a durable, sealed Ziplock bag. Then, use a rolling pin, meat mallet, or even the bottom of a heavy pan to gently but firmly smash the candy until it reaches your desired consistency – from finely crushed bits to larger, more substantial chunks.
- Temperature is Key: For homemade fudge to set correctly and achieve its signature firm-yet-creamy texture, the mixture needs to reach a specific temperature. Aim for 234°F (112°C), which is the soft-ball stage. A candy thermometer is your best friend here, providing precise readings.
- The Cold Water Test (No Thermometer? No Problem!): If you don’t have a candy thermometer, you can still test for doneness. Carefully drop a small spoonful of the hot fudge mixture into a glass of very cold water. If it forms a soft, pliable ball that can be flattened when pressed gently between your fingers, it’s ready. If it dissolves, remains liquid, or becomes too hard and brittle, it either needs more cooking time or has been cooked too long, respectively.
- Work Swiftly Post-Boil: Once you remove the fudge mixture from the heat, remember that time is of the essence! Fudge begins to harden as it cools, and quickly. To ensure you can properly incorporate the remaining ingredients, especially the marshmallow creme and Butterfinger pieces, work expeditiously. Don’t delay, or you might find yourself with a sore arm and a less smooth fudge.
- Secure Your Toppings: If you choose to add extra crushed Butterfinger pieces to the top of your fudge (which I highly recommend for extra visual appeal and crunch!), make sure to lightly press them into the surface before the fudge completely sets. This simple step ensures they adhere firmly and prevents them from flaking off when you slice and serve your delicious dessert.
- Patience for Perfection (Chill Time): The absolute best way to guarantee your Butterfinger fudge is perfectly cool, firmly set, and ready for optimal slicing and serving is to let it chill overnight in the refrigerator. While it’s incredibly tempting to dig in sooner, I promise that the wait is entirely worth it for a superior texture and flavor experience.
Storage Guidelines: To maintain its freshness and deliciousness, store your homemade Butterfinger fudge in an airtight container. It will remain perfectly enjoyable at room temperature for up to 1 week. For extended freshness, you can refrigerate it for up to 3 weeks or even freeze it for up to 3 months. When ready to enjoy frozen fudge, simply let it thaw overnight in the refrigerator. This fudge is delightful whether served chilled or at room temperature.
Calories from Fat 108
Did You Make This?
We love seeing what you’ve made! Tag us on social media at @easydessertrecipes for a chance to be featured.
Why This Butterfinger Fudge is a Must-Try Dessert
If you’re looking for a dessert that’s sure to impress with minimal effort, this Butterfinger fudge recipe is your answer. Here’s why it deserves a spot in your recipe collection:
- Irresistible Flavor Profile: It perfectly balances the classic combination of chocolate and peanut butter, elevated by the unique caramelized, crunchy goodness of Butterfinger candy bars. It’s a flavor explosion that’s both familiar and exciting.
- Delightful Texture Contrast: The smooth, creamy texture of the fudge beautifully contrasts with the crispy, chewy pieces of Butterfinger. This multi-layered mouthfeel makes every bite an adventure.
- Effortlessly Easy: Forget complicated candy-making techniques! This recipe is incredibly straightforward, utilizing a simple stovetop method that’s hard to mess up. Even beginner bakers can achieve perfect results.
- No-Bake Convenience: With no oven required, this recipe is perfect for any time of year, especially when you want a delicious treat without heating up your kitchen.
- Crowd-Pleaser: Whether you’re making it for a holiday gathering, a potluck, or just a sweet treat for your family, this Butterfinger fudge is always a huge hit. It’s a nostalgic flavor that everyone loves.
- Make-Ahead Friendly: Fudge keeps exceptionally well, meaning you can prepare it in advance and have a stunning dessert ready to go when you need it.
How to Make Butterfinger Fudge: A Step-by-Step Guide
Creating this irresistible Butterfinger fudge is a simple and rewarding process. Follow these detailed steps to ensure your homemade fudge turns out perfectly every time:
Step 1: Prep Your Pan and Candy
Begin by gathering all your ingredients – this makes the process smoother and faster. Line an 8×8-inch baking pan with a piece of parchment paper. A crucial tip here: ensure the parchment paper extends a few inches beyond the edges of the pan on all sides. These overhangs will act as convenient “handles,” allowing you to easily lift the firm fudge out of the pan once it has completely set. Set this prepared pan aside. Next, take your Butterfinger candy bars and chop them into irregular-sized pieces. I find the easiest and cleanest way to do this is to place the candy bars in a durable, sealed Ziplock bag and then gently, but firmly, smash them using a rolling pin or the bottom of a heavy pan. Butterfingers break apart quite easily, minimizing mess and effort.
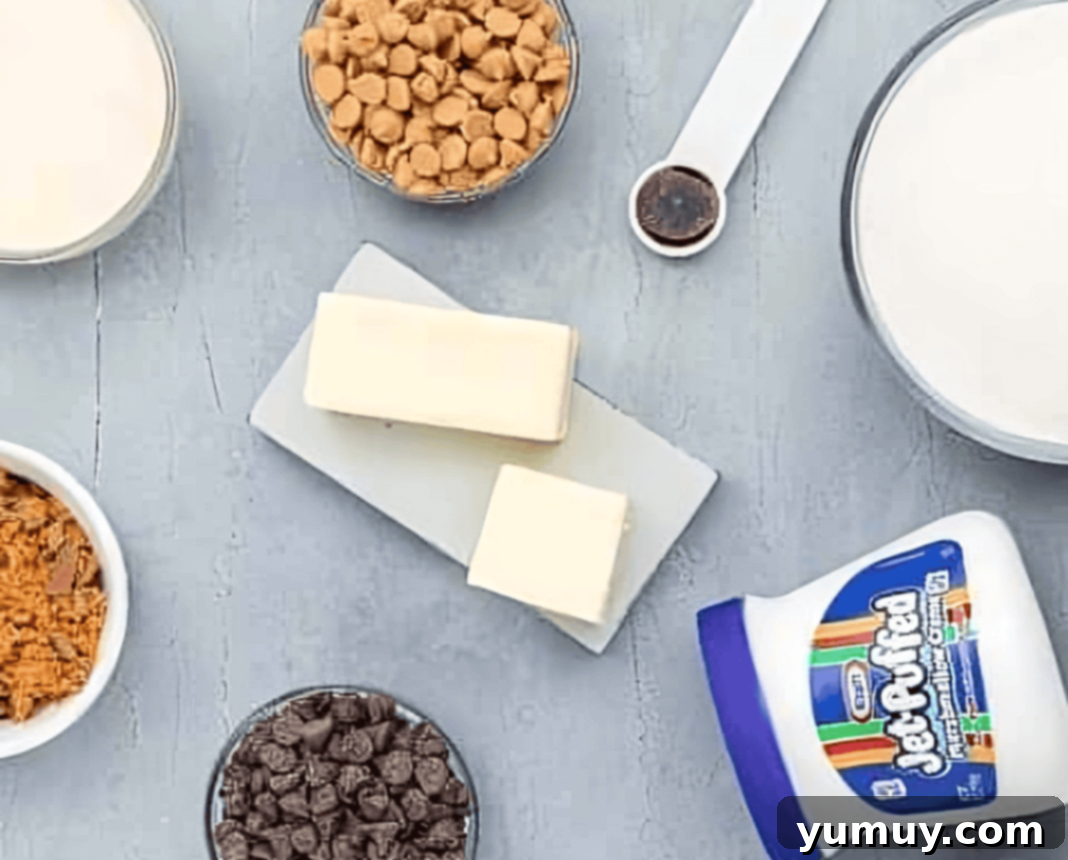
Step 2: Melt the Base Ingredients
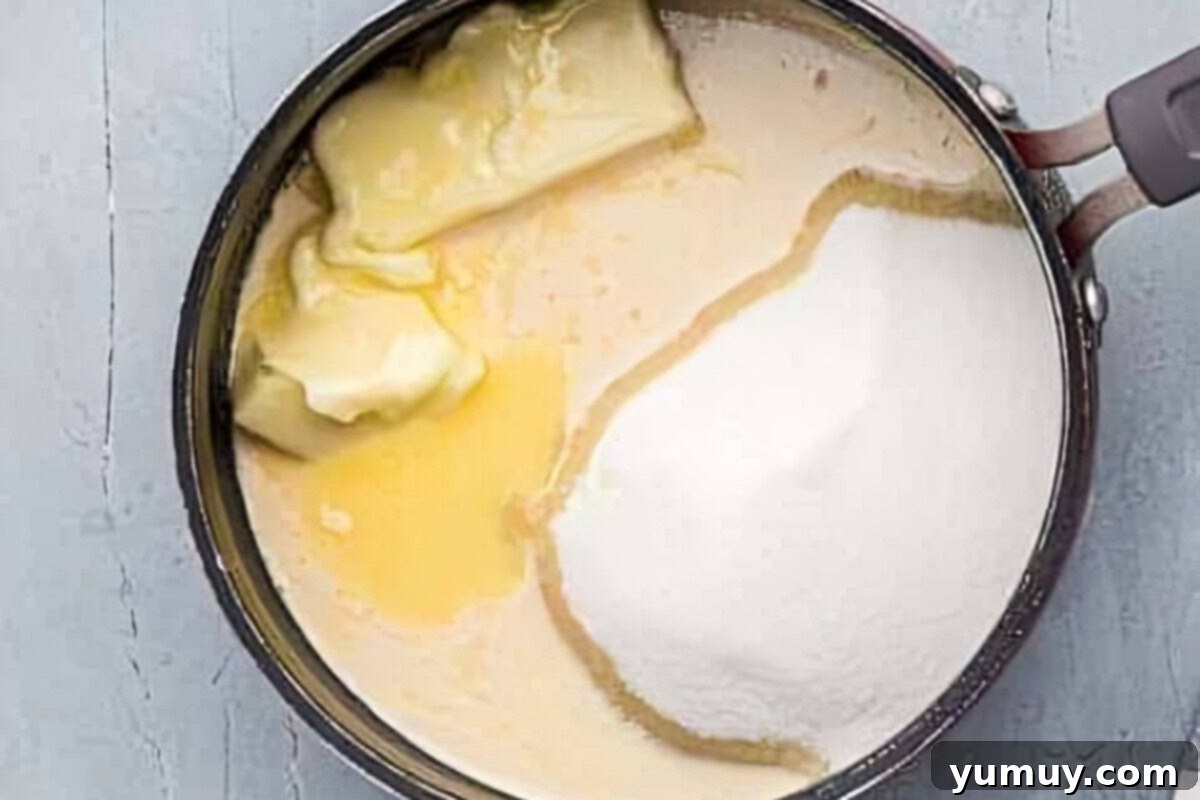
In a large, heavy-bottomed saucepan, combine the 3 cups of granulated sugar, ¾ cup of unsalted butter (cut into pieces to help it melt evenly), and 5 ounces of evaporated milk. Place the saucepan over medium heat. Stir the mixture continuously to prevent scorching and ensure the sugar dissolves properly and the butter melts smoothly. Continue stirring until all these ingredients are thoroughly combined and the mixture begins to boil vigorously. You’ll notice it transform into a foamy, bubbly liquid.
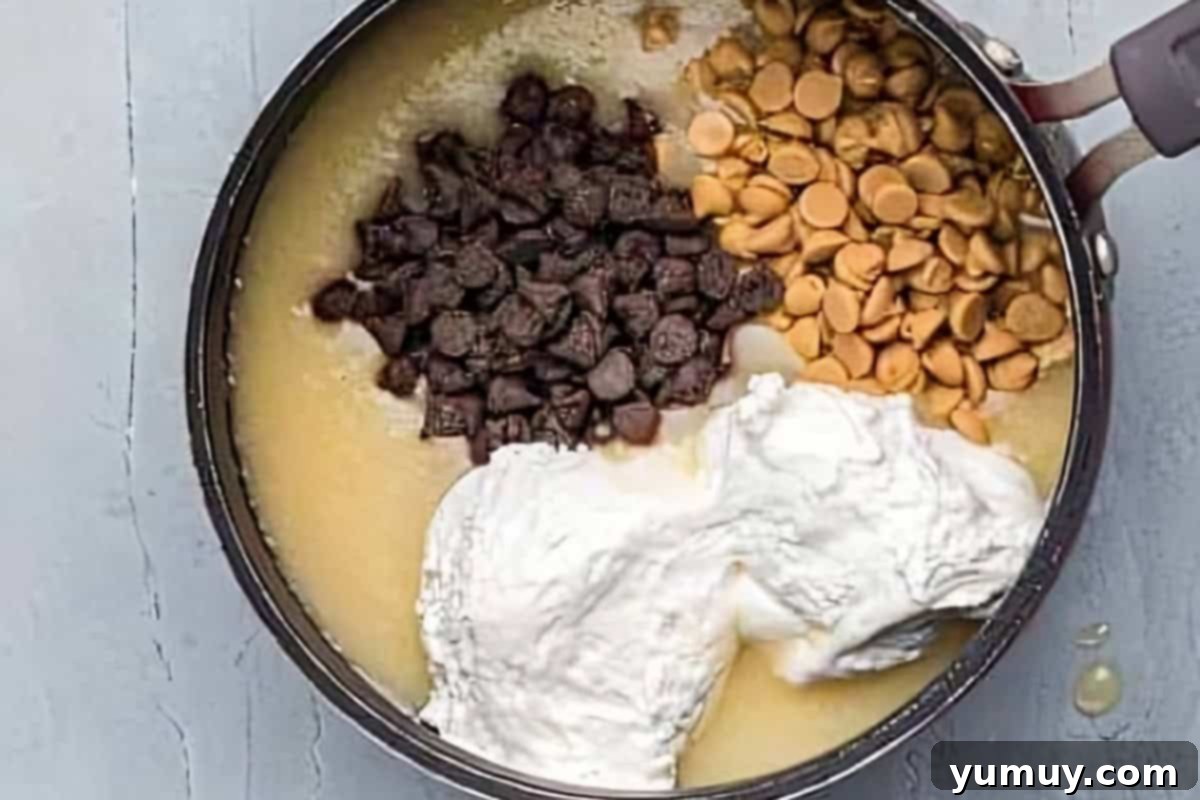
Step 3: Introduce the Chips and Marshmallow Creme
Once the mixture reaches a boil, continue stirring for precisely one additional minute. This step is critical for proper setting. Immediately remove the saucepan from the heat. Without delay, stir in the ¾ cup of peanut butter flavored baking chips, ¾ cup of semisweet chocolate chips, and the entire 7-ounce tub of marshmallow creme. Continue stirring vigorously until all the chips have completely melted and are perfectly blended with the marshmallow creme, creating a luxuriously smooth and uniform fudge base. This usually takes about 1 to 2 minutes of constant stirring.
Step 4: Verify the Fudge Temperature (Optional but Recommended)
To guarantee your fudge achieves the perfect consistency and sets properly, it should reach the “soft-ball stage,” which is typically 234°F (112°C). A candy thermometer is the most reliable tool for this. Simply clip it to the side of your saucepan and monitor the temperature while the base ingredients boil. If you don’t own a candy thermometer, you can use the traditional cold water test: drop a small bit of the hot fudge mixture into a cup of very cold water. If it forms a soft, pliable ball that can be gently flattened between your fingers, it’s ready. If it dissolves, remains liquid, or hardens instantly, adjust cooking time accordingly.
Step 5: Add the Vanilla and Butterfinger Candies
Once your fudge base is smooth and combined, quickly stir in 1 teaspoon of pure vanilla extract. This is a critical moment where speed matters, as the mixture will begin to harden rapidly as it cools. Before it has a chance to fully set, swiftly fold in the 1 cup of chopped Butterfinger candy bar pieces. It’s important to give the fudge a good 1-2 minutes to cool slightly off the direct heat before adding the candies. This brief cooling period prevents the chocolate coating on the Butterfingers from melting instantly and smearing into the fudge, ensuring those distinct, crunchy bits remain intact for an optimal texture.
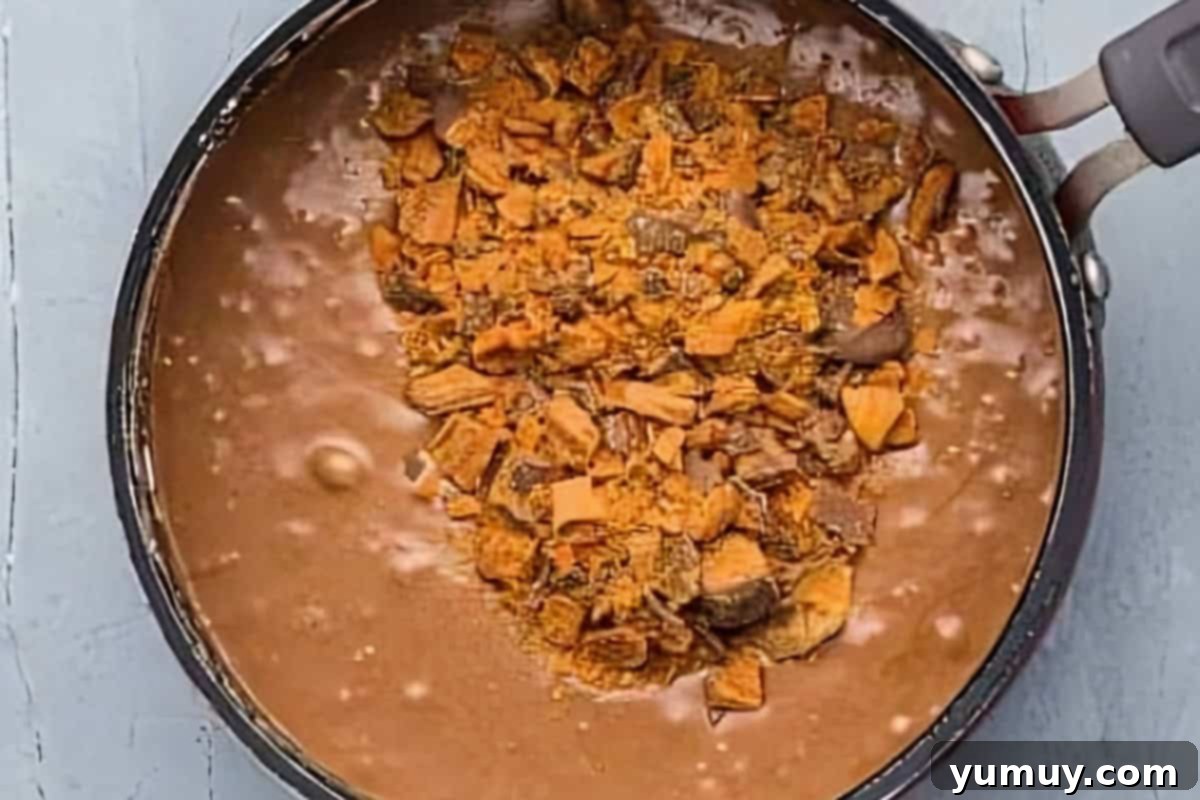
Step 6: Spread and Garnish Your Fudge
Immediately pour the warm Butterfinger fudge mixture into your prepared 8×8-inch baking pan. Using a rubber spatula, quickly and evenly spread the fudge across the bottom of the pan, smoothing the top surface. For an extra touch of visual appeal and delightful crunch, sprinkle the remaining ¼ cup of crushed Butterfinger candy pieces over the top of the fudge. Gently press these optional toppings into the surface of the fudge with your spatula or fingertips. This ensures they adhere securely as the fudge cools and prevents them from flaking off when you slice it later. The extra candy topping truly enhances the fun and festive look of the final dessert!
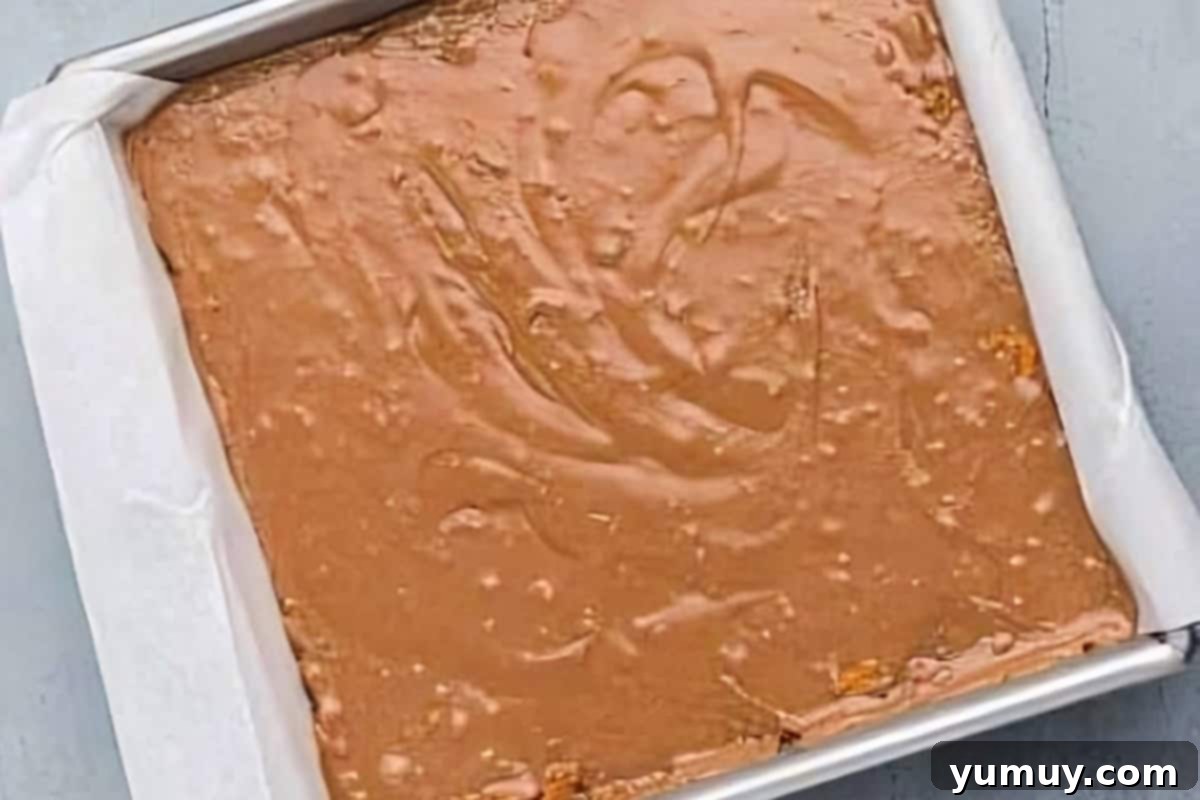
Step 7: Chill to Perfection
Cover the pan with plastic wrap, being careful not to let the wrap directly touch the surface of the fudge if possible, to prevent condensation. Transfer the pan to the refrigerator and allow the fudge to cool and set completely. This process typically takes a minimum of a few hours, but for the very best results and a perfectly firm, sliceable consistency, I highly recommend letting it chill overnight. This extended cooling time is crucial for developing the ideal fudge texture.
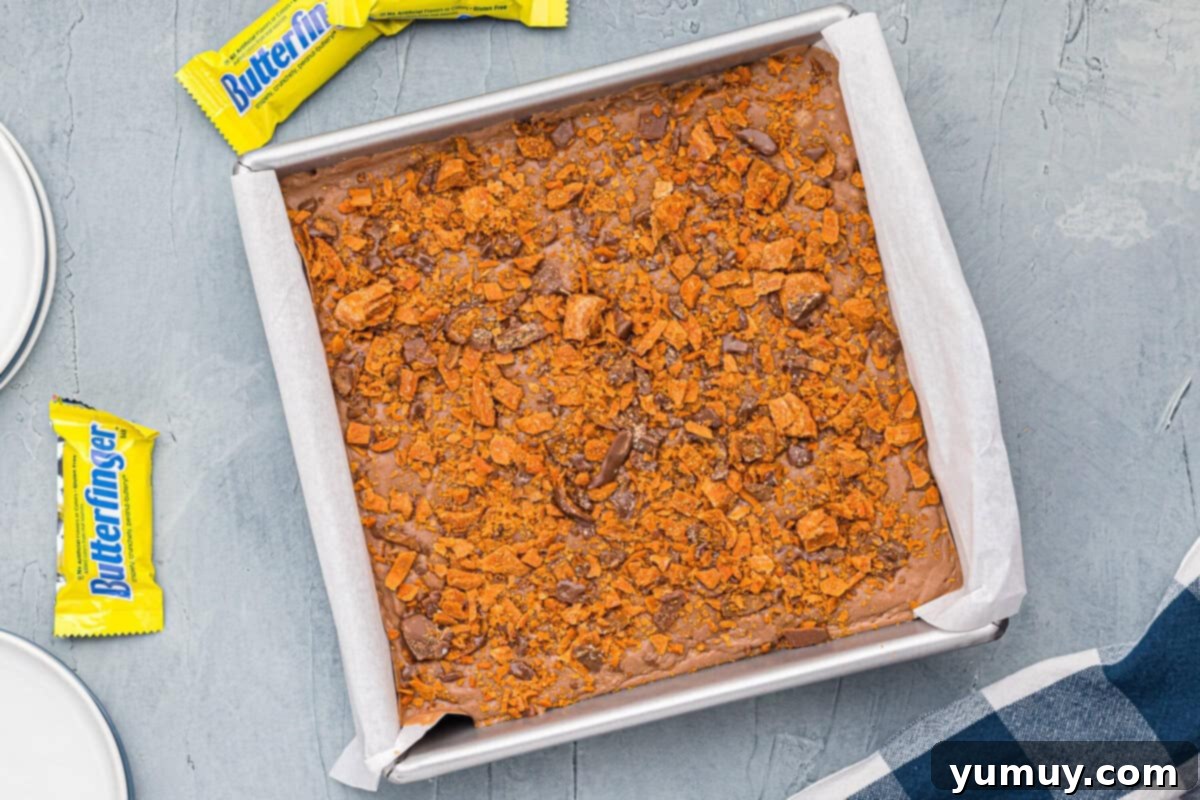
Step 8: Slice and Serve Your Homemade Delight
Once the Butterfinger marshmallow fudge is thoroughly cooled and completely set, use the parchment paper overhangs to carefully lift the entire slab of fudge out of the pan and onto a cutting board. Using a sharp knife, cut the fudge into uniform 1-inch squares. Arrange your beautiful homemade treats on a platter and serve immediately. Prepare for rave reviews!
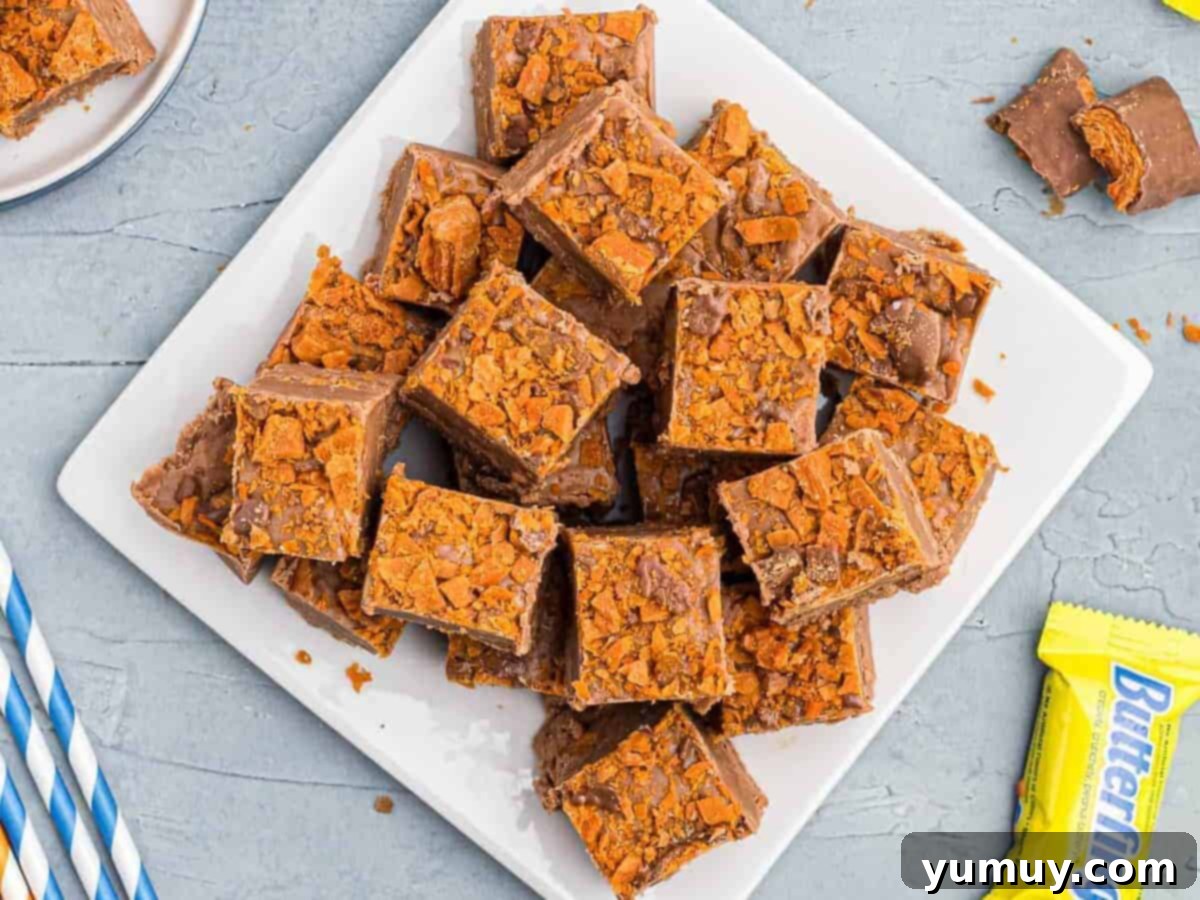
How to Properly Store Your Butterfinger Fudge for Lasting Freshness
One of the many advantages of making homemade fudge is its excellent shelf life, allowing you to enjoy this delightful treat for days or even months. Here’s how to store your Butterfinger fudge:
- Room Temperature: For immediate enjoyment, your Butterfinger fudge will stay wonderfully fresh and delicious for up to 1 week when stored in an airtight container at room temperature. Ensure it’s kept in a cool, dry place away from direct sunlight.
- Refrigerator: To extend its freshness, place the chocolate peanut butter fudge in an airtight container and store it in the refrigerator. It will remain fresh and tasty for up to 3 weeks. When you’re ready to enjoy a piece, you can serve it directly from the fridge (it’s surprisingly delicious cold!) or let it come to room temperature for a softer texture.
- Freezer: For long-term storage, Butterfinger fudge freezes beautifully. Wrap individual pieces or the entire slab tightly in plastic wrap, then place it in a freezer-safe airtight container or heavy-duty freezer bag. It can be stored in the freezer for up to 3 months. To thaw, simply transfer it to the refrigerator overnight. It’s perfectly delectable whether enjoyed cold, at room temperature, or even slightly chilled.
Frequently Asked Questions About Butterfinger Fudge
- Can I use different candy bars?
- Absolutely! While Butterfingers offer a unique crunch and peanut butter flavor, you can experiment with other candy bars like Snickers, Reese’s Peanut Butter Cups, M&M’s, or even chopped Oreos for different variations of homemade fudge. Just be mindful of how easily the chocolate coating on certain candies might melt into the hot fudge mixture.
- Why is my fudge crumbly or not setting?
- Fudge can become crumbly if it’s cooked at too high a temperature or stirred too much after it comes off the heat. If it’s not setting, it might not have reached the correct temperature (234°F or soft-ball stage) during boiling. Using a candy thermometer and following the instructions carefully will help prevent these issues.
- Can I double the recipe?
- Yes, you can easily double this Butterfinger fudge recipe! Just be sure to use a larger saucepan to accommodate the increased volume and ensure it boils evenly. The cooking time for the initial sugar, butter, and milk mixture might be slightly longer, so rely on a candy thermometer or the cold water test for accuracy.
- Is this fudge gluten-free?
- Butterfinger candy bars typically contain gluten. If you need a gluten-free fudge, you would need to substitute the Butterfingers with a certified gluten-free candy or mix-in. Always check ingredient labels carefully.
- How do I get clean cuts when slicing fudge?
- For perfectly clean cuts, ensure your fudge is completely chilled and firm. Use a sharp, thin knife and warm it by running it under hot water, then wipe it dry before each cut. This helps the knife glide through smoothly without dragging or tearing the fudge.
More Delectable Fudge Recipes to Explore!
If you’ve enjoyed making this incredibly easy and delicious Butterfinger fudge, you’re in for a treat! There’s a whole world of homemade fudge waiting to be discovered. Expand your dessert repertoire with these other fantastic fudge creations, perfect for any occasion or craving:
Spooky Sweet Halloween Fudge
Decadent Red Velvet Fudge
Refreshing Peppermint Fudge Recipe
Rich Pralines and Cream Fudge
Discover All Fudge Recipes
There you have it – a comprehensive guide to making the most incredible Butterfinger fudge at home. This simple, no-bake recipe delivers on flavor, texture, and ease, making it a perfect choice for both novice and experienced candy makers. Whether you’re preparing it for a special occasion, a thoughtful homemade gift, or simply to satisfy your sweet tooth, this chocolate peanut butter marshmallow fudge studded with crunchy Butterfinger bits is guaranteed to be a crowd-pleaser. Don’t hesitate to dive in and create your own batch of this irresistible dessert today!
