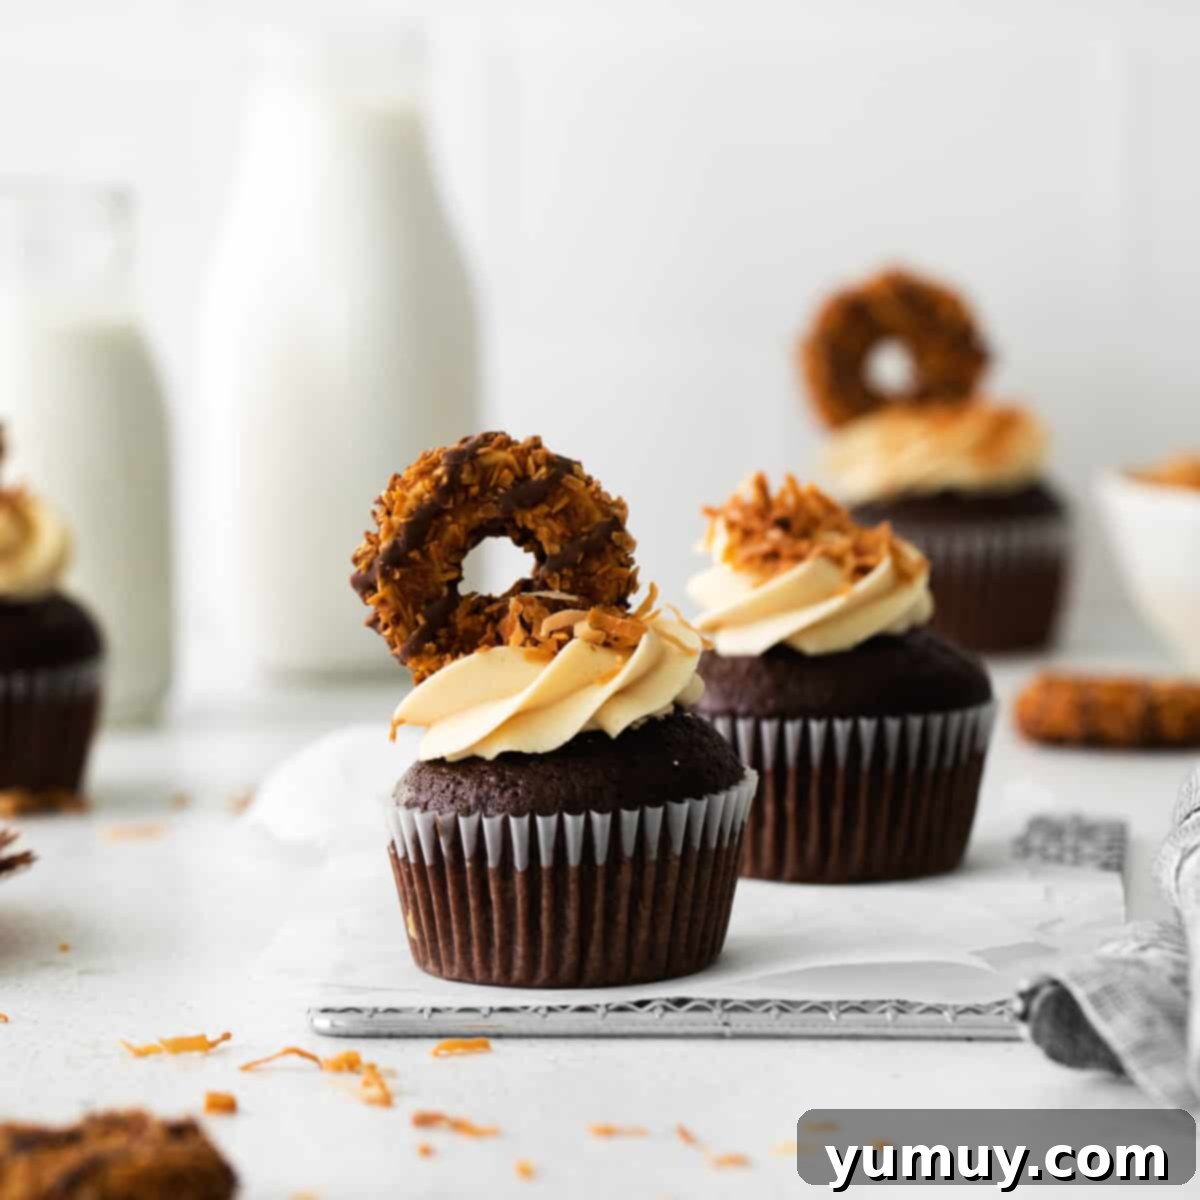
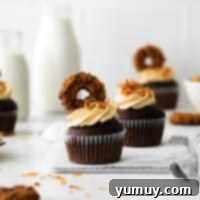
Craving the irresistible combination of chocolate, caramel, and coconut that defines the iconic Girl Scout Samoa cookie? Now, you don’t have to wait for cookie season to enjoy those cherished flavors! These Samoa cupcakes are an absolute dream come true, transforming your favorite cookie into a delightful, fluffy cupcake experience. Each bite delivers a harmonious blend of rich chocolate, gooey caramel, and toasted coconut, perfectly capturing the essence of the beloved treat. What’s more, this recipe is designed for ease and speed, allowing you to whip up a batch of these extraordinary cupcakes in just about 30 minutes, from start to finish. Get ready to satisfy your sweet tooth with a homemade dessert that’s both nostalgic and incredibly delicious, anytime the craving strikes!
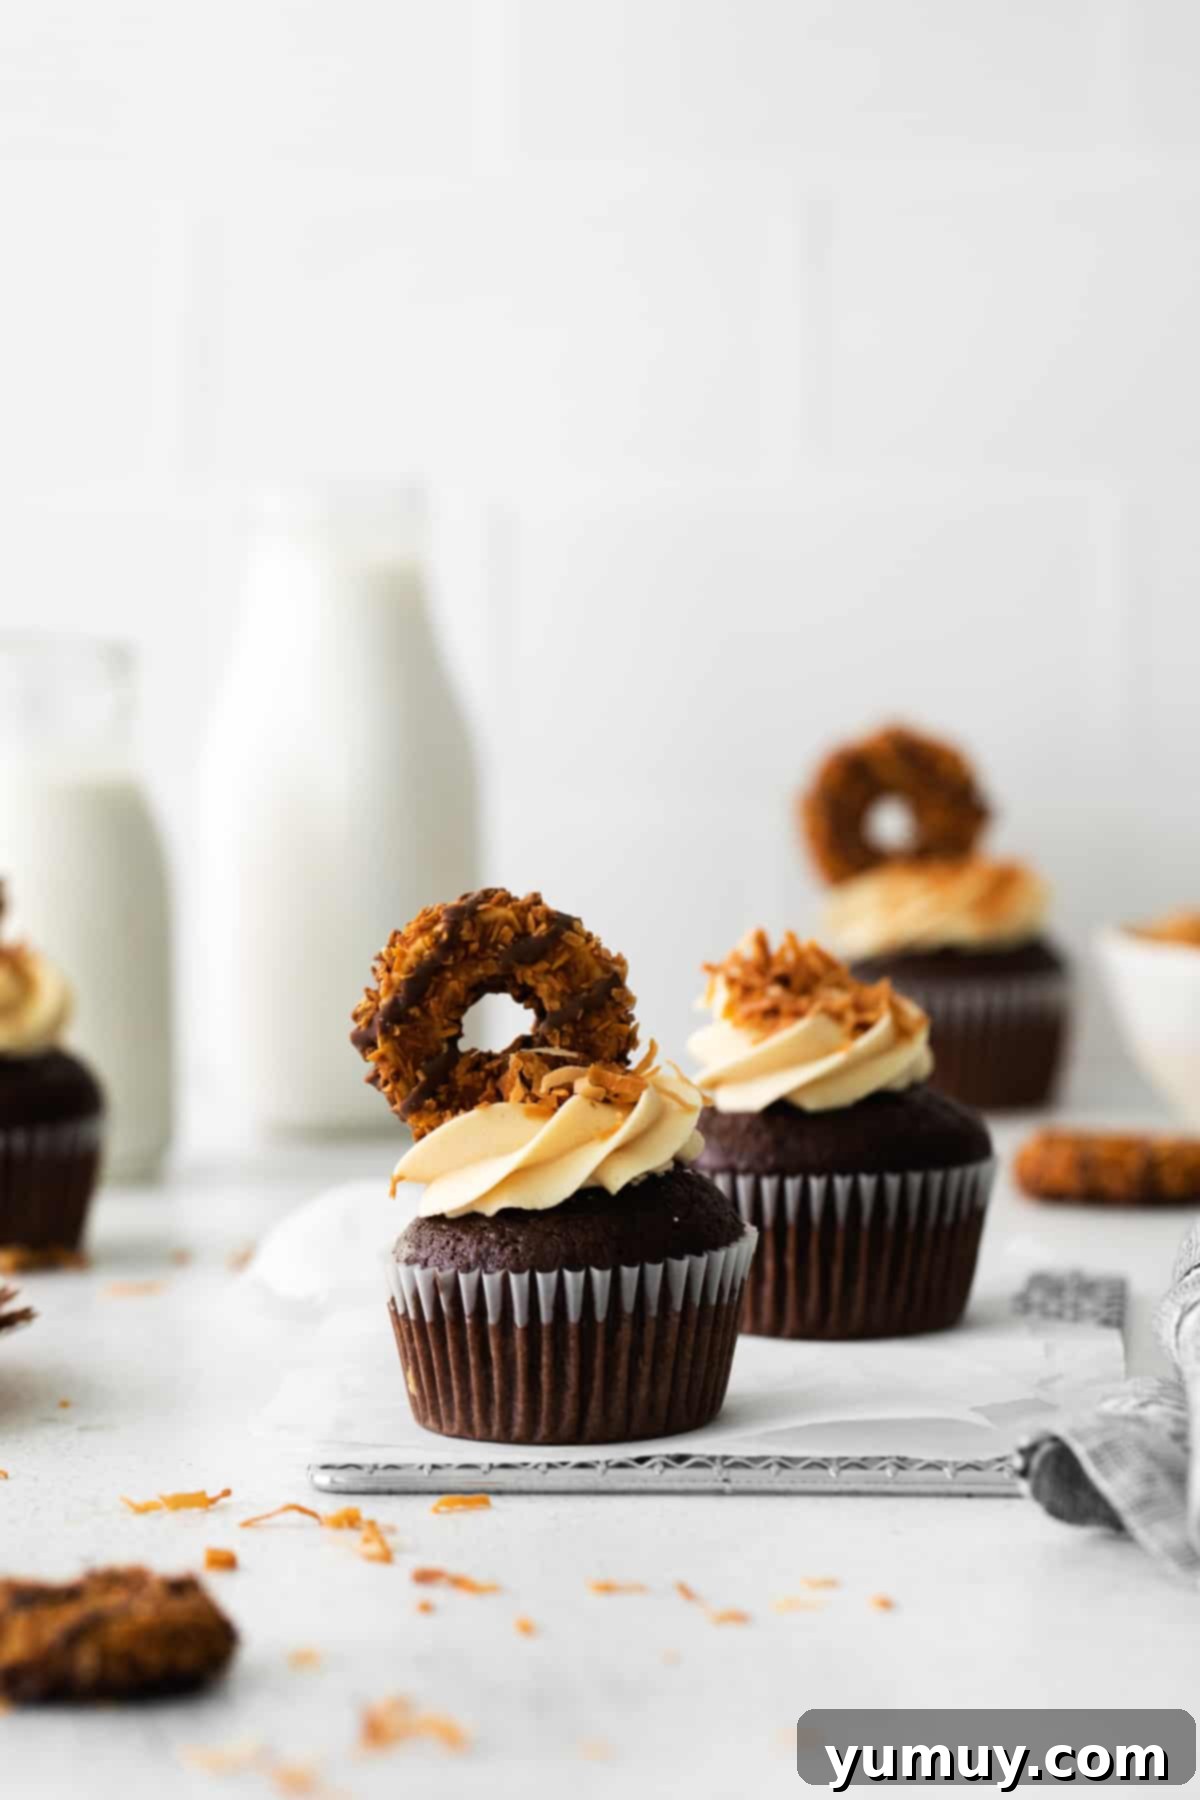
For many, the anticipation of Girl Scout cookie season is an annual highlight. But why limit such delightful flavors to just a few months of the year? My journey to create these incredible Samoa cupcakes stemmed from a simple desire: to enjoy the iconic combination of chocolate, caramel, and coconut whenever the craving struck. This recipe is a testament to that goal, offering a perfect solution to satisfy your sweet tooth without the long wait. I’ve meticulously crafted these rich chocolate cupcakes, then adorned them with a luscious homemade caramel buttercream and generous sprinklings of perfectly toasted coconut. The result is a celebration of flavor, a decadent treat that brings the magic of Samoa cookies right into your kitchen, ready to be enjoyed with every single bite. It’s truly a year-round indulgence!
Key Ingredients for the Perfect Samoa Cupcakes
Crafting these sensational Samoa cupcakes relies on a thoughtful selection of ingredients, each playing a crucial role in achieving that signature flavor and texture. Here’s a closer look at what you’ll need and why:
- Chocolate Cake Mix: This is your secret weapon for incredible convenience without compromising on taste. Opting for a quality chocolate cake mix ensures a consistent, moist, and wonderfully rich base for your cupcakes, making the entire baking process incredibly straightforward and accessible, even for novice bakers.
- Oil: Typically, vegetable oil is chosen for its neutral flavor, which allows the rich chocolate notes of the cake to truly shine. More importantly, oil contributes significantly to the cupcakes’ moistness and tender crumb, ensuring they stay soft and delicious for longer. It’s often preferred over butter in cake recipes for achieving this specific texture.
- Eggs: Eggs are essential for structure, binding all the ingredients together to create a cohesive batter. They also add richness and contribute to the overall moisture content, ensuring your cupcakes are fluffy and delightful. Using room-temperature eggs can also help them incorporate more evenly into the batter.
- Unsalted Butter: The foundation of our dreamy caramel buttercream! Using unsalted butter gives you complete control over the frosting’s saltiness. It must be thoroughly softened to room temperature before you begin, as this allows it to cream smoothly with the powdered sugar, resulting in a velvety, lump-free frosting that pipes beautifully.
- Powdered Sugar: This fine sugar is key for both sweetening the buttercream and giving it its characteristic light and airy structure. Its superfine texture dissolves effortlessly, ensuring a smooth frosting. You can adjust the quantity slightly to reach your preferred level of sweetness and desired consistency, whether you like it thicker or slightly softer.
- Caramel Sauce: This ingredient infuses the buttercream with that unmistakable, luxurious caramel flavor reminiscent of Samoa cookies. The quality of your caramel sauce truly makes a difference here, so choose a good one. It’s also important to use a sauce that isn’t too runny, as this could thin out your frosting and make it difficult to pipe. A thicker, richer caramel will yield the best results.
- Toasted Coconut: A non-negotiable for authentic Samoa flavor! Toasting unsweetened shredded coconut amplifies its nutty flavor and adds a delightful textural crunch. To achieve this, simply spread the coconut evenly on a baking sheet and bake at a moderate temperature for 8-10 minutes, stirring halfway through, until it turns a beautiful golden brown. Always allow it to cool completely before incorporating it into your recipe to maintain its crispness.
Storing Your Samoa Cupcakes for Optimal Freshness
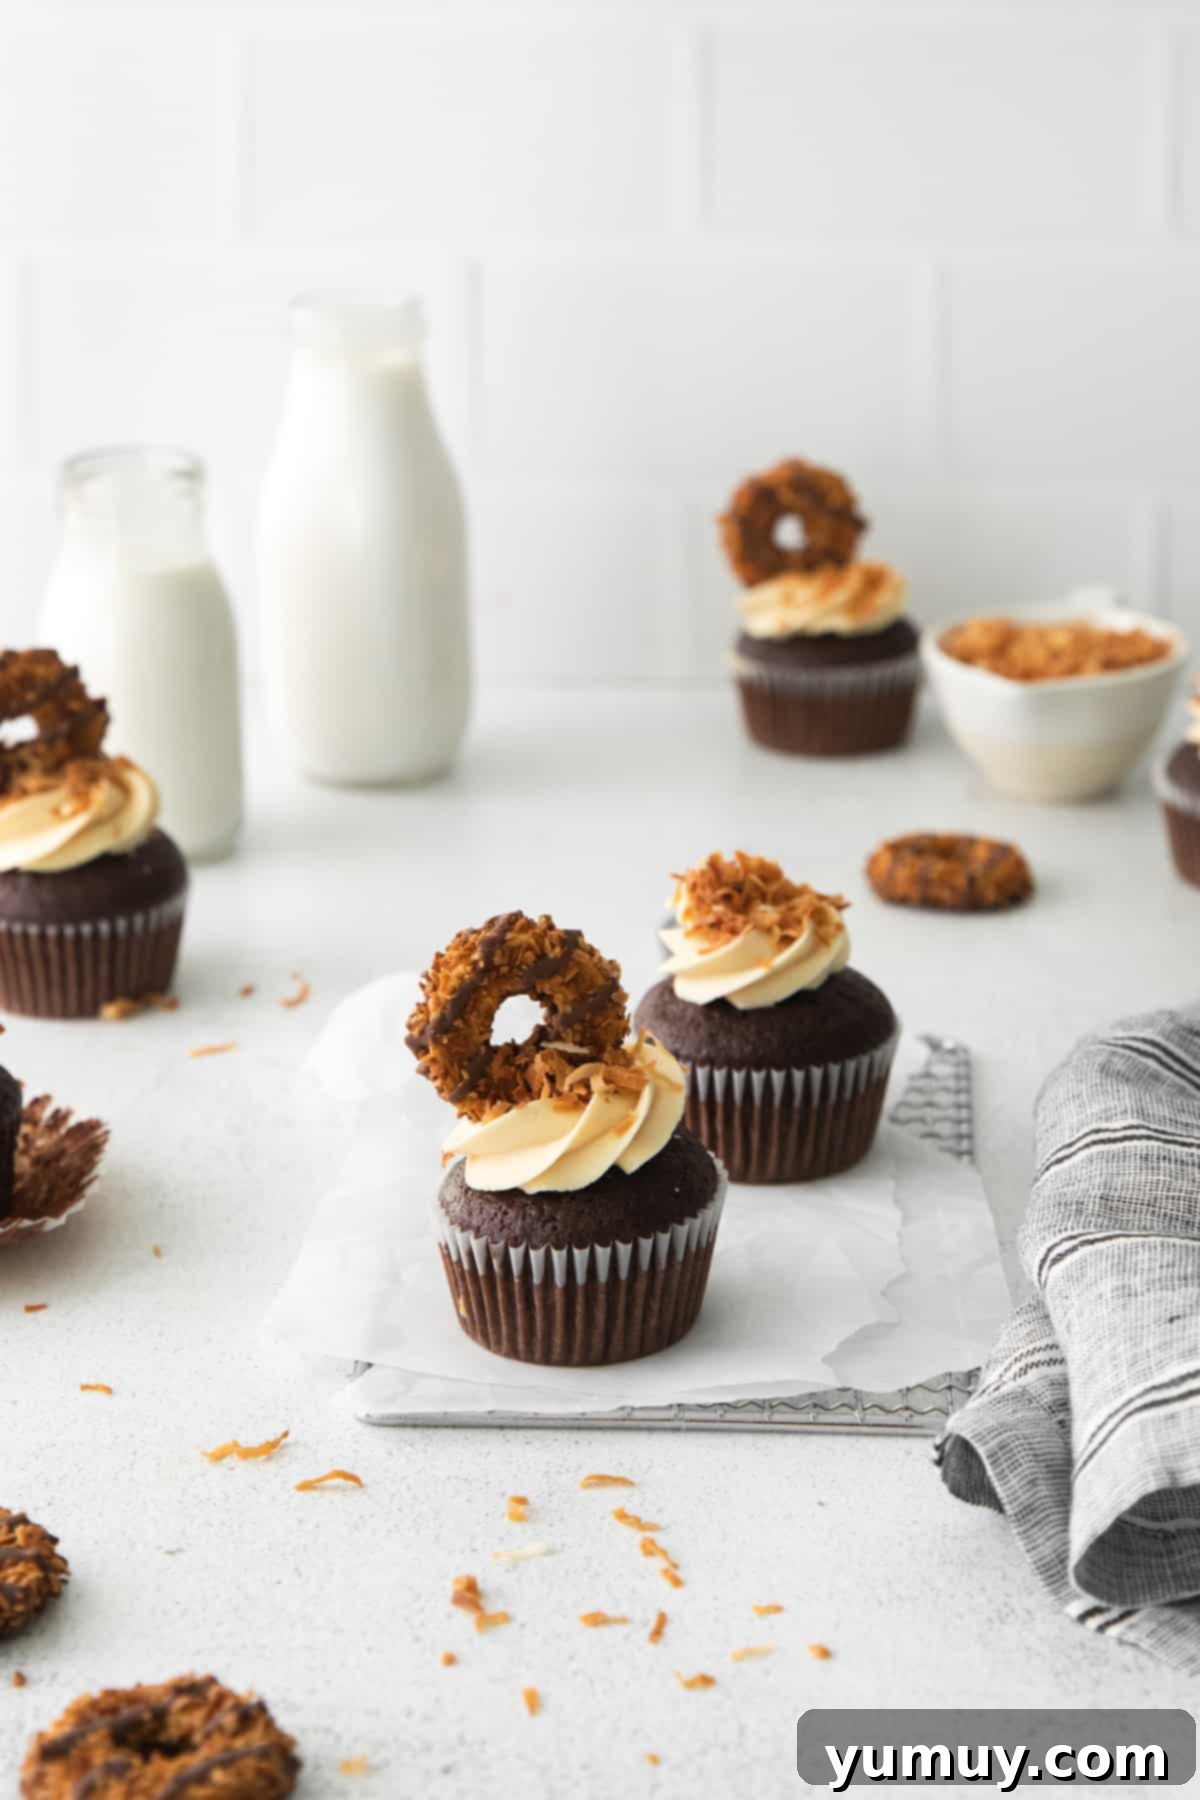
Ensuring your delicious Samoa cupcakes remain fresh and delectable is crucial. Proper storage techniques will help maintain their moist texture and rich flavors for as long as possible. For optimal enjoyment, store any leftover Samoa cupcakes in an airtight container. This protective barrier is key to preventing them from drying out and absorbing unwanted odors.
At room temperature, your cupcakes will stay fresh for up to 2 days, making them perfect for a quick indulgence. If you need to extend their shelf life, transfer the airtight container to the refrigerator, where they can be kept for up to 4 days. For longer storage, these cupcakes freeze exceptionally well. Place them in an airtight, freezer-safe container or wrap each cupcake individually in plastic wrap and then in aluminum foil to protect against freezer burn. They can be stored in the freezer for up to 2 months. When you’re ready to enjoy them, simply allow them to thaw overnight in the refrigerator before bringing them to room temperature for the best flavor and texture.
Expert Tips for Baking Flawless Samoa Cupcakes
Achieving bakery-quality Samoa cupcakes at home is entirely possible with a few insider tips. Pay attention to these details to ensure your cupcakes are moist, flavorful, and beautifully frosted every time:
- Consider a Vanilla Base for Authenticity: While chocolate cupcakes are undeniably delicious, classic Samoa cookies feature a shortbread base. If you’re aiming for an even more authentic replica of the cookie’s foundation, consider using a high-quality vanilla cake mix instead of chocolate. For that signature Samoa look and flavor, you might then drizzle the finished vanilla cupcakes with melted chocolate before or after frosting. This adds another layer of complexity that truly mimics the cookie.
- Boost Richness with Milk or Buttermilk: For an even richer, more decadent cupcake texture and flavor, try substituting the water in your cake mix recipe with an equal amount of milk or buttermilk. Buttermilk, in particular, adds a subtle tang and an incredibly moist crumb, elevating the overall indulgence of your chocolate cupcakes.
- Avoid Overmixing the Batter: This is a golden rule in baking! Overmixing develops the gluten in the flour excessively, leading to tough, chewy cupcakes rather than light and fluffy ones. Mix the batter only until the ingredients are just combined and no streaks of dry mix remain. A few small lumps are perfectly fine and often preferable to overmixed batter.
- Don’t Overfill Cupcake Liners: Resist the urge to fill your cupcake liners to the brim. Overfilling can cause the cupcakes to overflow their liners, creating uneven tops, or even worse, dense and sunken centers. Aim to fill each liner about two-thirds full to allow for proper rising and a beautiful, domed top.
- Monitor Baking Time Carefully: Overbaking is the enemy of moist cupcakes! Keep a close eye on your cupcakes during the last few minutes of baking. Start checking for doneness at the lower end of the suggested baking time. Insert a toothpick into the center of a cupcake; if it comes out clean or with a few moist crumbs attached, they’re ready. Remove them promptly from the oven to prevent them from drying out.
- Ensure Complete Cooling Before Frosting: Patience is a virtue, especially when it comes to frosting cupcakes. Attempting to frost warm cupcakes will inevitably lead to your beautiful buttercream melting right off, creating a messy disaster. Always allow your cupcakes to cool completely on a wire rack before applying any frosting. This might take an hour or more, but it’s essential for a picture-perfect result.
- Piping Bag Alternative: No fancy piping tips? No problem! You can easily create a makeshift piping bag using a sturdy Ziplock bag. Simply spoon your buttercream into one corner of the bag, twist the top to secure it, and then snip a small corner off the bottom to create an opening. You can then pipe your frosting just as you would with a professional bag.
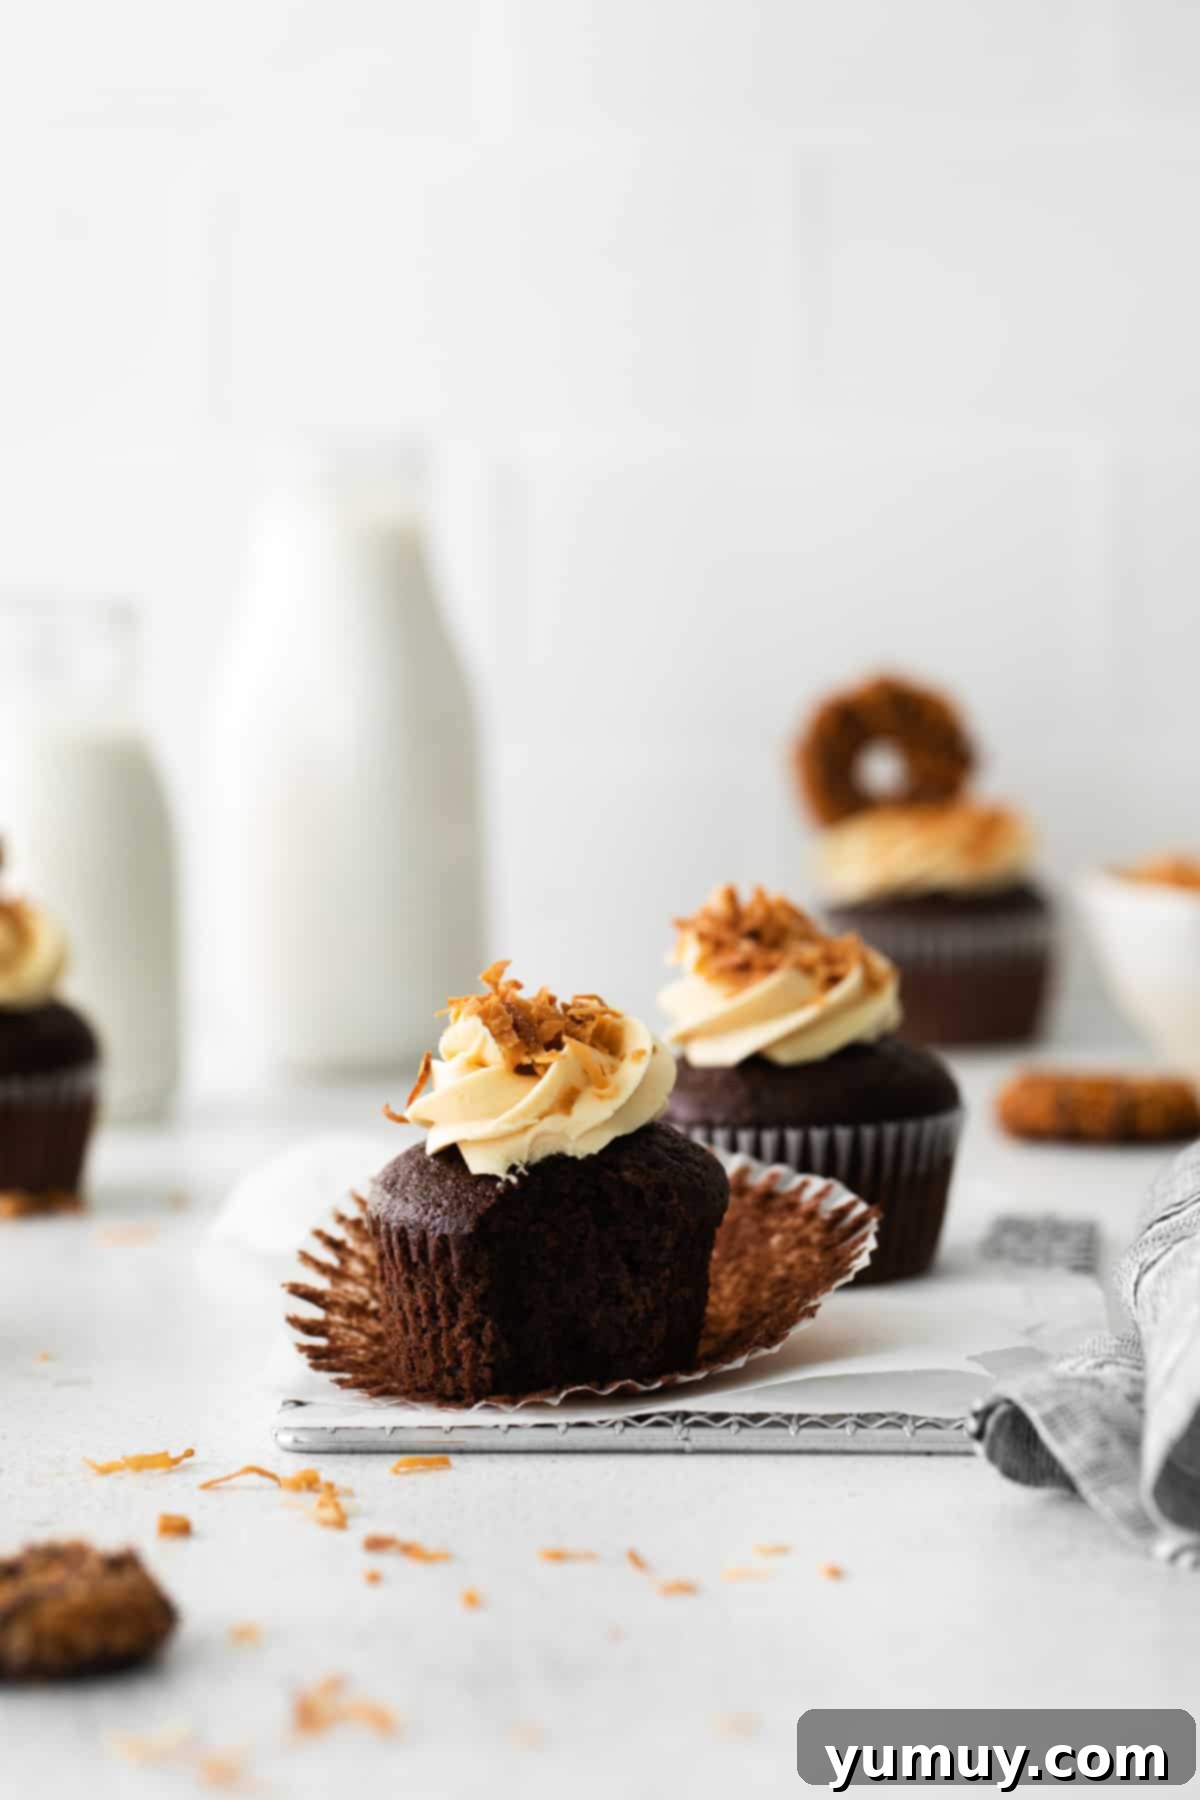
Irresistible Samoa Cupcakes Recipe
14 minutes
16 minutes
:
30 minutes
12
cupcakes
Print
Rate
Save
Saved!
Ingredients
For the Decadent Chocolate Cupcakes
-
13.25
ounces
chocolate cake mix
(1 box) -
1
cup
water -
½
cup
vegetable oil -
3
large
eggs
room temperature
For the Luxurious Caramel Buttercream
-
½
cup
unsalted butter
room temperature (1 stick) -
2¼
cups
powdered sugar -
¼
cup
caramel sauce -
⅓
cup
unsweetened shredded coconut
toasted -
Flakey sea salt
optional, for garnish
Metric
Equipment
- Kitchen Scale (optional, for precise measurement)
- Standard 12-Cupcake Tin
- Stand Mixer (or hand mixer)
- Piping Tip Set (optional, for decorative frosting)
Instructions
For the Chocolate Cupcakes
- Begin by preheating your oven to 350°F (175°C). Prepare a standard 12-count cupcake tin by lining each well with paper liners. Set the prepared tin aside while you mix the batter.
- In a large mixing bowl, combine the chocolate cake mix, water, vegetable oil, and large eggs. Using an electric mixer on low speed, mix all ingredients until just combined and smooth. Be careful not to overmix, as this can lead to tough cupcakes.13.25 ounces chocolate cake mix,
1 cup water,
½ cup vegetable oil,
3 large eggs
- Carefully divide the prepared chocolate cake batter evenly among the 12 cupcake wells in your lined tin. Each well should be filled with approximately ¼ cup of batter, ensuring not to overfill so the cupcakes rise properly and bake evenly.

- Bake the cupcakes in the preheated oven for 16-18 minutes. To check for doneness, insert a toothpick into the center of a cupcake; it should come out clean or with only a few moist crumbs attached. Avoid overbaking to keep them perfectly moist.

- Once baked, remove the cupcakes from the oven and transfer them immediately to a wire rack. Allow them to cool completely at room temperature before attempting to frost them. This step is crucial for preventing the frosting from melting.
For the Caramel Buttercream & Assembly
- Place the ½ cup of fully softened unsalted butter into the bowl of a stand mixer, fitted with the paddle attachment. Ensure the butter is at room temperature for the smoothest frosting.½ cup unsalted butter
- With the mixer on the lowest speed, gradually add the 2¼ cups of powdered sugar, a little at a time, until it is mostly incorporated. This prevents a cloud of sugar from erupting in your kitchen.2¼ cups powdered sugar
- Pour in the ¼ cup of caramel sauce. Continue mixing on low speed until the buttercream is perfectly smooth, which should take about 30 seconds. Then, increase the mixer speed to medium and beat the frosting for another 30-45 seconds until it becomes light, airy, and wonderfully fluffy.¼ cup caramel sauce

- Transfer the finished caramel buttercream to a piping bag equipped with your preferred decorating tip. Frost each cooled chocolate cupcake as desired, creating beautiful swirls or simple dollops. Finally, generously sprinkle each frosted cupcake with ⅓ cup of toasted unsweetened shredded coconut and a delicate pinch of flakey sea salt for an enhanced flavor and aesthetic. For an ultimate Samoa touch, you can even top each cupcake with a mini Samoa cookie or a piece of a regular-sized one!⅓ cup unsweetened shredded coconut,
Flakey sea salt
Notes
Calories from Fat 216
Becky Hardin
A Step-by-Step Guide to Crafting Your Own Samoa Cupcakes
Embark on a delightful baking adventure as we walk through the process of creating these irresistible Samoa cupcakes. This narrative guide offers a more detailed, visual journey to complement the structured recipe card, ensuring your success from start to finish.
Step 1: Prepare Your Chocolate Cupcake Base
First, kick things off by preheating your oven to a steady 350°F (175°C). While the oven warms up, prepare your standard 12-count cupcake tin. Line each individual cup with paper liners, creating a neat and organized setup for your batter. This not only makes for easier cleanup but also ensures your beautiful cupcakes don’t stick. Once lined, set the tin aside – it will be ready when you are.
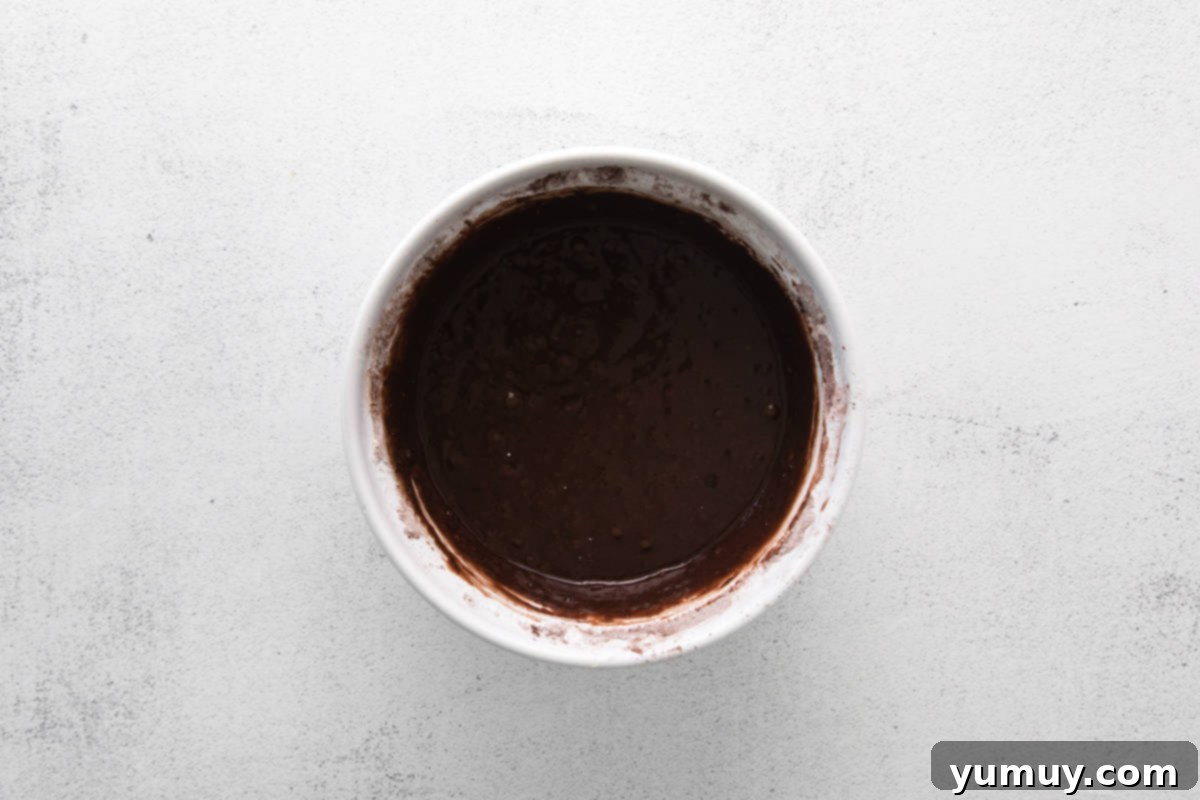
Now, grab a spacious mixing bowl. Into this bowl, add the entire contents of your 13.25-ounce box of chocolate cake mix. Next, pour in 1 cup of water, ½ cup of vegetable oil (chosen for its ability to keep the cupcakes incredibly moist), and crack in 3 large eggs. Ensure your eggs are at room temperature for better emulsification. Using a reliable electric mixer, begin mixing all these ingredients together on a low speed. Mix just until everything is fully combined and the batter appears smooth. The key here is to avoid overmixing at all costs; excessive mixing can lead to dense, tough cupcakes, and we’re aiming for light and fluffy!
Step 2: Portion and Bake to Perfection
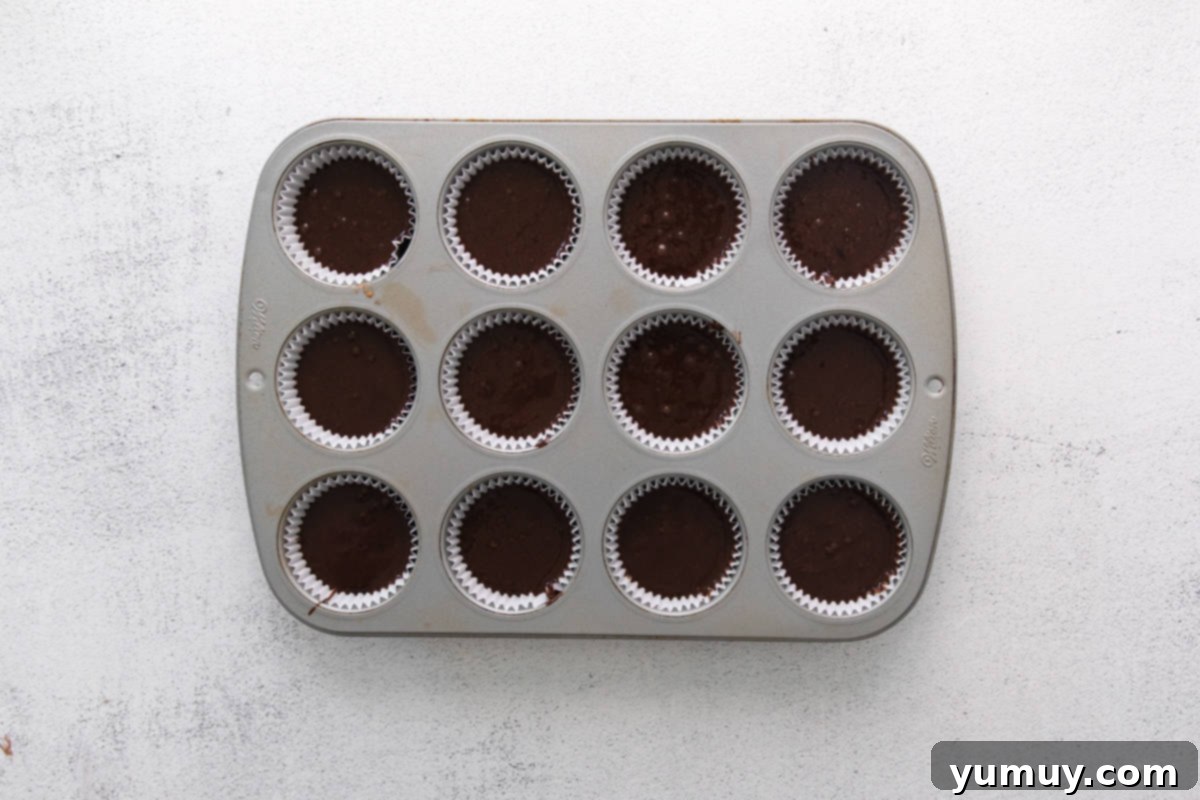
With your chocolate batter perfectly mixed, it’s time to fill the cupcake liners. Carefully and evenly distribute the batter among all 12 wells in your prepared cupcake tin. A good guideline is to fill each liner approximately ¼ cup full, or about two-thirds of the way up. This leaves ample room for the cupcakes to rise beautifully without overflowing, ensuring they bake into perfect domes.
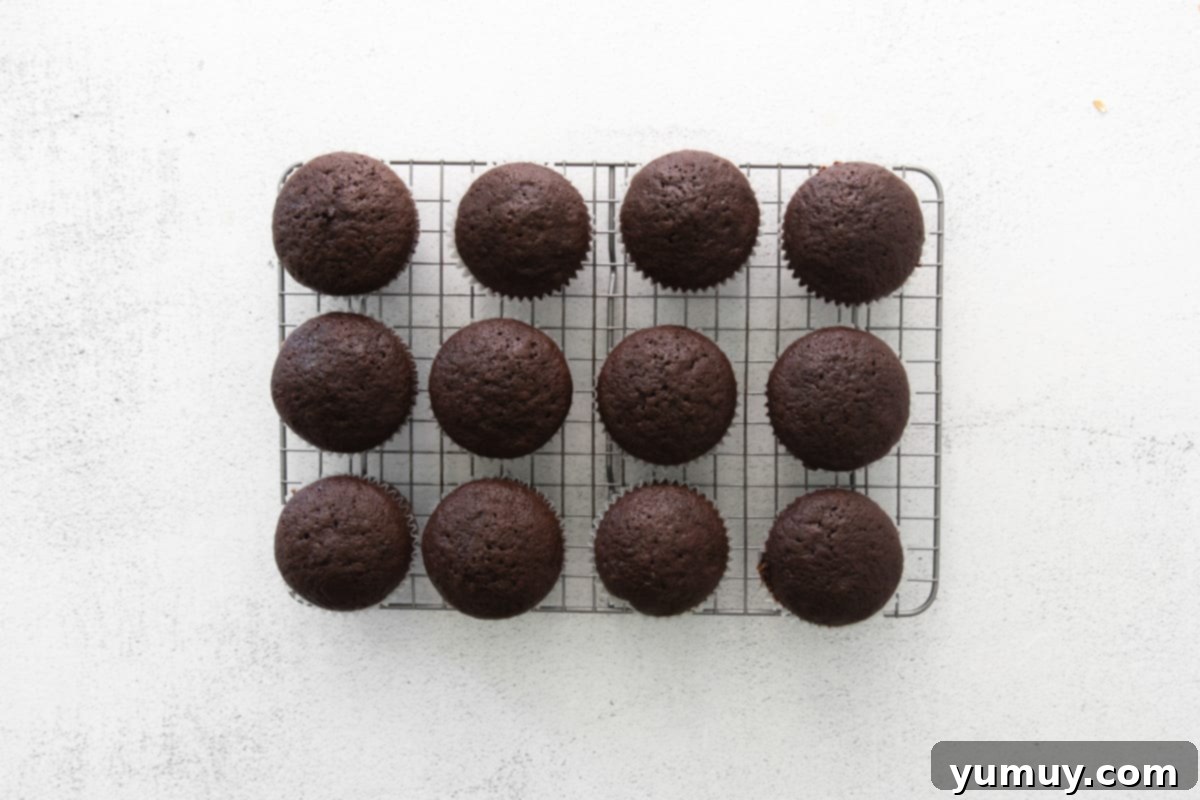
Once filled, gently place the cupcake tin into your preheated oven. Bake for a duration of 16-18 minutes. As the baking time approaches, keep a keen eye on your cupcakes. To test for doneness, simply insert a clean toothpick into the center of one of the cupcakes. If it comes out clean, or with just a few moist crumbs clinging to it, your cupcakes are perfectly baked. It’s crucial not to overbake, as this is often the culprit behind dry, crumbly cupcakes. As soon as they pass the toothpick test, carefully remove the tin from the oven. Immediately transfer the hot cupcakes from the tin to a wire rack. This allows air to circulate around them, promoting even cooling. It’s absolutely essential that the cupcakes cool completely before you even think about frosting them. Any residual warmth will cause your delicate buttercream to melt into a sweet, gooey mess.
Step 3: Create the Velvety Caramel Buttercream
While your cupcakes are cooling, you can begin preparing the star of the show: the rich caramel buttercream. Take ½ cup of unsalted butter that has been softened to perfect room temperature and place it in the bowl of a stand mixer. If you don’t have a stand mixer, a good quality hand mixer will work just as well. Ensure your mixer is fitted with the paddle attachment. Begin mixing the butter on a low speed to slightly cream it.
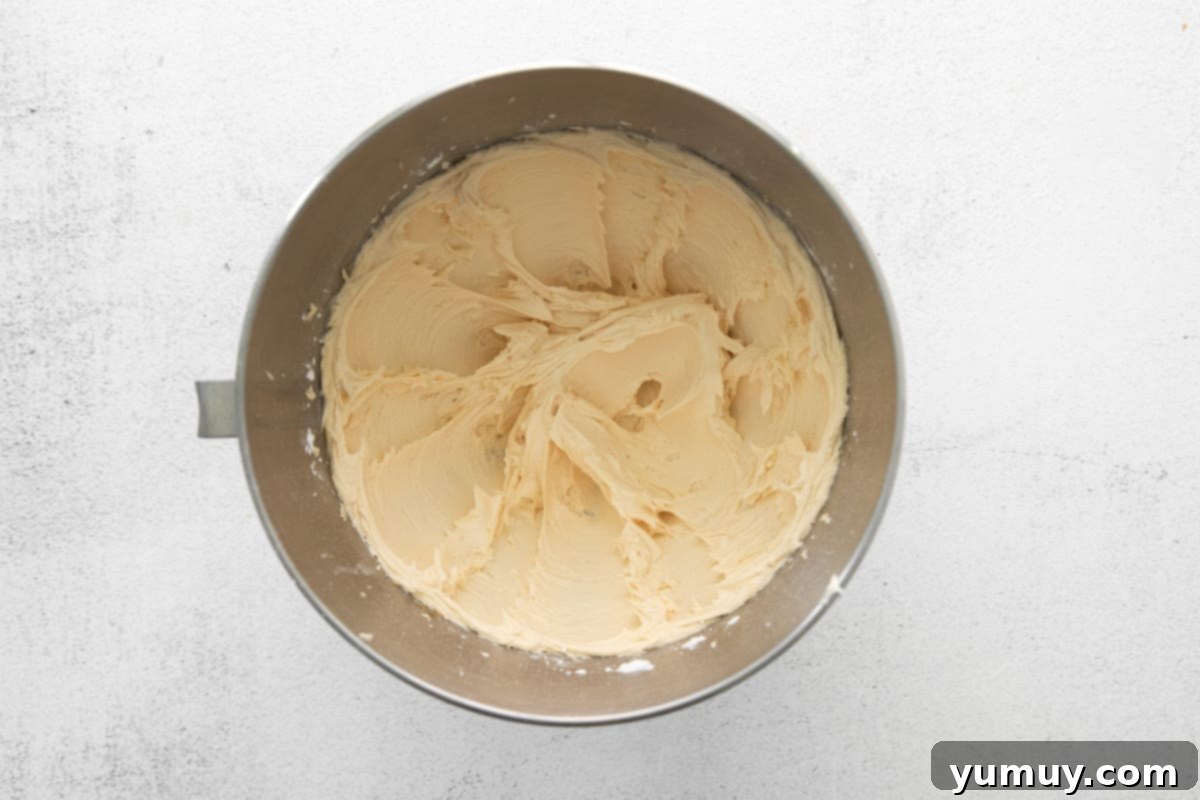
Next, with the mixer still on low speed, gradually add the 2¼ cups of powdered sugar. Do this slowly to prevent a powdered sugar cloud from enveloping your kitchen! Once the sugar is mostly incorporated, pour in the ¼ cup of your chosen caramel sauce. Continue mixing on low speed until the buttercream starts to come together and becomes wonderfully smooth – this usually takes about 30 seconds. Now, increase the mixer speed to medium and beat the frosting vigorously for an additional 30-45 seconds. This final beating incorporates air, transforming the buttercream into a light, airy, and incredibly fluffy consistency, ideal for piping.
Step 4: The Grand Finale – Frosting and Decorating
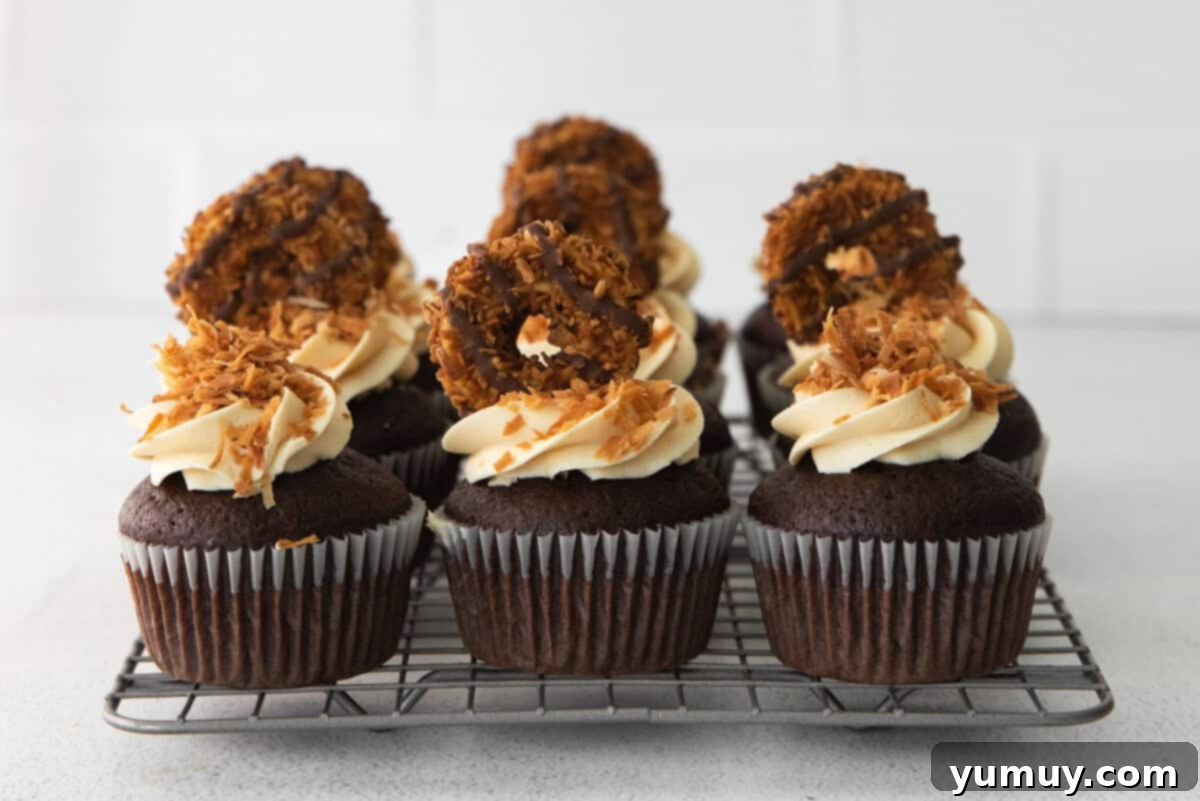
With your cupcakes cooled and your caramel buttercream ready, it’s time for the exciting part – decorating! Transfer the fluffy buttercream into a piping bag. Choose your favorite piping tip to create beautiful swirls or elegant dollops on top of each cupcake. If you don’t have a piping bag and tips, a Ziplock bag with a snipped corner works perfectly too!
Once your cupcakes are frosted, generously sprinkle each one with ⅓ cup of toasted unsweetened shredded coconut. The toasted coconut adds that essential nutty flavor and delightful texture that is a hallmark of Samoa cookies. For an extra touch of gourmet elegance and to perfectly balance the sweetness, lightly sprinkle a touch of flakey sea salt over the coconut. And for the ultimate nod to their inspiration, I love to top each of my finished Samoa cupcakes with a piece of an actual Samoa cookie, or even a mini one, creating a truly spectacular and visually appealing dessert!
More Delectable Cupcake Recipes to Explore!
If you’ve fallen in love with these Samoa cupcakes, you’ll be thrilled to discover more delightful creations from our kitchen. Expand your baking repertoire with these other fantastic cupcake recipes, each offering a unique flavor profile perfect for any occasion or craving:
Delightful Chocolate Chip Cupcakes
Classic Black Forest Cupcakes
Campfire S’mores Cupcakes
Zesty Lemon Cupcakes with Lemon Whipped Cream Frosting
Browse All Our Irresistible Cupcake Recipes
