Indulge in Homemade Bliss: The Ultimate Chocolate Whoopie Pie Recipe
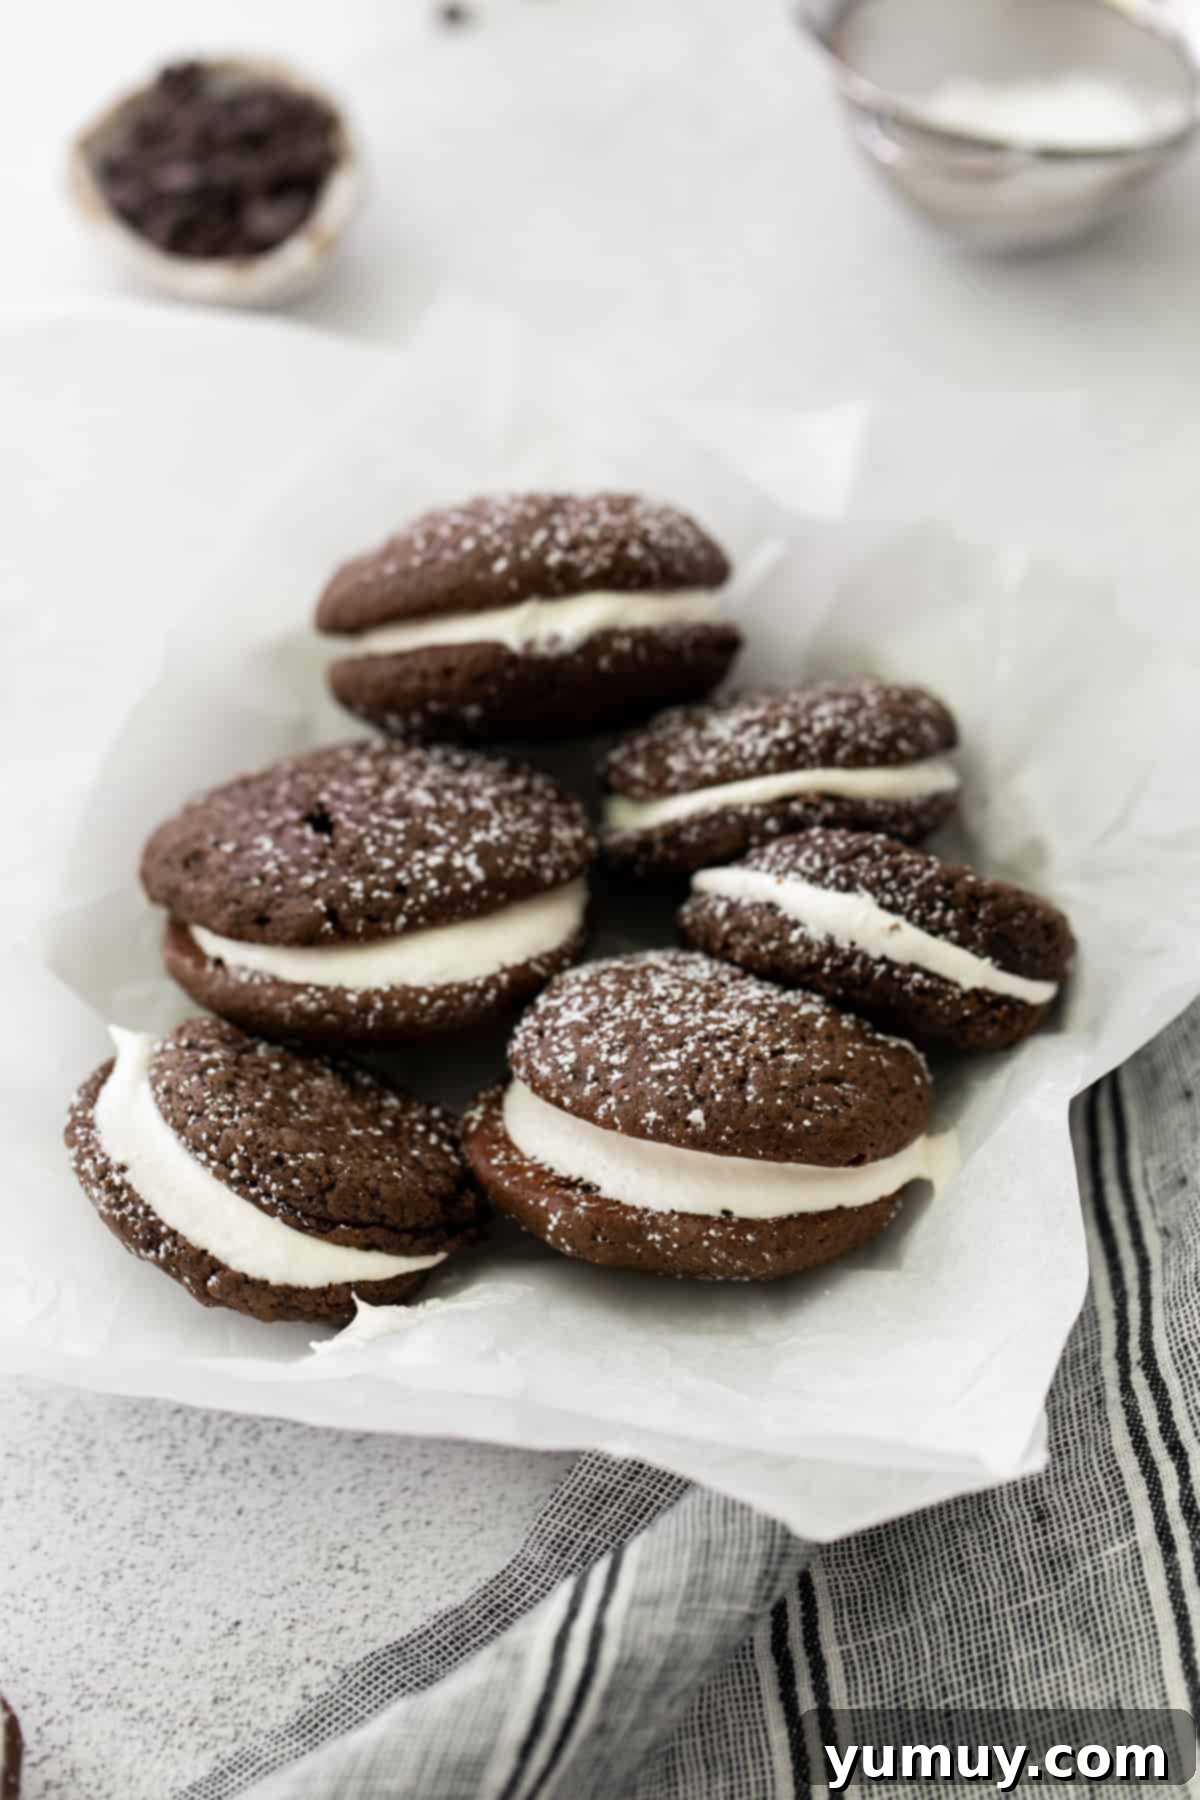
If you’ve ever savored the sweet delights of Maine, you know there’s one iconic dessert that stands above the rest: the classic Whoopie Pie. A beloved treat often hailed as Maine’s “official state treat,” these charming sandwich cookies evoke a sense of nostalgic comfort with every bite. But for those of us living far from the picturesque New England coast, replicating that authentic taste might seem like a daunting task. Fear not, fellow dessert enthusiasts! This comprehensive chocolate whoopie pie recipe brings the genuine taste of Maine right into your kitchen, making it incredibly easy to create these delightful confections from scratch.
Our recipe leverages readily available pantry staples like rich chocolate cake mix and creamy instant chocolate pudding mix, ensuring a quick and hassle-free baking experience. The magic truly happens when these soft, cake-like cookies are generously filled with a luscious, fluffy marshmallow creme, transforming them into an irresistible dessert that’s perfect for any occasion. Prepare to embark on a culinary journey that combines convenience with pure indulgence, resulting in whoopie pies that taste just as good, if not better, than the ones you’d find in a traditional Maine bakery.
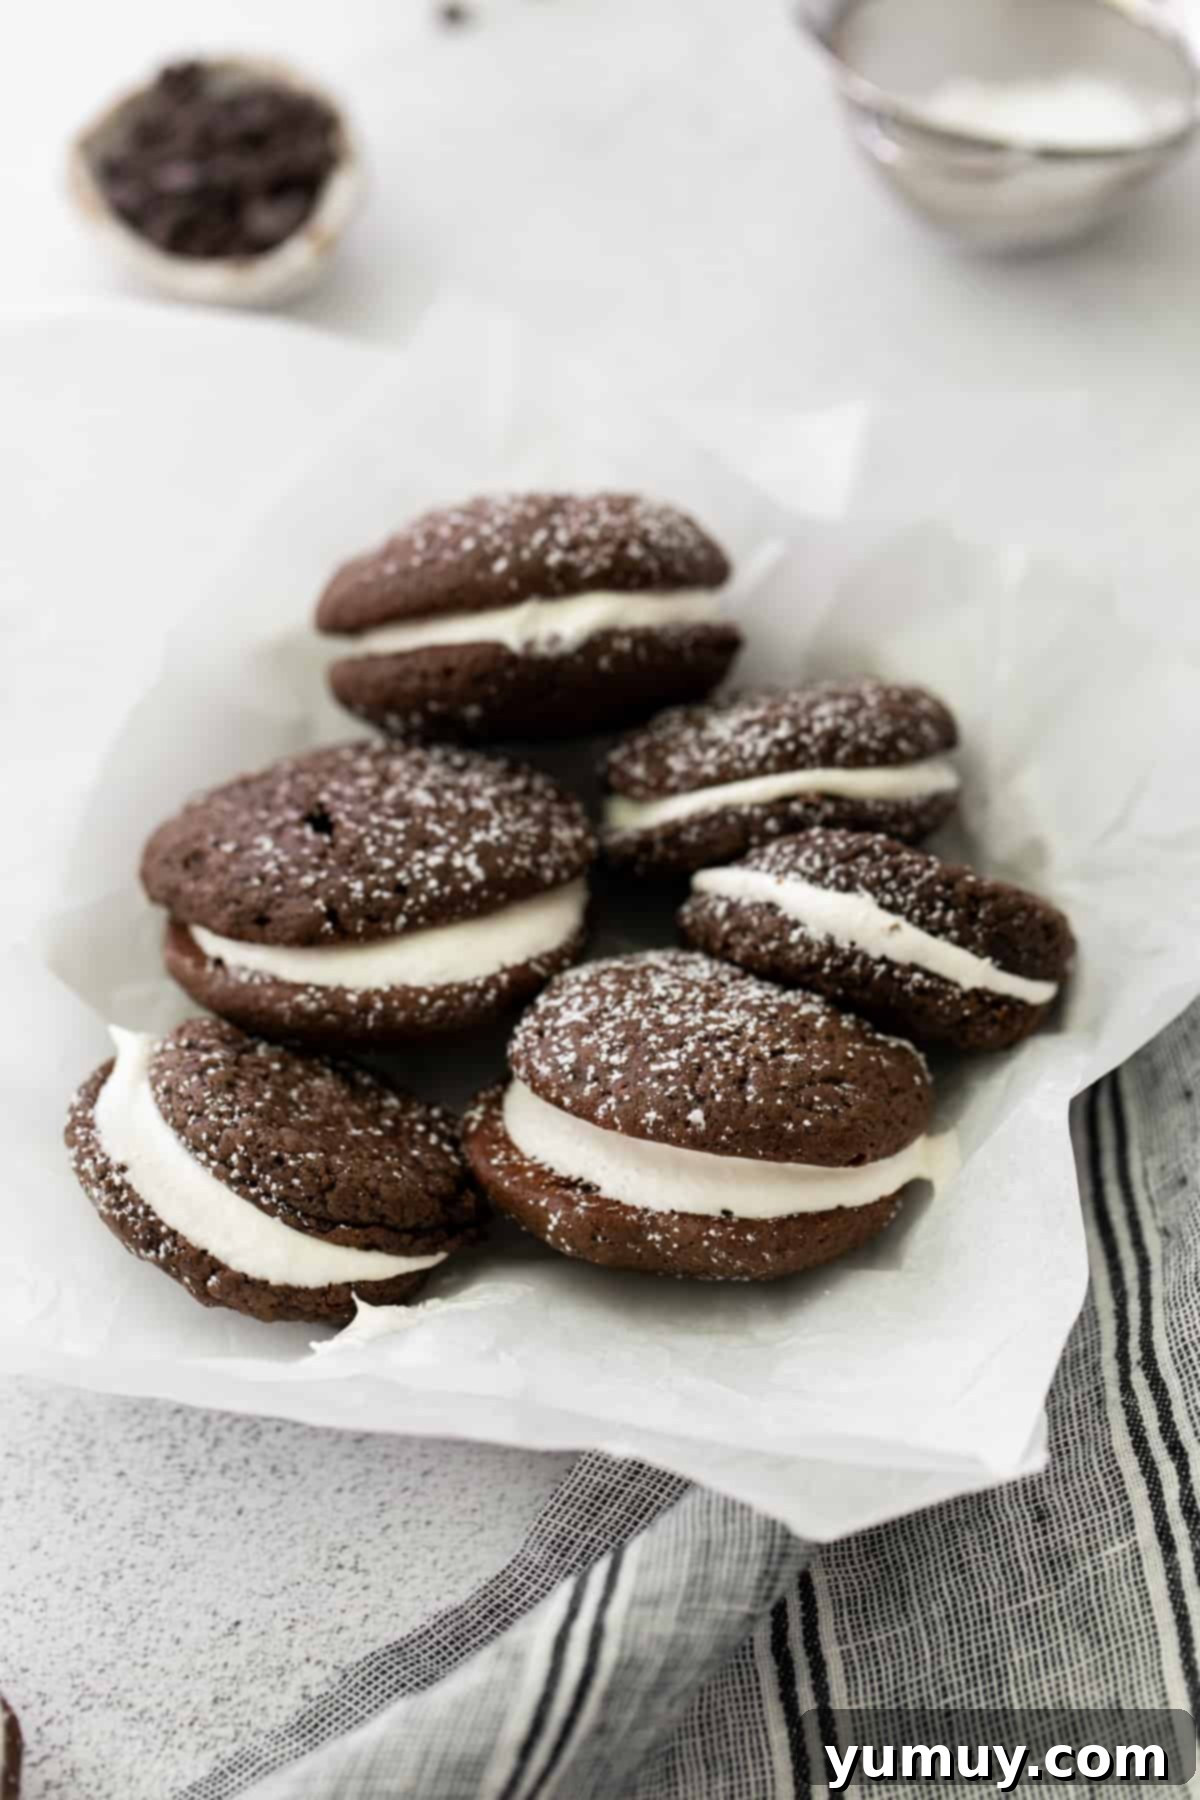
The Allure of the Maine Whoopie Pie
Known by many names—from “whoopie pies” and “gobs” to “black moon pies”—this iconic dessert holds a special place in the hearts of many, especially in Maine. Regardless of what you call them, the joy of biting into a soft, chocolatey cake-cookie sandwich with a sweet, creamy center is universal. This particular recipe simplifies the process without compromising on flavor, using a boxed cake mix to deliver perfectly moist and decadent chocolate cakes. The velvety marshmallow filling nestled between two thick, cake-like cookies creates a texture and taste experience that is truly a wonder. Imagine the delight on your children’s faces when they discover one of these homemade treasures in their lunchboxes—it’s the ultimate surprise!
Our goal with this recipe is to make the magic of whoopie pies accessible to everyone, everywhere. You don’t need to be a seasoned baker or possess rare ingredients to achieve professional-level results. The carefully balanced combination of pantry staples ensures that even novice bakers can whip up a batch of these delectable treats with confidence. So, gather your ingredients and prepare to create a dessert that will earn you rave reviews and bring smiles to all who taste it.
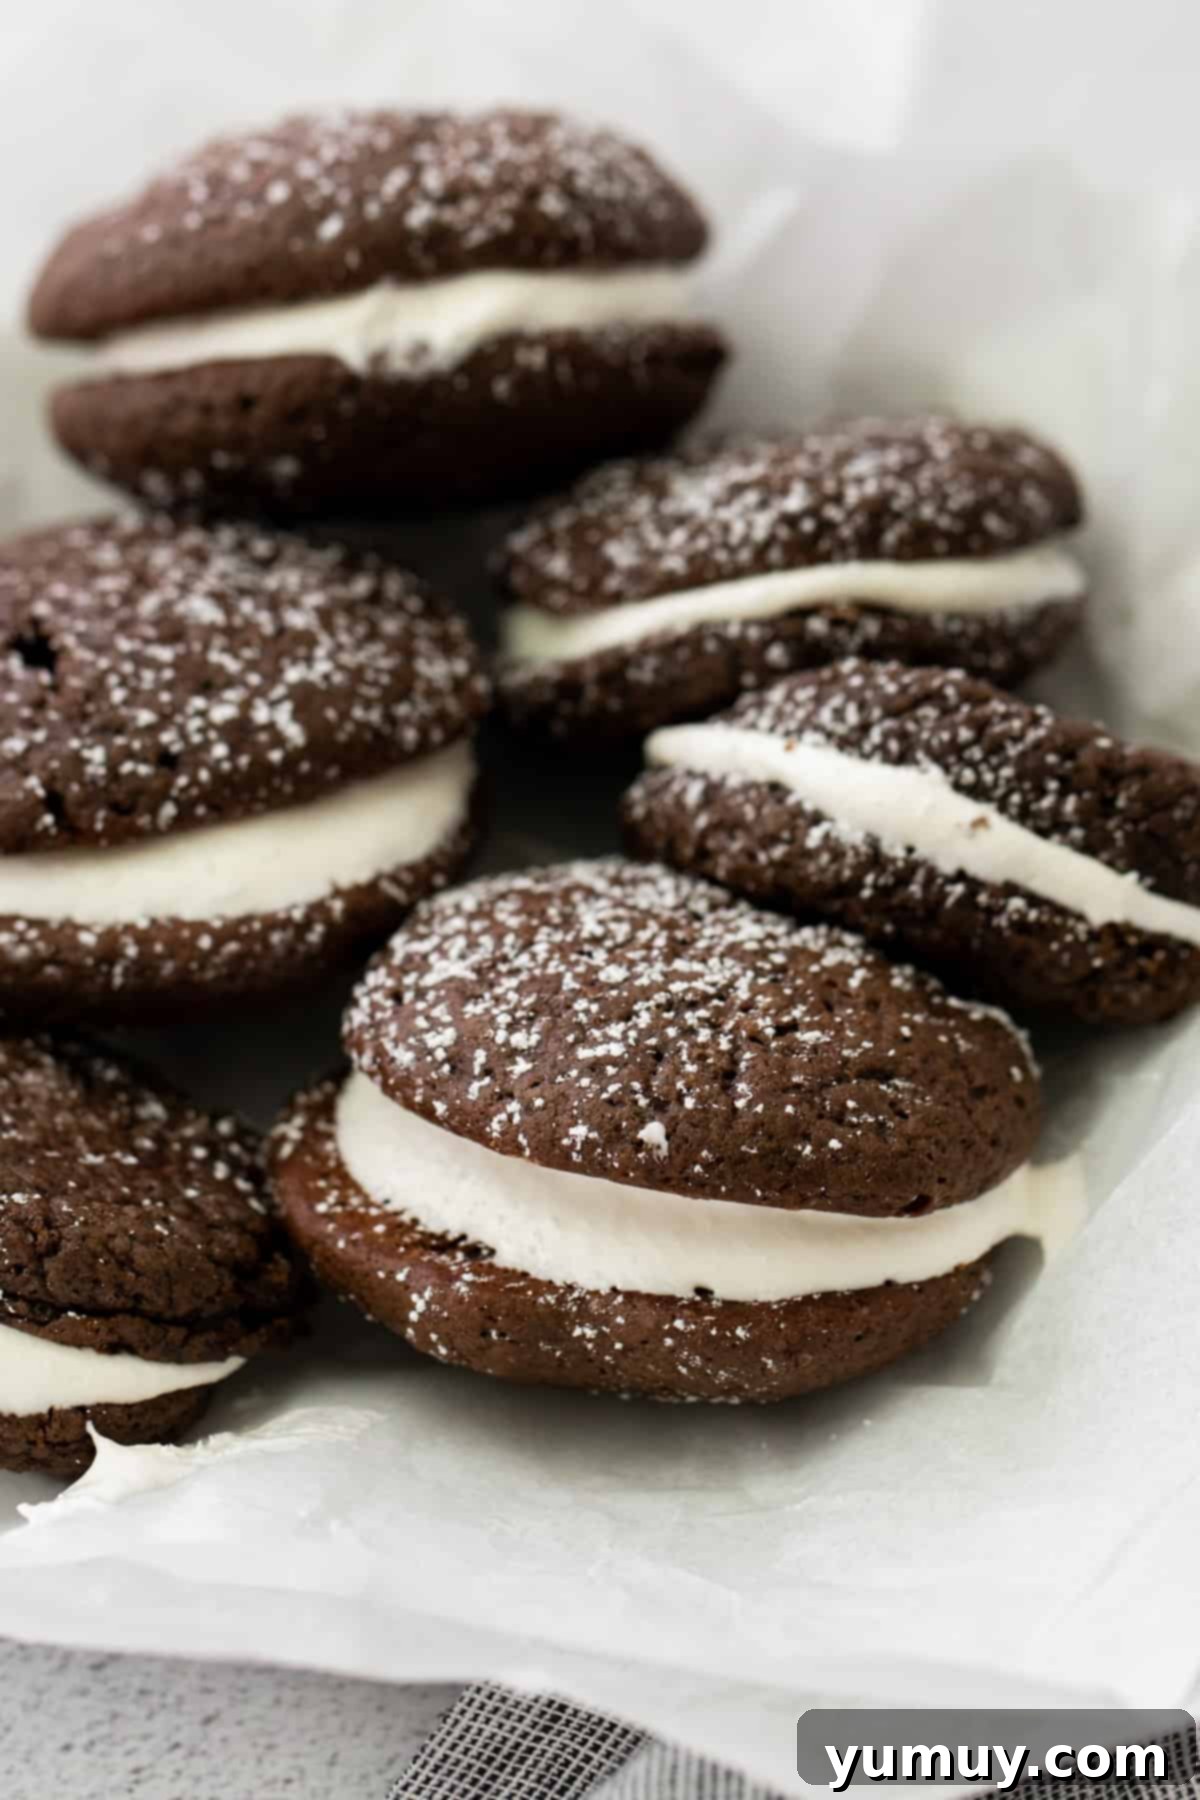

Classic Chocolate Whoopie Pie Recipe
Delightfully delicious and incredibly easy to make, these homemade whoopie pies are a true treat! Crafted with a simple chocolate cake mix and filled with a creamy marshmallow frosting, they are sweet, richly chocolatey, and wonderfully convenient. This recipe ensures a moist, tender crumb and a perfectly balanced sweetness, making it a family favorite that you’ll want to bake again and again. Perfect for parties, lunchbox surprises, or just a comforting dessert, these whoopie pies deliver maximum flavor with minimal effort.
30 minutes
14 minutes
1 hour 14 minutes
30 minutes
8 whoopie pies
Ingredients
For the Chocolate Cakes
- 15.25 ounces chocolate cake mix (1 box)*
- 3.9 ounces instant chocolate pudding mix (1 box)
- ¾ cup water
- ½ cup vegetable oil
- 3 large eggs
For the Filling
- ½ cup unsalted butter, room temperature (1 stick)
- 1 cup powdered sugar
- 7 ounces marshmallow creme (1 jar)
Equipment
- Kitchen Scale (optional, for precise measurements)
- Large Baking Sheet
- Parchment Paper
- Stand Mixer (or hand mixer)
- 2-Tablespoon Cookie Scoop
- Piping Bag and Tip Set (optional, for neat filling)
Instructions
For the Chocolate Cakes
Preheat your oven to 350°F (175°C). Line a large baking sheet with parchment paper to prevent sticking and ensure easy cleanup. Set the prepared baking sheet aside as you prepare the batter.
In a large mixing bowl, whisk together the chocolate cake mix, instant chocolate pudding mix, water, vegetable oil, and large eggs until thoroughly combined and smooth. Be careful not to overmix; just combine until no dry streaks remain. The pudding mix adds an extra layer of moisture and rich chocolate flavor to the cakes, making them extra tender.

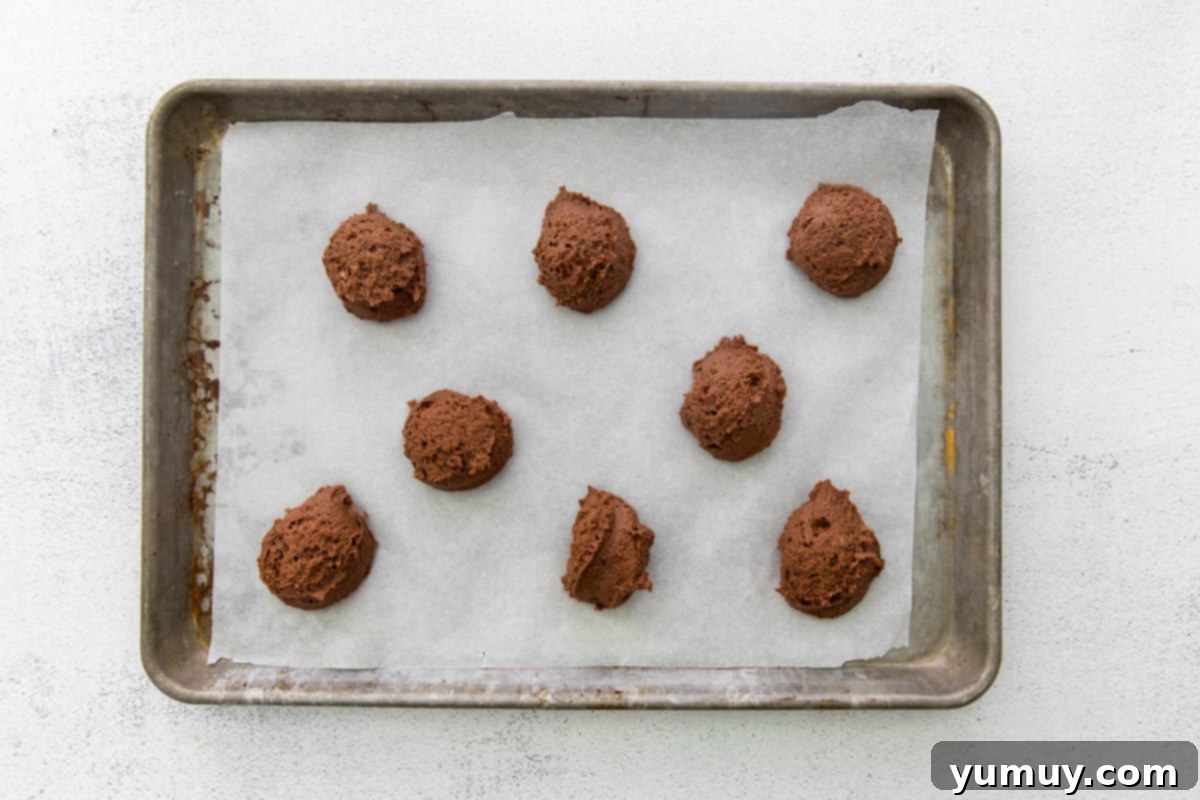
Using a 2-tablespoon-sized cookie scoop, portion out the batter onto the prepared baking sheet. Leave about 2 inches of space between each mound of batter to allow for spreading during baking. This ensures the cakes bake evenly and don’t merge together.

Bake the cakes for 12-14 minutes. They are done when the edges are set and a toothpick inserted into the center of a cake comes out clean. The cakes will be soft and springy to the touch. Avoid overbaking to maintain their moist texture.
Once baked, remove the cakes from the oven and allow them to cool completely on the baking sheet. Cooling on the sheet helps them firm up slightly before handling. While the cakes cool, you can begin preparing the irresistible marshmallow filling.
For the Filling
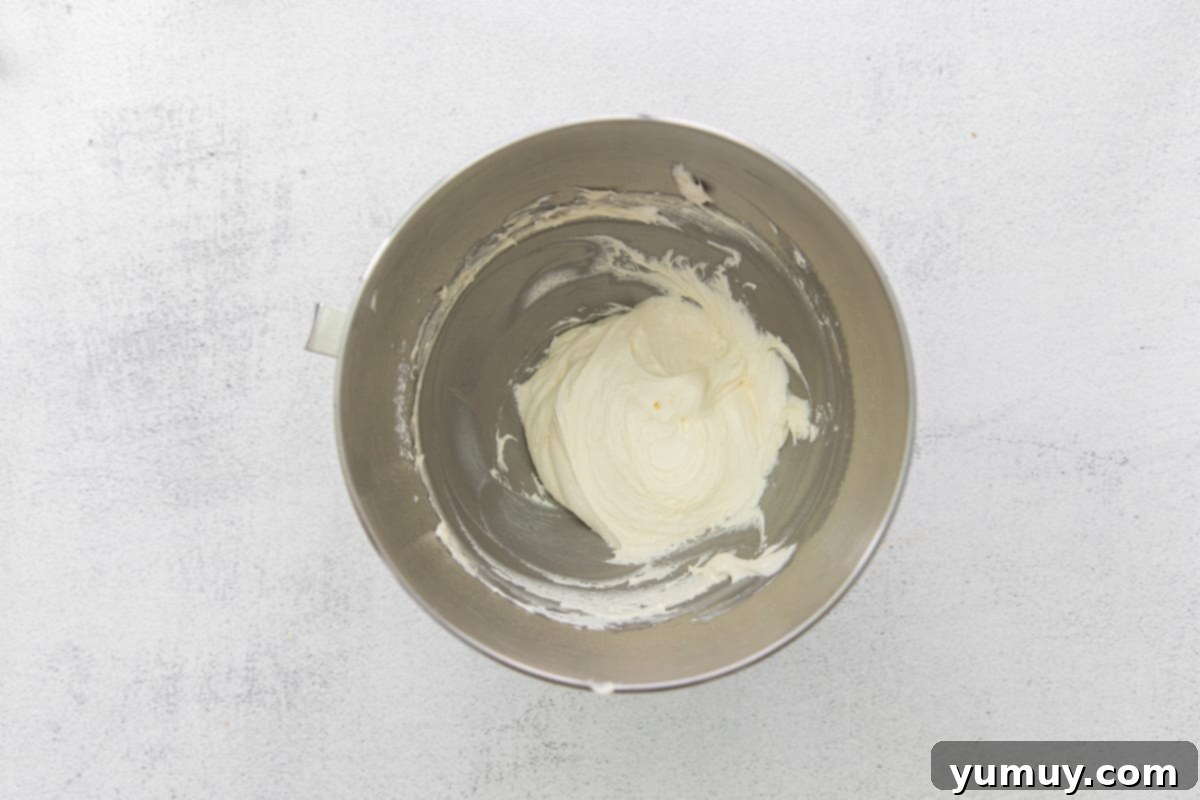
In the bowl of a stand mixer fitted with the paddle attachment (or using a hand mixer), beat the softened unsalted butter and powdered sugar together on low speed until they are just combined. Once the powdered sugar has been incorporated and the mixture is crumbly, increase the mixer speed to medium and continue beating for about 1-2 minutes, or until the mixture becomes light, fluffy, and noticeably pale. This creaming process adds air, resulting in a wonderfully smooth and airy frosting base.
Gently fold in the marshmallow creme using a spatula. Be careful not to overmix at this stage; folding it in slowly helps maintain the airy texture of the marshmallow and ensures a perfectly fluffy filling. The marshmallow creme is key to achieving that signature whoopie pie filling consistency.

Transfer the prepared filling to a piping bag fitted with your desired tip (or simply use a sturdy plastic bag with a corner snipped off). Set the filling aside at room temperature until your chocolate cakes are fully cooled and ready for assembly.
To Assemble
Once the chocolate cakes are completely cooled, carefully remove them from the baking sheet. Match them into similar-sized pairs, ensuring each whoopie pie will have two perfectly matched halves.
Take one cake half and pipe a generous amount of the marshmallow filling onto its flat side. Then, gently place another cake half on top, flat side down, to create a sandwich. Lightly press down to spread the filling evenly to the edges, forming the classic whoopie pie shape.

Repeat this process with all the remaining cake halves and filling. Once assembled, your homemade chocolate whoopie pies are ready to be served and thoroughly enjoyed!
Recipe Notes & Expert Tips
- Cake Mix Choice: For the deepest chocolate flavor, I highly recommend using a box of Devil’s Food chocolate cake mix. However, any good quality chocolate cake mix will yield delicious results, so feel free to use your favorite brand.
- Doneness Test: Whoopie pies are perfectly baked when the mini cakes look set around the edges and a toothpick inserted into the very center comes out clean. The tops will be slightly domed and spring back when gently touched.
- Preventing Flat Cakes: If your whoopie cakes tend to flatten out while baking, it usually indicates that the batter might have been a bit too thin. To remedy this for future batches, try adding an extra ¼ cup of all-purpose flour to the cake mix batter. This small adjustment can significantly improve the cake’s structure and prevent excessive spreading.
- Fluffy Filling Secret: When incorporating the marshmallow creme into your butter and powdered sugar mixture, do so gently. Use a spatula to fold it in rather than beating it aggressively with the mixer. This technique helps maintain the light, airy texture of the marshmallow, ensuring your filling remains wonderfully fluffy and not dense.
- Cooling is Key: Ensure your chocolate cake halves are completely cool before attempting to fill them. Warm cakes will melt the marshmallow creme filling, leading to a messy and less appealing whoopie pie. Patience during the cooling process is essential for perfect assembly.
- Uniform Size: For beautifully matched whoopie pies, try to scoop uniform amounts of batter for each cake half. A 2-tablespoon cookie scoop is ideal for this, ensuring consistent size and baking time.
Storage: To maintain their freshness and delicious texture, store your homemade Maine whoopie pies in an airtight container. They will keep well in the refrigerator for up to 2 days. For longer enjoyment, whoopie pies can be frozen for up to 3 months. To thaw, simply move them from the freezer to the refrigerator overnight or allow them to come to room temperature for a quick treat.
Calories from Fat 324
Becky Hardin
Did You Make This?
We love seeing what you’ve made! Tag us on social media at
@easydessertrecipes for a chance to be featured.
Detailed Step-by-Step Guide: Crafting Your Perfect Whoopie Pies
Creating these delightful chocolate whoopie pies is a straightforward process, especially when guided by these easy-to-follow steps. With a little care and attention to detail, you’ll be enjoying these nostalgic treats in no time. Follow along to ensure every batch is as perfect as the last!
Step 1: Prepare the Irresistible Chocolate Cake Bases
Preheat and Prep: Begin by preheating your oven to a steady 350°F (175°C). This ensures your cakes bake evenly from the moment they enter the oven. Next, line a large baking sheet with parchment paper. Parchment paper is crucial here as it prevents the cake-like cookies from sticking and allows for easy removal once baked. Set this prepared sheet aside.
Mix the Batter: In a spacious mixing bowl, combine the 15.25 ounces of chocolate cake mix (which is typically one standard box) with 3.9 ounces of instant chocolate pudding mix (also usually one box). The pudding mix isn’t just for flavor; it also contributes to the whoopie pies’ incredibly moist and tender texture. Add ¾ cup of water, ½ cup of vegetable oil, and 3 large eggs. Using a whisk, gently mix these ingredients until they are just combined and smooth. Be mindful not to overmix, as this can lead to tougher cakes. A few small lumps are perfectly fine.
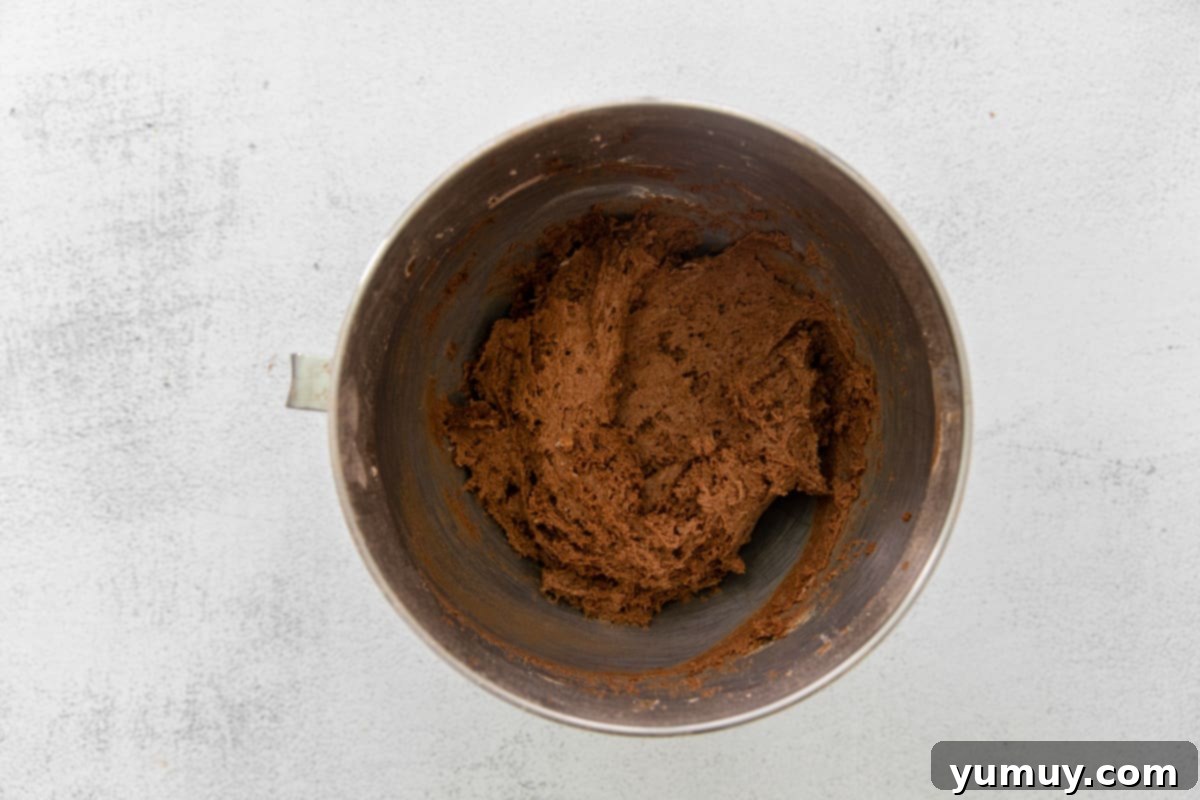
Bake the Cakes: Once your batter is ready, grab a 2-tablespoon-sized cookie scoop. This tool is your secret weapon for creating uniform whoopie pie halves, which are essential for perfect sandwiches. Scoop the batter onto your prepared baking sheet, ensuring each mound is about 2 inches apart. This spacing allows the cakes to spread slightly without touching during baking. Bake for 12-14 minutes, or until a toothpick inserted into the center of a cake comes out clean. The cakes will be soft, puffy, and have a slight spring when gently touched. Immediately after baking, allow the cakes to cool completely on the baking sheet. This step is vital—warm cakes will melt your delicate filling.
Step 2: Craft the Dreamy Marshmallow Filling
Beat the Frosting Base: While your chocolate cakes are cooling, it’s time to prepare the star of the show: the creamy marshmallow filling. In the bowl of a stand mixer fitted with the paddle attachment (or using a hand mixer with beaters), combine ½ cup of unsalted butter, which should be at room temperature for optimal creaming, and 1 cup of powdered sugar. Start beating on low speed until the sugar is incorporated into the butter. Once combined, increase the speed to medium and beat for 1-2 minutes until the mixture is light, fluffy, and significantly paler in color. This process aerates the butter and sugar, creating a wonderfully light base for your filling.
Fold in the Marshmallow Creme: Next, gently fold in 7 ounces of marshmallow creme (which is typically one standard jar). Use a spatula for this step to preserve the airiness achieved in the previous step. Aggressive mixing can deflate the filling, making it less fluffy. Fold until the marshmallow creme is fully incorporated, resulting in a smooth, light, and wonderfully sticky sweet filling.
Prepare for Piping: Transfer the finished filling into a piping bag. If you don’t have a piping bag, a large, sturdy plastic bag with a corner snipped off works just as well. This method allows for neat and even distribution of the filling onto your cooled cakes. Set the piping bag aside until your cake halves are completely cool.
Step 3: Assemble and Enjoy Your Masterpiece
Pair the Cakes: Once your chocolate cake halves have reached room temperature, carefully remove them from the parchment paper. Take a moment to pair them up by size; matching similar-sized halves will result in the most aesthetically pleasing and uniform whoopie pies.
Fill the Cakes: Now for the fun part! Take one cooled chocolate cake half and, using your piping bag, pipe a generous swirl of the marshmallow filling onto its flat side. Aim for a nice, thick layer that will extend almost to the edges. Then, gently place another matched cake half on top, flat side down. Lightly press the top cake down to allow the filling to spread to the edges, creating that iconic whoopie pie sandwich. Be gentle to avoid cracking the soft cakes.
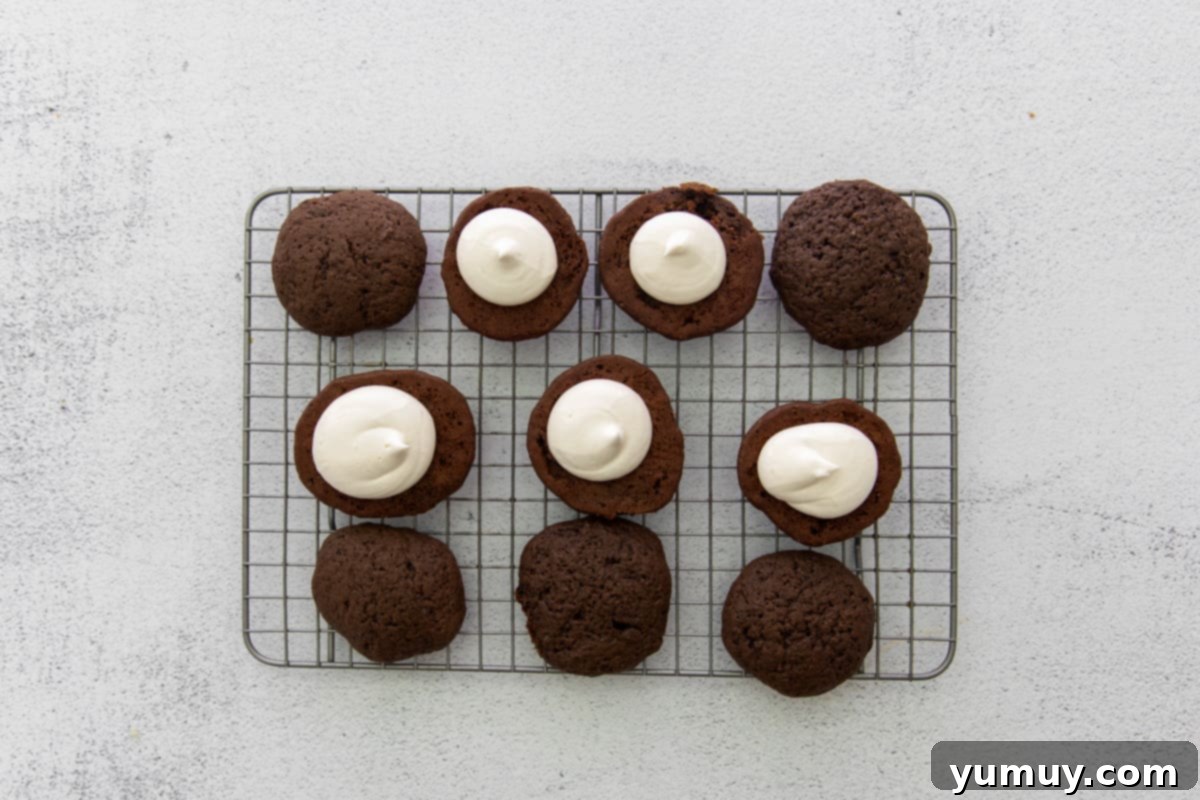
Serve and Savor: Repeat this delightful process with all your remaining cake halves and filling. Once all your whoopie pies are assembled, they are ready to be served and enjoyed immediately! These chocolate whoopie pies are perfect with a glass of cold milk, a cup of coffee, or as a delightful standalone treat. Their rich flavor and soft texture make them an instant hit.
Beyond Chocolate: Exciting Whoopie Pie Variations
While the classic chocolate whoopie pie with marshmallow filling is undoubtedly a crowd-pleaser, the versatility of this dessert allows for endless creative variations. Don’t be afraid to experiment with different cake flavors and fillings to discover your next favorite treat!
- Pumpkin Whoopie Pies: Perfect for fall, swap the chocolate cake mix for a spice cake mix and add a touch of pumpkin puree to the batter. Pair with a cream cheese frosting for an autumnal delight.
- Red Velvet Whoopie Pies: Use a red velvet cake mix for vibrant, colorful cakes. Fill them with a tangy cream cheese frosting for a classic red velvet experience.
- Lemon Whoopie Pies: A zesty alternative! Use a lemon cake mix and fill with a bright lemon curd or a lemon-flavored buttercream.
- Peanut Butter Whoopie Pies: For peanut butter lovers, use a yellow cake mix and swirl in some peanut butter. Fill with a rich peanut butter frosting for a truly decadent sandwich.
- Mint Chocolate Whoopie Pies: Add a few drops of peppermint extract to the chocolate cake batter and/or the marshmallow filling for a refreshing twist.
Whoopie Pie FAQs
What is a Whoopie Pie?
A whoopie pie is a traditional American baked good, often described as a “sandwich cookie” or a “cake-cookie.” It typically consists of two round, cake-like cookies (most commonly chocolate) with a sweet, creamy, marshmallow-based filling sandwiched in between. They are a beloved treat, particularly popular in New England, especially Maine and Pennsylvania, where they are considered a regional specialty.
Where do Whoopie Pies come from?
The exact origin of the whoopie pie is a subject of friendly debate, with both Maine and Pennsylvania (among other states) claiming to be its birthplace. In Maine, they are celebrated as the official state treat. Pennsylvania Dutch communities, particularly the Amish and Mennonites, have long made a similar confection called “gobs.” Regardless of its precise roots, the whoopie pie has been a treasured part of American baking traditions for generations, gaining widespread popularity for its unique texture and delicious flavor.
Can I make whoopie pies without a stand mixer?
Absolutely! While a stand mixer makes the process of creaming butter and sugar for the filling easier and quicker, you can certainly achieve excellent results with a good quality hand mixer. Just be prepared for a bit more arm work to get that perfectly light and fluffy texture for your marshmallow creme filling.
How can I make my whoopie pies perfectly round?
Using a cookie scoop (like the 2-tablespoon scoop recommended in this recipe) is the best way to ensure uniform, round whoopie pie halves. Scooping evenly sized portions of batter helps them bake consistently and creates symmetrical sandwich cookies. If you don’t have a scoop, you can use two spoons, but a scoop offers greater precision.
Why did my whoopie pie cakes flatten out?
If your whoopie pie cakes spread too much or flatten, the batter might have been too thin. This can happen due to variations in cake mixes or ingredient measurements. A simple solution for next time is to add an extra ¼ cup of all-purpose flour to the cake batter. This will help thicken it slightly, providing more structure and preventing excessive spreading during baking.
The Sweet Satisfaction of Homemade Whoopie Pies
There’s something truly special about a homemade dessert, and these chocolate whoopie pies are no exception. Combining the convenience of a cake mix with the irresistible allure of a creamy marshmallow filling, this recipe delivers a classic treat that’s both easy to make and incredibly satisfying to eat. Whether you’re bringing a plate to a potluck, packing a special lunchbox surprise, or simply craving a comforting indulgence, these whoopie pies are guaranteed to bring joy.
Forget the long distances to Maine; with this recipe, you can experience the authentic taste of a traditional whoopie pie right from your own kitchen. Their soft, moist chocolate cakes perfectly complement the light, sweet marshmallow filling, creating a symphony of textures and flavors. So, don’t hesitate—gather your ingredients, follow these simple steps, and prepare to be delighted by the ultimate homemade chocolate whoopie pie. Happy baking!
More Chocolate Dessert Recipes to Try!
Chocolate Cake Pops
Chocolate Mug Cake
Chocolate Oatmeal Muffins
Chocolate Pudding Cookies
Browse All Chocolate Desserts
