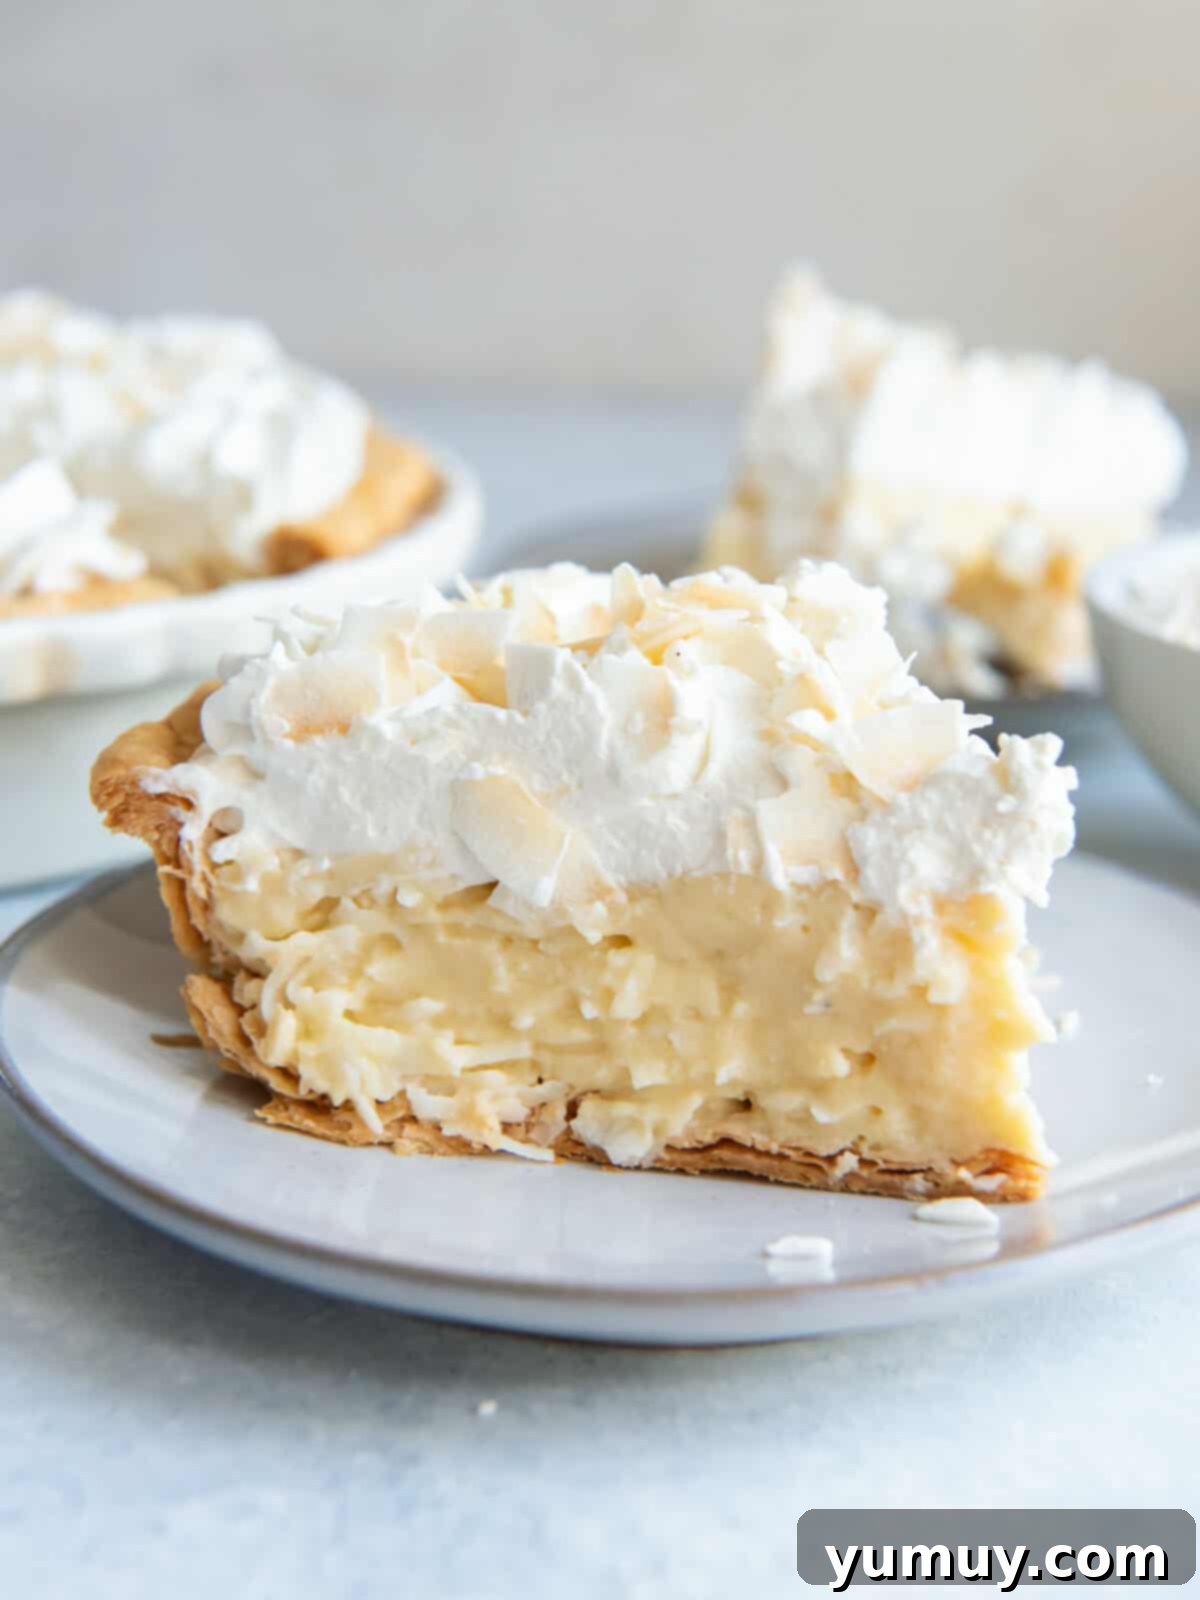
If you’ve ever yearned for a dessert that transports you to a tropical paradise with every creamy, coconut-infused bite, then this homemade coconut cream pie with coconut milk is your ultimate destination. This isn’t just any coconut pie; it’s a meticulously crafted culinary experience, designed to be effortlessly achievable for home bakers while delivering a taste and texture rivaling the finest bakery creations. Our recipe shines with a rich, silky homemade custard, bursting with authentic coconut flavor, thanks to one hero ingredient: full-fat coconut milk. This humble pantry staple is the secret to achieving an unparalleled lusciousness and depth of flavor without any unnecessary complexity. Whether you’re planning a grand holiday feast like Easter or Thanksgiving, or simply seeking a comforting weeknight indulgence, this easy coconut cream pie recipe is simple enough for even beginner bakers to master, yet impressively elegant for any guest.
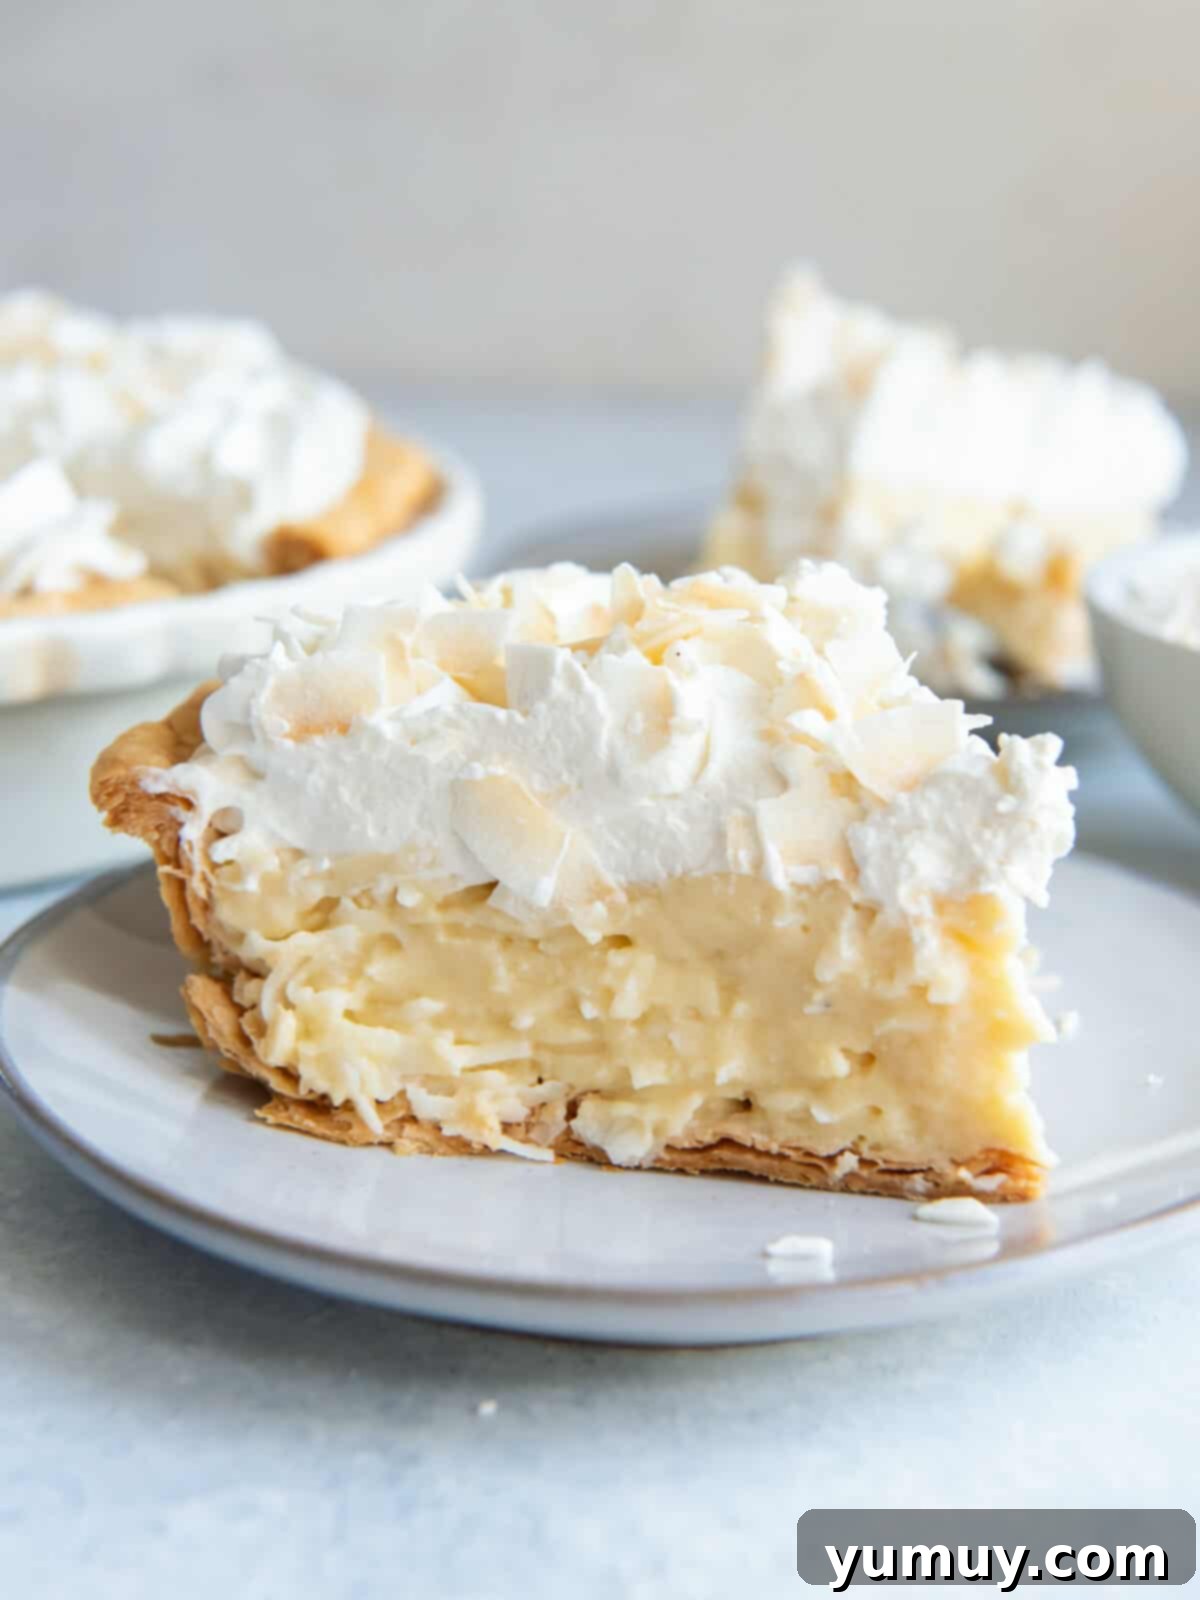
The Ultimate Homemade Coconut Cream Pie
Forget bland, artificial-tasting desserts. Our coconut cream pie recipe is a celebration of genuine coconut goodness, a true classic elevated to perfection. The heart of this pie is its incredibly indulgent custard filling, crafted with a harmonious blend of whole milk and rich heavy cream, elevating it to an extraordinary level of plushness. But the true star, the ingredient that truly makes this coconut cream pie filling sing, is premium full-fat coconut milk. It doesn’t just contribute to an amazingly smooth and velvety texture; it dramatically intensifies and authenticates that irresistible coconutty flavor we all crave, making it a standout amongst easy dessert recipes.
Adding another layer of textural delight, sweetened flaked coconut is folded directly into the warm custard. These tender flakes provide a delightful chewiness, creating a beautiful contrast against the ethereal smoothness of the filling. This intentional contrast is what makes each spoonful a complex and satisfying experience. While the filling is 100% from scratch, guaranteeing unbeatable flavor, we understand that time is precious. To keep this recipe quick and foolproof, we recommend using a good quality store-bought pie crust that has been pre-baked and cooled. However, for those who love a fully homemade touch, a classic pie crust or even a crushed cookie crust (graham cracker, golden Oreo, or Biscoff work wonderfully) would be absolutely divine. This adaptability makes it one of the best coconut pie recipes around.
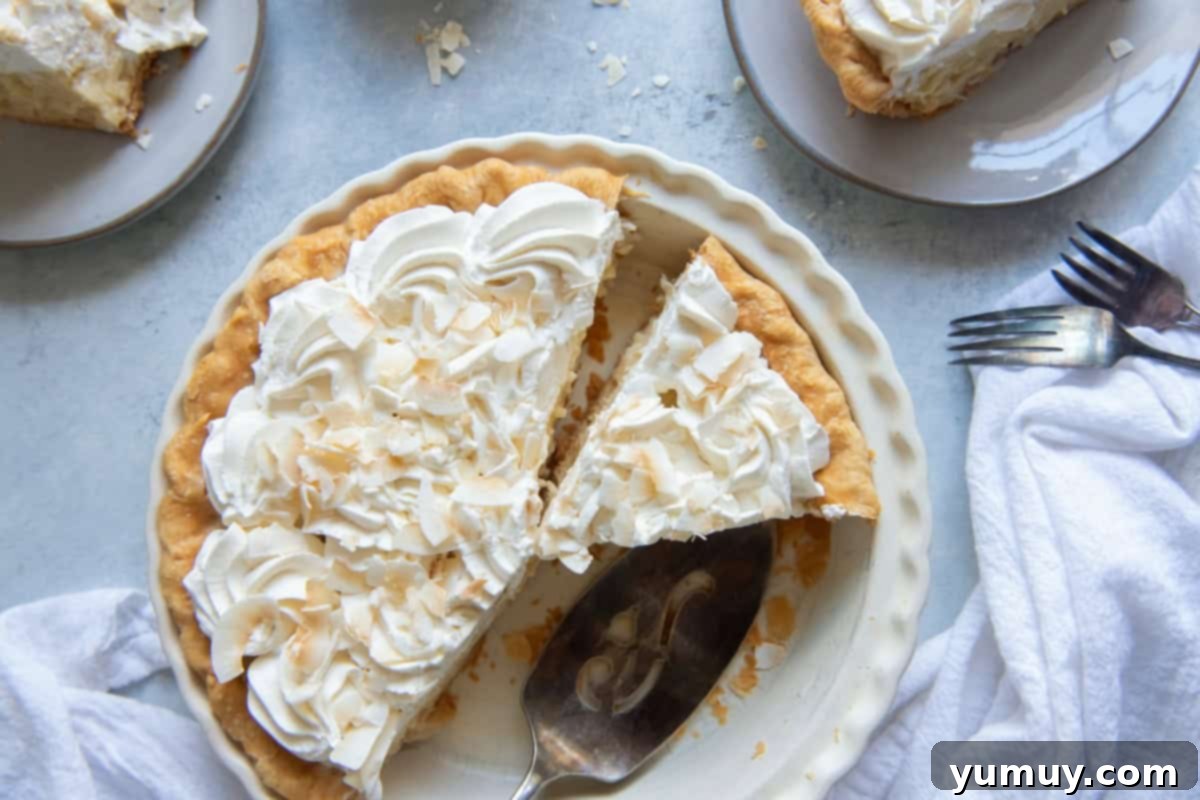
The Art of a Silky Custard: Low and Slow is Key
Achieving the perfect, impossibly smooth coconut cream pie filling is an art, but one that is easily mastered with a few simple techniques. The most crucial step is to cook the custard slowly and patiently over medium-low heat. Constant stirring is non-negotiable here; it prevents scorching and ensures the eggs cook gently and evenly, preventing any dreaded lumps. This methodical approach ensures that the custard thickens gradually and uniformly, developing a rich, creamy consistency without any textural mishaps. Once cooked to a luscious thickness, we take an extra step that makes all the difference: straining the custard through a fine-mesh sieve before chilling. This simple yet effective action meticulously removes any minuscule lumps or bits of cooked egg, guaranteeing that every spoonful of your homemade coconut cream pie boasts that professional-quality, perfectly silky finish. It’s the secret to a truly decadent dessert experience that will impress everyone.

Coconut Cream Pie with Coconut Milk
10 minutes
45 minutes
4 hours 55 minutes
4 hours
8 slices
Ingredients
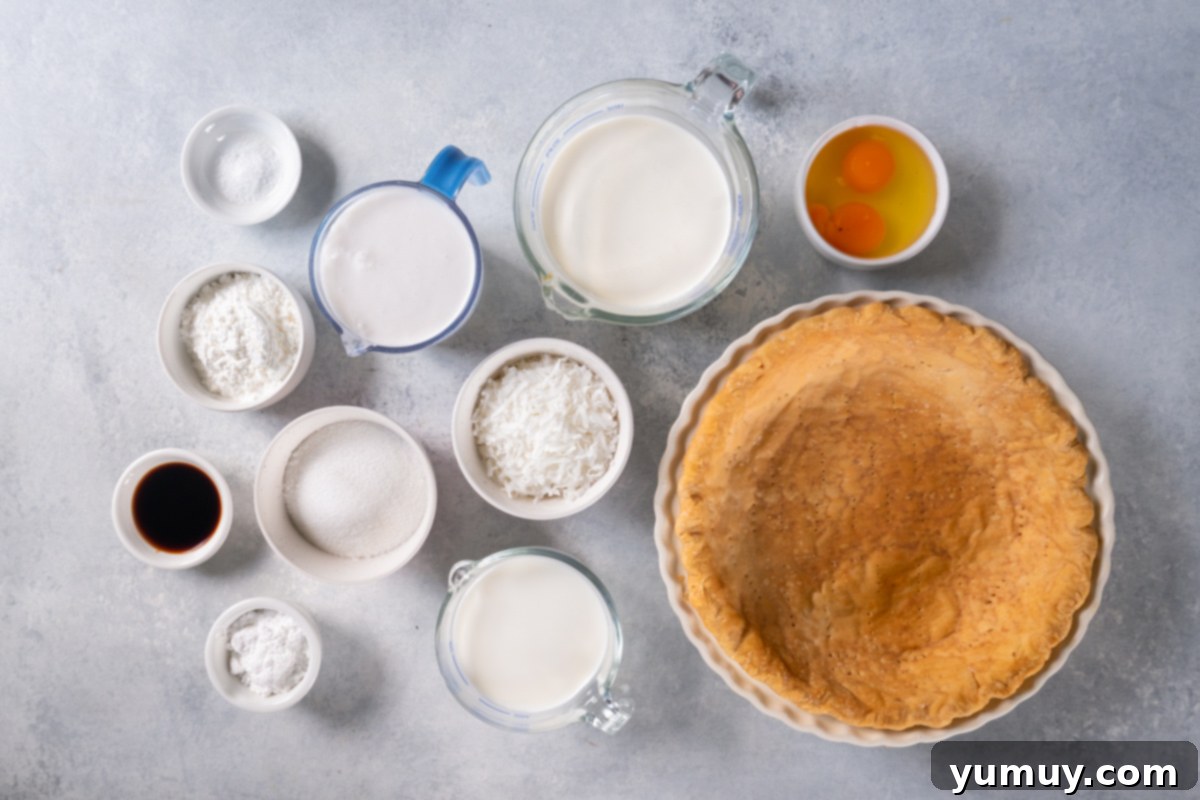
- 14 ounces full-fat coconut milk (1 can)*
- 1 cup whole milk
- ¼ cup heavy cream, divided
- ⅔ cup granulated sugar
- ⅓ cup cornstarch
- 2 large eggs, beaten
- ¼ teaspoon kosher salt
- 1½ teaspoons pure vanilla extract
- 1 cup sweetened flaked coconut
- 1 9-inch refrigerated pie crust, pre-baked and cooled** (homemade option here)
Optional Toppings
- 2 cups whipped cream
- ½ cup toasted coconut
Watch a video tutorial on how to make this delicious Coconut Cream Pie!
Equipment
- Kitchen Scale (optional)
- Pie Pan
- Fine-Mesh Sieve
- Medium Saucepan
- Whisk and Rubber Spatula
Instructions
- In a medium saucepan set over medium-low heat, whisk together the coconut milk, whole milk, heavy cream, granulated sugar, cornstarch, beaten eggs, and kosher salt. Cook, stirring constantly, for 15-20 minutes until the mixture thickens to a rich custard consistency. Ensure a bare simmer to avoid scrambling the eggs.

- Remove the saucepan from the heat and stir in the pure vanilla extract.

- Place a fine-mesh sieve over a clean mixing bowl. Pour the warm custard through the sieve, using a rubber spatula to press out any lingering clumps. This step ensures a flawlessly smooth custard.

- Gently fold the sweetened flaked coconut into the warm, strained custard until well combined.

- Pour the luscious coconut custard into your pre-baked and completely cooled 9-inch pie shell. To prevent a “skin” from forming, press a piece of plastic wrap directly onto the surface of the pie filling. Chill in the refrigerator for at least 4 hours, or ideally overnight (up to 1 day), until the pie is thoroughly set and firm.

- Just before serving, top the chilled pie with fresh whipped cream. For an extra touch of flavor and visual appeal, sprinkle with toasted coconut flakes. (To toast coconut, spread on a baking sheet and bake at 300°F (150°C) for 6-8 minutes until golden brown, stirring occasionally).

Recipe Notes & Expert Tips
**Beyond a traditional pie crust, consider a crust made from crushed graham crackers, golden Oreos, or Biscoff cookies for a delightful twist and added flavor dimension. Ensure any chosen crust is fully pre-baked and completely cooled before adding the custard to prevent a soggy bottom. This is a critical step for a structurally sound and delicious pie.
Crucial Tips for Success:
- Chilled Crust is Key: Always ensure your pie crust is fully cooled before introducing the warm filling. Baking the crust the day before is an excellent way to guarantee this and streamline your baking process, preventing any heat from compromising the crust’s integrity.
- Shake That Can: Before opening, give your can of full-fat coconut milk a good shake to ensure the cream and liquid are well combined for consistent richness and flavor in your coconut milk pie filling.
- Dairy-Free Delight: To transform this into a dairy-free coconut cream pie, substitute the whole milk with additional full-fat coconut milk, swap the heavy cream for a coconut creamer, and use a coconut-based whipped topping. It’s an easy modification for dietary needs.
- Gentle Heat, Constant Stirring: The golden rule for custard perfection is cooking over medium-low heat with continuous stirring. This slow, gentle approach prevents the eggs from overcooking and scrambling, which would result in a lumpy texture. Patience is your best friend here when making homemade coconut cream pie!
- Troubleshooting Thin Custard: If, after simmering for the recommended time, your custard still seems too thin, don’t fret! Whisk together 1 tablespoon of cornstarch with 1 tablespoon of cold water to create a slurry. Gradually whisk this mixture into the warm custard and continue stirring over low heat for another 3-5 minutes until it thickens appropriately. Be cautious not to overcook once thickened, as prolonged heat can cause the custard to break down and separate.
- The Sieve Secret: Straining the cooked custard through a fine-mesh sieve is not an optional step; it’s a non-negotiable one for bakery-quality smoothness. It diligently captures any tiny cooked egg particles, ensuring your custard is luxuriously silky and smooth.
- Perfect Timing for Whipped Cream: If you’re preparing this pie ahead of time, hold off on adding the whipped cream topping until just before serving. This maintains the whipped cream’s fresh texture and appearance. Cover the cooled custard filling directly with plastic wrap to prevent a skin from forming.
- Toasting Coconut Flakes: For a beautiful golden-brown and intensely flavorful topping, spread shredded or flaked coconut evenly on a rimmed baking sheet. Bake in a preheated 300°F (150°C) oven for about 6-8 minutes, stirring once or twice, until lightly toasted. Keep a close eye on it, as coconut can brown quickly! This adds a fantastic aromatic crunch.
Storage & Freezing: Once assembled and chilled, store leftover coconut cream pie loosely covered with aluminum foil or plastic wrap in the refrigerator for up to 4 days. For longer storage, you can freeze the pie (without the whipped cream topping) tightly covered in two layers of plastic wrap and one layer of heavy-duty aluminum foil for up to 3 months. To serve, thaw the frozen pie overnight in the refrigerator. Be aware that the delicate texture of the custard filling might subtly change upon thawing, potentially becoming slightly softer, but the flavor will remain excellent.
Calories from Fat 279
Becky Hardin
Did You Make This?
We love seeing what you’ve made! Tag us on social media at
@easydessertrecipes
for a chance to be featured.
Crafting Your Dream Coconut Cream Pie: A Step-by-Step Guide
Creating this irresistible coconut cream pie is a delightful journey. Follow these detailed steps to ensure a flawless, bakery-worthy result every single time. This step-by-step approach breaks down the process into manageable parts, perfect for anyone looking for an easy coconut cream pie recipe.
Step 1: Prepare Your Pie Crust (The Foundation of Flavor)
Prep: Begin by preparing your 9-inch pie crust. Whether you opt for the convenience of a good quality refrigerated store-bought crust or choose to bake up your own homemade food processor pie crust, the most crucial step is to ensure it is thoroughly pre-baked and completely cooled before the filling is added. A warm crust can lead to a soggy bottom, compromising the pie’s overall texture and creating an unappealing result. Ideally, bake your crust the day before to allow ample cooling time. This foundation is essential for a pie that holds its shape and delivers a satisfying crunch with every slice, providing the perfect counterpoint to the creamy filling.
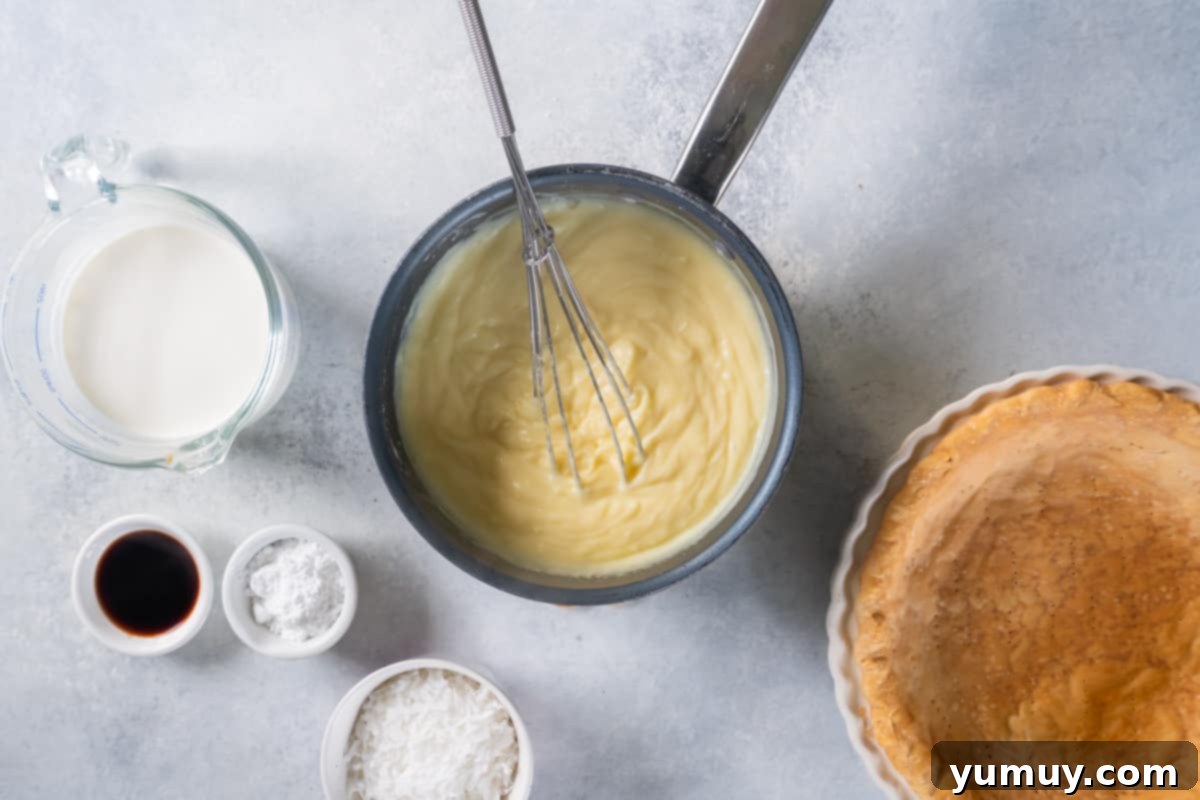
Step 2: Gently Cook the Rich Coconut Custard (Patience is a Virtue)
Cook the Custard: In a sturdy medium saucepan, combine 14 ounces (one full can) of luscious full-fat coconut milk, 1 cup of whole milk, ¼ cup of rich heavy cream, ⅔ cup of granulated sugar, ⅓ cup of cornstarch, 2 large beaten eggs, and ¼ teaspoon of kosher salt. Place the saucepan over medium-low heat. This temperature setting is vital for a smooth custard, as higher heat can lead to scrambled eggs. Begin whisking constantly and continue without interruption for 15-20 minutes. You’ll notice the mixture gradually thickening into a beautiful, creamy custard. The key here is to maintain a bare simmer – just a few gentle bubbles at the edges – while stirring continuously. This prevents the eggs from cooking too quickly and clumping, which could result in a lumpy texture. If you find your custard isn’t thickening sufficiently after the recommended time, prepare a quick slurry by whisking 1 tablespoon of cornstarch with 1 tablespoon of cold water until smooth. Stir this slurry gradually into your custard and continue to simmer, stirring, for another 3-5 minutes until the desired thickness is achieved. Remember, slow and steady truly wins the race for perfect custard!
Step 3: Infuse with Aromatic Vanilla
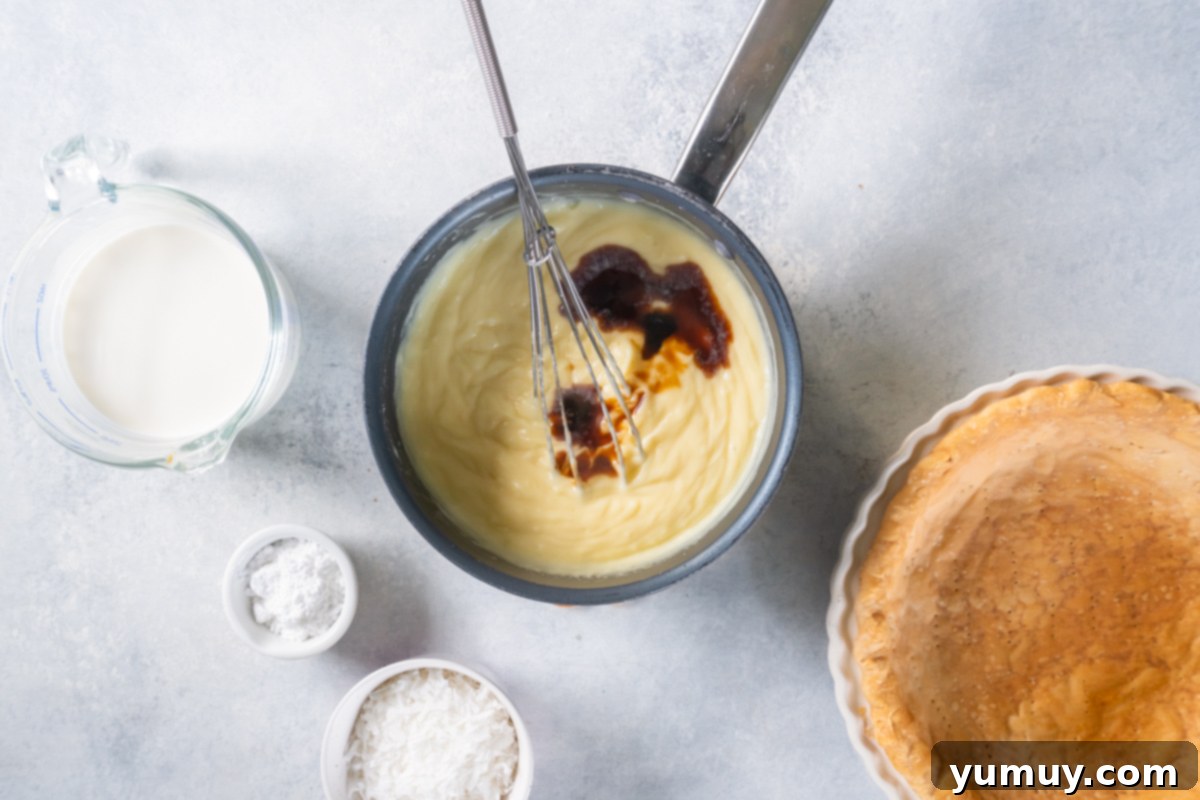
Stir in the Vanilla: Once your custard has reached its ideal thickness and is removed from the heat, immediately stir in 1½ teaspoons of premium pure vanilla extract. It’s crucial to add the vanilla off the heat. High temperatures can cause the delicate vanilla flavor and aroma to evaporate, diminishing its impact on your delicious pie. By adding it at this stage, you lock in all that wonderful, fragrant essence, enriching the overall flavor profile of your coconut custard and adding a layer of warmth to the tropical notes.
Step 4: The Secret to Silky Smoothness: Straining the Custard
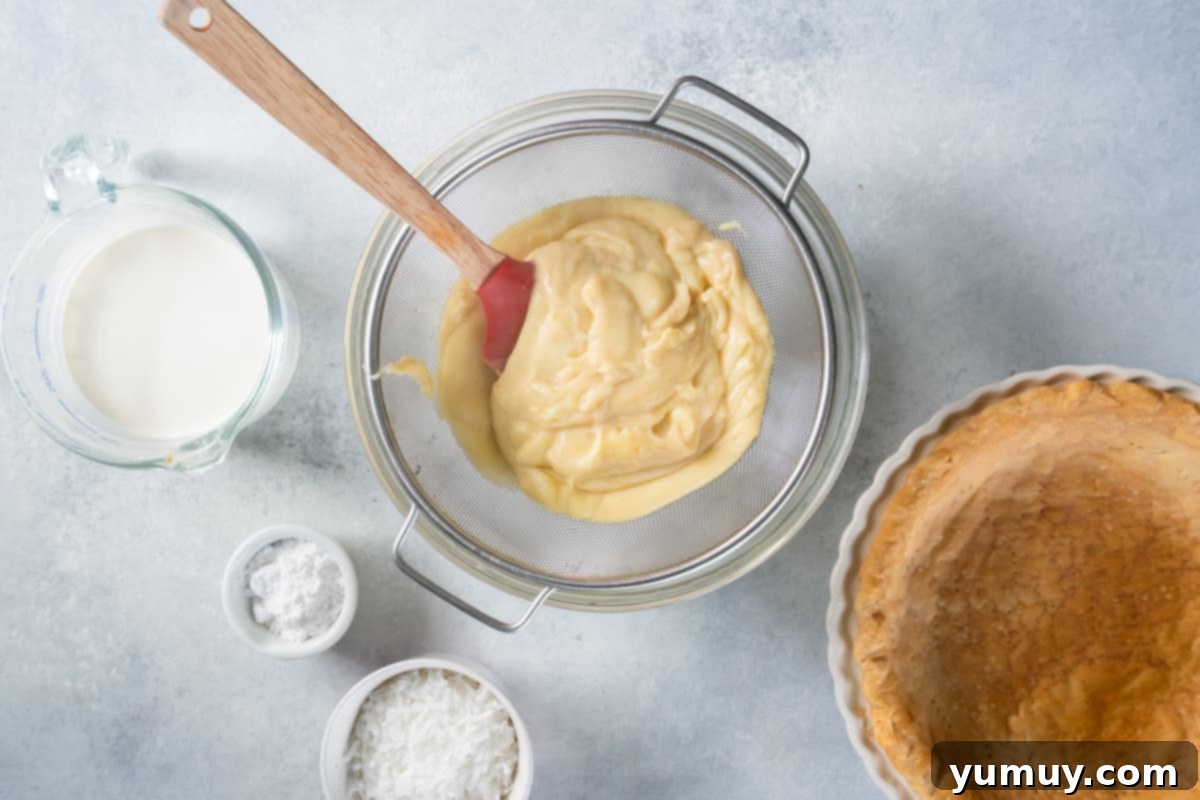
Strain the Custard: For a truly professional, lump-free custard, this step is non-negotiable. Position a fine-mesh sieve over a clean, heat-proof mixing bowl. Carefully pour the warm custard through the sieve. Use a rubber spatula to gently press any remaining custard through the mesh, ensuring that any tiny cooked egg particles or minor lumps are left behind. This simple action is your guarantee for an exquisitely smooth, velvety texture that is the hallmark of a gourmet coconut cream pie. Don’t skip this; it’s a small effort for a huge reward that makes all the difference in the final presentation and mouthfeel of your dessert!
Step 5: Fold in the Flaked Coconut for Texture and Flavor
Stir in the Coconut: Once the custard is perfectly smooth and still warm, it’s time to incorporate the star texture element. Gently fold 1 cup of sweetened flaked coconut into the custard. The warmth of the custard will slightly soften the flakes, allowing them to meld beautifully while still retaining a pleasant chewiness. This addition not only boosts the coconut flavor, making your coconut cream pie with coconut milk even more authentic, but also provides a wonderful textural contrast that makes each bite more interesting and satisfying. It’s the perfect way to ensure a burst of coconut in every mouthful.

Step 6: Chill to Perfection (The Hardest Part: Waiting!)
Chill the Pie: Carefully transfer your warm, coconut-infused custard into the pre-baked and completely cooled pie shell. To prevent a “skin” from forming on the surface of your beautiful custard – which can affect texture and appearance – press a piece of plastic wrap directly onto the surface of the filling. Ensure there are no air bubbles between the plastic wrap and the custard. Now comes the most challenging part: waiting! Transfer the pie to the refrigerator and chill it until it is thoroughly firm and set. This will take a minimum of 4 hours, but for the best results and a perfectly stable slice, we highly recommend chilling it overnight, or for up to a full day. Adequate chilling time is paramount for the pie to fully set and for the flavors to meld beautifully.

Step 7: Final Touches & Serving
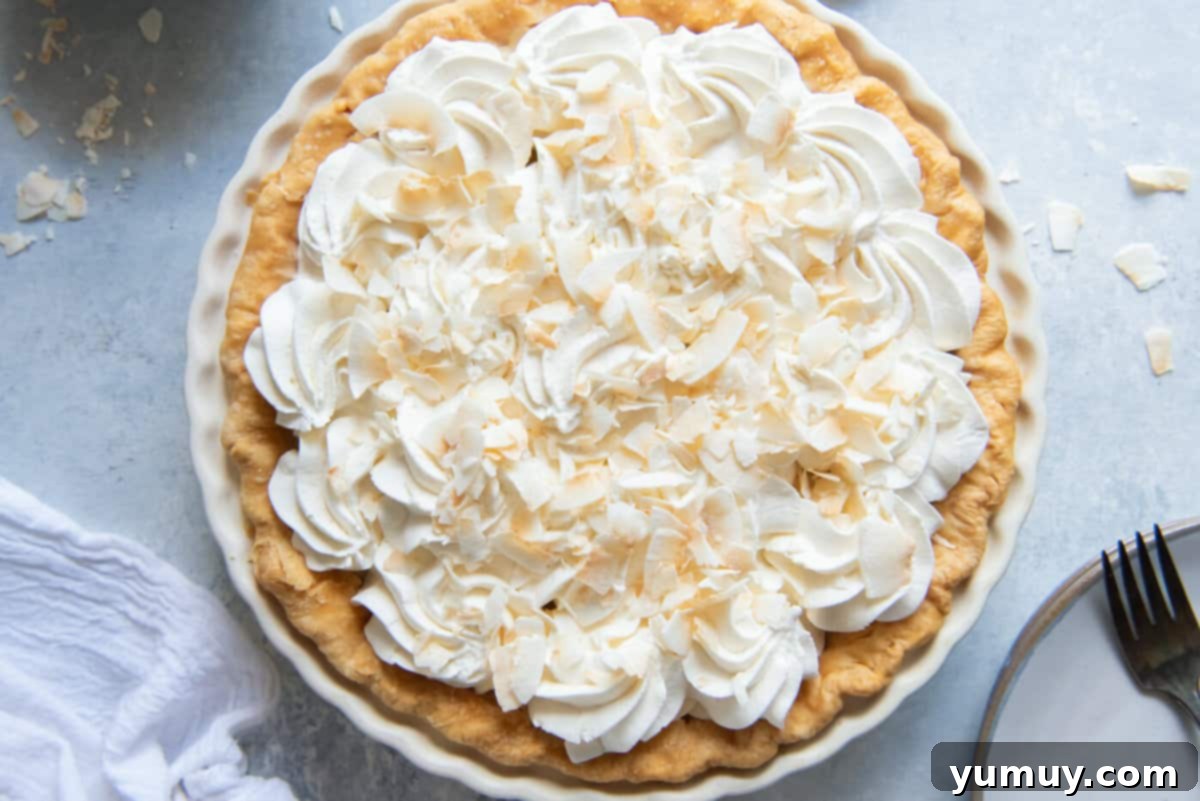
Top and Serve: Just before you’re ready to present and devour your masterpiece, it’s time for the final flourishes. Generously top the chilled pie with 2 cups of light, airy homemade whipped cream (or your favorite store-bought alternative). For an irresistible crunch and intensified coconut aroma, sprinkle ½ cup of freshly toasted coconut over the entire pie. To toast coconut flakes: spread them evenly on a rimmed baking sheet and bake in a preheated 300°F (150°C) oven for about 6-8 minutes, stirring frequently, until they achieve a beautiful golden-brown hue and become fragrant. Watch them closely, as coconut can go from perfectly toasted to burnt very quickly! Slice and serve this divine pie, watching your guests’ faces light up with joy. This final step transforms a delicious pie into an unforgettable presentation, making it perfect for any special occasion.
Why This Coconut Cream Pie Recipe Stands Out
In a world of many dessert options, our Coconut Cream Pie with Coconut Milk carves its niche as an undeniable crowd-pleaser. Its secret lies in the meticulous balance of flavors and textures, ensuring that every element contributes to a harmonious whole. The richness of full-fat coconut milk isn’t just about creaminess; it imparts a deep, authentic coconut essence that synthetic flavorings simply cannot replicate. This, combined with the classic richness of whole milk and heavy cream, forms a custard that’s both robust in flavor and delicate in texture. The added sweetened flaked coconut doesn’t just decorate; it weaves in a delightful chew that contrasts beautifully with the smooth filling, preventing the pie from being one-note. It’s a dessert that speaks of comfort, celebration, and a touch of tropical luxury, making it perfect for both festive occasions like Easter and Thanksgiving, or simply as an indulgent treat on a quiet weeknight. This recipe truly embodies the essence of a classic coconut pie, but with an unparalleled depth of flavor and creamy texture.
Common Mistakes and How to Avoid Them for Perfect Pie
Even with an easy coconut cream pie recipe, some common pitfalls can occur. Knowing how to avoid them ensures your dessert turns out perfectly every time:
- Lumpy Custard: The primary culprit here is cooking the custard too fast over too high heat, or insufficient stirring. Always use medium-low heat and whisk continuously. Straining the custard after cooking will also catch any small lumps, ensuring a silky texture.
- Scrambled Eggs: Directly related to high heat. The eggs need to be cooked gently and slowly. If you see signs of scrambling, immediately remove the saucepan from heat and whisk vigorously, or consider blending quickly with an immersion blender to salvage, then strain through a fine-mesh sieve.
- Soggy Pie Crust: This is often due to not blind-baking the crust thoroughly enough, or adding the warm filling to a crust that hasn’t fully cooled. Always pre-bake until golden and let it cool completely on a wire rack before filling.
- Thin Custard: If your custard isn’t thickening, it might be due to insufficient cornstarch (less likely if you follow the recipe precisely) or not cooking long enough at the right temperature. The cornstarch slurry trick (1 tbsp cornstarch + 1 tbsp cold water) is your best friend here – add it gradually and continue cooking until thickened.
- “Skin” on Custard: An uncovered custard surface will form a film as it cools, affecting its smooth texture. Pressing plastic wrap directly onto the surface of the filling while chilling is essential to maintain a smooth, appealing top.
- Burnt Toasted Coconut: Coconut flakes can toast very quickly due to their high oil content. Keep a watchful eye on them, stirring frequently, and remove them from the oven as soon as they turn golden brown and fragrant.
Serving Suggestions and Creative Variations
While this Coconut Cream Pie with Coconut Milk is absolutely divine on its own, a few additions can elevate it further and customize it to your taste:
- Chocolate Shavings: A sprinkle of elegant dark chocolate shavings on top of the whipped cream offers a sophisticated contrast in both flavor and appearance.
- Fresh Fruit: Garnish individual slices with vibrant fresh berries (like raspberries or blueberries) or small pieces of tropical fruits such as mango or pineapple for a beautiful pop of color and a refreshing touch of acidity.
- Coconut Extract Boost: For an even more intense coconut flavor that truly satisfies any coconut fanatic, add an extra ½ teaspoon of high-quality coconut extract to the custard along with the vanilla.
- Crust Alternatives: As mentioned earlier, beyond traditional pie crusts, a graham cracker, Nilla Wafer, or Biscoff cookie crust provides a different flavor profile and texture that complements the creamy filling. You can also experiment with an almond or shortbread cookie crust for a gourmet touch.
- Mini Pies: For individual servings or a charming party presentation, bake the pie in mini pie shells or tart pans. Remember to adjust baking and chilling times accordingly for smaller portions.
How to Store and Freeze Your Coconut Cream Pie
Proper storage is crucial to maintaining the quality and freshness of your homemade coconut cream pie. Once the pie has been fully chilled and set, any leftovers should be stored promptly to ensure optimal taste and texture.
Refrigeration: For short-term storage, gently cover the entire pie loosely with aluminum foil or plastic wrap. It’s important to avoid pressing the covering directly onto the whipped cream topping, if already applied, to prevent crushing its delicate texture. Store the pie in the refrigerator for up to 4 days. If the whipped cream has not yet been added, an excellent tip is to press plastic wrap directly onto the custard surface itself. This essential step prevents a “skin” from forming on the custard and keeps it wonderfully fresh and smooth until you’re ready to serve.
Freezing: For longer preservation, this pie freezes surprisingly well, though we highly recommend freezing it *without* the whipped cream topping for the best results. To freeze, ensure the pie is completely chilled and set. Wrap the pie (still in its pie plate) tightly in two layers of plastic wrap, followed by one layer of heavy-duty aluminum foil. This triple-layer protection helps prevent freezer burn and preserves the pie’s quality. Label with the date of freezing and store in the freezer for up to 3 months. To serve, thaw the frozen pie overnight in the refrigerator. Be aware that the delicate texture of the custard filling might subtly change upon thawing, potentially becoming slightly softer or more liquid, but the authentic coconut flavor will remain excellent. Add fresh whipped cream and toasted coconut after thawing for best presentation.
More Divine Pie Recipes to Explore!
If you’ve fallen in love with the comforting charm of homemade pies, we have a treasure trove of other delightful recipes waiting for you. Expand your baking repertoire and discover your next favorite dessert, from classic fruit pies to creamy custards!
Irresistible Butterscotch Pie
Refreshing Strawberry Jello Pie
Classic Sour Cream Raisin Pie
Southern Buttermilk Pie
Browse All Our Pie Recipes
