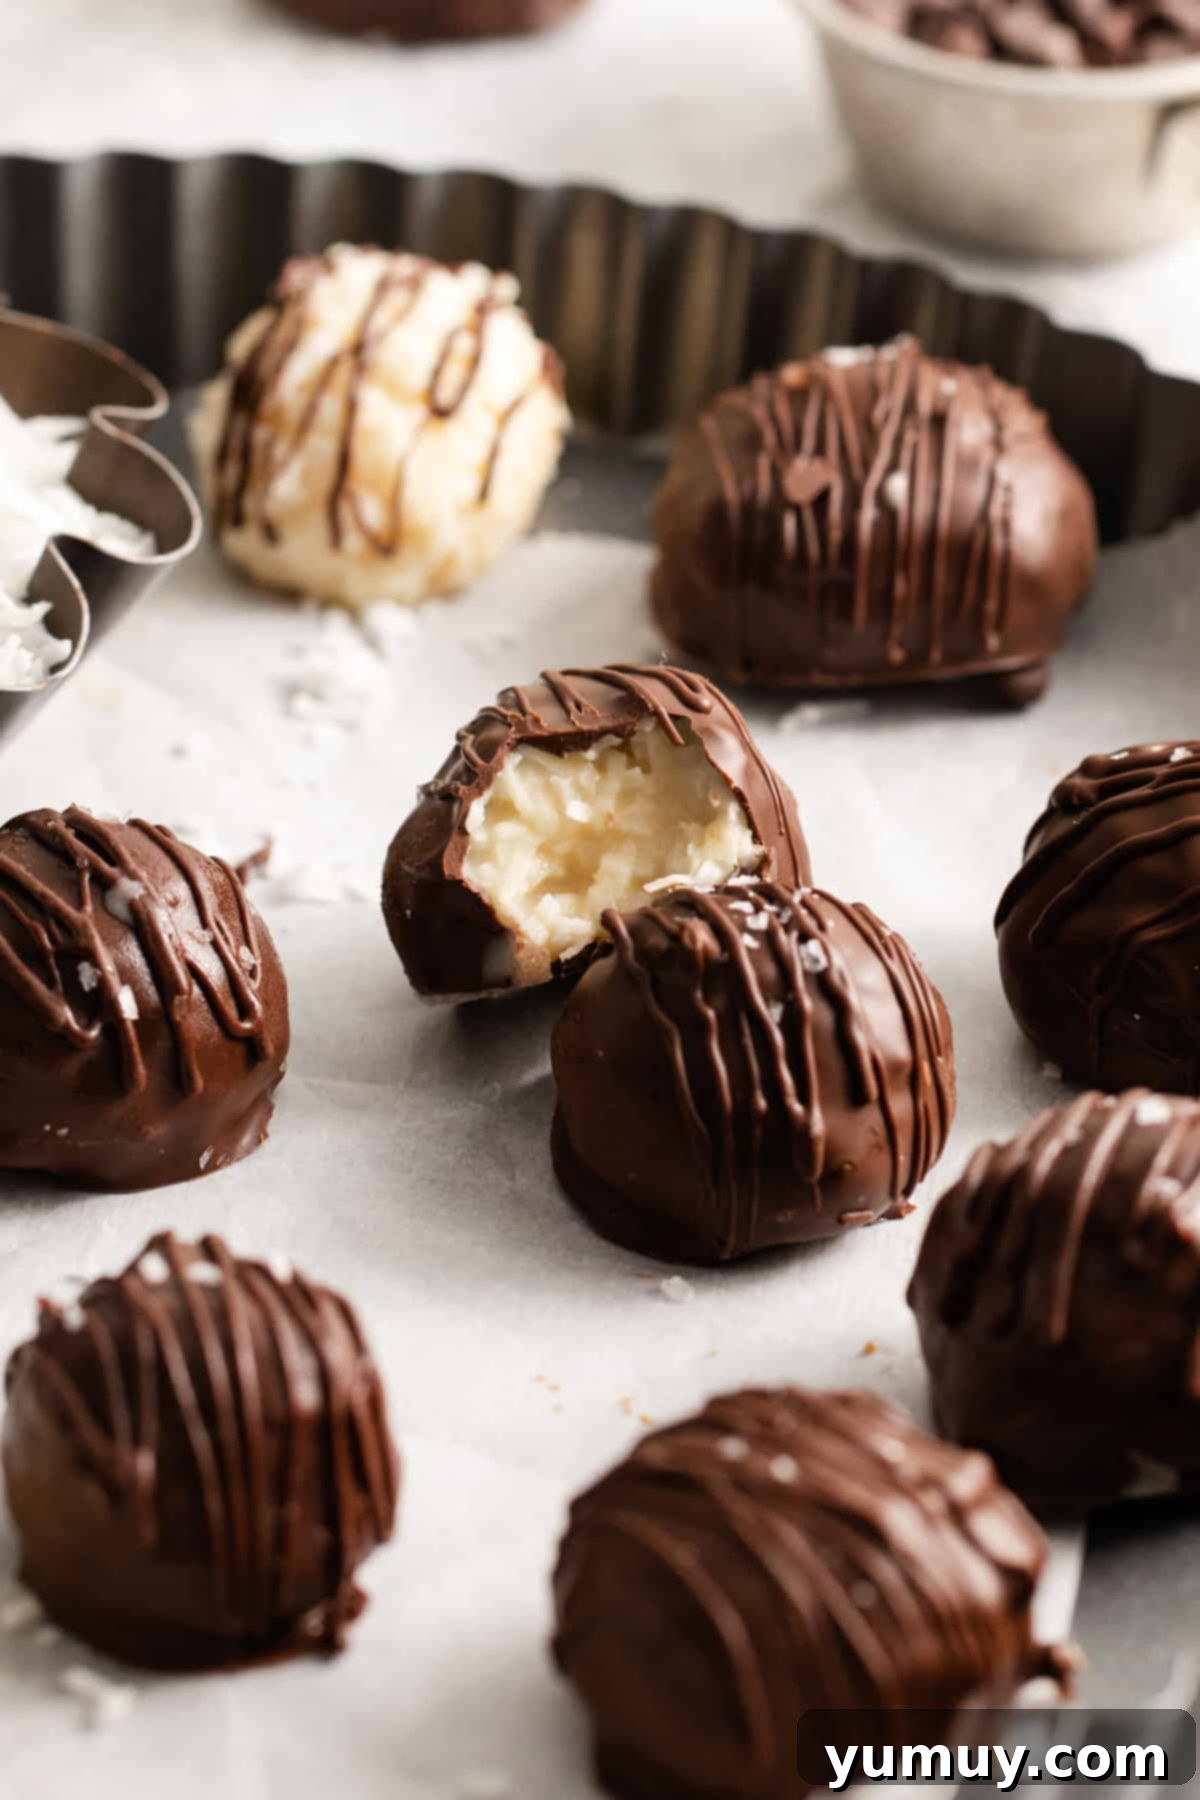
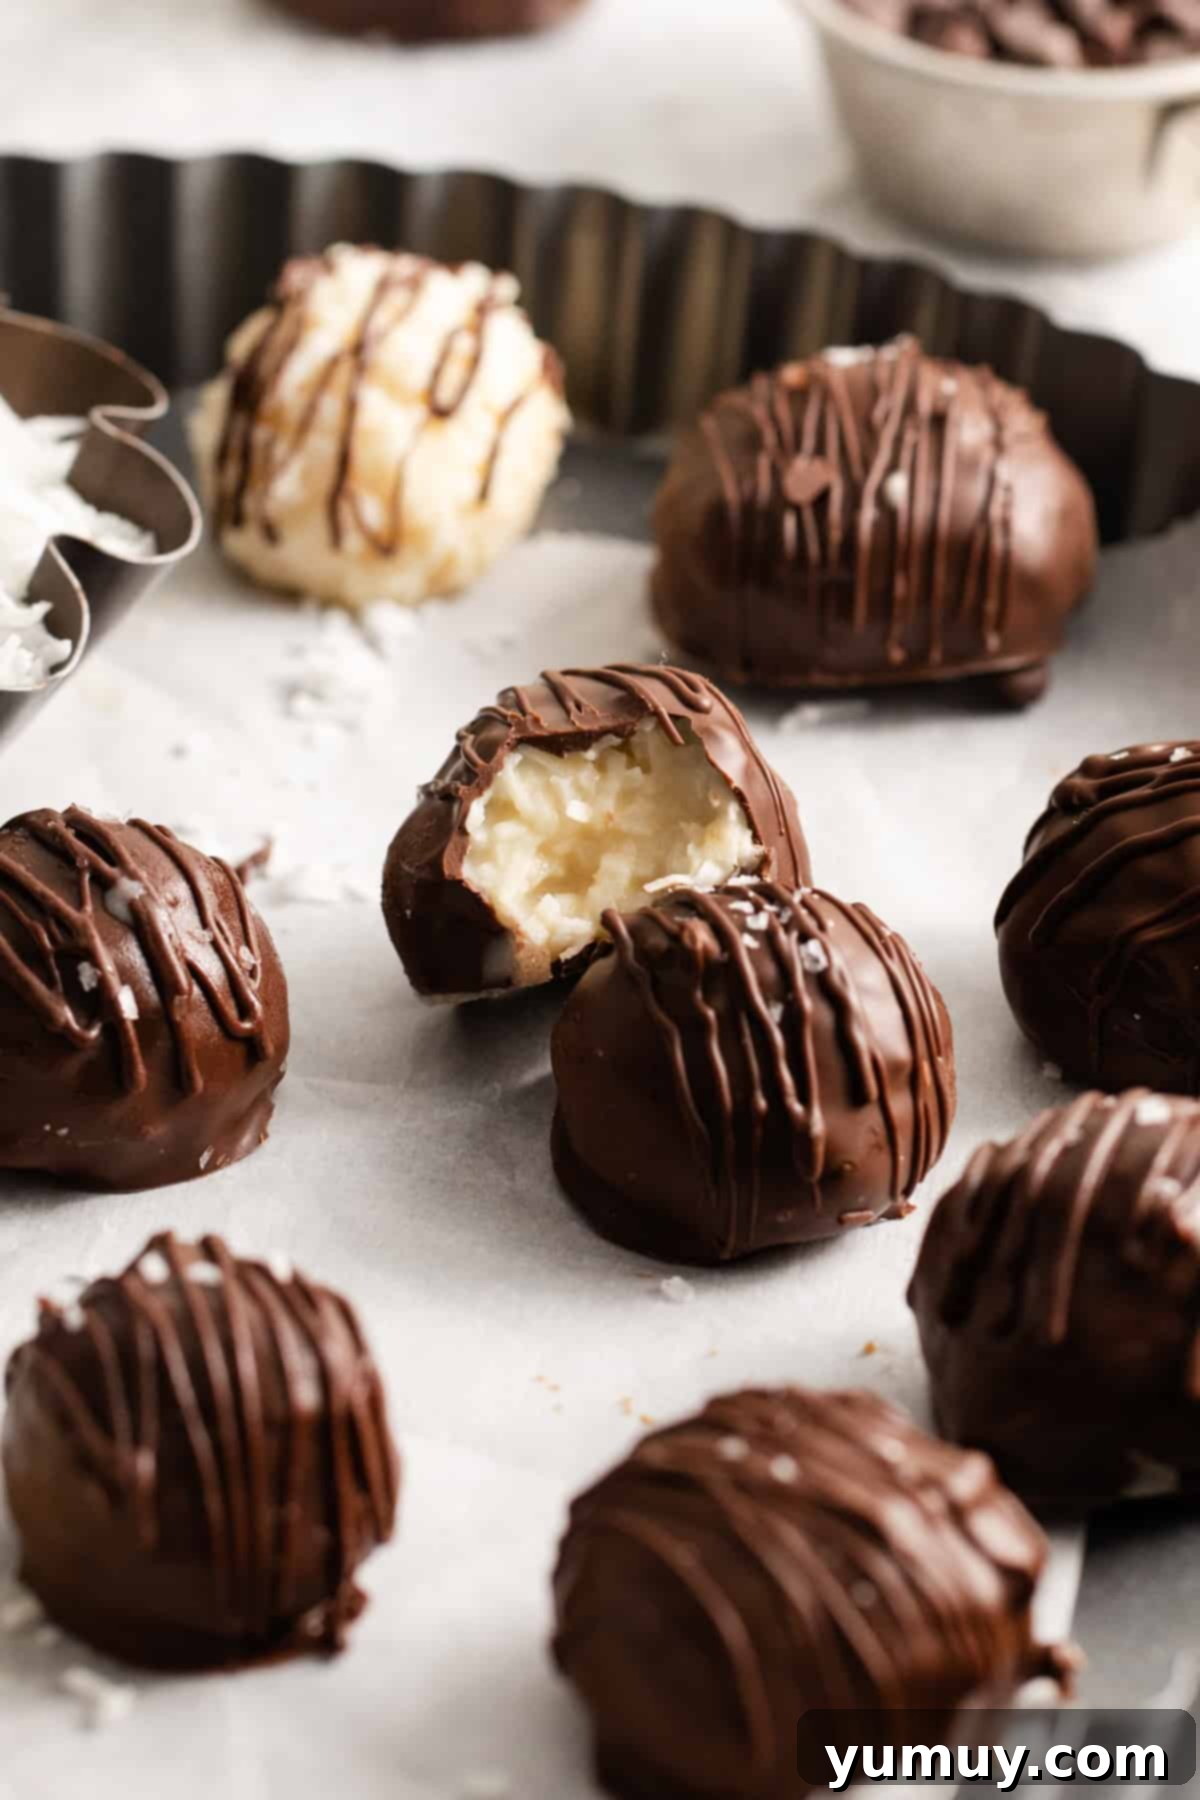
Are you craving a sweet escape? Imagine the perfect harmony of rich dark chocolate and creamy, sweet coconut – a combination that truly satisfies the soul. These homemade chocolate coconut truffles are more than just a dessert; they’re a blissful journey for your taste buds, reminiscent of a gourmet Mounds bar but with an unparalleled freshness and softness that only a homemade treat can offer. Made with just six simple, wholesome ingredients, you can feel good about indulging in these delectable no-bake coconut truffles. Each bite delivers a lush, velvety coconut center enveloped in a crisp, dark chocolate shell, making them an ideal choice for holidays, special occasions, or simply a delightful everyday indulgence. Best of all, they come together in under an hour, proving that you don’t need to be a professional chocolatier to create these elegant and incredibly easy confections. Get ready to transform your kitchen into a sweet haven!
- Pin this recipe for later!
Decadent Chocolate Coconut Truffles: A Homemade Delight
These exquisite chocolate coconut truffles are celebrated for their remarkably soft, creamy coconut filling, beautifully contrasted by the satisfying snap of a high-quality dark chocolate coating. The secret to their irresistible richness and smooth texture lies in a carefully crafted blend of ingredients. We use sweetened condensed milk to impart a deep, luscious creaminess, while powdered sugar plays a crucial role in absorbing any excess moisture, ensuring the filling remains silken and never soggy. The shredded coconut adds a delightful chewiness that true coconut lovers adore. However, if you dream of a truffle that melts effortlessly in your mouth, you can achieve a finer, more delicate texture by simply pulsing the shredded coconut in a food processor for a few seconds before incorporating it into the mixture.
For the chocolate coating, we’ve found a clever trick to achieve that coveted glossy, professional finish without the complexities of full chocolate tempering. By blending dark chocolate chips with chocolate melting wafers (also known as chocolate bark), you get the best of both worlds: the rich flavor of quality chocolate and the smooth, stable coating properties of melting wafers. This combination ensures a beautiful shine and a firm shell that holds up perfectly at room temperature, making these truffles as visually appealing as they are delicious. This method simplifies the dipping process, allowing anyone to create stunning, bakery-worthy truffles right in their own kitchen.
Craving another healthy and flavorful treat? Discover our delicious Keto Almond Joy Fat Bombs for a guilt-free indulgence! They offer a similar flavor profile with a low-carb twist.
Sourcing the Best Coconut for Your Truffles
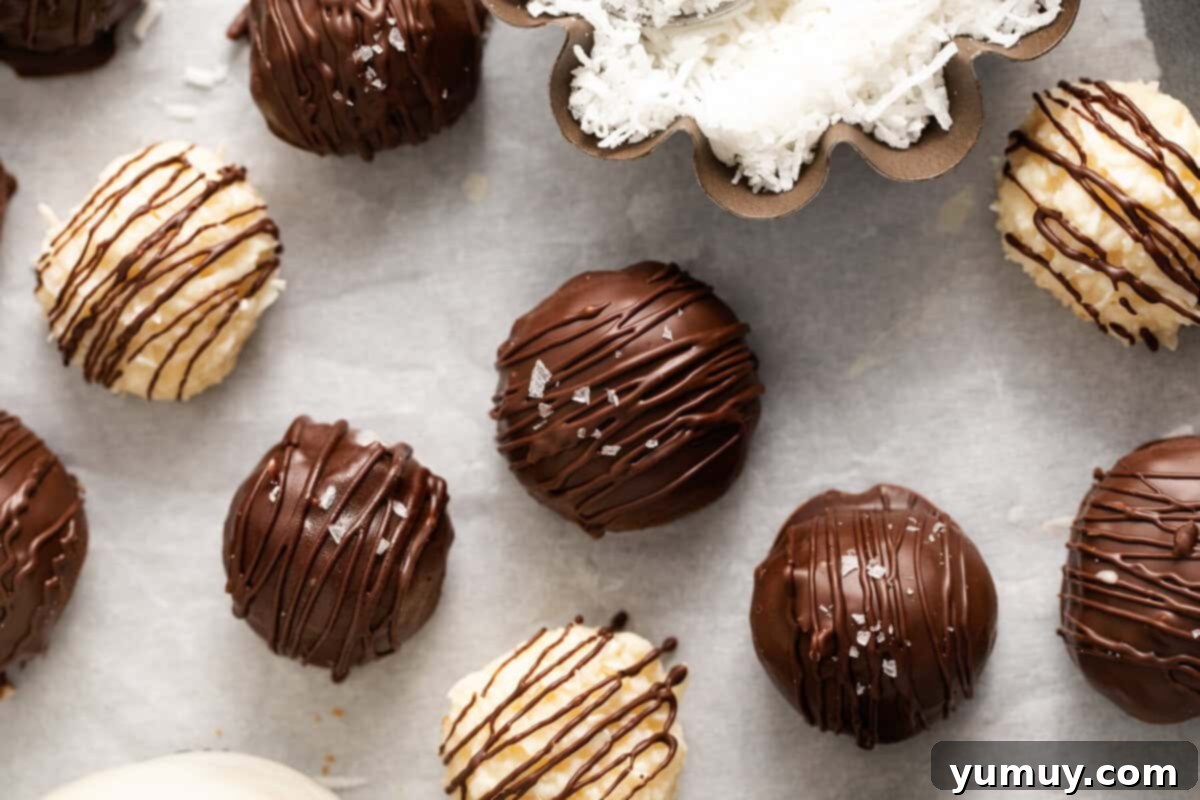
The quality of your ingredients significantly impacts the final taste and texture of your coconut truffles. For the most vibrant and authentic coconut flavor, I highly recommend selecting shredded coconut where the label clearly lists only “coconut and sugar” as ingredients. Avoid brands that include additives, anti-caking agents, or artificial flavors. These often dull the natural flavor and can even alter the texture, making the truffles less appealing. Pure, minimally processed coconut not only provides a fresher, more natural taste but also binds together more effectively. This ensures your truffle filling maintains its ideal moisture content and forms perfectly smooth, cohesive balls that won’t fall apart during the dipping process. Prioritizing quality coconut is a small step that makes a big difference in creating truly exceptional, homemade truffles.

Easy Homemade Chocolate Coconut Truffles Recipe
These decadent no-bake chocolate coconut truffles offer a creamy, sweet coconut center wrapped in rich dark chocolate. They’re quick, easy, and taste like a gourmet Mounds bar – perfect for any occasion!
Print Recipe
Ingredients for Coconut Truffles
- 4 cups sweetened shredded coconut. Opt for pure coconut with minimal additives for the best flavor and texture. If you prefer a finer texture, lightly pulse it in a food processor before mixing, but be careful not to turn it into a paste.
- 1 cup powdered sugar. Essential for a smooth, non-gritty filling and absorbing excess moisture, which helps the truffles hold their shape.
- 14 ounces sweetened condensed milk (1 can). Provides crucial richness and binds the truffle mixture perfectly, giving it that creamy consistency.
- 4 teaspoons coconut oil divided and melted. Used in the filling for moisture and in the chocolate coating for a smoother, shinier finish.
- 8 ounces dark chocolate chips. Contributes to the deep, rich flavor of the chocolate shell, balancing the sweetness of the coconut.
- 8 ounces chocolate bark or chocolate melting wafers. Crucial for achieving a professional, glossy, and stable chocolate coating that sets quickly and doesn’t require tempering.
Equipment You’ll Need
- Kitchen Scale (optional, but recommended for precision in ingredients)
- Large Rimmed Baking Sheet
- Parchment Paper
- Large Mixing Bowl
- Medium-sized Microwave-Safe Bowl
- Cookie Scoop or Measuring Spoon (for consistent portioning)
- Fork or Dipping Tool (for easier chocolate coating)
Step-by-Step Instructions to Make Coconut Truffles
Prepare Your Workspace: Begin by lining a large rimmed baking sheet with parchment paper. This vital step will prevent your truffles from sticking and make cleanup significantly easier. Set this aside for later use. If your coconut oil isn’t already melted, gently warm 2 teaspoons of it in 10-second bursts in the microwave or in a small pot over low heat on the stove until it is completely liquid and clear, ready to be incorporated into the filling.

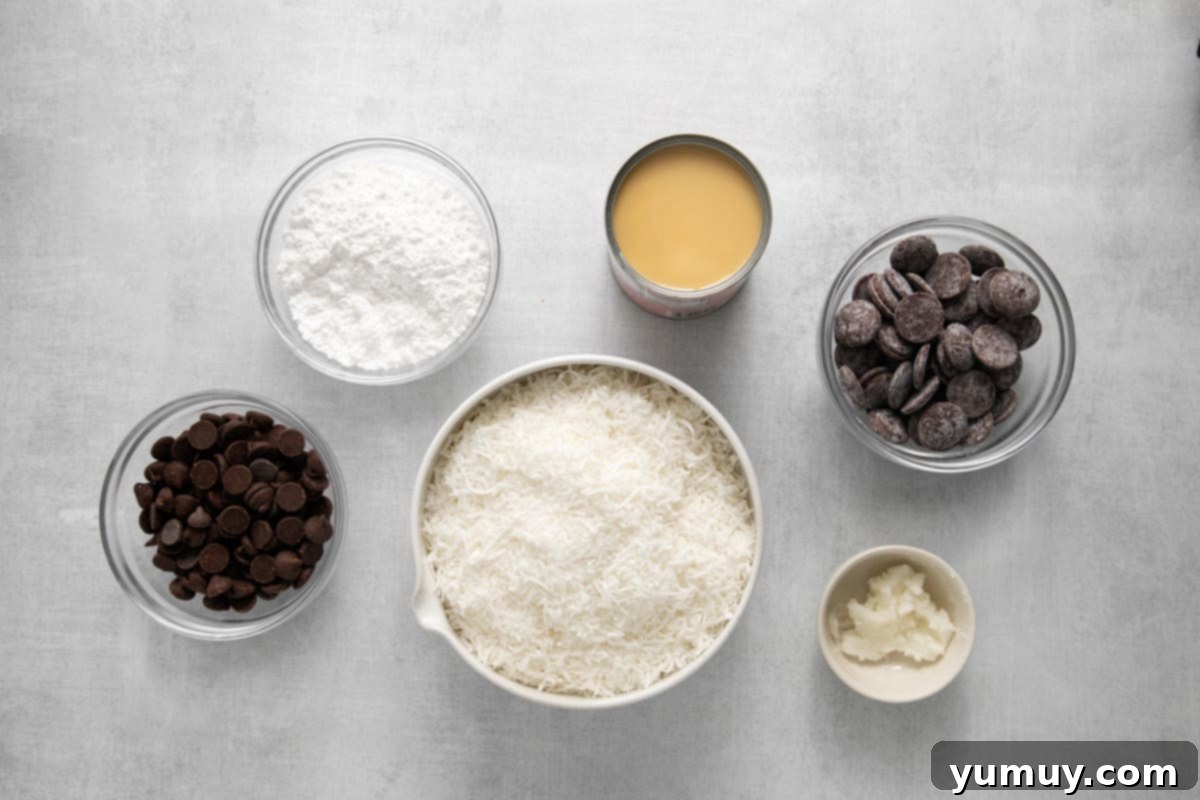
Gathering your ingredients ensures a smooth and enjoyable truffle-making process. Create the Sweet Coconut Base: In a spacious mixing bowl, combine the 4 cups of sweetened shredded coconut with 1 cup of powdered sugar. Stir these two ingredients together thoroughly until the powdered sugar is evenly distributed amongst the coconut flakes. This initial mixing helps prevent clumps and ensures uniform sweetness and texture throughout the truffle filling. Use a sturdy spoon or your hands to ensure a consistent blend.

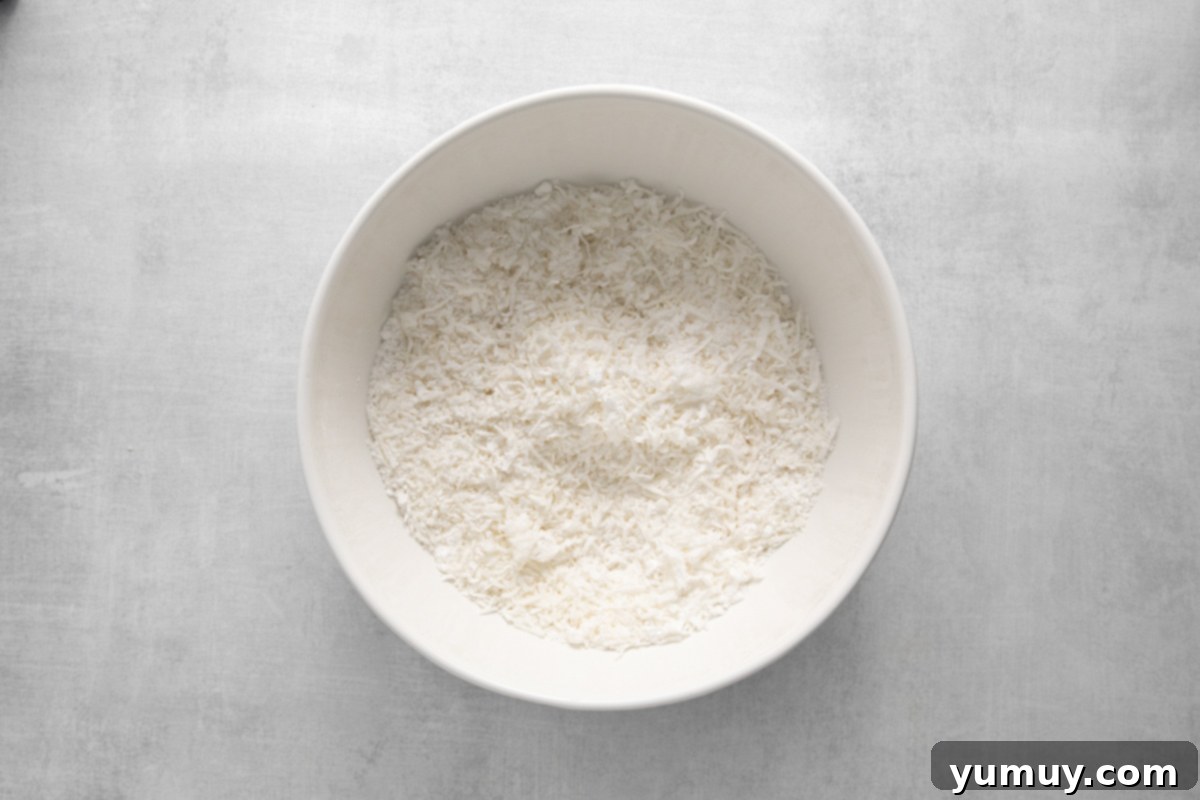
Ensure the coconut and powdered sugar are thoroughly combined before proceeding. Bind the Filling: Pour in the entire 14-ounce can of sweetened condensed milk, along with the 2 teaspoons of melted coconut oil you prepared earlier, into the coconut-sugar mixture. Stir everything vigorously until all ingredients are well combined and form a thick, sticky, and cohesive mass. The mixture should be pliable enough to roll into balls and hold its shape easily. If it feels too dry and crumbly, add another teaspoon of condensed milk; if too wet, a touch more powdered sugar can help achieve the perfect consistency.

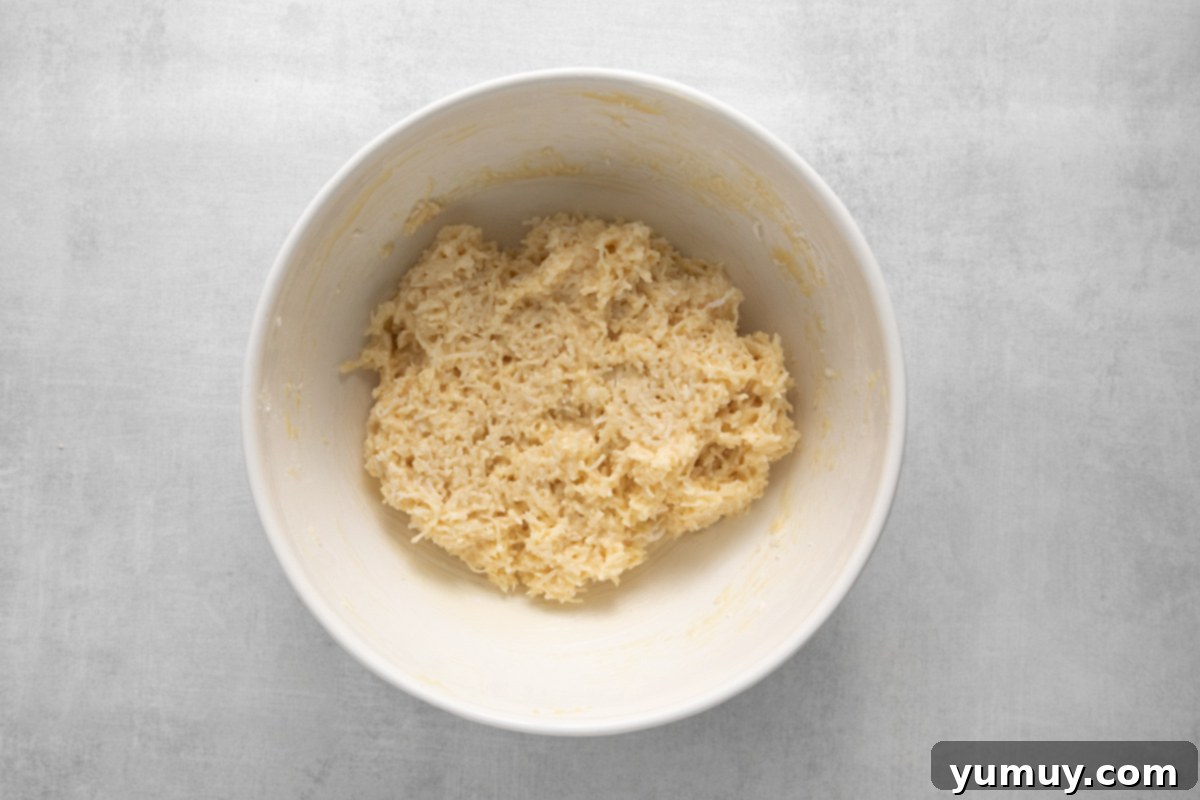
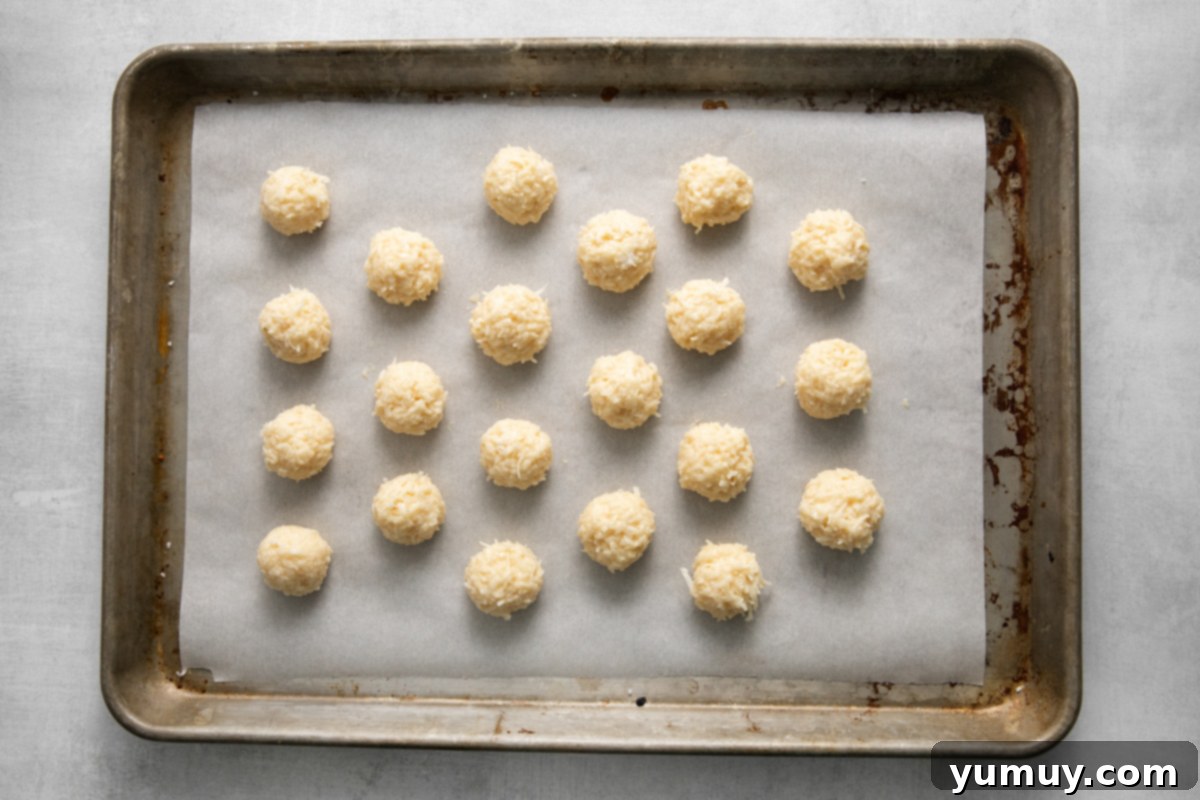
The condensed milk and coconut oil create a perfectly binding texture for the truffle filling. Portion and Chill the Truffles: Using a 1-tablespoon cookie scoop or a measuring spoon, portion out the coconut mixture. Gently roll each portion between your palms to form smooth, uniform balls. For easier handling and to prevent sticking, you can lightly grease your hands or the scoop with a tiny bit of coconut oil. Arrange the formed coconut balls on the parchment-lined baking sheet, leaving a small space between each to prevent them from freezing together. Once all truffles are shaped, transfer the baking sheet to the freezer for a crucial 30 minutes. This chilling period is essential to help the truffles firm up, making them significantly easier to dip and ensuring they hold their shape perfectly when coated in chocolate.

Chilling the truffles thoroughly ensures they firm up for easy and mess-free dipping. Melt the Decadent Chocolate Coating: Towards the end of the truffle chilling time, prepare your chocolate coating. In a medium-sized, microwave-safe bowl, combine the 8 ounces of dark chocolate chips, 8 ounces of chocolate bark (or melting wafers), and the remaining 2 teaspoons of coconut oil. Microwave this mixture in short 30-second intervals, stirring thoroughly after each interval. Continue this process until the chocolate is completely melted and beautifully smooth, without any lumps or un-melted pieces. The addition of coconut oil helps achieve a wonderfully fluid consistency and a lovely sheen on your finished truffles.
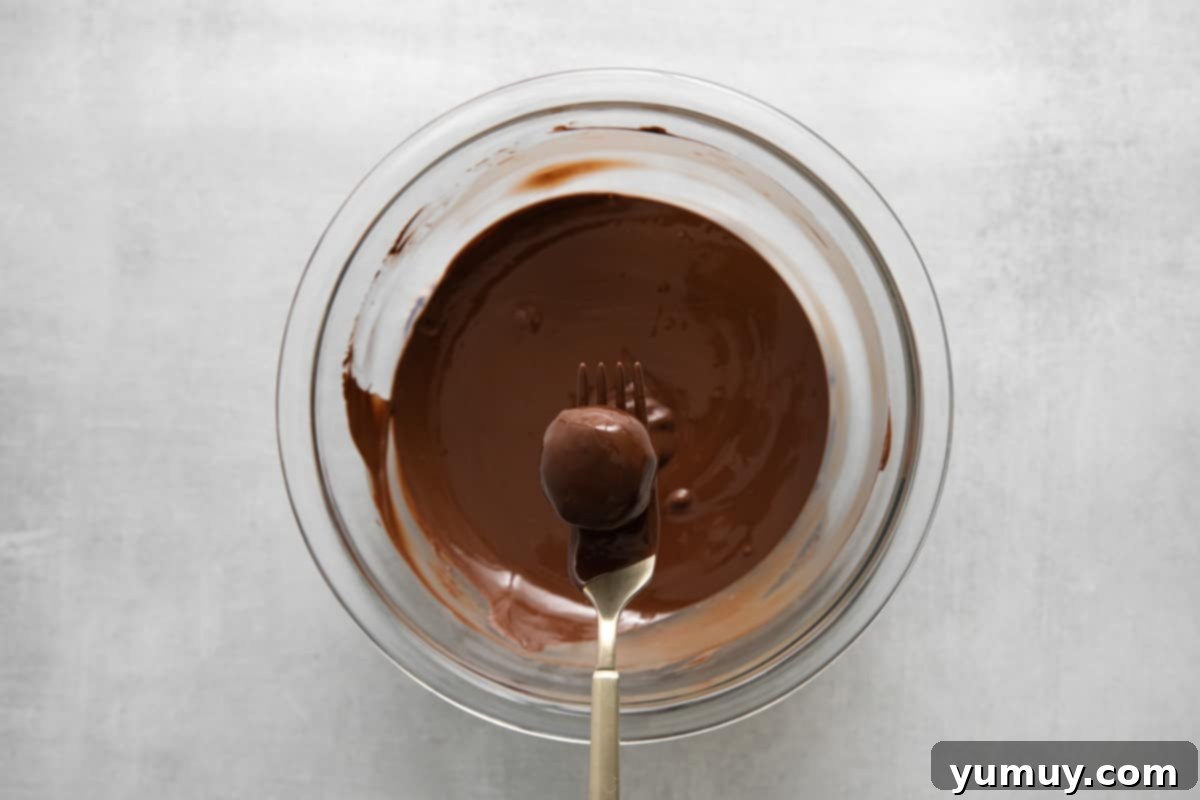
Dip Each Truffle to Perfection: Retrieve your thoroughly chilled coconut truffles from the freezer. Working quickly to prevent the truffles from softening, carefully drop each coconut truffle, one at a time, into the melted chocolate. Use a fork or a specialized dipping tool to fully submerge the truffle, then lift it out, gently tapping the fork against the edge of the bowl to allow any excess chocolate to drip back into the bowl. This ensures an even, thin, and elegant coating. The chilled truffles will help the chocolate set almost instantly, making the dipping process smoother.

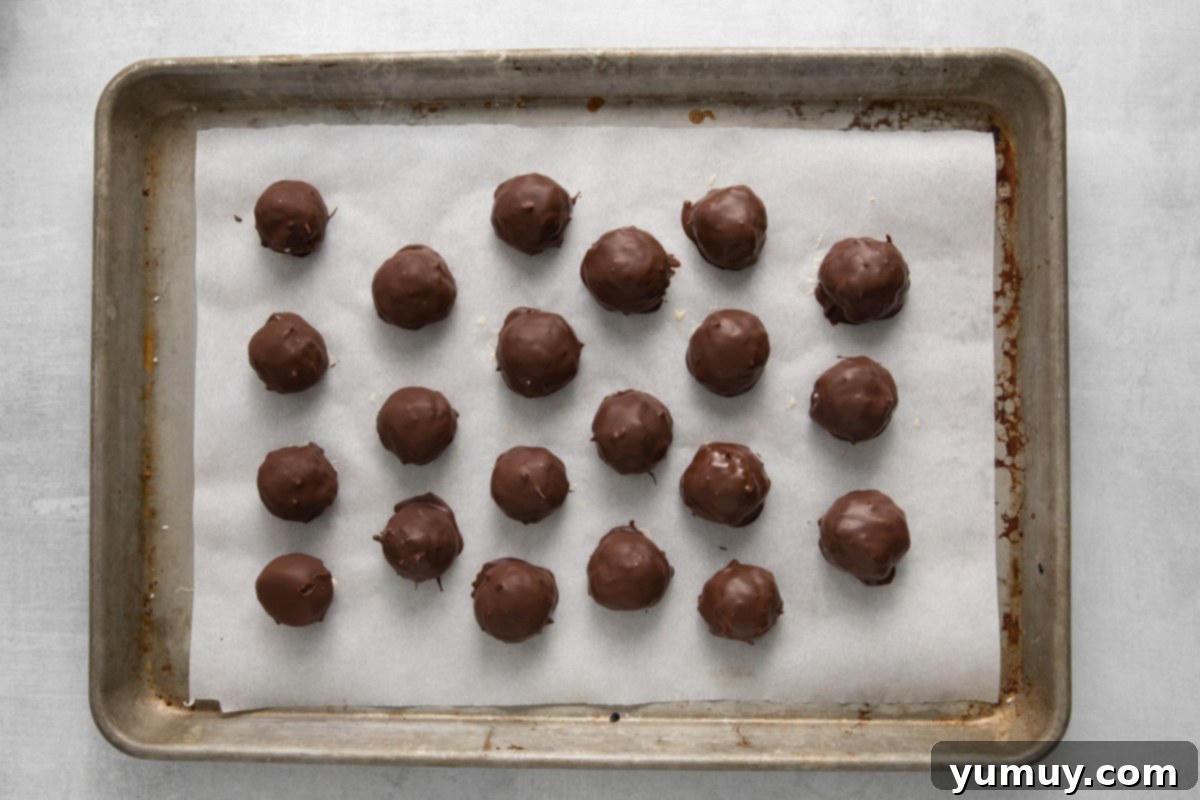
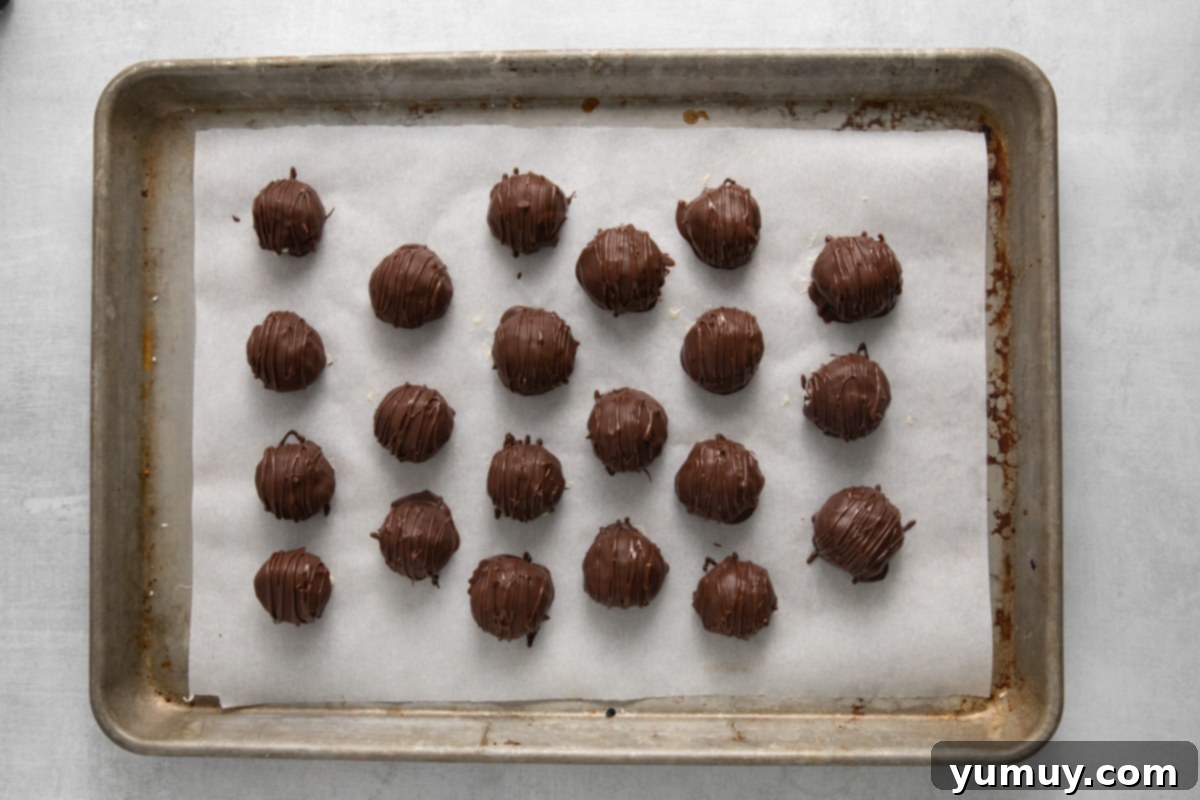
A delicate dip ensures a smooth and even chocolate coating on each truffle. Decorate and Finish: Gently return each chocolate-coated truffle to the parchment-lined baking sheet. As you continue dipping the remaining truffles, consider adding a touch of flair! If you have any leftover melted chocolate, you can drizzle it decoratively over the tops of the finished truffles. For an extra special touch, sprinkle on some additional shredded coconut, finely chopped nuts (like almonds or pecans), a pinch of sea salt, or colorful sprinkles while the chocolate is still wet. This is a great way to customize your truffles and add visual appeal for any occasion.

Finish dipping and decorating your truffles before the final chill to set the chocolate. Final Chill and Serve: Once all truffles are dipped and decorated, place the baking sheet back into the refrigerator. Allow them to chill for approximately 15 minutes, or until the chocolate coating has completely set and hardened. If you’re in a hurry, a quick 5-minute chill in the freezer works just as well. Before serving, let them sit at room temperature for about 5-10 minutes to allow the coconut center to soften slightly for the best, most creamy texture. Then, enjoy your magnificent homemade chocolate coconut truffles!

A final chill locks in the flavor and ensures a perfect, firm chocolate coating.
Expert Tips & Tricks for Perfect Coconut Truffles
- Achieving a Smoother Filling: If your preference leans towards a melt-in-your-mouth truffle experience with a finer texture, lightly pulse the sweetened shredded coconut in a food processor for 5-10 seconds before you begin mixing it with the other ingredients. Be cautious not to over-process, as you want a slightly finer texture, not a paste. This step creates a more uniform and velvety interior, enhancing the overall indulgence.
- Handling Sticky Truffles: The coconut mixture can be a bit sticky to work with. To ensure your truffles maintain their shape and don’t melt from the warmth of your hands during rolling, consider wearing thin catering gloves. Use your fingertips to initially form the mixture into rough balls, then gently roll them with the cooler palms of your hands to achieve a perfectly smooth, round shape. A tiny amount of coconut oil rubbed on your hands can also significantly help prevent sticking.
- Chocolate Coating Options: While our recipe recommends a blend of dark chocolate chips and chocolate bark for the best results, feel free to use just one or the other. Using only chocolate chips might result in a slightly less glossy or quicker-to-melt coating, as chips are designed to hold their shape. Using only melting wafers (or bark) will ensure a very stable and shiny shell, ideal for gifting or warmer climates. Experiment to find your preferred balance!
- The Importance of Chilling: Remember, thoroughly chilled coconut balls are much easier to dip into melted chocolate. The cold temperature helps the chocolate set almost instantly upon contact, preventing the truffle from falling apart and ensuring a neat, even coating. If your truffles start to soften during the dipping process, pop them back into the freezer for a few minutes to firm up again.
- Dipping Techniques: While a simple dinner fork works wonderfully for dipping, dedicated chocolate dipping tools can make the process even smoother and more efficient. These often feature loops or spirals designed to cradle the truffle perfectly. Find a method that you find comfortable and efficient for lifting and coating each truffle without causing damage.
- Vegan Option: To transform these into delightful vegan chocolate coconut truffles, simply substitute the traditional sweetened condensed milk with a high-quality vegan sweetened condensed milk, readily available in most grocery stores. Ensure your chocolate chips and melting wafers are also certified vegan. You can also use melted vegan butter or full-fat coconut milk (chilled and only the thick cream portion) as a binder, adjusting the powdered sugar as needed for consistency.
- Make-Ahead Mastery: These truffles are fantastic for meal prep or planning ahead for events. You can fully prepare and freeze the dipped truffles in a single layer on a parchment-lined baking sheet until solid. Once frozen, transfer them to an airtight freezer-safe container or bag. They will keep beautifully for up to 6 months without losing flavor or texture. When you’re ready to serve, simply pull them out of the freezer and let them thaw at room temperature for about 15 minutes. This makes them perfect for unexpected guests or last-minute dessert cravings!
- Optimal Storage: Keep any leftover chocolate coconut truffles in an airtight container in the refrigerator for up to 5 days. This maintains their freshness, keeps the chocolate firm, and prevents them from absorbing any unwanted odors from other foods. For longer storage, the freezer is your best friend, as mentioned above, offering a delicious treat whenever you desire.
Calories from Fat 117
- Share on Facebook
- Share on X
- Share on Instagram
- Save to Pinterest
Did You Make This?
We love seeing what you’ve made! Tag us on social media at @easydessertrecipes for a chance to be featured.
Why These Chocolate Coconut Truffles Are Your Next Favorite Dessert
Beyond their irresistible taste, there are numerous reasons why these chocolate coconut truffles deserve a prime spot in your dessert repertoire. First and foremost, they are incredibly easy to make. No complicated baking, no delicate tempering (thanks to our smart chocolate blend), and minimal cleanup means you can whip up a batch whenever a sweet craving strikes. This makes them perfect for novice bakers and seasoned pros alike, promising a delicious outcome every time.
Their no-bake nature also means they’re ideal for hot summer days when turning on the oven is the last thing you want to do. Yet, their rich, indulgent flavor profile makes them equally suitable for cozy winter gatherings, offering a taste of tropical sunshine even in colder months. They are highly customizable; you can vary the type of chocolate (milk, white, or even a mix!), add different extracts to the coconut filling (like vanilla, almond, or rum extract), or experiment with various toppings like sprinkles, flaky sea salt, or finely chopped nuts. This versatility ensures they can be tailored to any taste preference or themed occasion.
Furthermore, these truffles are fantastic for gifting. Their elegant appearance and delightful taste make them a thoughtful homemade present for friends, family, or hosts during the holidays, birthdays, or any celebratory event. Arrange them beautifully in a small decorative box, a cellophane bag tied with a ribbon, or a festive tin, and you have a personalized, gourmet treat that speaks volumes about your effort and care. Plus, their impressive shelf life, whether in the fridge or freezer, means you can prepare them well in advance, taking the stress out of last-minute party preparations and ensuring you always have a delightful treat on hand.
How to Store and Freeze Your Coconut Truffles for Lasting Freshness
One of the many benefits of these homemade coconut truffles is how well they store, allowing you to enjoy them over several days or even months. Proper storage is key to maintaining their fresh taste and perfect texture, ensuring every bite is as good as the first.
Refrigeration:
For short-term storage, place any leftover chocolate coconut truffles in an airtight container. Arrange them in a single layer if possible, or separate layers with parchment paper to prevent them from sticking together. Store the container in the refrigerator for up to 5 days. Chilling not only prolongs their freshness but also keeps the chocolate coating firm and provides a pleasant contrast to the soft coconut center when served cold, enhancing the overall sensory experience.
Freezing:
These truffles are excellent candidates for freezing, making them a superb make-ahead dessert for busy periods or when you simply want to stock up on treats. To freeze, first ensure the chocolate coating is completely set. Then, arrange the truffles in a single layer on a parchment-lined baking sheet. Place the baking sheet in the freezer for about 1-2 hours, or until the truffles are solid. This initial freezing step is crucial as it prevents them from sticking together when transferred to a larger container. Once fully frozen, transfer the truffles to an airtight freezer-safe container or a heavy-duty freezer bag. They will maintain their quality and delicious flavor in the freezer for up to 6 months, ready for whenever a craving strikes.
Thawing and Serving:
When you’re ready to enjoy your frozen truffles, simply remove the desired amount from the freezer and let them thaw at room temperature for approximately 15-20 minutes. This allows the creamy coconut center to soften slightly, bringing out the best texture and flavor. Serving them slightly chilled is often preferred, as it keeps the chocolate firm and delightful, providing a refreshing bite. Avoid thawing them in the microwave, as this can affect the chocolate coating and texture of the coconut.
Discover More Decadent Truffle Recipes!
Irresistible Chocolate Cake Pops
Refreshing Mint Chocolate Truffles
Classic Buckeye Candy
Elegant Amaretto Truffles
View All Truffle Recipes
