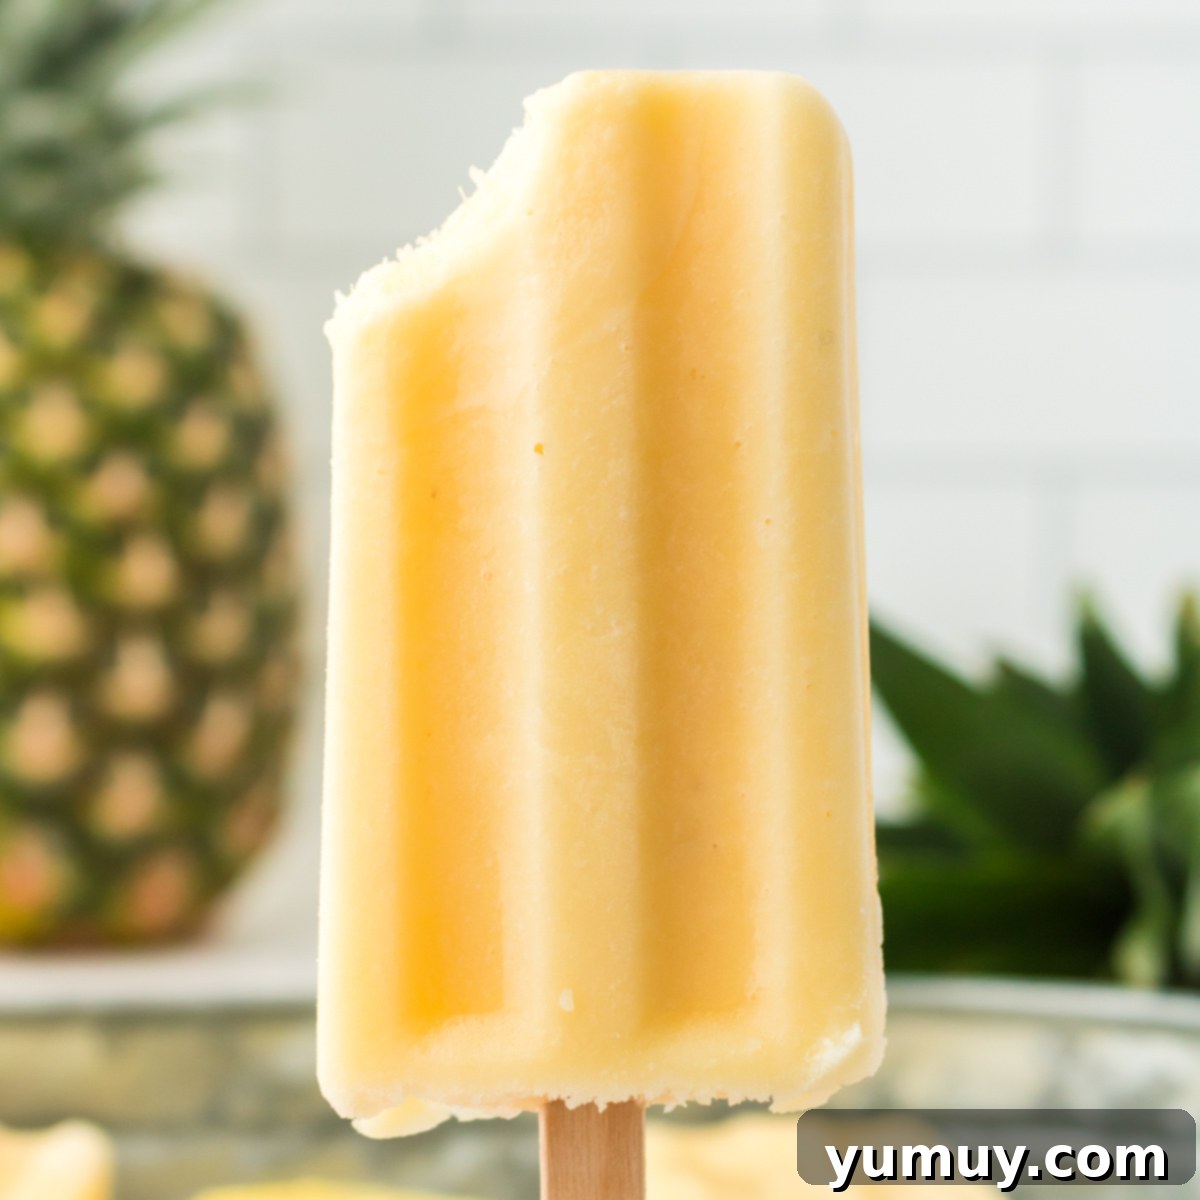
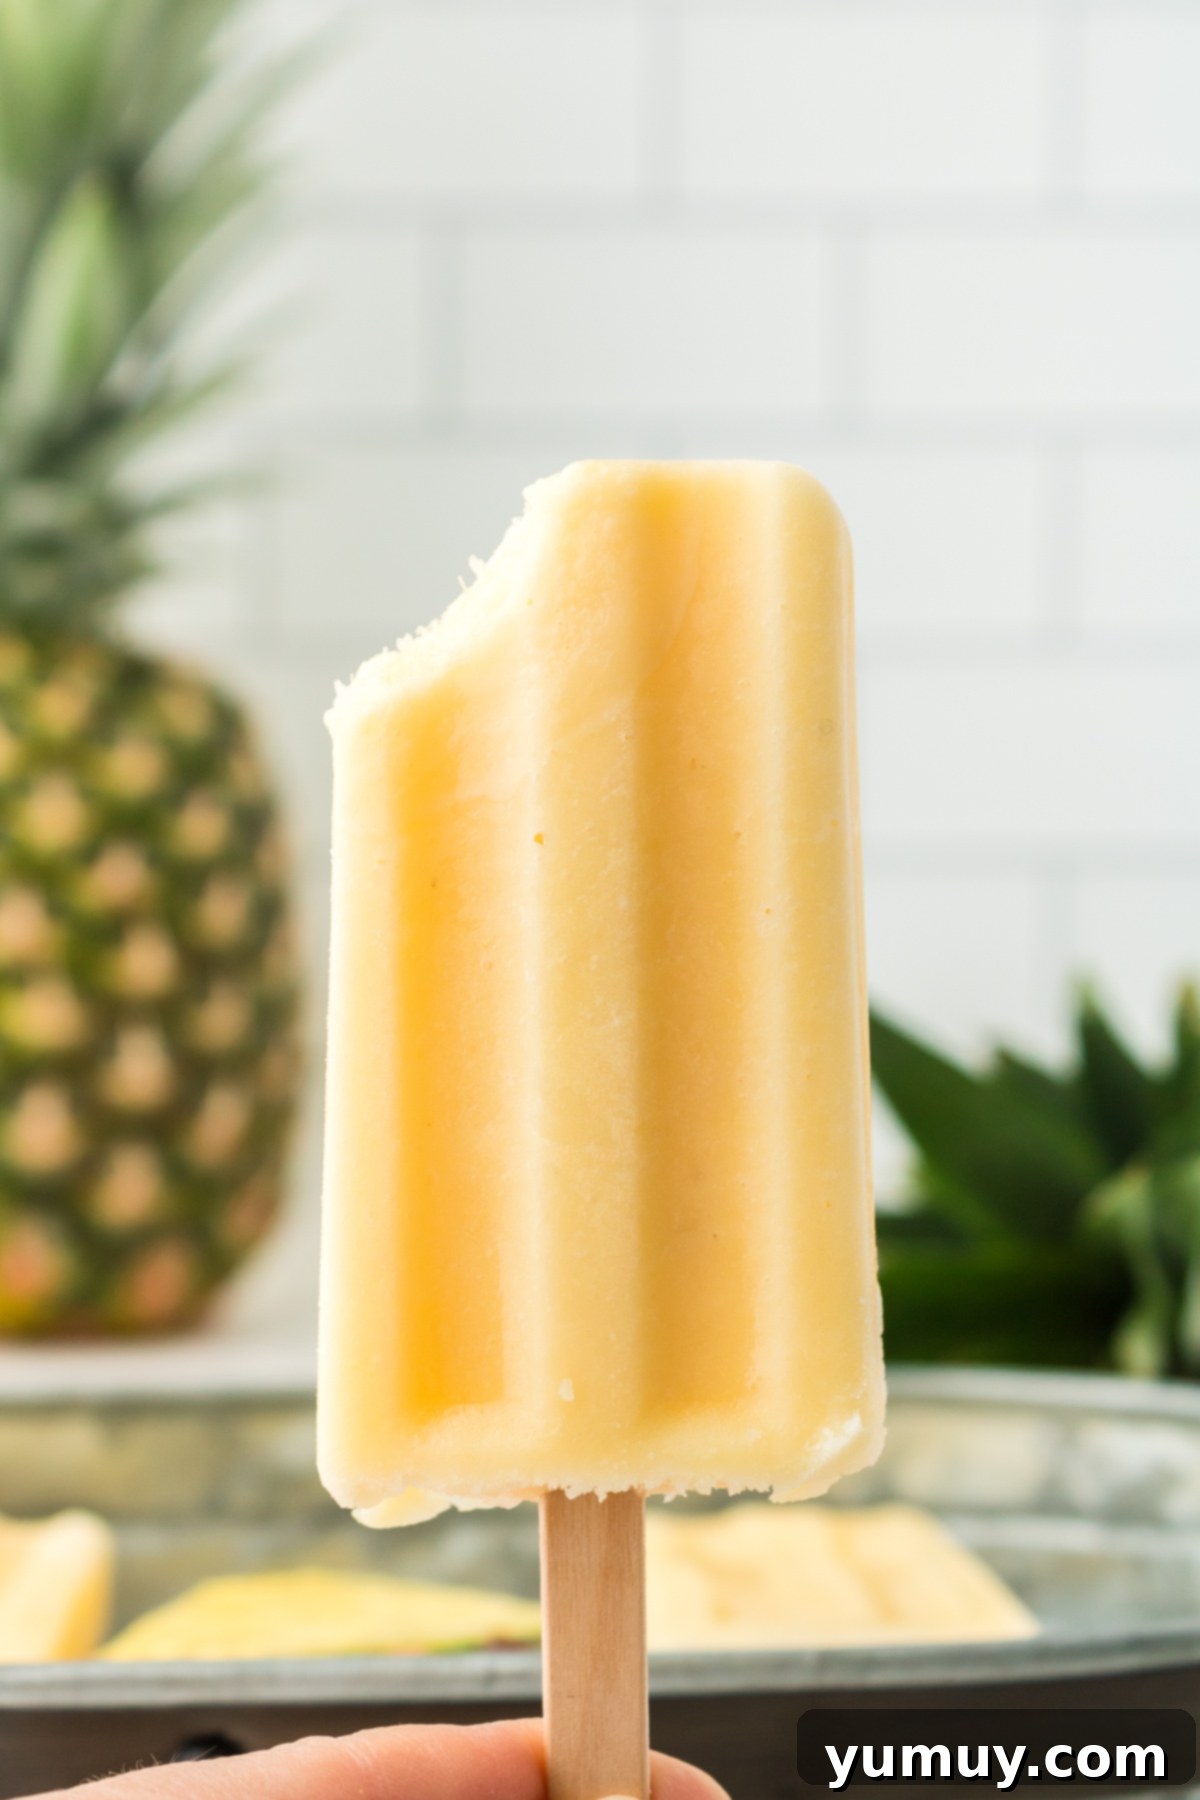
Escape to a tropical paradise with these delightful, Disney-inspired Dole Whip popsicles! Perfectly crafted to be your ultimate summer cool-down, these creamy pineapple treats require just two simple ingredients and mere minutes to prepare in your blender. The result is a wonderfully sweet, fruity, and irresistibly smooth popsicle that captures all the magic of the classic theme park favorite. I always whip up a large batch for backyard barbecues, pool parties, and sunny afternoons – they’re an absolute hit with kids and adults alike, guaranteed to bring smiles all around!
- Pin this recipe for later!
The Magic of Homemade Pineapple Popsicles
While I adore making classic Dole whips during the warmer months, their soft-serve consistency means they don’t hold up exceptionally well in the freezer for extended periods. This is where these incredible Dole Whip popsicles truly shine! They capture all the vibrant, tangy-sweet flavor of the iconic Disney treat but in a convenient, sturdy popsicle form that’s perfect for make-ahead enjoyment. You can savor that nostalgic taste anytime you wish, without worrying about quick melting.
What makes these pineapple popsicles so remarkable is their simplicity. Crafted with just two core ingredients – sweet, frozen pineapple chunks and creamy vanilla ice cream – they achieve a surprisingly rich and luxurious texture that belies their minimal effort. My kids absolutely love reaching for these after a long, active day, especially after hours spent playing at the beach or by the pool. They’re not just a dessert; they’re a refreshing reward!
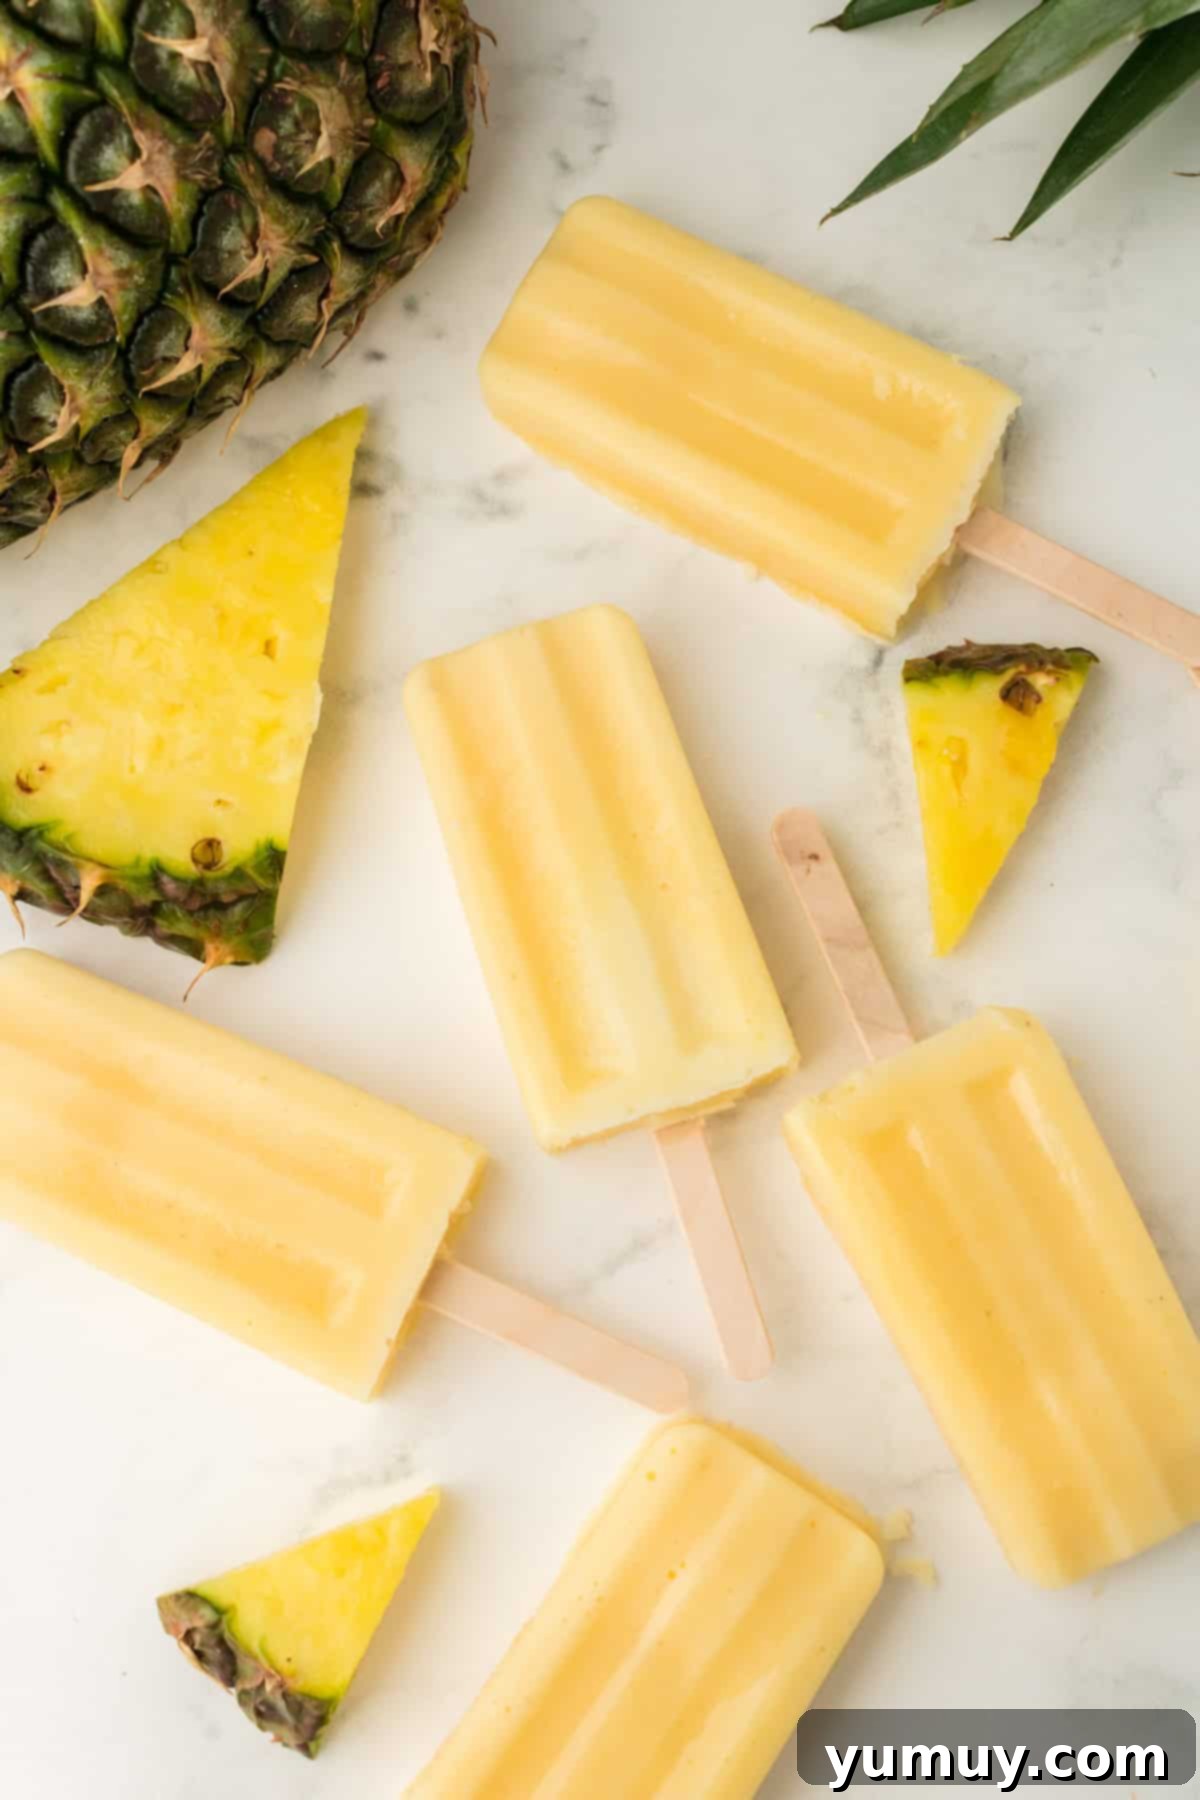
No Popsicle Molds? No Problem! Creative Alternatives
Don’t have a dedicated popsicle mold? No worries! You can still easily make these delicious pineapple Dole Whip popsicles using a few common household items. All you’ll need are small paper cups, standard wooden popsicle sticks, and a sheet of aluminum foil. Here’s how:
- Fill the Cups: Pour your blended popsicle mixture into the paper cups. Be sure to leave a little bit of space at the top – about half an inch – to allow for expansion as the mixture freezes. This prevents overflow and ensures a neat finish.
- Cover and Insert Sticks: Tear small squares of aluminum foil, slightly larger than the mouth of each cup. Cover each cup tightly with a foil square. Carefully poke a popsicle stick through the center of the foil and into the mixture. The foil acts as a clever stabilizer, holding the sticks perfectly upright as your popsicles firm up in the freezer.
- Freeze Until Solid: Arrange the filled cups on a baking sheet or any stable, flat surface that can safely go into your freezer. This prevents them from tipping over. Freeze for a minimum of 3-4 hours, or until they are completely solid. For the best texture and firmness, letting them freeze overnight is often ideal.
- Enjoy with Ease: When you’re ready to enjoy your homemade treats, simply peel away the paper cup. You’ll be left with a perfectly shaped, refreshing Dole Whip popsicle! This method is not only practical but also makes cleanup a breeze.
Dole Whip Popsicles Recipe: A Two-Ingredient Delight
5 minutes
4 hours
5 minutes
4 hours
10
popsicles
Ingredients
-
4
cups
chunked pineapple
(about 1 whole pineapple)* -
2
cups
vanilla ice cream
**
Metric
Equipment
- High-Powered Blender
- Popsicle Molds (or paper cups and sticks)
Instructions
- Begin by placing the 4 cups of chunked pineapple into your high-powered blender. Blend thoroughly until the pineapple achieves a completely smooth, pureed consistency. This step is crucial for achieving that signature creamy Dole Whip texture. Once the pineapple is smooth, add the 2 cups of vanilla ice cream to the blender. Continue blending until the mixture is uniform, velvety smooth, and thoroughly combined. Pour this delicious mixture into your chosen popsicle molds, filling them almost to the top, leaving a small gap for expansion. Place the filled molds into the freezer and allow them to freeze for 1 hour to start firming up.4 cups chunked pineapple,
2 cups vanilla ice cream
- After the initial 1-hour freeze, carefully remove the popsicle molds from the freezer. At this point, the mixture should be firm enough to hold a stick upright. Insert your popsicle sticks into the center of each semi-frozen treat. Return the molds to the freezer and allow them to freeze for an additional 4 hours, or until they are completely solid and ready to enjoy. For optimal firmness and a perfectly frozen treat, I often recommend letting them freeze overnight.

Notes & Tips for Perfect Popsicles
**Regular or light vanilla ice cream works beautifully in this recipe. If you’re looking for a slightly different texture or a healthier option, vanilla frozen yogurt is another excellent choice that still delivers delicious creaminess. For those with dietary restrictions, dairy-free vanilla ice cream is a fantastic alternative!
Pro Tips for the Best Dole Whip Popsicles:
- Smoothness is Key: Ensure you blend the pineapple until it’s absolutely smooth with no chunks remaining. This meticulous blending is what guarantees the creamiest, most authentic Dole Whip-like texture in your popsicles.
- Patience for Freezing: While 4 hours is the minimum, allowing your popsicles to freeze for at least 6 hours, or even better, overnight, will give them the best possible firm and enjoyable consistency. Don’t rush the freezing process!
- Dairy-Free Option: Easily adapt this recipe to be dairy-free by simply swapping out traditional vanilla ice cream for your favorite dairy-free vanilla ice cream or frozen dessert. The flavor profile will remain wonderfully tropical and refreshing.
- Adult-Only Twist: For a fun, grown-up version of these tropical treats, add a few tablespoons of your favorite rum to the blender mixture before pouring it into the molds. This imparts a delightful boozy kick, perfect for adult gatherings (please label them clearly!).
- Sweetness Adjustment: Depending on the sweetness of your pineapple and ice cream, you might want to add a tablespoon or two of honey, maple syrup, or agave nectar if you prefer a sweeter popsicle. Taste the mixture before freezing!
Storage: To maintain their freshness and flavor, store your homemade Dole Whip popsicles either in their original popsicle molds or transferred to an airtight freezer bag (like a Ziplock bag) in the freezer. They will keep well for up to 1 month, ready to be enjoyed whenever a craving strikes. Always serve them directly from the freezer for the best experience.
Calories from Fat 27
Becky Hardin
Did You Make This?
We love seeing what you’ve made! Tag us on social media at
@easydessertrecipes for a chance to be featured.
Exciting Variations to Try: Customize Your Frozen Treats
While I absolutely adore the classic flavor of these pineapple Dole Whip popsicles, one of the best things about homemade treats is the freedom to get creative and tailor them to your personal preferences! The basic two-ingredient concept is incredibly versatile, allowing you to easily experiment with different fruits and flavor combinations to keep things exciting. Here are some fantastic variations to inspire your next batch:
- Mango Madness: Mango is a perfect partner for this recipe. Simply substitute the pineapple with an equal amount of frozen mango chunks. The result is a lusciously sweet and creamy mango popsicle that’s equally tropical and refreshing. For an extra punch, add a squeeze of lime juice!
- Strawberry Swirl: For a delightful berry twist, blend half pineapple and half frozen strawberries. You could even create a two-toned popsicle by layering a strawberry mixture and a pineapple mixture in your molds.
- Berry Bliss: Mix in a cup of frozen mixed berries (strawberries, blueberries, raspberries) with your pineapple for a tart and sweet explosion of flavor.
- Creamy Coconut: For an even richer, more tropical flavor, consider using coconut-based vanilla ice cream or adding a splash of full-fat coconut milk to your pineapple-ice cream blend. This enhances the creamy texture and gives a lovely hint of coconut.
- Tropical Medley: Combine pineapple with other tropical fruits like papaya or passion fruit for a complex and exotic flavor profile. Just ensure all fruits are thoroughly blended for a smooth finish.
- Spiced Pineapple: A tiny pinch of ground ginger or a dash of cinnamon can add an unexpected depth of flavor to your pineapple popsicles, especially if you enjoy warm spices.
- Lime Zest Zing: A little lime zest blended into the mixture can brighten the pineapple flavor and add a refreshing citrusy kick.
The possibilities are endless, so don’t be afraid to experiment and discover your new favorite frozen fruit popsicle!
How to Make Homemade Dole Whip Popsicles: A Step-by-Step Guide
Creating these creamy, dreamy pineapple popsicles is incredibly straightforward, making them accessible even for novice home cooks. Follow these simple steps for a perfect batch every time:
Step 1: Blend the Fruit and Ice Cream to Perfection
Start by taking 4 cups of your chosen chunked pineapple (whether fresh, drained canned, or frozen – frozen works wonderfully for an even creamier start) and place them into the container of your high-powered blender. Begin blending the pineapple until it breaks down completely and transforms into a wonderfully smooth puree. Take your time with this step, ensuring there are no lingering chunks, as this is key to the signature Dole Whip texture. Once the pineapple is silky smooth, add the 2 cups of good quality vanilla ice cream to the blender. Continue to blend the mixture thoroughly until both ingredients are perfectly combined, resulting in a thick, uniform, and luxuriously creamy concoction. Carefully pour this delicious blend into your popsicle molds, filling them almost to the brim but leaving a small amount of space at the top to account for expansion during freezing. Transfer the filled molds to your freezer and allow them to freeze undisturbed for at least 1 hour. This initial freezing time helps the mixture to set slightly before you insert the sticks, preventing them from floating or tilting.
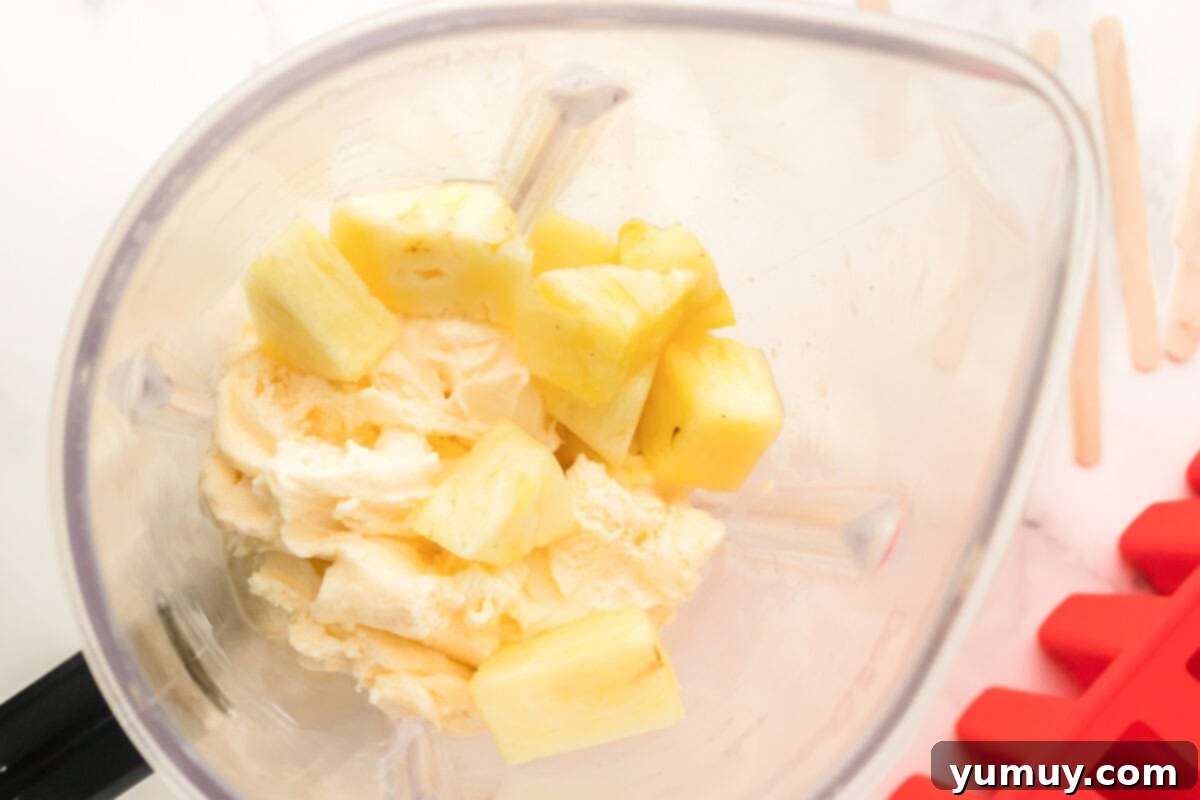
Step 2: Freeze the Popsicles Until Solid
After the initial 1-hour freezing period, gently remove the popsicle molds from the freezer. You should notice that the mixture has firmed up enough to support a popsicle stick. Now is the time to carefully insert a popsicle stick into the center of each treat. The partially frozen mixture will help hold the sticks securely in place. Once the sticks are in, return the molds to the freezer for their final freezing stage. Allow them to freeze for a minimum of 4 hours, or ideally, until they are completely rock-solid. For the most satisfyingly firm popsicles, I often prefer to let mine freeze overnight. This extended freezing time ensures they are perfectly set, easy to unmold, and offer the best possible texture for enjoying on a hot day.
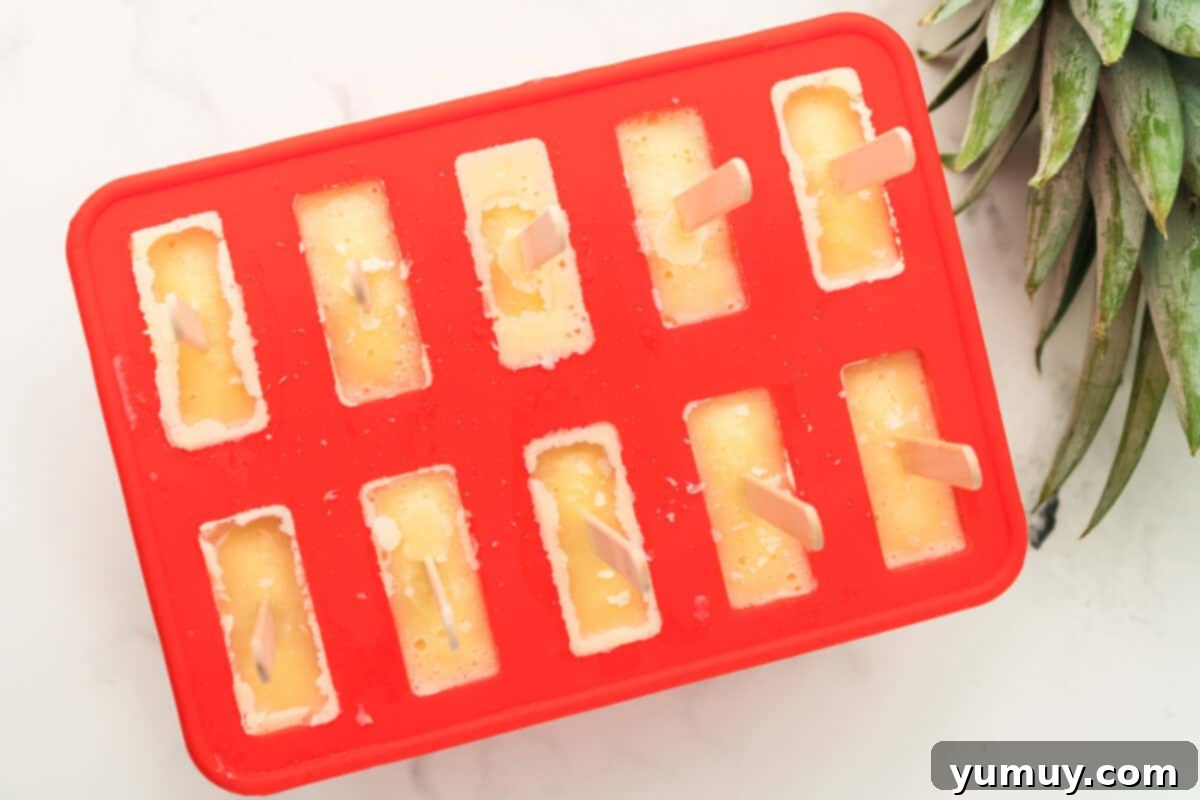
How to Store Your Homemade Dole Whip Popsicles
Proper storage is essential to keep your delicious Dole Whip popsicles fresh and ready for whenever a craving strikes. After they are completely frozen solid, you have a couple of excellent options for storage:
- In Popsicle Molds: If your popsicle molds have individual covers or a compact design, you can simply keep the popsicles right in their molds. This is often the easiest method, as it protects them from freezer burn and keeps them neatly organized.
- In an Airtight Bag: Once the popsicles are thoroughly frozen, you can carefully remove them from their molds. To prevent them from sticking together and to protect them from freezer odors, place the individual popsicles into a large, freezer-safe Ziplock bag or an airtight container. Make sure to remove as much air as possible from the bag before sealing.
Regardless of the method you choose, stored properly in the freezer, these Dole Whip popsicles will remain fresh and delightful for up to 1 month. Always serve them straight from the freezer for the best, most refreshing experience!
These homemade Dole Whip popsicles are more than just a dessert; they’re a simple pleasure that brings a taste of sunshine and tropical relaxation right to your home. With their easy preparation and customizable nature, they are sure to become a beloved staple in your summer repertoire. Enjoy the creamy, fruity goodness!
More Frozen Treats to Try!
No-Churn Birthday Cake Ice Cream
Creamy Oreo Milkshake
Island Green Tropical Smoothie (Copycat)
Copycat Wendy’s Chocolate Frosty
Browse All Frozen Treats
