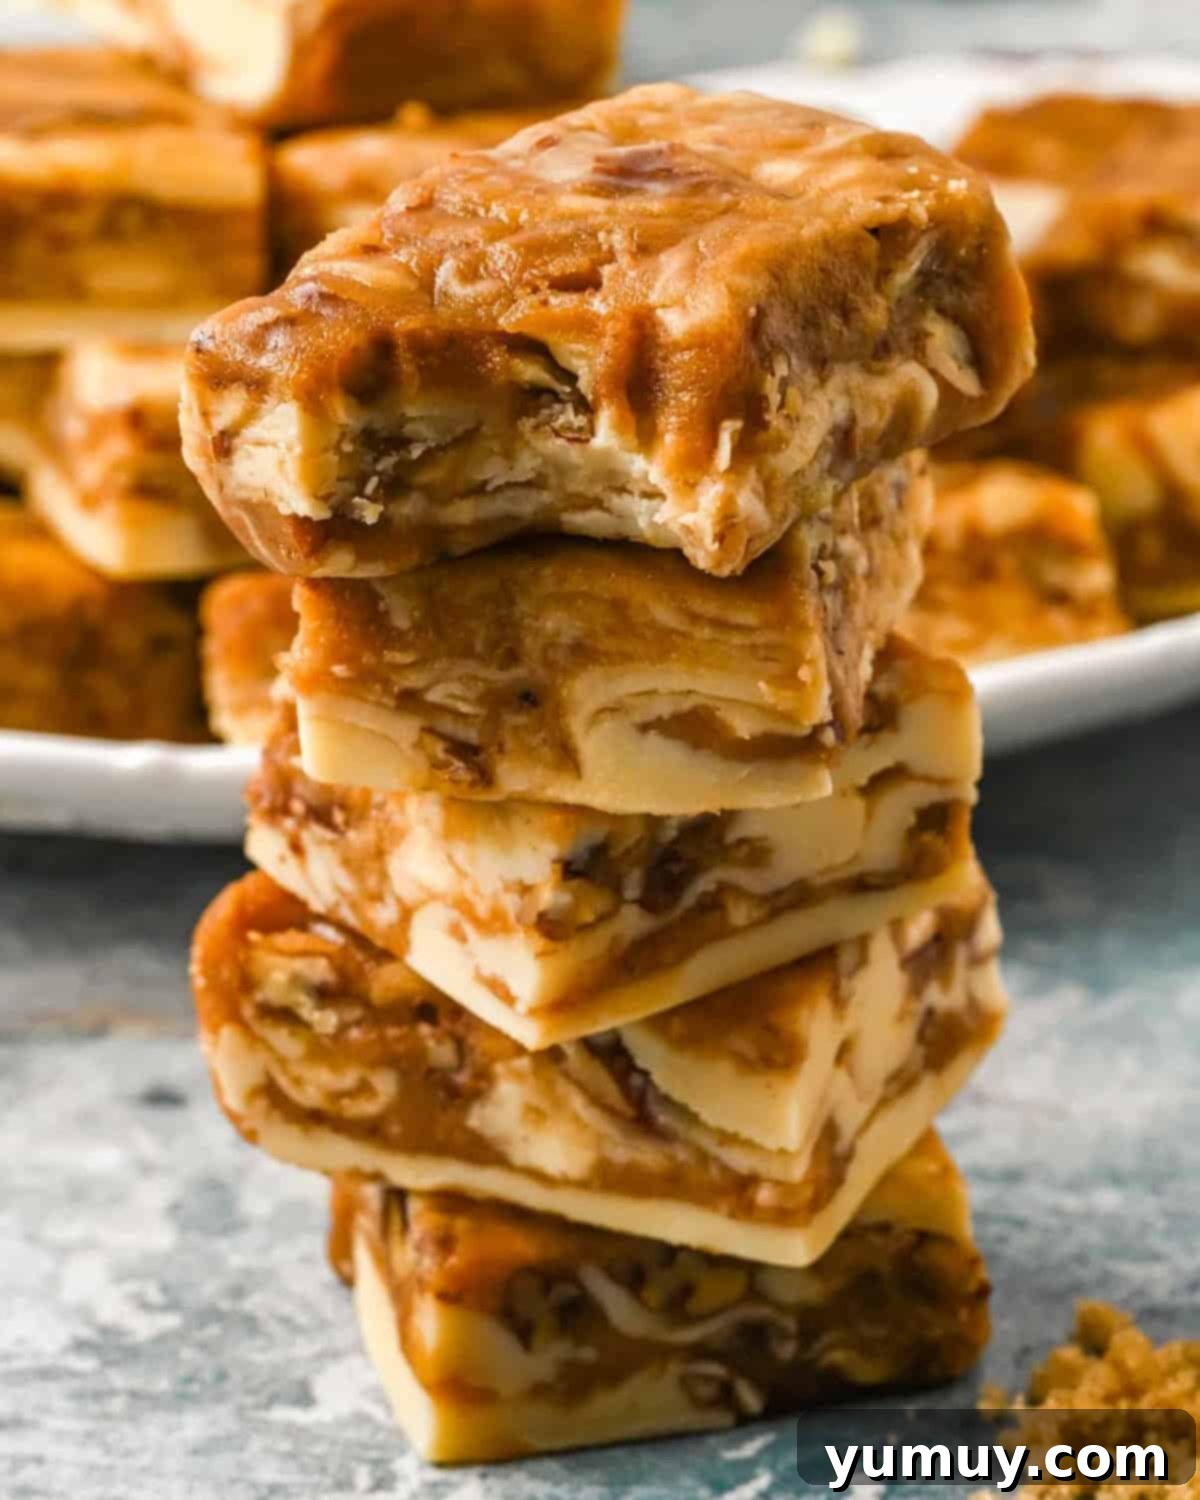
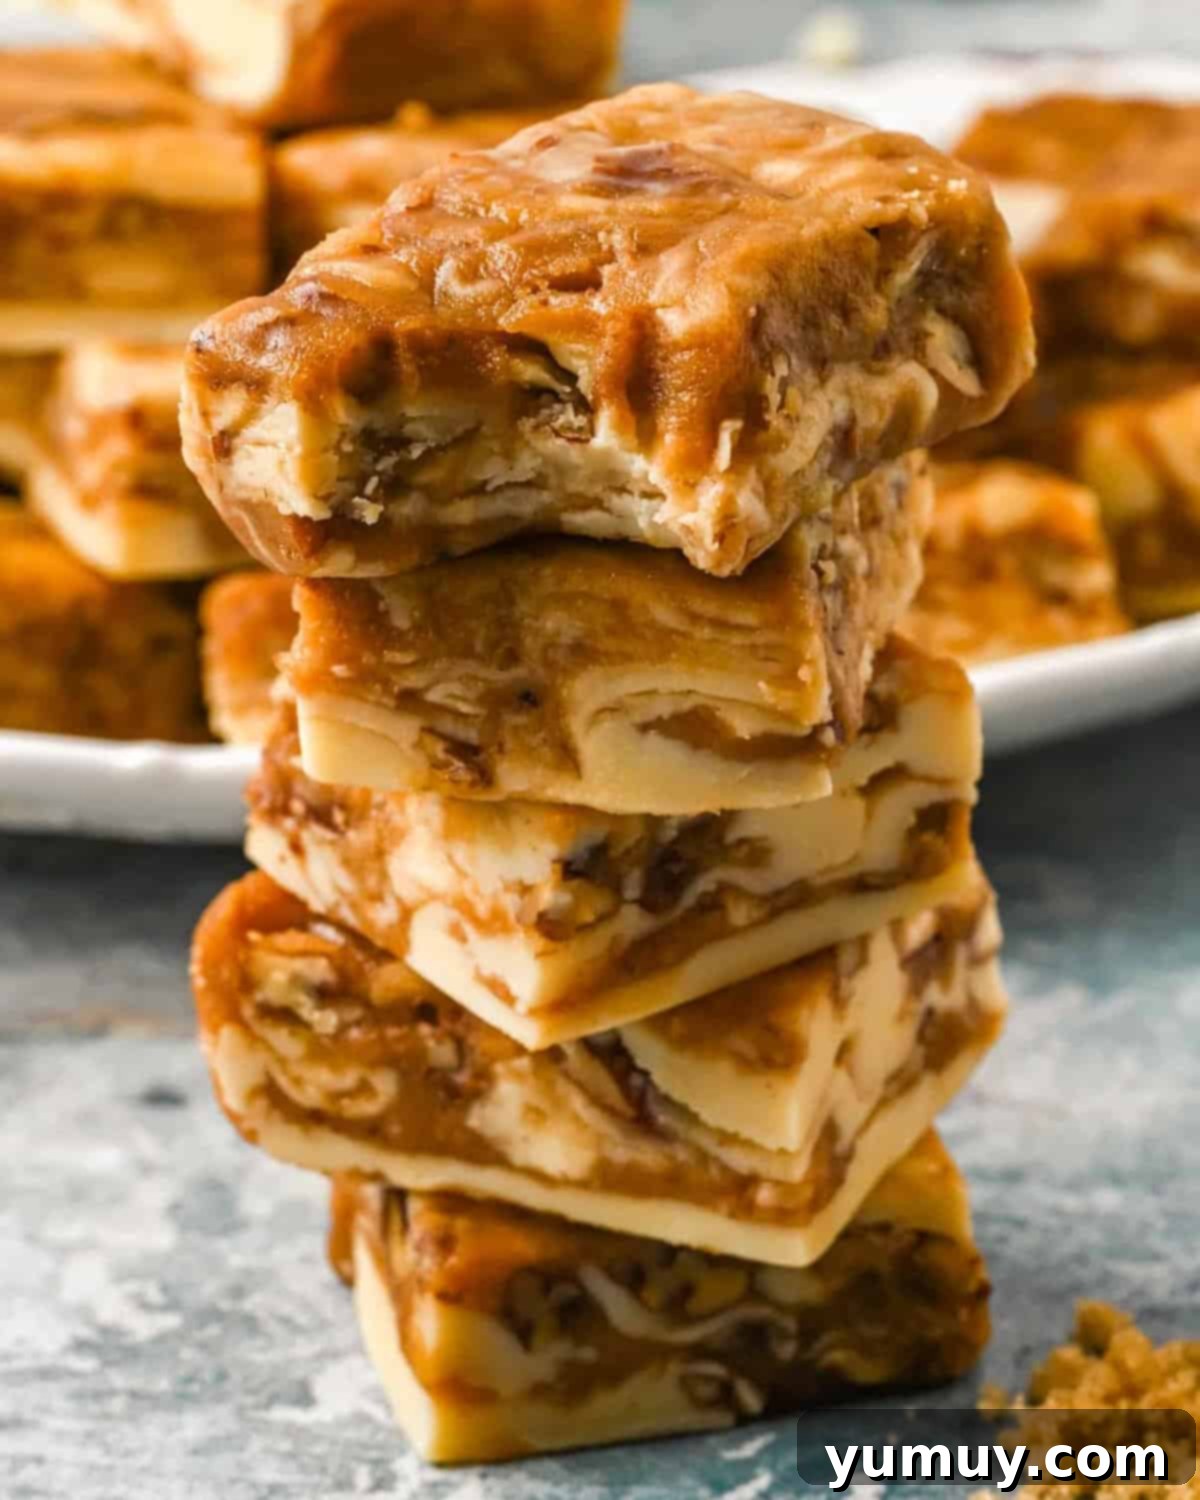
If you crave a dessert that perfectly marries creamy richness with satisfying crunch, look no further than this incredible Pralines and Cream Fudge. This decadent swirled pecan fudge brings together the silky smoothness of white chocolate with the sweet, nutty texture of classic Southern pralines. It’s a delightful symphony of flavors and textures in every single bite – chewy, crunchy, and utterly indulgent. Ideal for special occasions, holiday gifting, party platters, or simply a well-deserved treat for yourself, this white chocolate pecan fudge is a surprisingly easy recipe that promises to impress without any overly complicated steps.
- Pin this recipe for later!
Decadent Pralines and Cream Fudge: Your Ultimate Southern Sweet Treat
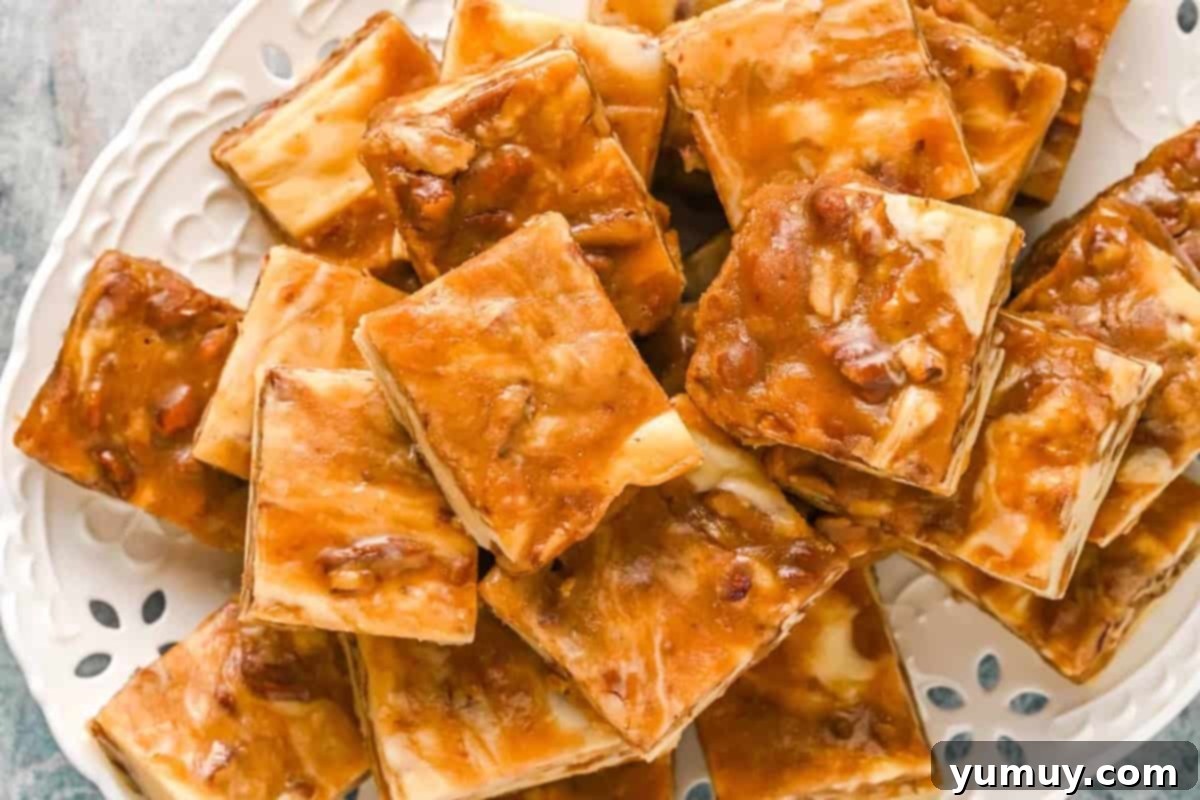
Pralines, a beloved classic Southern candy, are crafted from a delightful blend of sugar, cream, butter, and nuts, most commonly pecans. What sets them apart from the smooth, often chewy texture of caramel is their signature lightly grainy texture and a deeply rich, nutty sweetness. When these delectable pralines are gently folded into a creamy white chocolate fudge, they create an extraordinary contrast of textures and flavors. The velvety fudge base perfectly complements the slightly crumbly, nutty praline swirl, resulting in a truly irresistible dessert.
This Pralines and Cream Fudge recipe is essentially a harmonious marriage of two iconic desserts: a rich, smooth white chocolate fudge providing the comforting base, and a sweet, crunchy praline swirl weaving through it. This stunning treat comes together surprisingly quickly, requiring only 10 simple ingredients, making it an ideal choice for adding a touch of elegance and indulgence to any dessert table, holiday gathering, or a cozy evening at home.
Mastering the Perfect Texture with a Candy Thermometer
Achieving the ideal texture for your pralines in this fudge recipe is paramount, and temperature plays the most critical role. I always rely on a candy thermometer and consistently remove the praline mixture from the heat precisely when it reaches 236°F (113°C). This specific temperature corresponds to the soft-ball stage, which is crucial for ensuring the pralines retain their signature creamy, melt-in-your-mouth quality rather than becoming dry or crumbly. Even a slight deviation of just a few degrees, either too hot or too cool, can significantly impact the final texture of your candy.
This small but essential step guarantees that every single piece of your swirled pecan fudge will boast a perfectly smooth, soft white chocolate base beautifully contrasted with satisfyingly crunchy, tender pralines. It transforms a good fudge into an exceptional one, delivering that sought-after balance of textures and a rich, authentic Southern flavor profile.

Pralines and Cream Fudge Recipe
30
5
4 35
4
24 pieces
Print
Rate
Save
Saved!
Ingredients
For the White Chocolate Fudge
- 2 cups white chocolate chips *
- 14 ounces sweetened condensed milk (1 can)
For the Pralines
- 1½ cups granulated sugar
- 1½ cups brown sugar
- 1¼ cups heavy whipping cream
- 6 tablespoons unsalted butter cubed (¾ stick)
- ¼ teaspoon baking soda optional**
- 2 cups chopped pecans
- 2 teaspoons pure vanilla extract
- ½ teaspoon kosher salt
Equipment
- Kitchen Scale (optional, for precise measurements)
- 9×13 Baking Pan
- Candy Thermometer
- Heavy-Bottomed Saucepan
Instructions
- Prepare the Pan: Line a 9×13-inch baking pan with parchment paper, ensuring it overhangs the sides for easy removal. Spray the parchment paper lightly with nonstick spray. Set aside.

- Melt White Chocolate Fudge Base: In a medium saucepan, combine the 2 cups of white chocolate chips and 14 ounces (1 can) of sweetened condensed milk. Place the saucepan over medium-low heat. Melt the mixture slowly, stirring frequently with a spatula, until it becomes completely smooth and lump-free. Once smooth, remove it from the heat but keep it warm.2 cups white chocolate chips, 14 ounces sweetened condensed milk

- Start the Pralines: While the white chocolate mixture is melting and being kept warm, immediately begin preparing the praline swirl.
- Combine Praline Ingredients: In a separate, heavy-bottomed medium saucepan, combine 1½ cups of granulated sugar, 1½ cups of brown sugar, 1¼ cups of heavy whipping cream, 6 tablespoons of cubed unsalted butter, and ¼ teaspoon of baking soda. Place this saucepan over medium-high heat.1½ cups granulated sugar, 1½ cups brown sugar, 1¼ cups heavy whipping cream, 6 tablespoons unsalted butter, ¼ teaspoon baking soda

- Boil the Praline Mixture: Stir the praline ingredients constantly until the butter has completely melted and the mixture comes to a full, rolling boil. Once boiling, stir only occasionally and gently to prevent crystallization. Attach a candy thermometer to the side of the saucepan, ensuring it doesn’t touch the bottom.

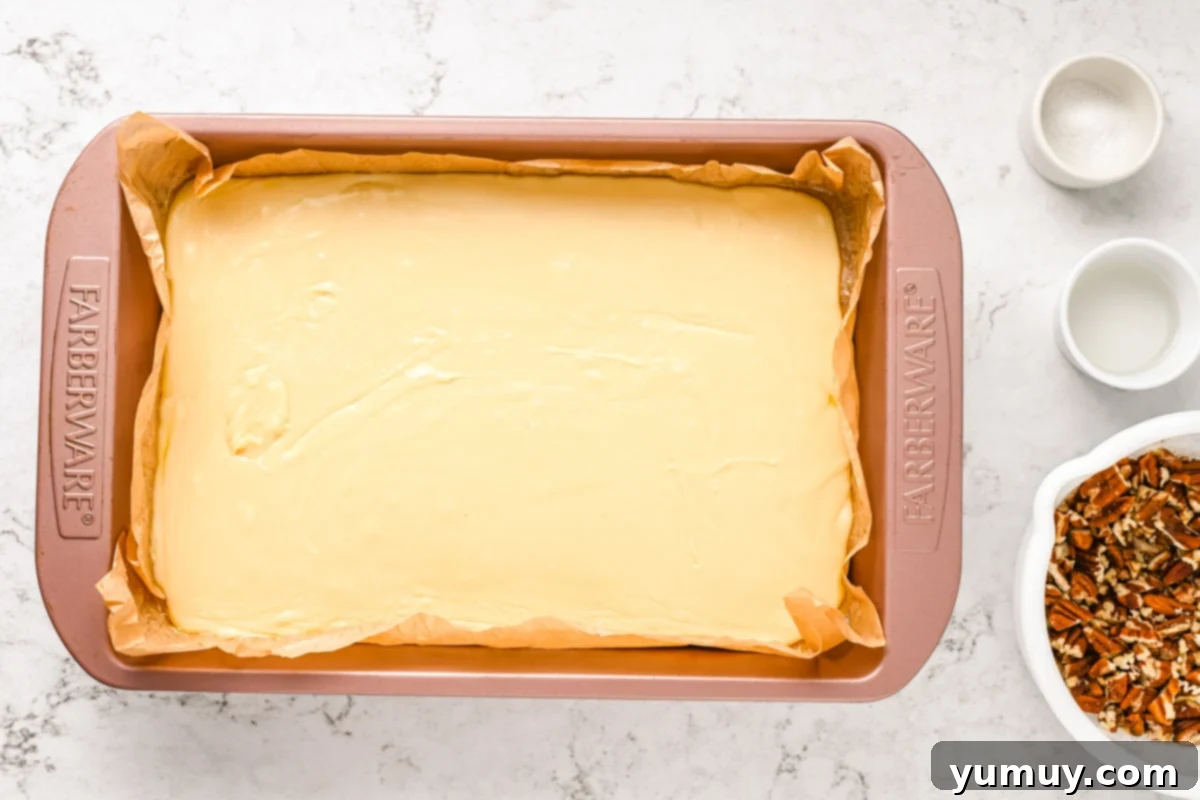
- Pour White Chocolate into Pan: While the pralines are cooking, pour the previously melted white chocolate mixture into the prepared 9×13-inch baking pan. Use a spatula to smooth it into an even, level layer. Set this aside and keep it warm. Having the white chocolate layer ready is crucial, as the praline layer will cool and thicken very quickly once removed from heat.

- Monitor Praline Temperature: Continue to cook the praline mixture, monitoring the candy thermometer closely. When the mixture precisely reaches 236°F (113°C) (soft-ball stage), the pralines are ready. This temperature is vital for the correct texture.
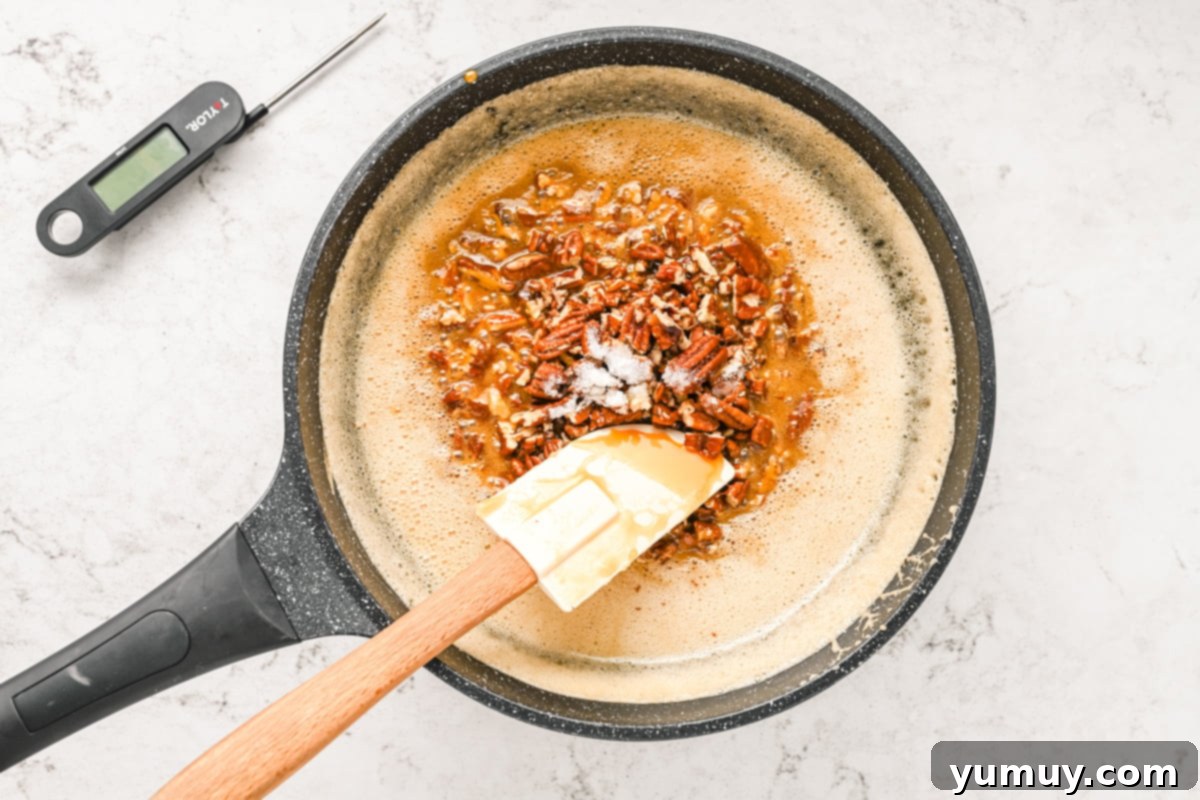
- Finish Pralines: Immediately remove the praline saucepan from the heat. Stir in the 2 cups of chopped pecans, 2 teaspoons of pure vanilla extract, and ½ teaspoon of kosher salt until well combined. Allow the mixture to cool undisturbed for 3-4 minutes. After this brief cooling period, stir the pralines vigorously until they begin to thicken and lose their glossy sheen, becoming more opaque and slightly granular. This beating process helps create the characteristic praline texture.2 cups chopped pecans, 2 teaspoons pure vanilla extract, ½ teaspoon kosher salt

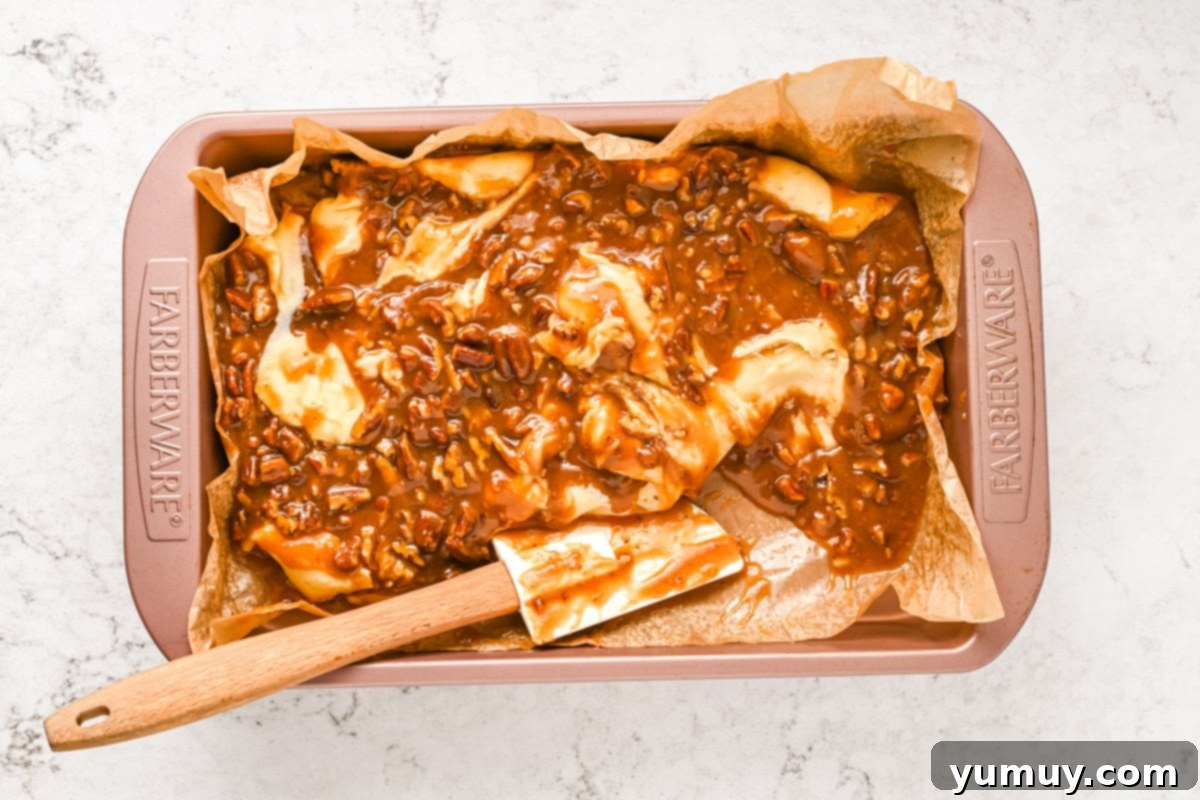
- Marble the Fudge: Quickly pour the thickened praline mixture evenly over the white chocolate base in the prepared baking pan. Using a butter knife or a skewer, gently lift and fold sections of the white chocolate over the pralines into the middle of the pan. Continue this gentle folding and swirling motion just a few times until a beautiful marbled pattern is achieved. Be careful not to overmix, or the layers will blend too much. Finally, gently press the top evenly into the pan with the back of a spoon or spatula.

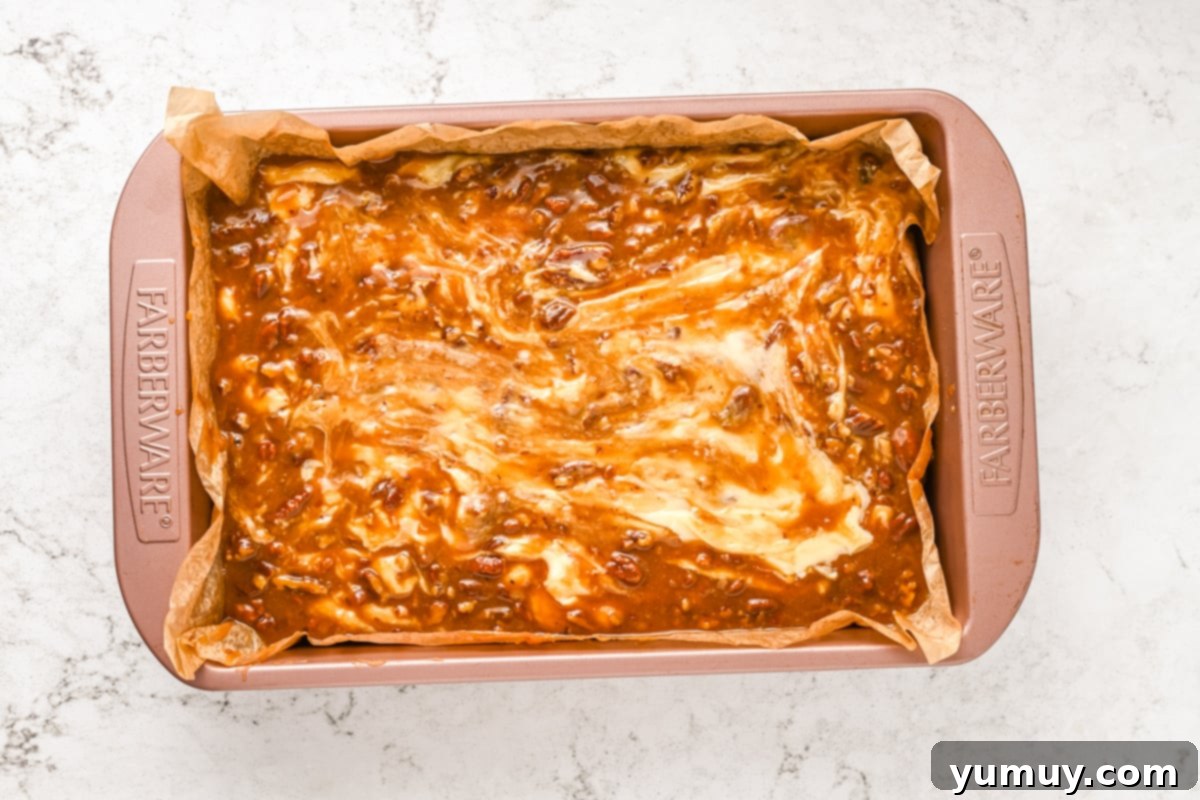
- Cool and Serve: Allow your Pralines and Cream Fudge to cool completely at room temperature for at least 4 hours, or until fully set. Once firm, use the parchment paper overhang to lift the fudge from the pan, then slice it into squares and serve. Do NOT cut the fudge until it has cooled completely, or it will not cut cleanly.

Notes & Expert Tips
**Baking Soda’s Role: The small amount of baking soda in the praline mixture is highly recommended. It reacts with acids in the brown sugar and cream, creating tiny air bubbles that result in that desired soft, melt-in-your-mouth praline texture and helps prevent undesirable sugar crystal formation. You can omit it, but the praline layer may turn out slightly firmer and more brittle.
Essential Tips for Success:
- Mise en Place: I highly recommend pre-measuring all of your ingredients before you begin cooking. This preparation step, often called “mise en place,” will make the entire recipe process go much more smoothly and efficiently, preventing last-minute rushes.
- Pan Choice: Always use a heavy-bottomed saucepan for making the praline mixture. A heavy bottom ensures the fudge heats evenly and significantly reduces the risk of scorching, which can lead to an unpleasant gritty texture.
- Effortless Pecan Chopping: To easily chop pecans without a food processor, place them in a sealed Ziplock bag and gently whack the bag with a rolling pin or the flat side of a meat mallet until they reach your desired consistency.
- Candy Thermometer is Key: Using a candy or cooking thermometer is absolutely critical for achieving the perfect praline consistency. The mixture needs to reach precisely 236°F (113°C) for the soft-ball stage. Be careful not to overheat it, as this can cause the candy to become too hard or crumbly, ruining the fudge’s desired texture.
- Gentle Stirring: Once the praline mixture begins to boil, stir it gently and less frequently. Overstirring, especially towards the end of the cooking process, can encourage sugar crystals to form, which will result in a grainy rather than smooth texture.
- Act Fast for Swirling: The praline mixture thickens very quickly as it cools. Ensure your white chocolate layer is completely ready and smoothed in the pan so you can pour and swirl the pralines immediately after they’ve thickened slightly. This swift action is key to achieving that beautiful marbled effect.
- Patience is a Virtue: Do NOT cut the fudge until it has cooled and set completely. Attempting to cut it too soon will result in messy, uneven slices. Allow the full cooling time for clean, precise cuts.
- Humidity Alert: Fudge and pralines are sensitive to humidity. High moisture in the air can prevent the candy from setting properly, making it sticky or grainy. If possible, choose a dry day to make this recipe, or consider using a dehumidifier if you live in a humid environment.
- Troubleshooting Soft Fudge: If your fudge doesn’t seem to be setting firmly enough, don’t despair! You can chill it in the refrigerator for an hour to help it firm up. For a quicker fix, place it in the freezer for about 10-15 minutes before attempting to slice.
- Clean Slices Every Time: For perfectly clean and neat slices, run a sharp knife under hot, running water and wipe it dry before each cut. This slight warmth helps the knife glide through the fudge without sticking or dragging.
Microwave Option for White Chocolate: You can melt the white chocolate chips and sweetened condensed milk in a microwave-safe bowl on 50% power, stirring thoroughly every 30 seconds until the mixture is completely smooth. Once melted, pour it into your prepared pan and smooth the surface before adding the praline swirl.
Gifting: Wrap individual squares of your Pralines and Cream Fudge in wax paper, parchment paper, or festive cellophane. This keeps them fresh and makes for an absolutely wonderful, thoughtful homemade gift for holidays, birthdays, or just to show appreciation.
Storage: Store leftover pralines and cream fudge in an airtight container at room temperature for up to 5 days, or in the refrigerator for up to 1 week. For longer storage, wrap the fudge tightly in two layers of plastic wrap and one layer of aluminum foil, then freeze for up to 3 months. Let it thaw overnight in the refrigerator before enjoying.
Calories from Fat 180
@easydessertrecipes
for a chance to be featured.
Why Baking Soda Matters for Perfect Praline Texture
The addition of baking soda in this swirled pecan fudge recipe is a small but mighty detail that significantly impacts the final texture of the pralines. When baking soda (sodium bicarbonate) is introduced to the hot sugar mixture, it undergoes a chemical reaction with the natural acids present in the brown sugar and heavy cream. This reaction releases tiny carbon dioxide bubbles throughout the candy mixture.
These minuscule air bubbles serve a crucial purpose: they prevent the sugar crystals from packing too densely as the pralines cool and set. Instead of forming large, hard crystals that would result in a brittle or grainy texture, the baking soda helps create a multitude of smaller, softer crystals. This allows the pralines to maintain their signature creamy, melt-in-your-mouth texture that is so highly prized in traditional Southern pralines.
If you choose to omit the baking soda, your praline layer will still taste delicious, but you might notice a difference in consistency. It tends to turn out firmer and a bit more brittle, lacking that uniquely smooth, yielding, fudge-like quality that the baking soda helps achieve. For an authentic and superior texture, I highly recommend including this secret ingredient.
How to Make Pralines and Cream Fudge Step-by-Step
Creating this irresistible Pralines and Cream Fudge is a straightforward process, especially when you follow these steps carefully. The key lies in precise timing and temperature control to ensure both the white chocolate fudge and the praline swirl achieve their perfect consistency.
1. Prepare Your Pan and Ingredients
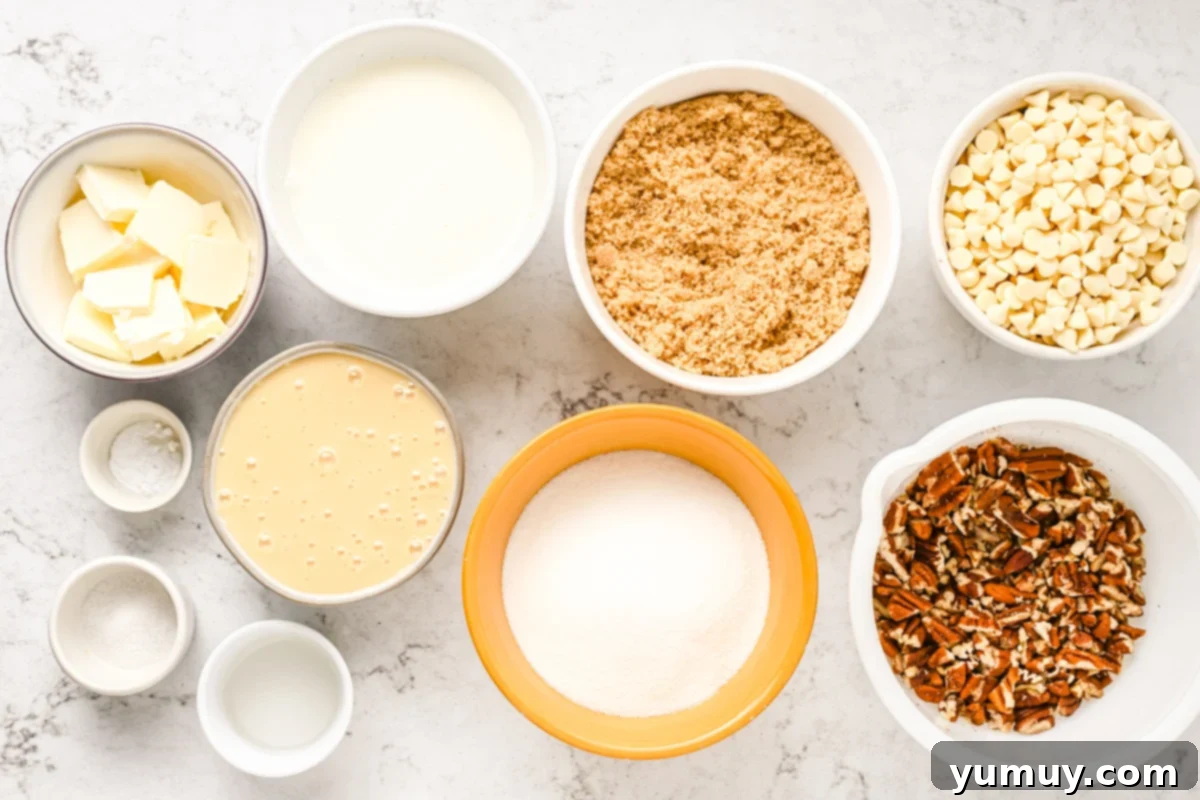
Prep: Begin by lining a 9×13-inch baking pan with parchment paper, leaving an overhang on the sides. This overhang will make it incredibly easy to lift the entire slab of fudge out once it’s set. Lightly spray the parchment paper with a nonstick cooking spray to ensure nothing sticks. Next, cube your unsalted butter for the pralines, and measure out all your remaining ingredients. Having everything ready beforehand, also known as “mise en place,” will streamline your cooking process.
2. Melt the White Chocolate Base
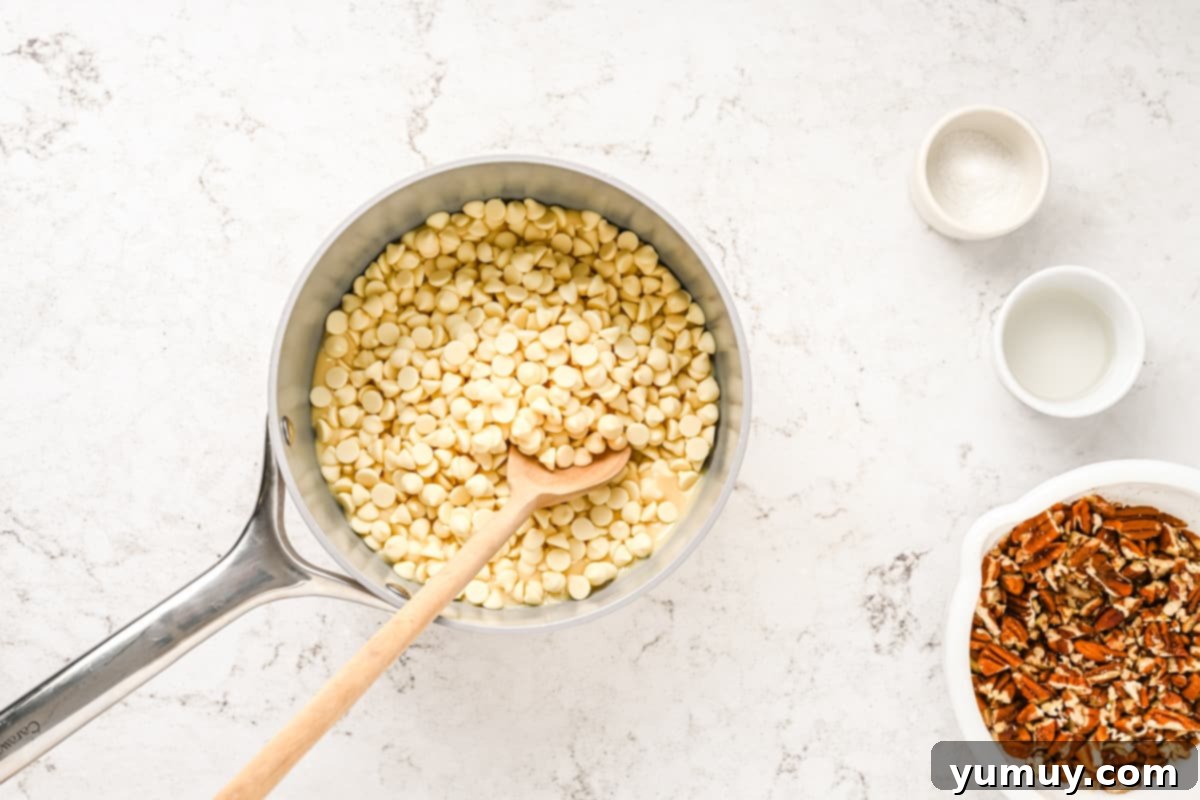
Melt the White Chocolate: In a medium-sized saucepan, combine the 2 cups of good quality white chocolate chips and one 14-ounce can of sweetened condensed milk. Place the saucepan over medium-low heat. It’s crucial to melt this mixture slowly and stir it often to prevent scorching and ensure it becomes completely smooth and homogenous. Once melted and velvety, remove it from the heat but keep it warm so it’s ready for the praline layer.
3. Begin the Praline Mixture
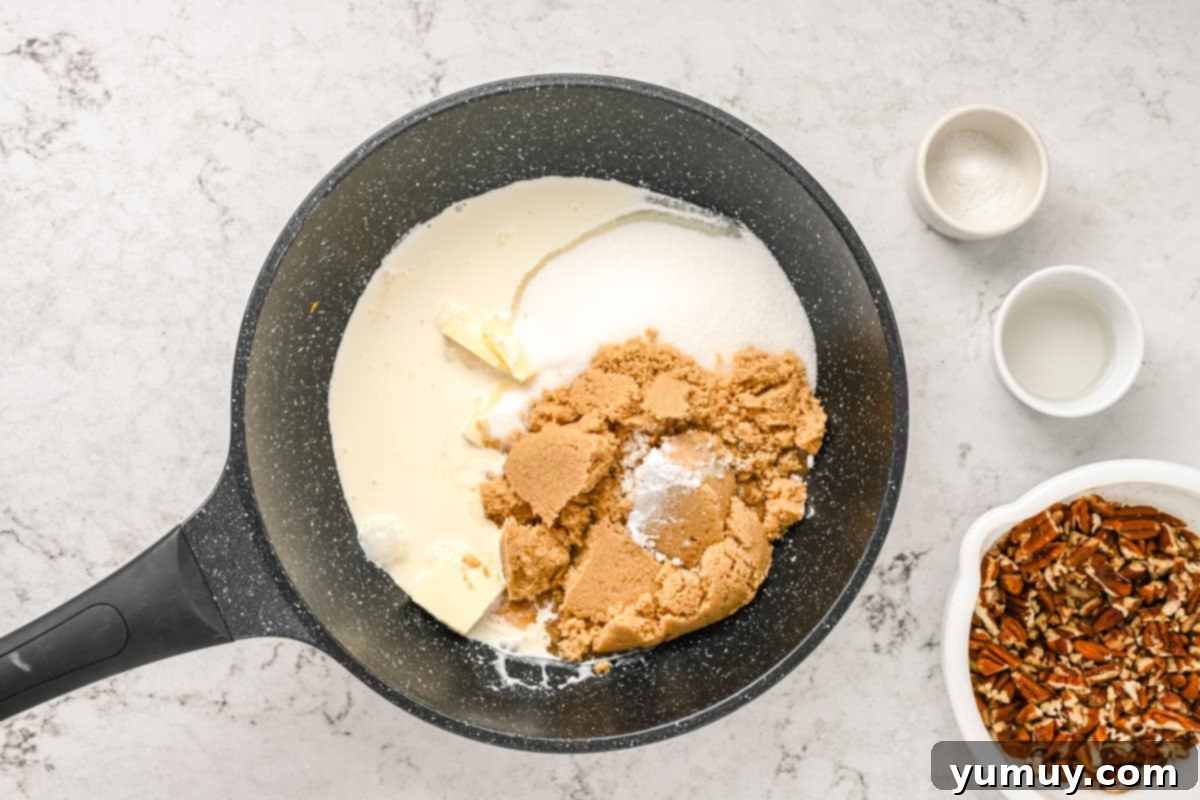
Heat the Pralines: While your white chocolate base is melting, start preparing the praline swirl immediately. In a separate, heavy-bottomed medium saucepan, combine 1½ cups of granulated sugar, 1½ cups of brown sugar, 1¼ cups of heavy whipping cream, 6 tablespoons of cubed unsalted butter, and ¼ teaspoon of baking soda. The baking soda is a small but important ingredient here; it helps prevent sugar crystals from forming, contributing to a softer, smoother praline texture.
4. Boil to Perfection
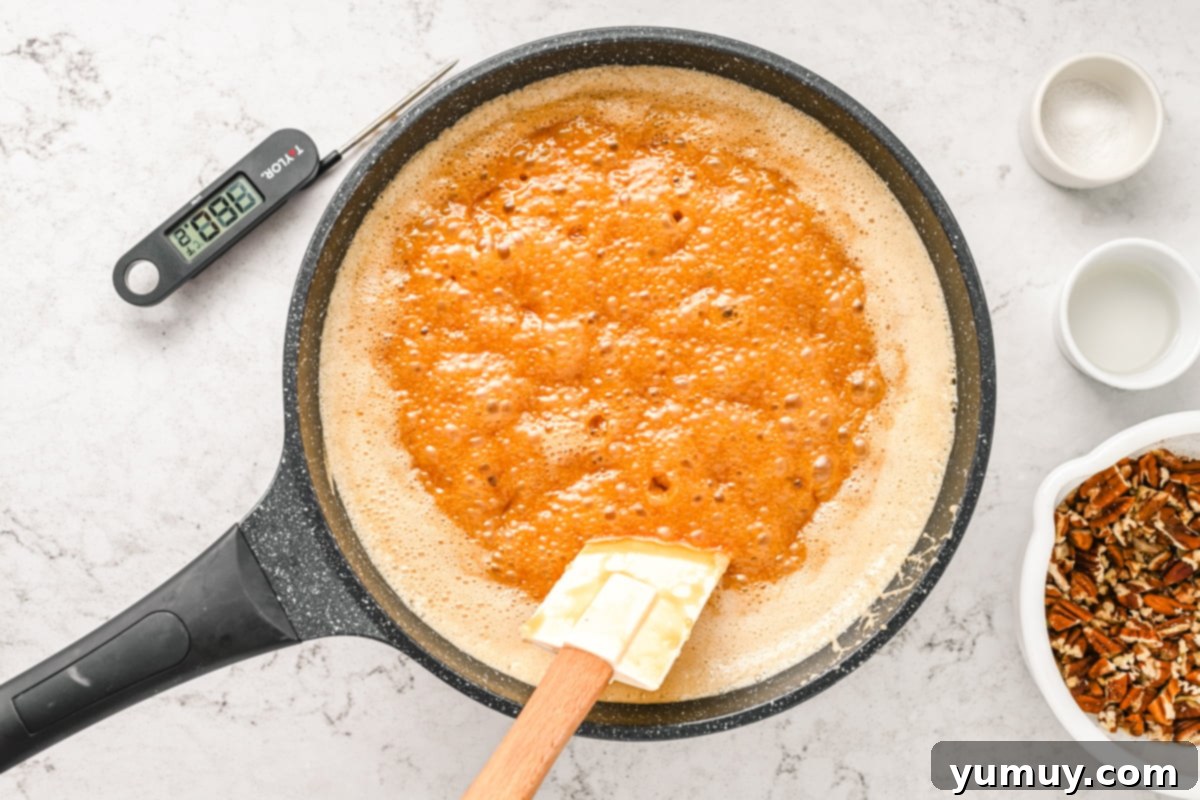
Boil the Mixture: Place the praline saucepan over medium-high heat. Stir the mixture frequently until the butter has completely melted and the ingredients are well combined. Continue stirring until the pralines come to a rolling boil. Once it starts boiling, it’s best to stir gently and less frequently. Overstirring at this stage, or too close to the end, can encourage sugar crystals to form, which would result in a gritty rather than smooth praline texture. Attach your candy thermometer to the side of the pan, making sure it doesn’t touch the bottom.
5. Prepare the Fudge Pan
Pour the Chocolate: As the pralines continue to cook, pour the warm, melted white chocolate mixture into your prepared 9×13-inch baking pan. Use a spatula to smooth it into a perfectly even layer across the bottom of the pan. Set this aside. It’s important to have this layer ready and waiting, as the praline mixture cools and thickens very rapidly once it’s taken off the heat.
6. Incorporate Nuts and Vanilla
Add the Nuts: Keep a close eye on your candy thermometer. When the praline mixture reaches precisely 236°F (113°C), it has reached the soft-ball stage and is ready. Immediately remove the saucepan from the heat. Stir in the 2 cups of chopped pecans, 2 teaspoons of pure vanilla extract, and ½ teaspoon of kosher salt until all ingredients are well distributed. Allow this mixture to cool undisturbed for about 3-4 minutes. Then, stir vigorously until the pralines start to thicken and lose their initial glossy appearance, becoming more opaque. This stirring helps set the texture of the pralines.
7. Create the Swirl
Marble the Fudge: Working quickly, pour the warm, slightly thickened praline mixture over the prepared white chocolate base in the pan. Using a butter knife, a skewer, or even the tip of a spoon, gently lift the sides of the white chocolate and fold them over the pralines towards the middle of the pan. Continue this gentle folding and swirling motion a few times to create a beautiful, artistic marbling effect. Be careful not to overmix, as you want distinct layers and swirls rather than a fully blended mixture. Once satisfied with the swirl, gently press the top evenly into the pan with the back of a spoon or spatula to ensure it’s level.
8. Cool, Cut, and Serve
Cool and Serve: Now comes the hardest part: patience! Allow your Pralines and Cream Fudge to cool completely at room temperature for at least 4 hours, or until it is fully firm and set. Resist the urge to cut it prematurely, as this will result in a sticky, uneven mess. Once completely firm, use the parchment paper overhang to gently lift the entire slab of fudge from the baking pan. Transfer it to a cutting board, slice into desired squares, and serve this utterly decadent Southern treat. If your fudge seems stubbornly soft, a short stint in the refrigerator (about an hour) or freezer (10-15 minutes) can help it firm up for easier slicing.
How to Store and Freeze Pralines and Cream Fudge
Proper storage is essential to keep your homemade Pralines and Cream Fudge tasting fresh and delicious for as long as possible. Here’s how to best store your delightful treat:
- Room Temperature: For short-term enjoyment, store leftover white chocolate pecan fudge in an airtight container at room temperature. It will stay fresh and flavorful for up to 5 days. Ensure it’s away from direct sunlight or heat sources.
- Refrigerator: To extend its shelf life, transfer the fudge to an airtight container and store it in the refrigerator for up to 1 week. Keep in mind that fudge can become a little firmer when chilled, so you might want to let it come to room temperature for a few minutes before serving for optimal texture.
- Freezer: For long-term storage, this fudge freezes beautifully. First, wrap individual pieces or small blocks of fudge tightly in two layers of plastic wrap, ensuring no air can get in. Then, add an additional layer of aluminum foil to prevent freezer burn. Store the well-wrapped fudge in the freezer for up to 3 months. When you’re ready to enjoy it, simply let it thaw overnight in the refrigerator, or for a few hours at room temperature, before serving.
More Indulgent Fudge Recipes to Explore
If you’ve fallen in love with the ease and deliciousness of homemade fudge, you’re in for a treat! There’s a whole world of creamy, decadent fudge variations waiting to be discovered. Expand your confectionery repertoire with these other irresistible fudge recipes:
More Fudge Recipes to Try!
Marshmallow Fluff Fudge
Red Velvet Fudge
Butterfinger Fudge
Peppermint Fudge Recipe
All Fudge Recipes
