Are you craving that iconic mint-chocolate delight but the Girl Scout Cookie season feels miles away? Look no further! This spectacular homemade Thin Mints recipe captures the very essence of your beloved classic, ensuring you can enjoy these crisp, decadent cookies whenever the craving strikes. Forget waiting – these irresistible mint chocolate treats are crafted with love right in your kitchen, promising a taste that’s not just “like” your favorite, but arguably even better. With a perfectly crisp-tender texture and a luxurious, richly flavored mint chocolate coating, each bite is a symphony of refreshing mint and deep cocoa.

- Share on Facebook
- Email Recipe
The Ultimate Homemade Thin Mint Cookies Recipe: Better Than the Original!
There’s a universally acknowledged truth: Thin Mints are incredible. Their delicate crunch, intense chocolate, and refreshing mint flavor make them a perennial favorite. However, a recent batch left me a little underwhelmed – the chocolate seemed to lack its usual richness. This experience sparked a mission: to create a homemade Thin Mint recipe that not only rivals the original Girl Scout cookie but surpasses it in every delightful way. The secret? High-quality ingredients, especially premium semisweet chocolate, which ensures a deeply satisfying, rich, and truly decadent flavor. The result is a copycat recipe that hits all the right notes, tasting exactly as a Thin Mint should.
Crafting these homemade Thin Mints is a surprisingly straightforward process, requiring just a few common pantry staples and one star ingredient: pure peppermint extract. While I always keep a bottle on hand for my various peppermint-infused baking adventures, if you’re not a frequent baker of minty treats, this will be your only special trip to the store. Trust me, it’s worth it. Using pure peppermint extract ensures that bright, authentic mint flavor without any artificial aftertaste, making these cookies truly exceptional.
Making Thin Mints at home offers several advantages. First, you have complete control over the quality of your ingredients. Opting for good quality cocoa powder and chocolate will significantly enhance the depth of flavor. Second, you can enjoy these year-round! No more waiting for cookie season or stockpiling boxes in your freezer. And finally, there’s an undeniable satisfaction that comes from baking your own treats from scratch, especially when they turn out to be even more delicious than the store-bought version.

Pro Tip: Enjoy Your Thin Mints from the Freezer for an Enhanced Experience!
For an extra burst of flavor and a satisfyingly firm snap, try these homemade Thin Mints straight from the freezer. The cold intensifies the mint and chocolate notes, creating a truly irresistible treat. It’s how many aficionados enjoy their Thin Mints, and for good reason!

Classic Homemade Thin Mints Recipe
: 1 hour 44 minutes
Print
Rate
Ingredients
For the Wafer Cookies
- 1¼ cups all-purpose flour
- ½ cup unsweetened cocoa powder
- 1 cup granulated sugar
- ¼ teaspoon baking soda
- ¼ teaspoon kosher salt
- ¾ cup vegetable oil
- 3 tablespoons milk dairy or non-dairy
- 1 teaspoon pure vanilla extract
- ¾ teaspoon pure peppermint extract *
For the Chocolate Coating
- 2 cups chopped semisweet chocolate
- 1 tablespoon milk dairy or non-dairy
- 1 teaspoon pure peppermint extract
Equipment
- Kitchen Scale (optional)
- Food Processor
- Baking Sheet
- Rolling Pin
Instructions
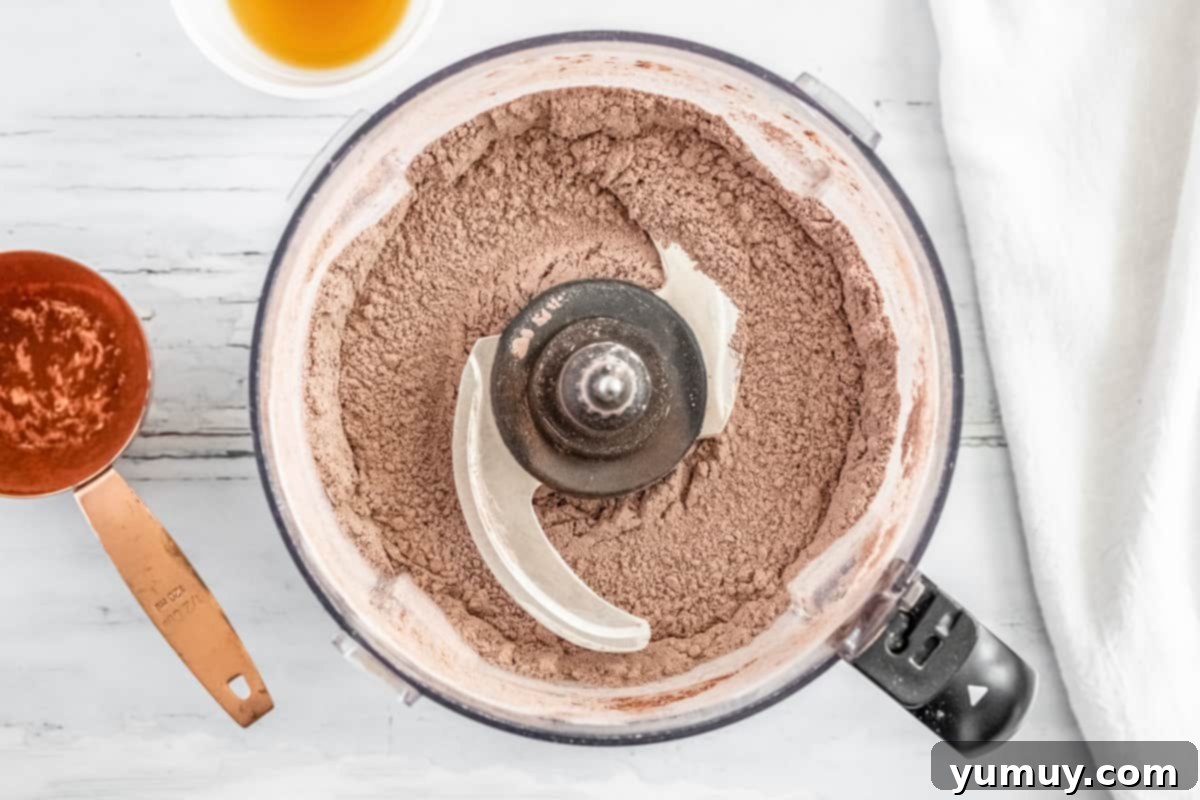
- In a food processor, combine the flour, cocoa powder, granulated sugar, baking soda, and kosher salt. Pulse several times until all dry ingredients are thoroughly mixed.1¼ cups all-purpose flour, ½ cup unsweetened cocoa powder, 1 cup granulated sugar, ¼ teaspoon baking soda, ¼ teaspoon kosher salt

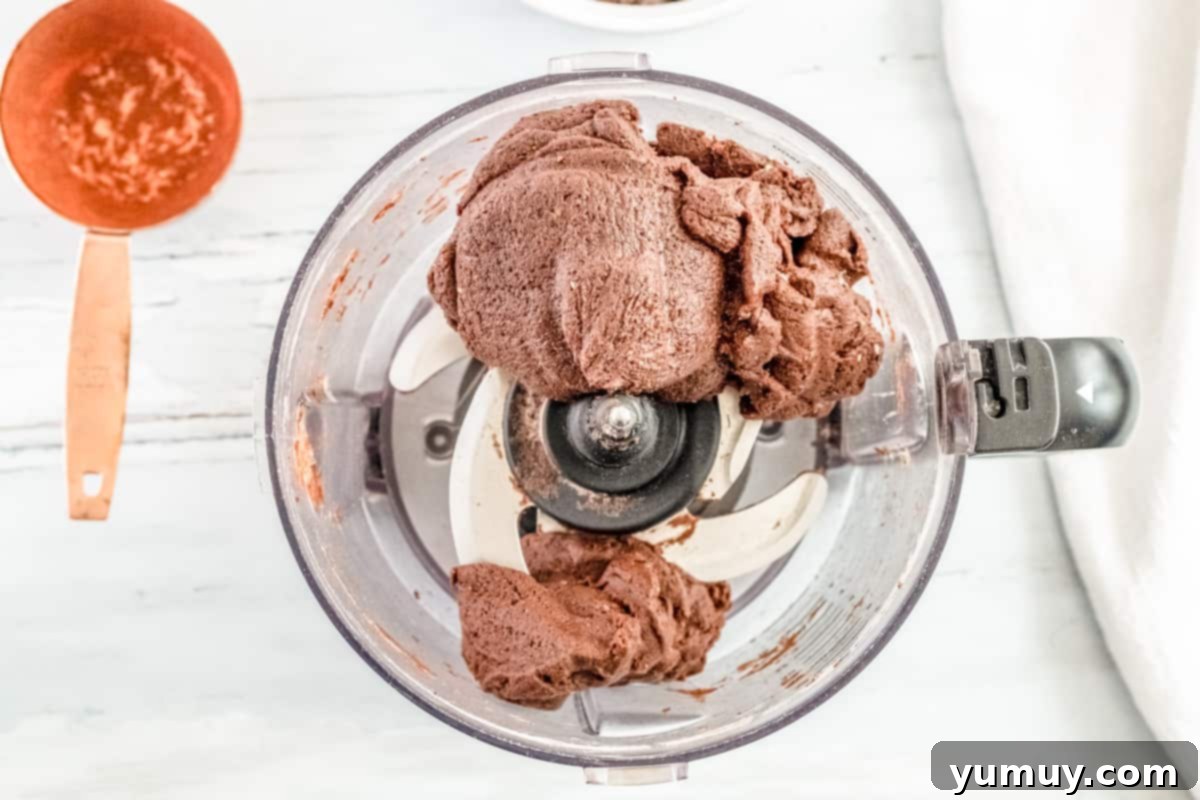
- Pour in the vegetable oil, milk (dairy or non-dairy), pure vanilla extract, and pure peppermint extract. Pulse or blend on low speed until the mixture comes together and forms a cohesive, solid ball of dough.¾ cup vegetable oil, 3 tablespoons milk, 1 teaspoon pure vanilla extract, ¾ teaspoon pure peppermint extract

- Transfer the dough from the food processor to a large mixing bowl. Use your hands to gently knead it until it’s completely smooth and unified.
- Cover the dough and place it in the refrigerator to chill for 1 hour. This chilling step is highly recommended as it makes the dough easier to handle and improves the texture of the baked cookies.
- While the dough chills, preheat your oven to 350°F (175°C). Line a baking sheet with parchment paper, preparing it for the cookies, and set aside.
- Once chilled, remove the dough and place it on a lightly floured flat surface. Roll the dough out evenly to a thickness of approximately ¼-inch (about 6mm).
- Using a small circular cookie cutter (about 1.5 to 2 inches in diameter) or a thin fluted glass, press out individual circular cookie wafers.

- Carefully transfer the cut wafers onto the prepared baking sheet. Bake for 14-20 minutes, adjusting the time based on your preference for a softer or crisper cookie. Both textures are delightful!

- Once baked, remove the cookies from the oven and allow them to cool completely on the baking sheet before moving on to the coating stage.
- While the cookies are cooling, prepare the indulgent chocolate coating: Place the 2 cups of chopped semisweet chocolate into a medium-sized heatproof bowl. Set this bowl over a large saucepan containing about 2 inches of simmering water (ensure the bottom of the bowl does not touch the water). Stir the chocolate gently until it is entirely melted and smooth.2 cups chopped semisweet chocolate
- Remove the bowl from the heat. Add 1 tablespoon of milk and 1 teaspoon of pure peppermint extract to the melted chocolate. Stir thoroughly until the milk and peppermint are fully incorporated, creating a glossy, fragrant mint chocolate coating.1 tablespoon milk, 1 teaspoon pure peppermint extract

- Using a fork or a dipping tool, carefully immerse each cooled cookie wafer into the mint chocolate coating. Allow any excess chocolate to drip off, then place the coated cookies back onto the parchment paper-lined baking sheet.

- Once all wafers are coated, place the baking sheet in the refrigerator. This will help the chocolate coating set quickly and achieve that classic firm Thin Mint texture. Serve and enjoy!
Notes & Expert Tips
Tips for Success:
- **Handling Sticky Dough:** If your cookie dough feels overly sticky after chilling, a simple trick is to roll it out between two sheets of parchment paper. This prevents sticking to your rolling pin and work surface, making the process much cleaner and easier.
- **Uniform Cookies:** For consistent baking and a professional look, aim to use a 2-inch or 3-inch circular cookie cutter. This ensures all your cookies are the same size, baking evenly and looking picture-perfect.
- **Slice-and-Bake Method:** Another excellent option for shaping these cookies is to roll the prepared dough into a log (about 1.5 to 2 inches in diameter) before chilling. After an hour in the refrigerator, you can simply slice the chilled log into equal-sized rounds for perfectly uniform slice-and-bake cookies.
- **Efficient Dipping:** When coating your cookies, a simple dinner fork works wonders. Pierce the cookie gently with a fork, dunk it into the melted chocolate, and gently tap the fork against the edge of the bowl to allow any excess chocolate to drip off. This creates a thin, even coating.
Storage Instructions: To keep your homemade Thin Mints fresh and delicious, store them in an airtight container. They will remain wonderfully fresh at room temperature for up to 3 days, in the refrigerator for up to 1 week, or in the freezer for up to 2 months. They are fantastic enjoyed cold directly from the fridge or freezer, or at room temperature if you prefer a slightly softer coating.
Calories from Fat 90
@easydessertrecipes
for a chance to be featured.
A Detailed Guide to Crafting Perfect Homemade Thin Mints
Creating these iconic mint chocolate cookies at home is a rewarding journey. This step-by-step guide will walk you through each stage, ensuring your homemade Thin Mints are nothing short of perfection.
Step 1: Gather and Prepare Your Ingredients
Before you begin the magic, take a moment to collect all your ingredients. This mise en place ensures a smooth and enjoyable baking process. Don’t forget to finely chop your semisweet chocolate – this helps it melt more evenly and quickly later on. Having everything measured and ready will make the subsequent steps effortless.

Step 2: Master the Wafer Dough in a Food Processor
The beauty of this recipe starts with its simplicity, especially when preparing the cookie dough. In your food processor, combine the dry ingredients for the wafer: 1¼ cups of all-purpose flour, ½ cup of unsweetened cocoa powder, 1 cup of granulated sugar, ¼ teaspoon of baking soda, and ¼ teaspoon of kosher salt. Pulse these until they are perfectly combined, ensuring an even distribution of flavor. The food processor makes quick work of this, creating a fine, uniform mixture that forms the base of your rich chocolate wafers.
Step 3: Combine Wet Ingredients and Chill the Dough for Best Results
Next, add the wet ingredients to your dry mixture in the food processor: ¾ cup of vegetable oil, 3 tablespoons of milk (feel free to use dairy or a non-dairy alternative), 1 teaspoon of pure vanilla extract, and ¾ teaspoon of pure peppermint extract. Pulse or blend on a low setting until the mixture fully combines and begins to form a solid, round mass. This gentle blending ensures all ingredients are well incorporated without overworking the dough. Once a firm ball has formed, transfer the dough to a large mixing bowl. A quick knead by hand will ensure it’s completely smooth and homogeneous. Cover the dough and refrigerate for at least 1 hour. This crucial chilling period helps the dough firm up, making it significantly easier to roll out and preventing the cookies from spreading too much during baking, leading to that perfect Thin Mint snap.
Step 4: Roll, Cut, and Prepare for Baking
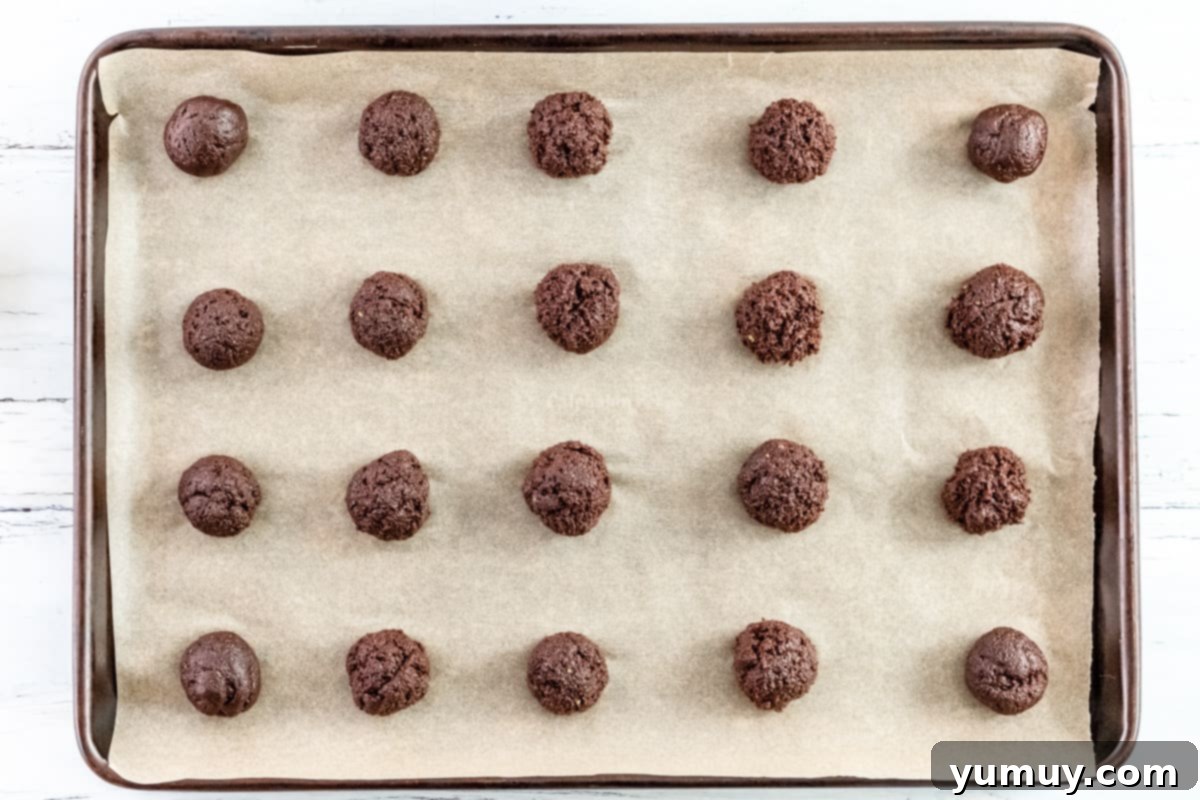
While your dough is chilling, preheat your oven to 350°F (175°C). Line a baking sheet with parchment paper, a non-stick surface that will make transferring your delicate cookies a breeze. Once the dough is adequately chilled, take it out and place it on a clean, flat surface. Using a rolling pin, gently roll the dough into a uniform ¼-inch thick sheet. This precise thickness is key to achieving the characteristic crispness of Thin Mints. With a small circular cookie cutter (approximately 1.5 to 2 inches in diameter) or even the rim of a thin fluted glass, carefully press out as many circular cookie wafers as possible. Re-roll any scraps to maximize your yield.
Step 5: Bake to Perfection
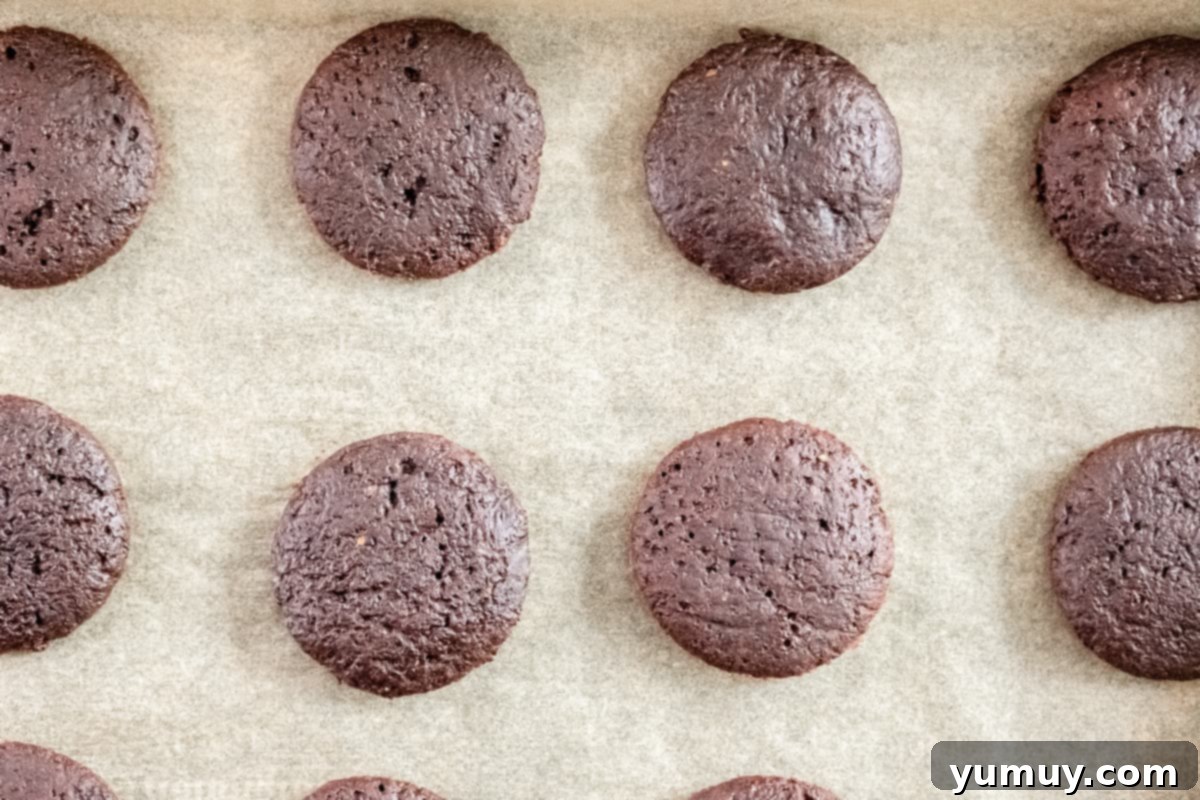
Carefully transfer your neatly cut cookie wafers onto the prepared baking sheet, leaving a little space between each. Bake them in the preheated oven for 14-20 minutes. The baking time will depend on your desired level of crispness. If you prefer a slightly softer, chewier cookie, lean towards the shorter baking time. For that signature Thin Mint crunch, extend it closer to 20 minutes. Keep a close eye on them to prevent over-browning. Once baked, remove the cookies from the oven and let them cool completely on the baking sheet. This allows them to firm up before handling and ensures they don’t break when you move them.
Step 6: Prepare the Decadent Mint Chocolate Coating
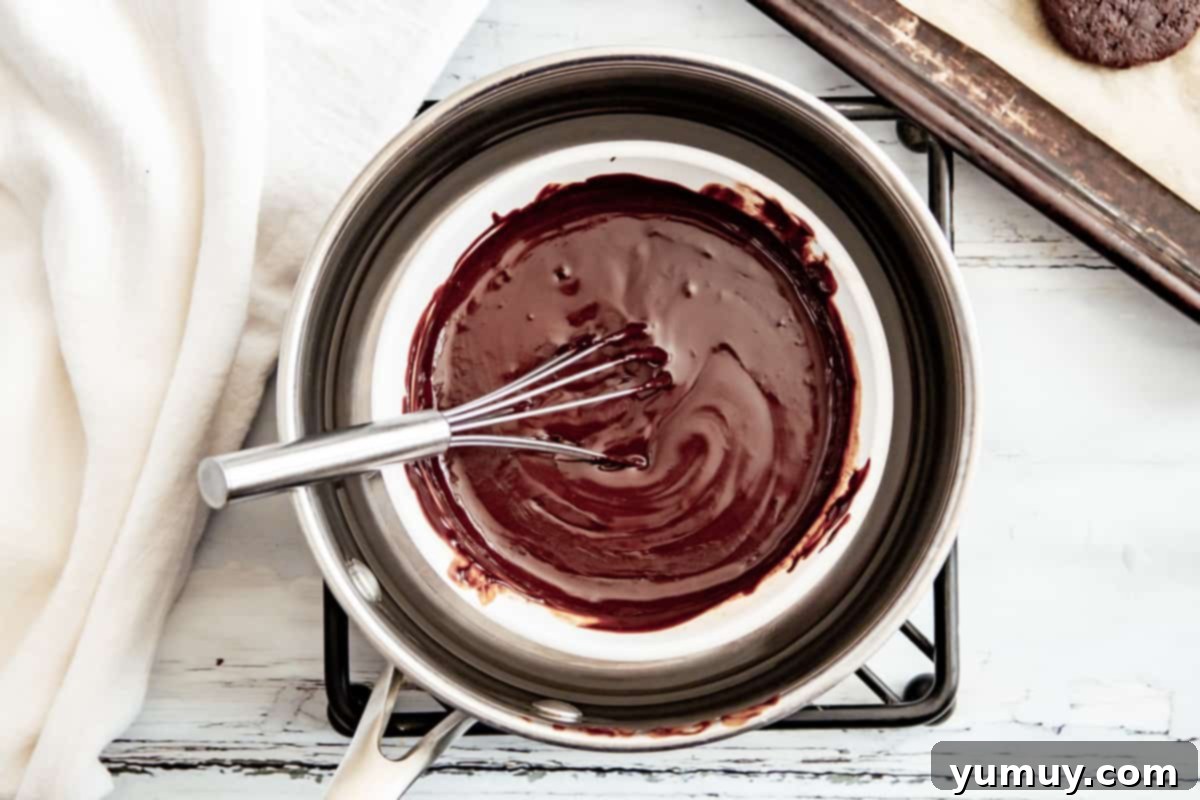
While your cookies are cooling, it’s time to prepare the luscious mint chocolate coating. Place 2 cups of chopped semisweet chocolate into a medium-sized heatproof bowl. Create a double boiler by setting this bowl over a large saucepan filled with about 2 inches of gently simmering water. Ensure the bottom of the chocolate bowl does not directly touch the water, as this can cause the chocolate to seize or burn. Stir the chocolate continuously until it is completely melted and beautifully smooth. Remove the bowl from the heat and stir in 1 tablespoon of milk (again, dairy or non-dairy works) and 1 teaspoon of pure peppermint extract. Mix thoroughly until the milk and extract are fully incorporated, creating a glossy, intensely flavored mint chocolate coating. The aroma alone is enough to make your mouth water!
Step 7: Dip and Set Your Homemade Thin Mints
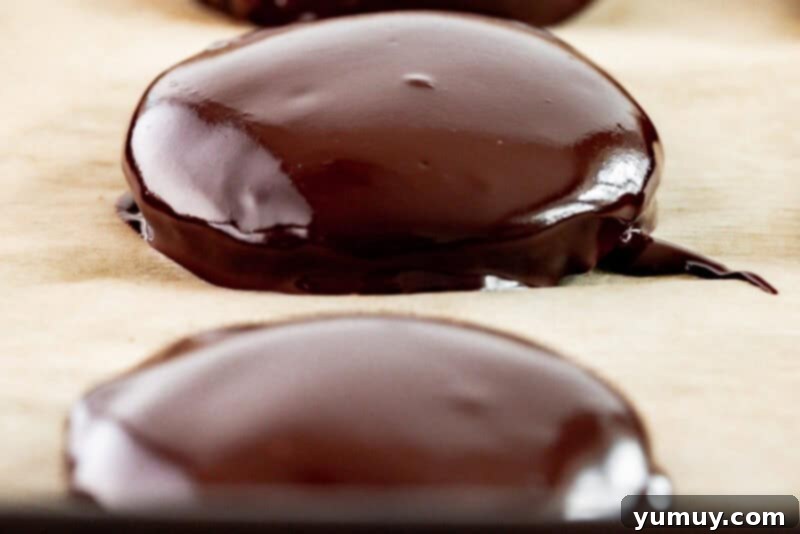
Now for the fun part! One by one, gently dip each cooled cookie wafer into the warm mint chocolate coating. A fork or a dedicated dipping tool can be incredibly helpful here. Allow any excess chocolate to drip back into the bowl for a clean, even coat, then carefully place the freshly dipped cookies back onto the parchment paper-lined baking sheet. The parchment paper will prevent sticking as the chocolate sets. Once all your wafers are coated, place the entire baking sheet into the refrigerator. This accelerates the chocolate hardening process, ensuring a firm, snappy coating, and getting you to your delicious Thin Mint reward even faster. Once set, these homemade delights are ready to be savored!
Discover More Mint Chocolate Dessert Recipes!
If you’re a true enthusiast of the refreshing combination of mint and rich chocolate, then these homemade Thin Mints are just the beginning of your culinary journey. Dive into our collection of other delightful mint chocolate desserts that are sure to satisfy your cravings. From fudgy brownies to creamy ice cream, there’s a minty treat for every occasion!
Mint Chocolate Chip Brownies
Mint Chocolate Truffles
No Churn Mint Chocolate Chip Ice Cream
Peppermint Pie
