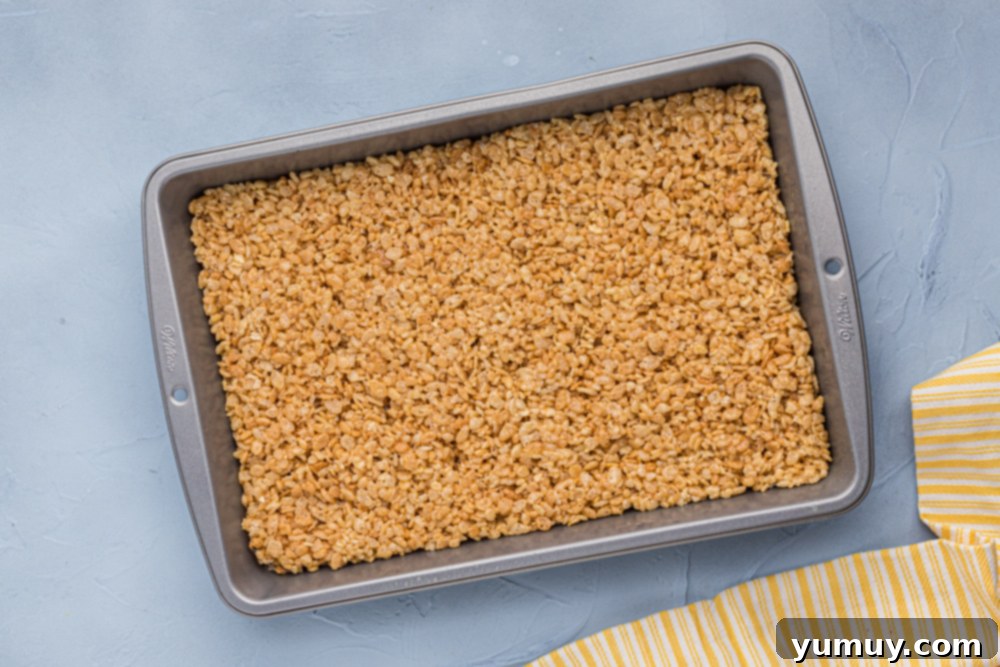
The Ultimate Guide to Classic Rice Krispie Treats: Stovetop & Microwave Methods
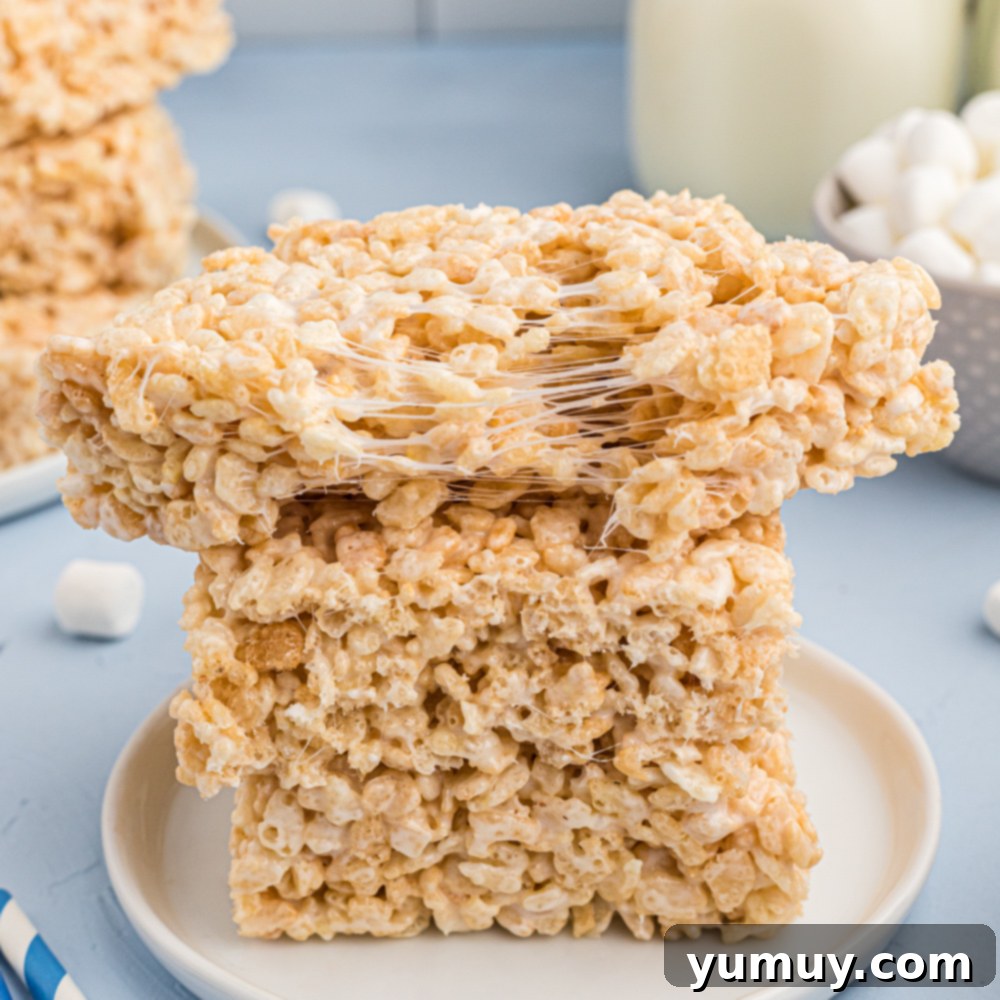
There are few desserts as universally beloved and undeniably simple as Rice Krispie Treats. These iconic marshmallow cereal bars evoke a sense of nostalgic comfort for many, instantly transporting us back to childhood kitchens and school bake sales. Whether you’re a seasoned home baker or a complete novice, these treats are incredibly forgiving and always a crowd-pleaser. With just three basic ingredients, you can whip up a batch of perfectly gooey and crispy Rice Krispie treats in mere minutes. I’ve been making them since I was old enough to reach the microwave, and I’m thrilled to share my tried-and-true methods, including both stovetop and microwave instructions, ensuring success every time!
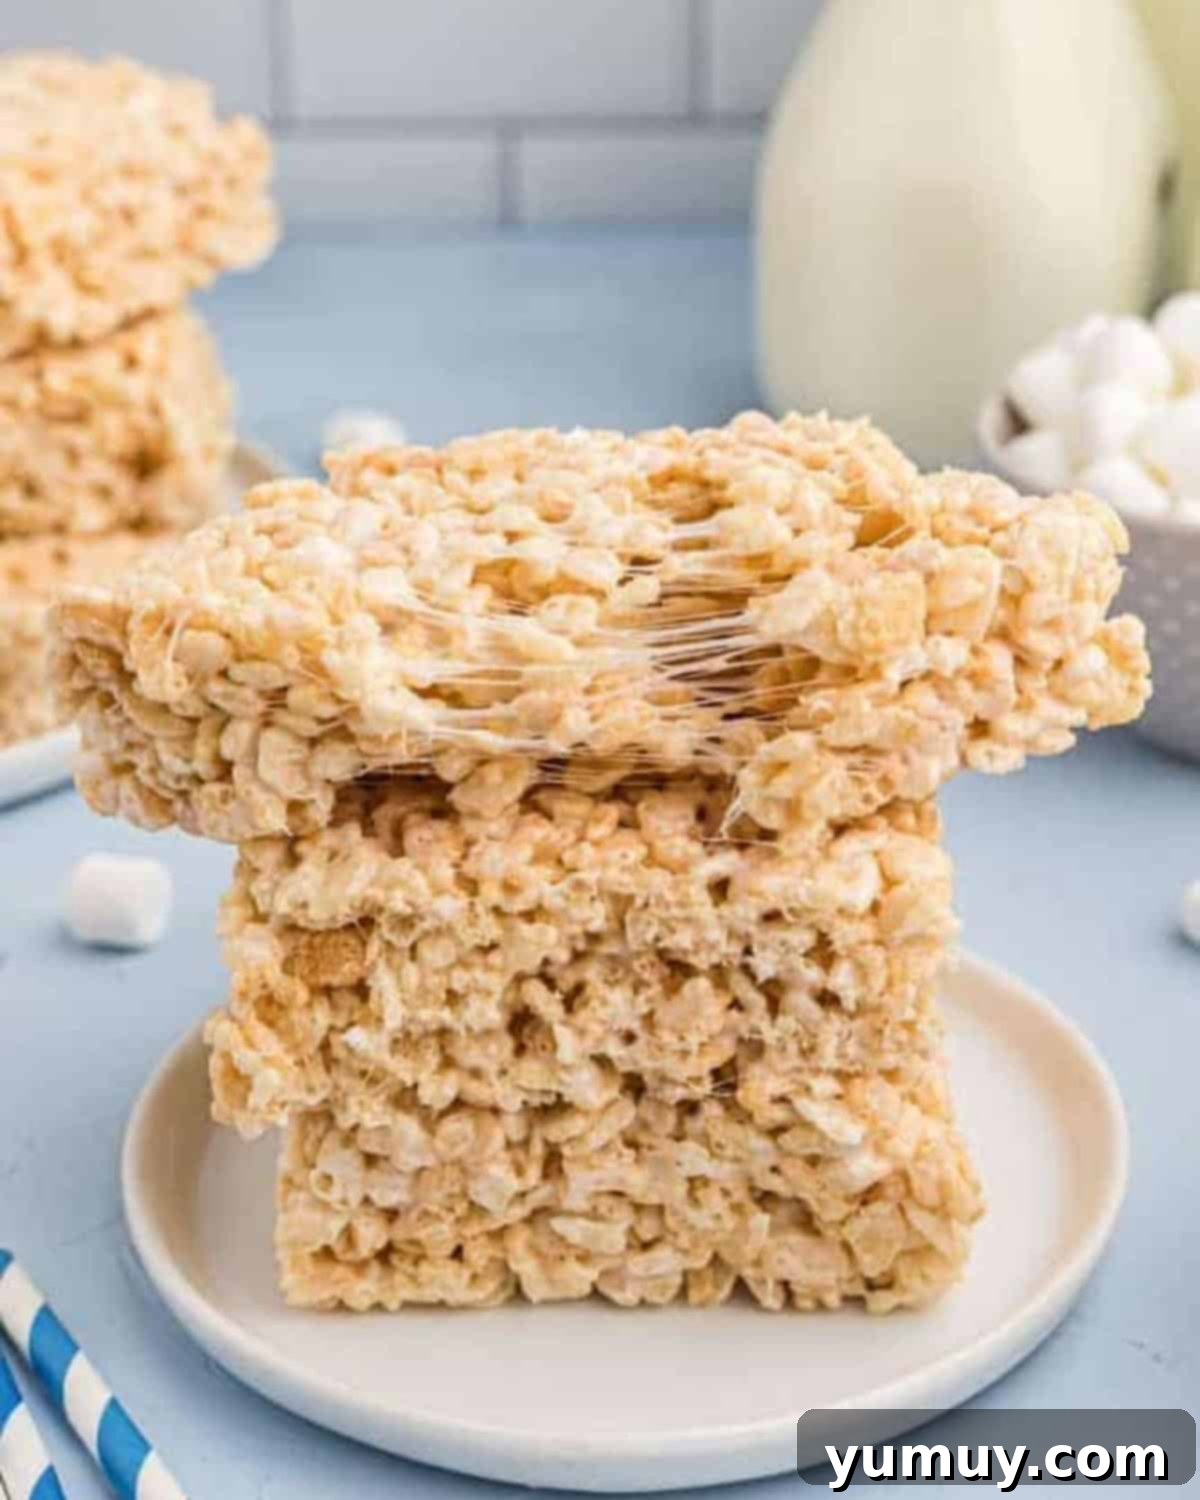
A Sweet History of a Simple Delight
The story of Rice Krispie Treats dates back to 1939 when Mildred Day and Malitta Jensen, employees at Kellogg Company’s home economics department, created the recipe. It was originally developed as a fundraiser for Camp Fire Girls and quickly gained popularity due to its simplicity and delicious taste. What started as a clever way to use Kellogg’s Rice Krispies cereal has evolved into a timeless classic, a staple at parties, potlucks, and snack times across generations. Its enduring appeal lies in its no-bake nature, minimal ingredient list, and the delightful contrast of crispy cereal and soft, chewy marshmallow.
Why Everyone Loves Homemade Rice Krispie Treats
Beyond their ease of preparation, homemade Rice Krispie Treats offer a unique charm. They’re a blank canvas for culinary creativity, allowing for endless variations to suit any taste or occasion. They’re perfect for kids to help make, fostering a love for baking (or rather, no-baking!). The satisfying crunch of the cereal combined with the irresistible sweetness and chewiness of the melted marshmallows creates a texture sensation that’s hard to beat. Plus, they’re incredibly versatile – great for lunchboxes, quick snacks, or even dressed up for festive occasions.
Stovetop vs. Microwave: Choose Your Adventure
I distinctly remember making my first batch of Rice Krispie Treats in a college dorm microwave, guided by my mom over the phone. I panicked when the marshmallows puffed up, convinced I’d chosen too small a bowl, but as soon as the door opened, they deflated, crisis averted! Both methods yield equally delicious results, so you can choose based on your preference for speed or control.
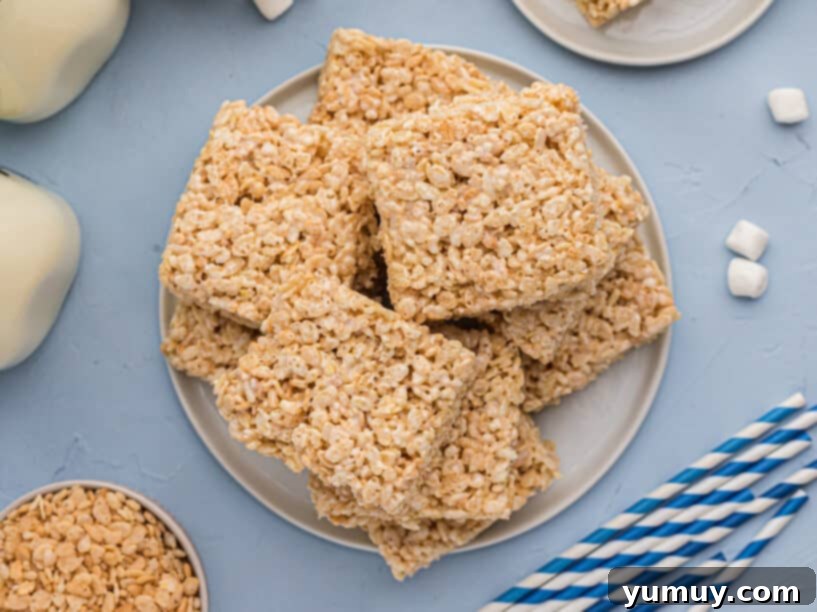
Classic Rice Krispie Treats Recipe
Make perfectly gooey and crispy Rice Krispie Treats with just 3 simple ingredients, using either the quick microwave method or the classic stovetop approach!
Ingredients
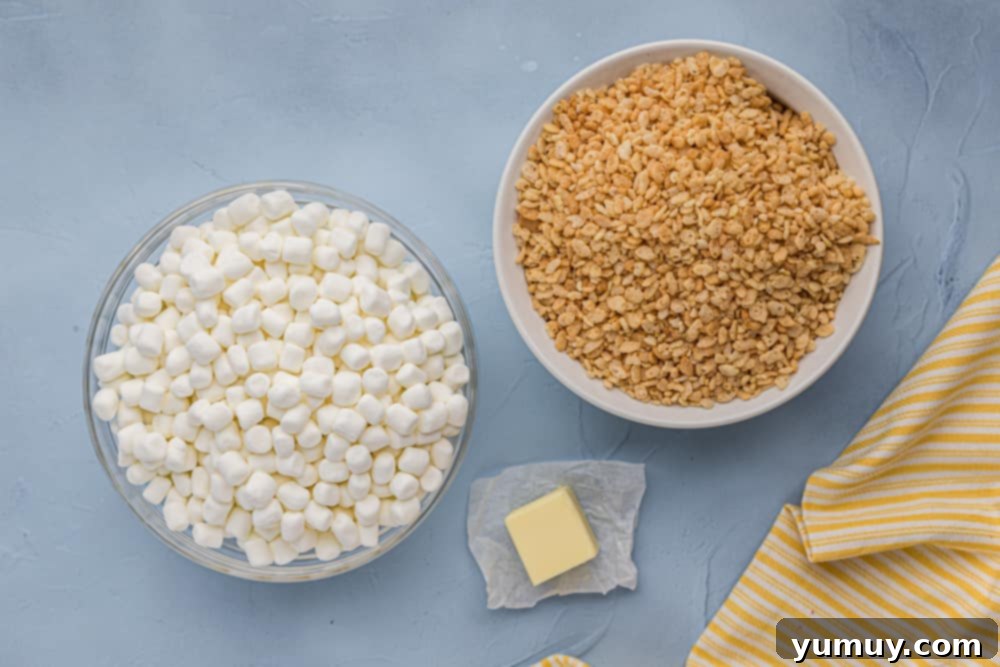
- 3 tablespoons salted butter (⅜ stick)
- 4 cups miniature marshmallows (about 6 ounces) *
- 6 cups Rice Krispies cereal
Equipment
- 9×13 Baking Pan
- Large Saucepan (for stovetop method)
- Extra-Large Microwave-Safe Bowl (for microwave method)
- Rubber Spatula
Instructions
- Prepare the Pan: Line a 9×13 baking pan with wax paper, or generously coat it with butter or non-stick cooking spray to prevent sticking.
Stovetop Method
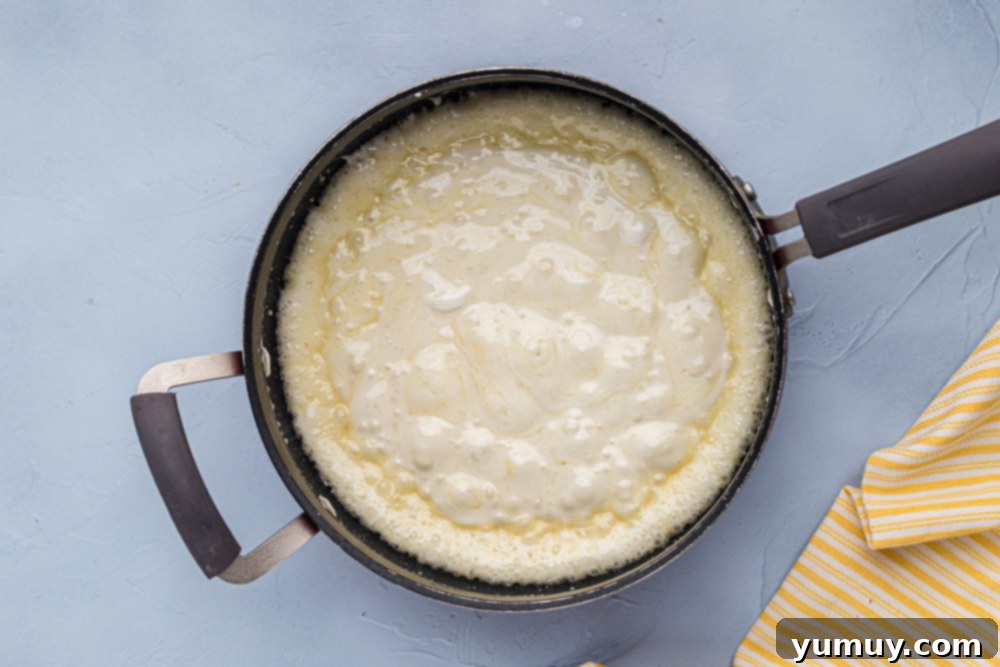
- Melt Butter & Marshmallows: In a large saucepan, melt 3 tablespoons of salted butter over low heat, stirring continuously until fully melted. Add 4 cups of miniature marshmallows and continue stirring constantly until they have completely melted and are smooth with the butter. Remove the saucepan from the heat immediately.
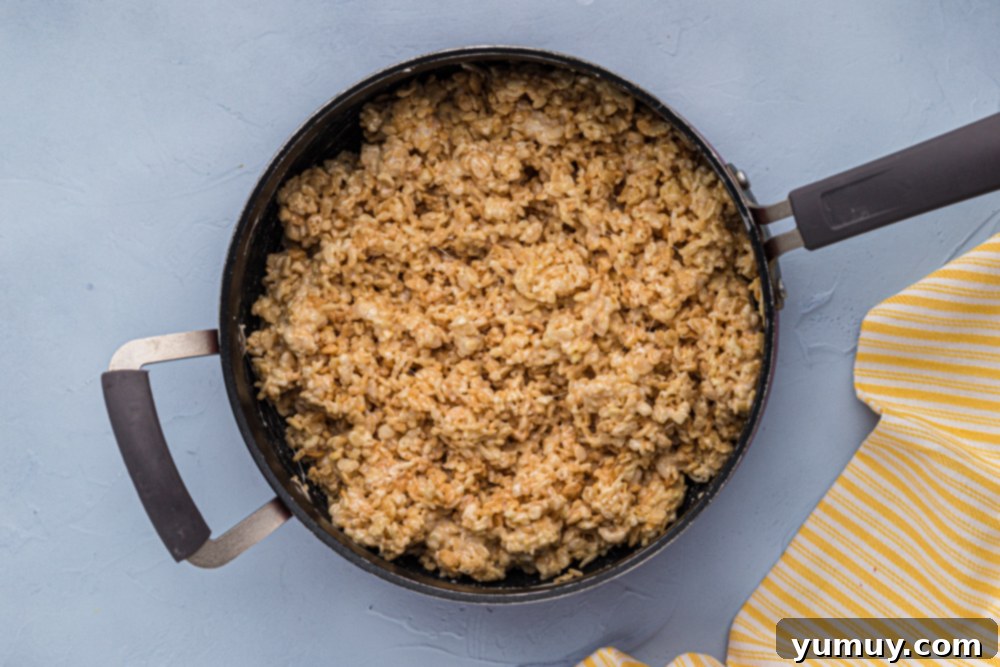
- Combine with Cereal: Pour in 6 cups of Rice Krispies cereal. Using a rubber spatula, gently fold the cereal into the melted marshmallow mixture until every piece is evenly coated. Work quickly but gently to ensure even distribution without crushing the cereal.
- Press into Pan & Set: Transfer the Krispie mixture into the prepared 9×13 baking pan. Lightly spray your rubber spatula with non-stick spray or use a piece of wax paper to gently press the mixture evenly into the pan. Avoid pressing too firmly, as this can lead to hard treats. Allow the treats to cool and the marshmallows to set at room temperature for at least 30 minutes before cutting.
Microwave Method
- Melt Marshmallows: In an extra-large microwave-safe bowl (ensure it’s large enough to accommodate marshmallow expansion), microwave 4 cups of miniature marshmallows for about 2-3 minutes on high. Keep a close eye on them; they will puff up significantly. Stir halfway through.
- Add Butter & Cereal: Once the marshmallows are melted and smooth, remove the bowl from the microwave. Add 3 tablespoons of salted butter and stir until it’s completely melted and incorporated into the marshmallow mixture. Pour in 6 cups of Rice Krispies cereal and stir until thoroughly combined and evenly coated.
- Press into Pan & Set: Using a lightly sprayed rubber spatula, transfer the mixture to your prepared 9×13 baking pan. Gently press the mixture evenly into the pan. Let the treats cool and set for about 30 minutes at room temperature before cutting into squares and serving.
Notes & Tips for Perfection
* You could also use a 7-ounce tub of marshmallow fluff for an even gooier treat. Adjust quantities to achieve desired consistency.
Essential Tips:
- Preparation is Key: Always line your baking pan with wax paper or grease it well to prevent sticking. This makes removal and cleanup much easier.
- Fresh Ingredients: For the best texture and flavor, use fresh Rice Krispies cereal and soft, fresh marshmallows. Stale ingredients won’t provide that signature crispy-chewy balance.
- Gentle Pressing: When pressing the mixture into the pan, be gentle. Over-packing can compress the treats too much, resulting in a dense and hard final product.
- Setting Time: Allow at least 30 minutes for the treats to cool and set before cutting. This prevents a sticky mess and ensures clean, well-formed squares.
- Flavor Boosters: Elevate your treats with a teaspoon of vanilla extract, ½ teaspoon of almond extract, or 1 tablespoon of flavored gelatin or pudding mix added to the melted marshmallow mixture.
- Brown Butter Magic: For a deeper, nuttier, and richer flavor, try browning your butter before adding marshmallows. This adds an incredible dimension to classic treats.
- Extra Gooeyness: For pockets of extra marshmallow goodness, stir in an additional cup of mini marshmallows with the cereal. They’ll soften but not fully melt, creating delightful pockets.
Storage:
Store Rice Krispie treats tightly covered with plastic wrap at room temperature for up to 3 days. To keep them softer for longer, slice off servings as you eat them rather than pre-cutting the entire batch. I do not recommend refrigerating Rice Krispie treats, as this can make them brittle and hard.
Freezing:
To freeze, cut treats into individual squares. Place them in a single layer on a parchment-lined baking sheet and freeze until solid (about 1-2 hours). Once solid, transfer them to an airtight container or freezer-safe bag, separating layers with wax paper to prevent sticking. They can be stored in the freezer for up to 6 weeks. Thaw at room temperature for about 1 hour before serving.
Calories from Fat 18
Step-by-Step Visual Guide for Making Rice Krispie Treats
For those who prefer a visual walkthrough, here’s a simplified step-by-step guide to complement the full recipe above. The process is straightforward and guarantees a delicious outcome!
Gather Your Ingredients & Prep Your Pan: Collect your butter, marshmallows, and Rice Krispies cereal. Line a 9×13 baking pan with wax paper or grease it with butter to prevent sticking.

Melt the Marshmallows: Whether on the stovetop (low heat, continuous stirring) or in the microwave (2-3 minutes, stirring halfway), melt the butter and marshmallows until smooth and creamy. If using the microwave, ensure you use a very large bowl as marshmallows expand significantly!

Mix in the Cereal: Remove the melted marshmallow mixture from the heat (or microwave). Add the Rice Krispies cereal and gently fold it in with a rubber spatula until every flake is thoroughly coated. Be quick to prevent the mixture from cooling too much.

Press and Set: Transfer the warm Krispie mixture into your prepared pan. Using a lightly greased spatula or a piece of wax paper, gently press the mixture down to form an even layer. Let it cool and set for at least 30 minutes at room temperature. Once set, cut into squares and enjoy!

Creative Variations & Add-Ins for Your Rice Krispie Treats
The beauty of Rice Krispie Treats is how easily they can be customized. Here are some ideas to spark your creativity and add a unique twist to your next batch:
- Chocolate Lover’s Dream: Drizzle melted chocolate (milk, dark, or white) over the set treats, or fold in chocolate chips with the cereal. You can even make Chocolate Rice Krispie Treats by adding cocoa powder to the melted marshmallow mixture.
- Sprinkle Fun: Add a generous amount of colorful sprinkles to the mixture right before pressing it into the pan for a festive look. Perfect for birthdays and holidays!
- Nut Butter Goodness: Incorporate 1/2 cup of your favorite nut butter (like peanut butter or almond butter) into the melted marshmallow mixture for a rich, nutty flavor, similar to these Chocolate Peanut Butter Rice Krispie Treats.
- Fruity Twist: Swap out Rice Krispies for other cereals like Fruity Pebbles for vibrant color and flavor (Fruity Pebbles Treats). You could also add dried fruits like cranberries or chopped apricots.
- Candy & Cookies: Fold in crushed candy bars, M&M’s, mini chocolate chips, or even crushed sandwich cookies for extra texture and flavor.
- Seasonal Delights: Tailor your treats to the season! Use Halloween candy for Halloween Rice Krispie Treats or green food coloring and red hearts for Grinch Rice Krispie Treats. For a spring vibe, consider Easter Rice Krispie Treats with pastel colors.
- Marshmallow Flavors: Experiment with flavored marshmallows or add a few drops of food-grade essential oils (like peppermint or orange) for a burst of unique flavor.
- Salty-Sweet Combo: Sprinkle a touch of flaky sea salt over the top of the treats before they set for an irresistible salty-sweet balance.
Frequently Asked Questions About Rice Krispie Treats
Here are some common questions and answers to help you master your Rice Krispie Treat making skills:
Q: Why are my Rice Krispie Treats hard?
A: The most common reasons for hard treats are overheating the marshmallows (which makes them brittle) or pressing the mixture too firmly into the pan. Make sure to melt marshmallows over low heat or for just enough time in the microwave, and gently press the mixture into the pan.
Q: Can I use stale marshmallows?
A: While technically possible, it’s not recommended. Stale marshmallows will be harder to melt and won’t give you the same gooey, soft texture. Always use fresh, soft marshmallows for the best results.
Q: What kind of butter should I use?
A: Salted butter is typically preferred as the hint of salt balances the sweetness of the marshmallows. However, unsalted butter works perfectly fine; you might just want to add a tiny pinch of salt to the melted mixture for flavor.
Q: How long do Rice Krispie Treats last?
A: When stored properly in an airtight container at room temperature, they are best enjoyed within 2-3 days. Beyond that, they tend to lose their fresh texture, becoming harder or tougher.
Q: Can I double or halve the recipe?
A: Absolutely! This recipe scales beautifully. Just ensure you use a proportionally sized pan and adjust melting times if using the microwave.
Q: What other cereals can I use?
A: Many cereals work wonderfully! Try Cheerios, Frosted Flakes, Lucky Charms (Lucky Charms Rice Krispie Treats), or even Captain Crunch for a different flavor and texture profile.
More Cereal Bar Treats to Try!
Chocolate Rice Krispie Treats
Lucky Charms Rice Krispie Treats
Easter Rice Krispie Treats
Chocolate Peanut Butter Rice Krispie Treats
Halloween Rice Krispie Treats
Rice Krispie Treat Monsters
Grinch Rice Krispie Treats
Fruity Pebbles Treats
Explore All Bar Recipes
