Easy Boston Cream Poke Cake: A Simpler Path to Dessert Perfection
The traditional Boston Cream Pie holds a special place in the hearts of dessert lovers, but its multi-layered construction and intricate techniques can often be daunting for even experienced bakers. If you adore the classic combination of fluffy cake, rich pastry cream, and decadent chocolate ganache but crave a more accessible approach, then our Boston Cream Poke Cake is precisely what you need. This recipe is ingeniously designed to deliver all the beloved flavors and textures of the iconic dessert with significantly less effort, making it an instant crowd-pleaser and your new go-to recipe for impressive, yet easy, baking.
By leveraging a convenient yellow cake mix as its foundation, this recipe allows you to allocate your culinary attention where it truly matters: crafting a silky, homemade vanilla pastry cream and a glossy, luxurious chocolate ganache. These two components are the undisputed stars of any Boston Cream creation, and making them from scratch elevates this poke cake to an extraordinary level of deliciousness. When all these elements come together, the result is a beautifully layered, indulgently moist, and utterly irresistible cake that tastes entirely homemade – a secret only you need to know!
- Pin this recipe for later!
The Ultimate Boston Cream Poke Cake Recipe
This Boston Cream Poke Cake stands out as a testament to the joy of semi-homemade baking. While the convenience of a boxed cake mix is a fantastic time-saver, the magic truly unfolds with the creamy, rich pastry cream and the glossy, smooth chocolate ganache, both prepared from scratch. The beauty of this approach is that it allows you to enjoy the unparalleled taste and texture of a homemade dessert without the exhaustive effort traditionally associated with Boston Cream Pie. My family, for instance, often can’t tell that the cake base isn’t entirely from scratch, a delightful secret that makes entertaining even more enjoyable.
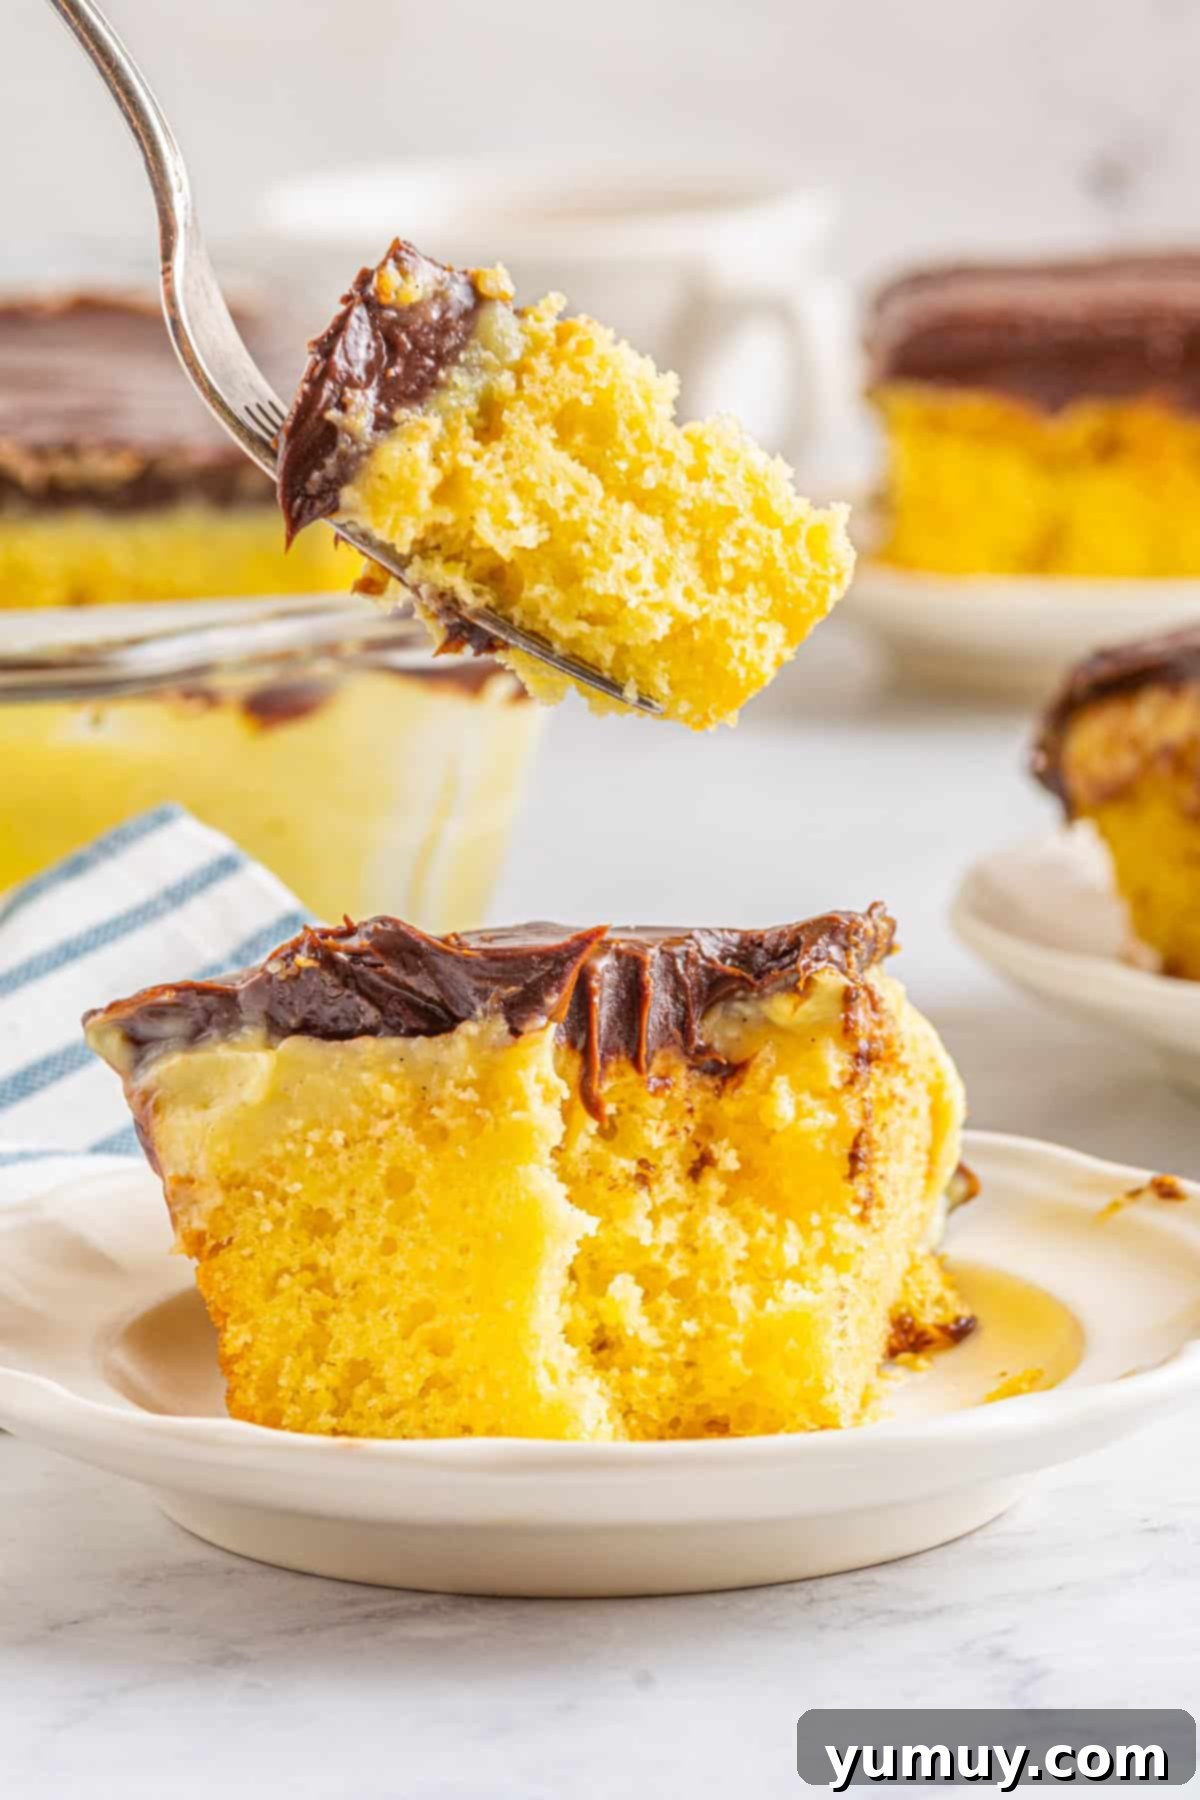
The “poke” method is what makes this cake so special, ensuring that every single bite is infused with that luscious pastry cream. As the warm cream seeps into the holes poked in the cooled cake, it transforms the texture, making it incredibly moist and bursting with flavor. Topped with a perfect blanket of chocolate ganache, the contrast in flavors and textures – soft cake, silky cream, and rich chocolate – creates an unforgettable dessert experience that’s both elegant and approachable. This recipe proves that you don’t need to be a pastry chef to create something truly spectacular.
Expert Baking Tips & Make-Ahead Advice!
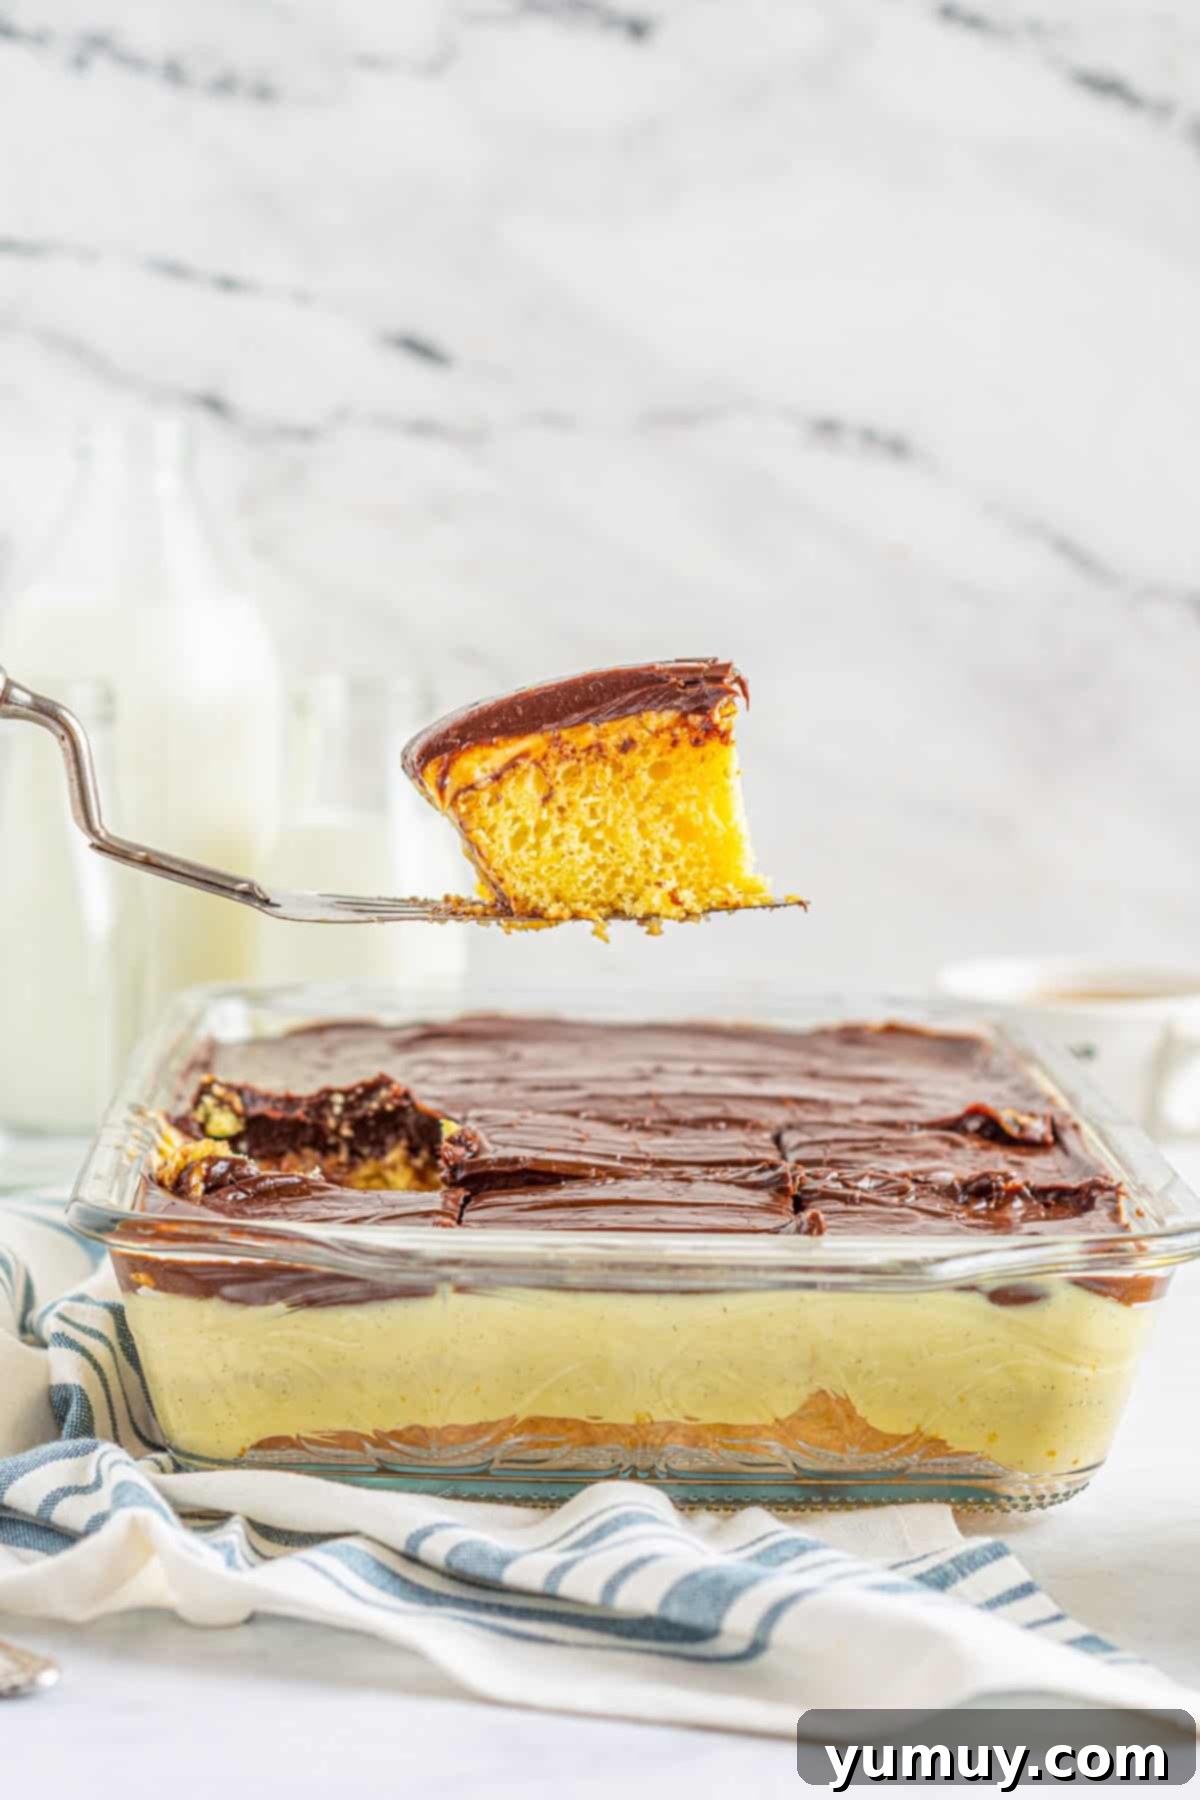
Planning ahead for a special occasion or simply want to spread out your baking tasks? This Boston Cream Poke Cake is an excellent choice for a make-ahead dessert. You can prepare the entire cake, including the cake base, pastry cream, and the crucial chilling step, up to three days before you intend to serve it. This flexibility is invaluable for busy schedules. To ensure the pastry cream remains perfectly smooth and delicious, once it’s spread over the cake, cover it tightly with plastic wrap, pressing the wrap directly onto the surface of the cream. This technique prevents the formation of an unsightly “skin.” The only component we recommend preparing just before serving is the chocolate ganache, as it tastes best when freshly made and offers the most appealing glossy finish.
Beyond its make-ahead convenience, mastering this recipe involves a few key considerations that will guarantee a flawless result:
- Room Temperature Ingredients are Your Friends: For both the cake batter and especially the pastry cream, ensuring your eggs, milk, and butter are at room temperature is paramount. Room temperature ingredients emulsify more effectively, leading to smoother batters and creams, preventing separation, and contributing to a more uniform texture in the final product.
- The Art of Tempering Eggs: When making the pastry cream, the step of slowly streaming hot milk into the egg yolk mixture (tempering) is critical. This gradually raises the temperature of the yolks, preventing them from scrambling. Whisk constantly and patiently during this process.
- Perfectly Poked Holes: Use the handle of a wooden spoon, a sturdy skewer, or even a chopstick to create generous, deep holes in the cooled cake. Aim for holes that penetrate about ¾ of the way through the cake. Avoid poking all the way to the bottom, as this can cause the delicious pastry cream to leak out when you slice the cake. These channels are essential for the cream to saturate every crumb.
- Whisking is Key for Pastry Cream: Constant and vigorous whisking is your secret weapon when cooking the pastry cream. This prevents lumps, ensures even cooking, and helps achieve that perfectly smooth, thick consistency. Don’t stop whisking until it’s off the heat!
- Optimal Chilling Time: The recommended 4-hour (or preferably overnight) chilling period for the cake after adding the pastry cream is non-negotiable. This time allows the pastry cream to set firmly and, more importantly, gives the cake ample opportunity to absorb the creamy filling, resulting in an incredibly moist and flavorful dessert.

Boston Cream Poke Cake Recipe
Made with a convenient yellow cake mix, silky homemade pastry cream, and a rich chocolate ganache, this Boston Cream Poke Cake is an effortlessly delicious dessert that’s sure to become a family favorite. It delivers all the classic flavors of Boston Cream Pie with a fraction of the effort!
Prep Time: 30 minutes
Cook Time: 30 minutes
Chill Time: 4 hours
Total Time: Approximately 5 hours (including essential chill time)
Servings: 12 slices
Ingredients
For the Cake
- 15.25 ounces yellow cake mix (1 box)*
- 3 large eggs, room temperature
- 1 large egg yolk, room temperature
- ½ cup milk, room temperature
- ½ cup water
- ½ cup vegetable oil
For the Pastry Cream
- 2¼ cups milk, room temperature
- 7 large egg yolks, room temperature
- ¾ cup granulated sugar
- 5 tablespoons cornstarch
- 1½ tablespoons vanilla bean paste**
- 1½ tablespoons unsalted butter, room temperature
For the Ganache
- 1 cup heavy cream
- 3 cups chocolate chips (semi-sweet or dark chocolate recommended)
Measurements in US Customary. For detailed metric conversions, please refer to a standard baking conversion chart.
Equipment
- Kitchen Scale (optional, for precise ingredient measurement)
- 9×13 Baking Pan
- Medium Saucepan
- Large Mixing Bowl
- Whisk (a balloon whisk is ideal for pastry cream)
- Plastic Wrap
- Wooden Spoon Handle or Skewer (for poking holes)
- Rubber Spatula or Offset Spatula
Instructions
For the Cake
- Preheat your oven to 350°F (175°C). Generously grease a 9×13-inch cake pan with baking spray or butter and a light dusting of flour. Set the prepared pan aside.
- In a large mixing bowl, combine the entire contents of the yellow cake mix (15.25 ounces), 3 large room-temperature eggs, 1 large room-temperature egg yolk, ½ cup of room-temperature milk, ½ cup of water, and ½ cup of vegetable oil. Whisk all these ingredients together until they are just combined and smooth, ensuring no dry pockets of cake mix remain. Be careful not to overmix, as this can result in a tougher cake texture.
- Pour the well-mixed cake batter evenly into your prepared 9×13-inch baking pan, spreading it gently to fill the pan.
- Place the pan into the preheated oven and bake for 28-32 minutes. The cake is perfectly baked when a wooden skewer or toothpick inserted into the center comes out clean or with only a few moist crumbs attached. Once baked, remove the cake from the oven and allow it to cool completely on a wire rack. A completely cooled cake is essential for the poke method to work effectively.

For the Pastry Cream
- Pour 2¼ cups of room-temperature milk into a medium-sized saucepan. Place the saucepan over medium heat and bring the milk to a gentle simmer. Look for small bubbles forming around the edges of the pan; do not allow it to come to a rolling boil.
- While the milk is warming, in a separate medium-sized bowl, vigorously whisk together the 7 large room-temperature egg yolks, ¾ cup of granulated sugar, and 5 tablespoons of cornstarch. Continue whisking until the mixture is smooth, pale yellow, and completely free of lumps. This creates the base for your rich pastry cream.

- Once the milk has reached a simmer, remove the saucepan from the heat. Carefully and slowly stream about half of the heated milk into the egg yolk mixture while continuously whisking the yolks. This crucial step, known as tempering, gradually raises the temperature of the egg yolks, preventing them from scrambling and ensuring a smooth final cream.
- After incorporating half of the milk and ensuring the tempered egg mixture is smooth, pour this entire mixture back into the saucepan with the remaining hot milk. Whisk everything together thoroughly to combine all ingredients evenly.

- Return the saucepan to medium heat, continuing to whisk constantly and patiently. You will notice the mixture gradually beginning to thicken. As soon as you feel a noticeable resistance while whisking, indicating it’s reached a pudding-like consistency, immediately remove the pan from the heat. Continue whisking for another minute or two off the heat, as the residual heat will continue to thicken the cream and prevent any lumps from forming.
- Immediately stir in the 1½ tablespoons of vanilla bean paste (or vanilla extract) and 1½ tablespoons of unsalted butter until both are fully melted and seamlessly incorporated into the warm pastry cream. The butter adds a luxurious richness and a beautiful, silky texture.

- Take the completely cooled cake from step 4 and use the handle of a wooden spoon or a sturdy skewer to poke deep, evenly spaced holes across the entire surface of the cake. Aim for holes that penetrate about ¾ of the way through the cake. Do not poke all the way to the bottom of the pan to prevent the filling from seeping out when sliced.

- Pour the warm (not hot, but still pourable) pastry cream evenly over the surface of the poked cake. Using an offset spatula or the back of a spoon, gently spread the cream to all the edges and lightly press it down, encouraging it to seep generously into all the holes you created.
- Cover the cake tightly with plastic wrap, ensuring the plastic wrap is pressed directly onto the surface of the pastry cream. This crucial step prevents a “skin” from forming on the cream as it chills. Place the pan into the refrigerator to chill for at least 4 hours, or preferably overnight, to allow the pastry cream to fully set and for the flavors to meld beautifully.

For the Ganache
- Place 1 cup of heavy cream in a microwave-safe bowl. Heat for approximately 1 minute on high, or until it is very hot but not boiling.
- Pour the heated heavy cream over 3 cups of chocolate chips in a separate heatproof bowl. Let the mixture sit undisturbed for 1 minute to allow the residual heat from the cream to melt the chocolate chips.
- After 1 minute, gently whisk the cream and chocolate together. Start slowly, then increase your speed, until a completely smooth, glossy, and silky chocolate ganache has formed. Be patient, as it may take a minute or two to come together beautifully.

Assembly and Serving
- Once the Boston Cream Poke Cake has been thoroughly chilled (after at least 4 hours), carefully remove the plastic wrap from the surface.
- Pour the freshly made chocolate ganache evenly over the top of the chilled cake. Using an offset spatula or the back of a spoon, carefully spread the ganache right up to the edges, creating a beautiful, uniform layer.
- Allow the ganache to set for about 5 minutes at room temperature; it will firm up slightly to a perfect consistency, making it easier to slice without smudging.
- Finally, slice your magnificent Boston Cream Poke Cake into 12 generous portions. Each slice will reveal the delightful layers of moist yellow cake, creamy vanilla pastry cream, and a rich chocolate topping. Serve and enjoy this easy-yet-impressive dessert!

Recipe Notes & Troubleshooting
- *Cake Mix Variations: This recipe is incredibly adaptable! Feel free to experiment with other boxed cake mixes to change up the base flavor. White, vanilla, or even a complementary chocolate cake mix can offer delightful twists on this classic. Always adjust baking times according to package instructions if they differ significantly from a yellow cake mix.
- **Vanilla Bean Paste Substitute: Vanilla bean paste provides a more intense vanilla flavor and beautiful little specks of vanilla bean. However, if you can’t find it, you can substitute 2 tablespoons of high-quality pure vanilla extract in its place. The flavor will still be wonderful.
- Dealing with Curdled Pastry Cream: Don’t despair if your egg yolks slightly curdle during the pastry cream preparation, despite careful tempering! For minor curdling, you can often save it by pressing the mixture through a fine-mesh sieve. Alternatively, an immersion blender can help smooth out small curds. If the mixture is extremely chunky and looks visibly scrambled, it’s unfortunately best to start over, as the texture will be compromised.
- Instant Pudding Shortcut: If you’re truly pressed for time or prefer to avoid making pastry cream from scratch, you can substitute 1-2 packages of vanilla instant pudding. Prepare the pudding according to the package directions, then pour it into the poked cake. While it won’t replicate the exact depth of flavor or luxurious texture of homemade pastry cream, it offers a quick and convenient alternative that still tastes great.
- Storage: Any leftover Boston Cream Poke Cake should be stored in an airtight container in the refrigerator. It will keep beautifully for up to 4 days. In fact, many find that the flavors tend to meld and deepen even further overnight, making it almost better the next day!
Nutrition Facts
Boston Cream Poke Cake Recipe
Amount Per Serving (1 slice)
Calories 595 | Calories from Fat 297
% Daily Value*
- Fat 33g 51%
- Saturated Fat 15g 94%
- Trans Fat 1g
- Polyunsaturated Fat 6g
- Monounsaturated Fat 7g
- Cholesterol 212mg 71%
- Sodium 419mg 18%
- Potassium 149mg 4%
- Carbohydrates 69g 23%
- Fiber 1g 4%
- Sugar 49g 54%
- Protein 7g 14%
- Vitamin A 658IU 13%
- Vitamin C 1mg 1%
- Calcium 180mg 18%
- Iron 1mg 6%
* Percent Daily Values are based on a 2000 calorie diet.
Author: Becky Hardin
Did You Make This? We love seeing what you’ve made! Tag us on social media at @easydessertrecipes for a chance to be featured on our page and share your delicious creation!
How to Make Boston Cream Poke Cake: A Visual Guide
For those who benefit from visual cues and extra detail, this section provides a comprehensive, step-by-step guide to making your Boston Cream Poke Cake. Follow along with the images to ensure every stage of your baking process is clear and successful.
Step 1: Gather Your Ingredients and Prepare Your Pan
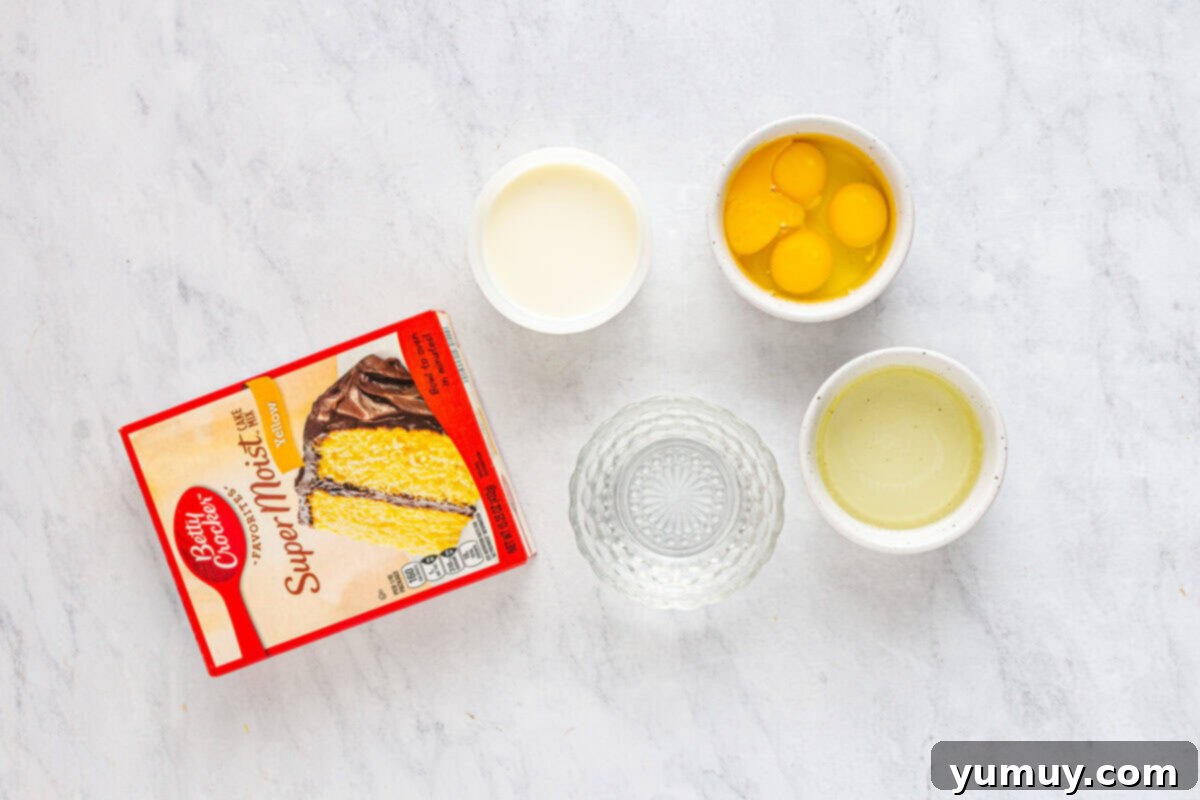
Before beginning, arrange all your ingredients on your countertop – a method known as “mise en place.” This ensures a smooth and stress-free baking experience. It’s particularly important to bring your milk, eggs, and butter to room temperature, as this aids in creating a more uniform cake batter and a smoother pastry cream. Preheat your oven to 350°F (175°C) and prepare your 9×13-inch baking pan by generously coating it with baking spray, or by buttering and flouring it. This prevents sticking and makes for easy cake removal.
Step 2: Bake the Golden Yellow Cake Base
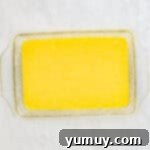
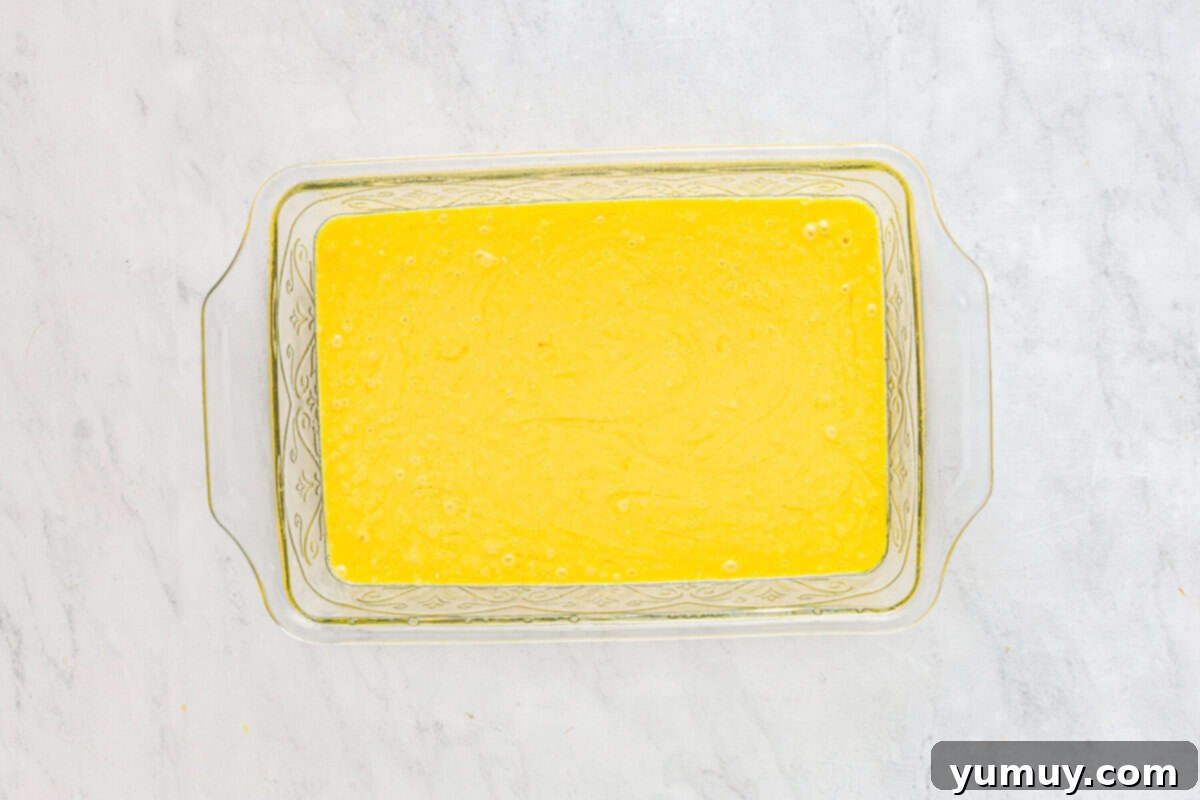
In a spacious mixing bowl, combine the entire 15.25 ounces (typically one box) of yellow cake mix with 3 large room-temperature eggs, 1 large room-temperature egg yolk, ½ cup of room-temperature milk, ½ cup of water, and ½ cup of vegetable oil. Whisk these ingredients together until they are just combined and appear smooth, being careful not to overmix. Overmixing can develop the gluten too much, resulting in a dense and tough cake. Pour the batter evenly into your prepared 9×13-inch cake pan. Bake for 28-32 minutes in the preheated oven, or until a wooden skewer or toothpick inserted into the center of the cake comes out clean or with only a few moist crumbs. Remove from the oven and allow it to cool completely on a wire rack. This full cooling period is essential before the next steps.
Step 3: Prepare the Sweet Egg Mixture for Pastry Cream
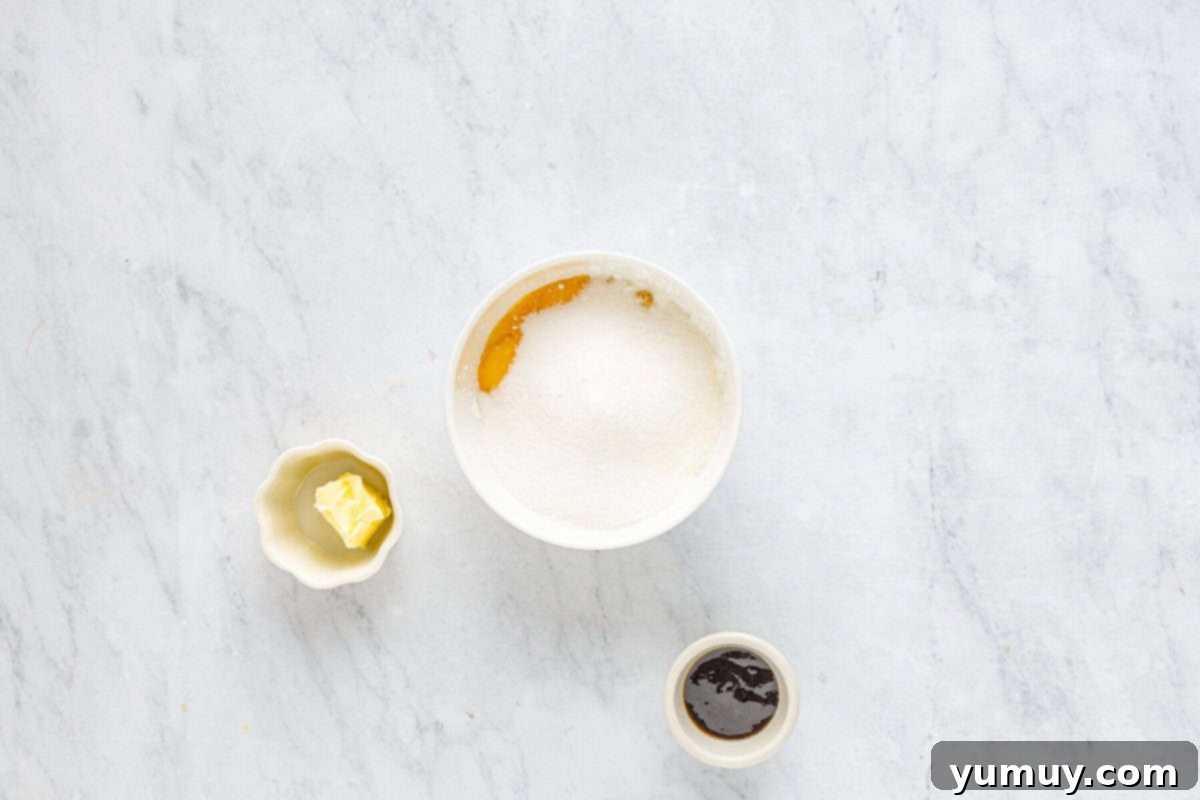
Now, let’s turn our attention to the star filling: the homemade pastry cream. Pour 2¼ cups of room-temperature milk into a medium-sized saucepan. Place the saucepan over medium heat and bring the milk to a gentle simmer. You’re looking for small bubbles to just begin forming around the edges; do not allow the milk to come to a rapid boil. Meanwhile, in a separate medium-sized bowl, whisk together 7 large room-temperature egg yolks, ¾ cup of granulated sugar, and 5 tablespoons of cornstarch. Whisk until this mixture is smooth, pale yellow, and completely lump-free, indicating it’s ready for the next step.
Step 4: Temper the Eggs for a Smooth Pastry Cream
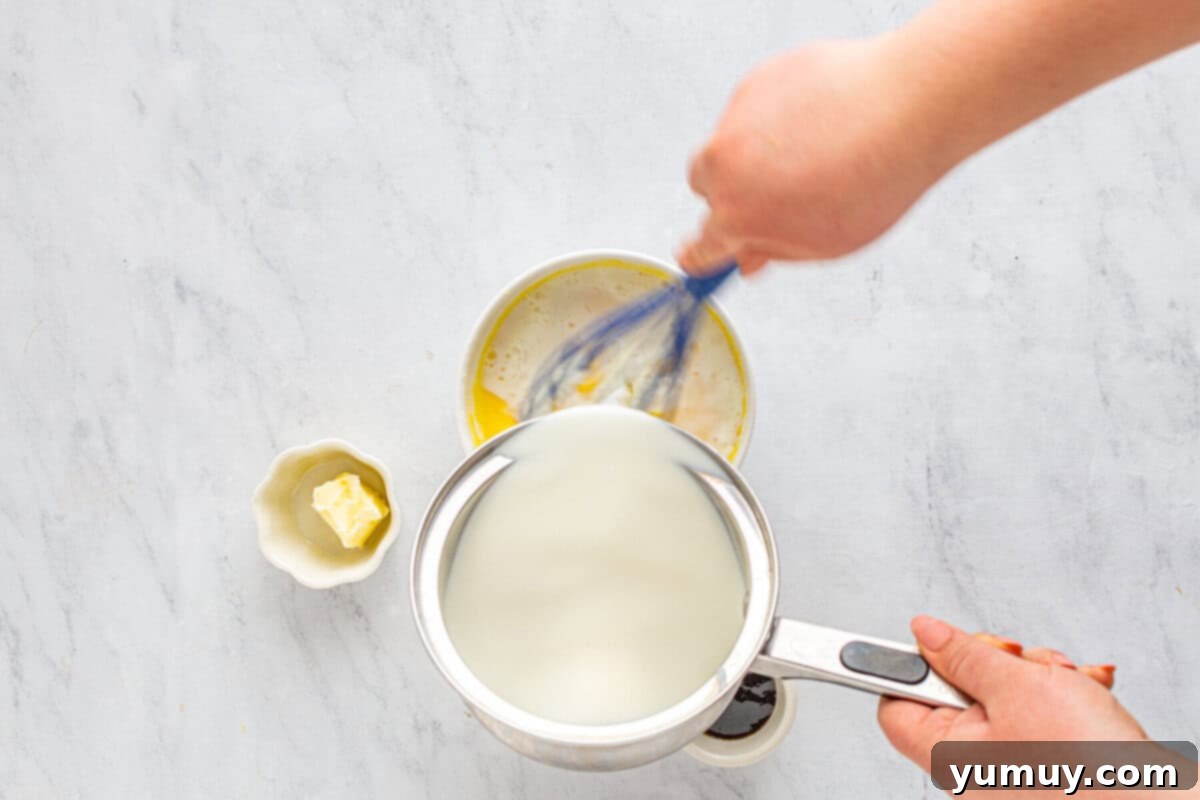
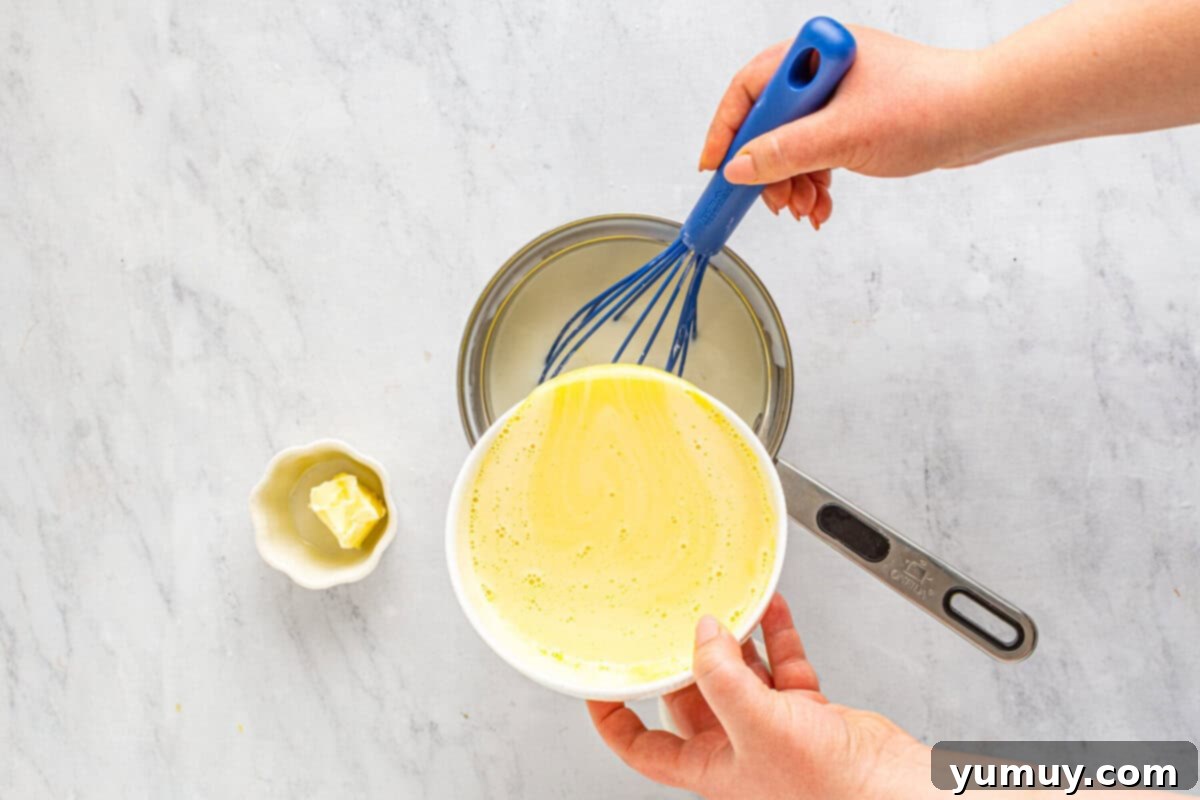
Once your milk has achieved a gentle simmer, remove the saucepan from the heat. This is where tempering comes in – a vital technique to prevent your egg yolks from scrambling. Slowly and steadily, stream about half of the hot milk into the egg yolk mixture while continuously whisking the yolks vigorously. This gradual introduction of hot liquid slowly raises the temperature of the egg yolks, acclimatizing them to the heat and allowing them to incorporate smoothly without cooking prematurely.
Step 5: Combine and Thicken the Pastry Cream
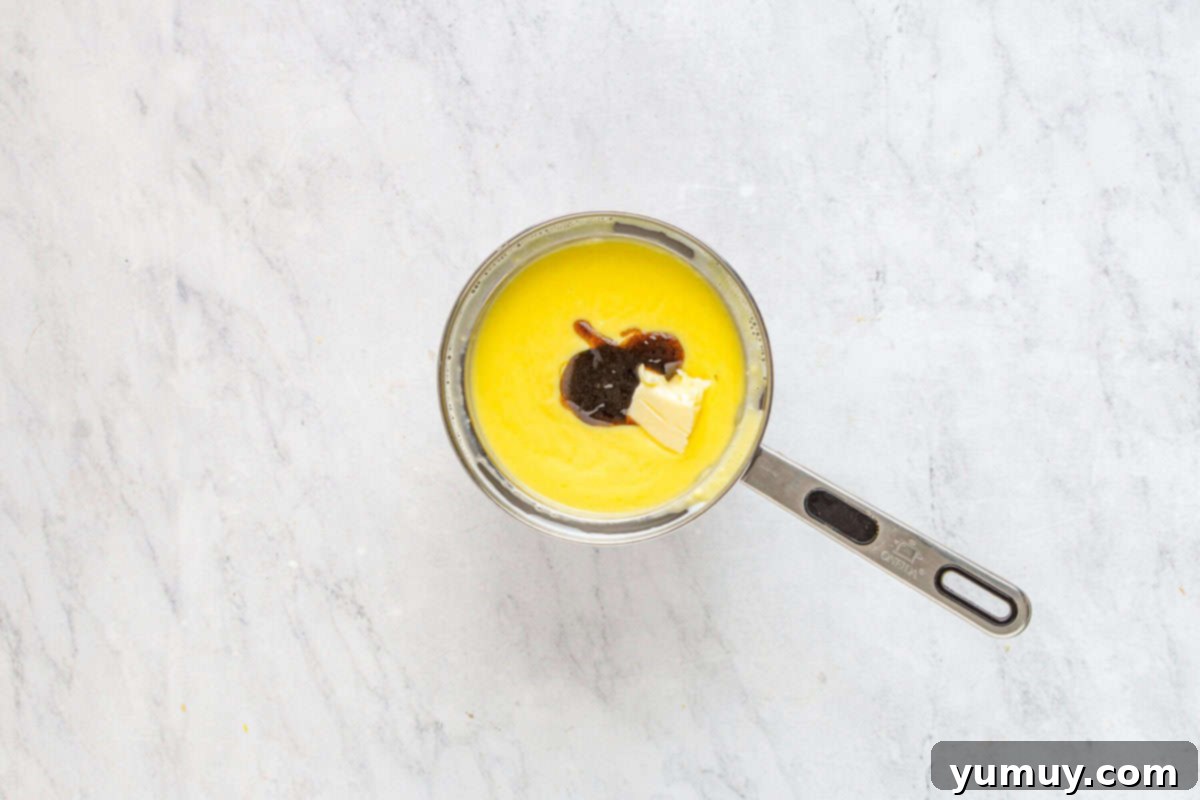
After successfully tempering the egg mixture with half of the milk, and confirming it’s smooth and well-combined, pour this entire mixture back into the saucepan containing the remaining hot milk. Whisk everything together thoroughly once more to ensure complete integration. Return the saucepan to medium heat and continue to whisk constantly and patiently. You will observe the mixture gradually thickening. The moment you feel a noticeable resistance while whisking, signifying it has reached a thick, pudding-like consistency, immediately remove the pan from the heat. Continue whisking for an additional minute or two off the heat, as residual heat will continue to thicken the cream and prevent any lumps or scorching. Finally, stir in the 1½ tablespoons of vanilla bean paste (or vanilla extract) and 1½ tablespoons of unsalted butter until both are fully melted and seamlessly incorporated. The butter adds a luxurious richness and a beautiful, silky mouthfeel to your pastry cream.
Step 6: Poke the Cooled Cake with Care
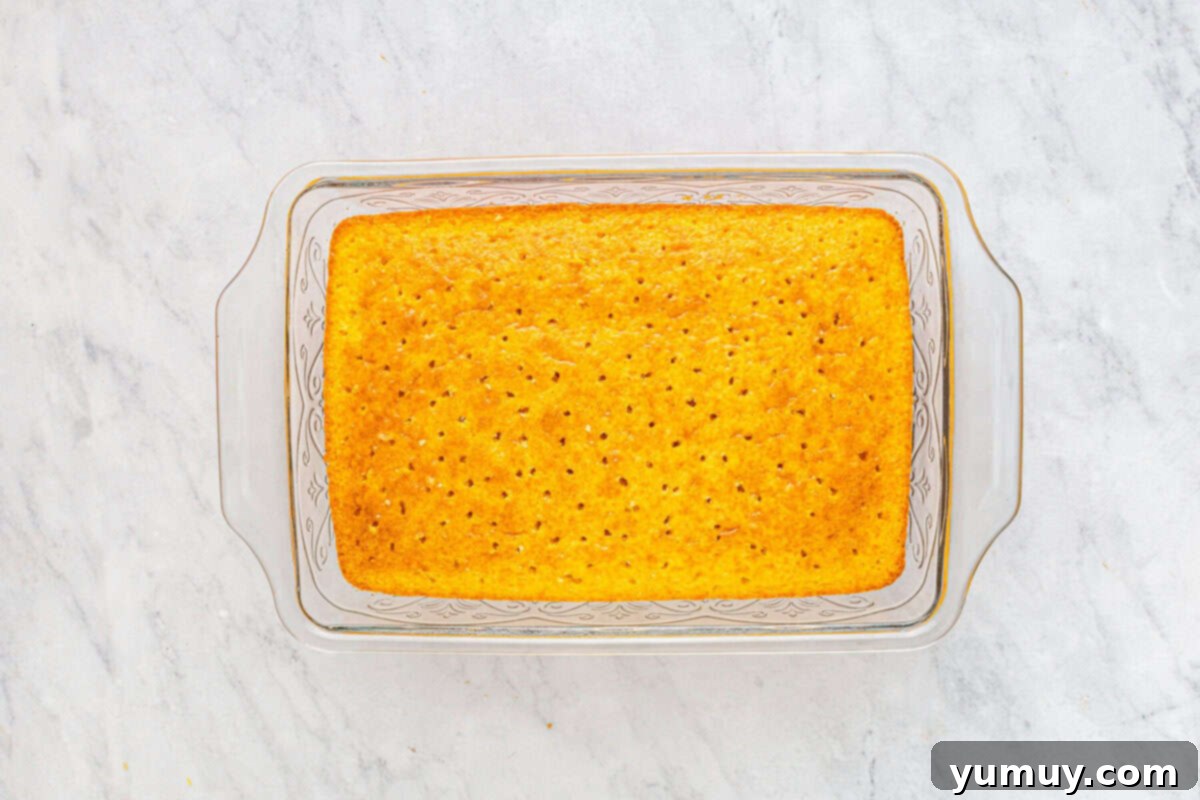
With your cake completely cooled, it’s time for the signature “poke” action. Grab the handle of a wooden spoon, a sturdy skewer, or even a round chopstick. Use it to poke deep, evenly spaced holes across the entire surface of the cake. Aim for holes that penetrate about ¾ of the way through the cake, creating generous channels for the pastry cream. It’s important not to poke all the way through to the bottom of the pan, as this could cause the delicious filling to leak out when you slice the cake. These strategically placed holes are crucial for ensuring every forkful of cake is infused with that delightful creamy goodness.
Step 7: Fill and Chill for Perfection
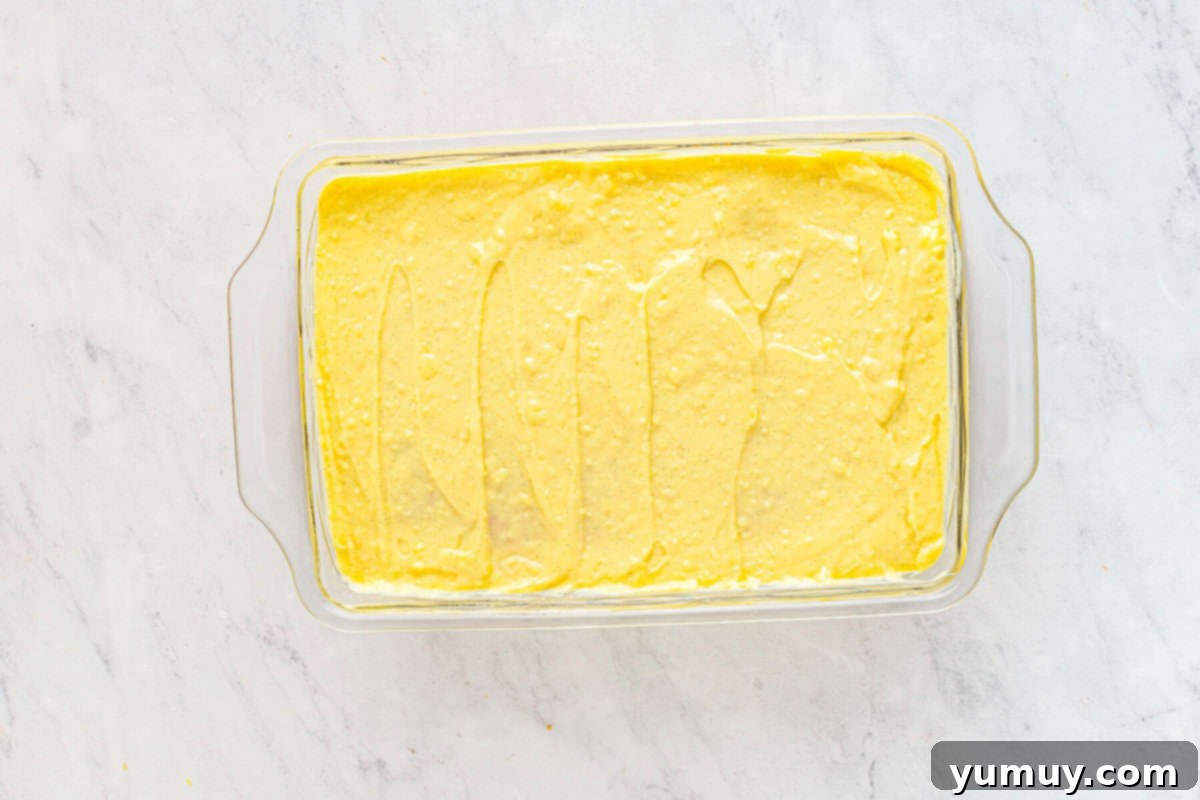
Once the holes are ready, pour the warm (not hot!) pastry cream evenly over the entire surface of the poked cake. Use an offset spatula or the back of a spoon to gently spread the cream to all the edges and lightly press it down, encouraging it to seep generously into all the holes you just created. This ensures the cake is thoroughly saturated with flavor. Now for a critical step: covering. Place plastic wrap directly onto the surface of the pastry cream, pressing it down so it makes full contact. This prevents a “skin” from forming on the cream as it chills. Transfer the cake to the refrigerator and let it chill for a minimum of 4 hours. Ideally, chill it overnight. This extended chilling time allows the pastry cream to set firmly, the cake to absorb all that delicious cream, and the flavors to meld beautifully, resulting in a cohesive and incredibly moist dessert.
Step 8: Craft the Silky Chocolate Ganache
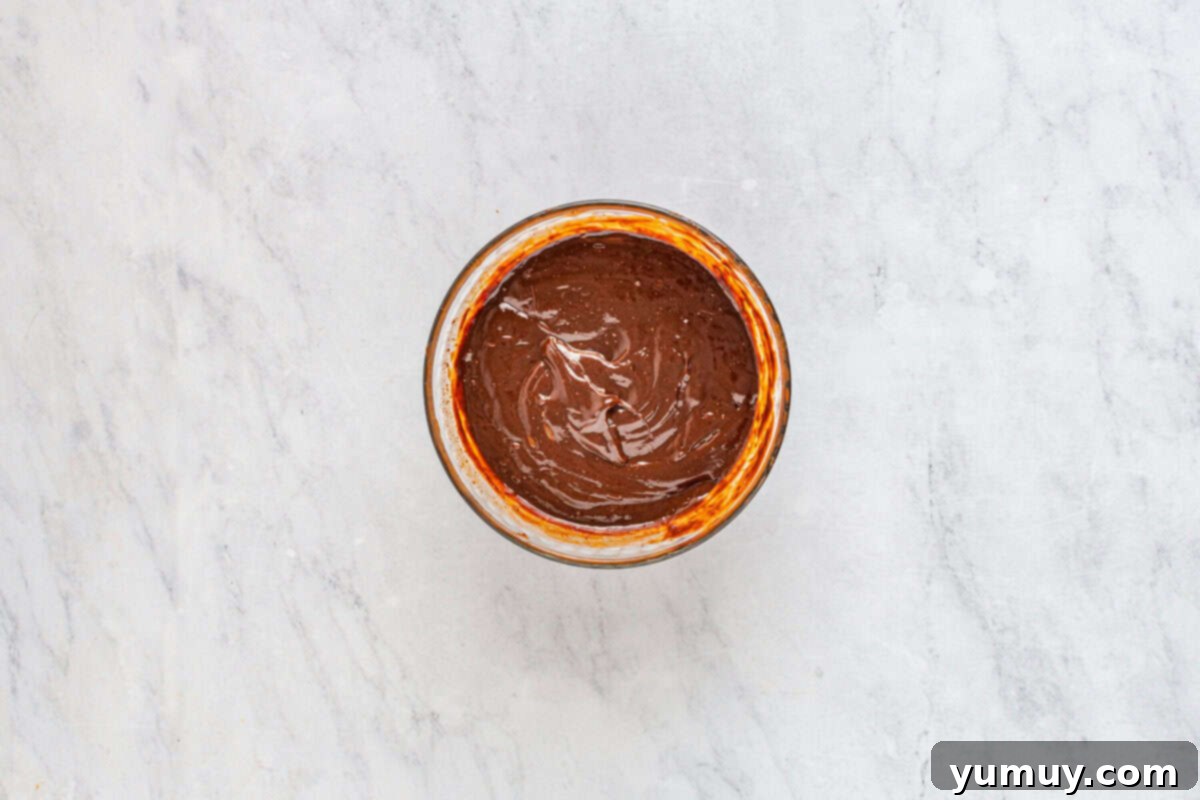
The final layer of decadence for your Boston Cream Poke Cake is the luxurious chocolate ganache. In a microwave-safe bowl, heat 1 cup of heavy cream for approximately 1 minute on high power, or until it is very hot but not boiling. Immediately pour the heated heavy cream over 3 cups of your favorite chocolate chips (semi-sweet or dark chocolate work wonderfully here for a balanced flavor). Let the mixture sit undisturbed for 1 minute; this allows the residual heat from the cream to gently melt the chocolate chips. After a minute, begin to whisk the cream and chocolate together. Start slowly, then gradually increase your speed. You’ll witness a magical transformation as it comes together into a smooth, glossy, and irresistibly silky chocolate ganache. This simple, two-ingredient topping provides the perfect bittersweet contrast to the sweet pastry cream and moist cake.
Step 9: Top, Slice, and Serve Your Masterpiece
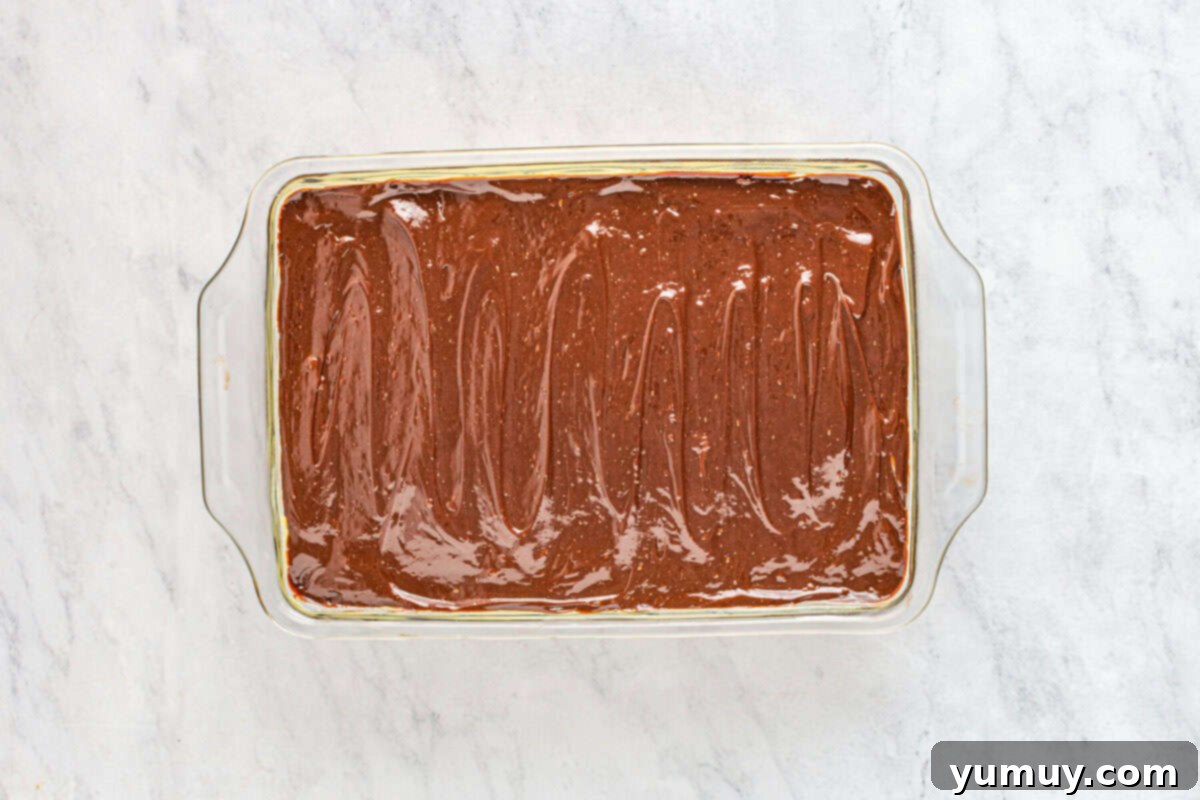
Once your Boston Cream Poke Cake has been thoroughly chilled and the pastry cream is firm and set, gently remove the plastic wrap. Pour the freshly made chocolate ganache evenly over the top of the chilled cake. Using an offset spatula or the back of a spoon, carefully spread the ganache right to the edges, creating a beautiful, uniform, and glistening layer. Let the cake sit for about 5 minutes at room temperature; this allows the ganache to set slightly, making it easier to slice without smudging. Finally, slice your magnificent Boston Cream Poke Cake into 12 generous portions. Each slice reveals stunning layers of moist yellow cake, creamy vanilla pastry cream, and a rich chocolate topping. Serve and watch as this easy-yet-impressive dessert disappears, leaving smiles all around!
More Incredible Poke Cake Recipes to Explore!
Loved this Boston Cream Poke Cake? The delightful world of poke cakes is vast and full of delicious possibilities! If you’re looking for more easy and impressive desserts that start with a simple cake mix and end with a burst of flavor, these recipes are perfect for your next baking adventure. They’re all designed for convenience and maximum enjoyment, just like our Boston Cream classic.
King Cake Poke Cake
Celebrate Mardi Gras (or any day!) with this festive and flavorful King Cake Poke Cake, brimming with cinnamon and cream cheese goodness. A true party in every bite!
Banana Pudding Poke Cake
Indulge in the comforting, nostalgic flavors of banana pudding transformed into a convenient and crowd-pleasing poke cake. Moist, creamy, and utterly irresistible.
Better Than Sex Cake
Prepare for pure decadence with this truly indulgent chocolate cake drenched in sweet condensed milk and caramel, then topped with luscious whipped cream and chocolate shavings.
Eggnog Poke Cake
Bring holiday cheer to your dessert table with this spiced, creamy eggnog-infused poke cake, a seasonal sensation that’s perfect for winter gatherings.
View All Cake Recipes

