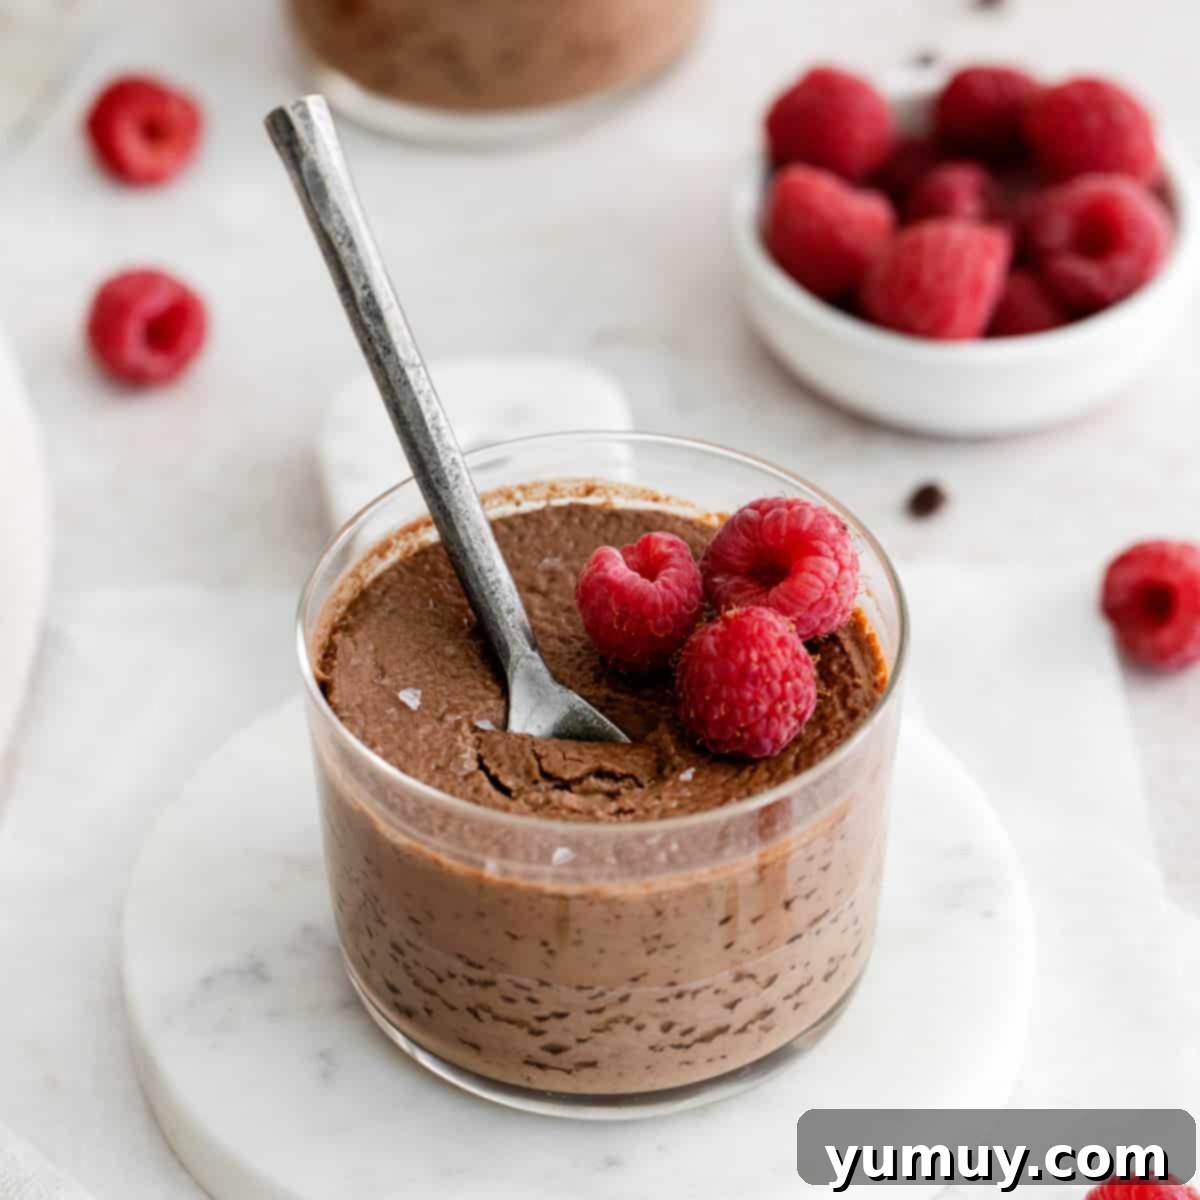
Indulge in the sublime pleasure of a truly classic French dessert with this incredible Chocolate Pot de Crème recipe. More than just a simple chocolate pudding, this luxurious treat is a masterpiece of smooth, rich, and velvety custard, crafted with remarkable ease. Requiring only a handful of common ingredients – typically just seven – and a straightforward, hands-off baking approach, you can create a dark chocolate delight that rivals the offerings of a high-end Parisian bistro, right in your own kitchen.
Perfect for celebrating special milestones like Valentine’s Day or anniversaries, or simply elevating a quiet date night at home, Pot de Crème embodies effortless elegance. The allure lies in its intensely deep chocolate flavor and its exquisitely silken texture that melts in your mouth, leaving a profound sense of satisfaction. Forget complicated techniques; this recipe is designed to deliver sophisticated results without the stress, making decadent dessert accessible to everyone.
- Pin this recipe for later!
Mastering Dark Chocolate Pot de Crème: A Decadent Delight
Chocolate Pot de Crème is a classic French dessert, revered for its smooth, intensely flavored custard-like texture that makes it a step above traditional chocolate pudding. The name itself, “pot de crème,” translates simply to “pot of cream,” hinting at the rich and creamy experience that awaits. Unlike a soufflé, it’s not airy; unlike a mousse, it’s not gelatinous. Instead, it offers a dense, luxurious mouthfeel that is both comforting and sophisticated, making it a stellar choice for romantic dinners, elegant gatherings, or simply when you crave a truly indulgent treat.
The secret to achieving this perfect balance of richness and creaminess lies in the meticulous selection of ingredients and the gentle cooking process. This recipe calls for both heavy cream and whole milk, providing ample fat for that luxurious, silken texture without resulting in an overly heavy dessert. The use of high-quality bittersweet chocolate is paramount; it’s what delivers the profound, complex chocolate flavor that defines this dessert. A pinch of instant espresso powder acts as a natural flavor enhancer, deepening the cocoa notes without imparting a distinct coffee taste. However, for those who adore a mocha twist, a slight increase in the espresso powder can transform this into a subtle chocolate espresso pot de crème.
While some might confuse Pot de Crème with other custards, its unique preparation and texture set it apart. Unlike chocolate crème brûlée, it doesn’t feature a crackly sugar crust, focusing instead on the unadulterated pleasure of its velvety interior. This makes it an ideal choice for those who prefer a dessert that is smooth from the first spoonful to the last, without any textural interruptions.
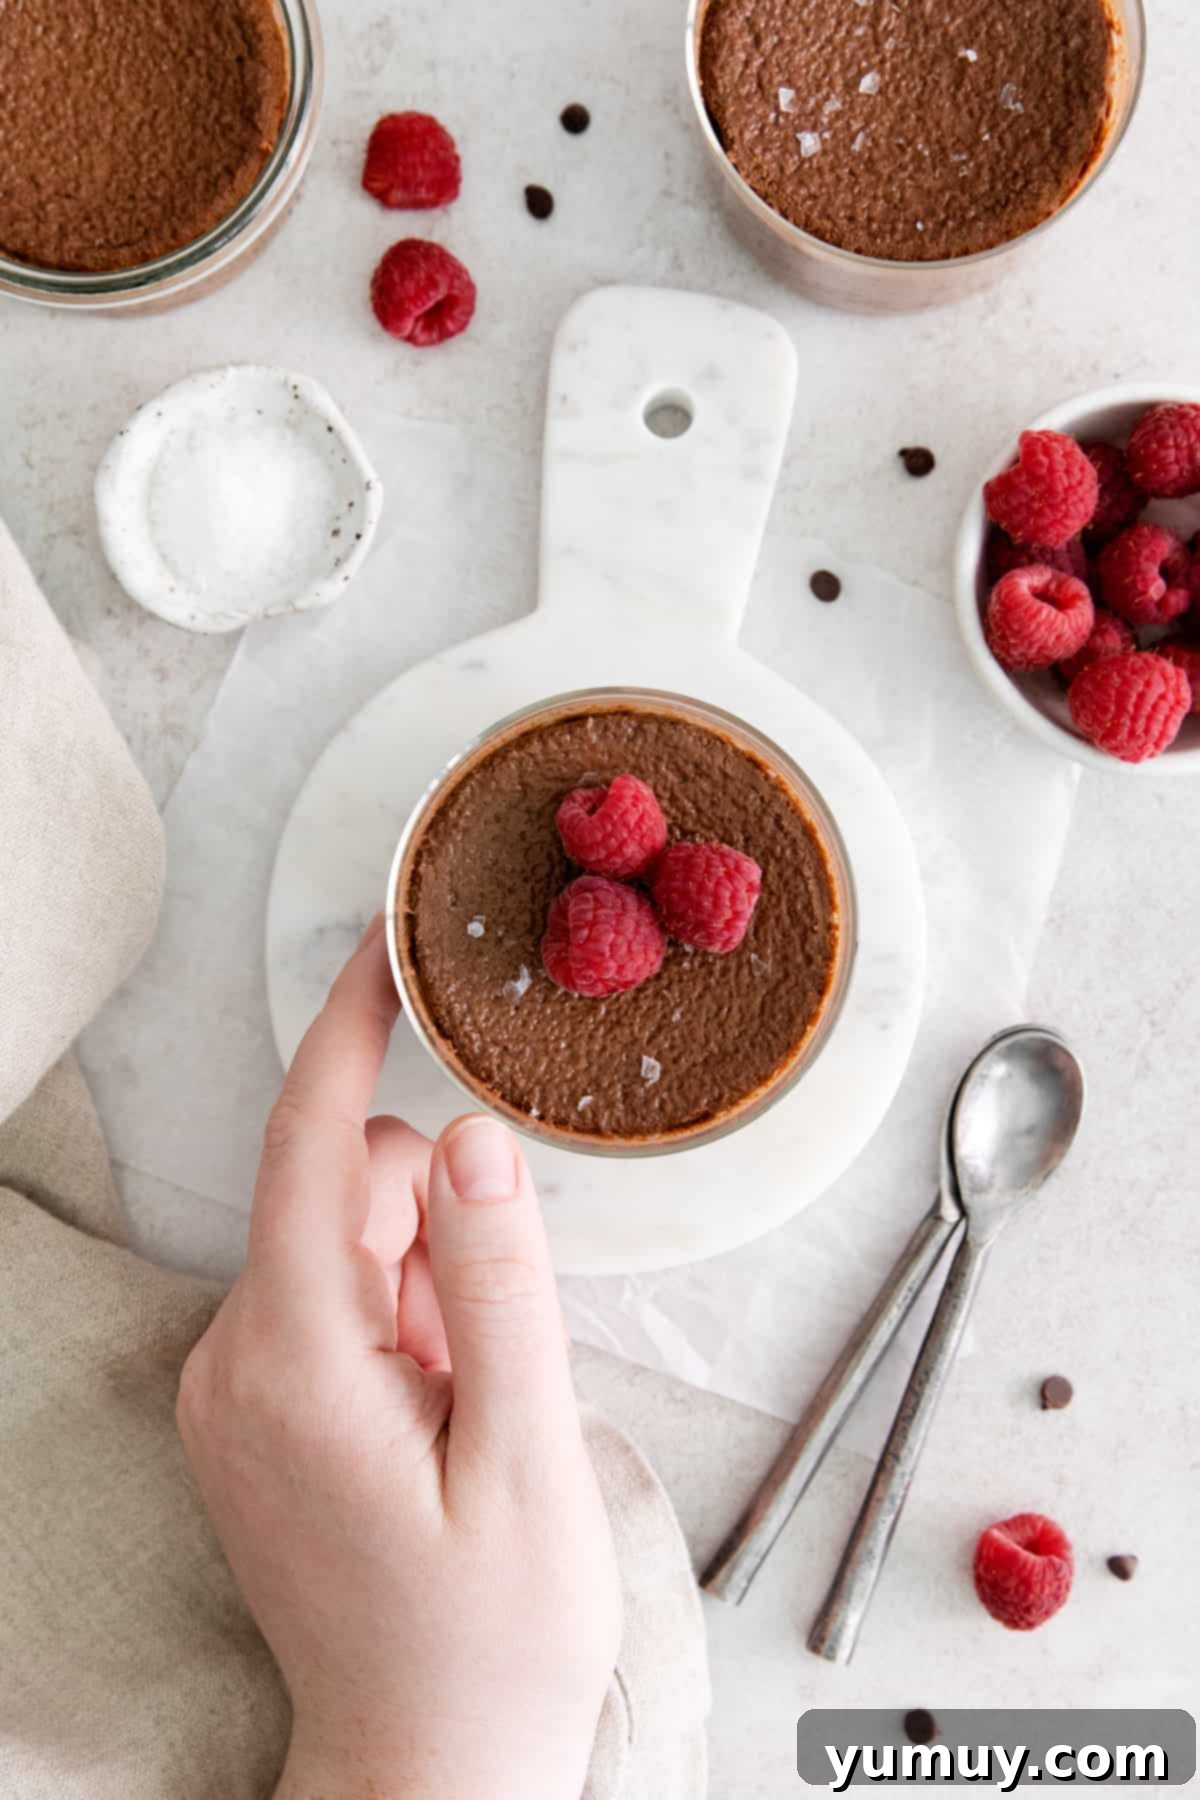
The Essential Technique: Why a Water Bath (Bain-Marie) Matters
Baking delicate custards like dark chocolate pot de crème demands a controlled and gentle heat environment, and this is precisely where the technique of a water bath, or bain-marie, becomes indispensable. This method involves placing the ramekins or baking dishes containing the custard mixture into a larger pan filled with hot water, which then goes into the oven.
The water bath serves multiple critical functions. Firstly, it creates a moist, even heat source that prevents the custard from baking too quickly or unevenly. The water acts as a buffer, regulating the temperature around the ramekins and ensuring that the custard sets uniformly from edge to center. Without a water bath, the edges of the custard would likely overcook and become rubbery or curdled before the center has a chance to set properly. This gentle heat transfer is particularly crucial for recipes that rely heavily on egg yolks, as eggs are highly susceptible to curdling when exposed to direct, high heat.
Secondly, the steam generated by the hot water within the oven adds moisture to the baking environment. This humid atmosphere helps to keep the top of the custards from drying out or forming a tough skin, contributing to that signature silky-smooth texture we’re aiming for. While it might seem like an extra step that adds fuss to the process, setting up a water bath is remarkably simple and yields consistently superior results. It’s the secret to achieving that luxurious, melt-in-your-mouth consistency every single time, transforming a good dessert into an extraordinary one. Don’t skip this step – it truly makes all the difference in crafting a perfect pot de crème.
Chocolate Pot de Creme Recipe
10 minutes
30 minutes
2 hours
40 minutes
2 hours
4
pots
Print
Rate
Ingredients
- 1½ cups heavy whipping cream
- ½ cup whole milk
- 4 ounces good-quality bittersweet chocolate finely chopped
- 4 large egg yolks
- ¼ cup granulated sugar
- 1 teaspoon pure vanilla extract
- ¼ teaspoon instant espresso powder optional
Equipment
- Kitchen Scale (optional)
- 4 Ramekins
Instructions
- Preheat oven to 325°F (160°C).
- In a medium-sized saucepan set over medium heat, combine the heavy cream and whole milk. Heat the mixture gently, stirring occasionally, until it begins to steam and small bubbles form around the edge of the pan. It should be hot, but not boiling. Remove the saucepan from the heat immediately.1½ cups heavy whipping cream,
½ cup whole milk - Add the finely chopped good-quality bittersweet chocolate to the hot cream and milk mixture. Let it sit for about a minute to soften, then whisk continuously until the chocolate is fully melted and the mixture is smooth and glossy. Ensure no lumps remain.4 ounces good-quality bittersweet chocolate

- In a large, heat-proof bowl (a bowl with a pour spout is especially helpful here), combine the large egg yolks, granulated sugar, pure vanilla extract, and instant espresso powder (if you’re using it for that delightful mocha note). Whisk vigorously until the egg yolks and sugar are thoroughly combined and the mixture is light yellow and slightly thickened.4 large egg yolks,
¼ cup granulated sugar,
1 teaspoon pure vanilla extract,
¼ teaspoon instant espresso powder
- Now, it’s time for the crucial tempering step. Slowly, and by that we mean very gradually, pour the hot chocolate-cream mixture into the whisked egg yolk mixture. It is absolutely vital to whisk constantly and steadily as you pour. This slow addition of hot liquid while whisking vigorously raises the temperature of the egg yolks gently, preventing them from scrambling. If you add all the hot cream at once, the eggs will cook instantly and coagulate, ruining your smooth custard. Take your time with this step to ensure a perfectly smooth and unified custard base.

- Carefully divide the silky custard mixture evenly among four (4-ounce) ramekins. Arrange these ramekins inside a larger, high-sided baking pan (a large cake pan or roasting pan works wonderfully). Boil some water in a kettle or saucepan, then pour the hot water into the larger pan until it reaches approximately halfway up the sides of the ramekins. This forms your water bath. Cover the entire pan tightly with aluminum foil.

- Transfer the pan with the ramekins and water bath to your preheated oven. Bake for 45-50 minutes. The custards are done when they are set around the edges but still have a slight, delicate jiggle in the very center when gently shaken. Overbaking can lead to a less creamy texture.

- Once baked, remove the large pan from the oven. Allow the ramekins to cool completely within the water bath at room temperature. This slow cooling prevents cracking and helps maintain the smooth texture. Once cooled, carefully remove the ramekins from the water bath, cover them individually with plastic wrap, and place them in the refrigerator to chill for at least 2 hours, or preferably overnight, to allow them to fully set and achieve their ultimate creamy consistency.
Notes for Success
- Chocolate Quality: Always opt for good-quality bittersweet chocolate (around 60-70% cocoa solids) for the best flavor. Cheap chocolate will result in a less nuanced and less rich dessert.
- Proper Melting: Ensure the milk and cream mixture is steaming hot before adding the chopped chocolate. This ensures the chocolate melts smoothly and completely without seizing.
- Tempering is Key: The slow, steady pouring of hot liquid into egg yolks while whisking constantly is called tempering. It gradually raises the temperature of the eggs, preventing them from scrambling and ensuring a silky-smooth custard.
- The Jiggle Test: When checking for doneness, look for a set edge with a slight, firm jiggle in the center. If it’s still very wobbly or liquid-like, it needs more time. A slight jiggle is perfect, as it will continue to set as it cools.
- Cooling Process: Allowing the custards to cool within the water bath at room temperature, then chilling them in the refrigerator, is vital. This slow cooling helps prevent cracks and ensures the ideal creamy texture.
- Serving Temperature: While best served chilled, letting the pot de crème sit at room temperature for 10-15 minutes before serving can enhance its delicate texture and flavor.
Storage: Store pots de creme covered in plastic wrap in the refrigerator for up to 3 days. They can also be frozen for up to 3 months; thaw overnight in the refrigerator before serving.
Calories from Fat 441
Becky Hardin
Did You Make This?
We love seeing what you’ve made! Tag us on social media at @easydessertrecipes for a chance to be featured.
Choosing the Best Ingredients for Your Pot de Crème
The quality of your ingredients significantly impacts the final taste and texture of your Chocolate Pot de Crème. Since this dessert relies on just a few core components, each one plays a starring role.
The Right Chocolate
For a truly profound chocolate flavor, opt for high-quality bittersweet chocolate. Look for varieties with a cocoa content of 60% to 70%. Brands known for their excellent baking chocolate, such as Ghirardelli, Callebaut, Valrhona, or Lindt, are great choices. Avoid chocolate chips if possible, as they often contain stabilizers that can prevent smooth melting and result in a grainy texture in your custard. Instead, use a chocolate bar and chop it finely; smaller pieces melt more evenly into the hot cream.
Cream and Milk
The combination of heavy whipping cream and whole milk is essential. Heavy cream provides the lush richness and velvety mouthfeel, while whole milk thins it slightly, preventing the dessert from becoming overly dense or greasy. Do not substitute with low-fat milk or half-and-half, as these will compromise the luxurious texture and flavor. The fat content is crucial for the emulsification and the overall creaminess of the pot de crème.
Egg Yolks
Egg yolks are the primary thickening agent in pot de crème, giving it its distinctive custard texture. They provide richness and help create a stable, smooth base. Always use large eggs for consistent results. Separating yolks from whites can be a bit tedious, but it’s a non-negotiable step for this recipe.
Sweetener and Flavor Enhancers
Granulated sugar provides the necessary sweetness, balancing the bitterness of the dark chocolate. Pure vanilla extract adds a layer of warmth and complexity that complements the chocolate beautifully. As for instant espresso powder, it’s a secret weapon for intensifying chocolate flavor. It doesn’t make the pot de crème taste like coffee; rather, it highlights and deepens the cocoa notes, making the chocolate taste “more chocolatey.” If you love the coffee and chocolate pairing, feel free to slightly increase the amount for a subtle mocha undertone.
Step-by-Step Visual Guide for Perfect Pot de Crème
Achieving a flawless Chocolate Pot de Crème is easier than you think, especially when you follow these clear, detailed steps. Let’s walk through the process together to ensure your dessert turns out perfectly rich and silky every time.
Step 1: Prepare Your Oven and Cream Mixture
Begin by preheating your oven to 325°F (160°C). This ensures the oven is at the correct, consistent temperature when your custards are ready to bake. Next, combine 1½ cups of heavy whipping cream and ½ cup of whole milk in a medium-sized saucepan. Place the saucepan over medium heat, stirring occasionally. Watch carefully for the milk to begin steaming and for tiny bubbles to form around the edges of the pan – this indicates it’s hot enough. Immediately remove it from the heat to prevent it from boiling, which could scald the milk.
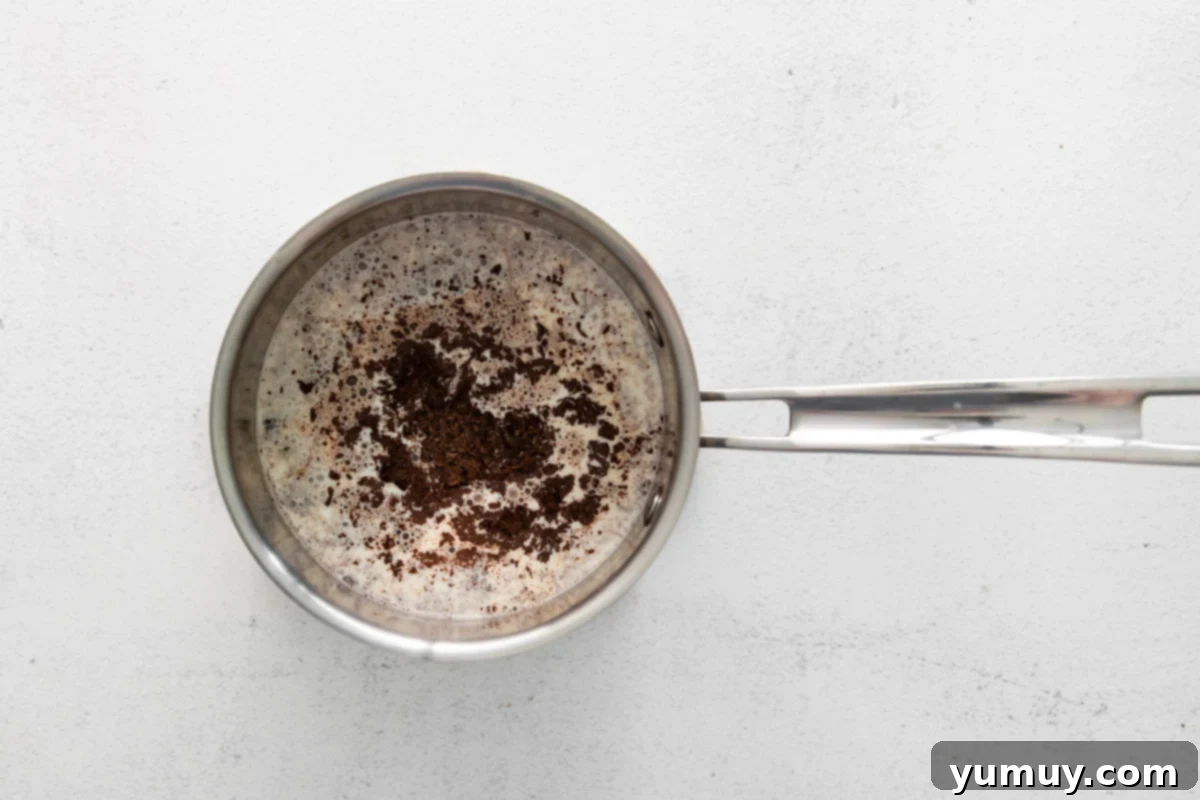
Step 2: Melt the Chocolate Elegantly
Add 4 ounces of finely chopped good-quality bittersweet chocolate to the hot cream and milk mixture in the saucepan. Allow the chocolate to sit undisturbed for about 60 seconds. This brief resting period helps the chocolate to soften evenly. After a minute, begin whisking gently but continuously until the chocolate is completely melted and smoothly incorporated into the cream, creating a luscious, dark chocolate liquid. Make sure there are no discernible chocolate pieces remaining for the silkiest finish.
Step 3: Whisk the Egg Yolks and Sugar
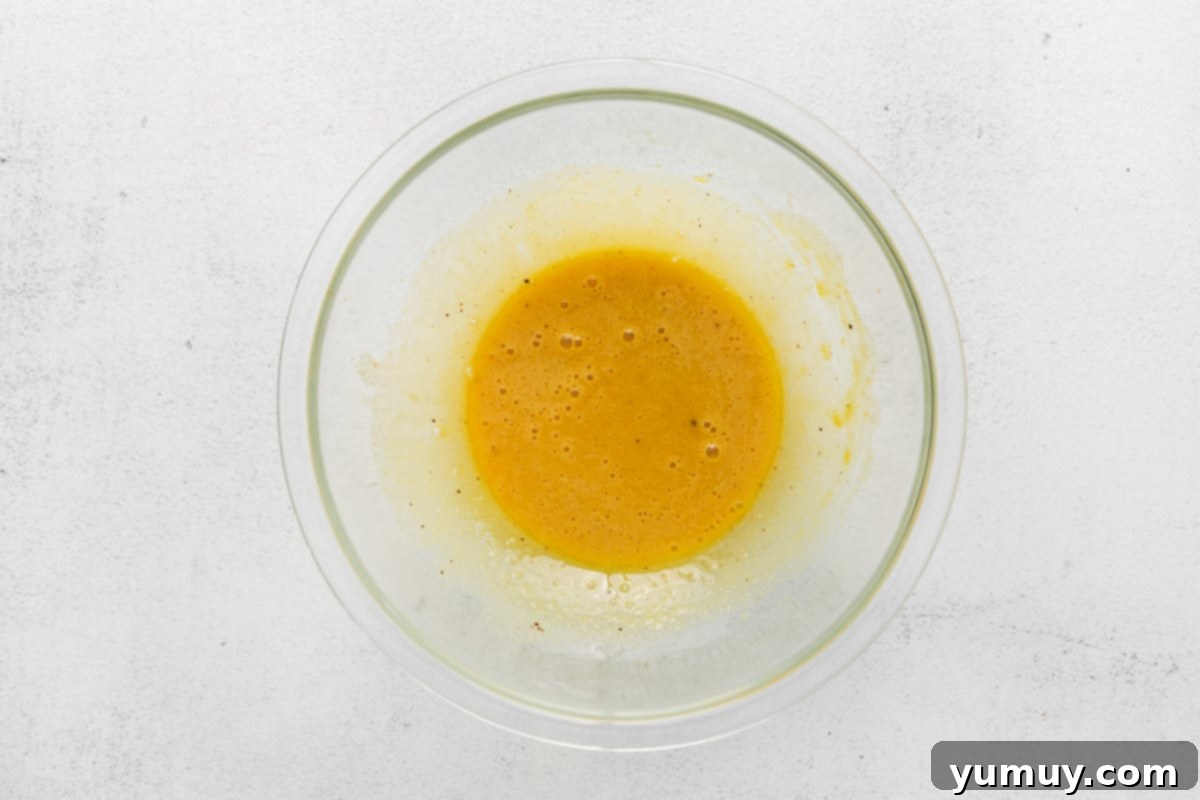
In a separate, large heat-proof bowl – ideally one with a spout for easy pouring – combine 4 large egg yolks, ¼ cup of granulated sugar, 1 teaspoon of pure vanilla extract, and ¼ teaspoon of instant espresso powder (if you’re using it to enhance the chocolate flavor). Whisk these ingredients together vigorously. Continue whisking until the mixture becomes pale yellow, slightly thick, and the sugar has fully dissolved into the egg yolks. This thorough whisking is crucial for creating a smooth custard base and preventing a grainy texture.
Step 4: The Art of Tempering
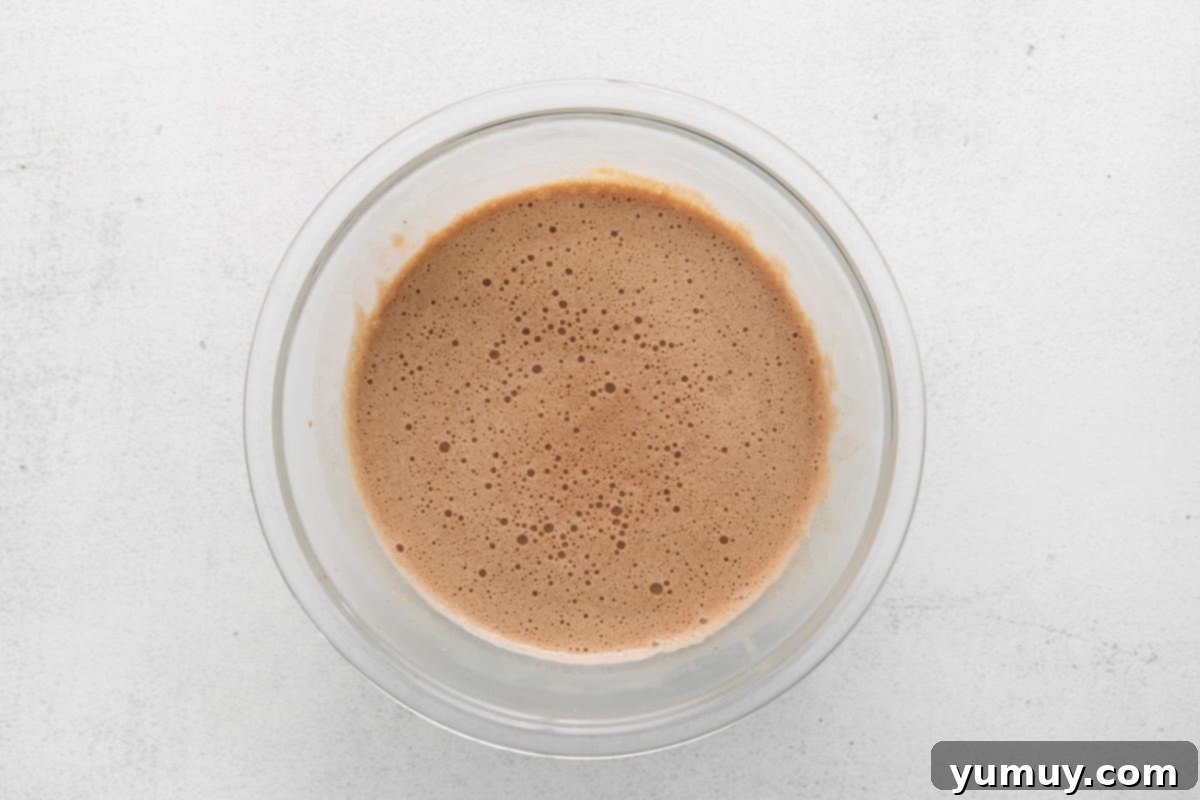
This step is perhaps the most critical for a perfect pot de crème. Slowly, in a thin, steady stream, pour the warm chocolate-cream mixture into the whisked egg yolk mixture. As you pour, continuously whisk the egg mixture vigorously with your other hand. The goal here is to gradually raise the temperature of the egg yolks without scrambling them. Adding the hot liquid too quickly will cause the eggs to cook and curdle, resulting in a lumpy, unappealing custard. Take your time, maintain constant whisking, and ensure the two mixtures are fully combined into one smooth, uniform custard base.
Step 5: Prepare for the Water Bath
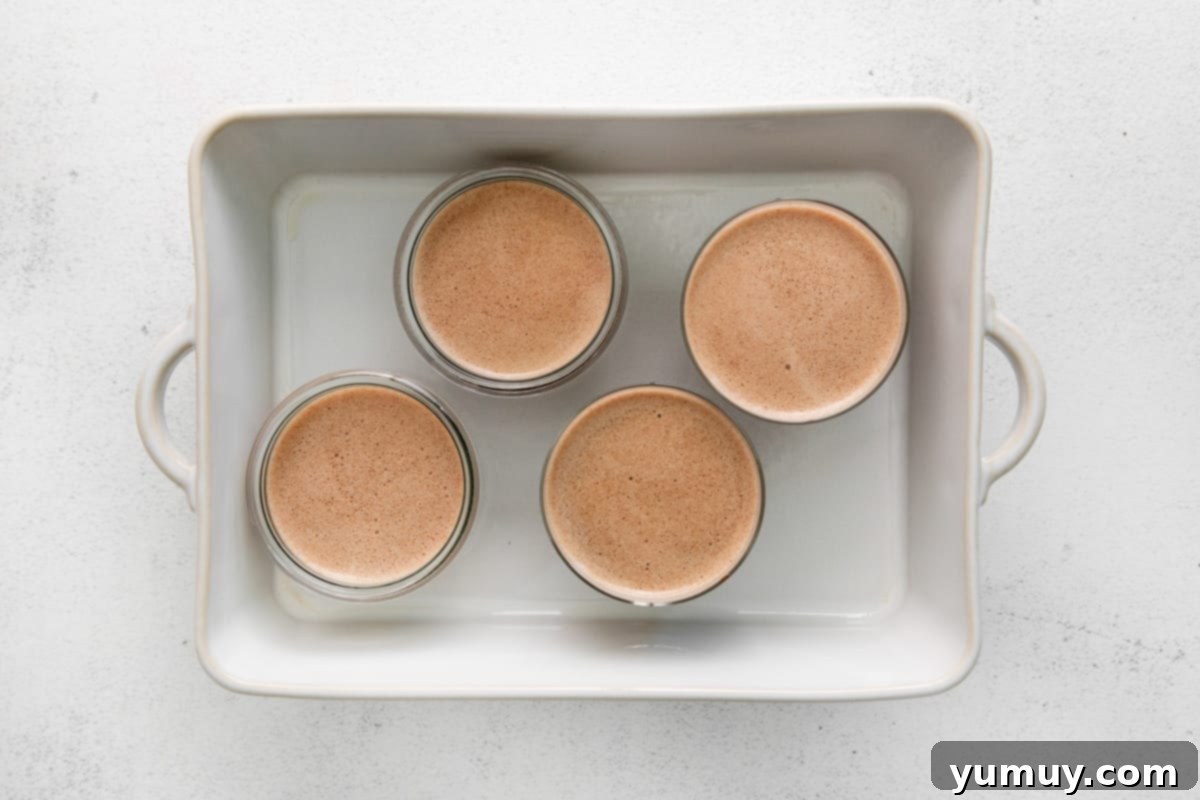
Carefully divide the perfectly smooth custard mixture among four 4-ounce ramekins. Next, place these filled ramekins into a larger, high-sided baking pan. A large cake pan, roasting pan, or even a deep casserole dish works well for this. Heat some water (either on the stovetop or in a kettle) until it’s very hot, but not necessarily boiling. Pour this hot water into the larger baking pan, ensuring it reaches about halfway up the sides of the ramekins. This creates the essential water bath (bain-marie). Finally, cover the entire large pan tightly with aluminum foil. This seals in the moisture, aiding in the even cooking of the custards.
Step 6: Bake and Cool to Perfection
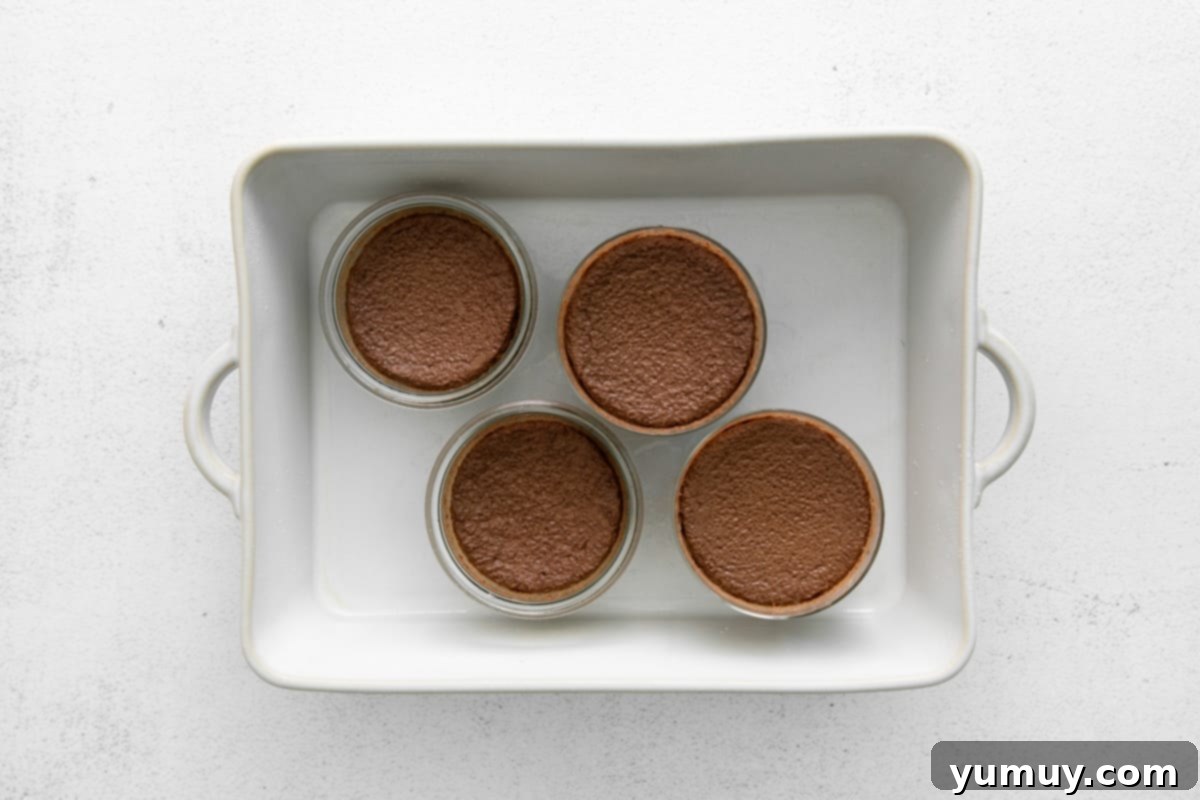
Carefully transfer the baking pan with the water bath and ramekins into your preheated oven. Bake for 45-50 minutes. The key to knowing when they are done is the “jiggle test”: gently shake the pan. The custards should be set around the edges but still have a slight, delicate jiggle in the very center. Resist the urge to overbake, as this can lead to a less creamy, more rubbery texture. Once baked, remove the large pan from the oven and allow the ramekins to cool completely within the water bath at room temperature. This slow, gradual cooling prevents cracking and helps the custards retain their ideal smoothness. After they’ve cooled, remove the ramekins from the water bath, cover each one individually with plastic wrap, and refrigerate for at least 2 hours, or ideally overnight. Chilling is crucial for the pot de crème to fully set and achieve its signature rich, dense, and utterly irresistible texture.
Serving Suggestions and Creative Variations
Once your Chocolate Pot de Crème is perfectly chilled, it’s ready to be savored. While delicious on its own, a few simple garnishes can elevate the presentation and complement its rich flavor profile.
Classic Serving Ideas
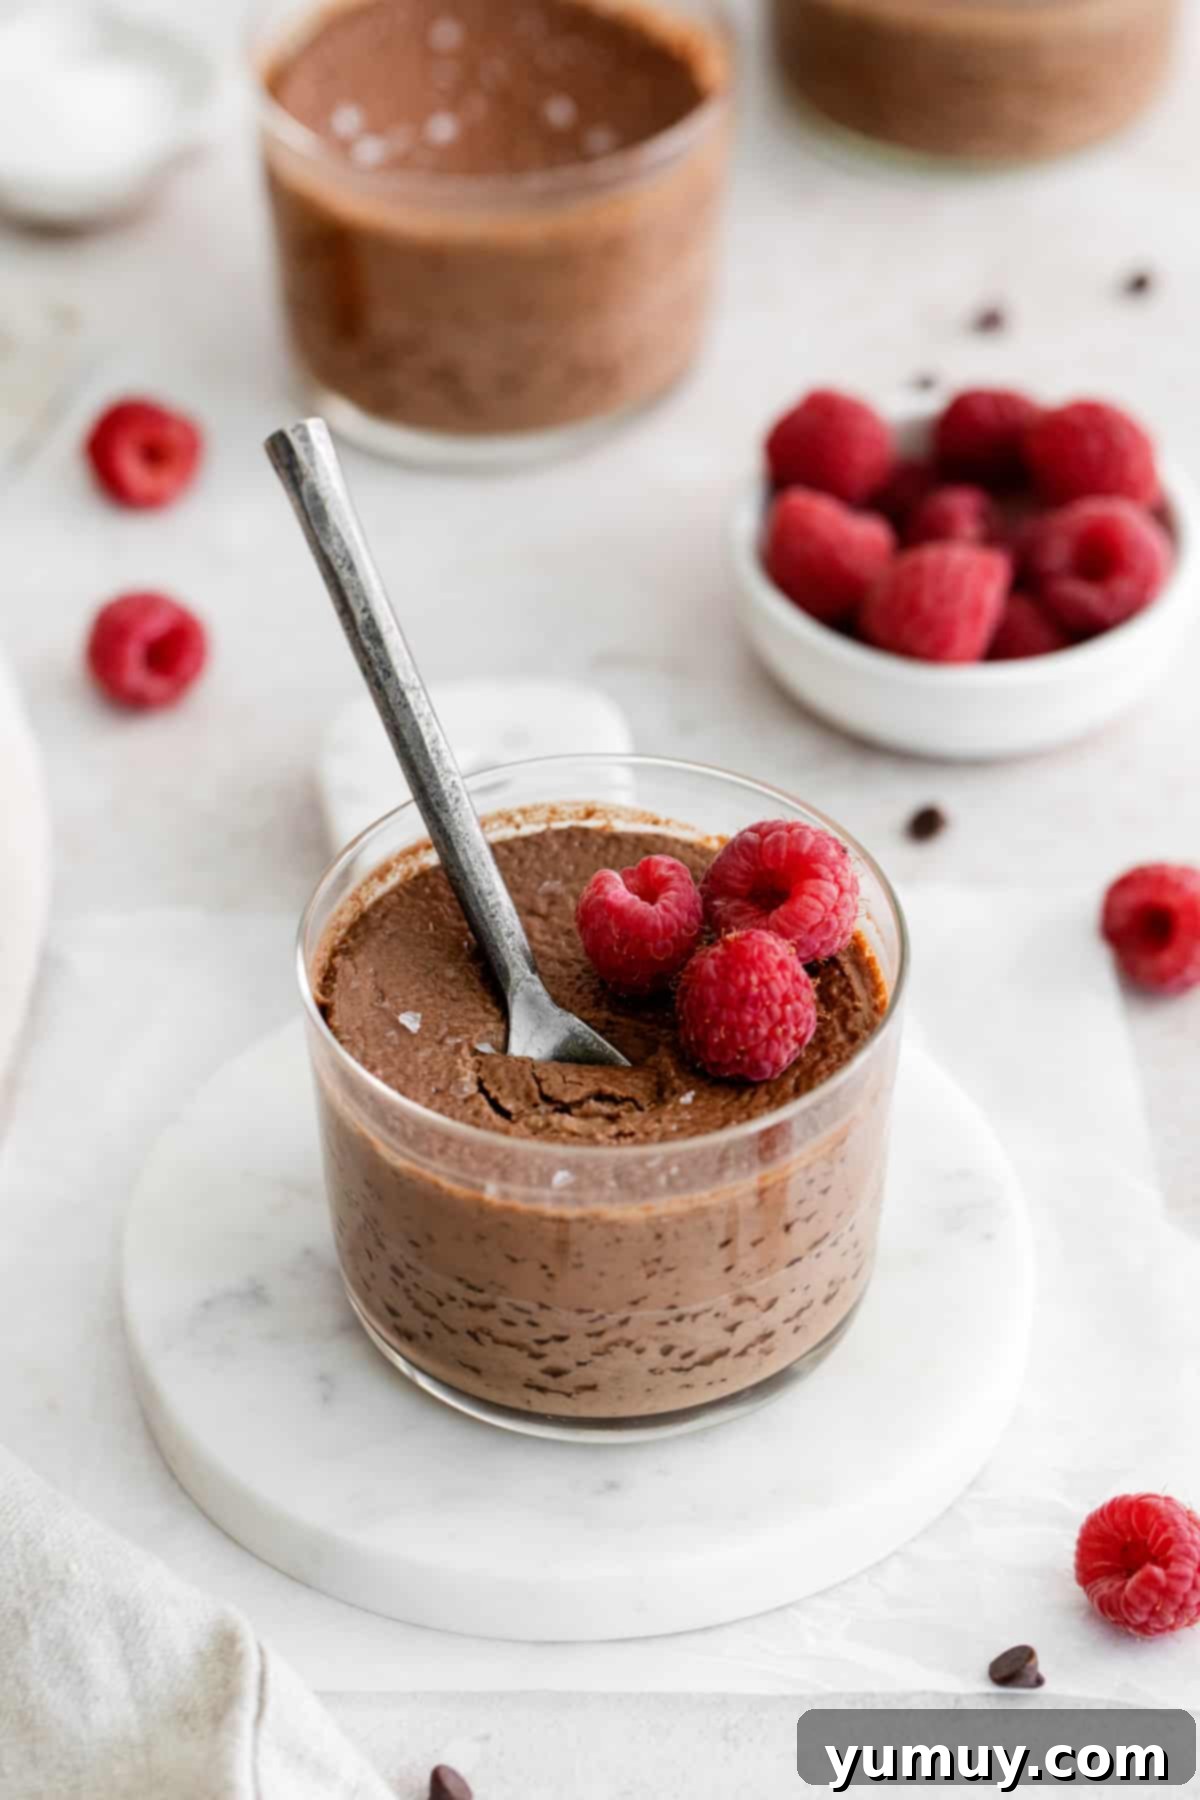
- Fresh Berries: A sprinkle of fresh raspberries, strawberries, or blueberries adds a beautiful pop of color and a refreshing tartness that cuts through the richness of the chocolate.
- Whipped Cream: A dollop of freshly whipped cream, lightly sweetened, is a classic pairing that adds an extra layer of creamy decadence.
- Chocolate Shavings or Cocoa Powder: For an elegant touch, dust with a fine layer of unsweetened cocoa powder or garnish with delicate chocolate shavings.
- Mint Leaves: A fresh mint leaf offers a lovely visual contrast and a subtle aromatic lift.
Exciting Flavor Variations
This basic Chocolate Pot de Crème recipe serves as an excellent canvas for various flavor explorations. Don’t hesitate to experiment once you’ve mastered the classic version!
- Orange Zest: Add 1 teaspoon of finely grated orange zest to the cream mixture as it heats, or swirl a tiny bit into the finished custard before chilling. Chocolate and orange are a match made in heaven.
- Spiced Chocolate: Infuse the cream with a cinnamon stick, a pinch of cayenne pepper, or a few cardamom pods while it’s heating. Strain before adding the chocolate for a subtle warmth and exotic twist.
- Liqueur Infusion: For an adult-friendly version, stir in 1-2 tablespoons of a complementary liqueur after the chocolate has melted and cooled slightly (before tempering the eggs). Grand Marnier, Kahlúa, or a good quality dark rum would be exquisite.
- Hazelnut or Almond: A dash of hazelnut or almond extract, added along with the vanilla, can give your pot de crème a nutty depth. You could also garnish with toasted chopped hazelnuts or slivered almonds.
- Salted Caramel: Serve with a drizzle of homemade salted caramel sauce for a delightful sweet and salty contrast.
Storage and Make-Ahead Tips
One of the many advantages of Chocolate Pot de Crème is that it’s an excellent make-ahead dessert, perfect for entertaining or enjoying throughout the week.
To store leftovers, ensure each ramekin is tightly covered with plastic wrap to prevent a skin from forming and to keep any refrigerator odors out. Stored this way, the pot de crème will maintain its exquisite texture and flavor for up to 3 days in the refrigerator.
For longer storage, pot de crème can also be frozen for up to 3 months. To freeze, wrap each individual ramekin tightly in plastic wrap, then again in aluminum foil to protect it from freezer burn. When you’re ready to enjoy, transfer the frozen custards to the refrigerator and let them thaw overnight. You can serve them directly from the fridge for a firm, chilled dessert, or allow them to stand at room temperature for 10-15 minutes before serving to achieve a slightly softer, even more luxurious texture.
Preparing this dessert in advance allows you to focus on other aspects of your meal or simply enjoy a stress-free dessert experience whenever a craving strikes for something rich, smooth, and utterly delightful.
More Indulgent Chocolate Recipes to Explore!
Dirt Cake Cups
Chocolate Rice Krispie Treats
Chocolate Mug Cake
Chocolate Cake Pops
All Chocolate Desserts
