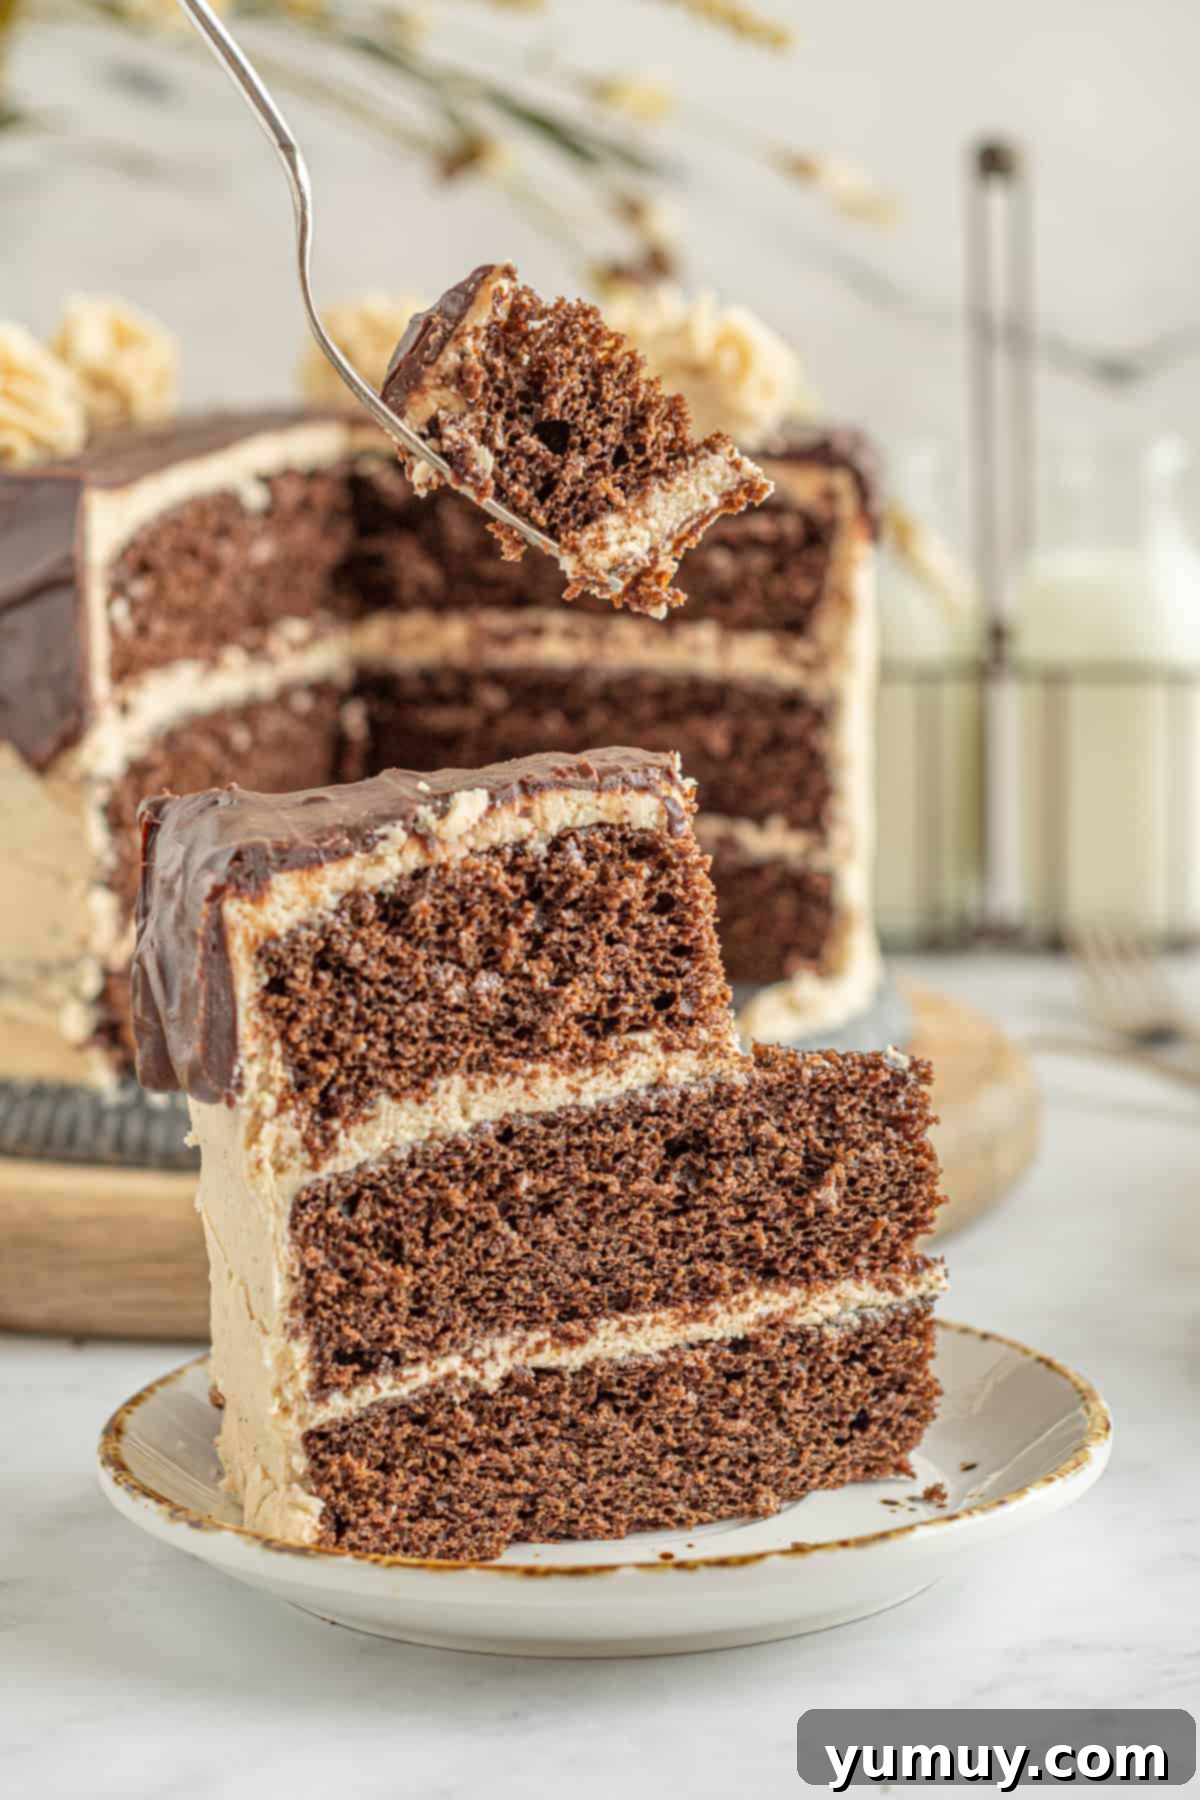
Prepare to fall in love with one of the most irresistible dessert combinations ever created: a rich, moist chocolate cake crowned with a luscious, creamy peanut butter frosting. Over years of baking, from scratch and with clever shortcuts, this particular recipe has consistently stood out as an all-time favorite. It’s the quintessential blend of deep chocolate flavor and velvety peanut butter sweetness, making it the best chocolate cake with peanut butter frosting for any gathering, birthday, or simply when a serious craving strikes.
Indulge in the Ultimate Peanut Butter Chocolate Cake Experience
What makes this peanut butter chocolate cake truly exceptional is its ability to deliver stunning, bakery-quality results with surprising ease. Despite requiring fewer than ten core ingredients, it tastes like you’ve spent hours meticulously crafting every component. The secret lies in a few smart techniques and high-quality ingredients, starting with a humble boxed cake mix. This shortcut doesn’t compromise on flavor; instead, it ensures a consistently moist and tender crumb every single time, forming the perfect foundation for our decadent dessert.
Beyond the convenience, this recipe elevates the standard chocolate cake by incorporating a special ingredient: espresso powder. When prepared correctly, espresso doesn’t make the cake taste like coffee; rather, it profoundly deepens and intensifies the natural chocolate flavor, creating a more complex and satisfying experience. Paired with our undeniably smooth, salty-sweet homemade peanut butter frosting, you get a harmonious balance that makes every bite truly unforgettable. If you’re searching for an easy chocolate cake recipe that delivers a big impact, look no further – this is the one to keep!
The versatility of this rich chocolate cake recipe is another reason it’s a staple in my kitchen. Whether you’re planning a grand tiered celebration cake, individual cupcakes for a party, or a simple sheet cake for a weeknight treat, the base recipe adapts beautifully. No matter the format, this irresistible combination of chocolate and peanut butter consistently earns rave reviews from everyone who tries it. It’s guaranteed to be a hit!
The Secret to Deeper Chocolate Flavor: Blooming Espresso
While many chocolate cake recipes benefit from the inclusion of espresso powder, my “pro tip” takes its flavor-enhancing properties to the next level: always “bloom” your espresso powder. This simple yet transformative step involves dissolving the espresso powder in a small amount of hot liquid before adding it to your batter. For this recipe, I simply subtract one tablespoon from the total water measurement for the cake and use boiling hot water to dissolve the two teaspoons of espresso powder.
Why is blooming so effective? Espresso powder, like coffee grounds, contains aromatic oils that are locked within its granules. Dissolving it in hot water fully releases these oils, intensifying its flavor and allowing it to meld seamlessly with the chocolate. This process also ensures that any fine grit from the powder completely dissolves, resulting in an exceptionally smoother batter and a noticeably richer, more profound chocolate taste without imparting any discernible coffee flavor. It’s a small, easy step that might be tempting to skip, but it’s truly one of my favorite tricks for elevating any chocolate peanut butter cake or any chocolate dessert to a gourmet standard.
Chocolate Cake with Peanut Butter Frosting
30
22
52
12
slices
Ingredients
For the Cake
-
30.5
ounces
chocolate cake mix
(2 (15.25-ounce) boxes) -
2
teaspoons
espresso powder
optional* -
2½
cups
water -
1
cup
vegetable oil -
6
large
eggs
For the Frosting
-
6½
cups
powdered sugar -
2
cups
unsalted butter
(4 sticks) -
1
cup
creamy peanut butter
** -
2
teaspoons
pure vanilla extract -
¾
teaspoon
kosher salt
Equipment
- Kitchen Scale
- 3 9-inch Round Cake Pan(s)
- Stand Mixer
- Piping Tip Set
Instructions
- Preheat your oven to 350°F (175°C). Prepare three 9-inch round cake pans by lining their bottoms with parchment paper and generously spraying with nonstick cooking spray. Set them aside while you prepare the batter.
- In a large mixing bowl, combine the water, vegetable oil, and large eggs. If using, dissolve the espresso powder in 1 tablespoon of the hot water (subtracted from the total water measurement) before adding it to the wet ingredients. Then, add the chocolate cake mix and the bloomed espresso mixture (if using). Stir everything together just until combined and no dry streaks remain. Be careful not to overmix.

- Divide the cake batter evenly among the three prepared cake pans. Each pan should hold approximately 644 grams of batter for consistent layers. Place the pans into the preheated oven and bake for 22-24 minutes, or until a wooden toothpick inserted into the center of a cake comes out clean or with only a few moist crumbs attached. Once baked, remove the cakes from the oven and transfer them to a wire cooling rack to cool completely before frosting.

- While the cake layers are cooling, prepare the indulgent peanut butter frosting. In the bowl of a stand mixer fitted with the paddle attachment, combine the softened unsalted butter, creamy peanut butter, pure vanilla extract, kosher salt, and powdered sugar. Beat all ingredients together on high speed for 3-4 minutes until the frosting is incredibly smooth, light, and fluffy.

- Once the cake layers are completely cool, it’s time to assemble and frost. Place one cake layer onto your desired cake stand or serving plate. Using an offset spatula or rubber spatula, spread approximately ⅔ cup of the prepared peanut butter frosting evenly over the top surface of this layer. Carefully place the second cake layer directly on top and repeat the frosting process with another ⅔ cup of frosting. Position the final cake layer on top and use the remaining frosting to generously cover the top and sides of the entire cake. If you have extra frosting and a piping tip set, spoon the leftover frosting into a piping bag and pipe decorative swirls or borders on top of the cake for an elegant finish.

Notes & Expert Tips
**For the absolute best frosting texture and to prevent separation, I strongly recommend using a no-stir, creamy peanut butter like Skippy or Jif. Natural peanut butter, while delicious on its own, tends to have more oil separation and can result in an oily or gritty frosting consistency that doesn’t hold its shape as well.
Key Baking Tips for Success:
- Avoid Overmixing: Once you’ve added the dry ingredients (cake mix), mix the batter only until just combined. Overmixing develops the gluten excessively, which can lead to a tough, rubbery, or crumbly cake texture.
- Cool Completely: Ensure your cake layers are completely cool to the touch before you begin frosting. If the cakes are even slightly warm, the luscious peanut butter frosting will melt and slide right off, creating a messy situation.
- Adjust Frosting Consistency: If your peanut butter frosting appears too thick or stiff after beating, you can easily adjust it. Simply add 1-2 teaspoons of milk (dairy or non-dairy) at a time, beating briefly after each addition, until you achieve your desired smooth, spreadable consistency.
- Optional Chocolate Ganache Drizzle: For an extra layer of decadence and a beautiful visual contrast, consider drizzling a simple chocolate ganache over the top of the frosted cake. This is entirely optional but highly recommended for chocolate lovers!
Scaling Options for Every Occasion:
- For a Sheet Cake: Pour the batter into a 9×13-inch baking pan and bake at 350°F (175°C) for approximately 35-40 minutes, or until a toothpick comes out clean.
- For Cupcakes: Line cupcake tins with paper liners. Fill each liner about two-thirds full with batter. Bake at 350°F (175°C) for 18-20 minutes, or until springy to the touch. This recipe yields about 24-30 cupcakes.
- For a Bundt Cake: Prepare a 10-cup Bundt pan by greasing and flouring it thoroughly. Pour the batter in and bake at 350°F (175°C) for 50-55 minutes.
- For a Smaller Layer Cake: Use 3 (8-inch) round cake pans. Baking time will be slightly longer, typically 5-10 minutes more than the stated recipe, so adjust accordingly and check for doneness with a toothpick.
Storage Guidelines:
- Store the frosted chocolate peanut butter cake in an airtight container at room temperature for up to 2 days to maintain its moisture and flavor.
- For extended freshness, refrigerate the cake in an airtight container for up to 4 days. Bring to room temperature before serving for the best texture and flavor.
- This cake freezes beautifully for longer storage! For longer storage, wrap individual slices tightly in plastic wrap, then add another layer of aluminum foil. This double-layer protection prevents freezer burn and locks in moisture. Store in the freezer for up to 3 months. When you’re ready to enjoy, simply thaw slices overnight in the refrigerator, then let them sit at room temperature for a short while before serving.
Calories from Fat 657
112%
175%
58%
38%
12%
41%
13%
104%
26%
22%
14%
22%
Becky Hardin
How to Make Decadent Chocolate Peanut Butter Cake: Step-by-Step Guide
Creating this show-stopping chocolate cake with peanut butter frosting is a joyous and straightforward process, even for beginner bakers. Follow these detailed steps to achieve perfect, moist cake layers and an irresistibly fluffy frosting that will impress everyone.
Step 1: Prepare Your Pans & Mix the Cake Batter
Begin by preheating your oven to 350°F (175°C). This ensures the oven is at the correct temperature for even baking. Take three 9-inch round cake pans and line the bottoms of each with a circle of parchment paper. This crucial step prevents sticking and makes removing the cakes a breeze. Lightly spray the parchment paper and the sides of the pans with a nonstick cooking spray. Set your prepared pans aside.
In a large mixing bowl, combine 2½ cups of water, 1 cup of vegetable oil, and 6 large eggs. If you’re using the optional espresso powder to enhance your chocolate flavor, first dissolve the 2 teaspoons of espresso powder in 1 tablespoon of hot water (remember to subtract this tablespoon from your total 2½ cups of water). Add the chocolate cake mix and the bloomed espresso mixture (if using) to the wet ingredients. Stir everything together gently, just until the ingredients are fully combined and there are no visible streaks of dry mix. Be very careful not to overmix, as this can lead to a dense or crumbly cake texture.

Step 2: Bake the Perfect Chocolate Cake Layers
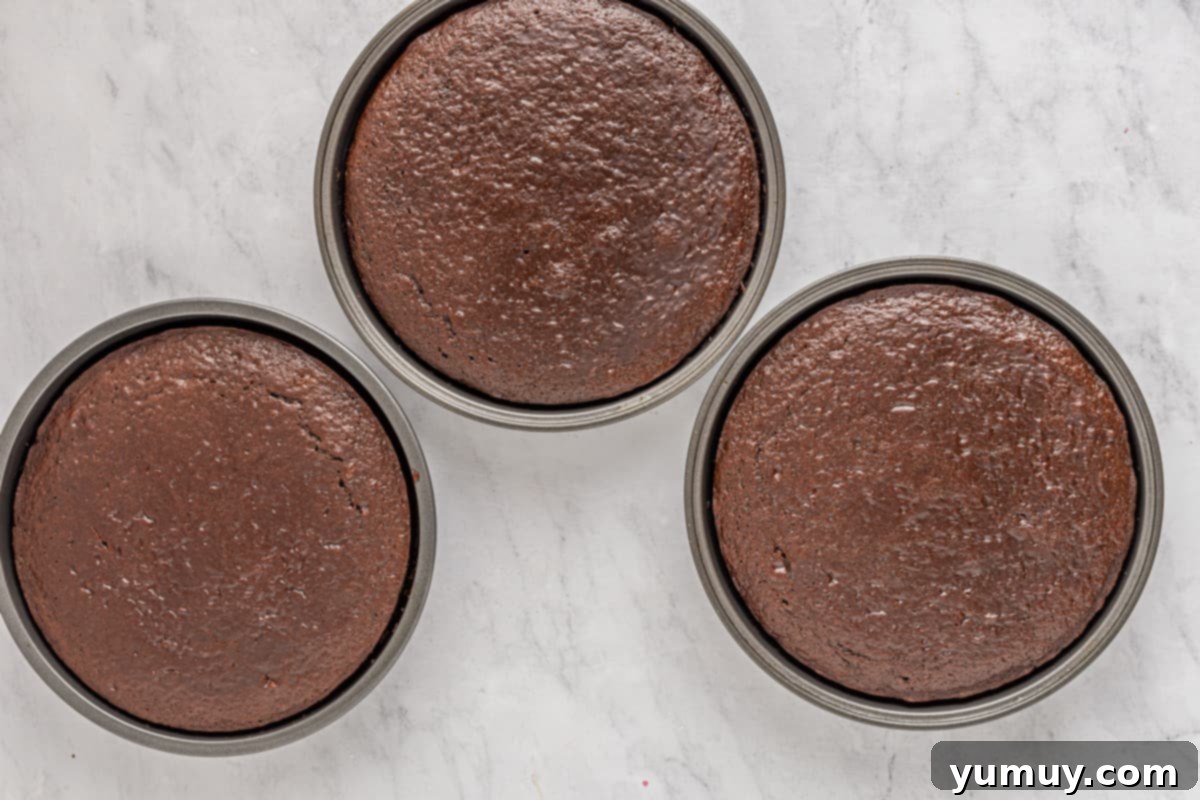
Once your batter is mixed, carefully divide it evenly among the three prepared cake pans. For precise and uniform layers, aim for approximately 644 grams of batter in each pan. This ensures all layers bake consistently and look beautiful when stacked. Gently place the filled cake pans into your preheated oven. Bake them for 22-24 minutes. To check for doneness, insert a wooden toothpick into the center of one of the cakes; it should come out clean or with only a few moist crumbs clinging to it. As soon as they’re baked, remove the pans from the oven and immediately transfer the cakes (still in their pans) to a wire cooling rack. Allow them to cool completely in their pans before attempting to remove them. This prevents breakage and helps the cakes set properly.
Step 3: Whip Up the Dreamy Peanut Butter Frosting
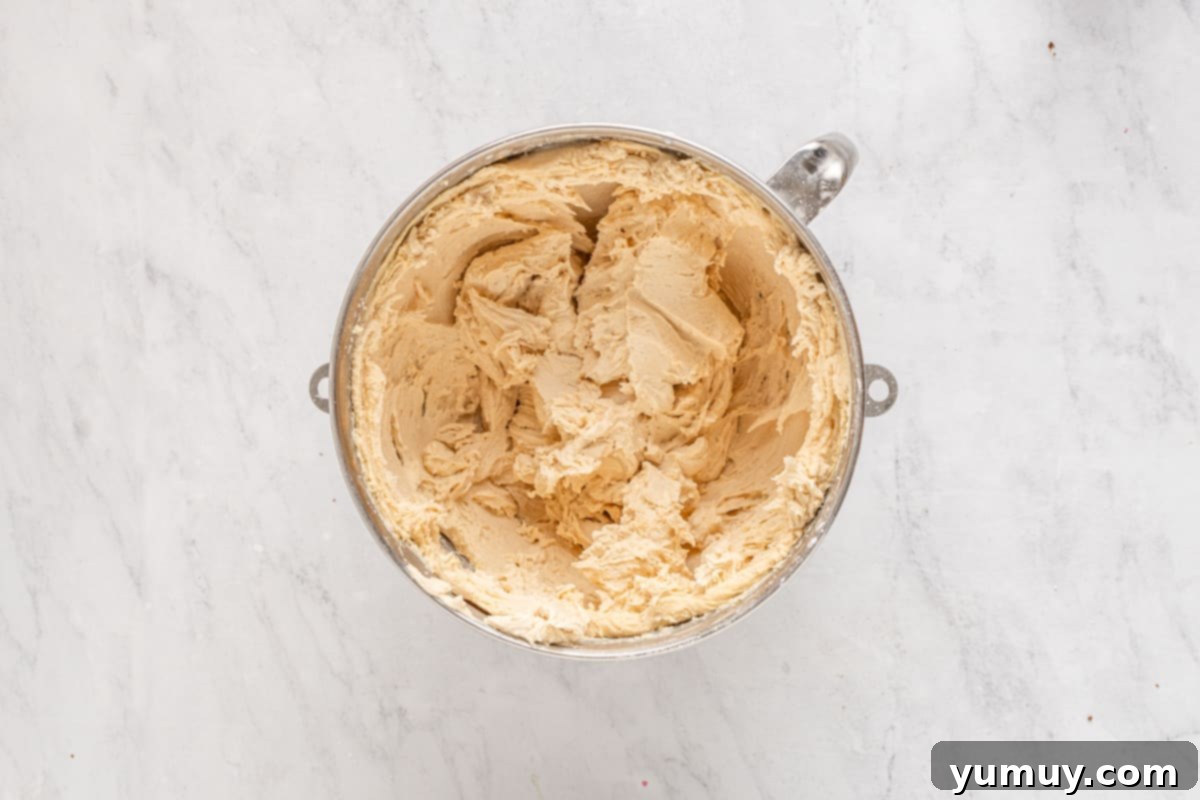
While your chocolate cake layers are cooling (they must be completely cool before frosting!), it’s the perfect time to prepare the star of the show: the heavenly homemade peanut butter frosting. In the bowl of a stand mixer fitted with the paddle attachment, combine all of your frosting ingredients: 2 cups of softened unsalted butter (which is equivalent to 4 sticks), 1 cup of creamy peanut butter (remember, no-stir varieties work best!), 2 teaspoons of pure vanilla extract, ¾ teaspoon of kosher salt, and 6½ cups of powdered sugar. Begin beating on low speed until the powdered sugar is incorporated, then increase to high speed. Beat for 3-4 minutes until the mixture transforms into a light, incredibly smooth, and fluffy frosting. The salt helps to balance the sweetness, creating that irresistible salty-sweet flavor profile that pairs so perfectly with chocolate.
Step 4: Assemble and Frost Your Masterpiece
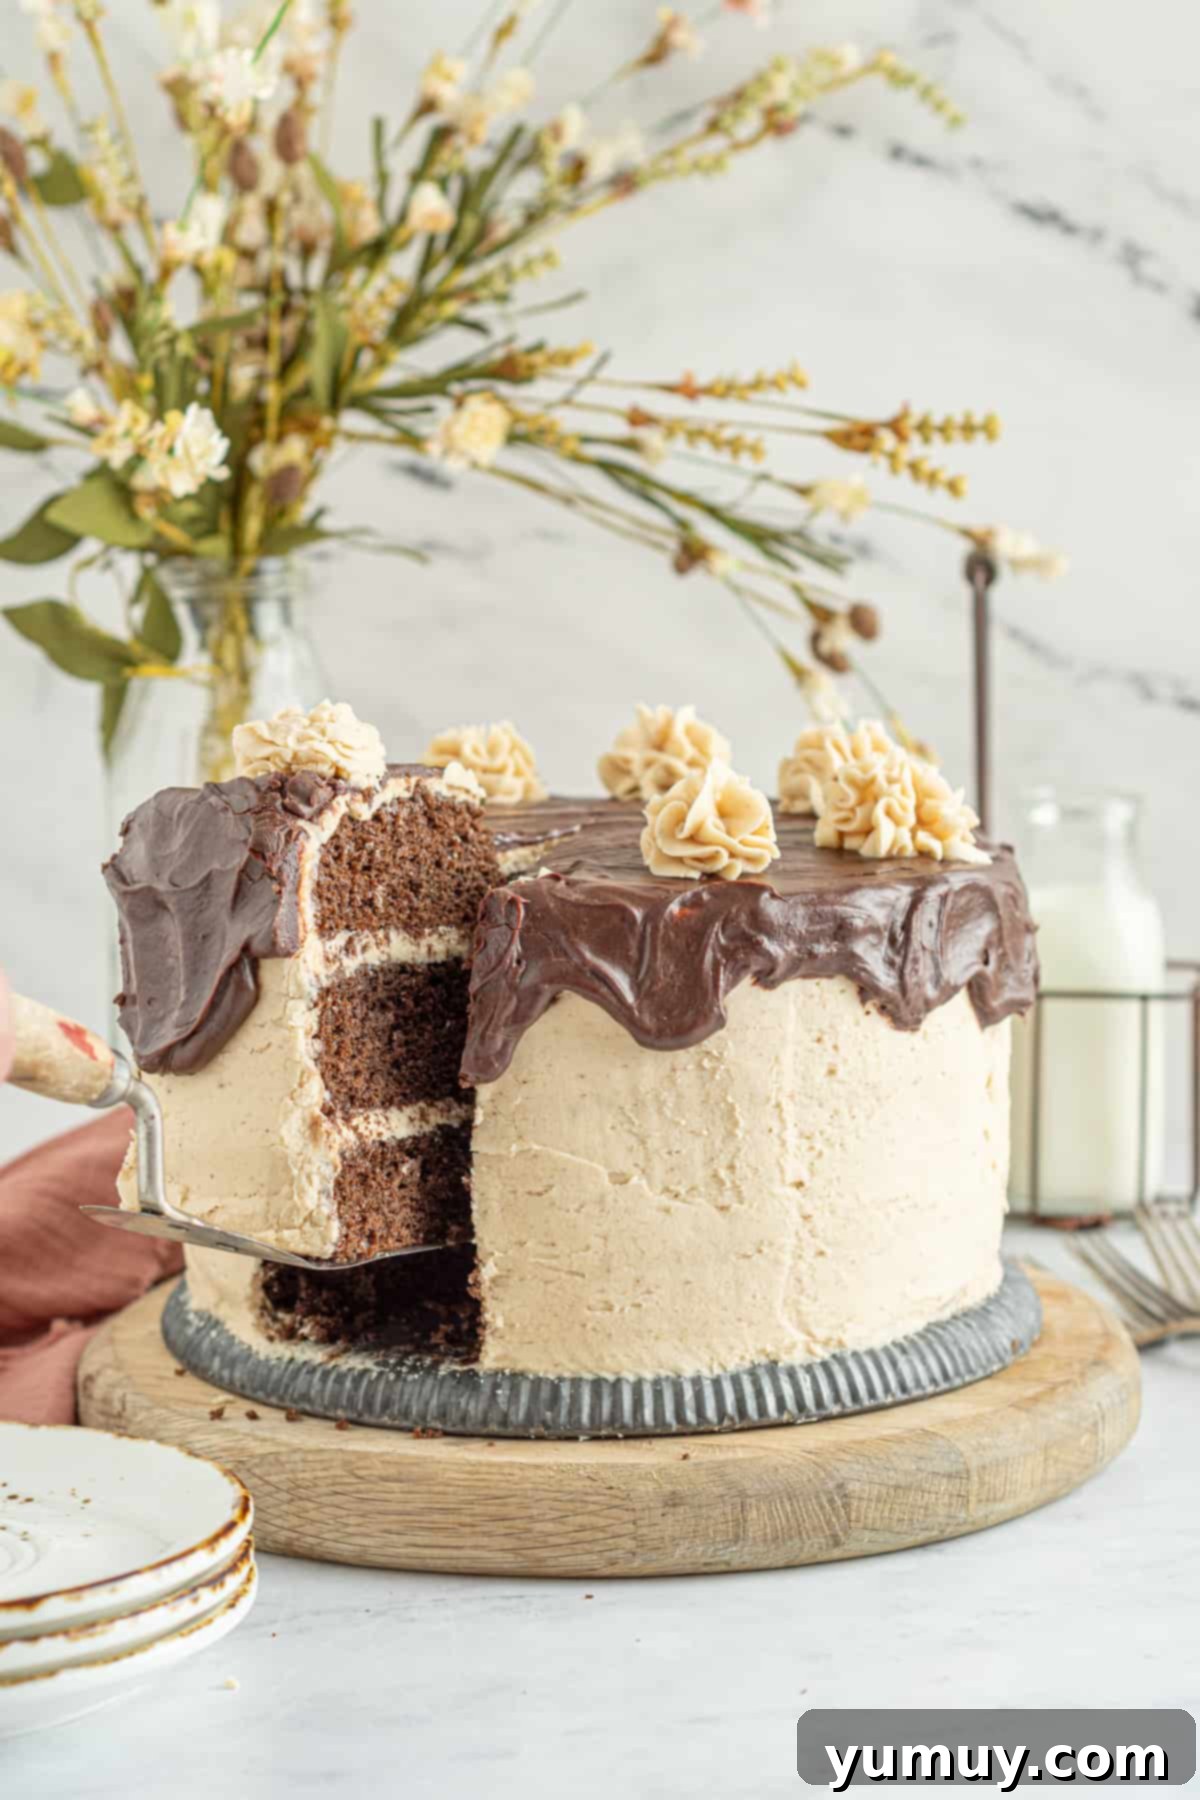
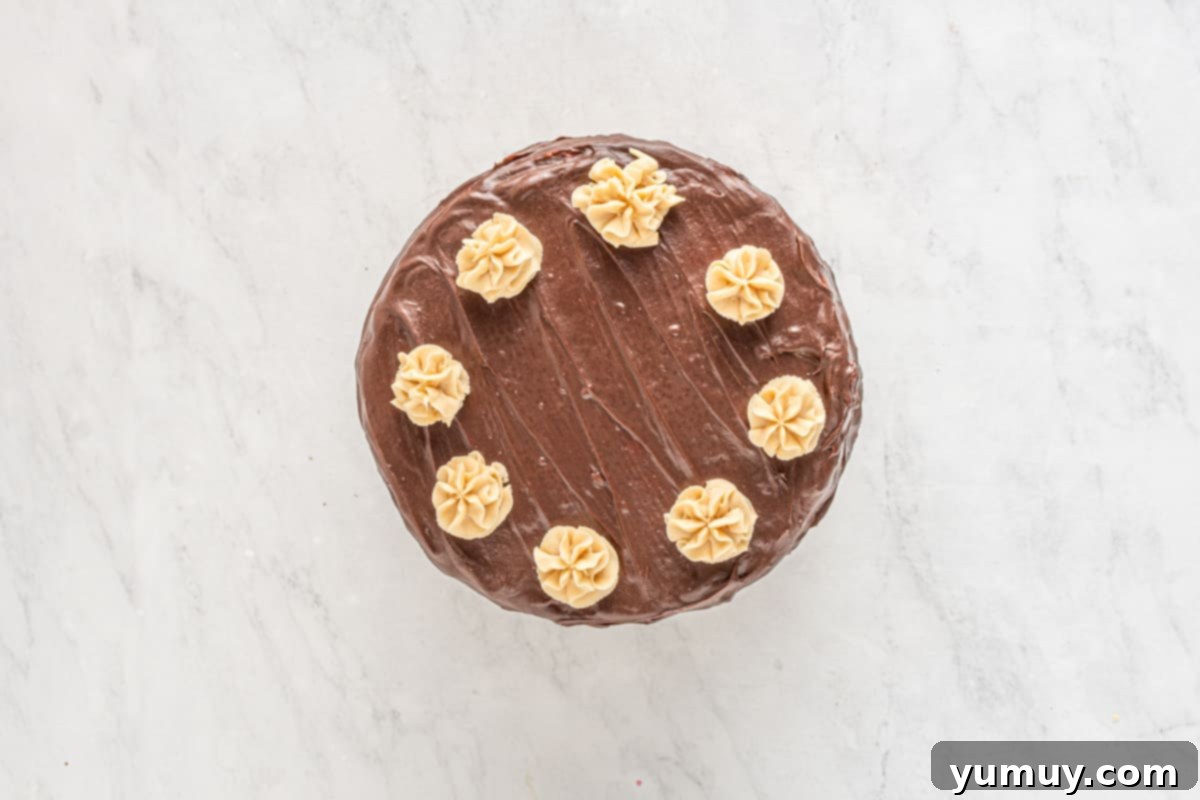
Once your cake layers are completely cool, gently un-mold them and peel off the parchment paper. Place the first cake layer onto your chosen cake stand or serving platter. Using an offset spatula or a sturdy rubber spatula, spread an even layer of about ⅔ cup of the prepared peanut butter frosting over the entire top surface of this cake layer. Carefully place the second cake layer directly on top, centering it perfectly, and repeat the frosting process with another ⅔ cup of frosting. Finally, position the last cake layer on top. Use the remaining frosting to generously cover the top and sides of the entire cake, smoothing it out for a clean finish or creating decorative swirls if desired. For exceptionally neat slices, I recommend chilling the frosted cake in the refrigerator for 20-30 minutes before cutting; this allows the frosting to firm up slightly and makes for cleaner, more defined layers. If you have any leftover frosting, you can spoon it into a piping bag fitted with a decorative tip to add beautiful swirls or a border to the top of your cake, truly making it a showstopper!
Storing Your Decadent Chocolate Peanut Butter Cake
Proper storage is key to enjoying your delicious chocolate peanut butter cake for as long as possible while maintaining its incredible moisture and flavor. Here’s how to store any leftovers:
- Room Temperature: For up to 2 days, store the cake in an airtight container at room temperature. This is ideal for maintaining the frosting’s creamy texture.
- Refrigerator: To extend its freshness, place the cake in an airtight container in the refrigerator for up to 4 days. For the best taste and texture, allow slices to come to room temperature for about 15-20 minutes before serving.
- Freezer: This cake freezes beautifully for longer storage! Wrap individual slices tightly in plastic wrap, then add another layer of aluminum foil. This double-layer protection prevents freezer burn and locks in moisture. Store in the freezer for up to 3 months. When you’re ready to enjoy, simply thaw slices overnight in the refrigerator, then let them sit at room temperature for a short while before serving.
More Indulgent Chocolate Cake Recipes to Explore!
Irresistible Chocolate Cake Pops
Classic Chocolate Sour Cream Pound Cake
Quick & Easy Chocolate Mug Cake
Elegant Chocolate Mousse Cake
Browse All Cake Recipes

