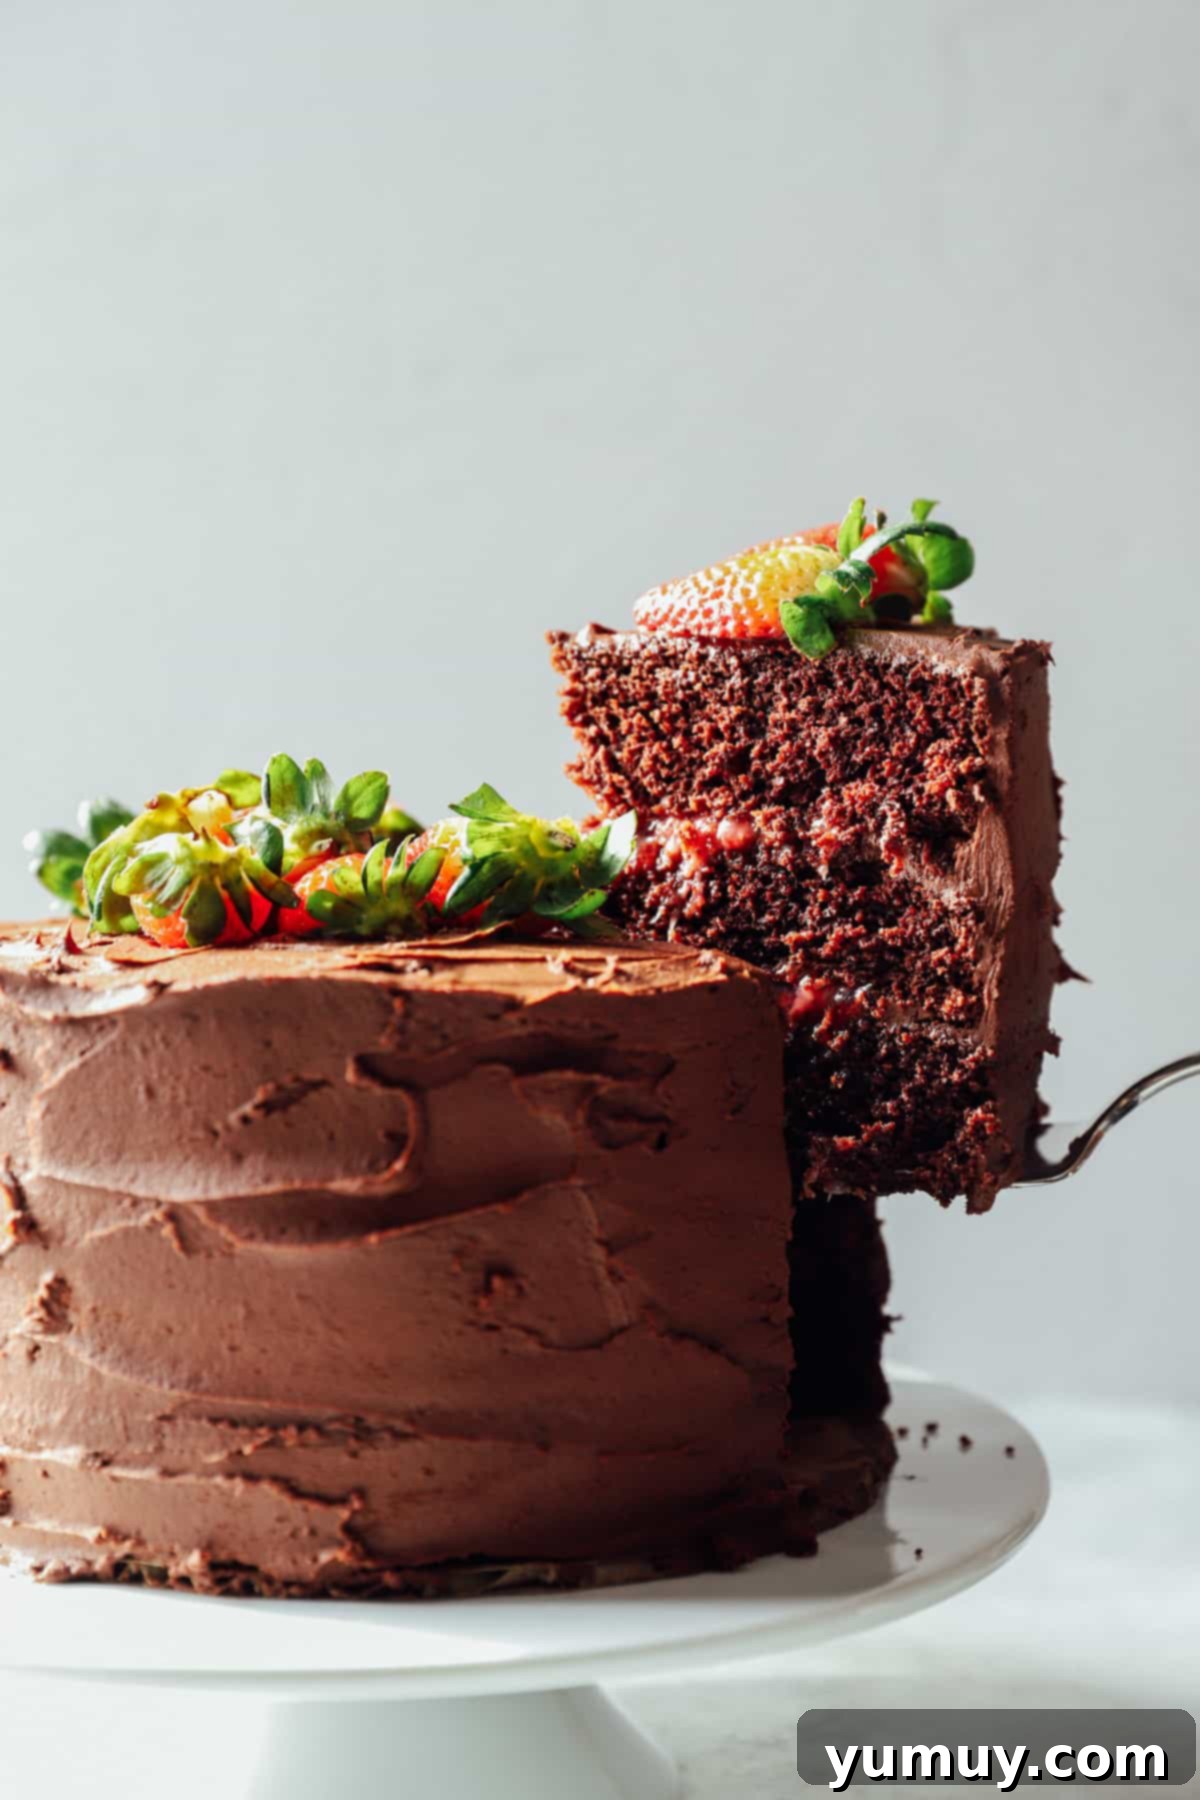
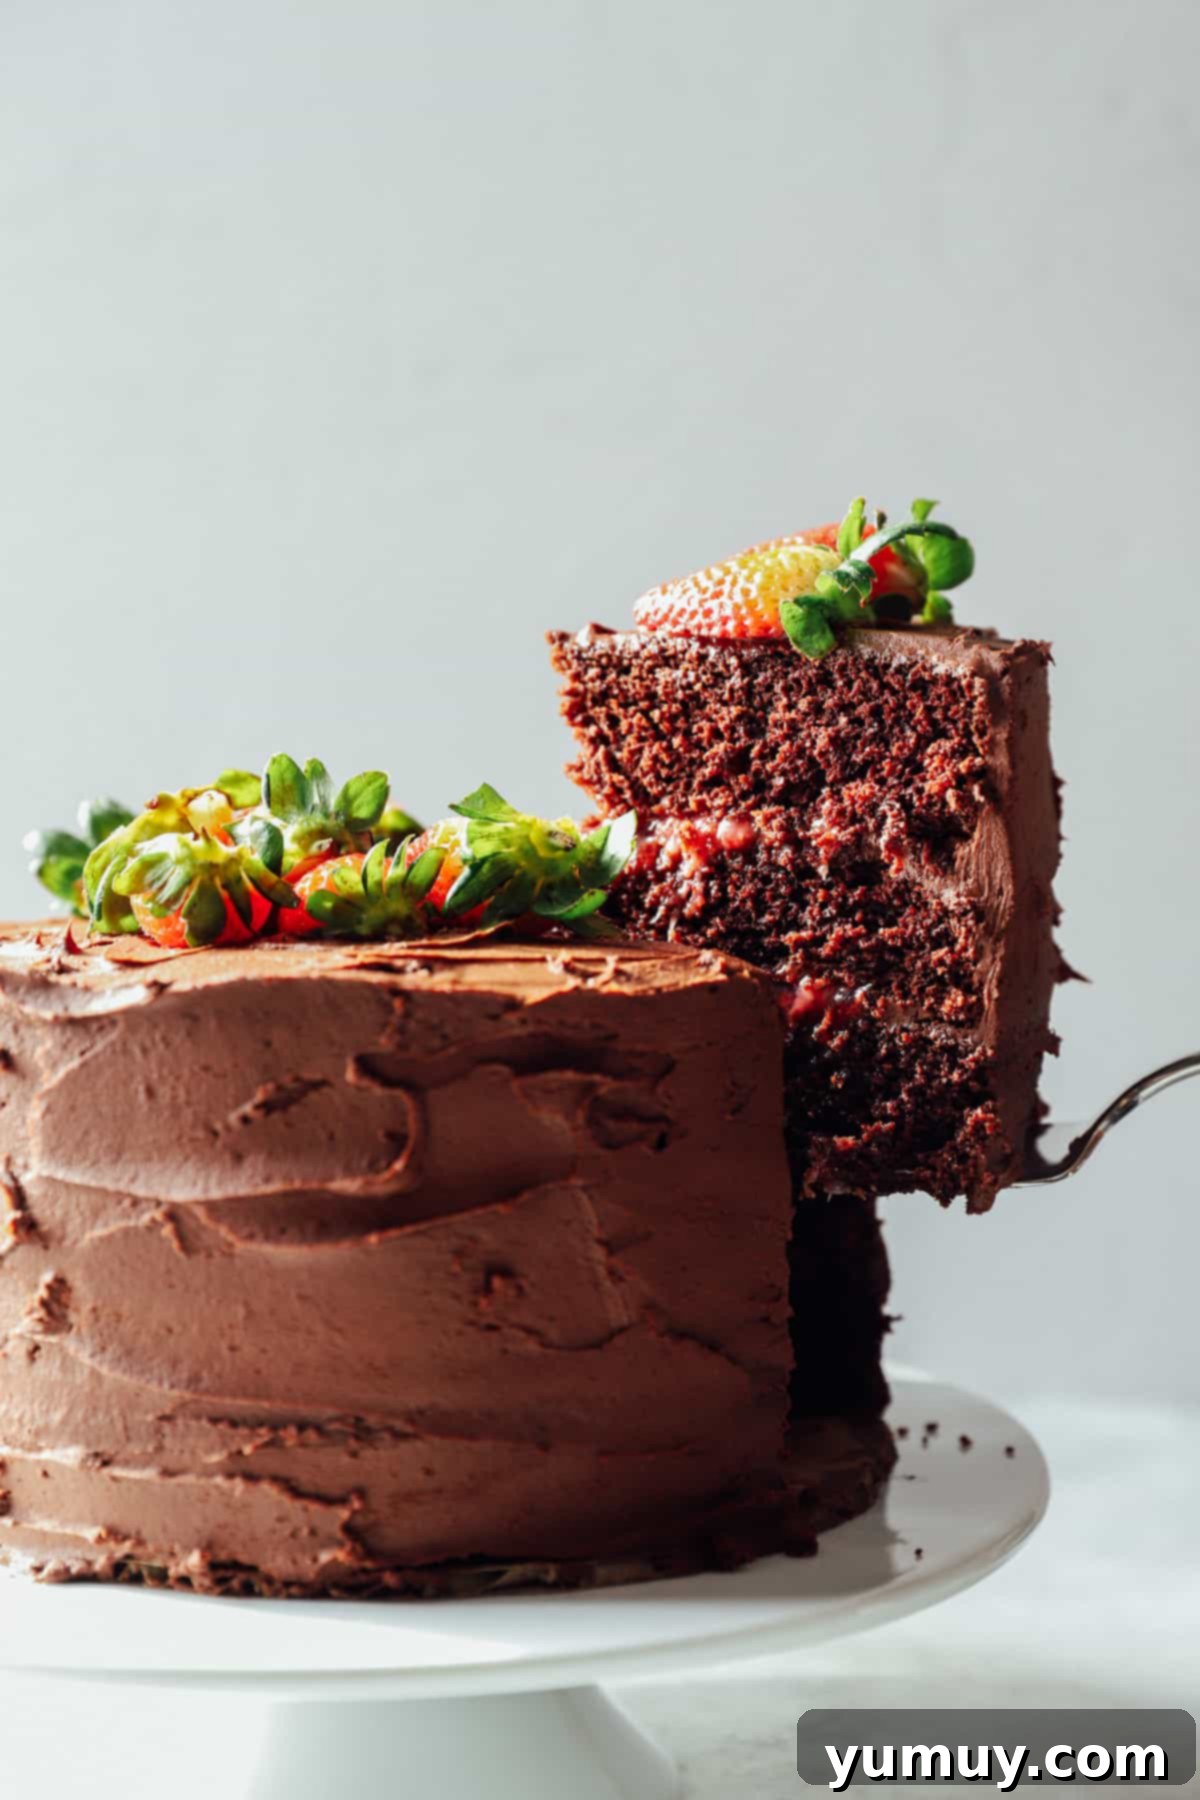
There are some flavor combinations that just sing, and for many, chocolate and strawberries rank at the very top. This dynamic duo creates a symphony of taste that’s hard to beat, especially when transformed into a show-stopping cake. This isn’t just any dessert; it’s the chocolate strawberry cake, designed to be everything you could possibly desire in a celebratory treat. Imagine rich, deeply moist chocolate cake layers, generously filled with a sweet, vibrant strawberry preserve, and crowned with a luxurious swirl of velvety homemade chocolate buttercream. It’s a dessert that consistently steals the show, whether it’s gracing your Valentine’s Day table, becoming the centerpiece of a birthday party, or simply elevating an ordinary day into something extraordinary. The best part? Despite its undeniably homemade taste and elegant presentation, this recipe wisely starts with a convenient cake mix and readily available jarred preserves. The secret to its gourmet appeal lies in that rich, made-from-scratch frosting – a clever baking shortcut that delivers impressive results every single time. Get ready to impress your family and friends with this surprisingly simple yet utterly decadent chocolate strawberry layer cake, a recipe I am thrilled to share with you.
Chocolate Strawberry Cake: A Celebration Masterpiece
I distinctly recall the very first time I brought this chocolate strawberry cake to life. It was a spur-of-the-moment decision for a Valentine’s Day gathering, and I desperately needed a dessert that would not only look incredibly impressive but also fit into a busy schedule. I decided to layer a dark chocolate cake with strawberry preserves I had on hand, and the outcome was beyond my expectations. When I finally cut into it, my husband was convinced I had purchased it from a high-end bakery. That moment confirmed it: I had stumbled upon something truly special.
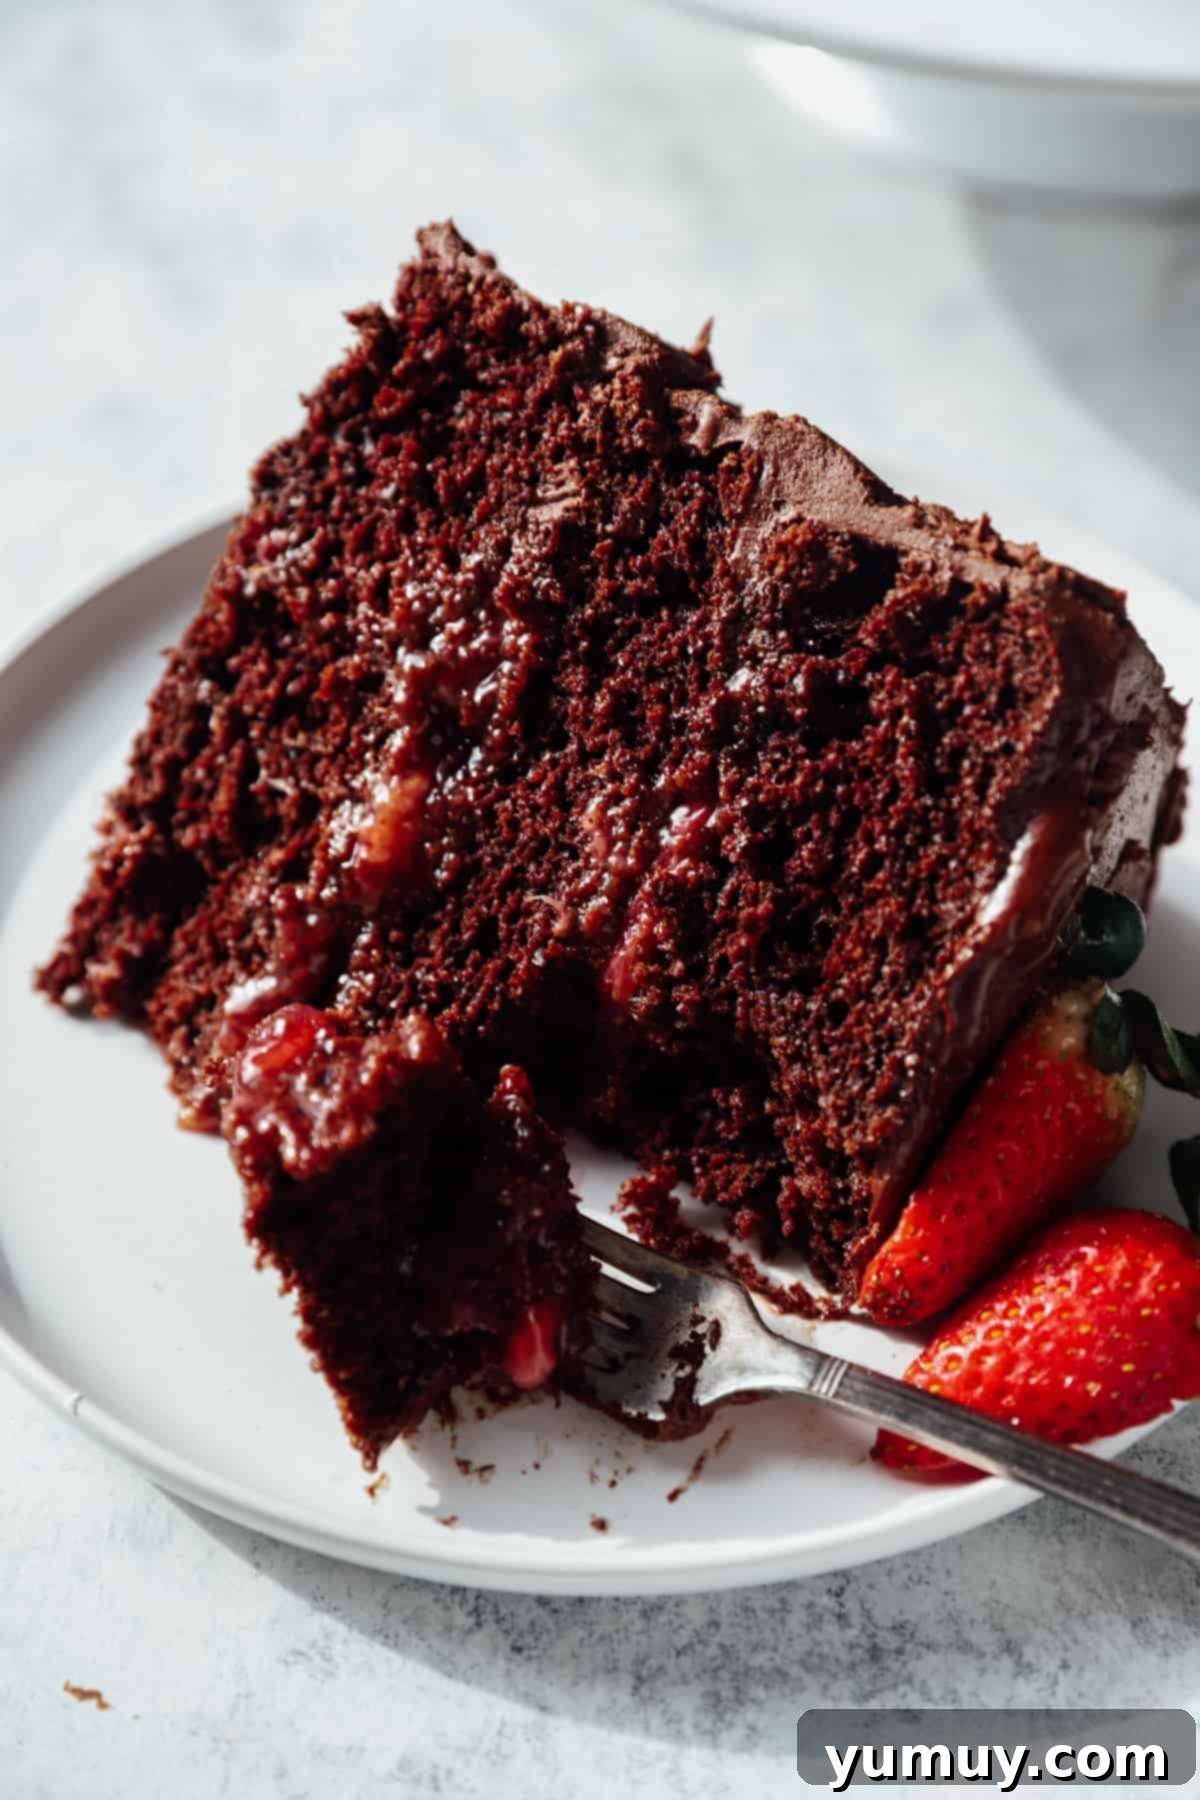
What makes this particular cake so remarkably effective and beloved is the stunning contrast it offers. The foundation is built upon rich, incredibly moist chocolate cake layers – and yes, I openly embrace the convenience of a quality cake mix here! These deep, dark chocolate notes are perfectly balanced by a sweet, subtly tart strawberry filling, creating that quintessential chocolate-covered strawberry flavor profile that so many adore. The star that truly elevates this dessert to a “totally homemade” status is the velvety chocolate buttercream. It harmoniously ties all the elements together, providing a luxurious finish that belies the simplicity of the baking process. This chocolate cake with strawberry filling has become my trusted go-to for any occasion that demands a quick yet elegant dessert – be it Valentine’s Day, a joyful baby shower, or simply a delightful Sunday dinner. It embodies everything I seek in a chocolate strawberry layer cake: effortless preparation, irresistible taste, and a guaranteed “wow” factor.
Secrets to a Perfectly Moist and Flavorful Chocolate Strawberry Cake
Achieving a chocolate strawberry cake that remains wonderfully moist and bursting with flavor for days is simpler than you might think, and it largely comes down to a few expert techniques. One of my top recommendations is to gently warm your strawberry preserves before you lovingly spread them between the cake layers. This small but significant step works wonders: it softens the preserves just enough to make them incredibly easy to spread uniformly across your delicate cake layers, preventing any tearing or unevenness. More importantly, warming allows the natural fruit flavors to fully “bloom,” intensifying that fresh strawberry essence and ensuring it permeates beautifully throughout every bite of the cake. This particular trick, refined through countless hours of baking and rigorous testing, is the key to creating a truly balanced and delightful chocolate-covered strawberry flavor, while also significantly improving the overall texture and longevity of your cake.
Why This Chocolate Strawberry Cake is Your New Favorite Dessert
This isn’t just another cake recipe; it’s an experience waiting to happen. Here’s why this particular chocolate strawberry cake will quickly become a cherished part of your baking repertoire:
- Unbeatable Flavor Combination: Chocolate and strawberries are a match made in heaven. The deep, slightly bitter notes of dark chocolate perfectly complement the sweet and tangy burst of fresh strawberries. This cake delivers that iconic pairing in every forkful.
- Effortless Elegance: Don’t let its stunning appearance fool you. While it looks like it took hours of painstaking work, smart shortcuts like using a quality cake mix mean you can achieve bakery-quality results without the fuss.
- Incredibly Moist Texture: Thanks to carefully selected ingredients and the unique preparation method, each chocolate layer remains supremely moist and tender, providing the perfect canvas for the luscious filling.
- Versatile for Any Occasion: From intimate family dinners to grand celebrations, this cake fits right in. It’s festive enough for holidays like Valentine’s Day or Christmas, yet comforting enough for a simple weekend treat.
- Customizable and Fun: While the recipe is fantastic as is, it also offers ample opportunities for personalization. Add fresh berries, chocolate shavings, or a drizzle of ganache to make it uniquely yours.
- Make-Ahead Friendly: Components can be prepared in advance, making assembly a breeze on the day of your event, reducing stress and allowing you more time to enjoy.
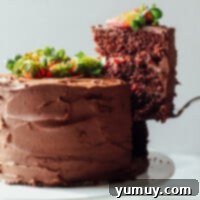
Chocolate Strawberry Cake Recipe
This chocolate strawberry cake is a dream come true, made with rich, decadent chocolate and sweet strawberry preserves. It’s the ultimate dessert for any special occasion, guaranteed to be a crowd-pleaser!
20 minutes
45 minutes
1 hour 5 minutes
12 slices
Ingredients
For the Chocolate Cake
- 39.75 ounces dark chocolate cake mix (3 (13.25-ounce) boxes)
- 3 cups water
- 1½ cups vegetable oil
- 9 large eggs
For the Chocolate Frosting
- 2 cups unsalted butter, room temperature (4 sticks)
- 4 cups powdered sugar
- 1 cup unsweetened cocoa powder
- 2 teaspoons pure vanilla extract
- ½ teaspoon kosher salt
- ½ cup heavy cream
For Assembly
- 1¼ cups strawberry preserves (store-bought or homemade)
- Fresh strawberries (optional, for garnish)
Equipment
- Kitchen Scale (optional)
- 3 9-inch Round Cake Pan(s)
- Hand Mixer or Stand Mixer
Instructions
For the Chocolate Cake
- Preheat your oven to 350°F (175°C). Lightly grease three 9-inch round cake pans with nonstick baking spray, ensuring even coverage. Set these aside for later.
- In a large mixing bowl, combine the dark chocolate cake mix, water, vegetable oil, and large eggs. Beat the mixture using an electric hand mixer or stand mixer on medium speed for about 2-3 minutes until all ingredients are thoroughly combined and the batter is smooth. Scrape down the sides of the bowl as needed to ensure everything is incorporated.

- Carefully divide the prepared batter evenly among the three greased 9-inch cake pans. For best results and uniform cake layers, aim for approximately 852 grams of batter in each pan. A kitchen scale can be very helpful for this step.
- Bake the cake layers in your preheated oven for 30-35 minutes. To check for doneness, insert a toothpick into the center of each cake; it should come out clean. Once baked, remove the pans from the oven and allow the cakes to cool in their pans on a wire rack for at least 10 minutes before gently inverting them onto the rack to cool completely.

For the Chocolate Frosting
- In a large mixing bowl, using a hand mixer or stand mixer fitted with a paddle attachment, cream the softened unsalted butter on medium-high speed until it becomes light, fluffy, and smooth, about 2-3 minutes.
- Gradually sift in the powdered sugar and unsweetened cocoa powder into the creamed butter. Start mixing on low speed to avoid a cloud of powder, then increase to medium speed. Continue mixing until the sugar and cocoa are fully incorporated and the mixture is well combined and smooth.
- Add the pure vanilla extract, kosher salt, and heavy cream to the mixture. Beat again on medium-high speed for another 3-5 minutes, or until the frosting reaches a beautifully smooth, creamy consistency with firm, stiff peaks. This indicates it’s ready for spreading and piping.

For Assembly
- Once your cake layers have completely cooled, use a serrated bread knife to carefully level the tops of each cake. This creates a flat surface, ensuring your cake layers stack neatly and evenly for a professional appearance.
- Place one cake layer onto your chosen cake stand or serving plate. Spread a thin, even layer of the prepared chocolate frosting over the entire top surface of this first cake layer.
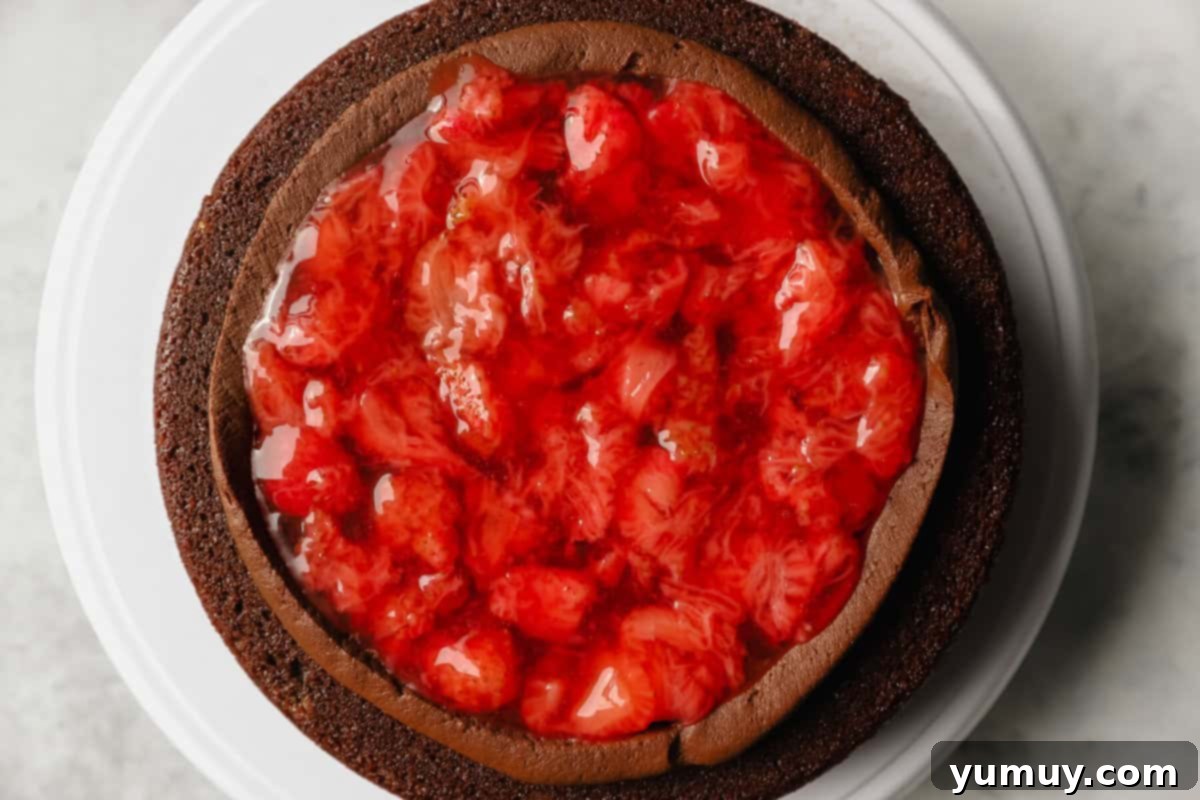
- Using a piping bag fitted with a round tip (or simply a Ziploc bag with a corner snipped off), pipe a thick border of chocolate frosting around the perimeter of the cake layer, approximately ½-inch from the edge. This crucial step creates a “dam” that will hold the strawberry filling securely in place, preventing it from seeping out the sides.
- Gently spoon about half of the warmed strawberry preserves onto the center of the cake layer, ensuring it stays within the piped frosting border. Spread the preserves evenly.

- Carefully place the second cake layer on top of the filled first layer. Repeat the process: spread a thin layer of frosting, pipe another sturdy frosting ridge, and then spoon the remaining strawberry filling onto the center. Finally, place the third and final cake layer on top.
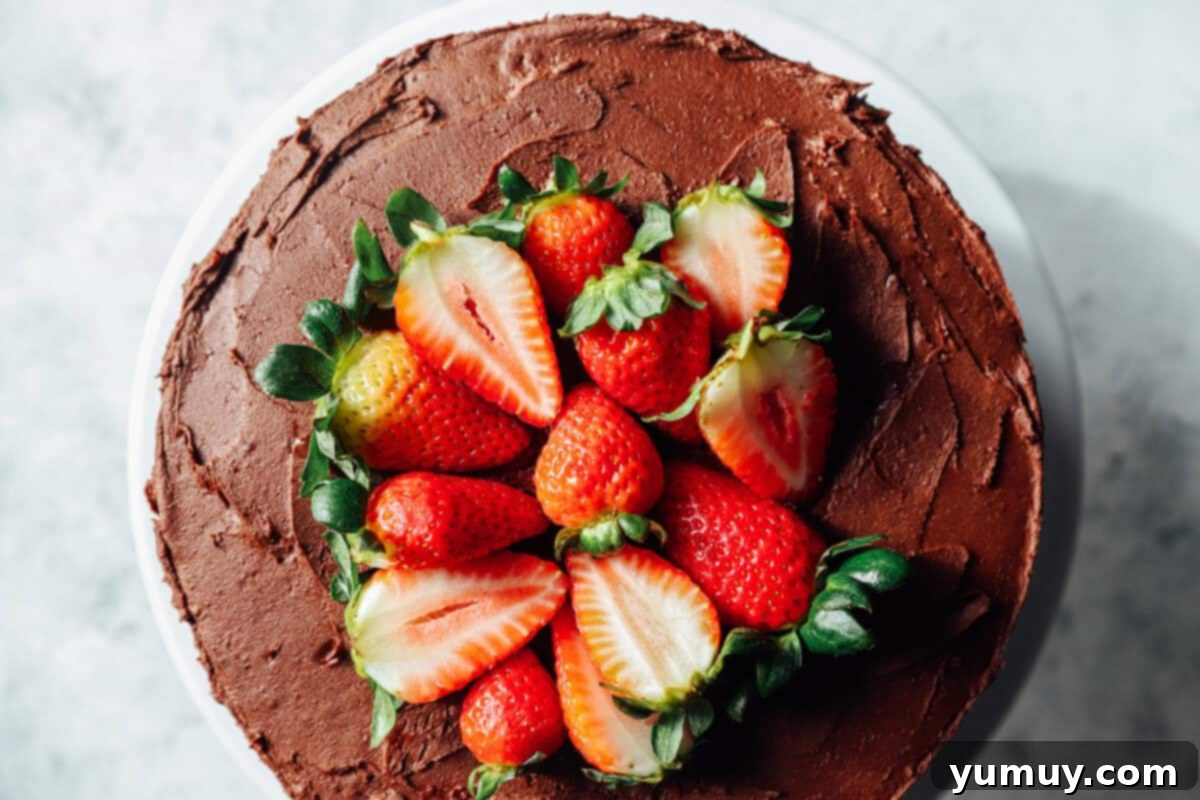
- Now, it’s time for the grand finale: frost the entire exterior of the cake with your remaining chocolate buttercream. For a super smooth finish, consider applying a thin “crumb coat” first, chilling the cake for 15-20 minutes, then applying the final, thicker layer of frosting. Top your magnificent creation with fresh strawberries, arranged beautifully, if desired. For the freshest look and to prevent any potential browning or weeping from the fruit, I highly recommend adding the fresh strawberries just before you plan to serve the cake.

Notes & Expert Tips for Success
- Pan Alternatives: If you don’t have three 9-inch round cake pans, this recipe can also be successfully baked in four 8-inch round cake pans. When using 8-inch pans, you may need to either reduce your oven temperature by 25°F (about 15°C) or bake for an additional 5-10 minutes, always testing for doneness with a toothpick.
- Cupcake Conversion: This versatile recipe can also yield approximately 54 delicious cupcakes! Bake each batch for 18-25 minutes, keeping an eye on them. For an extra special touch, I recommend using a cupcake corer to remove a small center from each cupcake, filling it with strawberry preserves, and then frosting them.
- Chilling for Frosting: While you can frost this cake at room temperature, you’ll find the chocolate buttercream much easier to work with, and you’ll achieve a cleaner finish, if the cooled cake layers have been chilled in the refrigerator for at least 30 minutes beforehand. This firming of the cake prevents crumbs from mixing into your beautiful frosting.
- Secure the Filling: Don’t underestimate the importance of piping a robust, thick border of frosting around the edge of each cake layer before adding the strawberry preserves. This acts as a sturdy barrier, effectively preventing the sweet filling from seeping out the sides and messing up your presentation.
- The Crumb Coat Secret: For a truly professional and clean look, apply a very thin layer of frosting over the entire assembled cake first. This is known as a “crumb coat.” Chill the cake in the refrigerator for about 20-30 minutes to set this layer. Once firm, you can then apply the remaining frosting more generously, creating a flawless exterior free of crumbs.
- Garnish with Flair: As seen in the photos, adding halved fresh strawberries on top makes for a delightful and appealing decoration. If you’re making this cake for a romantic occasion like Valentine’s Day or an anniversary, get creative by shaping the strawberry halves into charming heart shapes! I’d love to hear how you choose to decorate your masterpiece.
- Warm Preserves for Flavor: As mentioned, gently warming your strawberry preserves before assembly will make them easier to spread and enhance their natural fruit flavor, integrating it more seamlessly into the cake.
Make Ahead: The strawberry filling can be prepared up to 1 day in advance. Store it in an airtight container in the refrigerator until you’re ready to assemble your cake. The cake layers can also be baked a day ahead, wrapped tightly in plastic wrap once completely cooled, and stored at room temperature or in the refrigerator.
Storage: Store any leftover chocolate strawberry cake in an airtight container in the refrigerator for up to 3 days. It can be enjoyed cold straight from the fridge or allowed to come to room temperature for about 30 minutes before serving, which often results in a softer, more luxurious frosting texture. I do not recommend freezing this particular cake, as the preserves can alter the texture of the cake’s layers upon thawing.
Calories from Fat 729
Becky Hardin
We love seeing what you’ve made! Tag us on social media at @easydessertrecipes for a chance to be featured.
Baking the Ultimate Chocolate Strawberry Cake: A Step-by-Step Guide
Crafting this delicious chocolate strawberry cake is a rewarding experience, and following these detailed steps will ensure your success. From mixing the perfect batter to assembling the decadent layers, you’ll create a masterpiece that looks as good as it tastes.
Step 1: Prepare Your Chocolate Cake Layers
Begin by preheating your oven to 350°F (175°C). It’s crucial to give your oven time to reach the correct temperature for even baking. While the oven preheats, take three 9-inch round cake pans and generously grease them with nonstick baking spray. Don’t skimp on this step, as it’s key to easily releasing your cakes after baking. Once greased, set them aside.
In a large mixing bowl, combine the dark chocolate cake mix (which should come from three 13.25-ounce boxes, totaling 39.75 ounces), 3 cups of water, 1½ cups of vegetable oil, and 9 large eggs. Using either an electric hand mixer or a stand mixer, beat these ingredients together on medium speed. Mix for about 2-3 minutes, ensuring all components are thoroughly combined and the batter achieves a smooth, consistent texture. Don’t forget to periodically scrape down the sides of the bowl with a spatula to incorporate any stray ingredients.
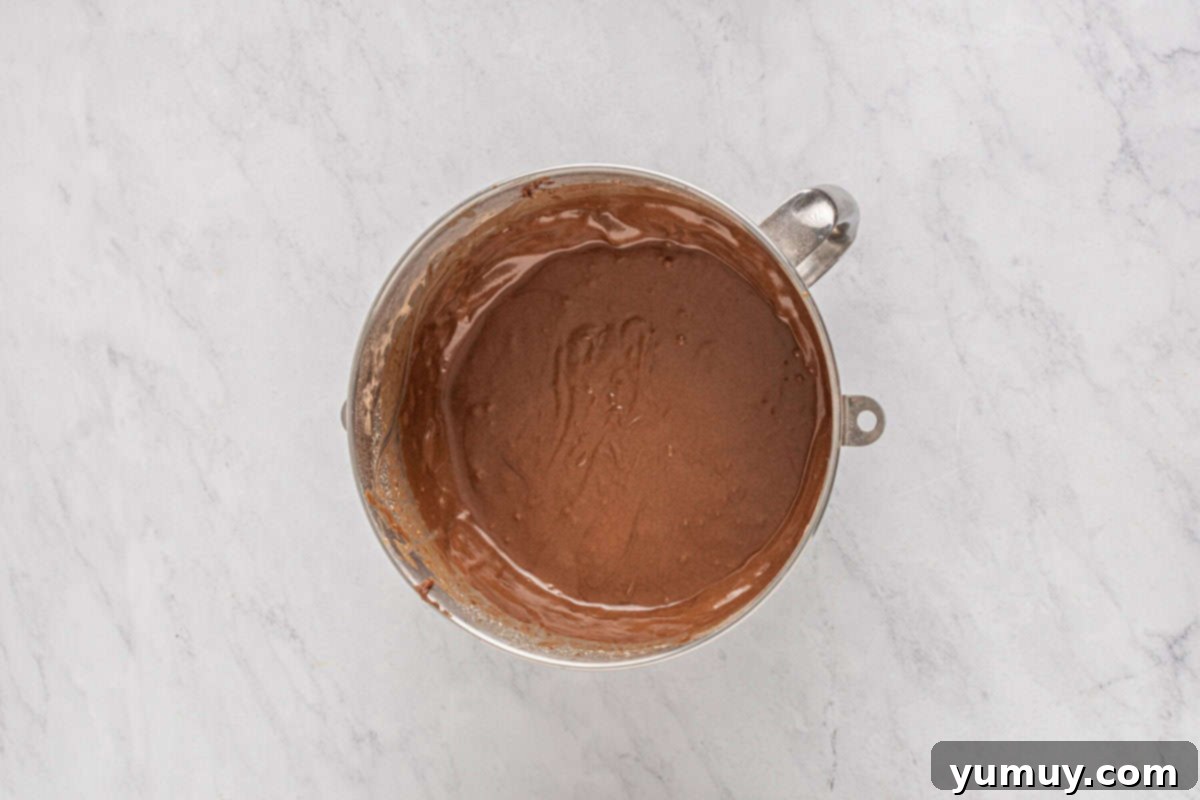
Once your batter is ready, divide it evenly among the three prepared cake pans. For precise and uniform layers, I highly recommend using a kitchen scale to measure approximately 852 grams of batter into each pan. Even layers are essential for a stable and beautiful finished cake.
Bake the cake layers in your preheated oven for 30-35 minutes. To determine if they are fully cooked, insert a clean toothpick into the very center of one of the cakes; if it comes out clean or with only a few moist crumbs attached, your cakes are done. Allow the baked cakes to cool in their pans on a wire rack for at least 10 minutes. This cooling period in the pan helps the cakes set before you gently invert them onto the wire rack to cool completely. Ensure they are entirely cool before moving on to frosting.
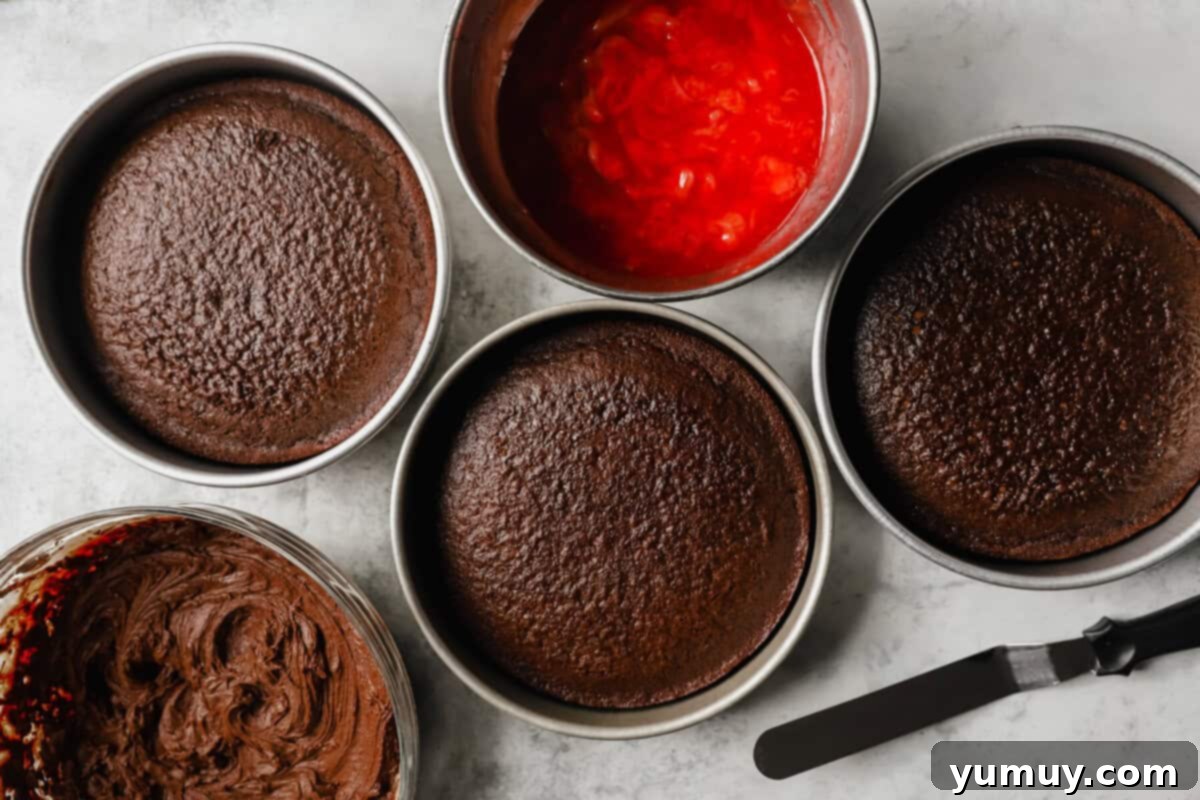
Step 2: Whip Up the Decadent Chocolate Buttercream
Now for the luscious frosting! In a large mixing bowl, place 2 cups (which is equivalent to 4 sticks) of unsalted butter that has been softened to room temperature. Using a hand mixer or a stand mixer fitted with the paddle attachment, cream the butter on medium-high speed for 2-3 minutes until it becomes light, fluffy, and smooth. This aeration is key to a light frosting.
Next, gradually sift in 4 cups of powdered sugar and 1 cup of unsweetened cocoa powder. Sifting prevents lumps and ensures a silky-smooth frosting. Start mixing on the lowest speed to avoid a sugary cloud, then increase the speed to medium. Continue mixing until the sugar and cocoa powder are thoroughly incorporated into the butter, and the mixture is well combined and smooth.
To finish the buttercream, add 2 teaspoons of pure vanilla extract, ½ teaspoon of kosher salt (which truly enhances the chocolate flavor), and ½ cup of heavy cream. Beat the mixture again on medium-high speed for another 3-5 minutes. You’ll know it’s ready when the frosting reaches a beautifully smooth, creamy consistency and forms firm, stiff peaks when you lift the beaters. This indicates perfect stability for both spreading and piping.
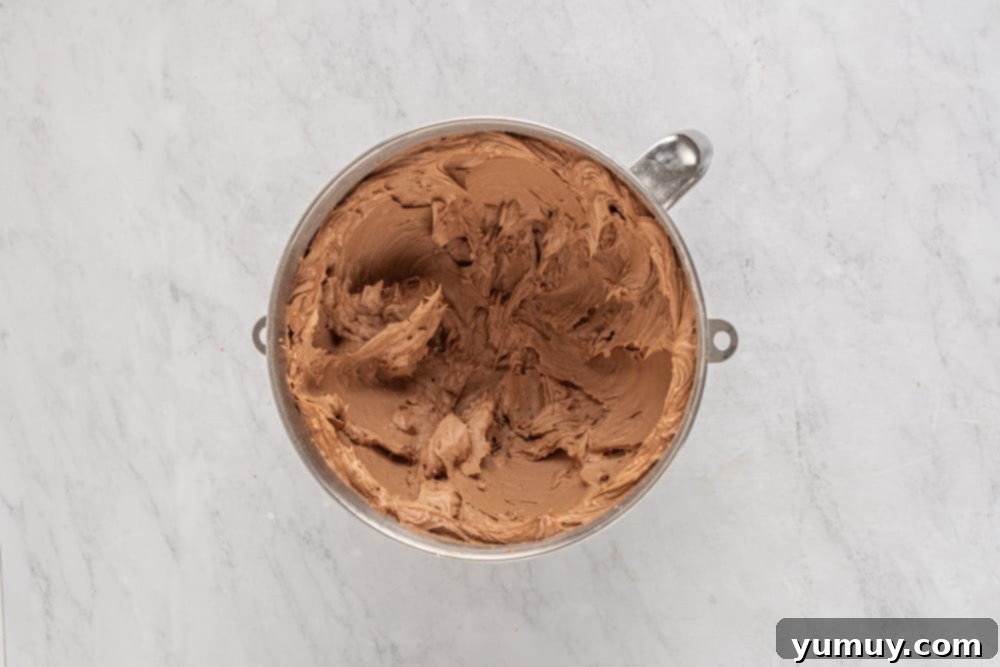
Step 3: Assemble Your Chocolate Strawberry Masterpiece
With your cake layers cooled and your frosting whipped, it’s time to bring everything together! First, using a serrated bread knife, carefully level the tops of each cake layer. This creates flat surfaces, ensuring your cake stacks neatly and provides a professional, even appearance.
Place the first leveled cake layer onto your desired cake stand or serving plate. Spread a thin, even layer of the delicious chocolate frosting over the entire top surface of this layer. This initial thin layer acts as a base and helps to secure the filling.
Now for the critical step to prevent leaks: using a piping bag fitted with a round tip (or simply a heavy-duty Ziploc bag with a corner snipped off), pipe a thick, sturdy ridge of chocolate frosting around the perimeter of the cake layer. This border should be approximately ½-inch from the edge, creating a “dam” that will effectively contain the strawberry filling.
Gently spoon about half of the 1¼ cups of strawberry preserves onto the center of the cake layer, making sure it stays neatly within the confines of your piped frosting border. Spread the preserves evenly to create a vibrant, fruity layer.
Step 4: The Grand Finale – Frost and Serve
Carefully place the second cake layer directly on top of the first filled layer. Repeat the assembly process: spread another thin layer of frosting, pipe a fresh, sturdy frosting ridge, and then spoon the remaining half of the strawberry filling onto the center. Finally, gently place the third and final cake layer on top, aligning it carefully.
Now, frost the entire exterior of the cake with your remaining chocolate buttercream. For a super smooth, crumb-free finish, consider applying a very thin “crumb coat” of frosting first. This seals in any loose crumbs. Chill the cake in the refrigerator for 15-20 minutes to allow the crumb coat to set, then apply the final, more generous layer of frosting for a flawless exterior.
To complete your magnificent creation, adorn the top with fresh strawberries, arranged artistically, if desired. For the best presentation and to ensure the fruit remains fresh and vibrant, I highly recommend adding the fresh strawberries just before you plan to serve the cake. This prevents them from potentially weeping into the buttercream or losing their vibrant color over time. Slice into your stunning chocolate strawberry cake and enjoy the applause!
FAQ: Common Questions About Chocolate Strawberry Cake
- Can I use fresh strawberries instead of preserves?
- While delicious, fresh strawberries add a lot of moisture and can make the cake soggy more quickly. If you prefer fresh fruit, consider making a quick homemade strawberry compote (cooking down strawberries with a little sugar) to reduce moisture, or add a thin layer of cream cheese frosting or whipped ganache as a barrier under the fresh fruit for immediate consumption.
- How can I make the chocolate cake even more intense?
- To enhance the chocolate flavor, you can replace a portion of the water in the cake mix instructions with strong brewed coffee (it won’t taste like coffee, but it deepens the chocolate). You can also add an extra teaspoon of pure vanilla extract to the cake batter.
- What if my buttercream is too thick or too thin?
- If your buttercream is too thick, add heavy cream (or milk) one teaspoon at a time until it reaches your desired consistency. If it’s too thin, you can add more sifted powdered sugar, one tablespoon at a time, until it thickens up. Ensure your butter was at the correct room temperature to start.
- Can I make this cake gluten-free?
- Yes, you can! Simply substitute the dark chocolate cake mix with a high-quality gluten-free chocolate cake mix. Follow the package instructions for the gluten-free mix, adjusting other ingredients as specified by the manufacturer.
How to Store Chocolate Strawberry Cake
To maintain the freshness and deliciousness of your chocolate strawberry cake, proper storage is key. Store any leftover slices or the entire cake in an airtight container. This will protect it from drying out and absorbing other refrigerator odors. Place the airtight container in the refrigerator, where it will keep beautifully for up to 3 days. You can enjoy the cake chilled, straight from the fridge, or allow it to come to room temperature for about 30 minutes before serving, which often results in a softer, more luxurious frosting texture. I do not recommend freezing this particular cake. The moisture content in the strawberry preserves can cause changes in the cake’s texture once thawed, potentially making the layers soggy or crumbly. For best results, enjoy it fresh within the recommended refrigeration period.
More Indulgent Chocolate Cake Recipes to Try!
Chocolate Cake Pops
Chocolate Sour Cream Pound Cake
Chocolate Mug Cake
Chocolate Mousse Cake
Browse All Cakes
