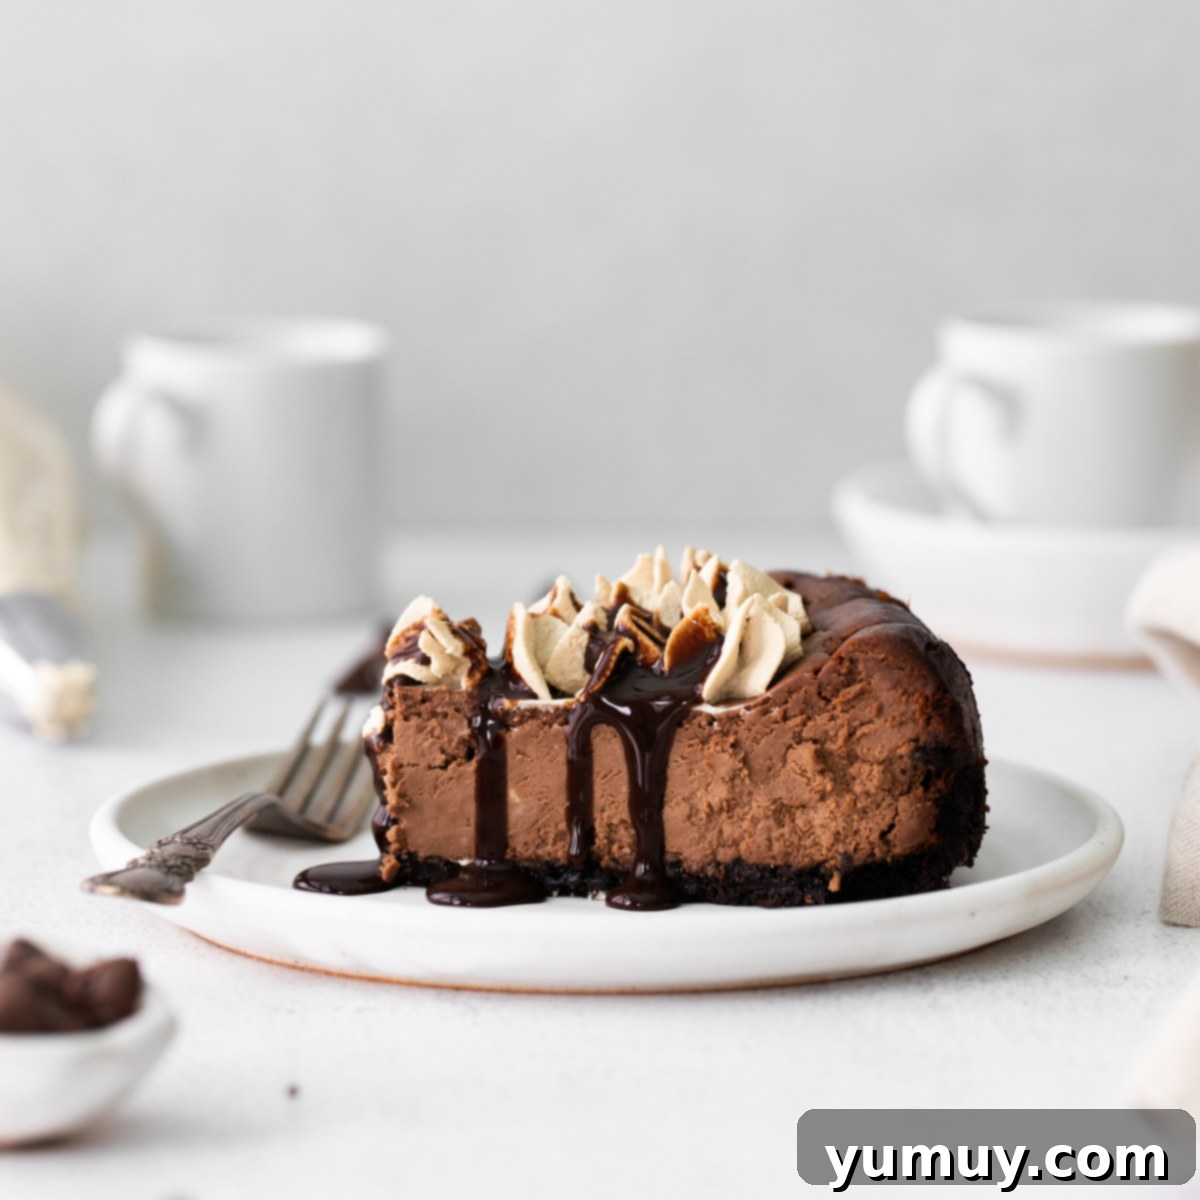
Welcome to the ultimate indulgence for anyone who cherishes the robust embrace of coffee and the decadent allure of chocolate. This exquisite Mocha Cheesecake, proudly boasting an irresistible Oreo crust, stands as a testament to the perfect harmony of these two beloved flavors. Crafted with care and precision, this recipe transcends ordinary desserts, delivering a profound, multi-layered taste experience in every single bite. Prepare to be captivated by the deep notes of rich semisweet chocolate, the aromatic intensity of freshly brewed coffee, and the powerful boost from a full tablespoon of instant espresso powder, all coming together in a symphony of sweetness and sophistication.
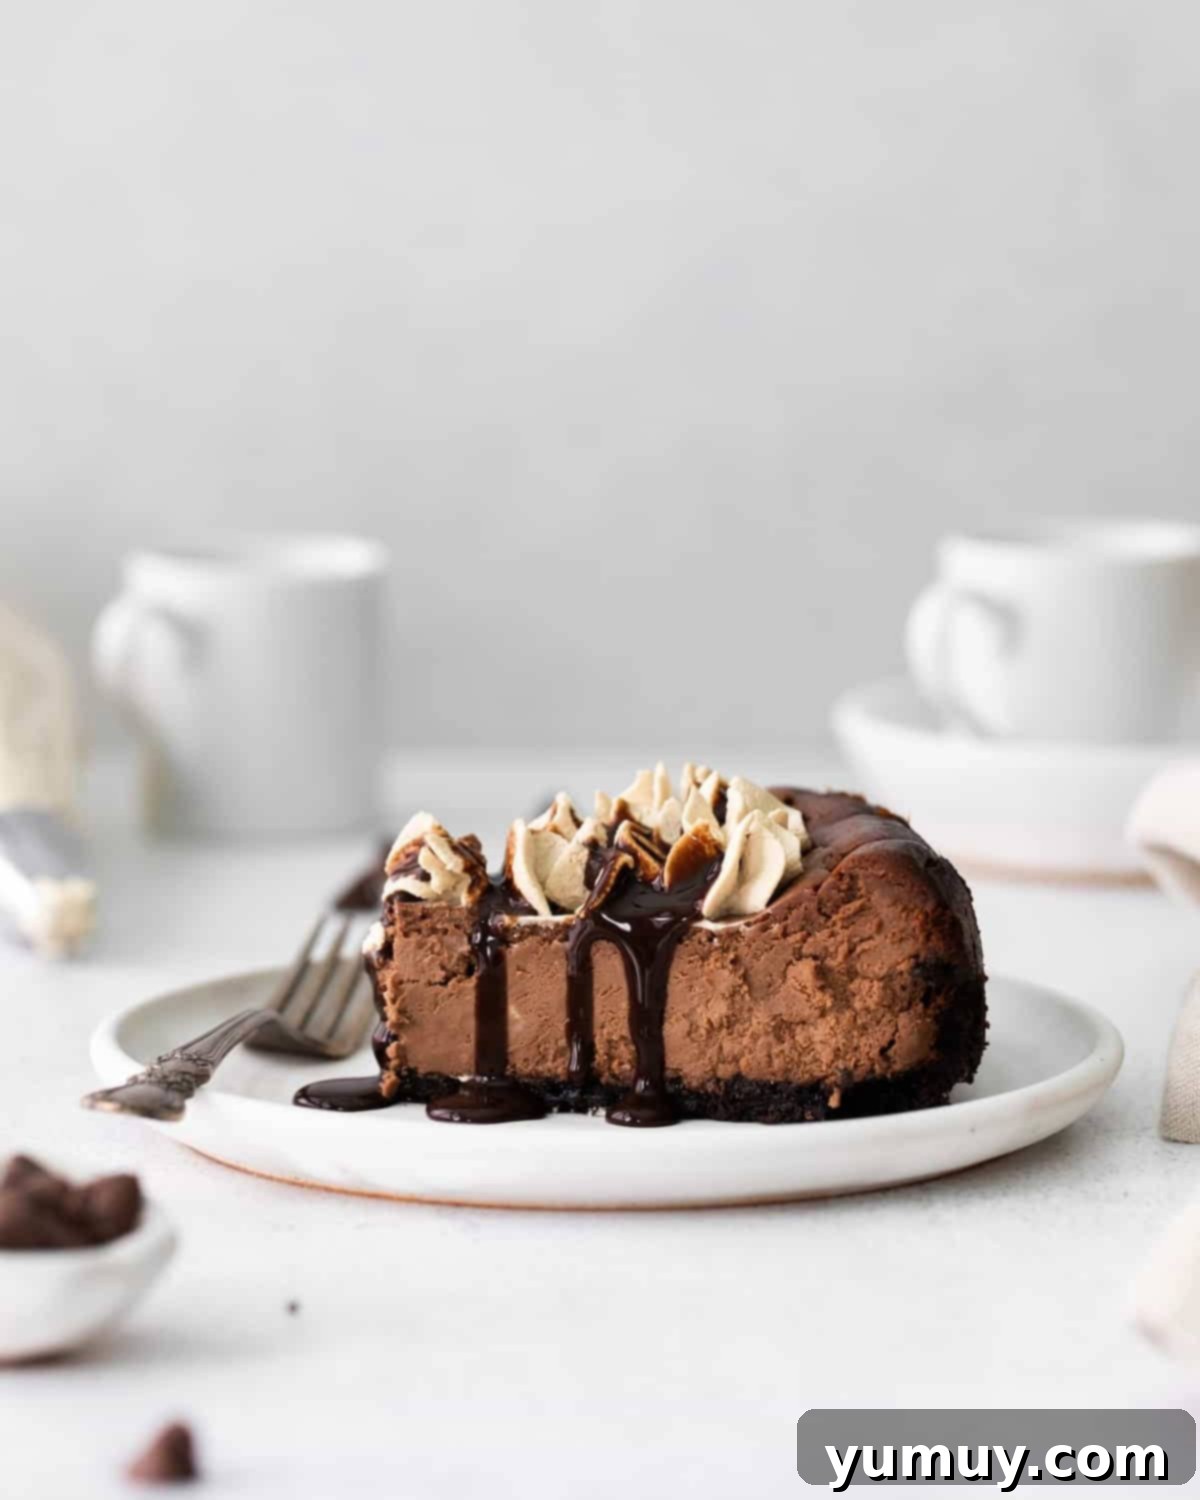
The Ultimate Chocolate Coffee Cheesecake Experience
This mocha cheesecake recipe has swiftly ascended to become a beloved favorite for any special occasion, from festive holidays to intimate gatherings. My primary goal was to meticulously craft a flavor profile where chocolate and coffee not only coexist but truly elevate each other, resulting in a dessert that is profoundly deep, exquisitely rich, and utterly satisfying. The journey begins with its foundational element: a deeply flavored Oreo cheesecake crust, setting the stage for the culinary masterpiece that lies within.
At the heart of this cheesecake lies a filling that is a masterclass in balance and complexity. A carefully selected combination of high-quality semisweet baking chocolate and unsweetened cocoa powder provides the backbone, imparting a robust chocolate flavor and perfect structure. However, the true artistry unfolds with the coffee components. Freshly brewed, strong espresso is incorporated to enhance the chocolate’s inherent bitterness and depth, ensuring the coffee notes are present without ever overwhelming the chocolate. To intensify this harmonious mocha profile even further, a generous tablespoon of instant espresso powder is added, delivering a concentrated burst of coffee essence. Beyond these primary flavors, sour cream plays a crucial, often underestimated, role by introducing a subtle tang that cleverly offsets the sweetness, preventing the cheesecake from becoming cloying. Finally, heavy cream contributes to the luxurious, melt-in-your-mouth texture, creating an unparalleled luscious finish. Every single ingredient in this chocolate coffee cheesecake has been thoughtfully chosen not just for its individual flavor, but for its unique contribution to the overall texture and the exquisite balance of the final dessert.
The Secret to Perfect Coffee Infusion in Your Cheesecake
Achieving the perfect mocha flavor starts with the right coffee. Since I begin most of my mornings with a fresh pot, it’s often convenient to simply brew an extra-large batch when I know this delightful cheesecake is on the horizon. The beauty of this recipe is its flexibility: the coffee doesn’t necessarily need to be piping hot when you incorporate it into the chocolate mixture. In fact, cooled or even leftover coffee from your morning routine works wonderfully. The key is to use a strongly brewed coffee or espresso to ensure that rich, aromatic coffee flavor truly shines through and complements the deep chocolate notes, creating that authentic mocha experience we all crave.
Decadent Mocha Cheesecake with Oreo Crust
Indulge in this rich and creamy mocha cheesecake featuring a luscious Oreo crust, two types of premium chocolate, robust brewed coffee, and a powerful kick of instant espresso. It’s a chocolate-lover’s ultimate dream dessert, perfect for any special occasion!
Prep Time: 20 minutes
Cook Time: 1 hour
Total Time: 6 hours 20 minutes
Cool/Chill Time: 5 hours
Servings: 10 slices
Ingredients
For the Oreo Crust:
- 3 cups Oreo cookie crumbs (from about 36 cookies)*
- 6 tablespoons unsalted butter, melted (¾ stick)
For the Chocolate Cheesecake:
- ¼ cup heavy cream
- ¼ cup strongly brewed coffee or espresso
- 8 ounces baking chocolate, finely chopped (2 bars) – Ghirardelli semisweet recommended
- 1 tablespoon instant espresso powder (1 packet)
- 24 ounces cream cheese, room temperature (3 bricks)
- ½ cup granulated sugar
- ½ cup sour cream, room temperature
- 1 teaspoon pure vanilla extract
- 2 tablespoons unsweetened cocoa powder, sifted
- 3 large eggs, room temperature
Equipment
- Kitchen Scale (optional, for precise measurements)
- 9-inch Springform Pan
- Stand Mixer (or a high-powered hand mixer)
- Fine-Mesh Sieve (for sifting cocoa powder)
Instructions
Make the Oreo Crust:
- Preheat your oven to 350°F (175°C) and meticulously line the bottom of a 9-inch springform pan with parchment paper. This vital step ensures your cheesecake will release flawlessly. Set the prepared pan aside.
- In a medium-sized mixing bowl, combine the finely crushed Oreo cookie crumbs with the thoroughly melted unsalted butter. Mix these ingredients until the crumbs are completely moistened and the mixture achieves the consistency of wet sand. This ensures a stable and flavorful crust.

- Carefully transfer the rich cookie mixture into your prepared springform pan. Using the back of a spoon or your clean fingertips, firmly press the mixture across the bottom and slightly up the sides of the pan, forming a compact and even layer approximately ¼-inch thick. A well-compressed crust is essential.

- Bake the crust in the preheated oven for just 5 minutes. This brief bake sets the crust, making it sturdy. Once baked, remove it from the oven and set it aside to cool completely while you meticulously prepare the luscious cheesecake filling.
Craft the Chocolate Cheesecake Layer:
- In a small saucepan placed over medium heat, combine the heavy cream, the strongly brewed coffee or espresso, and the finely chopped baking chocolate. Stir constantly and gently until the chocolate has fully melted and the mixture is perfectly smooth and glossy. Remove the saucepan from the heat, then vigorously whisk in the instant espresso powder until it is completely dissolved. It’s crucial to set this decadent chocolate-coffee mixture aside and allow it to cool to just above room temperature (ideally around 80-85°F). This prevents it from “shocking” your cream cheese later.

- Add the impeccably softened cream cheese to the bowl of your stand mixer, fitted with the paddle attachment. Beat on medium speed for 2-3 minutes, or until the cream cheese is transformed into a light, airy, and fluffy consistency. This initial aeration is vital for a smooth cheesecake.
- Next, gradually incorporate the granulated sugar and the room-temperature sour cream into the cream cheese mixture. Mix until they are just combined, being careful not to overmix. Throughout this process, make sure to frequently scrape down the sides of the bowl with a rubber spatula to ensure all ingredients are thoroughly and evenly integrated, preventing any unmixed pockets.

- Now, pour in the pure vanilla extract, the carefully sifted unsweetened cocoa powder, and the cooled chocolate-coffee mixture (from step 1). Mix on a low speed until all components are perfectly blended, creating a uniform, rich chocolate cheesecake batter. The key here is to mix until just combined; overmixing can introduce excess air.

- With your mixer set to its lowest speed, carefully add the large, room-temperature eggs one at a time. It is critically important to allow each egg to be fully incorporated into the batter before adding the next one. This method helps maintain the cheesecake’s delicate structure and prevents overmixing.
- Once all three eggs are gently incorporated and your cheesecake batter is velvety smooth, carefully pour the entire mixture over the exquisitely prepared Oreo crust in the springform pan. Ensure an even distribution.

Bake, Cool, and Chill to Perfection:
- Bake the mocha cheesecake in your 350°F (175°C) oven for approximately 55-60 minutes. The cheesecake is perfectly baked when the edges are set and appear slightly puffed, but the very center still exhibits a slight, gentle jiggle when the pan is carefully shaken. Avoid overbaking, as this is a common culprit for cracking.

- Once the baking time is complete, turn off the oven completely. Immediately prop the oven door open a few inches (about 1-2 inches). Allow the cheesecake to cool slowly and gradually inside the oven, reaching room temperature over approximately 1-3 hours. This slow, gentle cooling process is a secret weapon against surface cracks, as it prevents sudden temperature shock.
- After the cheesecake has fully cooled to room temperature, carefully remove it from the oven. Transfer the cheesecake, still in its springform pan, to the refrigerator. Chill it completely for a minimum of 4 hours, but for the absolute best flavor and firmest texture, chilling it overnight is highly recommended.
- Once thoroughly chilled and firm, delicately release the sides of the springform pan. Slice your magnificent mocha cheesecake into elegant portions. Serve, savor, and enjoy the unparalleled depth of flavor in every luxurious bite!

Notes for Cheesecake Perfection
*While the classic Oreo crust provides an unbeatable chocolatey foundation for this mocha cheesecake, feel free to get creative! A traditional graham cracker crust is always a good choice, or you could experiment by grinding up your favorite cookies like vanilla wafers, shortbread, peanut butter cookies, or even chocolate chip cookies for a unique and personal twist.
Expert Tips for a Flawless Mocha Cheesecake:
- The Power of Room Temperature: This cannot be stressed enough! Ensuring that your cream cheese, eggs, and sour cream are at true room temperature is paramount. Cold ingredients don’t emulsify properly, leading to a lumpy batter and potentially a denser, unevenly baked cheesecake.
- Gentle Mixing is Essential: Beat the cream cheese until light and fluffy *before* adding other ingredients. Once sugar, sour cream, and especially eggs are introduced, mix only on low speed until just combined. Overmixing incorporates too much air, causing the cheesecake to rise excessively and then fall and crack as it cools.
- Cool the Chocolate Mixture: After melting the chocolate with cream and coffee, let it cool down to just above room temperature (around 80-85°F). Adding hot chocolate to cooler cream cheese can cause it to “shock,” resulting in a grainy texture or even curdling.
- No Water Bath Needed Here: Unlike many cheesecake recipes, I’ve found through extensive testing that a water bath doesn’t offer significant benefits for this particular mocha cheesecake. The robust moisture content from the cream and coffee already provides ample protection against drying, making the water bath an unnecessary, and often cumbersome, step.
- Lump Rescue Mission: If, despite your best efforts, you notice a few small cream cheese lumps in your batter, gently press them against the side of the mixing bowl with a sturdy rubber spatula or wooden spoon until they smooth out.
- The Art of Gradual Cooling: The most effective strategy for preventing cracks is the slow, gentle cooling process. Leaving the cheesecake in the turned-off oven with the door slightly ajar allows it to acclimatize to cooler temperatures gradually, preventing the sudden contraction that causes cracks.
- Embrace Imperfection (or Decorate!): Even with all precautions, some cheesecakes are just prone to cracking due to their high moisture content. If a crack appears, don’t fret! It’s simply an invitation for more delicious toppings.
Decadent Decorating Ideas:
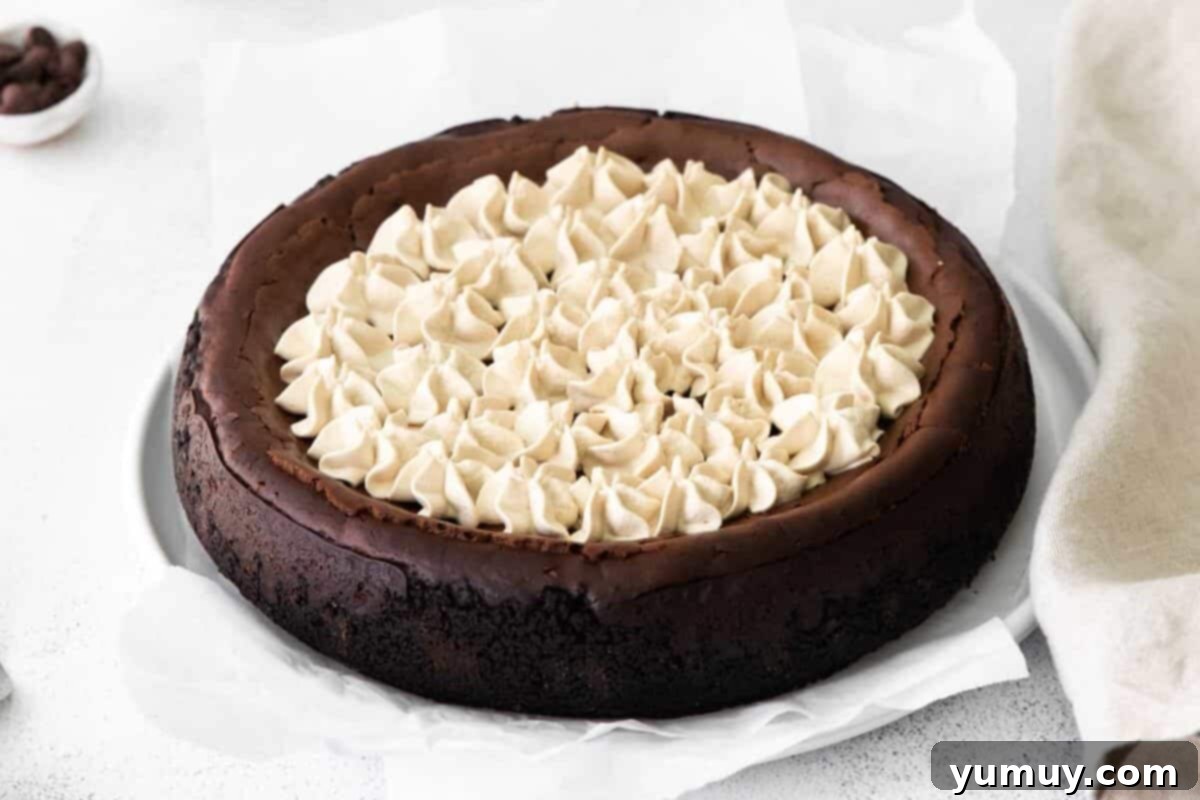
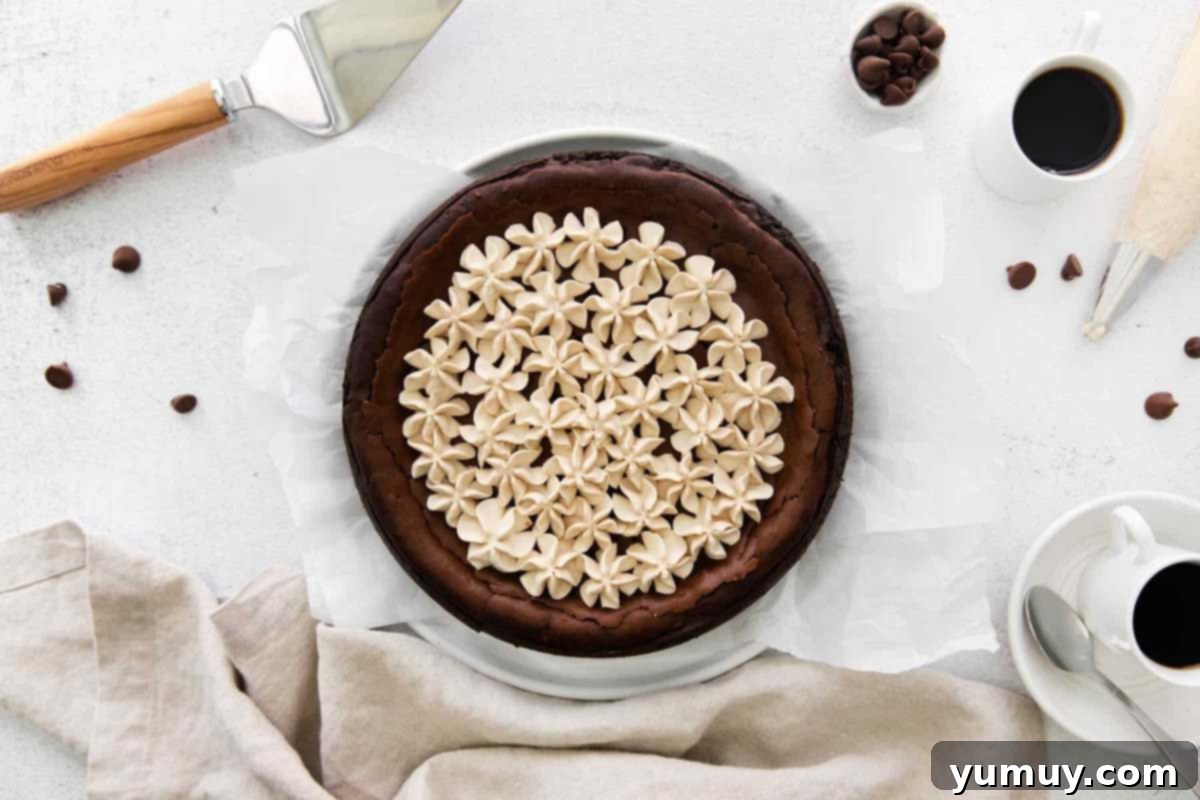
- Luscious Mocha Whipped Cream: For a delightful crowning touch, beat ½ cup of heavy cream with 1 teaspoon of instant espresso powder on medium speed until stiff peaks elegantly form. Generously pipe or dollop this creamy, coffee-infused cloud over your chilled cheesecake.
- Rich Chocolate Ganache: Elevate your cheesecake with a glossy chocolate ganache. Heat ½ cup of heavy cream in a small saucepan until it just begins to steam. Remove from heat, add 4 ounces of finely chopped chocolate, and stir until a smooth, luxurious ganache forms. Drizzle or spread this over the top for a truly decadent finish.
- Simple Elegance: A dusting of unsweetened cocoa powder, a sprinkle of chocolate shavings, or a few whole coffee beans can also provide a beautiful and sophisticated presentation.
Optimal Storage for Freshness:
To maintain its exquisite flavor and texture, store any leftover mocha cheesecake in an airtight container in the refrigerator for up to 3 days. For prolonged enjoyment, you can freeze individual slices. Wrap each slice tightly first in plastic wrap, then in aluminum foil, and store in the freezer for up to 1 month. When ready to serve, thaw overnight in the refrigerator. Always remember not to leave cheesecake unrefrigerated for more than 2 hours to ensure food safety and quality.
Mastering the Art: How to Prevent Cracks in Your Mocha Cheesecake
Crafting a cheesecake with a pristine, uncracked surface is often considered the pinnacle of cheesecake baking. This particular mocha cheesecake, with its generous moisture content derived from heavy cream, sour cream, and brewed coffee, can be especially prone to cracking. The delicate balance between dairy and melted chocolate requires a nuanced approach. However, with a few proven strategies, you can significantly minimize the risk and achieve that coveted smooth top. Let’s delve into the science behind these essential tips:
- Embrace Room-Temperature Ingredients: This is arguably the most crucial step. Cold ingredients, especially cream cheese and eggs, do not emulsify properly, leading to a lumpy batter. Lumps create inconsistencies in the batter’s density, which can expand unevenly during baking and contract sharply upon cooling, inevitably causing cracks. Ensuring your cream cheese, eggs, and sour cream are fully at room temperature (typically 1-2 hours out of the refrigerator) allows them to mix smoothly, creating a uniform, lump-free batter that bakes evenly.
- Cool the Chocolate Mixture Thoughtfully: After you’ve melted the chocolate with the cream and coffee, resist the urge to immediately add it to your cream cheese mixture. Introducing hot liquid to cooler dairy can “shock” the mixture, causing it to separate or curdle. This disruption in texture and consistency, even if subtle, can manifest as cracks during the baking and cooling phases. Always allow your chocolate-coffee blend to cool to just above room temperature (around 80-85°F) before incorporating it.
- A Water Bath Isn’t Always Necessary: Many traditional cheesecake recipes swear by a water bath to create a humid environment, thereby preventing cracks. However, through extensive testing of this specific mocha cheesecake recipe, I’ve discovered that the added complexity and potential for leaks from a water bath simply aren’t worth the effort. The high moisture content from the coffee and heavy cream in this recipe already contributes significantly to a moist, forgiving batter that often bakes beautifully without it. Skipping the water bath streamlines the process without compromising the final result.
- The Gentle Art of Gradual Cooling: Sudden temperature changes are the arch-nemesis of a perfectly smooth cheesecake. Once your mocha cheesecake has finished baking (when the edges are set and the center has a slight jiggle), turn off your oven completely. Instead of immediately removing it, gently prop the oven door open about 1-2 inches. This allows the cheesecake to cool slowly within the gradually decreasing temperature of the oven, preventing the thermal shock that causes rapid contraction and unsightly surface cracks. Leave it in the oven for 1-3 hours until it reaches room temperature.
And if, despite your best efforts, a tiny crack does appear? Do not despair! Even the most experienced bakers encounter them. Remember to check the recipe card above for my favorite easy and elegant ways to beautifully cover any imperfections, transforming them into a charming design element!
Crafting Your Mocha Cheesecake: A Detailed Step-by-Step Guide
Embark on the journey to create this show-stopping mocha cheesecake with confidence, following these detailed steps designed for success:
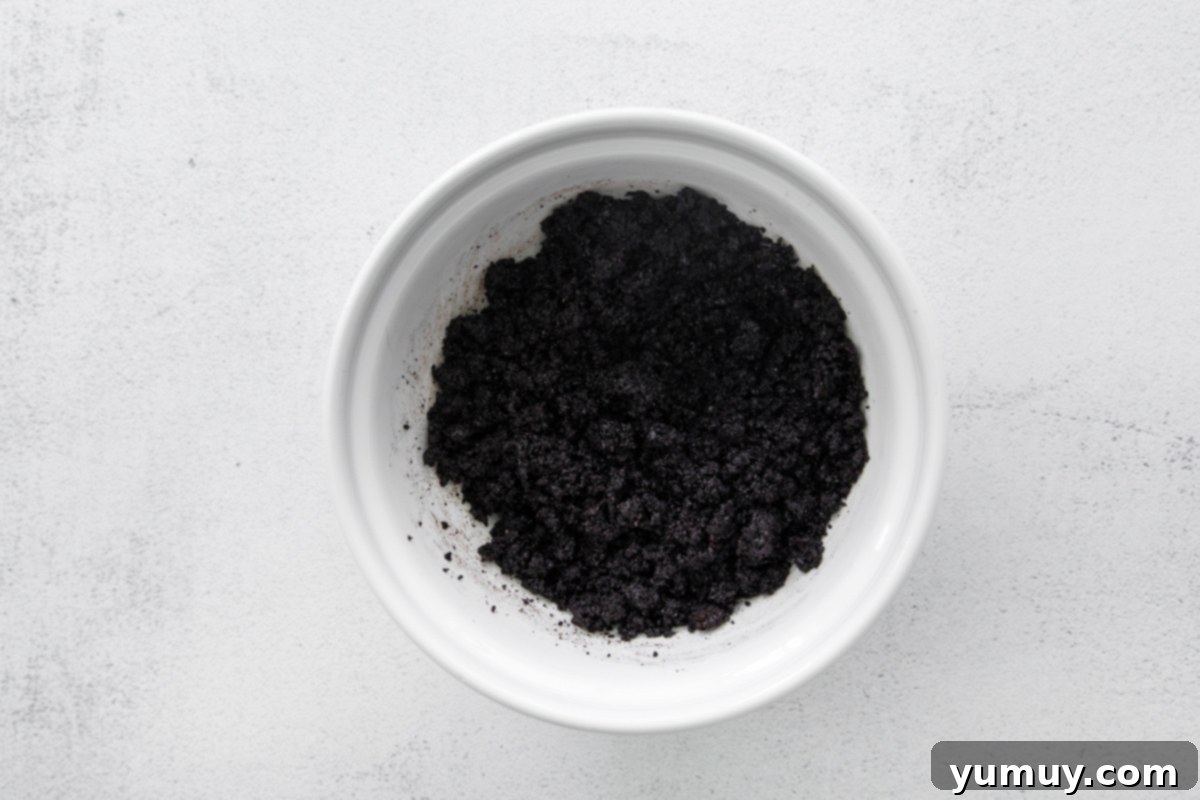
Step 1: Prepare the Oreo Crust. Begin by preheating your oven to a precise 350°F (175°C). Next, prepare your 9-inch springform pan by lining its bottom with a circle of parchment paper. This simple step ensures easy release later. In a medium bowl, combine 3 cups of finely crushed Oreo cookie crumbs with 6 tablespoons of melted unsalted butter. Stir until the crumbs are uniformly coated and the mixture takes on the consistency of wet sand, indicating perfect saturation.
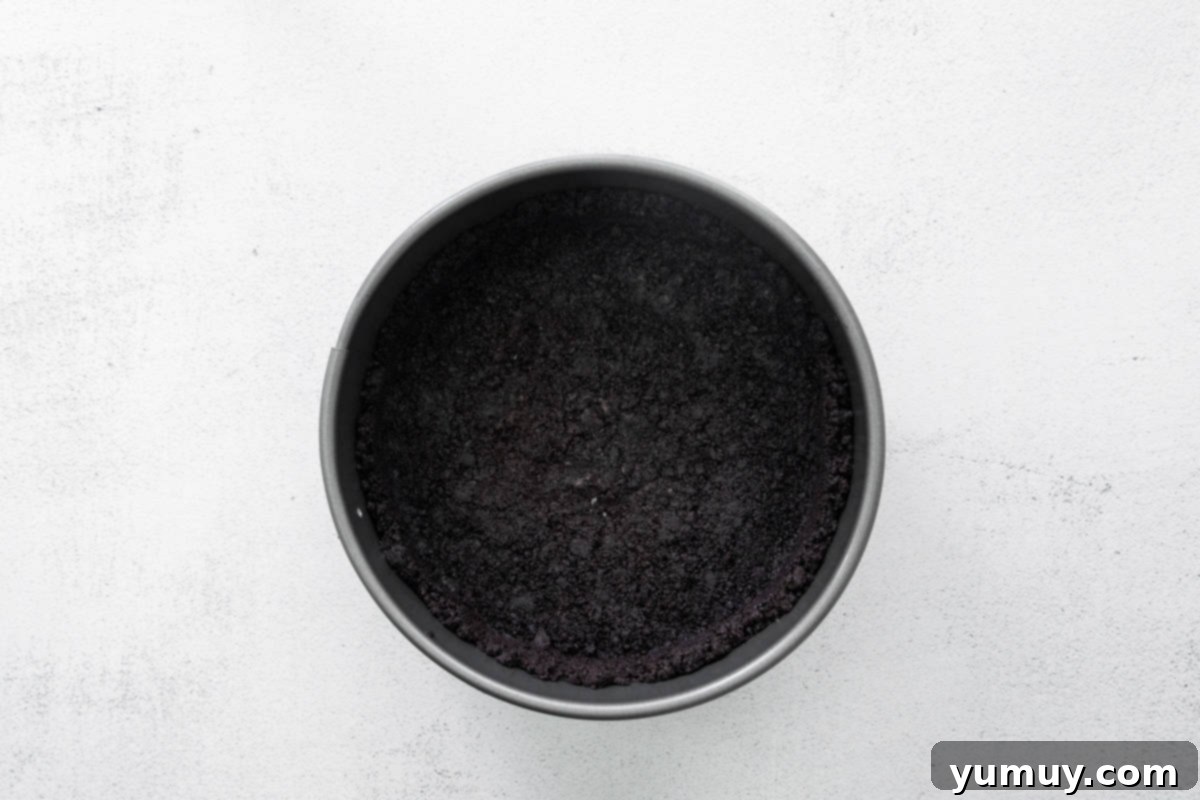
Step 2: Bake the Crust to Perfection. Transfer the moistened Oreo mixture into your prepared springform pan. Use the back of a spoon or your fingertips to firmly press the crumbs evenly across the bottom and slightly up the sides of the pan. Aim for a compact layer about ¼-inch thick to create a sturdy foundation. Bake this crust for just 5 minutes to set it, then remove it from the oven and set it aside to cool completely while you prepare the rich cheesecake filling. A cool crust prevents the filling from melting into it.
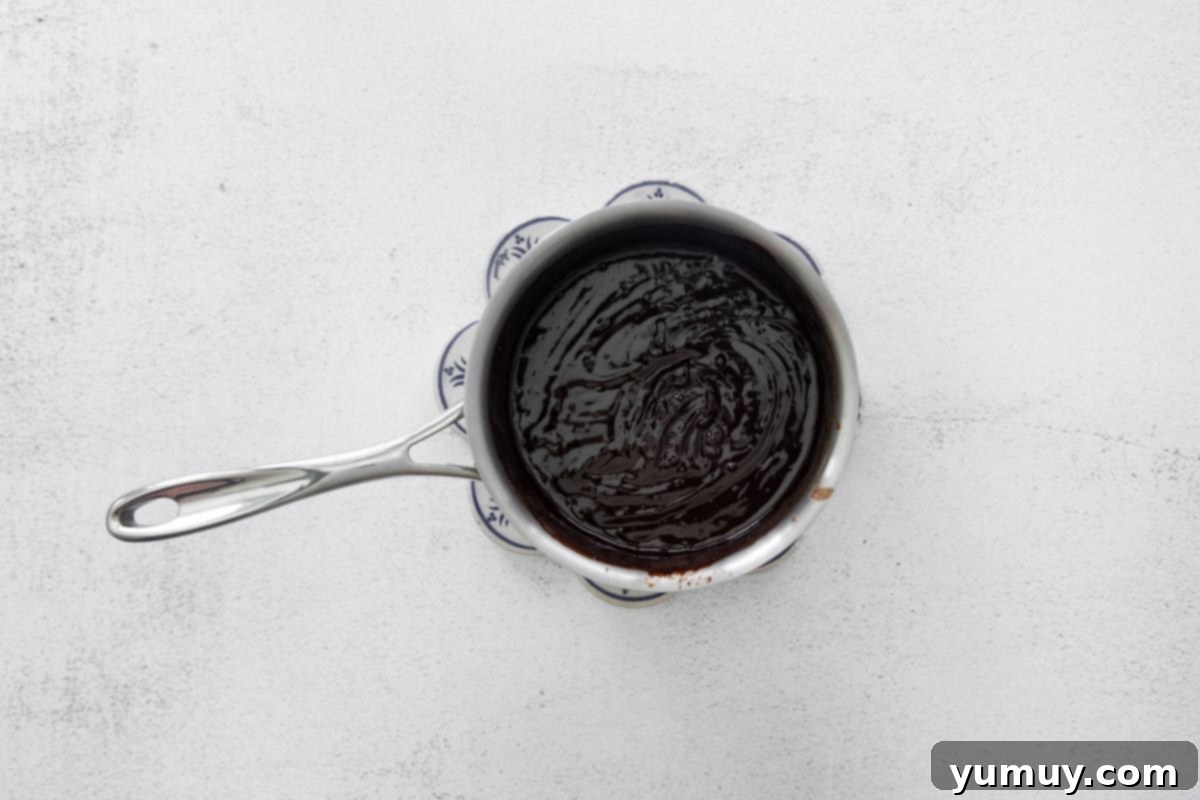
Step 3: Create the Decadent Chocolate-Coffee Mixture. In a small saucepan over medium heat, combine ¼ cup of heavy cream, ¼ cup of strongly brewed coffee (or espresso for a more intense flavor), and 8 ounces of finely chopped baking chocolate. Stir constantly until the chocolate is fully melted and the mixture is silky smooth. Remove from heat, then whisk in 1 tablespoon (equivalent to 1 packet) of instant espresso powder until it is completely dissolved. This step truly develops the mocha flavor. Crucially, set this rich mixture aside to cool to just above room temperature (approximately 80-85°F). This prevents it from affecting the texture of your cream cheese mixture.
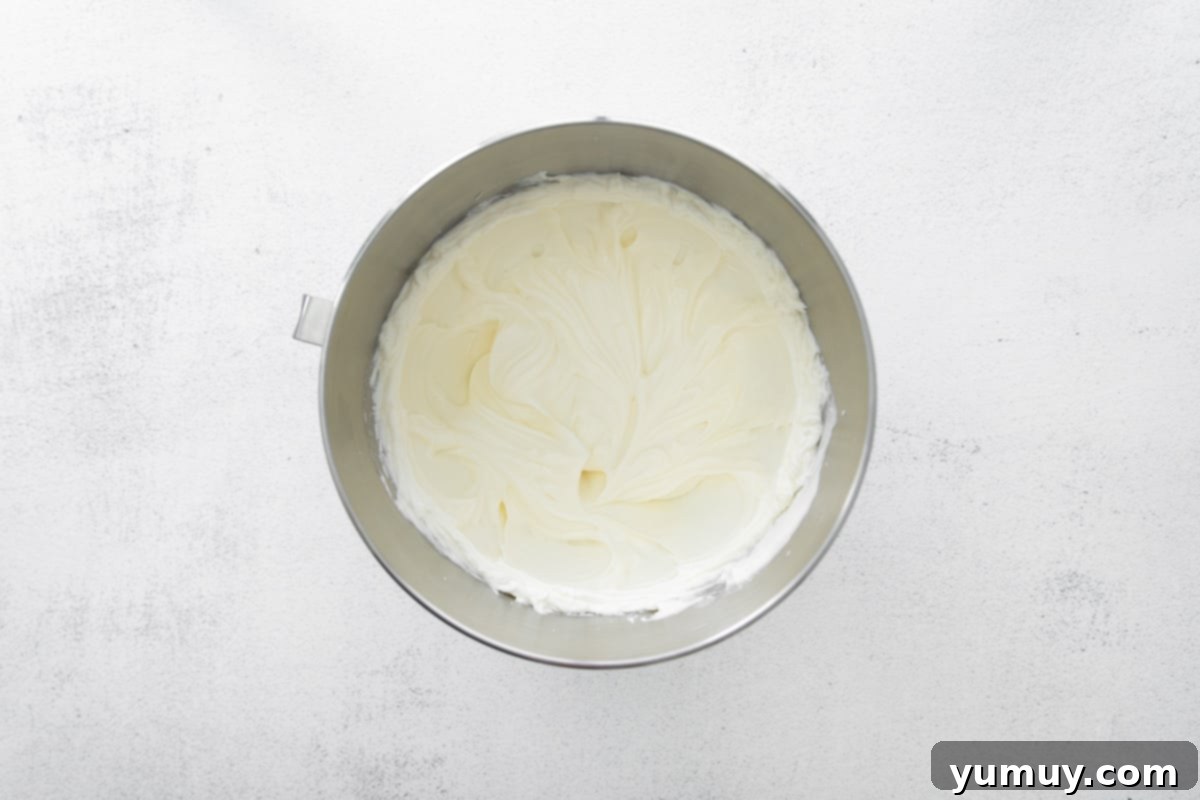
Step 4: Prepare the Cream Cheese Base. Add 24 ounces (equivalent to 3 bricks) of room-temperature cream cheese to the bowl of a stand mixer fitted with the paddle attachment. Beat on medium speed for 2-3 minutes, until the cream cheese transforms into a light, airy, and fluffy consistency, ensuring no lumps remain. Next, gradually add ½ cup of granulated sugar and ½ cup of room-temperature sour cream. Mix until just combined, making sure to scrape down the sides of the bowl frequently with a rubber spatula to ensure all ingredients are perfectly incorporated and the batter remains smooth.
Step 5: Combine Flavors for the Chocolate Cheesecake Batter. Pour 1 teaspoon of pure vanilla extract, 2 tablespoons of sifted unsweetened cocoa powder, and the cooled chocolate-coffee sauce mixture (from Step 3) into the cream cheese base. Mix on low speed until all ingredients are thoroughly combined and the batter achieves a uniform, rich chocolate color. Be mindful not to overmix at this stage, as it can introduce too much air and compromise the cheesecake’s texture.
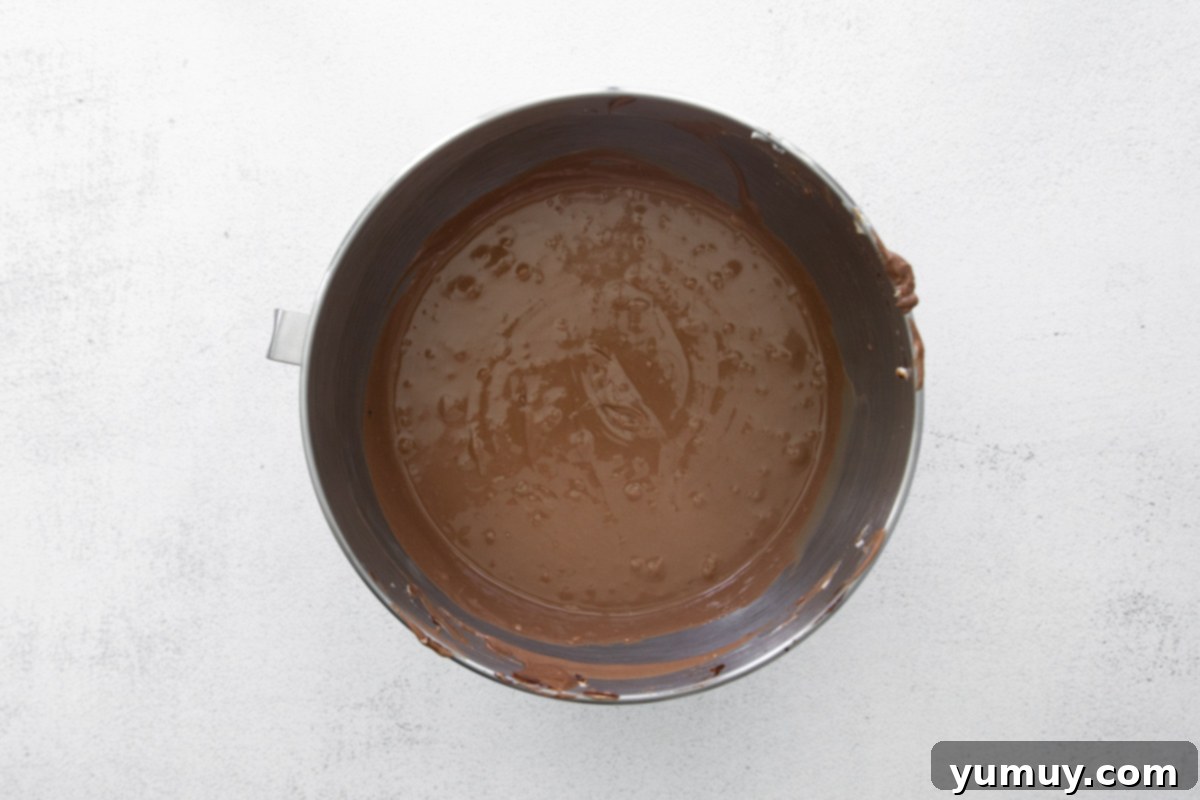
Step 6: Incorporate the Eggs Gently. With your mixer still on low speed, add 3 large, room-temperature eggs, one at a time. It is crucial to allow each egg to be fully incorporated into the batter before adding the next one. This technique ensures a smooth, even texture and prevents the introduction of excess air. Once all eggs are just combined and the batter is flawlessly smooth, carefully pour the entire decadent mixture over your perfectly prepared and cooled Oreo crust in the springform pan.
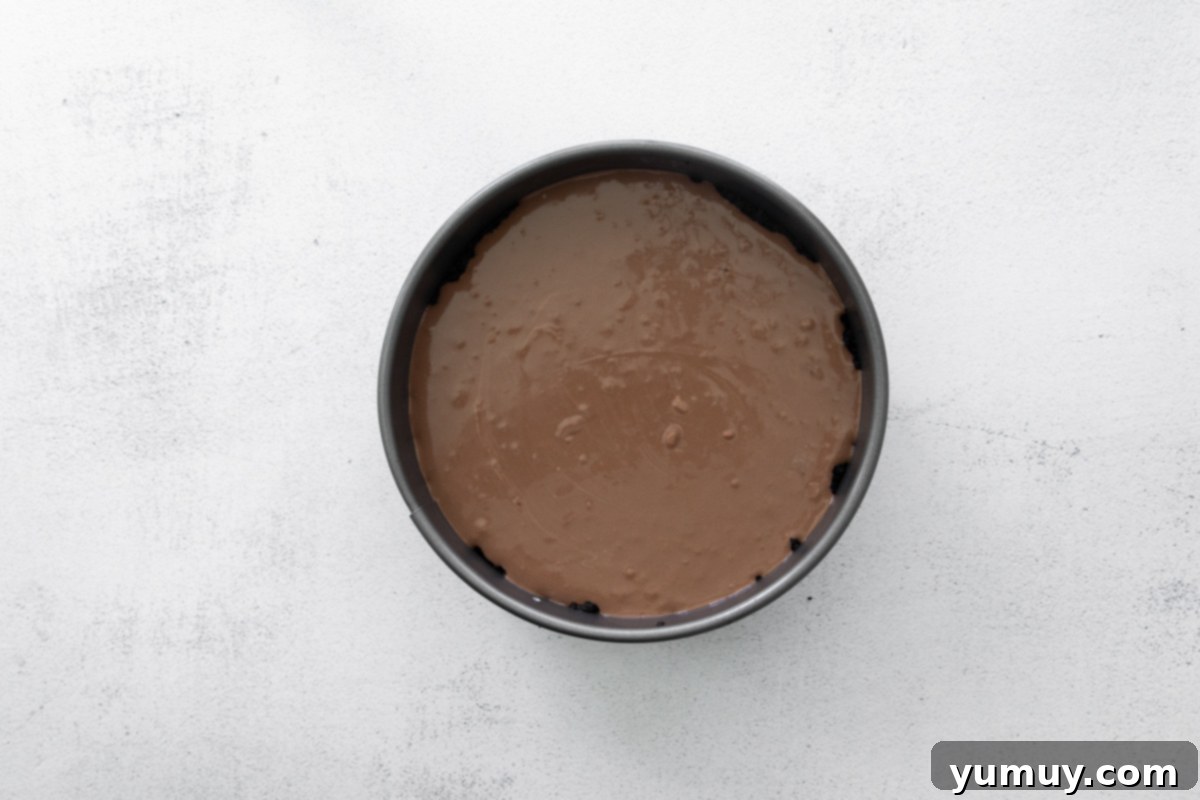
Step 7: Bake and Initiate Gradual Cooling. Bake your mocha cheesecake in the 350°F (175°C) oven for approximately 55-60 minutes. The cheesecake is ready when its edges appear set and slightly puffed, but the very center still exhibits a delicate, gentle jiggle when the pan is carefully moved. Once baked, turn off the oven completely and immediately prop the oven door open slightly (about 1-2 inches). This critical step allows the cheesecake to cool slowly within the oven’s diminishing heat, preventing the sudden temperature change that often causes cracks. Allow it to cool this way for 1-3 hours until it reaches room temperature. After reaching room temperature, transfer the cheesecake, still in its pan, to the refrigerator to chill completely. This chilling period should be at least 4 hours, but for optimal flavor development and a firm, perfect texture, chilling overnight is highly recommended.
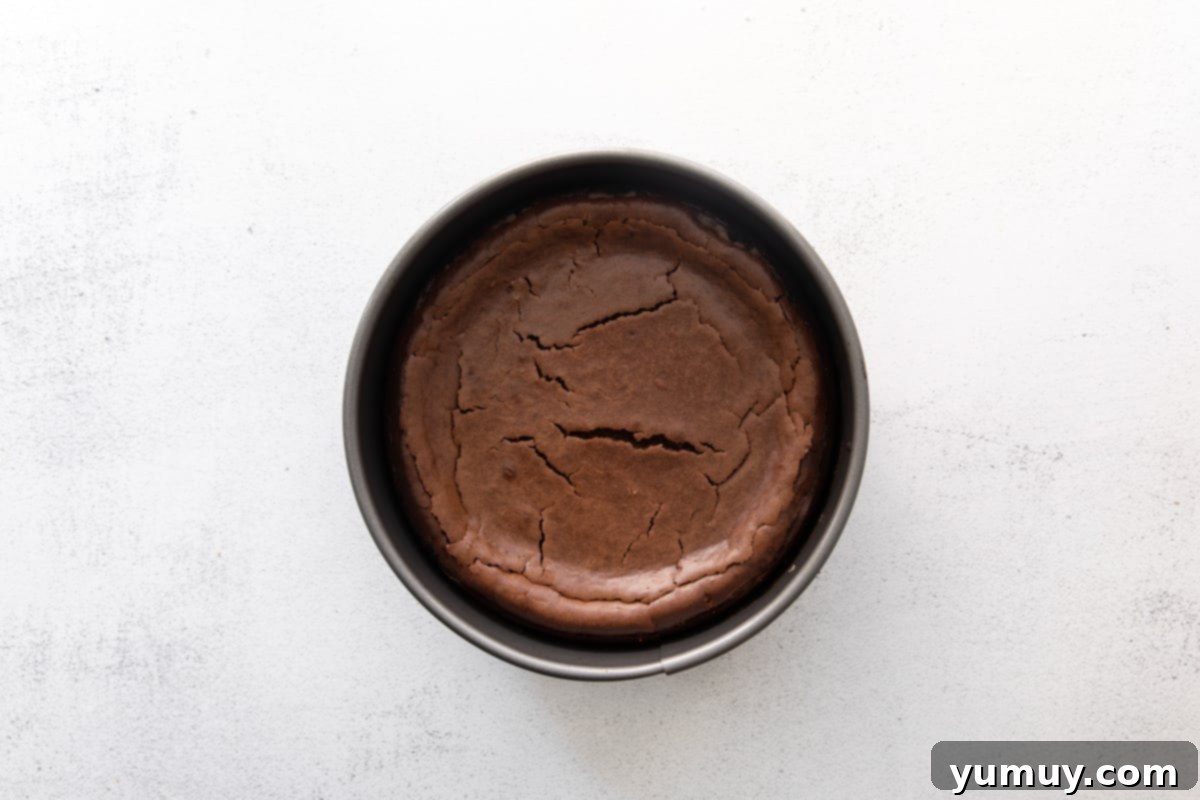
Step 8: The Grand Finale – Finish and Serve. Once your mocha cheesecake is thoroughly chilled and set, gently release the sides of the springform pan. For an extra touch of elegance and an amplified mocha experience, I love to finish this cheesecake with a luxurious mocha whipped cream and a glossy chocolate ganache combo. While these decorations are entirely optional, they undeniably elevate both the visual appeal and the flavor profile. Carefully slice into generous portions, and prepare to delight in every rich, creamy, and intensely flavored bite!
Optimizing Storage for Your Mocha Cheesecake
To preserve the exquisite flavor and luxurious texture of your homemade mocha cheesecake, proper storage is paramount. Any leftover cheesecake should be stored in an airtight container and kept refrigerated. It will maintain its peak freshness and quality for up to 3 days. For longer storage options, this cheesecake freezes beautifully. To freeze, wrap individual slices tightly in plastic wrap, then encase them in aluminum foil for an extra layer of protection against freezer burn. Stored this way, it can be kept in the freezer for up to 1 month. When you’re ready to enjoy a frozen slice, simply transfer it to the refrigerator and allow it to thaw overnight. It can then be served cold or brought to room temperature for a softer texture. As a general food safety guideline, never leave cheesecake unrefrigerated for more than 2 hours to prevent bacterial growth and maintain its deliciousness.
Discover More Irresistible Cheesecake Recipes!
Refreshing No-Bake Lemon Cheesecake Bars
Luxurious Double Crust Cheesecake
Decadent Chocolate Caramel Cheesecake
Rich Chocolate Cheesecake Bars
Explore All Cheesecake Recipes
Please note: While our philosophy centers around incredibly easy, minimal-ingredient recipes, this Mocha Cheesecake is one of those rare, glorious exceptions. It requires a few more ingredients and a touch more time than our usual quick treats, but we assure you, the extraordinary depth of flavor and the sheer decadence of this dessert make it undeniably worth every bit of effort. It’s a treasured recipe in our collection that promises an unforgettable culinary reward for those moments when you desire something truly special.
