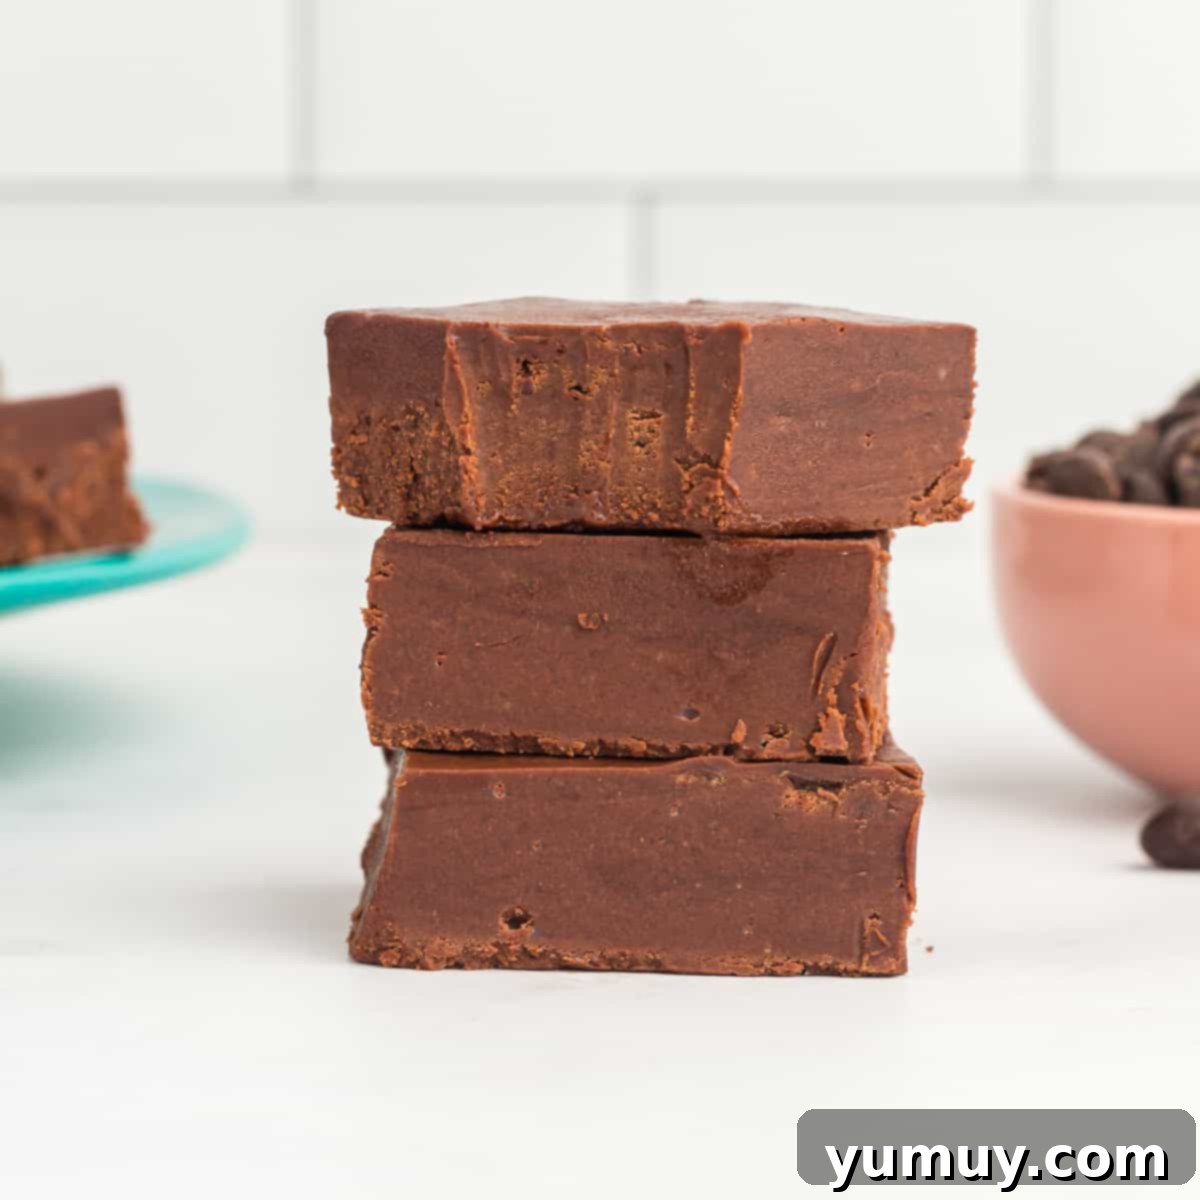
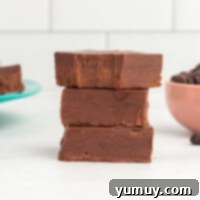
Welcome to the ultimate guide for creating the most luscious, creamy, and irresistible treat that simply melts in your mouth: Marshmallow Fluff Fudge. This beloved confectionery is a holiday staple and a perfect indulgence for any occasion. Forget grainy, stiff fudge – our recipe promises a smooth, velvety texture that will leave everyone craving more. With just a handful of simple ingredients and straightforward steps, you can whip up a batch of homemade fantasy fudge that’s ideal for gifting, impressing guests at parties, or simply satisfying your deepest chocolate cravings right at home.
What is Marshmallow Fluff Fudge?
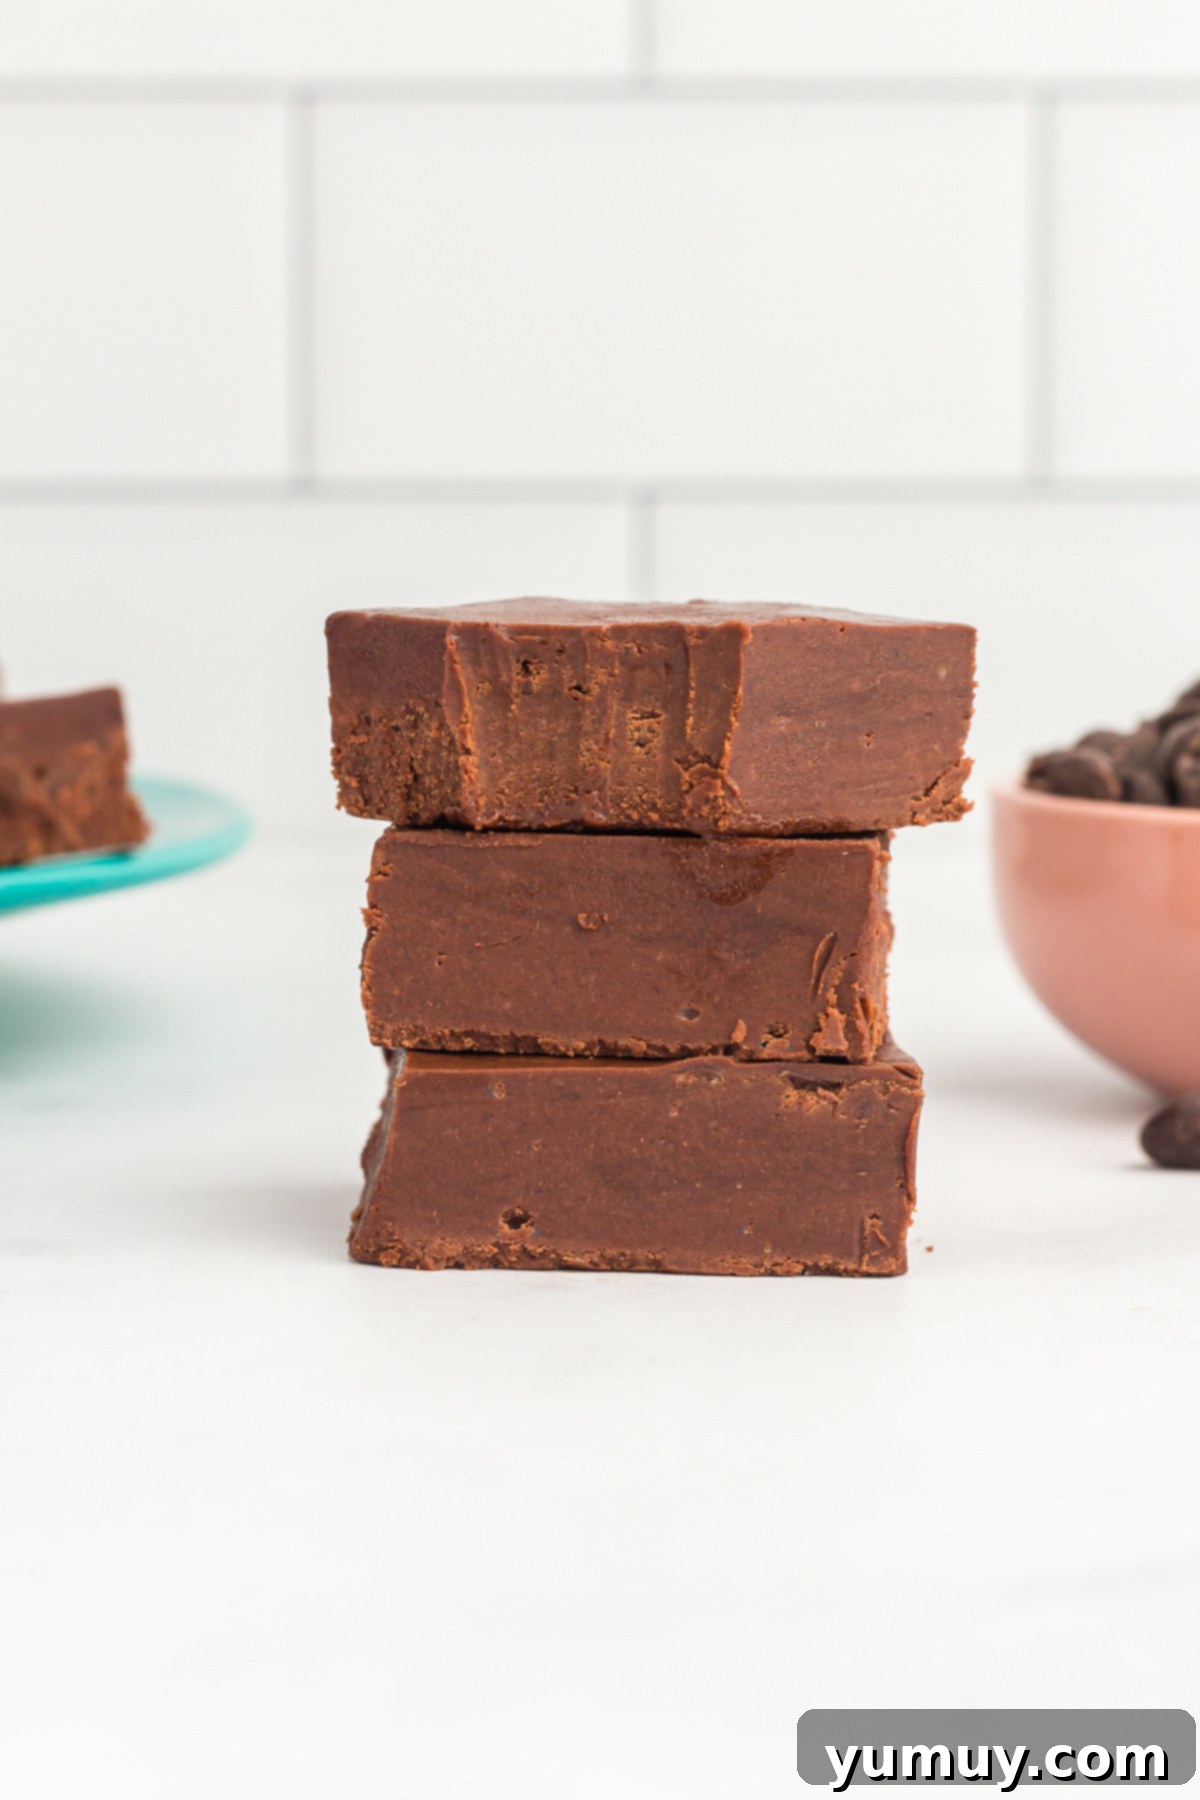
Marshmallow Fluff Fudge, often affectionately called “Fantasy Fudge,” is a classic confection known for its incredibly soft and smooth consistency. Unlike traditional fudge that can sometimes be prone to a crumbly or sugary texture, this version incorporates marshmallow fluff, a magical ingredient that contributes to its signature melt-in-your-mouth quality. The fluff acts as a stabilizer and provides an extra layer of sweetness and creaminess, making it distinctively superior. This recipe combines the rich depth of chocolate with the light, airy sweetness of marshmallow, resulting in a balanced and utterly decadent bite. It’s truly a dream come true for chocolate and marshmallow lovers alike.
Why This Chocolate Fudge with Marshmallow Fluff Recipe Stands Out
Our Marshmallow Fluff Fudge recipe isn’t just another sweet treat; it’s a meticulously crafted formula designed for consistent success and unparalleled flavor. The secret lies in a precise cooking method and a thoughtful combination of key ingredients. We carefully boil sugar and evaporated milk for an exact duration of five minutes. This critical step ensures the sugar dissolves completely, preventing graininess and fostering a smooth, luscious base. Evaporated milk plays a crucial role in maintaining the fudge’s moistness and creamy texture for days, eliminating the need for refrigeration. The addition of marshmallow fluff is where the real magic happens, contributing to that iconic, yielding texture that sets fantasy fudge apart. We use a blend of semisweet and dark chocolate chips, providing a rich, complex chocolate flavor that isn’t overly sweet, complemented by a hint of vanilla that enhances the marshmallow notes. This foolproof method guarantees a smooth, creamy, and delightful chocolate fudge every single time, making it an essential recipe for your collection.
The Secret to Silky Smooth Fudge: Avoiding Graininess
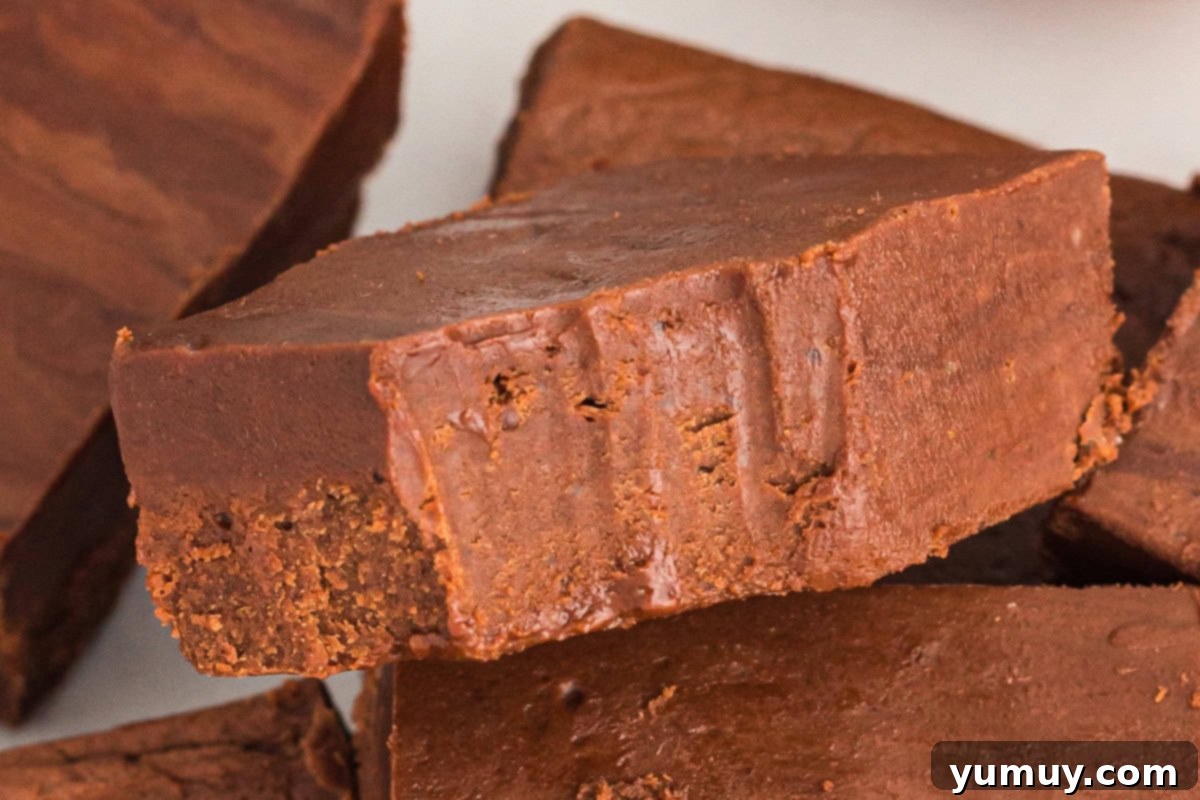
One of the most common challenges in fudge making is achieving that coveted smooth, non-grainy texture. Many home bakers struggle with this, often ending up with fudge that feels sugary or gritty. After extensive testing, we’ve pinpointed the critical steps to guarantee perfectly smooth marshmallow fluff fudge. The most important factor is maintaining a steady boil for the full five minutes while continuously stirring the sugar and milk mixture. This constant motion helps the sugar crystals dissolve properly and prevents them from recrystallizing, which is the primary cause of grainy fudge.
Furthermore, precise temperature control is paramount. Using a reliable candy thermometer to ensure the mixture reaches exactly 234–236ºF (112-113°C) is key. This temperature range is the “sweet spot” where the sugar syrup reaches the soft-ball stage, which is crucial for creamy, melt-in-your-mouth results. Removing the mixture from the heat too early will prevent the fudge from setting properly, while overcooking it can lead to a dry, crumbly, or overly hard texture. Patience during this sugar boiling stage makes all the difference, transforming potentially gritty fudge into a velvety smooth delight. Avoid the temptation to rush or stop stirring, and you’ll be rewarded with impeccably textured fudge.
Marshmallow Fluff Fudge Recipe
Rate
Ingredients
- ⅔ cup evaporated milk (about ½ can)*
- 1 cup granulated sugar
- ¼ teaspoon kosher salt
- ¾ cup semisweet chocolate chips Ghirardelli recommended**
- ¾ cup dark chocolate chips Ghirardelli recommended
- ¼ cup unsalted butter (½ stick)
- 4 ounces marshmallow fluff (about ½ jar)
- 1 teaspoon pure vanilla extract
Equipment
- Kitchen Scale (optional)
- 8×8 Baking Pan
- 2-Quart Saucepan
- Candy Thermometer (optional)
Instructions
- Line an 8×8-inch baking pan with parchment paper and spray well with nonstick spray. Set aside (close by).
- In a medium saucepan (2-quart size) set over medium heat, heat the evaporated milk, sugar, and salt together until boiling (stirring constantly). Let boil over medium heat, still stirring constantly, for 5 minutes. Don’t remove from heat before the 5 minutes are up or the fudge will not firm up later during chilling.⅔ cup evaporated milk, 1 cup granulated sugar, ¼ teaspoon kosher salt

- Remove the saucepan from the heat and immediately stir in the semisweet chocolate chips, dark chocolate chips, and butter. Stir until fully melted.¾ cup semisweet chocolate chips, ¾ cup dark chocolate chips, ¼ cup unsalted butter

- Stir in marshmallow fluff and vanilla extract until fully combined.4 ounces marshmallow fluff, 1 teaspoon pure vanilla extract

- Use a spatula to place all of the fudge mixture into the prepared baking dish.

- Let chill in fridge for at least 5 hours or overnight before slicing into squares.
Notes
**Use high-quality chocolate, such as Ghirardelli; do not use any chocolate chips labeled “baking chips” as they will not melt properly.
Tips:
- Prepare and measure all of your ingredients before starting; this recipe goes fast!
- Use a heavy-bottomed saucepan. A thin pan can cause hot spots, making the sugar burn or crystallize.
- Try coating the entire pot with melted butter before adding the sugar or wiping down the sides of the pan with a pastry brush dipped in warm water to prevent crystallization.
- The sugar mixture needs to be cooked to a certain temperature in order for the fudge to set. The ideal temperature range is 234-236ºF. I recommend using a candy thermometer to ensure your fudge comes to temperature.
- Once the chocolate and butter are melted, don’t over-stir or whip the mixture–too much agitation can make the fudge grainy or dull instead of glossy.
- Feel free to add your favorite nuts. I really like walnuts or pecans in this fudge. I recommend toasting the nuts before adding them to bring out their flavor!
- Let the fudge cool to room temperature before cutting to prevent cracking.
- Dip a sharp knife in hot water, then wipe dry before each slice for smooth, even pieces.
- Fudge tastes best when slightly softened. Remove it from the fridge about 15-20 minutes before serving.
- Wrap squares in wax paper or stack in decorative tins for gift-giving.
Microwave Instructions: In a large microwave-safe bowl, combine evaporated milk, sugar, and salt. Heat on high in 30-second intervals, stirring each time, until the sugar dissolves. Stir in chocolate chips and butter, microwaving in 30-second intervals until melted and smooth. Add marshmallow fluff and vanilla, stir until glossy, then pour into the pan and chill.
Storage: Store fantasy fudge in an airtight container at room temperature or in the refrigerator for up to 2 weeks. Freeze for up to 2 months.
Calories from Fat 90
@easydessertrecipes
for a chance to be featured.
Marshmallow Fluff vs. Marshmallows: The Key Difference
While marshmallows and marshmallow fluff might seem interchangeable at first glance, there’s a crucial difference that significantly impacts the outcome of your fudge. For this particular fantasy fudge recipe, I strongly advise against substituting regular marshmallows for marshmallow fluff. Here’s why:
- Cornstarch Coating: Regular marshmallows are typically coated in cornstarch to prevent them from sticking together. This coating, while useful for marshmallows themselves, can introduce a dry, slightly grainy texture to your fudge. It can also interfere with the smooth melting and incorporation process, leading to a less creamy final product.
- Consistency: Marshmallow fluff has a much smoother, more aerated, and consistent texture compared to solid marshmallows. It dissolves and integrates seamlessly into the hot fudge mixture, creating that characteristic silky, melt-in-your-mouth feel that is the hallmark of fantasy fudge. Marshmallows, even when melted, tend to retain a slightly chewier, more elastic quality that can alter the desired smooth consistency of the fudge.
- Moisture Content: Marshmallow fluff has a different moisture content and sugar concentration that is precisely balanced for recipes like this. Substituting with marshmallows can throw off this delicate balance, potentially making the fudge too stiff or less stable.
If you absolutely must substitute, you would need approximately 4 ounces of marshmallows, which equates to roughly 2 cups of mini marshmallows or about 20 full-sized marshmallows. For the most accurate and consistent results, I highly recommend using a kitchen scale to weigh your marshmallows. However, be prepared for a slight variation in texture if you choose this alternative. For the best, creamiest marshmallow fluff fudge, sticking to the fluff is definitely the way to go.
How to Make Marshmallow Fluff Fudge Step-by-Step
Creating this delicious marshmallow fluff fudge is a straightforward process when you follow these steps carefully. Prepare all your ingredients and equipment beforehand to ensure a smooth and enjoyable cooking experience.
1. Prepare Your Pan and Boil the Milk Mixture
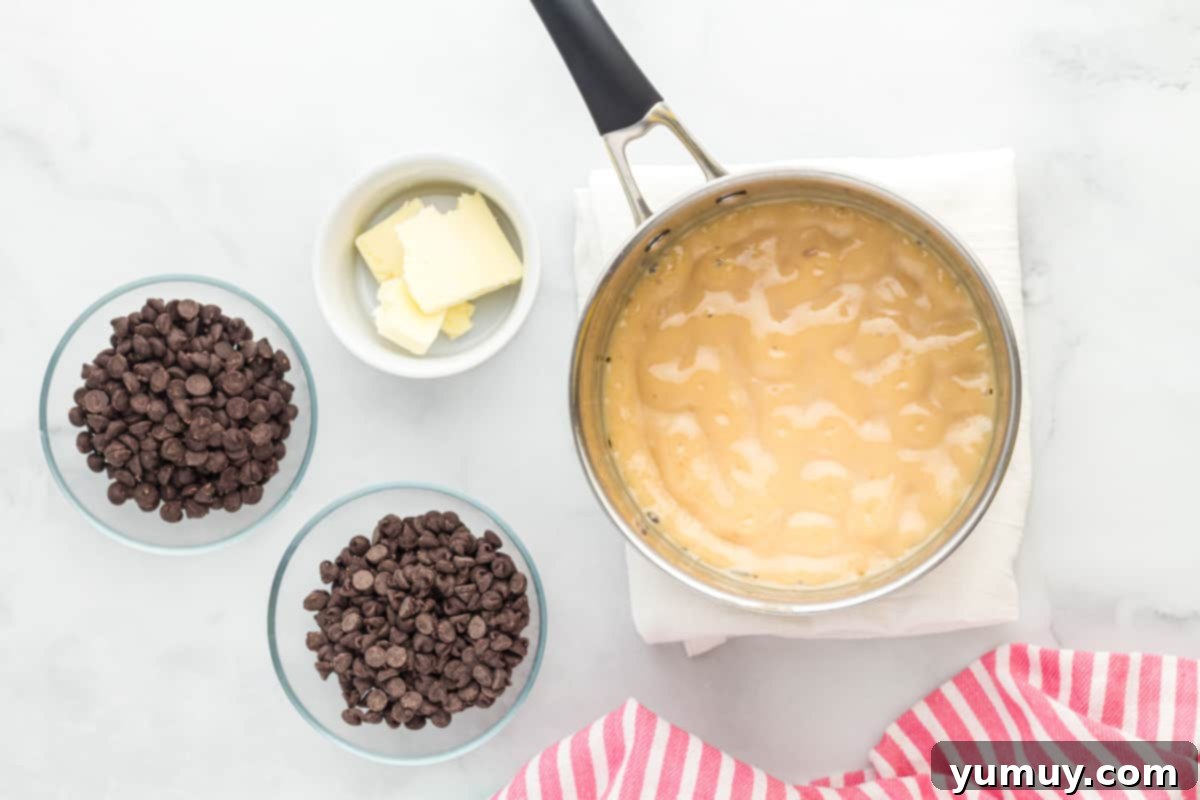
Begin by lining an 8×8-inch baking pan with parchment paper. This simple step is crucial for easy removal and clean slices later. Spray the parchment paper generously with a nonstick spray and set the prepared pan aside, keeping it close by as the fudge-making process moves quickly. In a sturdy, 2-quart heavy-bottomed saucepan, combine the ⅔ cup of evaporated milk, 1 cup of granulated sugar, and ¼ teaspoon of kosher salt. Place the saucepan over medium heat, stirring constantly until the mixture comes to a full boil. Once boiling, continue to stir consistently for exactly 5 minutes. This precise boiling time is vital for the fudge to set correctly. To guarantee success, use a candy thermometer to ensure the mixture reaches the ideal temperature range of 234-236ºF (112-113°C). Do not remove from heat before the 5 minutes are complete, as this will prevent the fudge from firming up during chilling.
2. Incorporate the Chocolate and Butter
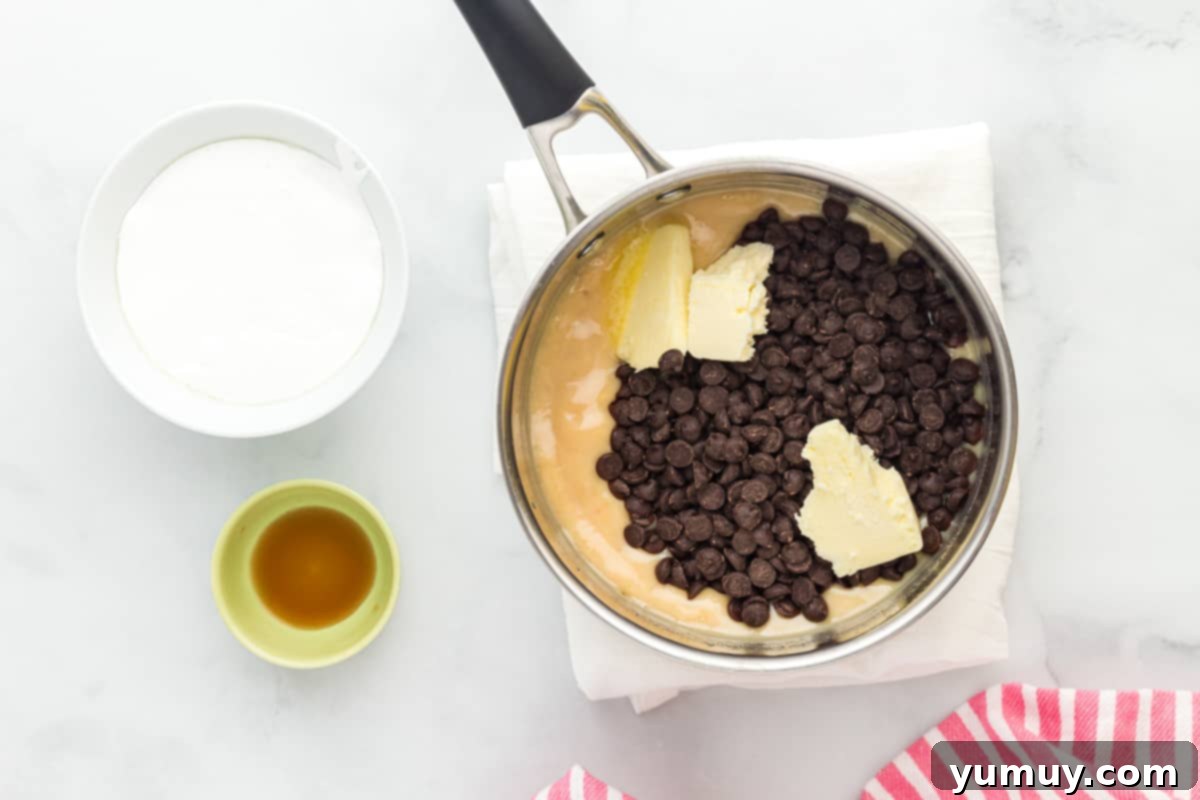
As soon as the 5 minutes of boiling are up, immediately remove the saucepan from the heat. Without delay, stir in the ¾ cup of semisweet chocolate chips, ¾ cup of dark chocolate chips, and ¼ cup of unsalted butter. Continue stirring until all the chocolate chips and butter are completely melted and the mixture is smooth and glossy. It’s important to stir gently but thoroughly. Avoid over-stirring or whipping the mixture at this stage, as excessive agitation can introduce air, which might lead to a grainy or dull-looking fudge instead of the desired smooth and shiny finish.
3. Stir in the Marshmallow Fluff and Vanilla
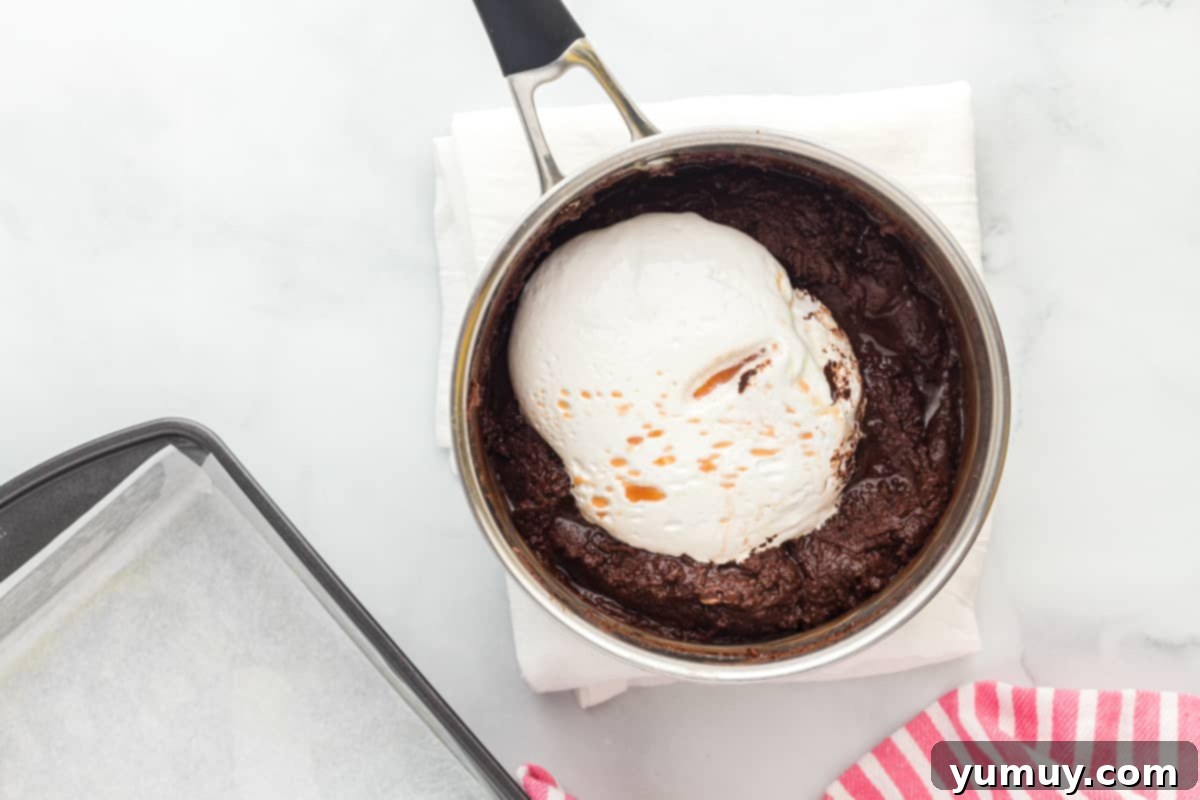
Once the chocolate and butter are fully incorporated, add 4 ounces of marshmallow fluff and 1 teaspoon of pure vanilla extract to the saucepan. Stir these ingredients in until they are fully combined and the mixture is glossy and uniform. Again, exercise caution not to overmix, as too much stirring can negatively impact the fudge’s final texture. This is also the perfect moment to fold in any additional mix-ins you desire, such as chopped nuts (walnuts or pecans are excellent choices), colorful sprinkles, or crushed peppermints for a festive touch. Ensure your mix-ins are evenly distributed.
4. Chill and Set
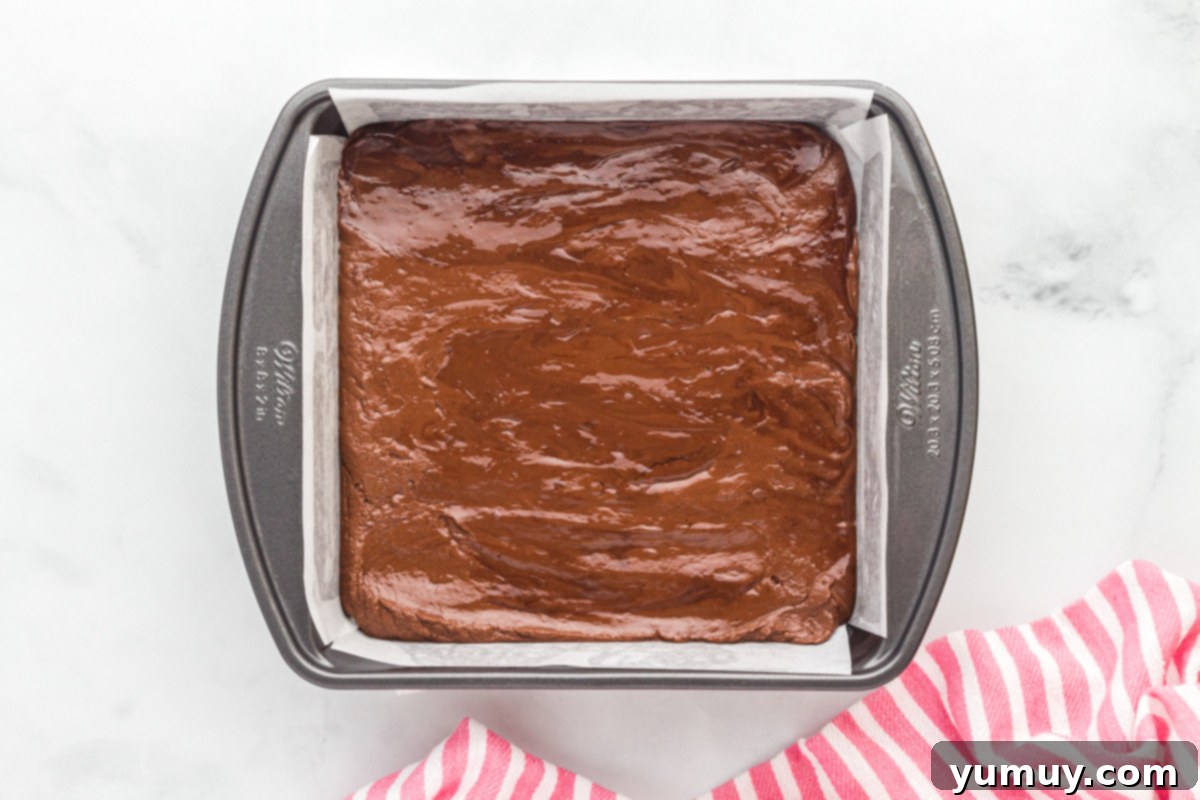
Carefully transfer all of the prepared fudge mixture into the parchment-lined baking dish using a spatula. Smooth the top evenly. Now comes the hard part: patience! Place the baking dish in the refrigerator and allow the fudge to chill for at least 5 hours, or preferably overnight. This extended chilling time is essential for the fudge to fully set and achieve its firm, sliceable consistency. Once thoroughly chilled, remove the fudge from the pan using the parchment paper handles. For perfectly smooth and clean cuts, dip a sharp knife in hot water, wipe it dry, and then slice the fudge into squares. Repeat this process before each cut to prevent sticking and ensure neat, even pieces. Allow the fudge to come to a slightly softened room temperature before serving for the best flavor and texture.
Expert Tips for Fudge Success
Making perfect marshmallow fluff fudge consistently requires a few insider tips. These pointers will help you navigate common challenges and ensure your fudge is always a triumph:
- Mise en Place is Your Friend: This recipe moves quickly once you start boiling. Before you even turn on the stove, measure out all your ingredients and have them ready and within arm’s reach. This ensures you can add everything at the correct time without any frantic searching.
- Invest in a Heavy-Bottomed Saucepan: A good quality, heavy-bottomed saucepan distributes heat more evenly, preventing hot spots that can scorch the sugar or cause it to crystallize. A thin pan is a recipe for uneven cooking and potential burning.
- Prevent Sugar Crystallization: Sugar crystals are the enemy of smooth fudge. To combat this, you can lightly coat the sides of your pot with melted butter before adding the sugar and milk. Alternatively, during the boiling process, use a pastry brush dipped in warm water to gently wipe down any sugar crystals that form on the sides of the pan.
- Accuracy with a Candy Thermometer: While not strictly mandatory if you’re experienced, a candy thermometer is highly recommended for beginners and those striving for consistent results. Reaching the precise temperature of 234-236ºF (112-113°C) is fundamental for the fudge to set properly with the ideal soft-ball stage consistency.
- Mindful Mixing: Once the chocolate and butter are melted, resist the urge to vigorously beat or whip the mixture. Over-agitation can incorporate too much air, which may result in a grainy texture or a dull finish instead of the desired glossy sheen. Stir just enough to combine.
- Customization is Key: Marshmallow fluff fudge is incredibly versatile! Feel free to add your favorite mix-ins. Toasted walnuts or pecans add a delightful crunch and nutty flavor. You can also experiment with sprinkles, crushed peppermints (especially for holidays), mini pretzels for a salty-sweet contrast, or even a swirl of caramel. Remember to fold them in during the “Stir in the Fluff” stage.
- Cool Completely Before Cutting: Patience is essential here. Attempting to cut warm or insufficiently chilled fudge will lead to cracking, crumbling, and messy pieces. Always allow it to chill thoroughly, ideally overnight, to achieve clean, sharp slices.
- The Hot Knife Trick: For impeccably smooth, even squares, dip a sharp knife in hot water and wipe it dry before each slice. The warm blade glides through the fudge cleanly, preventing tearing and sticking.
- Serve at the Right Temperature: While fudge needs to chill to set, it often tastes best when slightly softened. Remove your fudge from the refrigerator about 15-20 minutes before serving to allow it to warm up slightly and develop its full creamy texture and flavor.
- Gift-Giving Made Easy: This fantasy fudge makes a wonderful homemade gift. Wrap individual squares in wax paper or stack them neatly in decorative tins for a thoughtful and delicious present.
How to Store and Freeze Marshmallow Fluff Fudge
Proper storage is essential to keep your homemade marshmallow fluff fudge fresh, creamy, and delicious for as long as possible. Fortunately, this fantasy fudge is quite forgiving and stores beautifully, making it perfect for preparing ahead or savoring over time.
- Room Temperature Storage: For short-term storage, you can keep your marshmallow fluff fudge in an airtight container at room temperature. Place it in a cool, dry place away from direct sunlight or heat sources. Stored this way, it will remain fresh and delightful for up to 1 week.
- Refrigerator Storage: To extend the shelf life, store the fudge in an airtight container in the refrigerator. When refrigerated, fantasy fudge can stay fresh for up to 2 weeks. Before serving, it’s often best to remove it from the fridge about 15-20 minutes beforehand to allow it to soften slightly and for the flavors to fully develop, as very cold fudge can sometimes feel a bit firm and muted in taste.
- Freezing for Long-Term Storage: This fudge freezes exceptionally well, allowing you to make large batches or save some for future enjoyment. To freeze, wrap individual fudge squares tightly in plastic wrap, then place them in a freezer-safe airtight container or heavy-duty freezer bag. You can freeze marshmallow fluff fudge for up to 2 months.
- Thawing Frozen Fudge: When you’re ready to enjoy your frozen fudge, transfer it from the freezer to the refrigerator and let it thaw overnight. Once thawed, you can then let it come to room temperature for about 15-20 minutes before serving, just like refrigerated fudge, to achieve the best texture and flavor.
No matter how you choose to store it, ensure your fudge is always in an airtight container to prevent it from drying out or absorbing unwanted odors from your fridge or freezer.
Frequently Asked Questions About Marshmallow Fluff Fudge
Q: How long does homemade fudge last?
A: Homemade marshmallow fluff fudge can last for up to 1 week at room temperature in an airtight container, or up to 2 weeks when stored in the refrigerator. If frozen properly, it can maintain its quality for up to 2 months.
Q: Can I use a different type of chocolate in this fudge recipe?
A: Yes, you can experiment with different types of high-quality chocolate chips. While this recipe uses a blend of semisweet and dark chocolate for a rich, balanced flavor, you could try all semisweet, milk chocolate for a sweeter fudge, or even white chocolate (though the flavor profile will be significantly different). Always ensure you’re using high-quality chocolate chips specifically designed for melting, not “baking chips,” as they contain stabilizers that prevent smooth melting.
Q: Why is my fudge grainy?
A: Grainy fudge is typically caused by sugar recrystallization. This can happen if the sugar doesn’t fully dissolve during the boiling process, if the mixture isn’t boiled to the correct temperature (234-236ºF), or if you stir the fudge too vigorously after the chocolate and butter have been added. Ensure constant stirring during the initial boil, use a candy thermometer, and mix gently once off the heat to achieve a smooth texture.
Q: Can I double the recipe for marshmallow fluff fudge?
A: While theoretically possible, doubling fudge recipes can be tricky because larger volumes affect boiling times and heat distribution. If you’re an experienced candy maker, you might attempt it with a very large, heavy-bottomed pot and a reliable thermometer. For best results, especially if you’re new to fudge making, it’s often safer to make two separate batches if you need a larger quantity.
Q: What are some popular mix-ins for marshmallow fluff fudge?
A: This fudge is wonderfully adaptable! Popular additions include chopped walnuts or pecans (toasted for enhanced flavor), mini chocolate chips, sprinkles for a festive look, crushed peppermints (especially around the holidays), or even a swirl of peanut butter or caramel. Add mix-ins during step 3, after the marshmallow fluff and vanilla are incorporated but before pouring into the pan.
More Fudge Recipes to Try!
Butterfinger Fudge
Halloween Fudge
Peppermint Fudge Recipe
Red Velvet Fudge
All Fudge
