There’s an undeniable magic to cheesecake—that perfect blend of creamy texture, rich flavor, and satisfying sweetness. But what if you crave that delightful experience without the hassle of turning on the oven, especially on a sweltering summer day or a busy weeknight? That’s precisely where the easy no-bake cheesecake shines, offering a luxurious dessert that’s both light and incredibly simple to prepare. This recipe transforms classic cheesecake into an effortless indulgence, featuring a golden, buttery graham cracker crust paired with an irresistibly smooth and tangy filling that requires zero baking. It’s the ultimate fuss-free dessert, delivering pure satisfaction with every chilled slice.
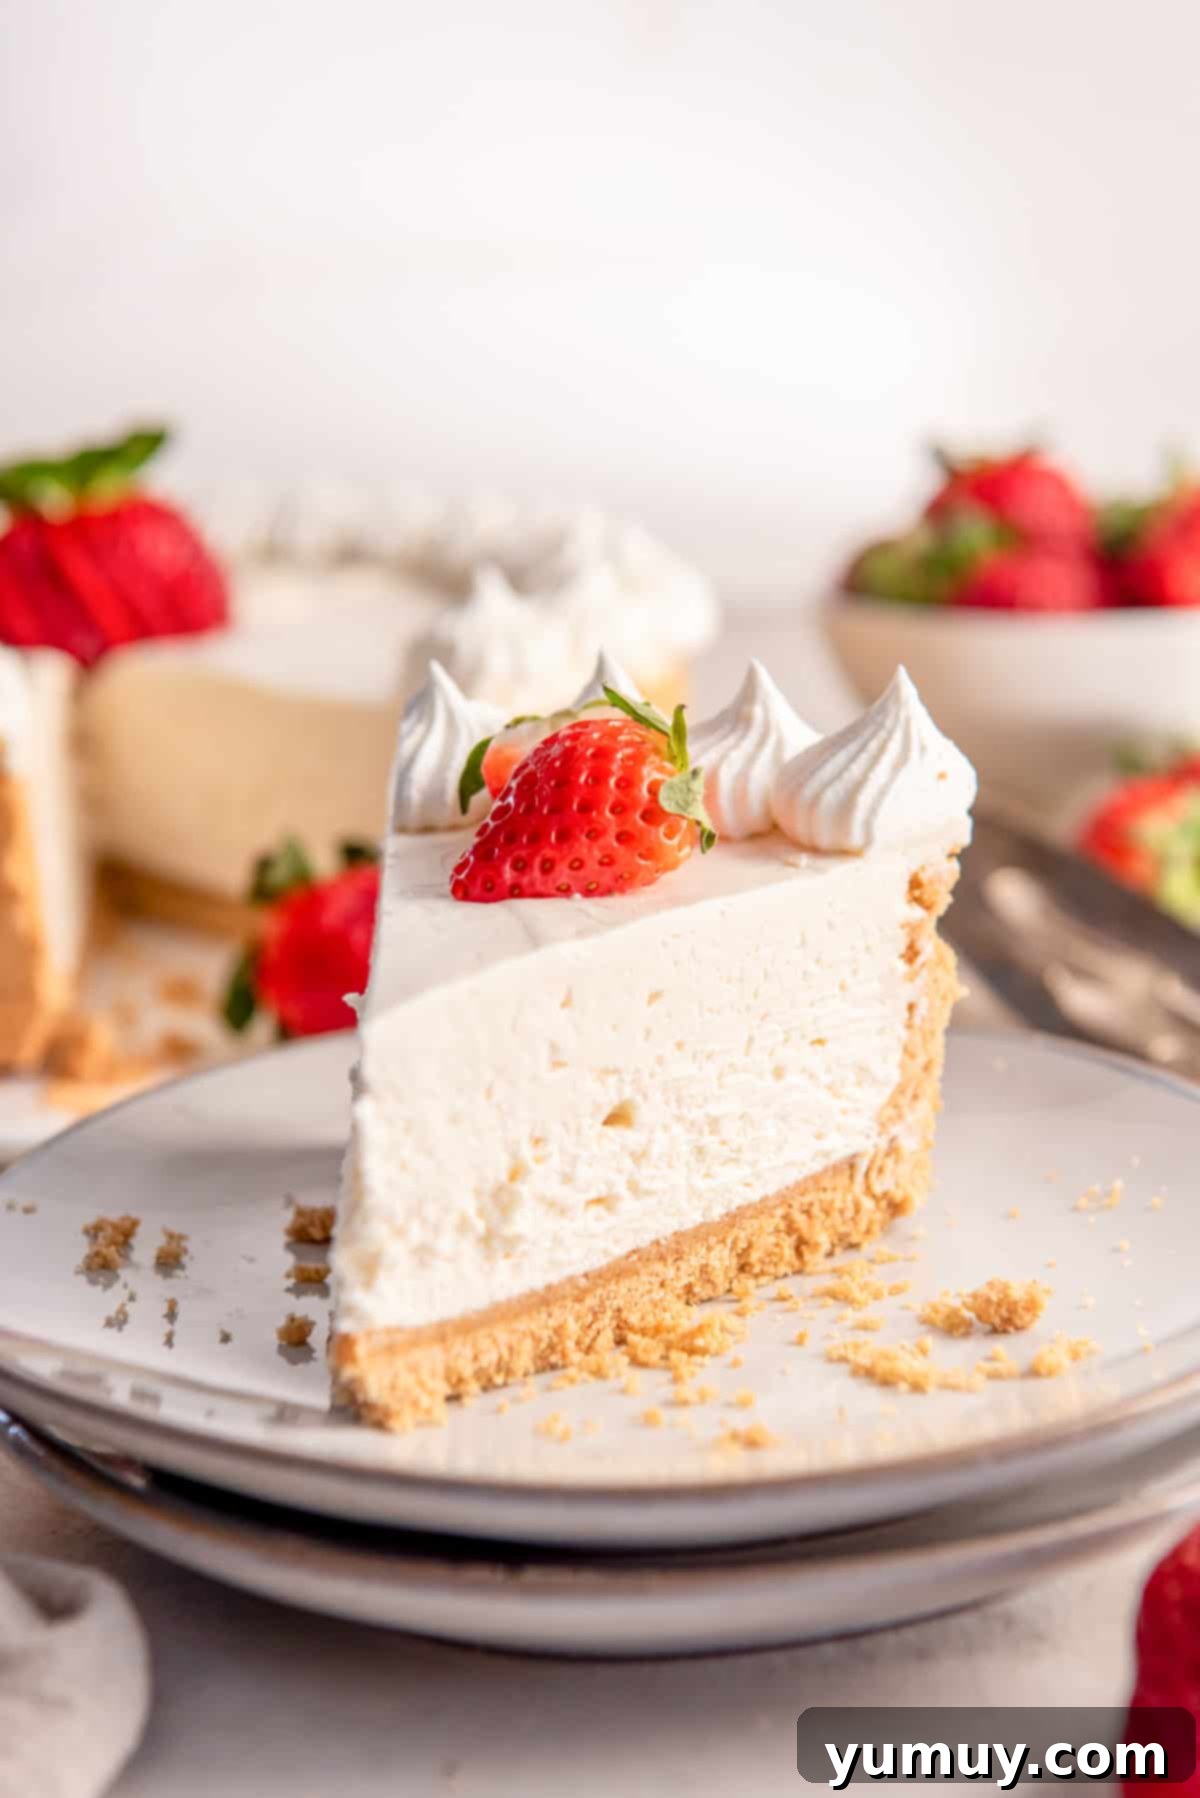
Creamy Dream: The Ultimate No-Bake Cheesecake Recipe
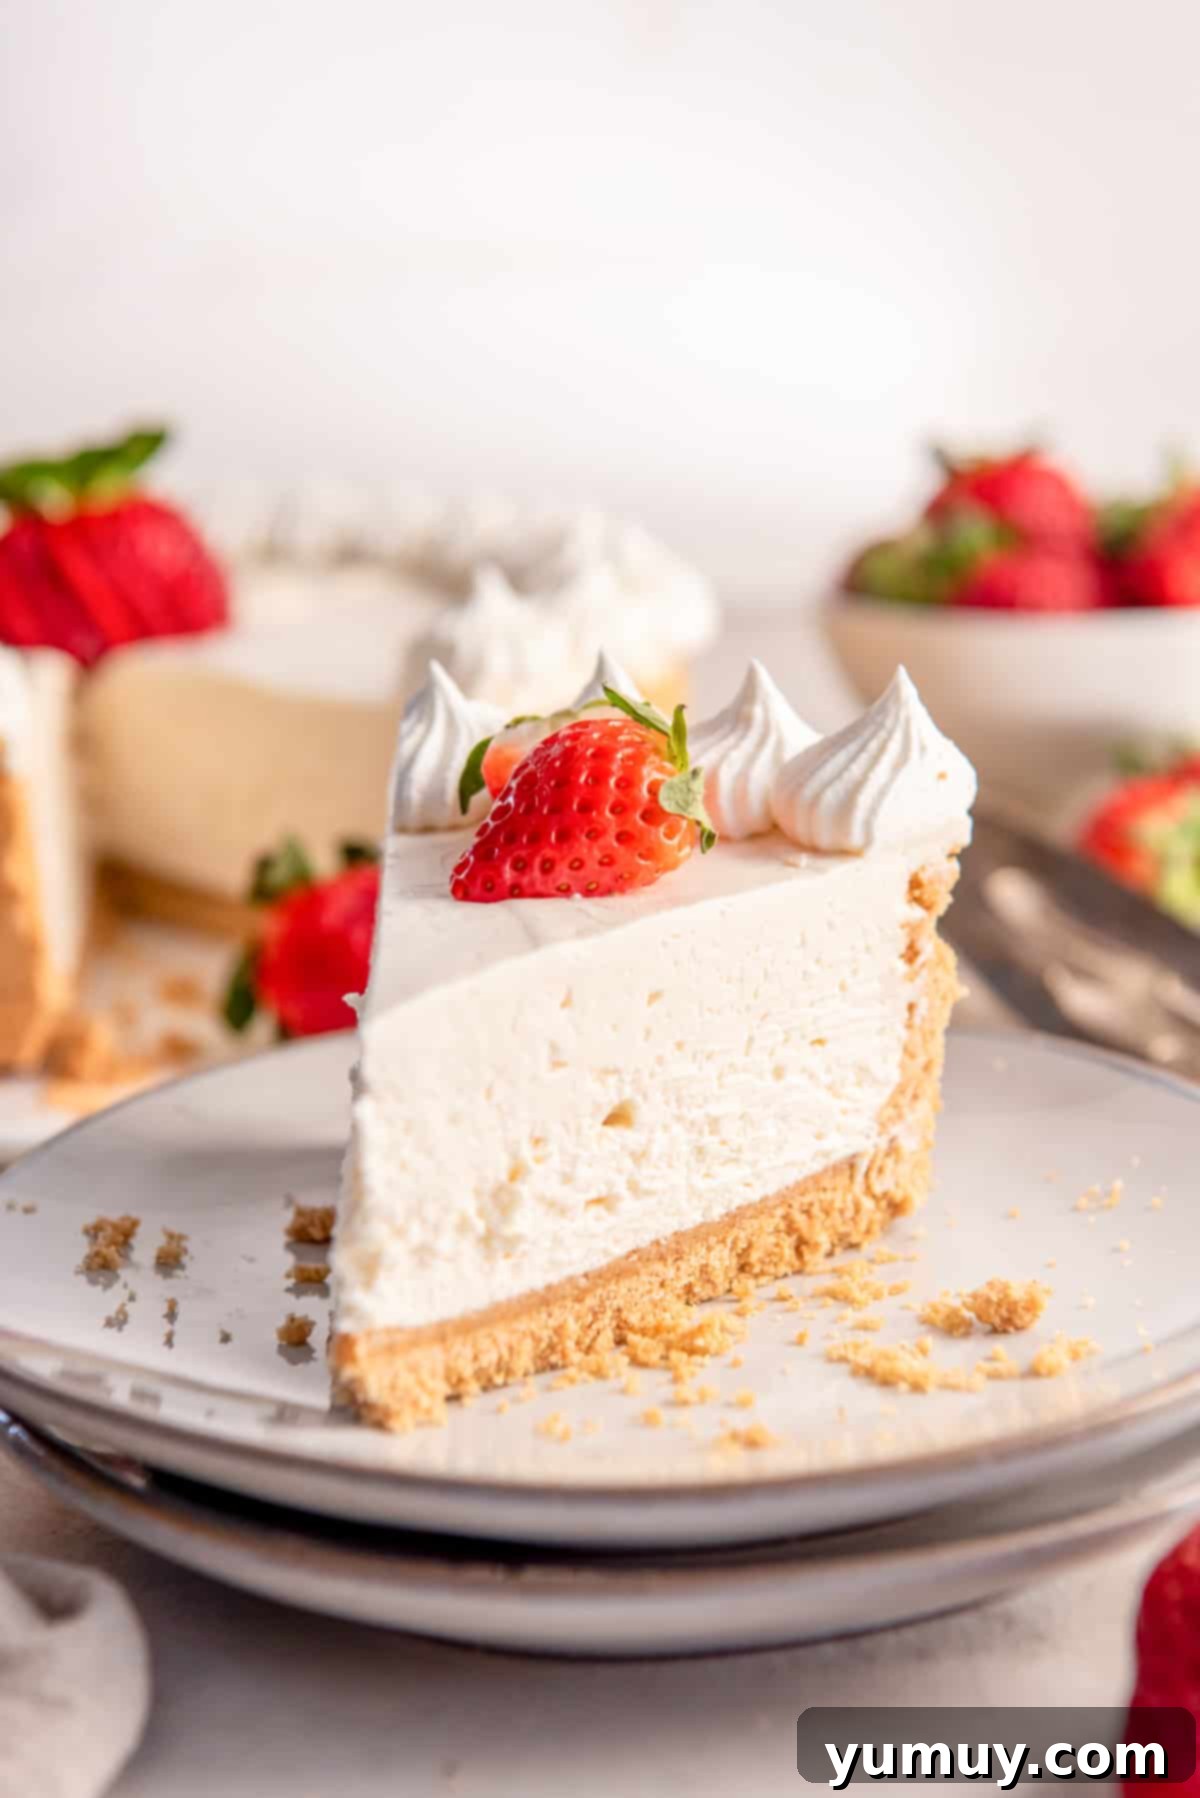
Our cream cheese no-bake cheesecake stands apart from its traditional, baked counterparts with a uniquely lighter and fluffier texture, yet it sacrifices none of the rich, decadent flavor you expect from a premium cheesecake. The secret to its impossibly airy consistency and perfect balance of sweetness and tang lies in the combination of fluffy whipped topping and a hint of sour cream. This thoughtful blend creates a dessert that’s not only easier to make but also incredibly refreshing and delightful.
The foundation of this exquisite dessert is a perfectly pressed graham cracker crust. Forget the need for a food processor; a simple measuring cup is all it takes to firmly pack the buttery crumbs into shape, ensuring a sturdy and flavorful base that offers just the right amount of crunch with every bite. The real magic happens during the chilling process; an overnight rest in the refrigerator is crucial for achieving clean, firm slices that are as visually appealing as they are delicious. Serve this versatile no-bake wonder with an array of fresh berries, a rich fruit pie filling, or any of your favorite dessert toppings to elevate its charm and tailor it to your taste.
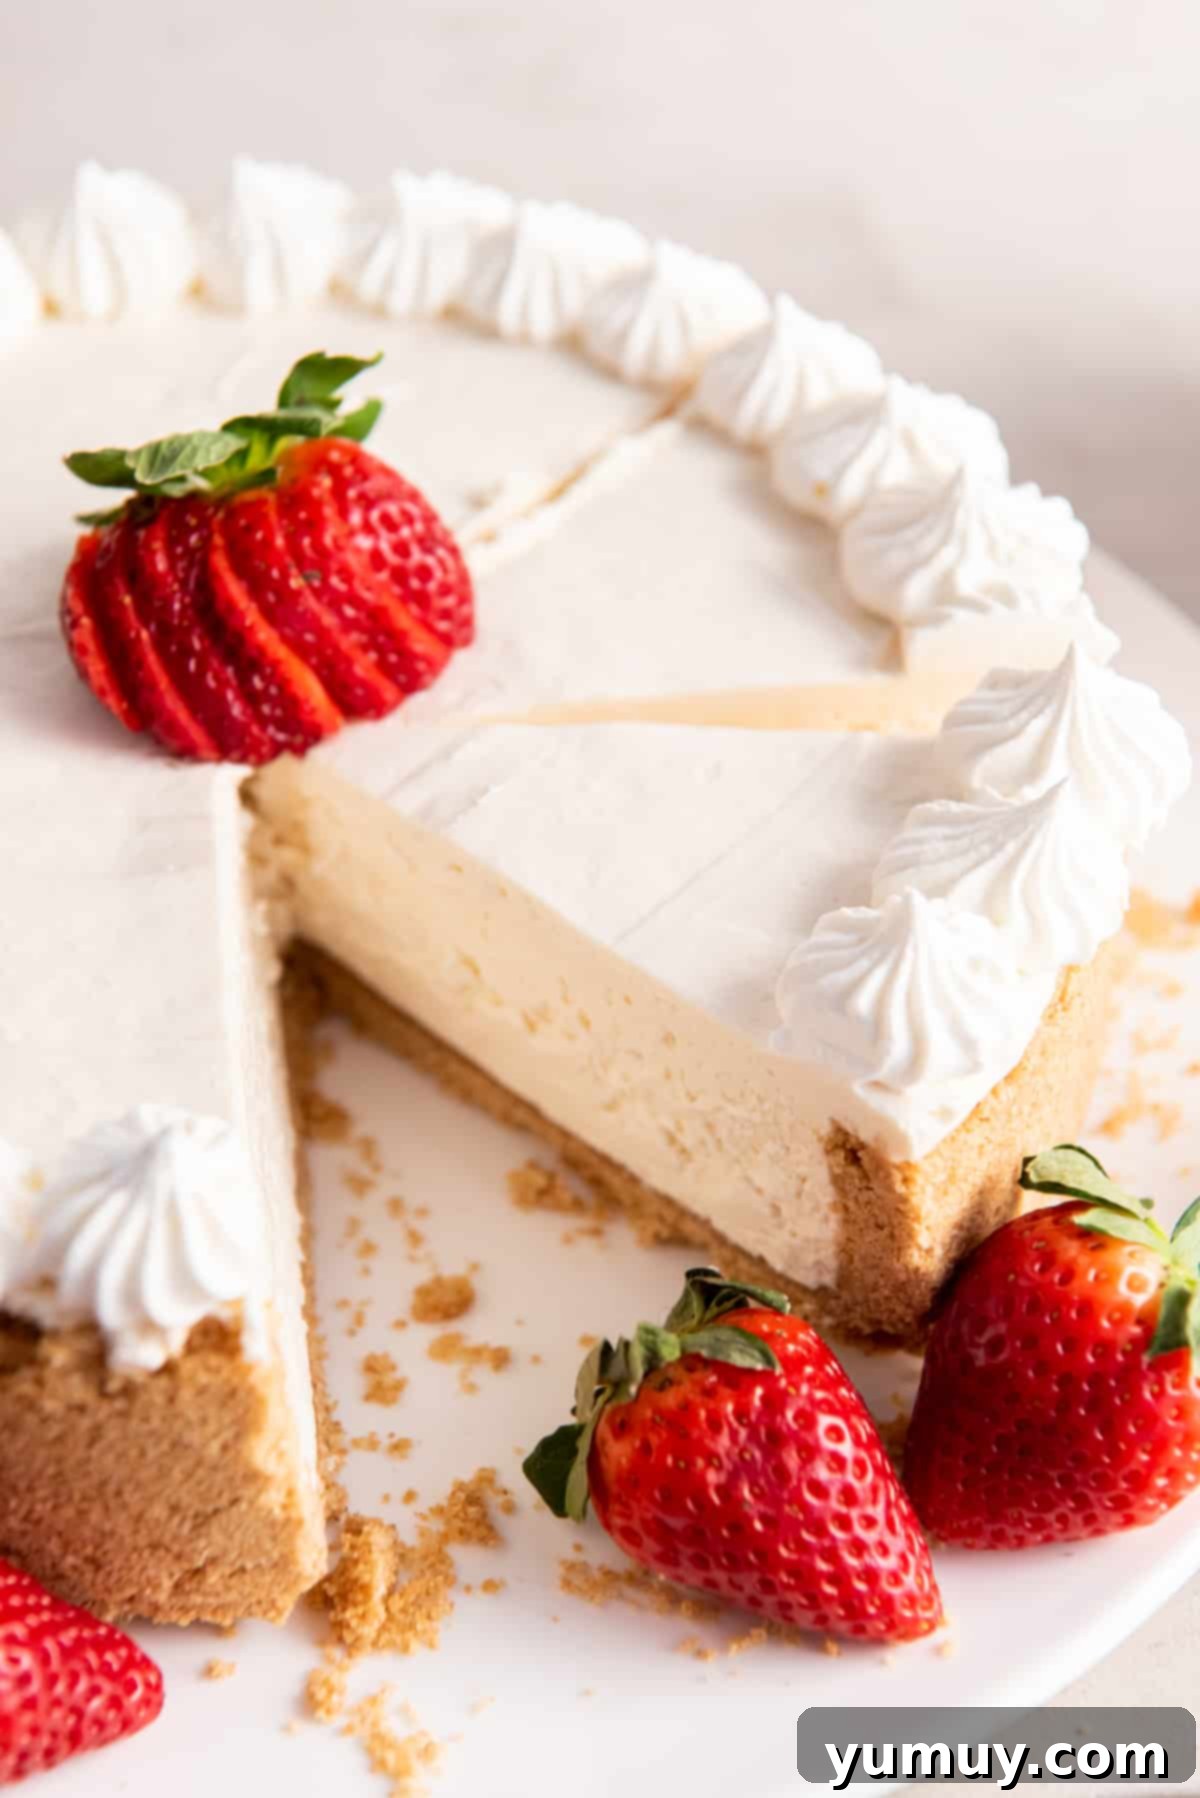
Mastering Your No-Bake Cheesecake: Essential Tips for Perfection
Achieving a firm, sliceable homemade no-bake cheesecake isn’t solely about refrigeration; it’s profoundly influenced by your mixing technique. The most critical piece of advice for a flawless filling is to avoid overmixing the whipped topping into the cream cheese base. Excessive agitation can break down the structure of the whipped topping, leading to a filling that is too soft, mousse-like, and unable to hold its shape or produce clean slices. I’ve learned from experience that using an electric mixer or stirring too vigorously at this stage often results in a dessert that, while delicious, lacks the desired cheesecake firmness.
Instead, employ a sturdy spatula and incorporate the whipped topping with gentle folding motions. This technique, though it might take a minute or two longer, ensures the airy volume of the whipped topping is preserved, leading to a perfectly light yet firm cheesecake filling. This gentle folding is key to its structural integrity and delightful texture. Furthermore, ensure all your dairy ingredients, especially cream cheese and sour cream, are at room temperature before you begin. This allows for a smoother, lump-free mixture, preventing any grainy textures that can compromise the silky consistency of your cheesecake. A perfectly prepared base guarantees a sublime, creamy result that will impress every time.
Classic No-Bake Cheesecake Recipe
Ingredients
For the Crust
- 2 cups graham cracker crumbs (from 16 cracker sheets)
- ⅓ cup brown sugar
- 8 tablespoons unsalted butter melted (1 stick)
For the Cheesecake Filling
- 24 ounces cream cheese room temperature (3 bricks)
- ½ cup granulated sugar
- ¼ cup powdered sugar
- ⅓ cup sour cream room temperature
- 2 teaspoons pure vanilla extract
- 2 teaspoons freshly squeezed lemon juice
- 8 ounces frozen whipped topping thawed (or 1½ cups whipped heavy cream)
Equipment
- Kitchen Scale (optional)
- 9-inch Springform Pan
- Hand Mixer or Stand Mixer
Instructions
For the Crust
- In a medium bowl, mix the graham cracker crumbs and brown sugar together with a fork, ensuring the brown sugar lumps are broken up. Add the melted butter and stir until the crumbs are evenly moistened and combined.2 cups graham cracker crumbs, ⅓ cup brown sugar, 8 tablespoons unsalted butter

- Transfer the crumb mixture into a 9-inch springform pan. Use the bottom of a sturdy measuring cup or a flat-bottomed glass to tightly pack the crumbs across the bottom and slightly up the sides of the pan, paying special attention to the crease where the bottom meets the sides for a firm edge.

- Place the prepared crust in the freezer for 15-20 minutes to firm up while you prepare the filling.
For the Cheesecake Filling
- In a large mixing bowl, using a hand mixer or a stand mixer fitted with the paddle attachment, whip the room-temperature cream cheese, granulated sugar, and powdered sugar until the mixture is light, fluffy, and completely smooth, with no lumps. Incorporate the room-temperature sour cream, pure vanilla extract, and freshly squeezed lemon juice, mixing until everything is perfectly combined and ultra-creamy.24 ounces cream cheese, ½ cup granulated sugar, ¼ cup powdered sugar, ⅓ cup sour cream, 2 teaspoons pure vanilla extract, 2 teaspoons freshly squeezed lemon juice

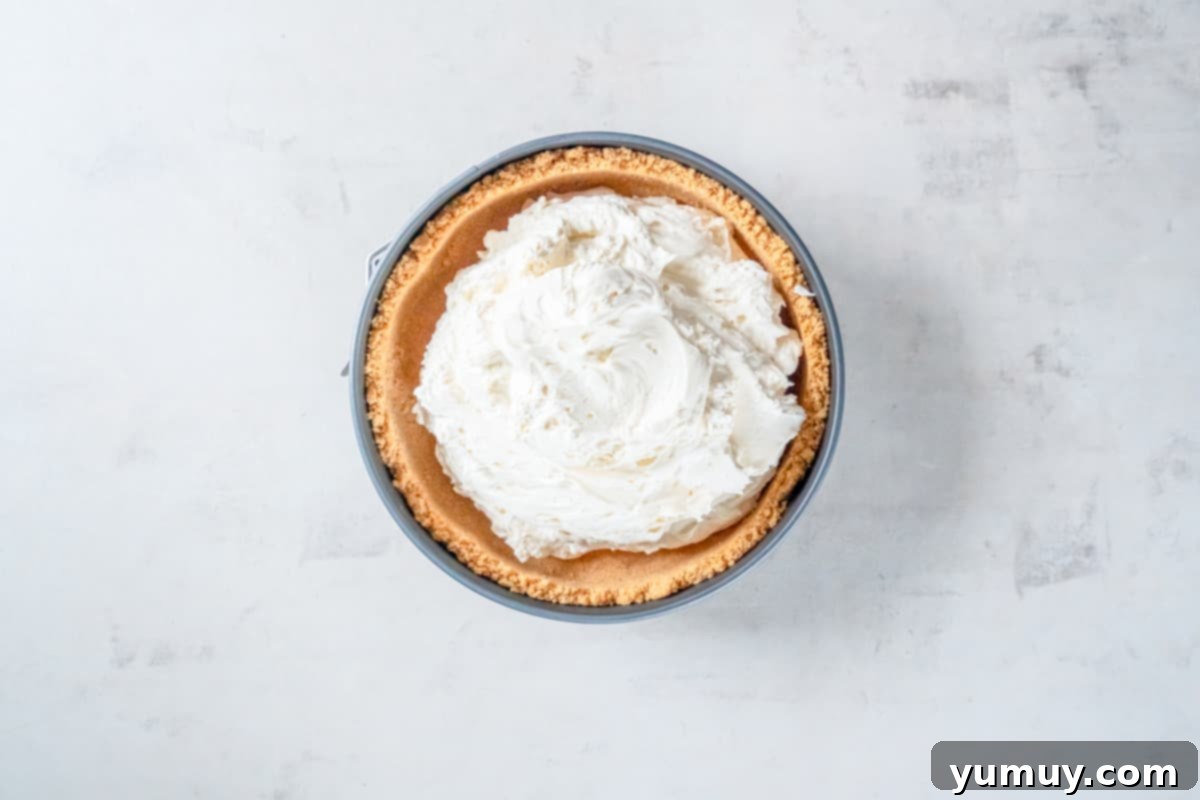
- Gently add the thawed whipped topping to the cream cheese mixture. Using a sturdy rubber spatula, carefully fold the whipped topping into the cream cheese mixture until it is just combined and uniformly smooth and creamy. The mixture will be quite thick, so a bit of effort is needed. Exercise caution not to overmix or use an electric mixer at this stage, as it can deflate the whipped topping and result in a less firm filling.8 ounces frozen whipped topping

- Carefully pour the creamy filling into the chilled graham cracker crust. Use an offset spatula or the back of a knife to gently spread the filling evenly across the crust and smooth the top surface for a polished look.

- Cover the cheesecake tightly with aluminum foil or plastic wrap. Refrigerate for at least 12 hours, or ideally overnight. The longer the cheesecake chills, the firmer and more perfectly set it will become, yielding cleaner slices.
- Before serving, run a thin knife along the outer edge of the graham cracker crust, between the crust and the springform pan, to loosen it. Carefully remove the sides of the springform pan. Slice and serve with your favorite toppings!
Notes for a Perfect Cheesecake
- Cream Cheese Temperature: For the smoothest filling, remember to take your cream cheese out of the refrigerator at least an hour before you plan to start baking. Room temperature cream cheese blends beautifully, ensuring a lump-free and silky-smooth cheesecake.
- Crumb Perfection: If you’re starting with whole graham crackers, a food processor or blender is your best friend for achieving fine, uniform crumbs essential for a well-structured crust.
- Firm Crust Foundation: Press the crust down as firmly and evenly as possible into the springform pan. A measuring cup’s flat bottom works wonders for this, creating a solid base that will perfectly support your luscious filling.
- The Power of Chill: Patience is key! For a truly firm cheesecake that holds its shape beautifully when sliced, it absolutely needs to set in the refrigerator for a minimum of 4 hours. However, for optimal results, chilling it overnight (12+ hours) is highly recommended. Skipping this crucial step will result in a texture more akin to a mousse, rather than a classic cheesecake.
- Clean Slicing Technique: To achieve beautifully clean slices, dip a sharp knife under hot running water for a few seconds, then wipe the blade clean with a warm, damp cloth between each cut. This prevents the filling from sticking and dragging.
- Customizable Toppings: While I adore serving this with stabilized whipped cream and fresh, vibrant strawberries, the possibilities are endless! Consider adding a luscious cherry pie filling, zesty lemon curd, or a sweet blueberry compote for delightful variations.
Storage: Keep any leftover no-bake cheesecake in an airtight container. It will stay fresh in the refrigerator for up to 5 days. For longer storage, you can freeze it for up to 1 month. Enjoy it straight from the freezer for a firmer, almost ice-cream-like texture, or let it thaw briefly in the refrigerator before serving.
Calories from Fat 351
@easydessertrecipes
for a chance to be featured.
Crafting Perfection: Your Step-by-Step Guide to No-Bake Cheesecake
Creating this delightful no-bake cheesecake is a straightforward process, broken down into simple, manageable steps. Follow along to ensure every component, from the crust to the creamy filling, is prepared to perfection.
Step 1: Gather and Prepare Your Ingredients
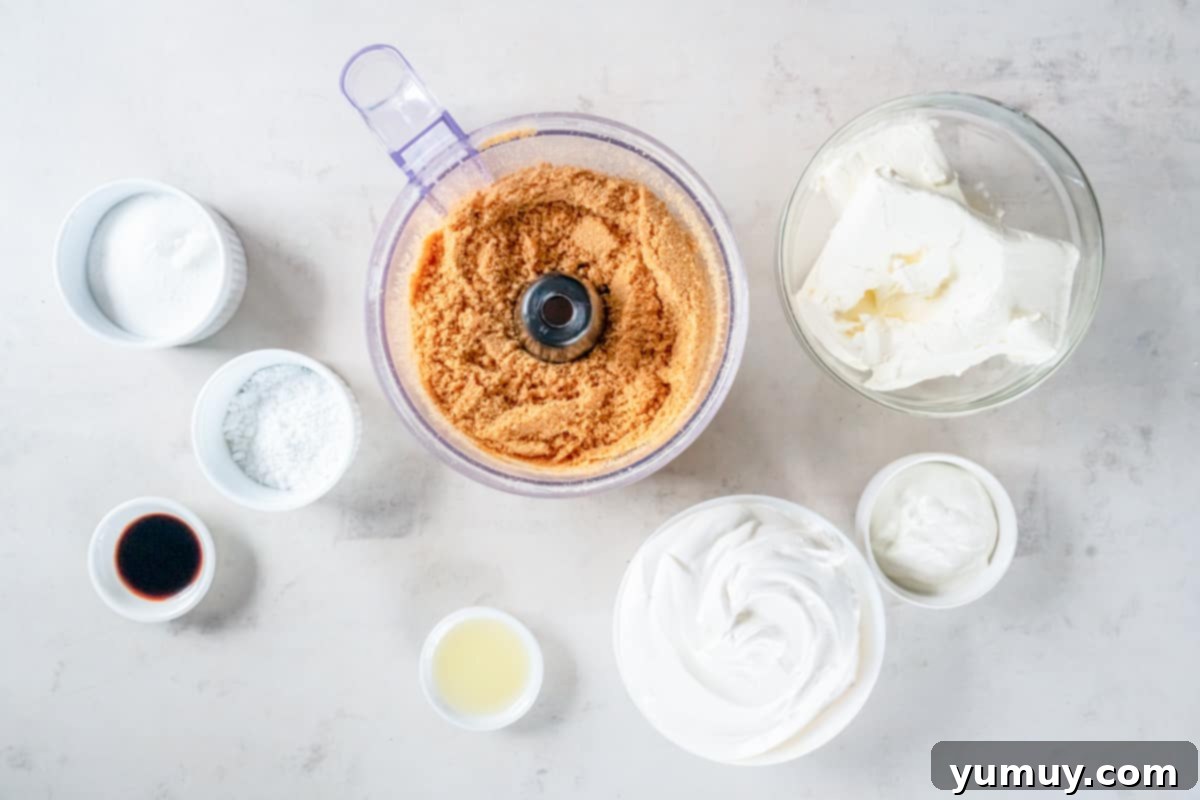
Before you begin mixing, ensure all your ingredients are ready and at the correct temperature. If using frozen whipped topping, transfer it to your refrigerator at least 4 hours in advance to allow for complete thawing. Melt the butter for the crust and, crucially, allow your cream cheese and sour cream to come to room temperature for 30-60 minutes. This step is vital for achieving a smooth, lump-free cheesecake filling. Having everything prepped makes the rest of the process seamless.
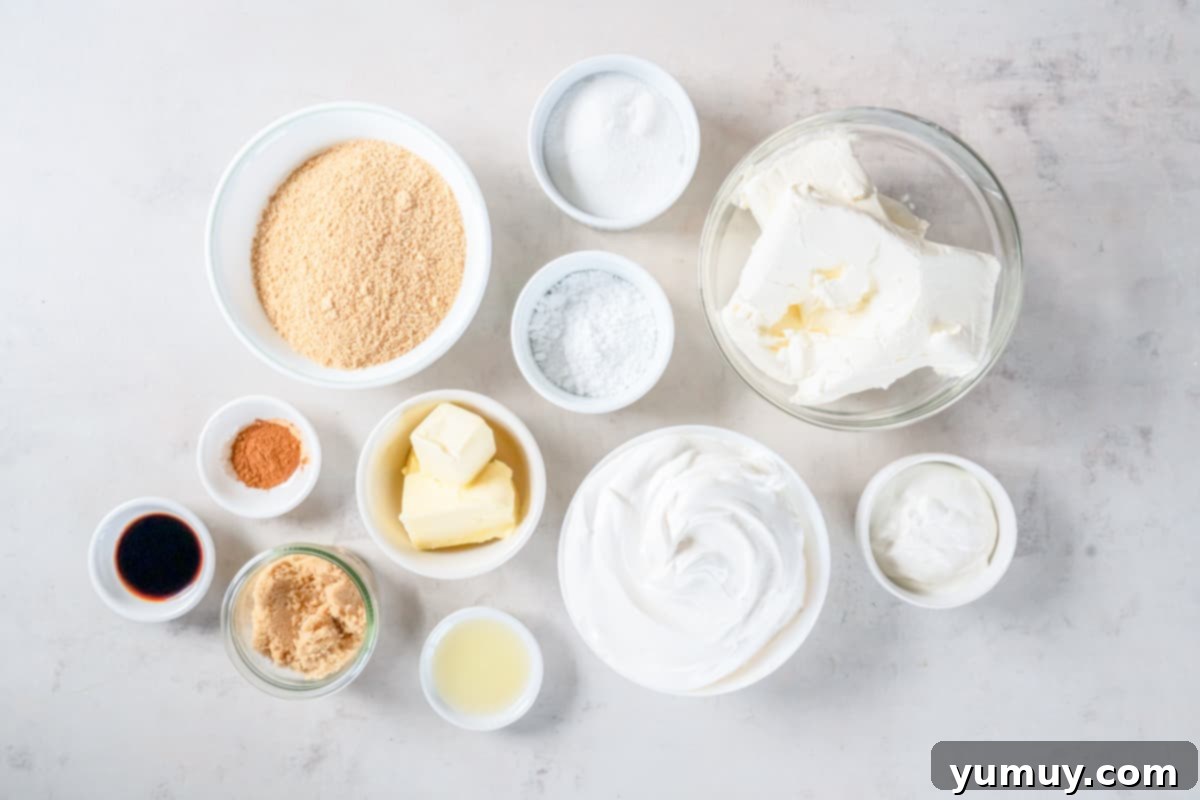
Step 2: Prepare the Buttery Graham Cracker Crust
In a mixing bowl, combine 2 cups of graham cracker crumbs with ⅓ cup of brown sugar. Use a fork to thoroughly mix the ingredients and break apart any clumps of brown sugar. Pour in 8 tablespoons of melted unsalted butter and continue stirring until the graham cracker crumbs are uniformly coated and resemble wet sand. This ensures a rich, flavorful, and cohesive crust.
Step 3: Press and Chill the Crust
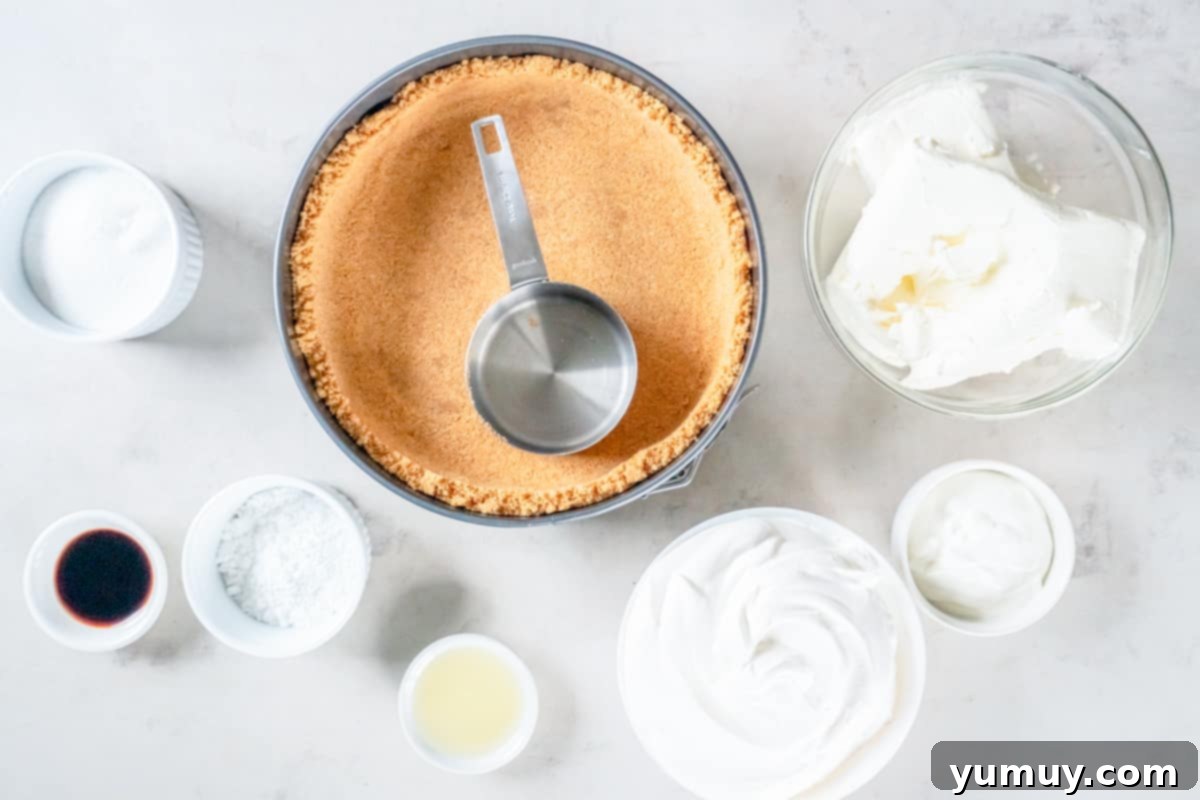
Transfer the buttered graham cracker mixture into a 9-inch springform pan. Using the bottom of a sturdy measuring cup or a flat-bottomed glass, firmly and evenly press the crumbs across the bottom and slightly up the sides of the pan. Pay particular attention to pressing into the crease where the bottom meets the sides to create a well-defined edge. Once packed, place the pan into the freezer for 15-20 minutes. This chilling step helps the crust set and prevents it from becoming soggy once the filling is added.
Step 4: Create the Silky Cream Cheese Filling
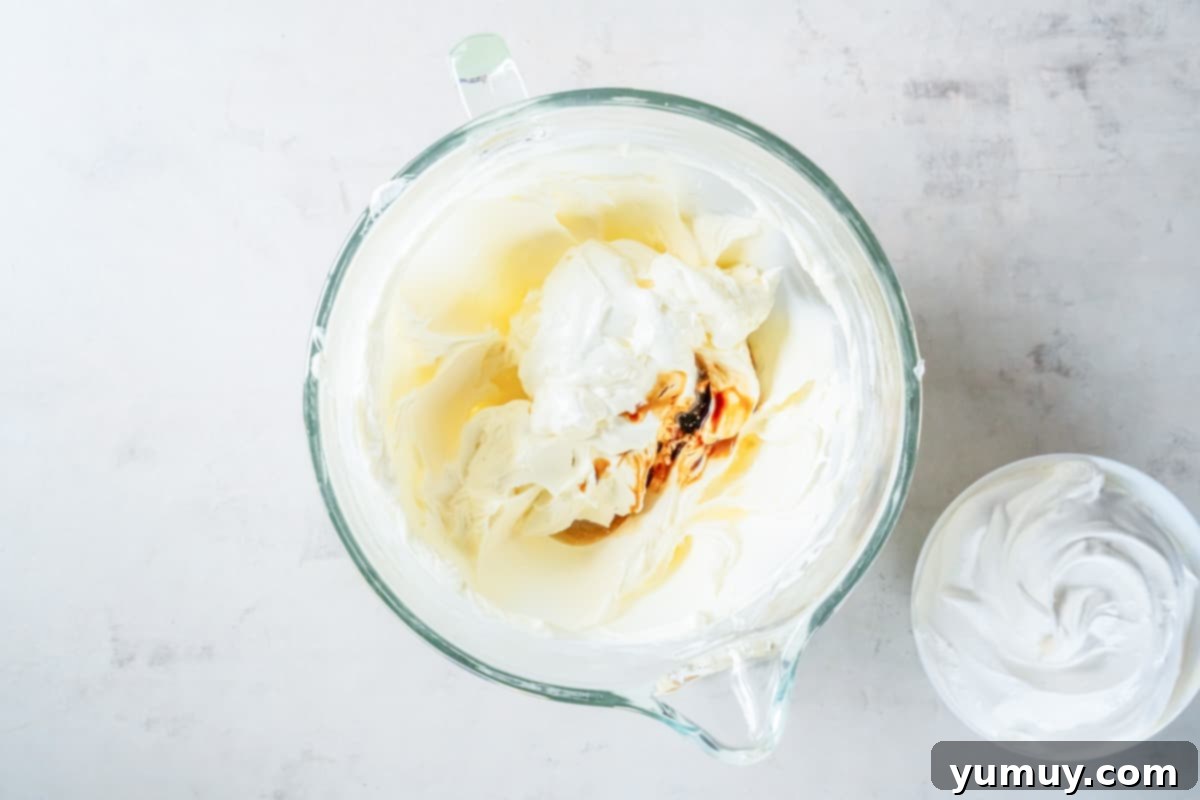
While your crust is chilling, begin preparing the decadent filling. In a large mixing bowl, combine 24 ounces (approximately three standard bricks) of room-temperature cream cheese with ½ cup of granulated sugar and ¼ cup of powdered sugar. Using a hand mixer or a stand mixer with the paddle attachment, whip the ingredients until the mixture becomes incredibly light, airy, and completely free of lumps. Next, add ⅓ cup of room-temperature sour cream, 2 teaspoons of pure vanilla extract, and 2 teaspoons of freshly squeezed lemon juice. Continue mixing until the entire filling is perfectly smooth, homogeneous, and wonderfully creamy. The lemon juice adds a crucial bright tang that balances the richness of the cream cheese.
Step 5: Gently Fold in the Whipped Topping
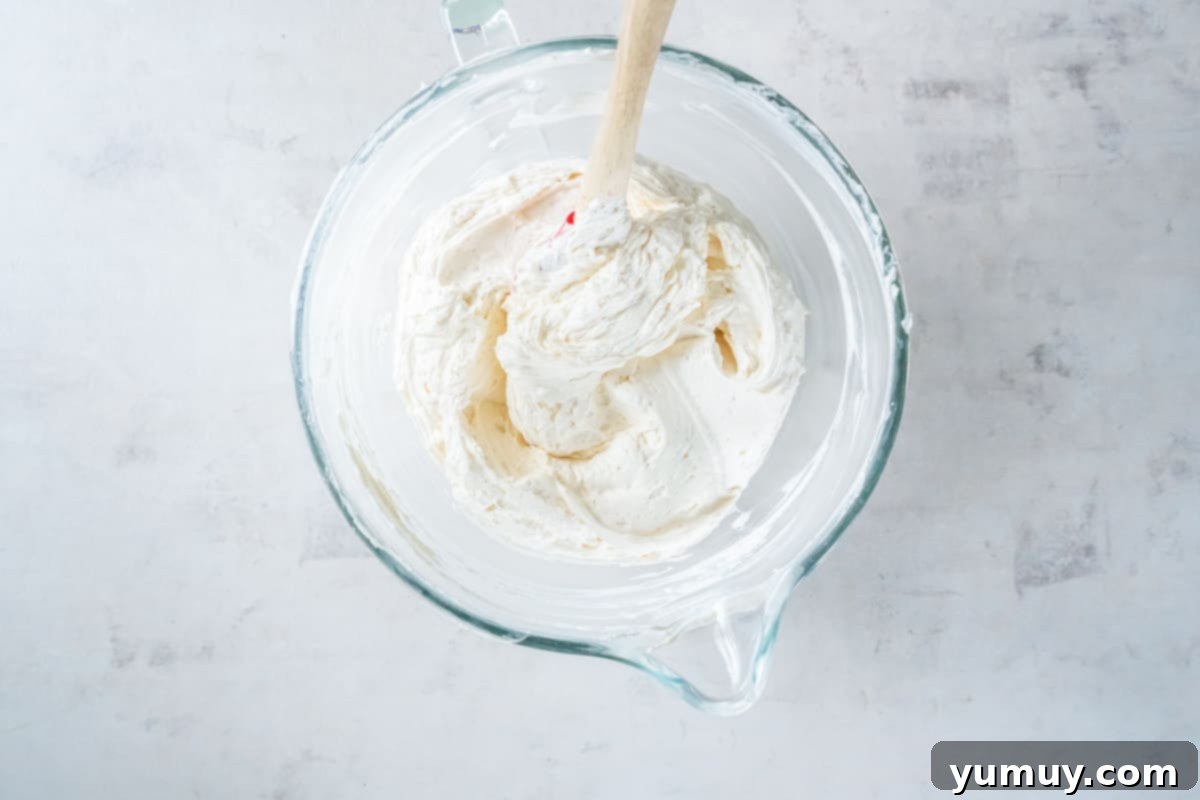
This is a critical step for achieving the ideal no-bake cheesecake texture. Take 8 ounces of thawed frozen whipped topping and add it to your cream cheese mixture. Using a sturdy rubber spatula, gently fold the whipped topping into the cream cheese base. The goal is to incorporate it fully until the mixture is completely combined, smooth, and creamy, without deflating the airiness of the whipped topping. The mixture will be quite thick, so some manual effort is required. It’s imperative not to overmix or use your electric mixer during this stage, as overmixing will result in a softer, less firm filling that won’t hold its shape as desired.
Step 6: Set Your Cheesecake to Perfection
Pour the prepared cheesecake filling into the chilled graham cracker crust. Use an offset spatula or the back of a knife to carefully spread the filling evenly across the crust, creating a smooth and appealing top surface. Once smoothed, cover the cheesecake tightly with aluminum foil or plastic wrap. This is crucial for preventing absorption of refrigerator odors and maintaining moisture. Refrigerate the cheesecake for a minimum of 12 hours, or ideally, overnight. The longer it chills, the firmer and more perfectly set your cheesecake will be, which is essential for clean and beautiful slices. Before serving, gently run a thin knife around the outer edge of the crust and the springform pan to loosen it before removing the pan sides. Slice, garnish, and enjoy your masterpiece!
Storage Guidelines for Your No-Bake Cheesecake
Proper storage ensures your delicious no-bake cheesecake stays fresh and enjoyable for as long as possible. Leftover cheesecake should be stored in an airtight container to prevent it from absorbing odors from the refrigerator and to maintain its creamy texture. When refrigerated, it will keep beautifully for up to 5 days. If you wish to extend its shelf life, this cheesecake freezes exceptionally well. Wrap individual slices or the entire cheesecake tightly in plastic wrap, then place it in an airtight freezer-safe container or bag. It can be stored in the freezer for up to 1 month. You can enjoy frozen slices straight from the freezer for a firmer, almost ice-cream-like treat, or allow them to thaw for a few hours in the refrigerator to return to their classic creamy consistency.
Customization and Serving Ideas for Your No-Bake Cheesecake
While this classic no-bake cheesecake recipe is perfect on its own, it also serves as an excellent canvas for a myriad of flavor variations and delightful toppings. Unleash your creativity and personalize your dessert to suit any occasion or preference.
- Fruit Sensations: Beyond fresh strawberries, consider a medley of blueberries, raspberries, or sliced peaches. A homemade fruit compote or a vibrant berry coulis can add both color and an extra layer of flavor.
- Citrus Zest: For an extra zing, increase the lemon juice to 3 teaspoons or add a tablespoon of finely grated lemon, lime, or orange zest to the cream cheese filling. This brightens the flavor profile beautifully.
- Chocolate Lover’s Dream: Swirl in some melted and cooled chocolate or a few tablespoons of cocoa powder into the filling for a chocolate no-bake cheesecake. Top with chocolate shavings or a drizzle of ganache.
- Caramel & Nuts: A generous drizzle of salted caramel sauce and a sprinkle of toasted pecans or walnuts can transform this into a rich, nutty indulgence.
- Pie Filling Magic: As mentioned, classic cherry pie filling is always a hit, but don’t stop there! Apple pie filling, peach pie filling, or even a spiced pumpkin puree can offer seasonal variations.
- Cookie Crumble: Instead of graham crackers, experiment with other crushed cookies for the crust. Oreos, Nilla Wafers, shortbread, or even gingersnaps can create unique flavor pairings.
Frequently Asked Questions About No-Bake Cheesecake
Have questions about perfecting your no-bake cheesecake? Here are answers to some common queries to help you achieve the best possible dessert.
Q: Can I use homemade whipped cream instead of frozen whipped topping?
A: Yes, absolutely! For a truly homemade touch, you can use 1½ cups of freshly whipped heavy cream. Ensure it’s whipped to stiff peaks before gently folding it into the cream cheese mixture, just as you would with frozen whipped topping, to maintain that airy texture.
Q: Why did my no-bake cheesecake not set properly?
A: The most common reasons are not chilling it long enough (it needs at least 4 hours, ideally overnight) or overmixing the whipped topping into the cream cheese, which can break down its structure. Ensure your cream cheese is at room temperature for a smooth blend and fold the whipped topping in gently.
Q: Can I make this cheesecake in advance for a party?
A: This no-bake cheesecake is an excellent make-ahead dessert! Because it requires extensive chilling time, it’s perfect to prepare a day or even two in advance. This allows it ample time to set beautifully and frees up your schedule on the day of your event.
Q: How do I get a perfectly smooth top on my cheesecake?
A: After pouring the filling into the crust, use an offset spatula or the back of a spoon that has been slightly warmed. Work quickly and gently to spread and smooth the surface. A light tap on the counter can also help settle the filling and remove any air pockets.
Q: Is it possible to make individual no-bake cheesecakes?
A: Yes! This recipe is highly adaptable for individual servings. You can press the graham cracker crust into muffin tins lined with paper liners or small ramekins/dessert glasses. Reduce the chilling time slightly for smaller portions, but still aim for at least 2-3 hours to ensure they are fully set.
More No Bake Cheesecake Recipes to Try!
No Bake Lemon Cheesecake Bars
Cheesecake Mousse
No Bake Frosted Animal Cookie Cheesecake
No Bake Chocolate Cheesecake Mousse
Browse All Cheesecakes
