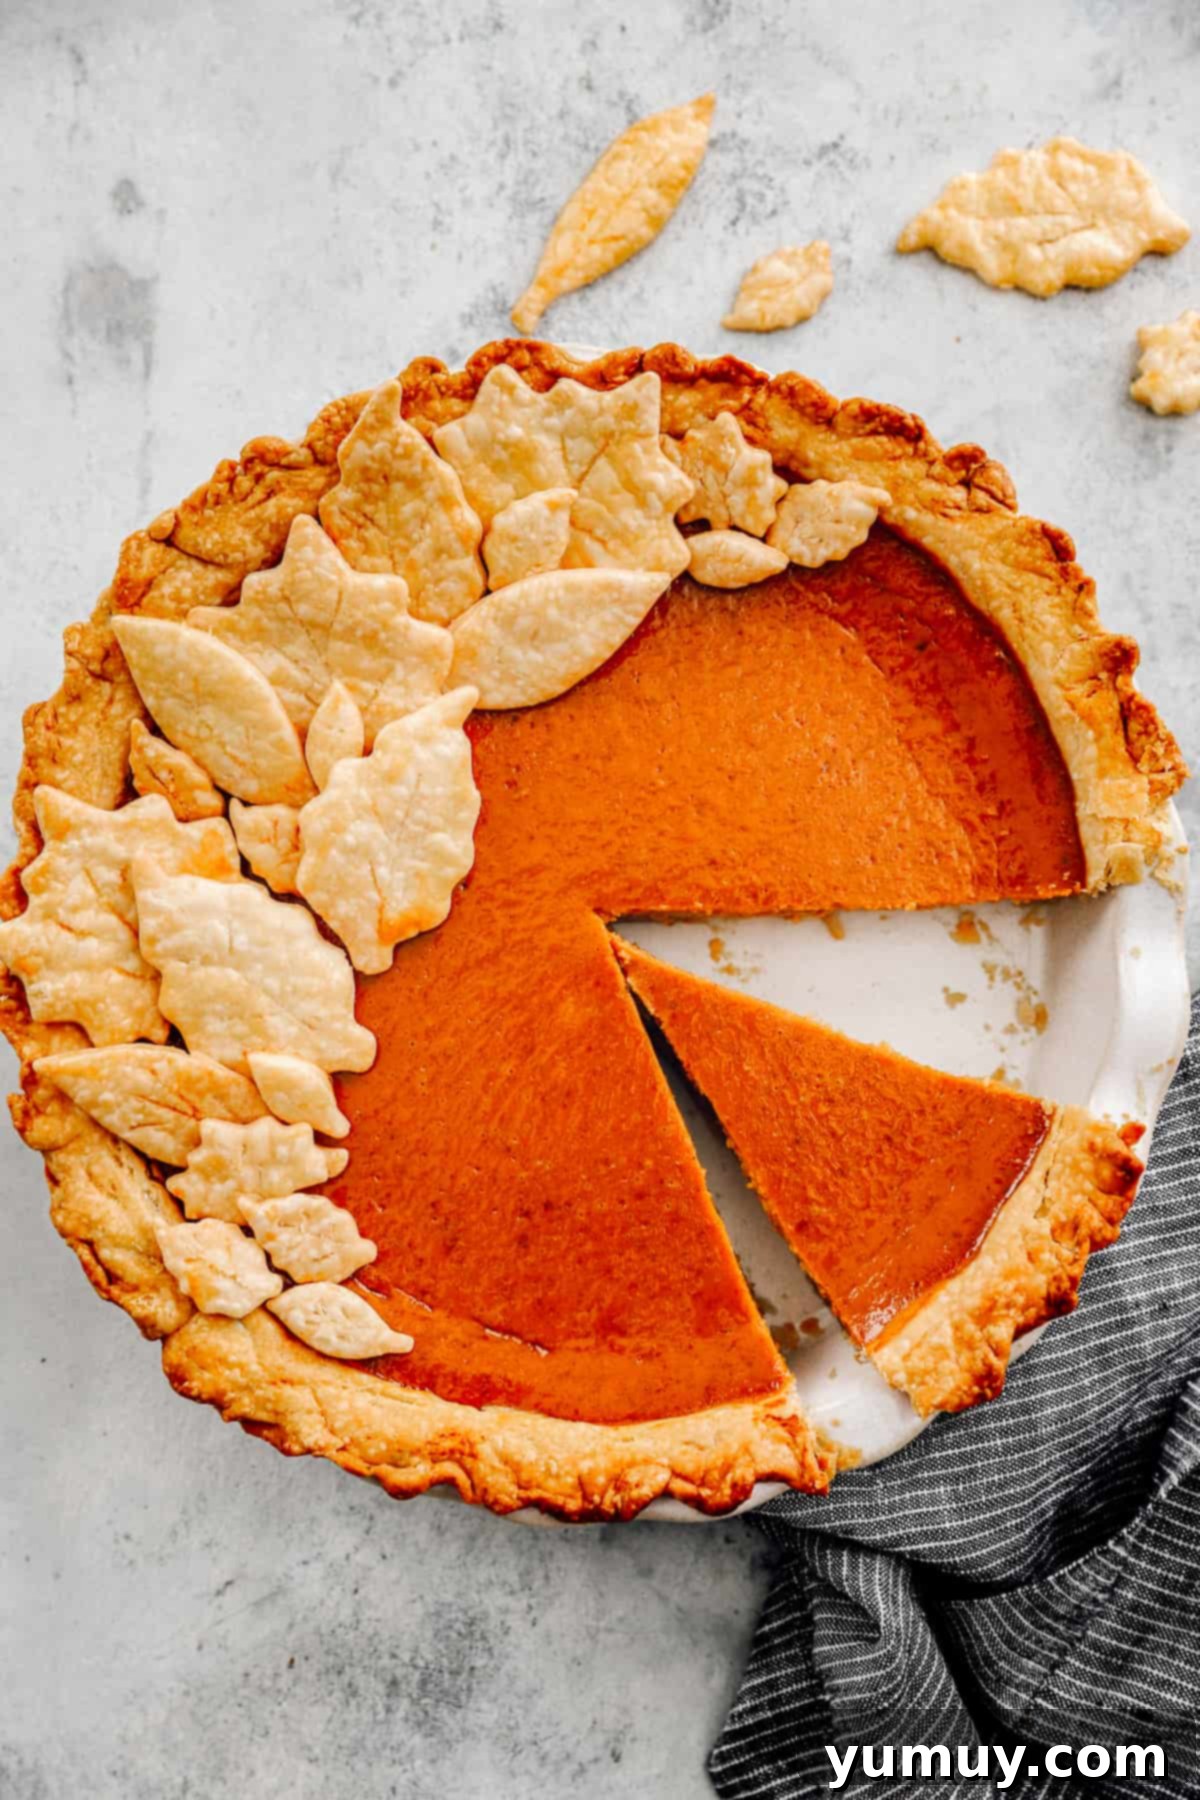
There’s a reason pumpkin pie holds a cherished spot at every holiday table, especially during Thanksgiving: it’s a comforting classic that perfectly embodies the flavors of autumn. This easy pumpkin pie recipe delivers a consistently silky, richly spiced custard that’s effortlessly delicious. Crafted with convenient canned pumpkin, smooth evaporated milk, and the deep sweetness of brown sugar, it creates a luscious filling encased in a perfectly crisp, store-bought crust. It’s my absolute favorite go-to when I crave that authentic homemade taste without any of the fuss. Prepare to impress your guests with this no-fail, perfectly balanced pumpkin pie that’s sure to become a seasonal staple in your kitchen!
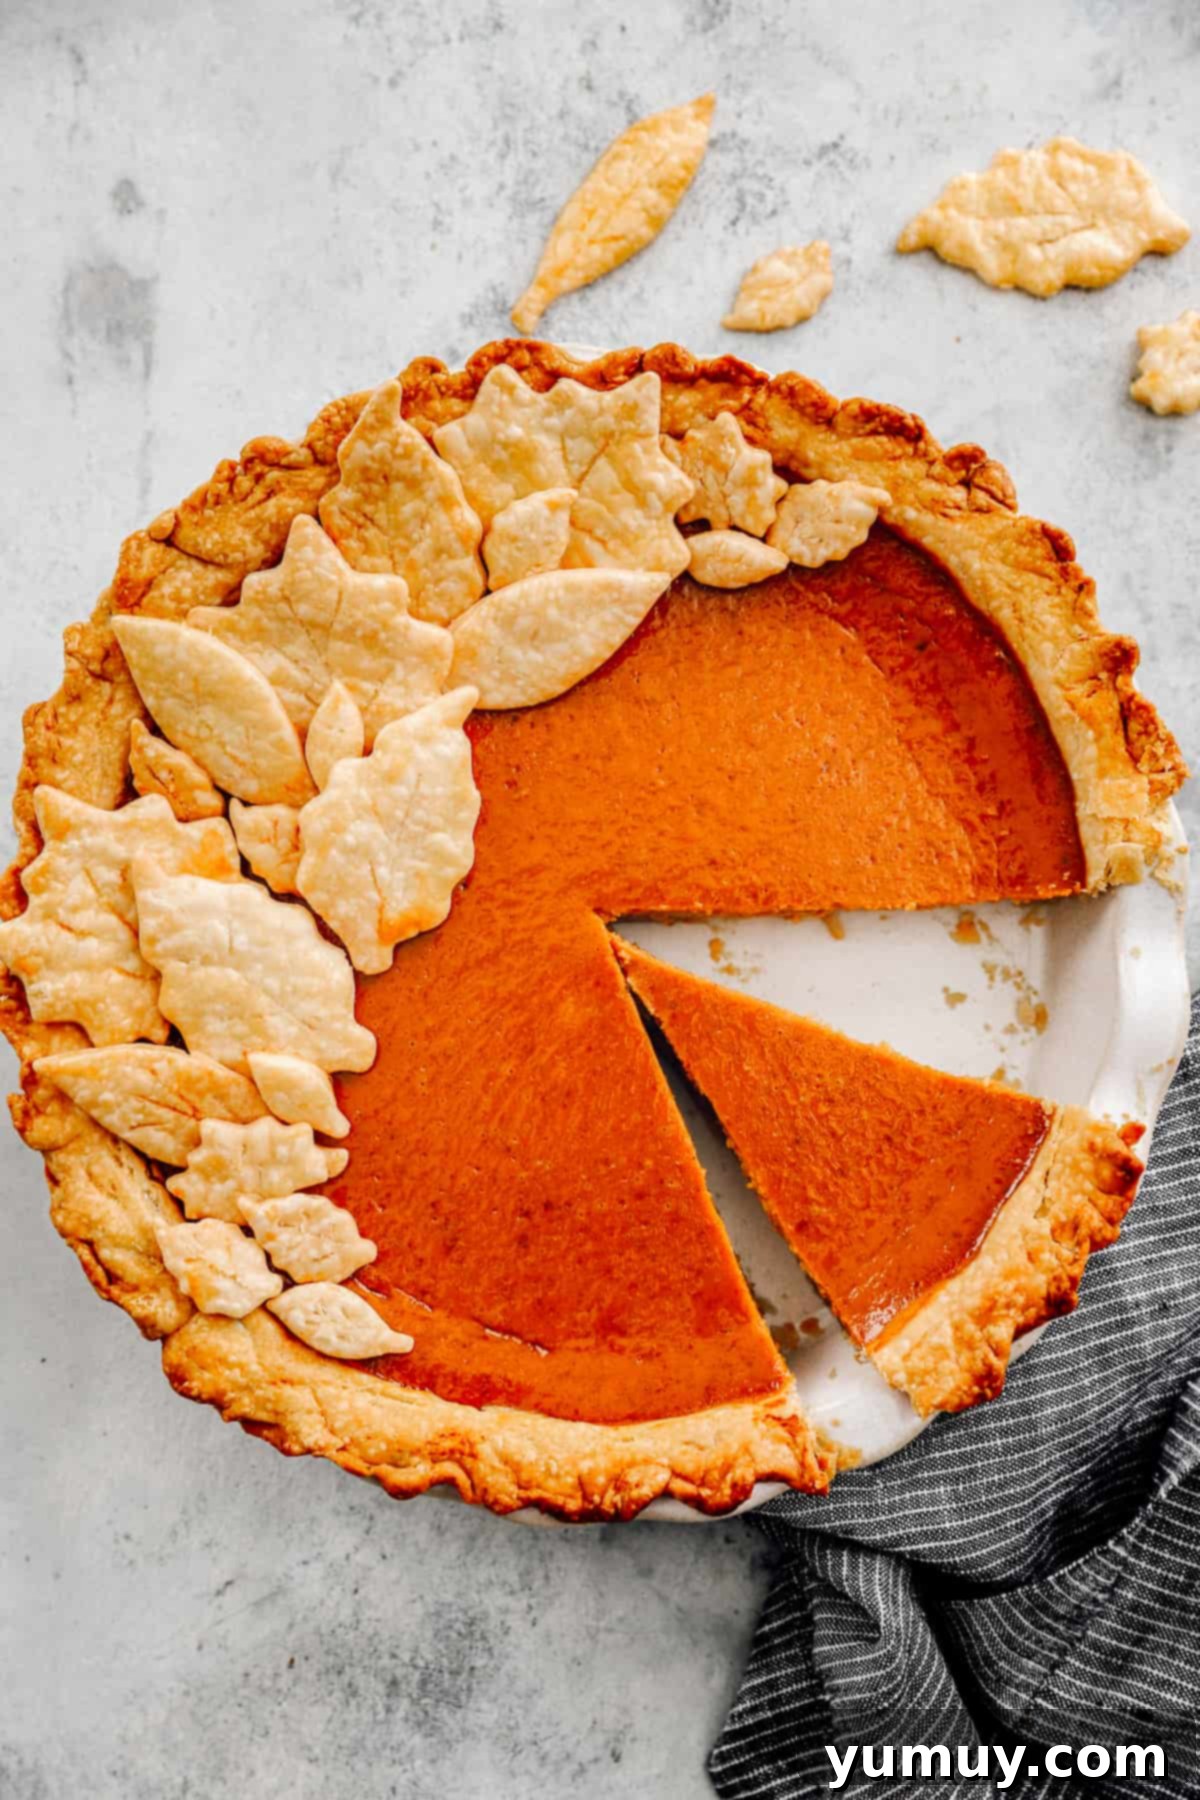
The Ultimate Easy Pumpkin Pie Recipe: A Thanksgiving Classic
Anticipation builds all year for that first incredible bite of this brown sugar pumpkin pie! Its rich, custardy texture and the harmonious blend of warm spices are simply irresistible. This recipe features a velvety pumpkin pie filling made with evaporated milk and brown sugar, contributing to a light, silken consistency and an irresistible caramel-like depth. By utilizing readily available canned pumpkin puree and a refrigerated pie crust, the preparation remains incredibly straightforward, allowing you to create this masterpiece in just over an hour. This beautiful dessert consistently earns rave reviews as the crowd-pleasing Thanksgiving pie, and no one will ever guess how truly simple it was to make!
The Secret to a Perfectly Crisp Pie Crust: Bake on the Lower Rack
One of the most common challenges with pumpkin pie is a soggy bottom crust. My simple, foolproof trick for achieving the crispiest bottom crust every single time is to bake your pumpkin pie on the lower third rack of the oven. This strategic placement ensures the crust is closer to the direct heat source, promoting even browning and a delightful crispness, all while the delicate custard filling sets perfectly above. This ingenious method eliminates the need for blind baking or any additional prep steps, making your Thanksgiving pumpkin pie not only visually stunning but also texturally perfect from top to bottom. Say goodbye to soggy crusts and hello to a golden, flaky foundation for your delectable pumpkin filling!

Easy Pumpkin Pie Recipe
20 minutes
1 hour
3 hours
20 minutes
2 hours
8 slices
Ingredients
For the Egg Wash
- 1 large egg
- 2 teaspoons water
For the Pie
- 1 (9-inch) refrigerated pie crust *
- 15 ounces pumpkin puree (1 can)**
- 2 large eggs
- 12 ounces evaporated milk (1 can)***
- ¾ cup brown sugar
- 1 tablespoon cornstarch
- 2 teaspoons pumpkin pie spice ****
- 1 teaspoon pure vanilla extract
- ½ teaspoon kosher salt
Equipment
- Kitchen Scale (optional)
- Pie Pan
Instructions
- Preheat oven to 400°F (200°C) and set the rack to the lowest position.
- In a small bowl, prepare the egg wash by beating 1 large egg with 2 teaspoons of water. Set aside.

- Place the pie dough into an ungreased 9 or 10-inch pie dish. Gently press the pie dough into the bottom and up the sides of the dish. Trim any excess crust from the edges. If using an already prepared pie crust in a tin, simply make sure to take it out of the refrigerator.

- Pinch the edges of the dough around the pie dish for a decorative finish. Brush the pie dough edges with the egg wash to achieve a golden, crisp crust. Set aside.

- In a large bowl, whisk together the 15 ounces (1 can) of pumpkin puree, 2 large eggs, 12 ounces (1 can) of evaporated milk, and ¾ cup of brown sugar until well combined and smooth.

- To the pumpkin mixture, add 1 tablespoon of cornstarch, 2 teaspoons of pumpkin pie spice, 1 teaspoon of pure vanilla extract, and ½ teaspoon of kosher salt. Stir thoroughly until all dry ingredients are fully incorporated and the filling is smooth.

- Carefully pour the prepared pumpkin filling into your pie shell. Bake for 15 minutes in the preheated 400°F (200°C) oven.

- Reduce the oven temperature to 350°F (175°C). Cover the edges of the pie crust with aluminum foil or a pie shield to prevent over-browning. Continue to bake for another 40-45 minutes, or until the edges of the filling are set but the center still has a slight jiggle. If using a thermometer, the internal temperature should reach 175-180°F (79-82°C).

- Once baked, remove the pie from the oven and let it cool completely on a wire rack for at least 2 hours before slicing and serving. This allows the custard to fully set.
Notes
** Pumpkin Puree: Always ensure you’re using 100% pure pumpkin puree, not pumpkin pie filling. Pie filling already contains added sugars and spices, which will significantly alter the flavor and texture of your finished pie.
*** Evaporated Milk Substitutions: If evaporated milk is not available, you can substitute an equal amount of half-and-half, heavy cream, or full-fat coconut milk to achieve a similar rich and creamy texture. Sweetened condensed milk is not recommended as it contains added sugar and will result in a much denser and sweeter pie, disrupting the intended balance of this recipe.
**** Homemade Pumpkin Pie Spice: No pumpkin pie spice on hand? No problem! You can easily create your own blend by mixing 1 teaspoon of ground cinnamon, ½ teaspoon of ground ginger, ¼ teaspoon of ground nutmeg, and ⅛ teaspoon of ground cloves.
Tips for Success:
- If you desire an exceptionally crispier crust, consider blind baking the crust for 10 minutes at 350°F (175°C) before adding the filling. Remember to line it with parchment paper and fill with pie weights (or dried beans) to prevent bubbling and shrinkage.
- To further aid in achieving a perfectly crisp bottom crust and prevent sogginess, preheat a baking sheet in your oven and place your pie dish directly on it before baking. This provides an additional boost of direct heat to the bottom of the crust.
- For a charming decorative touch, use a second store-bought crust (if your package includes one) and mini leaf cookie cutters to create small pastry leaves. Arrange these leaves artfully on top of a portion of the pie filling before baking for an elevated presentation.
- Your pumpkin pie is perfectly cooked when the edges of the filling are set and firm, but the very center still exhibits a slight, gentle jiggle when the pie is lightly shaken. If you use a food thermometer, the internal temperature should register between 175-180°F (79-82°C). The pie will continue to set and firm up significantly as it cools.
- To prevent unsightly cracks from forming on the surface of your pie, allow it to cool slowly and gradually on a wire rack, away from any cold drafts or sudden temperature changes.
- For impeccably clean and neat slices, ensure the pie is thoroughly chilled before attempting to cut it. Wipe your knife clean with a damp cloth after each slice to prevent sticking and maintain sharp edges.
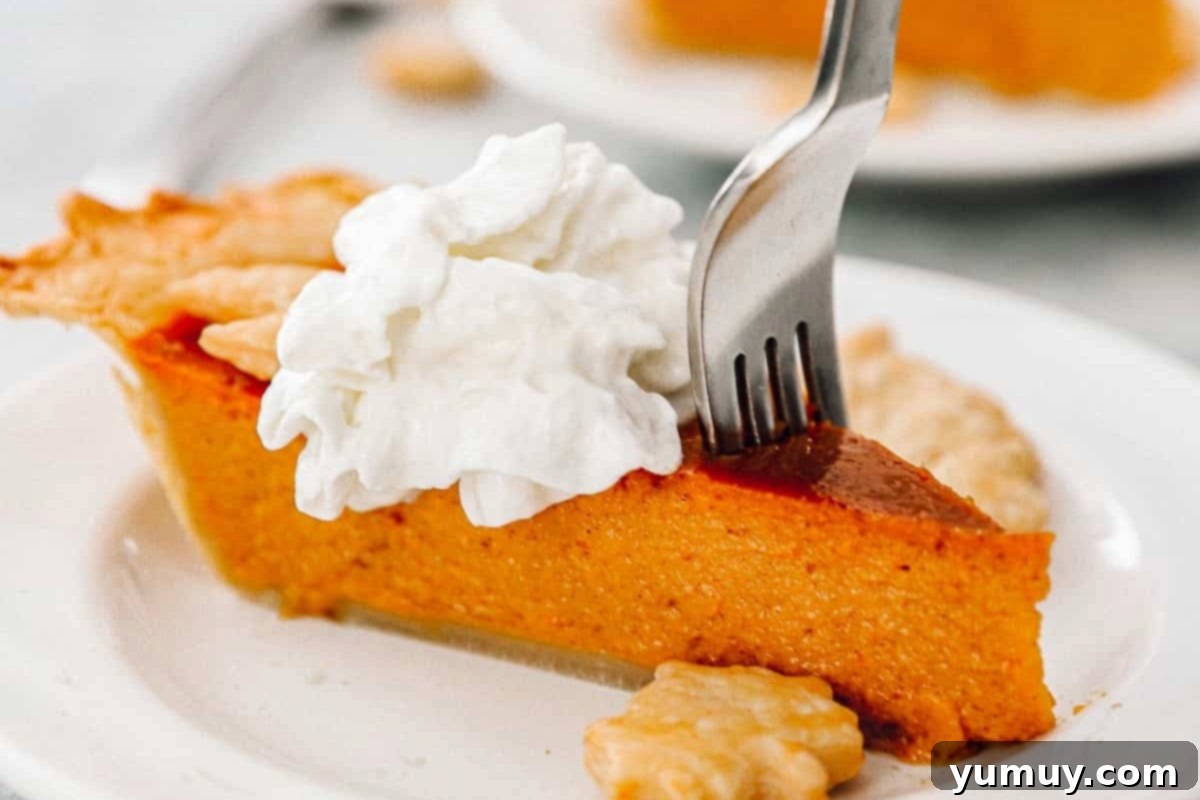
- Enhance your pumpkin pie experience by serving it with a generous dollop of homemade whipped cream, a dusting of cinnamon sugar, or even a drizzle of caramel sauce.
Make-Ahead & Storage: You can conveniently prepare this pumpkin pie a day in advance. Simply cover it loosely with plastic wrap or aluminum foil and refrigerate. Many find that the flavors meld and deepen overnight, making it taste even better the next day! Store any leftover pumpkin pie in an airtight container in the refrigerator for up to 4 days. For longer storage, wrap it tightly in plastic wrap and then aluminum foil, and freeze for up to 1 month. Thaw overnight in the refrigerator before serving chilled or at room temperature.
Calories from Fat 99
Becky Hardin
Essential Ingredients for Your Best Pumpkin Pie
Crafting the perfect pumpkin pie starts with understanding the role of each ingredient. This recipe simplifies the process while maximizing flavor and texture.
Canned Pumpkin vs. Fresh Pumpkin Purée
While fresh pumpkin puree offers a certain rustic charm, high-quality canned pumpkin puree is your secret weapon for consistency and convenience. It’s consistently smooth, perfectly cooked, and ready to use, saving you significant prep time. Always remember to use 100% pure pumpkin puree, not pumpkin pie filling, which already contains added sugars and spices that would throw off the delicate balance of our recipe.
The Magic of Evaporated Milk
Evaporated milk is crucial for achieving that signature silky, custardy texture in pumpkin pie. Unlike regular milk, evaporated milk has about 60% of its water removed, resulting in a richer, creamier liquid without adding extra fat or heavy cream. This concentration gives the pie a luxurious mouthfeel and contributes to its stability, preventing a watery filling. If you’re out of evaporated milk, half-and-half or heavy cream can be used as a substitute, but avoid sweetened condensed milk, as it will make your pie overly sweet and dense.
Brown Sugar for Depth of Flavor
Brown sugar isn’t just for sweetness; its molasses content adds a wonderful depth and caramel-like undertone that perfectly complements the pumpkin and spices. This subtle complexity is what elevates this pie from good to unforgettable, providing a richer, more nuanced flavor profile than white sugar alone.
Spice Blend for Aromatic Perfection
The pumpkin pie spice blend is where the magic happens, infusing the pie with its characteristic warm and inviting aroma. Typically a mix of cinnamon, ginger, nutmeg, and cloves, it creates a comforting bouquet that signals the arrival of the holiday season. If you don’t have a pre-mixed spice blend, you can easily create your own with individual spices (see notes in the recipe card).
How to Make Pumpkin Pie Step-by-Step
Creating this delicious pumpkin pie is simpler than you might imagine. Follow these detailed steps for a flawless dessert.
Preparing Your Pie Crust
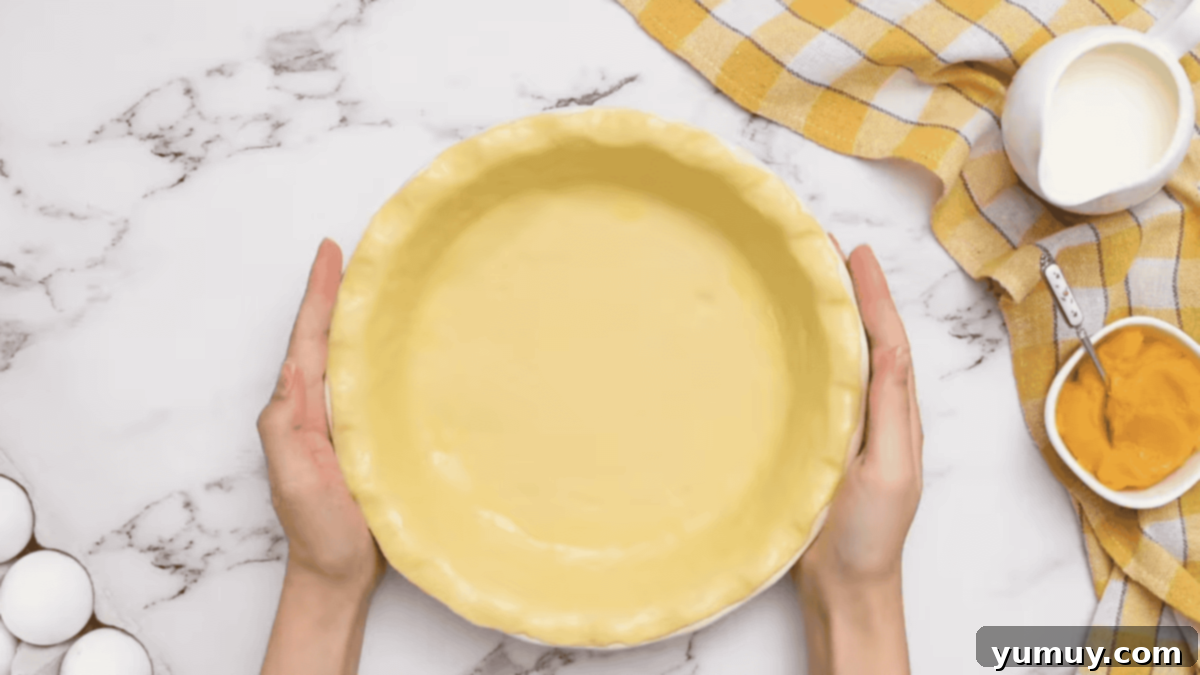
Begin by preheating your oven to 400°F (200°C) and positioning the oven rack on the lowest setting. This lower placement is key for a well-cooked, crisp bottom crust. Next, prepare your egg wash by whisking one large egg with two teaspoons of water in a small bowl; set this aside. Carefully unroll your 9-inch refrigerated pie crust and fit it into an ungreased 9 or 10-inch pie dish. Gently press the dough against the bottom and up the sides of the dish, ensuring an even layer. Trim any excess dough from the edges, then create a decorative crimp around the rim by pinching it. Finally, brush the crimped edges generously with your prepared egg wash. This will give your crust a beautiful golden sheen and extra crispness once baked.
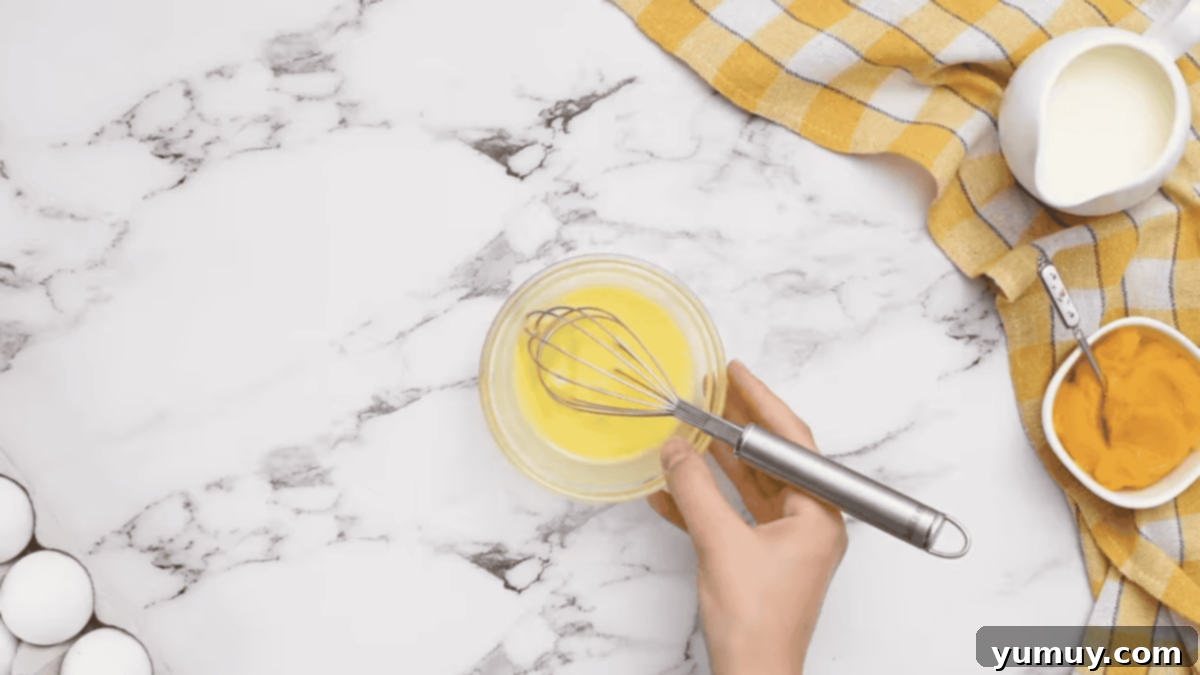
For those opting for a ready-made crust in an aluminum tin, simply remove it from the refrigerator right before you’re ready to fill it. If you prefer to make your own from scratch, my food processor pie crust recipe is a quick and easy alternative that yields fantastic results.
Crafting the Silky Pumpkin Filling
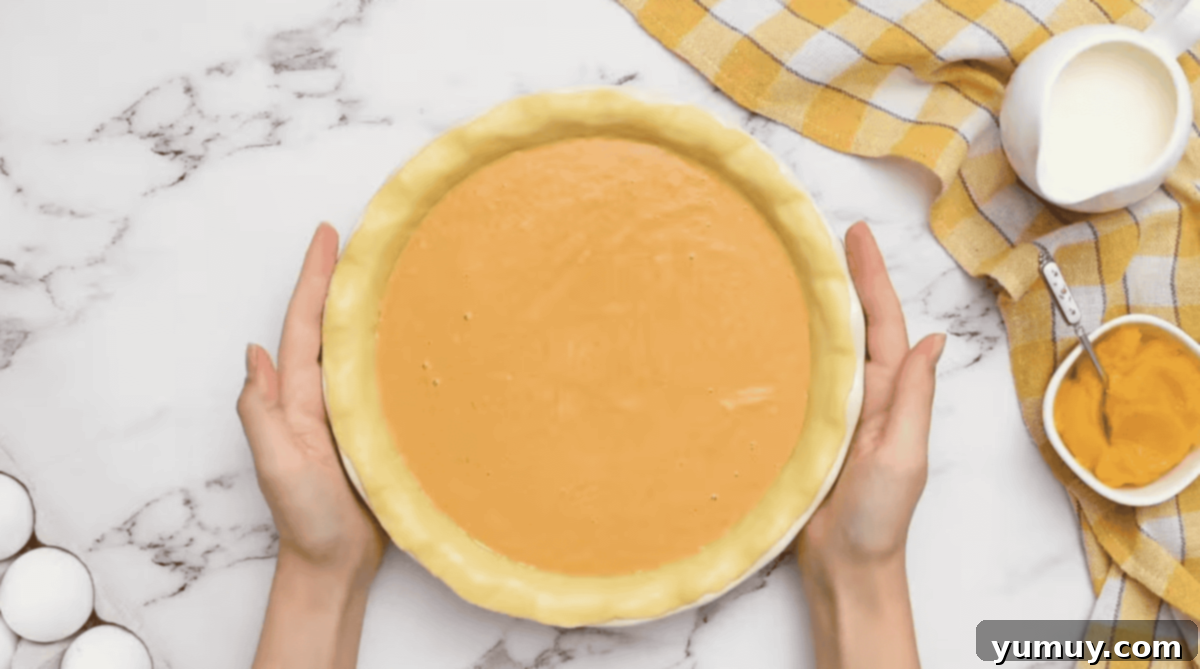
In a large mixing bowl, combine the 15 ounces (one can) of pure pumpkin puree, two large eggs, 12 ounces (one can) of evaporated milk, and ¾ cup of brown sugar. Whisk these wet ingredients together until they are thoroughly blended and smooth. Next, add the dry flavorings: one tablespoon of cornstarch (which helps stabilize the custard), two teaspoons of pumpkin pie spice, one teaspoon of pure vanilla extract, and ½ teaspoon of kosher salt. Stir everything until all the spices and cornstarch are fully incorporated, ensuring there are no lumps. The filling should be a beautiful, uniform orange hue and smell wonderfully aromatic. Pour this rich, creamy filling into your prepared pie shell.
Baking for Perfection
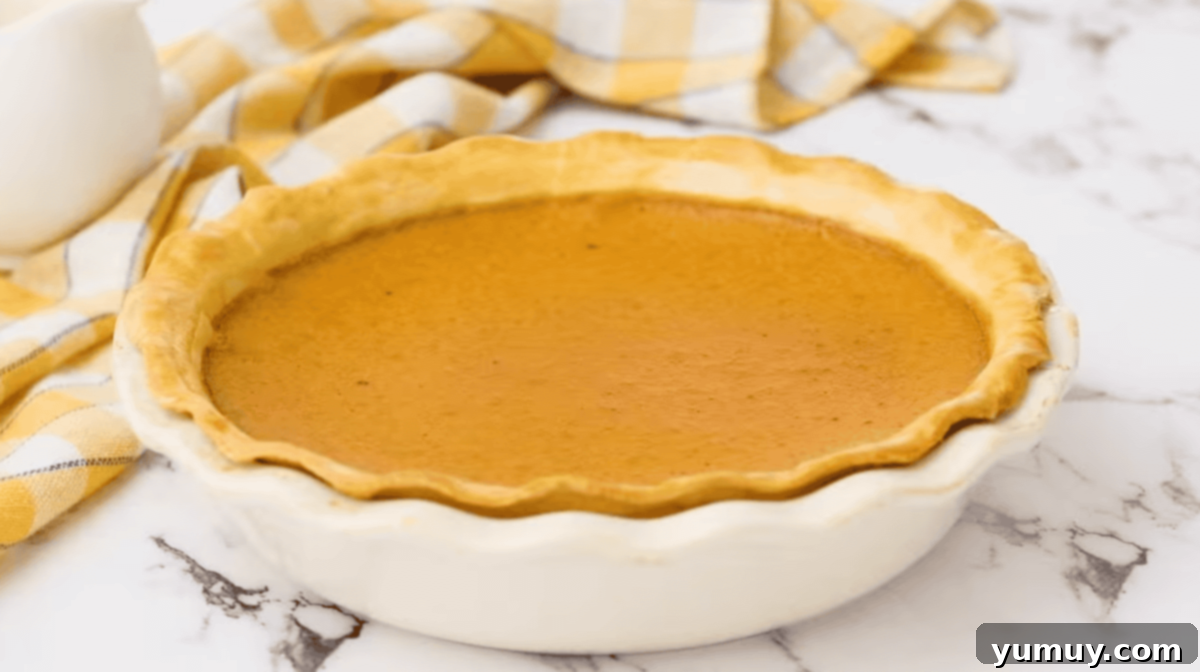
Place your pumpkin pie carefully on the bottom rack of your preheated 400°F (200°C) oven. I highly recommend placing the pie dish on a sturdy baking sheet; this not only protects your oven from any potential spills but also helps the pie bake more evenly and contributes to a crispier bottom crust. Bake at this initial high temperature for 15 minutes. This hot start helps the crust set quickly. After 15 minutes, reduce the oven temperature to 350°F (175°C). At this point, it’s crucial to cover the edges of your pie crust with aluminum foil or a specialized pie shield to prevent them from burning while the center of the pie finishes cooking. Continue baking for an additional 40-45 minutes. The pie is done when the edges of the filling are set and appear firm, but the very center still has a slight, delicate wobble when gently shaken. If you have a food thermometer, the internal temperature should register between 175-180°F (79-82°C). Remember, the pie will continue to set and firm up considerably as it cools. Remove the pie from the oven and let it cool completely on a wire rack for a minimum of 2 hours. This crucial cooling time allows the custard to properly set and prevents cracking when sliced.
Expert Tips for Pumpkin Pie Success
Even though this is an easy pumpkin pie recipe, a few expert tips can elevate your baking and ensure a show-stopping dessert every time.
Preventing Cracks and Soggy Bottoms
- Gradual Cooling: One of the most common causes of cracks in pumpkin pie is sudden temperature changes. To prevent this, allow your pie to cool slowly on a wire rack, away from any drafts or open windows. Avoid moving it too much while it’s still warm.
- Preheated Baking Sheet: As mentioned, placing your pie dish on a preheated baking sheet before it goes into the oven provides an extra boost of heat to the bottom crust, significantly reducing the risk of a soggy bottom.
- Don’t Overbake: Overbaking can also lead to cracks and a dry, crumbly texture. Keep an eye on the pie, and remove it when the edges are set, but the center still jiggles slightly. It will continue to cook from residual heat.
Achieving Clean Slices
- Chill Thoroughly: The absolute best way to get clean, picture-perfect slices is to ensure your pumpkin pie is completely chilled before cutting. Refrigerate it for at least 4 hours, or preferably overnight.
- Warm Knife Trick: For extra smooth slices, run your knife under hot water, wipe it clean, and then slice. Repeat this process for each cut. This helps the knife glide through the cold, firm custard without sticking or tearing.
Customizing Your Pie
- Decorative Crust: If your store-bought pie dough comes with two crusts, use the second one to cut out festive shapes (like leaves or pumpkins) with small cookie cutters. Arrange these decorative pieces on the edge or center of the pie before baking for an elegant touch. Remember to brush them with egg wash for a golden finish.
- Garnish Galore: While delicious on its own, pumpkin pie truly shines with the right garnishes. Consider a dollop of homemade stabilized whipped cream, a sprinkle of ground cinnamon or cinnamon sugar, a drizzle of caramel sauce, or even a few candied pecans.
Make-Ahead & Storage Solutions
One of the many advantages of pumpkin pie is its excellent make-ahead potential and storage capabilities, making it ideal for busy holiday preparations.
- Make-Ahead: You can prepare and bake this pumpkin pie up to 24 hours in advance. Once fully cooled on a wire rack, cover the pie loosely with plastic wrap or aluminum foil and refrigerate. The flavors actually have a chance to meld and deepen overnight, often making the pie taste even better the next day!
- Refrigerator Storage: Store any leftover pumpkin pie in an airtight container in the refrigerator for up to 4 days. This ensures it stays fresh and delicious.
- Freezer Storage: For longer preservation, pumpkin pie freezes beautifully. Once the pie is completely cool, wrap it tightly in several layers of plastic wrap, then follow with a layer of aluminum foil. This double wrapping helps prevent freezer burn. Store in the freezer for up to 1 month. When you’re ready to enjoy it, thaw the pie overnight in the refrigerator. It can be served chilled directly from the fridge or allowed to come to room temperature for a softer texture.
Frequently Asked Questions (FAQ) about Pumpkin Pie
Here are answers to some common questions about making and serving pumpkin pie:
- Why did my pumpkin pie crack? Cracks usually occur due to overbaking or sudden temperature changes during cooling. Ensure you remove the pie when the center still jiggles slightly, and allow it to cool slowly on a wire rack away from drafts.
- How do I know when my pumpkin pie is done? The edges of the filling should be set, but the center will still have a slight jiggle. An internal temperature of 175-180°F (79-82°C) is ideal. It will continue to set as it cools.
- Can I use fresh pumpkin instead of canned? Yes, you can! Just be sure to use 100% pure pumpkin puree that has been cooked and drained thoroughly to remove excess moisture. The consistency might vary slightly, but the flavor will be wonderful.
- Is blind baking necessary for pumpkin pie? For this recipe, it’s not strictly necessary, especially if you use the lower rack baking trick. However, if you prefer an extra crispy crust or are concerned about sogginess, a quick blind bake (10 minutes with pie weights) can be beneficial.
- What can I serve with pumpkin pie? Classic pairings include whipped cream (stabilized for best results), vanilla ice cream, a dusting of cinnamon, or a drizzle of caramel sauce.
More Delicious Pie Recipes to Explore!
If you’ve enjoyed this easy pumpkin pie, you’re in for a treat with these other delightful pie creations:
Coconut Cream Pie
Strawberry Jello Pie
Sour Cream Raisin Pie
Buttermilk Pie
Browse All Pies
