Ultimate Easy Red Velvet Cake Recipe with Cake Mix
Craving a slice of that classic red velvet perfection without the fuss of baking from scratch? Look no further! This ultimate easy red velvet cake recipe, crafted with a simple cake mix, delivers an irresistibly moist and tender crumb with that iconic subtle hint of cocoa. Forget complicated steps and extensive ingredient lists; our doctored cake mix approach ensures a show-stopping dessert every time, perfect for any celebration or just a delightful everyday treat.
What sets this recipe apart is a clever twist: instead of the common white cake mix, we opt for a yellow cake mix. This small but significant change brings a richer flavor and a more desirable texture to your red velvet layers. Paired with the right balance of unsweetened cocoa, tangy buttermilk, a touch of vinegar, and vibrant red food coloring, the result is a cake that is soft, beautifully colored, and utterly crave-worthy. Finish it with a rich, fluffy cream cheese frosting, and you’ve got a red velvet cake that tastes like it came straight from a gourmet bakery, but with minimal effort.
Why Yellow Cake Mix for Red Velvet Cake?
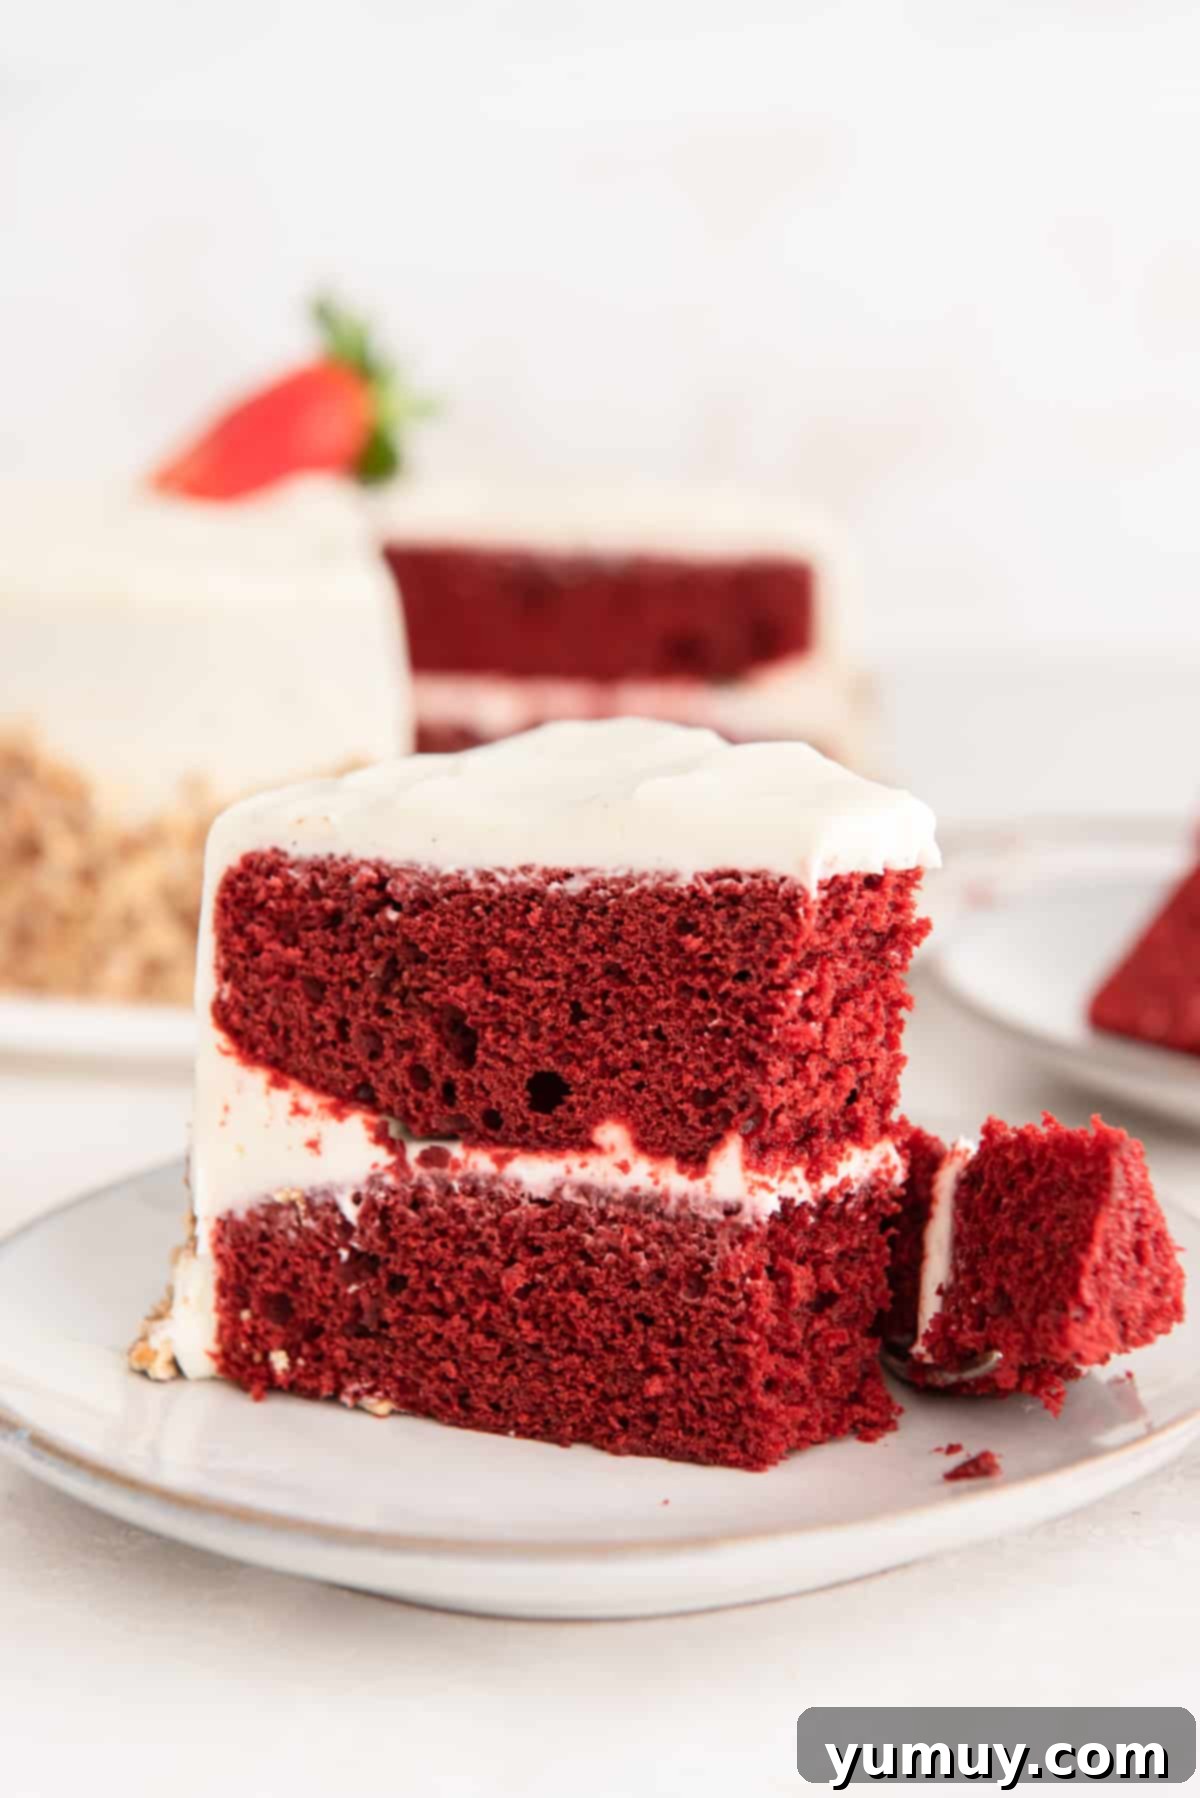
Many doctored cake mix recipes default to white cake mix, but for a truly exceptional red velvet cake, I always reach for yellow. This isn’t just a random preference; it’s a strategic choice that significantly impacts the final product. Yellow cake mix naturally contains more fat and egg yolk solids compared to white cake mix. This additional richness translates into a deeper flavor profile and a superior, more tender crumb that perfectly complements the subtle cocoa notes of red velvet.
The yellow hue of the mix also provides a fantastic base, allowing the red food coloring to pop even more vibrantly, creating that signature deep crimson associated with authentic red velvet cake. The cocoa in our recipe contributes that classic mild chocolate taste, while the acidity from buttermilk and vinegar plays a crucial role. This acidic environment reacts with the leavening agents, creating tiny air bubbles that ensure a beautiful rise and an incredibly soft, airy texture. Furthermore, it helps to enhance the red color, especially when traditional cocoa powder is used, as the anthocyanins in natural cocoa react with acids to produce a reddish hue (though modern cocoa processing often neutralizes this effect, making food coloring essential for a strong red).
While the food coloring is technically optional, it is highly recommended if you desire the iconic, visually stunning red velvet color that truly stands out beneath a generous layer of luscious cream cheese frosting. By starting with a quality yellow cake mix and adding a few key ingredients, this recipe bypasses the complexity of baking from scratch, yet yields a moist, flavorful cake that rivals any homemade red velvet cake.
Expert Tips for a Fluffy and Moist Red Velvet Cake
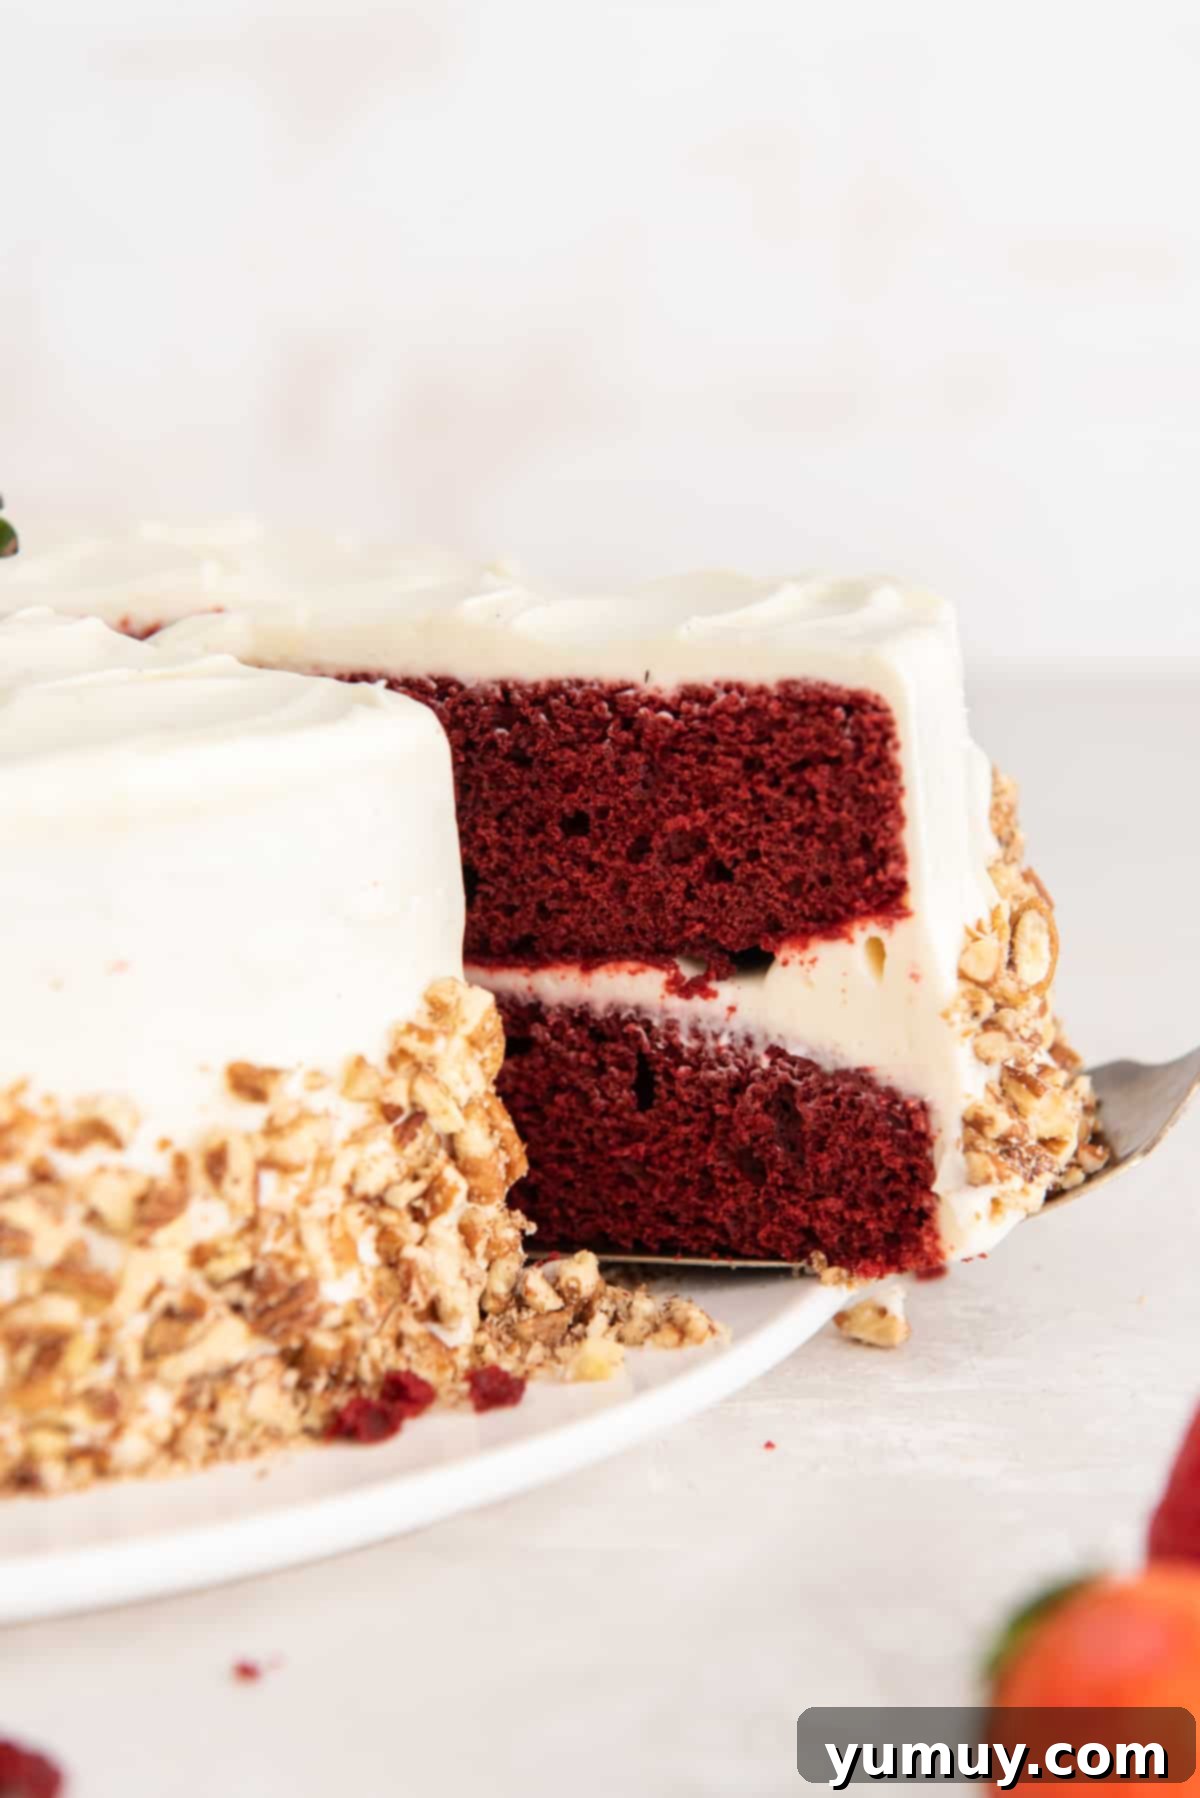
Achieving the perfect red velvet cake with a cake mix is all about smart techniques. If you’ve ever experienced flat or dense cake layers, these professional tips will help you consistently bake a wonderfully light and fluffy dessert:
- Room Temperature Ingredients are Key: Ensure your butter, eggs, and buttermilk are all at room temperature. This allows them to emulsify properly, creating a smooth, cohesive batter that traps more air, leading to a lighter and more uniform cake texture.
- Don’t Overmix: While it might be tempting to beat the batter vigorously, overmixing develops the gluten in the flour, which can result in a tough, dry cake. Mix until just combined, stopping as soon as no dry streaks remain.
- Spoon, Don’t Pour: When transferring the batter to your prepared cake pans, avoid simply pouring it all at once. Thick batters, especially when enriched like our red velvet, can lose air and distribute unevenly with aggressive pouring. Instead, gently spoon the batter into each pan.
- Gentle Tap: After spooning the batter, gently tap the filled pans once or twice on your counter. This helps to release any large air bubbles that could create large holes in your cake and ensures the batter settles evenly, promoting a level bake and a smooth top. This also helps preserve the delicate lift created by the vinegar and baking soda reaction.
- Proper Pan Preparation: Always line the bottoms of your cake pans with parchment paper rounds and spray with a non-stick baking spray. This guarantees your beautiful red velvet layers release easily without sticking or tearing.
- Accurate Measurements: Baking is a science. Using a kitchen scale for dry ingredients like cake mix and cocoa powder can make a significant difference in consistency and texture, ensuring optimal results every time.
Red Velvet Cake Recipe with Cake Mix
: 4 hours
Print
Rate SaveSaved!
Ingredients
For the Cake
- 18 ounces yellow cake mix (1 large box)
- 3 tablespoons unsweetened cocoa powder
- ½ cup unsalted butter room temperature (1 stick)
- 2 large eggs room temperature
- 2 tablespoons red food coloring
- ½ tablespoon white vinegar
- 1 tablespoon pure vanilla extract
- 1 cup buttermilk room temperature
For the Cream Cheese Frosting
- 16 ounces cream cheese room temperature (2 bricks)
- 1 cup unsalted butter softened but still cool (2 sticks)
- 1 teaspoon pure vanilla extract
- 3 cups powdered sugar
Equipment
- Kitchen Scale
- 2 8-inch Round Cake Pan(s) OR
- 2 9-inch Round Cake Pan(s)
- Hand Mixer
Instructions
For the Cake
- Preheat oven to 350°F. Line the bottoms of two 8- or 9-inch round cake pans with parchment rounds, then spray the pans lightly with nonstick spray; set aside.
- In a medium bowl, whisk the cake mix and cocoa powder together.3 tablespoons unsweetened cocoa powder, 18 ounces yellow cake mix

- In a second larger mixing bowl, using a hand mixer, beat the butter until light and fluffy. Add the eggs one at a time, beating after each addition.½ cup unsalted butter, 2 large eggs

- Stir in the food coloring, vinegar and vanilla, mixing well.2 tablespoons red food coloring, ½ tablespoon white vinegar, 1 tablespoon pure vanilla extract

- Mix in the cake mix and buttermilk in alternating batches, beginning and ending with the cake mix mixture.1 cup buttermilk

- Divide the batter between the prepared cake pans (about 506 grams per pan).

- Bake for 20-30 minutes, or until a toothpick inserted in the center comes out clean.
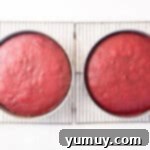
- Cool the layers for 10 minutes before removing them from the pans to wire racks to cool completely, about 2 hours.

For the Cream Cheese Frosting
- Using a hand mixer, beat the cream cheese on medium-high speed for 1 minute.16 ounces cream cheese
- Add the butter and mix until incorporated, about 1 minute. Add the vanilla extract.1 cup unsalted butter, 1 teaspoon pure vanilla extract
- Reduce the speed to medium and beat for an additional 1 minute. Add the powdered sugar and beat until fluffy and smooth, about 2-3 minutes.3 cups powdered sugar

For Assembly
- Stack the cake layers with about ½-inch of frosting between each layer.

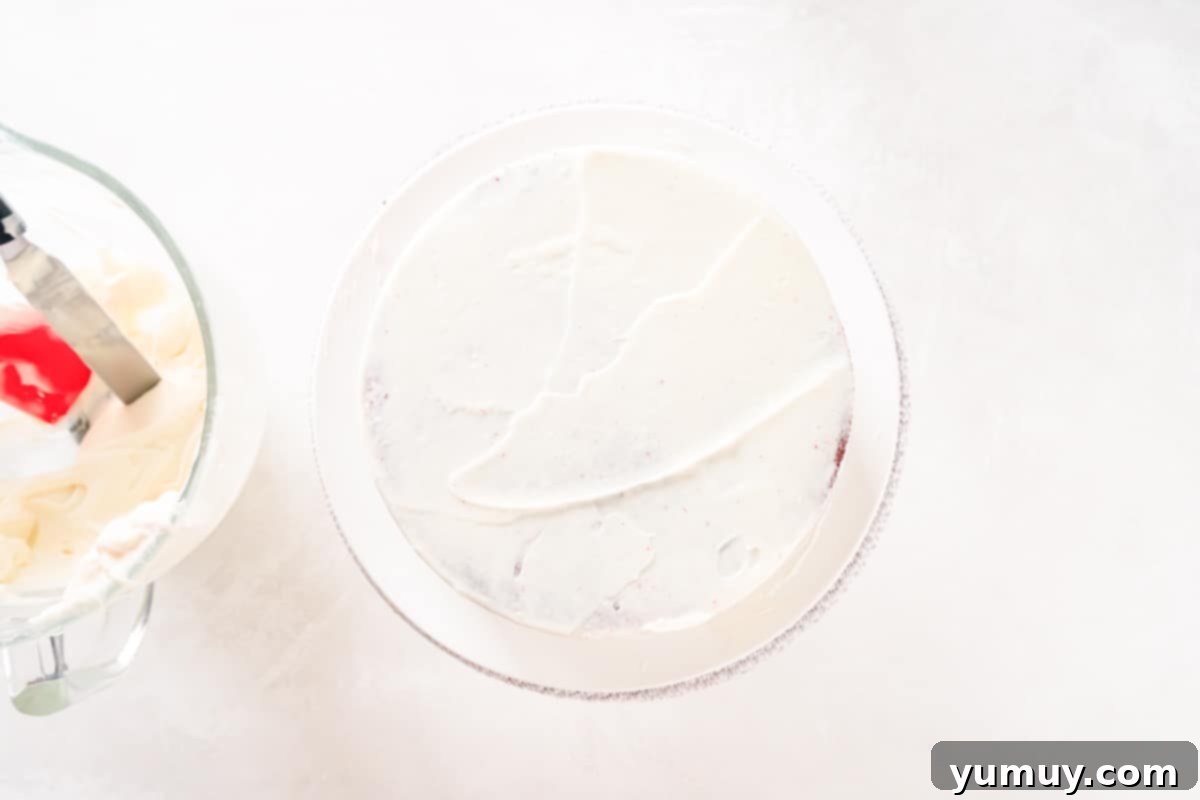
- Cover the cake with a Crumb Coating and refrigerate the cake for at least 1 hour.

- When the crumb coating feels dry, finish icing and decorating the cake as you wish.

Notes
- Make sure your ingredients are at room temperature for best results! This helps achieve a smooth batter and an even bake.
Don’t overmix the batter, as this can lead to a dry, tough cake. Mix just until combined.
- For a more natural red color, you can experiment with beet powder! Start with 1 tablespoon and adjust until you reach the desired color intensity.
- Always allow the cake layers to cool completely before applying frosting; otherwise, the frosting will melt and slide off.
- Sift your powdered sugar for the frosting to prevent lumps and ensure a perfectly smooth, creamy texture.
Make-Ahead: You can bake the cake layers up to 2 days in advance. Once fully cooled, tightly wrap each layer with plastic wrap and store them in the refrigerator until you are ready to assemble and frost your cake. This can save significant time on your baking day.
Storage: Store your finished red velvet cake in an airtight container or under a cake dome in the refrigerator for up to 3 days. For longer storage, you can freeze individual slices or the entire cake (tightly wrapped in 2 layers of plastic wrap and 1 layer of aluminum foil) for up to 3 months. Thaw overnight in the refrigerator before serving.
Calories from Fat 522
@easydessertrecipes
for a chance to be featured.
How to Make The Best Red Velvet Cake with Cake Mix Step-by-Step
Follow these simple steps to create a stunning and delicious red velvet cake using your favorite yellow cake mix. Remember, precision and patience are your best friends in baking!
- Prepare Your Workspace: Preheat your oven to 350°F (175°C). Line the bottoms of two 8-inch or 9-inch round cake pans with parchment paper rounds. Lightly spray the pans with nonstick baking spray to ensure easy release. Set them aside.
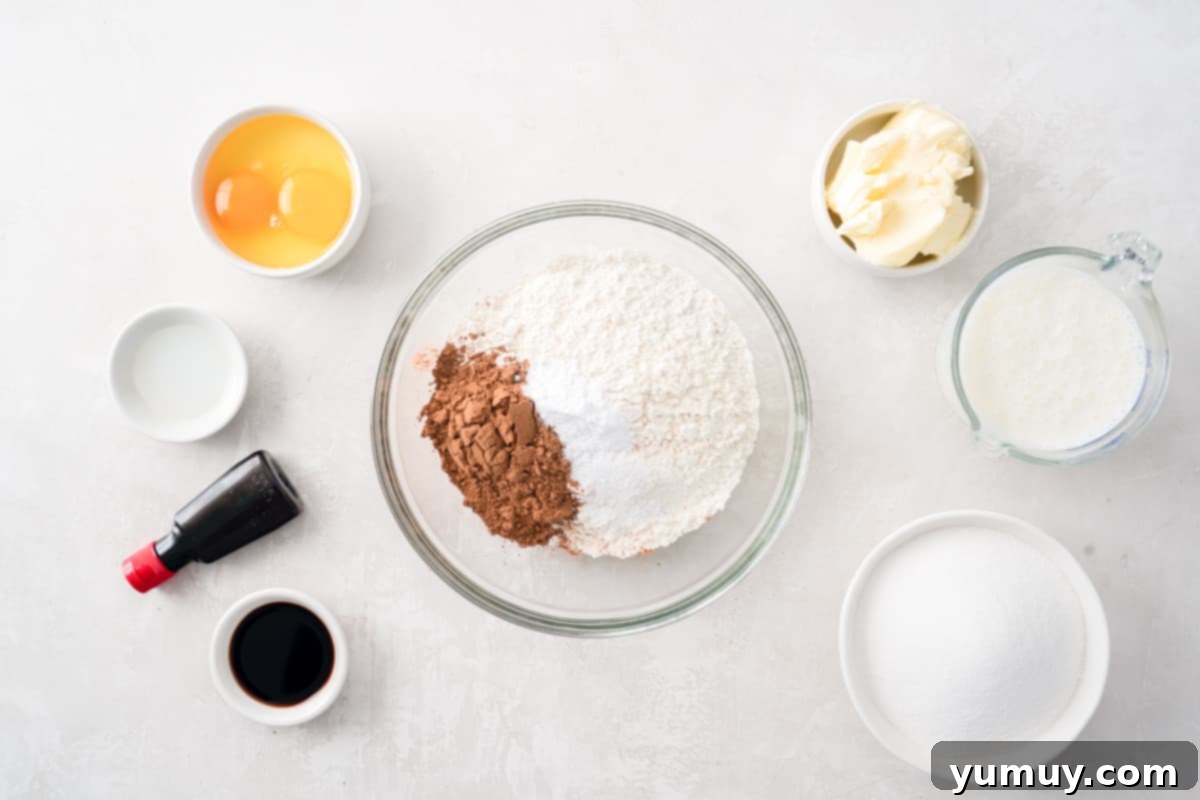
- Combine Dry Ingredients: In a medium bowl, thoroughly whisk together the 18 ounces (1 large box) of yellow cake mix and 3 tablespoons of unsweetened cocoa powder. This helps to break up any lumps and ensures the cocoa is evenly distributed, contributing to that signature subtle chocolate flavor and color.
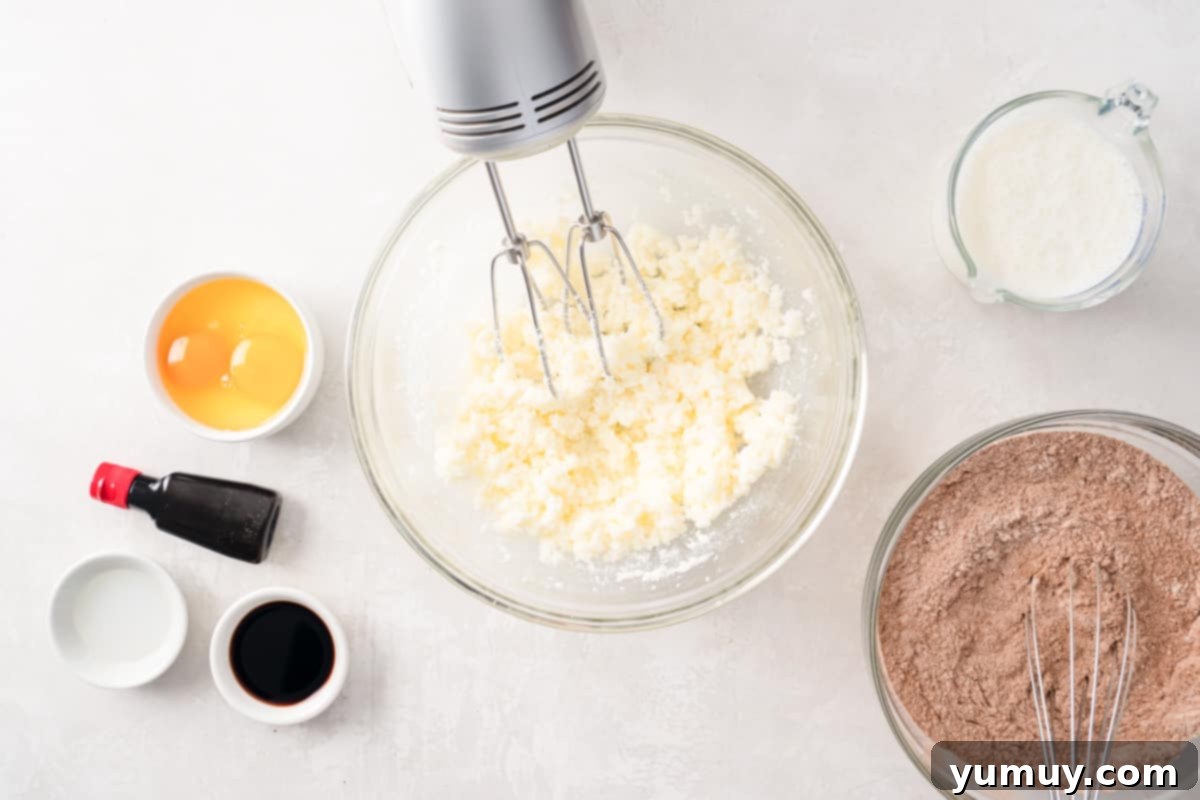
- Cream Butter and Eggs: In a second, larger mixing bowl, use a hand mixer to beat ½ cup of room-temperature unsalted butter until it’s light and fluffy. This can take about 2-3 minutes. Then, add 2 large, room-temperature eggs, one at a time, beating well after each addition until fully incorporated. This creaming process adds air to the batter, contributing to the cake’s light texture.
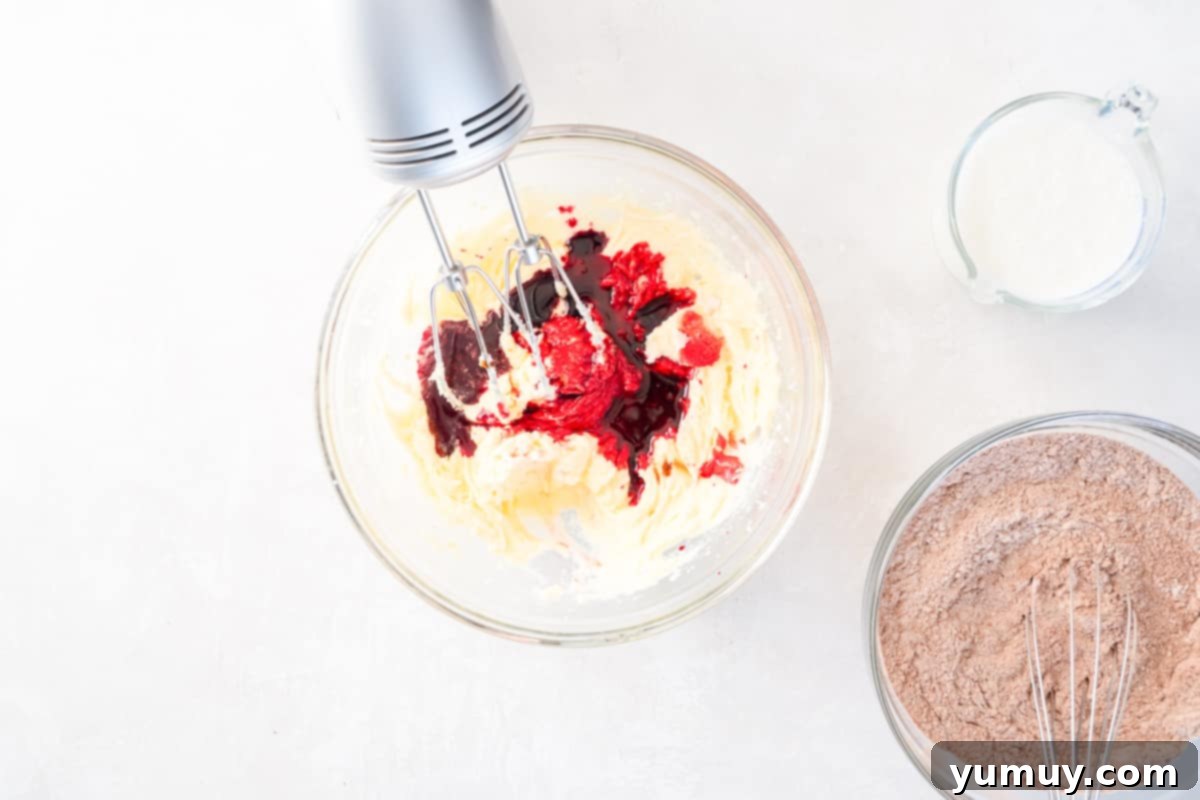
- Add Wet Flavorings and Color: Stir in 2 tablespoons of red food coloring, ½ tablespoon of white vinegar, and 1 tablespoon of pure vanilla extract into the butter-egg mixture. Mix thoroughly until the vibrant red color is evenly distributed throughout the batter. The vinegar is crucial for activating the leavening and contributing to the cake’s tender crumb.
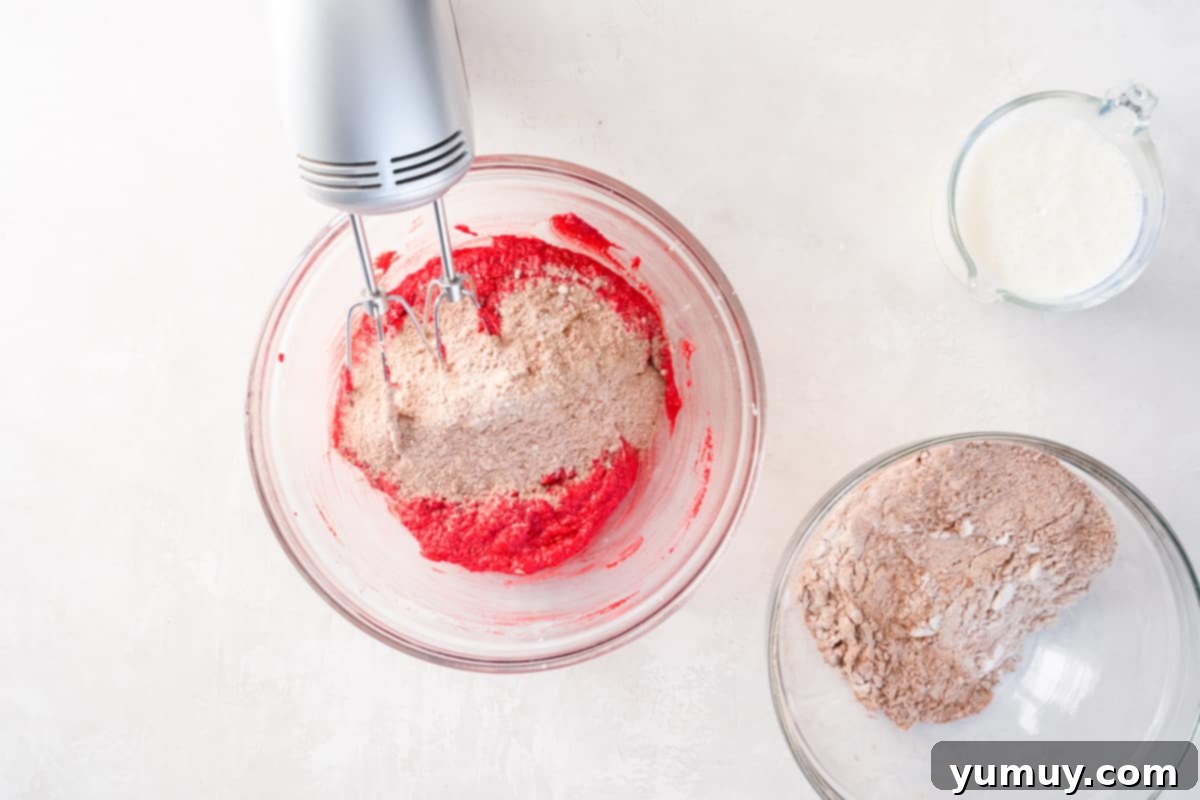
- Alternate Dry and Wet: Gradually mix in the whisked cake mix and 1 cup of room-temperature buttermilk in alternating batches. Begin and end with the dry cake mix mixture. This method ensures even incorporation and prevents the batter from becoming too thin or thick too quickly. Mix only until just combined; avoid overmixing.
- Portion the Batter Evenly: Carefully divide the vibrant red batter between your two prepared cake pans. For precise and even layers, use a kitchen scale to measure approximately 506 grams of batter into each pan. Gently tap the pans on the counter once or twice to level the batter and release any large air pockets.
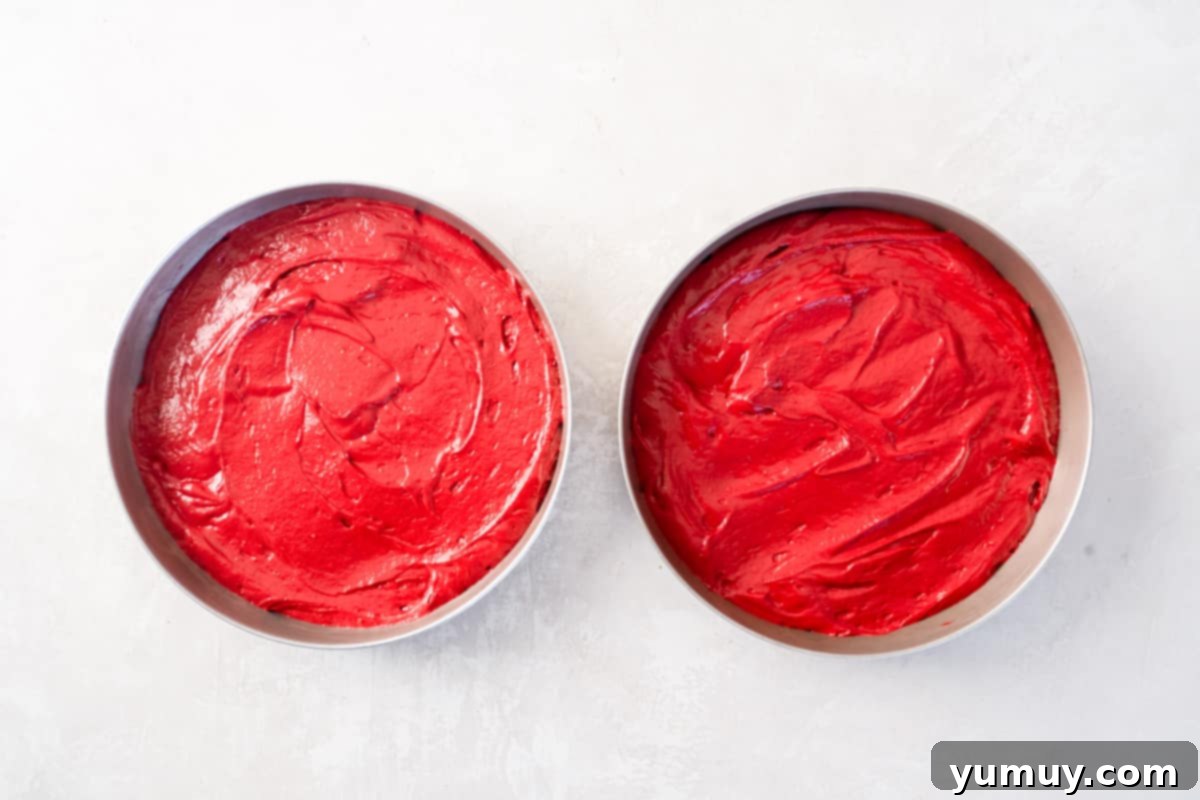
- Bake to Perfection: Bake your red velvet cakes in the preheated oven for 20-30 minutes. Baking times can vary slightly, so check for doneness by inserting a toothpick into the center of a cake. If it comes out clean, the cakes are ready.
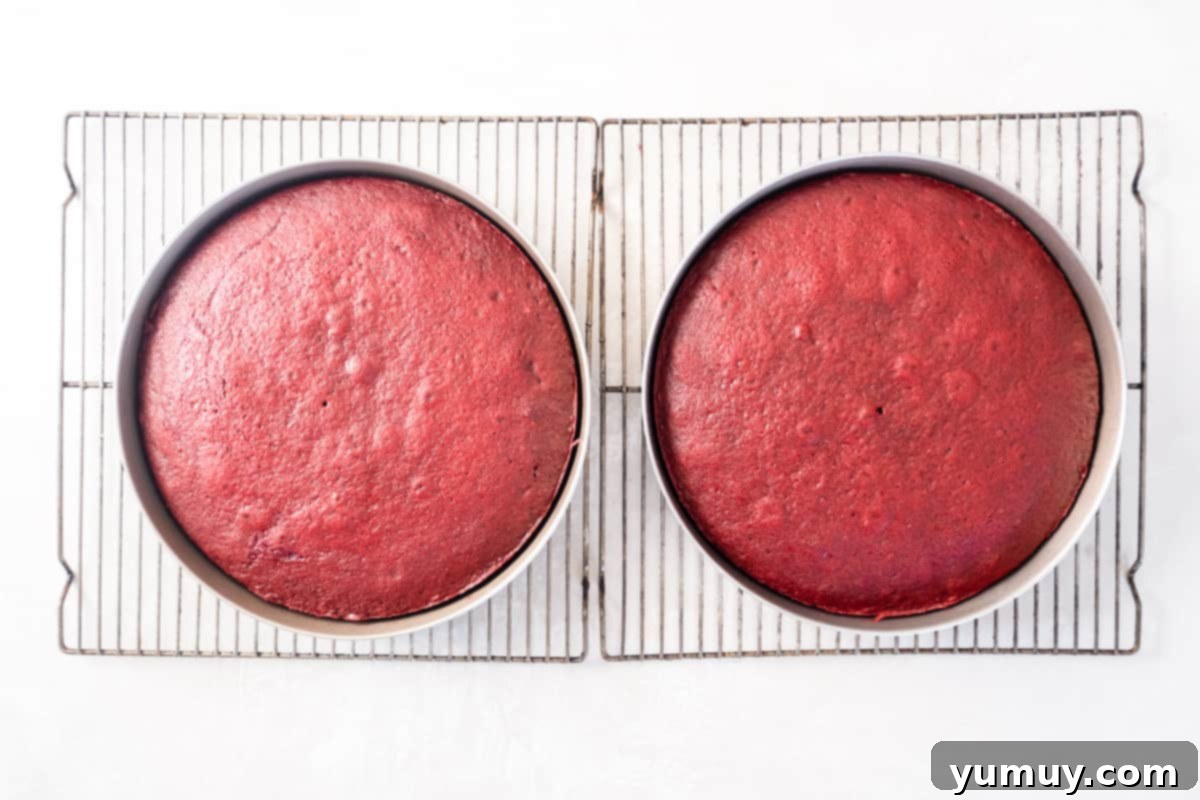
- Cool Completely: Once baked, allow the cake layers to cool in their pans on a wire rack for 10 minutes. This crucial resting period helps them firm up before handling. After 10 minutes, carefully invert the cakes onto wire racks to cool completely, which usually takes about 2 hours. Do not rush this step; frosting warm cakes will cause the frosting to melt.
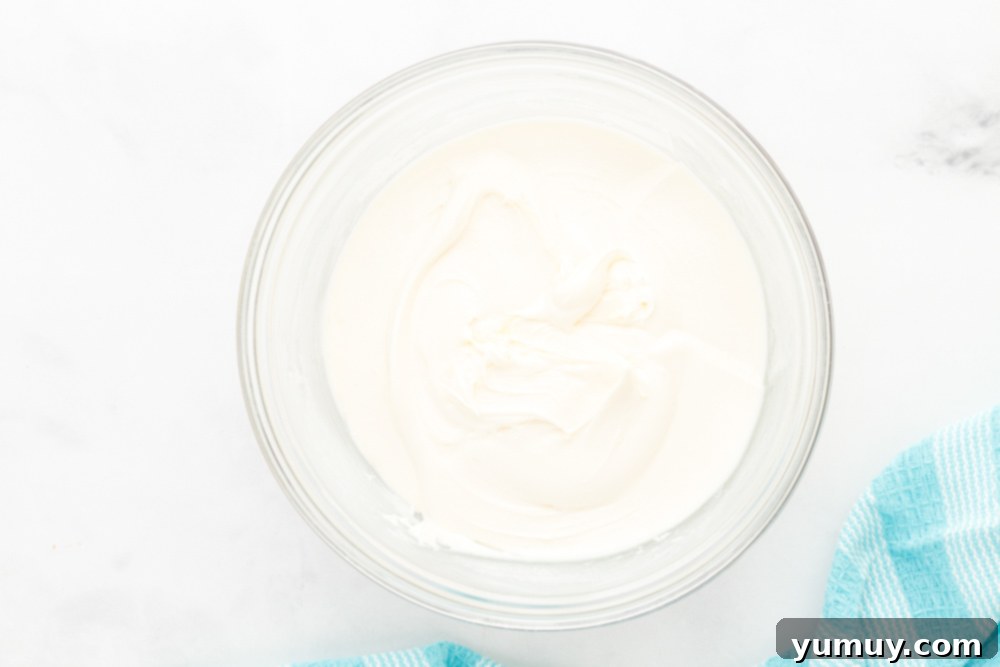
- Prepare the Dreamy Cream Cheese Frosting: While the cakes cool, prepare your signature cream cheese frosting. Using a hand mixer, beat 16 ounces (2 bricks) of room-temperature cream cheese on medium-high speed for 1 minute until smooth. Add 1 cup of softened (but still cool) unsalted butter and mix until fully incorporated, about 1 minute. Stir in 1 teaspoon of pure vanilla extract. Reduce the mixer speed to medium and beat for another minute. Finally, gradually add 3 cups of sifted powdered sugar, beating until the frosting is delightfully fluffy and smooth, typically 2-3 minutes.
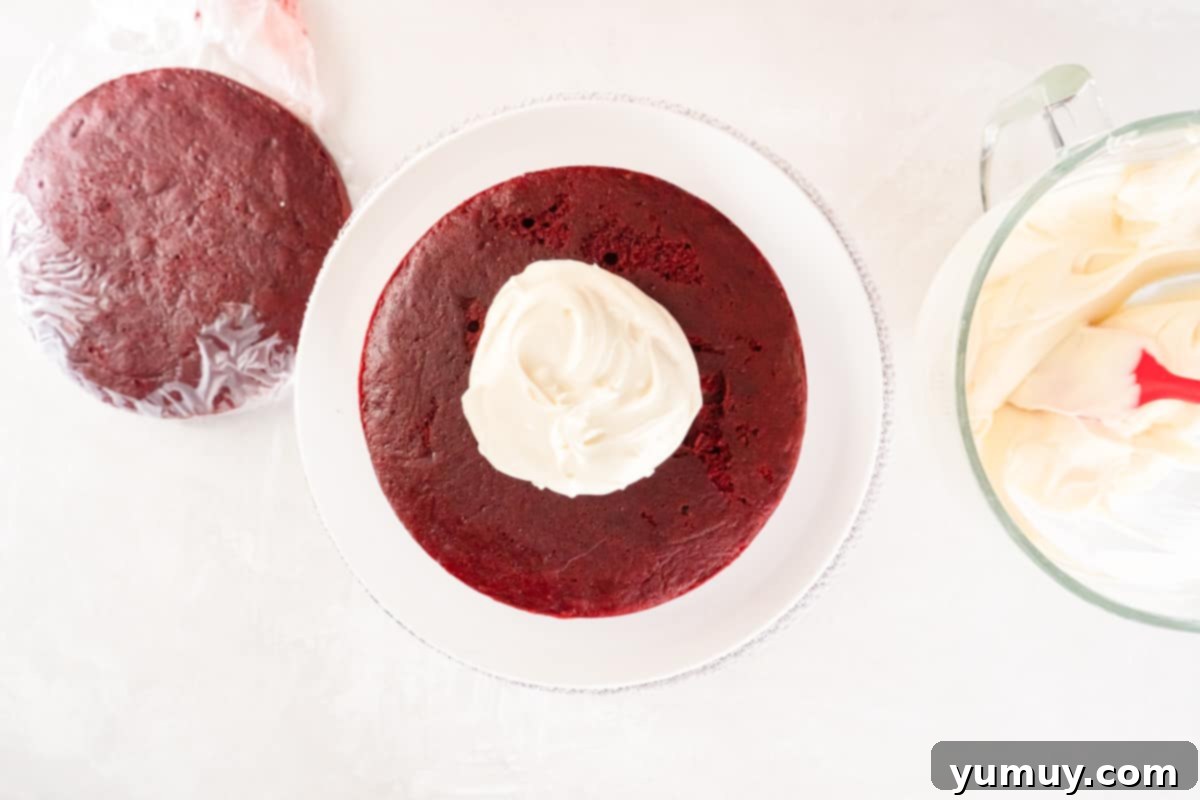
- Stack the Cake Layers: Once the cake layers are completely cool, place your first layer on your serving plate or cake stand. Spread about ½-inch of the prepared cream cheese frosting evenly over the top. Carefully place the second cake layer on top, pressing gently to secure it.
- Apply a Crumb Coat: Using a small amount of frosting, apply a thin, even layer over the entire cake (sides and top). This “crumb coat” traps any loose crumbs, ensuring your final frosting layer is perfectly smooth and pristine. Refrigerate the cake for at least 1 hour, or until the crumb coat is firm to the touch. This step is essential for a professional-looking finish.
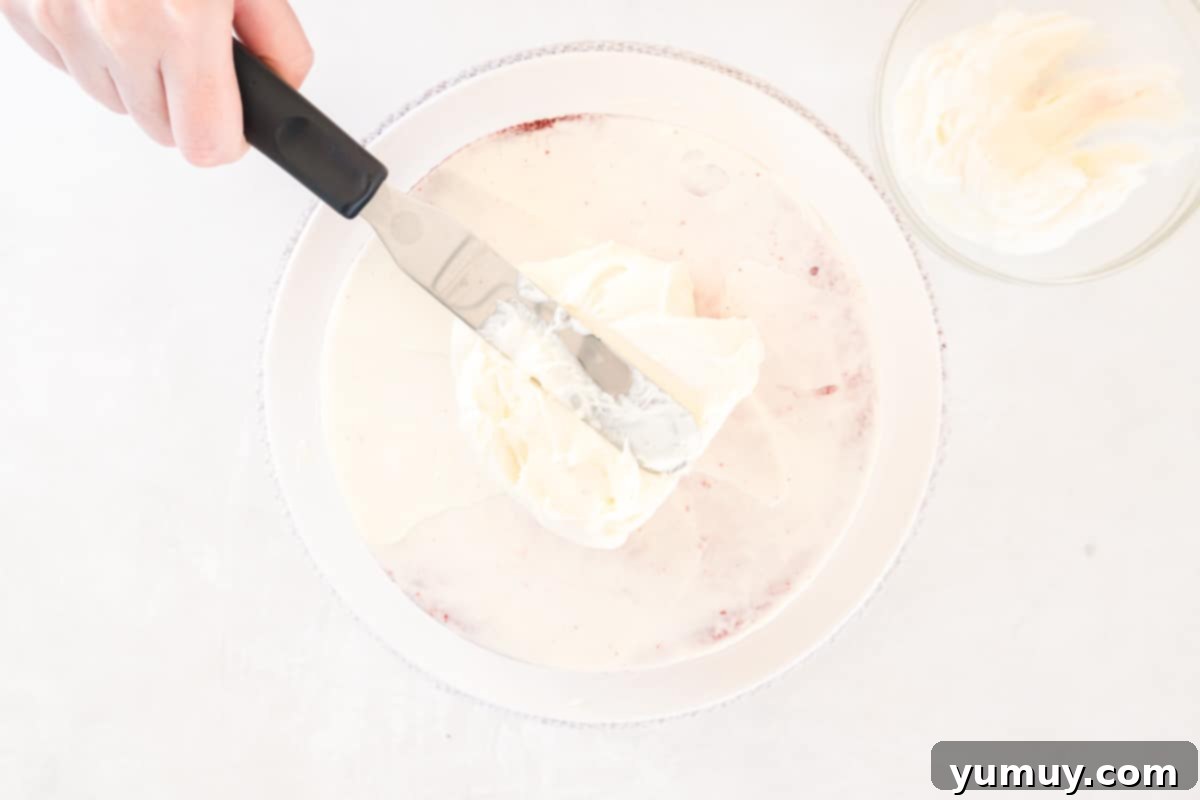
- Final Frosting and Decoration: Once the crumb coating is dry and firm, apply the remaining cream cheese frosting to the top and sides of the red velvet cake. Smooth it out with an offset spatula or bench scraper for a polished look. Decorate as desired – perhaps with a sprinkle of red cake crumbs, fresh berries, or chocolate shavings. Slice and serve!
How to Store and Enjoy Your Red Velvet Cake
To keep your easy red velvet cake tasting fresh and delicious, proper storage is essential, especially with cream cheese frosting. Store any leftover cake in an airtight container or under a cake dome in the refrigerator for up to 3 days. This prevents the cake from drying out and keeps the frosting from spoiling.
For longer storage, red velvet cake freezes beautifully! Tightly wrap individual slices or the entire cake (once fully cooled and crumb-coated) in two layers of plastic wrap, followed by one layer of aluminum foil. This double-layer protection helps prevent freezer burn. It can be stored in the freezer for up to 3 months. When you’re ready to enjoy, simply transfer the frozen cake or slices to the refrigerator to thaw overnight. For the best taste and texture, allow the cake to come to room temperature for about 30 minutes before serving.
Frequently Asked Questions About Red Velvet Cake with Cake Mix
Here are some common questions and helpful answers to ensure your red velvet cake baking experience is a breeze:
Can I use white cake mix instead of yellow?
While this recipe specifically calls for yellow cake mix to achieve a richer flavor and superior texture, you can technically use a white cake mix. However, you might find the final cake to be slightly less moist and less rich. If using white cake mix, consider adding an extra egg yolk or a tablespoon of sour cream to the batter to boost moisture and richness.
What if I don’t have buttermilk?
No problem! You can easily make your own homemade buttermilk substitute. For 1 cup of buttermilk, add 1 tablespoon of white vinegar or lemon juice to a liquid measuring cup. Then, fill the rest of the cup with regular milk (dairy or non-dairy) up to the 1-cup line. Stir it gently and let it sit for 5-10 minutes until it slightly curdles. This acidity is crucial for the cake’s texture and color.
Is red food coloring necessary?
For the iconic vibrant red color, yes, red food coloring is highly recommended. The amount specified in the recipe gives that deep, classic hue. If you prefer a more natural approach, you can try using beet powder (start with 1 tablespoon and adjust) for a reddish tint, though the color may not be as intense. Without any coloring, your cake will have a light brown color with a hint of red, still delicious but not visually traditional red velvet.
Can I make this into cupcakes?
Absolutely! This recipe works wonderfully for cupcakes. Line a cupcake pan with paper liners and fill each about two-thirds full with batter. Baking time will be significantly shorter, typically 18-22 minutes. Keep an eye on them, and test with a toothpick for doneness.
How can I prevent my frosting from being too runny?
Ensure your cream cheese and butter are at the correct room temperature – softened but still cool to the touch. If they are too warm, the frosting will be too soft. Sifting your powdered sugar is also key to preventing lumps and incorporating it smoothly without overmixing. If your frosting is too runny, you can try refrigerating it for 15-30 minutes to firm it up, then beat it again. If still too thin, add more sifted powdered sugar, one tablespoon at a time.
More Delicious Cake Recipes to Try!
If you loved this easy red velvet cake, explore more delightful dessert options that are simple to make yet incredibly satisfying. These recipes are perfect for expanding your baking repertoire without the stress!
White Wedding Cake
Cotton Candy Cake
Mango Cake
Doctored White Cake Mix
Browse All Cakes
