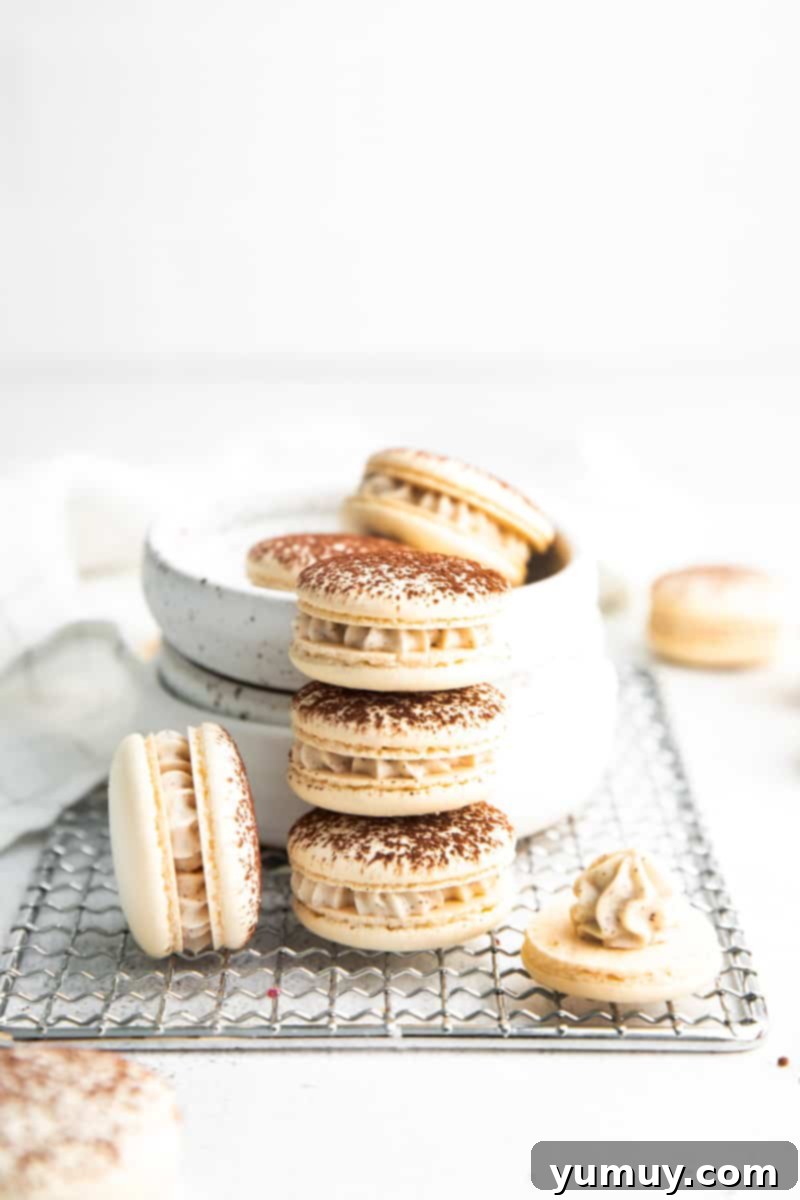
Prepare to embark on a truly exquisite baking adventure with these Tiramisu Macarons. Imagine the universally beloved Italian dessert, Tiramisu, reimagined and encapsulated within the delicate, airy shells of a classic French macaron. This recipe offers more than just a dessert; it’s a harmonious culinary fusion, delivering the best textural and flavor elements from two iconic sweet treats. Each macaron features a perfectly crisp yet chewy shell, dusted with cocoa powder, embracing a sumptuously rich filling flavored with mascarpone cheese and a hint of Kahlúa. The result is an unforgettable indulgence that balances sophisticated coffee notes with a melt-in-your-mouth creamy center. A true gourmet delight!
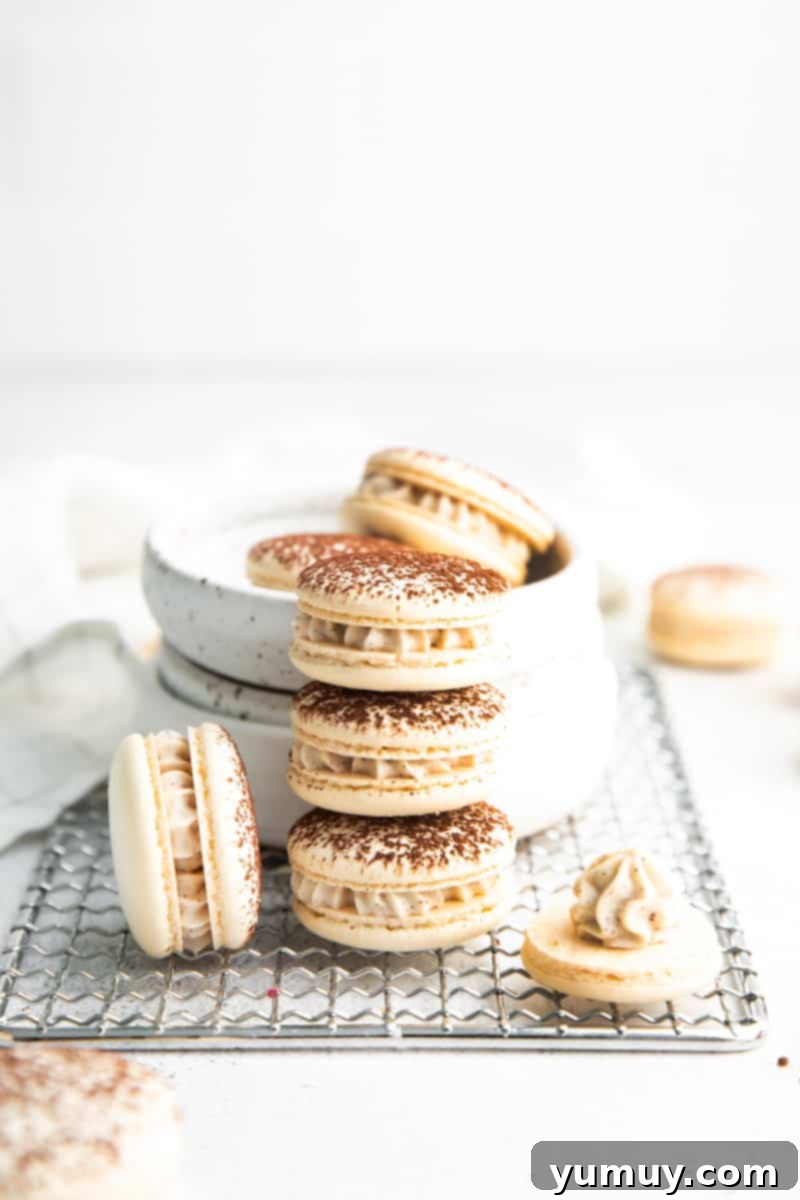
Share this delightful recipe with friends and family!
- Pin to Pinterest
- Share on Facebook
- Email to a friend
The Allure of Tiramisu Macarons: A Masterpiece of Flavor
While the word “macaron” might initially conjure images of delicate, temperamental confections, I assure you that the process becomes significantly more approachable and enjoyable once you understand the foundational techniques. Through years of recipe development, I’ve refined the macaron shell method, finding it to be consistently reliable. The real excitement often lies in the filling, where creativity can truly flourish and where these Tiramisu Macarons truly shine.
The soul of these Tiramisu Macarons resides in their decadent filling, a carefully crafted blend that meticulously captures the iconic taste profile of its Italian namesake. It features the luxurious richness of mascarpone cheese, a vibrant kick from Kahlúa coffee liqueur (which can be substituted with brewed espresso for a non-alcoholic option), the concentrated depth of instant espresso powder, and a delicate touch of ground cinnamon to enhance its warmth. This combination results in a filling that is intensely creamy, deeply coffee-flavored, and beautifully balanced, offering a sophisticated contrast to the light and airy macaron shells. As a long-time admirer of classic tiramisu, I can confidently say that these macaron versions have swiftly ascended to the top of my favorite dessert list, offering a unique and irresistible twist on a beloved classic.
Creating these macarons is more than just following a recipe; it’s an opportunity to impress, to celebrate, and to indulge. They make spectacular gifts, stunning party treats, or simply a luxurious personal reward after a long week. The harmonious marriage of the crisp macaron and the luscious tiramisu cream is a testament to the versatility of French pâtisserie and Italian dessert artistry. Dive into this detailed guide, and you’ll discover that crafting these beauties is a delightful journey, transforming humble ingredients into an extraordinary culinary experience.
Preserving Perfection: Storage Guidelines for Tiramisu Macarons
To ensure your homemade Tiramisu Macarons retain their exquisite flavor and delicate texture, proper storage is paramount. Once assembled, these delectable treats should be placed in an airtight container to prevent them from drying out or absorbing unwanted odors. Store them in the refrigerator for up to 3 days; this resting period, known as “aging,” is actually beneficial as it allows the moisture from the filling to soften the shells, resulting in that coveted chewy texture. For extended preservation, Tiramisu Macarons can be frozen for up to 3 months. When you’re ready to enjoy them, simply transfer them from the freezer to the refrigerator overnight, or allow them to come to room temperature for at least 30 minutes before serving. Unfilled macaron shells offer even greater flexibility; they can be stored in an airtight container with layers of parchment paper between them in the freezer for up to 4 months, allowing you to prepare ahead for future gatherings. While best enjoyed at room temperature, assembled macarons can safely remain at room temperature for up to 24 hours.
Mastering the Macaron Art: Essential Tips for Flawless Shells and Filling
Baking macarons is often described as an art and a science, demanding attention to detail. However, by adhering to these crucial tips, you’ll demystify the process and achieve consistent, stunning results every time. These insights will guide you through common pitfalls and lead you towards macaron perfection.
- Embrace Precision with a Kitchen Scale: Macaron recipes are incredibly sensitive to ingredient ratios. Even a minor deviation in measurement can drastically alter the outcome, leading to cracked shells, poor feet, or an incorrect texture. For unparalleled consistency and the highest chance of success, invest in and use a digital kitchen scale to measure all your ingredients, especially the almond flour, powdered sugar, and egg whites. This eliminates the inaccuracies inherent in volume measurements.
- Verify Your Oven Temperature with a Thermometer: One of the most common culprits for macaron failures is an inaccurate oven temperature. The ideal temperature for baking macarons is a precise 325°F (160°C). Since many home ovens can fluctuate significantly or display temperatures inaccurately, an oven thermometer is an absolute game-changer. Place it in your oven, preheat thoroughly, and adjust your oven dial as needed to maintain that consistent temperature. This vigilance will prevent issues like hollow shells, browning, or a lack of “feet.”
- Give Your Macarons Time to Age: While it’s tempting to devour your freshly filled macarons immediately, patience is a virtue in macaron making. The “aging” process, where filled macarons are refrigerated for at least 12 hours (and ideally 24 hours), is critical. During this time, the moisture from the filling permeates the delicate shells, transforming them from brittle to wonderfully chewy and melding the flavors harmoniously. This step is non-negotiable for achieving the signature macaron texture.
- Perfecting the Macaronage Technique: This step, known as “macaronage,” involves carefully folding the dry ingredients into the meringue. It’s the most crucial stage for achieving smooth, footed shells. The goal is to deflate just enough air to create a batter that flows slowly and continuously off your spatula, allowing you to draw a “figure 8” without the stream breaking. Over-mixing will lead to a runny batter, resulting in flat, oily shells without feet. Under-mixing will leave the batter too thick, causing lumpy, cracked shells. Watching online video tutorials for visual guidance on the “figure 8” consistency is highly recommended.
- Achieve Uniformly Round Shells with Proper Piping: For aesthetically pleasing, perfectly round macaron shells, the way you hold your piping bag is key. Always hold the piping bag strictly perpendicular (at a 90-degree angle) to your baking tray. Pipe directly downwards, allowing the batter to spread naturally into a circular shape. Avoid attempting to “draw” circles with the piping bag, as this often leads to uneven and irregularly shaped macarons.
- The Importance of Resting (Drying) Time: After piping your macaron shells, they must rest at room temperature for at least 25-30 minutes, or until a dry skin forms on their surface. This “drying” or “crusting” phase is vital. You’ll know they’re ready when you can gently touch the shell without any batter sticking to your finger. This protective skin helps to prevent the shells from cracking during baking and encourages the steam to escape from the base, promoting the formation of those characteristic ruffled “feet.”
- Strategies to Prevent Hollow Macaron Shells: Hollow macarons are a common source of frustration for bakers. This issue typically stems from two main factors: over-mixing the meringue (incorporating too much air initially) or incorrect baking time and temperature. Ensure your meringue is whipped to firm but not dry peaks. Additionally, always bake for the correct duration; under-baked shells are more prone to being hollow. Precise oven temperature, as mentioned before, also plays a critical role.
- Freezing Unfilled Macaron Shells for Convenience: If you love to bake in batches or prep ahead, unfilled macaron shells are freezer-friendly. Store them in an airtight container with layers of parchment paper separating them for up to 4 months. When you’re ready to use them, simply let them thaw completely at room temperature for about 30 minutes before proceeding with filling and decorating. This strategy makes macaron making much more flexible.
- Ensure Super Cold Ingredients for Frosting Stability: The secret to a stable, thick, and creamy tiramisu frosting lies in using heavy cream and mascarpone cheese that are super cold, straight from the refrigerator. Cold ingredients whip up more effectively and hold their structure much better, which is essential for preventing a runny or “soupy” filling that would otherwise compromise the macaron’s integrity.
- Be Mindful of Overwhipping Heavy Cream: When whipping the heavy cream for your filling, be cautious not to overdo it. Overwhipped cream can quickly separate, curdle, and become grainy, making it difficult to achieve a smooth, pipeable frosting that holds its shape. Whip just until soft peaks form, then gently incorporate the remaining ingredients.
- Pipe Frosting Immediately After Preparation: For the best piping experience and to maintain optimal structure, transfer your tiramisu frosting to a piping bag and use it immediately after it’s prepared. If left to sit in the bowl, especially at room temperature, the frosting can begin to relax and lose some of its firm, pipeable consistency, making assembly more challenging.


Tiramisu Macarons: The Ultimate Recipe
20 minutes
30 minutes
1 hour 20 minutes
30 minutes (plus overnight aging)
24 macarons
Options:
- Pin Recipe
- Print Recipe (Link to section for browser print)
- Rate Recipe (Link to comments section)
Ingredients
For the Macaron Shells
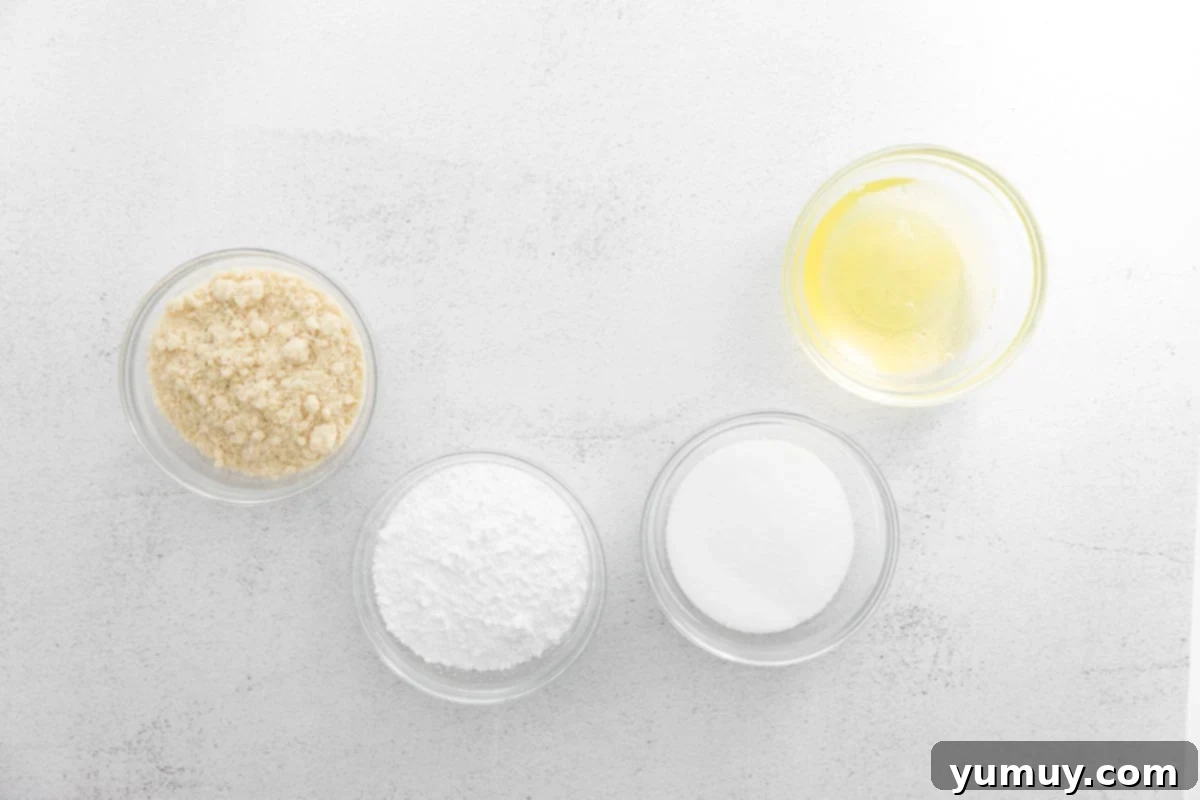
- 3 large egg whites (approx. 90g), at room temperature
- ½ cup (approx. 90g) granulated sugar
- ⅘ cup (approx. 95g) powdered sugar, sifted
- 1 cup (approx. 95g) superfine almond flour, sifted
For the Tiramisu Filling
- ¼ cup (approx. 57g) heavy whipping cream, super cold
- 4 ounces (approx. 113g) mascarpone cheese, super cold (or ricotta/cream cheese)
- 1 tablespoon (approx. 14g) Kahlúa coffee liqueur (or brewed espresso)
- 1¼ cups (approx. 141g) powdered sugar, sifted
- 1 teaspoon (approx. 2g) instant espresso powder
- ⅛ teaspoon ground cinnamon, to taste
For best results and macaron consistency, using a kitchen scale for gram measurements is highly recommended.
Equipment
- Digital Kitchen Scale (optional, but highly recommended)
- 2 Large Baking Sheets
- Parchment Paper or Silpat Mats
- Small Saucepan
- Heatproof Bowl
- Stand Mixer with Whisk Attachment
- Fine-Mesh Sieve
- Rubber Spatula
- Piping Bag with a small round tip (e.g., Wilton #10)
- Oven Thermometer (optional, but highly recommended for accuracy)
Instructions
Part 1: Preparing the Macaron Shells
- Line two large baking sheets with parchment paper or Silpat mats.
- In a heatproof bowl set over a small saucepan of gently simmering water, combine egg whites and granulated sugar. Whisk constantly until the sugar dissolves completely (about 2 minutes).
- Transfer the mixture to a stand mixer bowl with the whisk attachment. Beat on medium-high speed until stiff, glossy peaks form (about 5 minutes).
- Sift powdered sugar and almond flour over the meringue using a fine-mesh sieve. Discard any large lumps.
- Gently fold the dry ingredients into the meringue with a rubber spatula, using a J-motion, until just combined.
- Continue folding, gently pressing the batter against the sides of the bowl (“smush and fold”) until it reaches the “lava” or “figure 8” consistency. The batter should flow smoothly and continuously off the spatula.
- Transfer the batter to a piping bag with a small round tip. Pipe 1-inch macaron shells onto the prepared baking sheets.
- Firmly tap each baking sheet against the counter 5-6 times to release trapped air bubbles.
- Allow the piped shells to rest at room temperature for at least 25 minutes, or until a dry skin forms and they are no longer sticky to the touch.
- Preheat your oven to a precise 325°F (160°C) during the resting period (use an oven thermometer).
- Bake one tray at a time for 13 minutes, rotating halfway through.
- Cool macarons completely on the baking sheet before removing.
Part 2: Crafting the Tiramisu Filling
- In a stand mixer bowl with a whisk attachment, beat super cold heavy whipping cream on medium-high speed until soft peaks form.
- Add super cold mascarpone cheese and Kahlúa coffee liqueur. Beat on medium speed until well combined and smooth.
- Reduce mixer speed to low. Slowly add sifted powdered sugar, followed by instant espresso powder and ground cinnamon.
- Scrape down the bowl sides and mix until the sugar is fully incorporated and the frosting is smooth and creamy. Avoid overmixing.
- Transfer the filling to a piping bag with your desired tip.
Part 3: Assembling and Aging Your Macarons
- Match cooled macaron shells into similar-sized pairs.
- Pipe a dollop of tiramisu filling onto the flat side of one macaron shell.
- Gently place the second shell on top, pressing lightly until the filling reaches the edges. Repeat for all macarons.
- Transfer assembled macarons to an airtight container and store in the refrigerator overnight to “age” and soften.
- Bring to room temperature for 20-30 minutes before enjoying.
- (Optional) Dust the tops with cocoa powder before serving for an authentic touch.
Notes
- Precision is Paramount: Macarons are notoriously finicky. For the most accurate and consistent results, always use a digital kitchen scale for measuring ingredients, especially the egg whites, almond flour, and sugars. Gram measurements are preferred over volume measurements.
- Storage Instructions: Store finished Tiramisu Macarons in an airtight container in the refrigerator for up to 3 days. For longer preservation, they can be frozen for up to 3 months. Always allow them to come to room temperature before enjoying for optimal texture and flavor.
- Ingredient Quality: Use high-quality ingredients, especially superfine almond flour and fresh egg whites. Aged egg whites (separated a day in advance and left at room temperature) can sometimes yield better results, but fresh ones work perfectly if handled correctly.
Nutrition Facts
Becky Hardin
Follow us for more delicious recipes!
- X (Twitter)
Did You Make This?
We love seeing what you’ve made! Tag us on social media at
@easydessertrecipes
for a chance to be featured.
Detailed Step-by-Step Guide to Baking Tiramisu Macarons
Creating Tiramisu Macarons is a journey that, while requiring precision, is incredibly rewarding. Follow these detailed steps to ensure beautiful, flavorful results and a successful baking experience. This narrative guide will provide additional context and insights for each stage of the process.
Preparing the Macaron Shells: The Foundation of Your Dessert
1. Prepare Your Baking Station: Your macaron journey begins with proper preparation. Start by lining two large baking sheets with high-quality parchment paper or reusable Silpat mats. These non-stick surfaces are absolutely essential for ensuring your macarons release cleanly and perfectly formed after baking, preventing them from sticking and breaking.
2. Gently Heat Egg Whites and Sugar (Swiss Meringue Method): In a heatproof bowl, meticulously combine 90 grams (approximately 3 large) of egg whites with 90 grams (½ cup) of granulated sugar. Place this bowl over a small saucepan containing about an inch of water, brought to a gentle simmer – this setup is known as a bain-marie. Continuously whisk the egg white and sugar mixture for about 2 minutes, or until the sugar has completely dissolved, and the mixture feels warm to the touch (ideally around 110°F or 43°C). This gentle heating process, known as the Swiss meringue method, stabilizes the egg whites, making the meringue more robust and less prone to collapse.
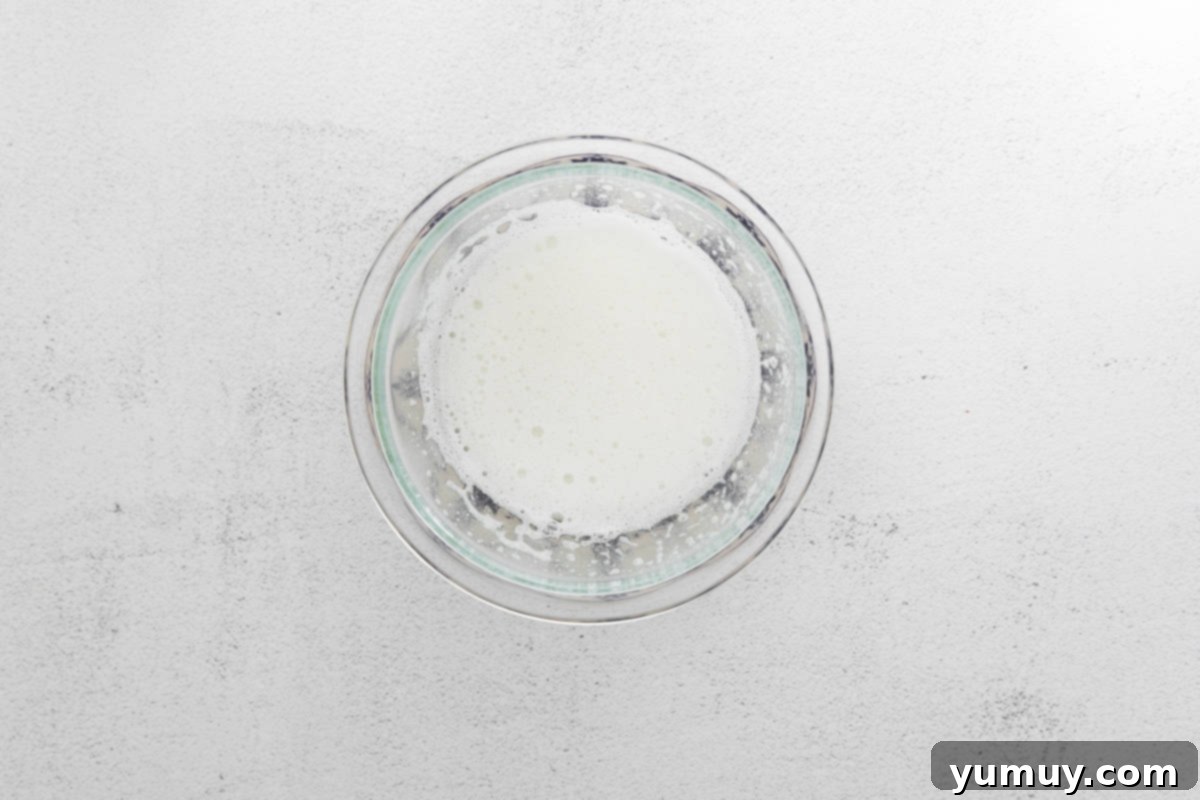
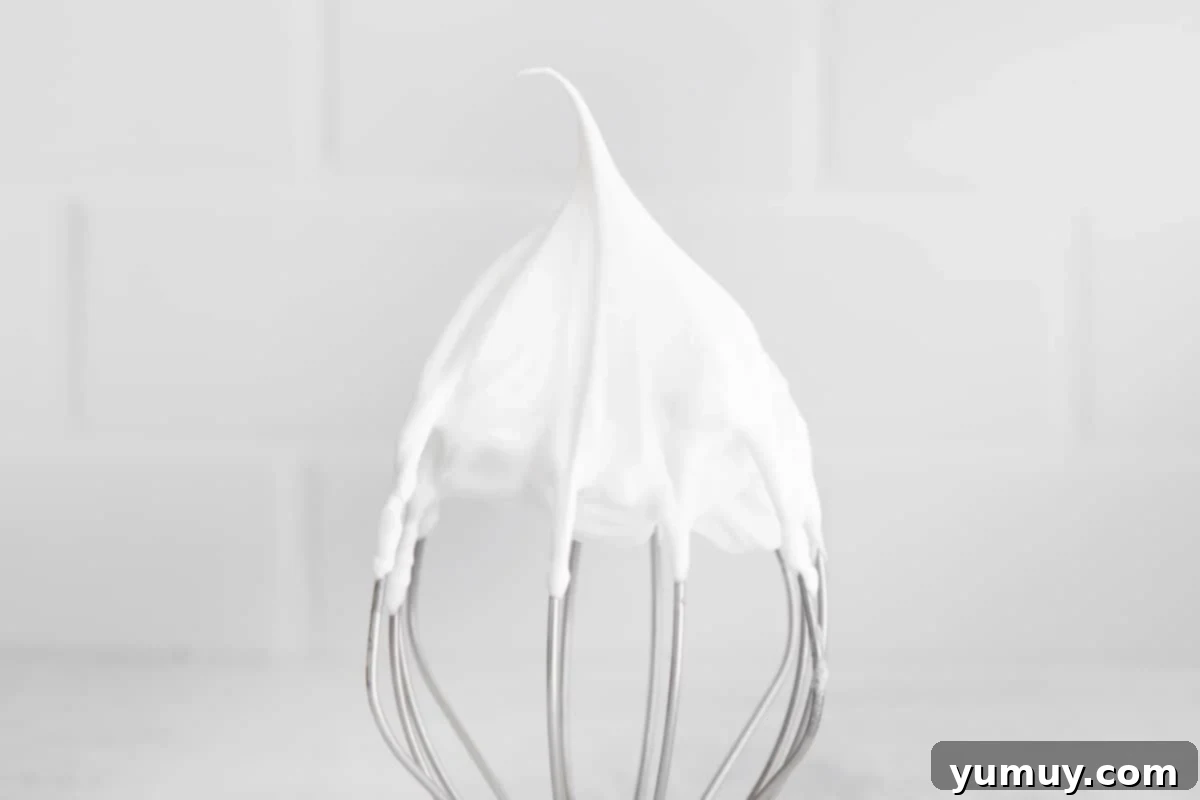
3. Whip to Stiff, Glossy Peaks: Carefully transfer the warmed egg white and sugar mixture into the clean bowl of a stand mixer. Fit the mixer with the whisk attachment and begin beating on medium-high speed (for a KitchenAid, this is typically speed #8). Continue whipping for approximately 5 minutes, or until the meringue achieves firm, glossy peaks. When you lift the whisk, the meringue should hold its shape firmly without any drooping, indicating it has incorporated sufficient air and is stable.
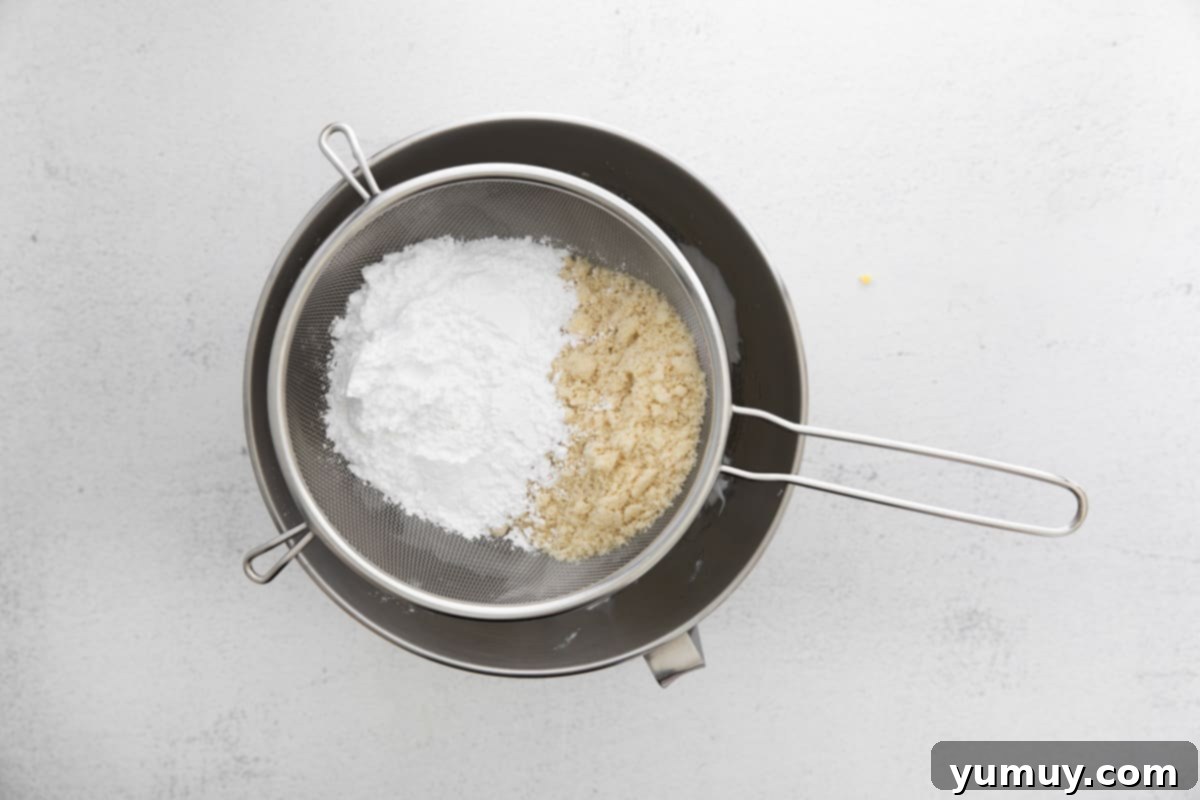
4. Sift Dry Ingredients for Smoothness: Through a fine-mesh sieve, gently sift 95 grams (⅘ cup) of powdered sugar and 95 grams (1 cup) of superfine almond flour directly over the stiff meringue. Sifting is an absolutely critical step that removes any large almond pieces or stubborn sugar lumps, which could otherwise create an undesirable bumpy texture in your finished macaron shells. Discard any larger pieces that do not pass through the sieve; do not force them.
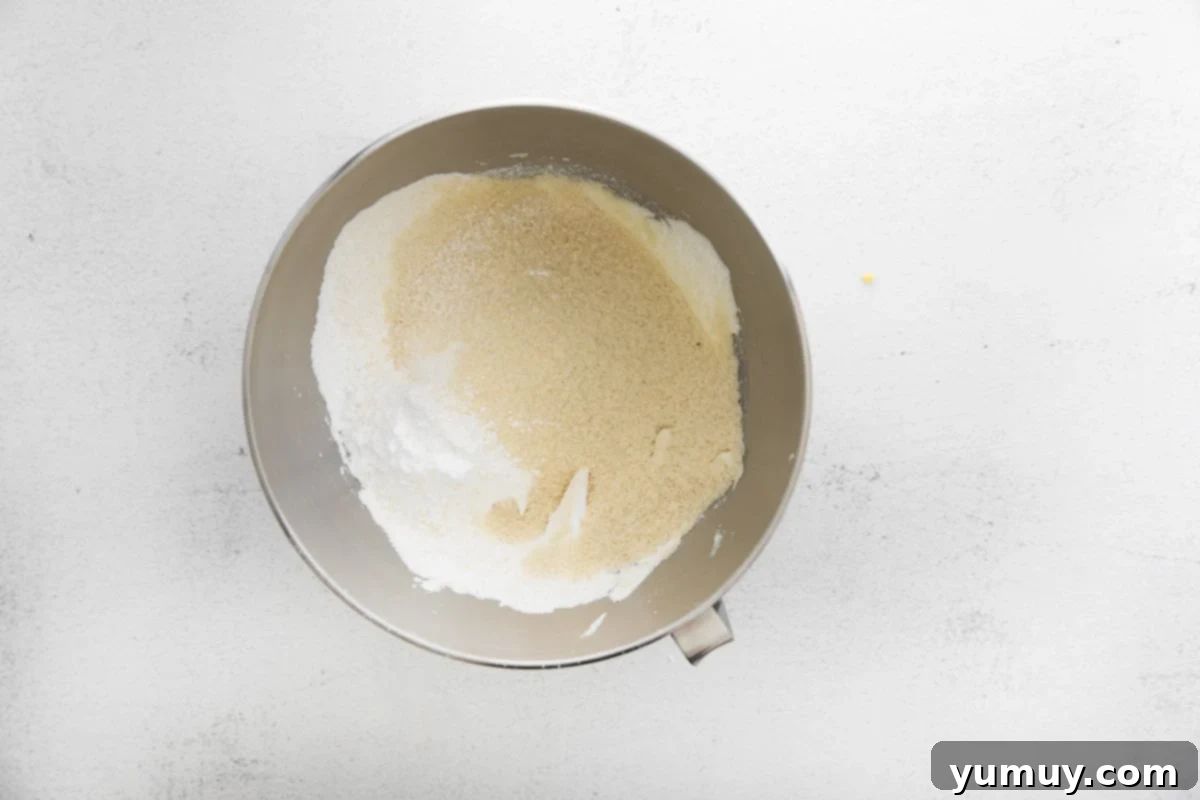
5. The Macaronage Process (Initial Gentle Fold): This is arguably the most crucial step – the “macaronage.” Using a sturdy rubber spatula, gently begin to fold the sifted dry ingredients into the meringue. Employ a “J” motion: scrape the sides of the bowl and bring the batter up from the bottom, then fold it over. Be delicate but thorough, ensuring that no pockets of dry ingredients remain unmixed at the bottom of the bowl.
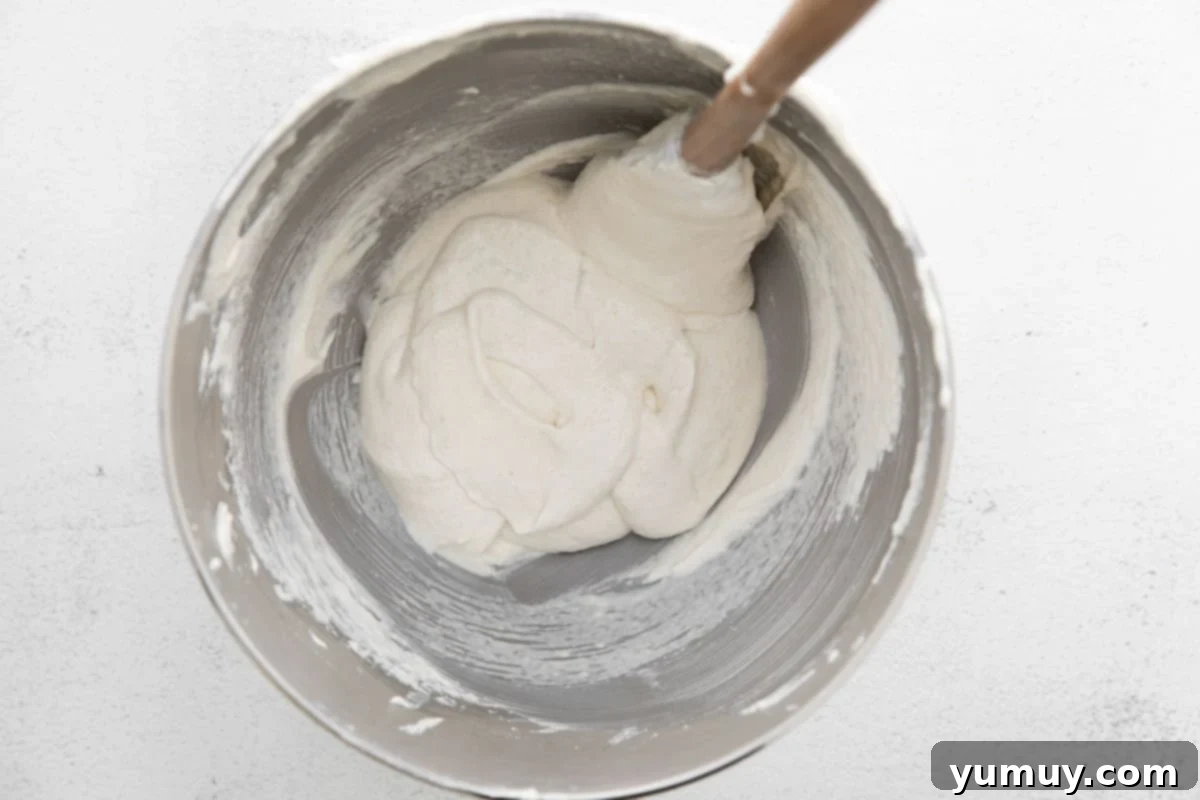
6. Perfecting the Batter Consistency (“Smush and Fold”): Once the dry ingredients are just integrated, continue the folding process, but with a slight modification. Now, gently “smush” or press the batter against the sides of the bowl with your spatula before folding it back into the center. This technique helps to carefully deflate some of the air from the meringue, bringing the batter to the ideal consistency. Continue this smushing and folding a few times until the batter reaches the “lava” or “figure 8” stage. This means that when you lift your spatula, the batter should flow off smoothly and continuously, allowing you to draw a figure 8 without the stream breaking. This flowing, ribbon-like consistency is paramount for piping smooth, footed macaron shells. Be careful not to overmix, as this will lead to a runny batter.
7. Pipe, Degas, and Rest for Flawless Shells: Transfer the perfectly textured macaron batter into a piping bag fitted with a small round tip (a Wilton #10 is an excellent choice for consistent size). Pipe uniform 1-inch diameter macaron shells onto your prepared baking sheets, ensuring you hold the piping bag strictly perpendicular (90 degrees) to the surface. After piping, lift each baking tray a few inches off the counter and drop it firmly straight down about 5-6 times. This crucial step, known as “de-gassing,” helps burst any large air bubbles trapped within the batter, which is key to preventing cracks and achieving smooth tops and proper “feet.” Repeat this process for the second tray. Finally, allow the piped shells to rest at room temperature for at least 25 minutes, though this time can vary based on your kitchen’s humidity. They are ready to bake when a slight, dry skin has formed on their surface, and they are no longer sticky to the touch.
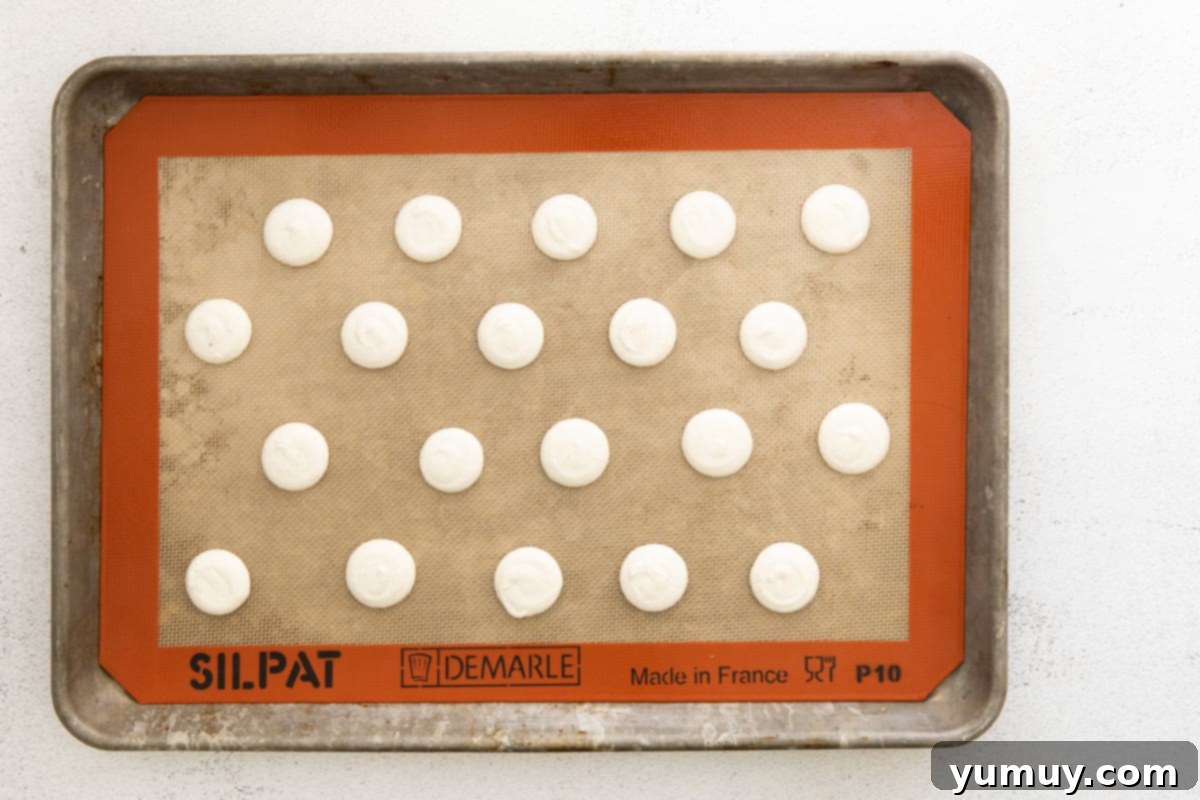
8. Preheat and Bake with Precision: While your macaron shells are resting, preheat your oven to a precise 325°F (160°C). As mentioned in the tips, an oven thermometer is highly recommended here, as consistent temperature is paramount for macaron success. Bake the macaron shells one tray at a time for approximately 13 minutes. Halfway through the baking time, rotate the tray 180 degrees to ensure even heat distribution and uniform baking across all shells. The shells are perfectly baked when they have developed their characteristic ruffled “feet” and are firm on the bottom. Once baked, remove the trays from the oven and let the macaron shells cool completely on the baking sheet before attempting to gently remove them. Attempting to remove them too soon can cause them to break or stick.
Crafting the Luxurious Tiramisu Filling
9. Whip the Cream to Soft Peaks: In the clean bowl of a stand mixer fitted with a whisk attachment, add 57 grams (¼ cup) of super cold heavy whipping cream. Beat on medium-high speed until soft peaks form. It’s crucial that the cream is very cold, as this ensures it whips up thick and stable, preventing a runny or “soupy” frosting that would not hold its shape well within the macarons.
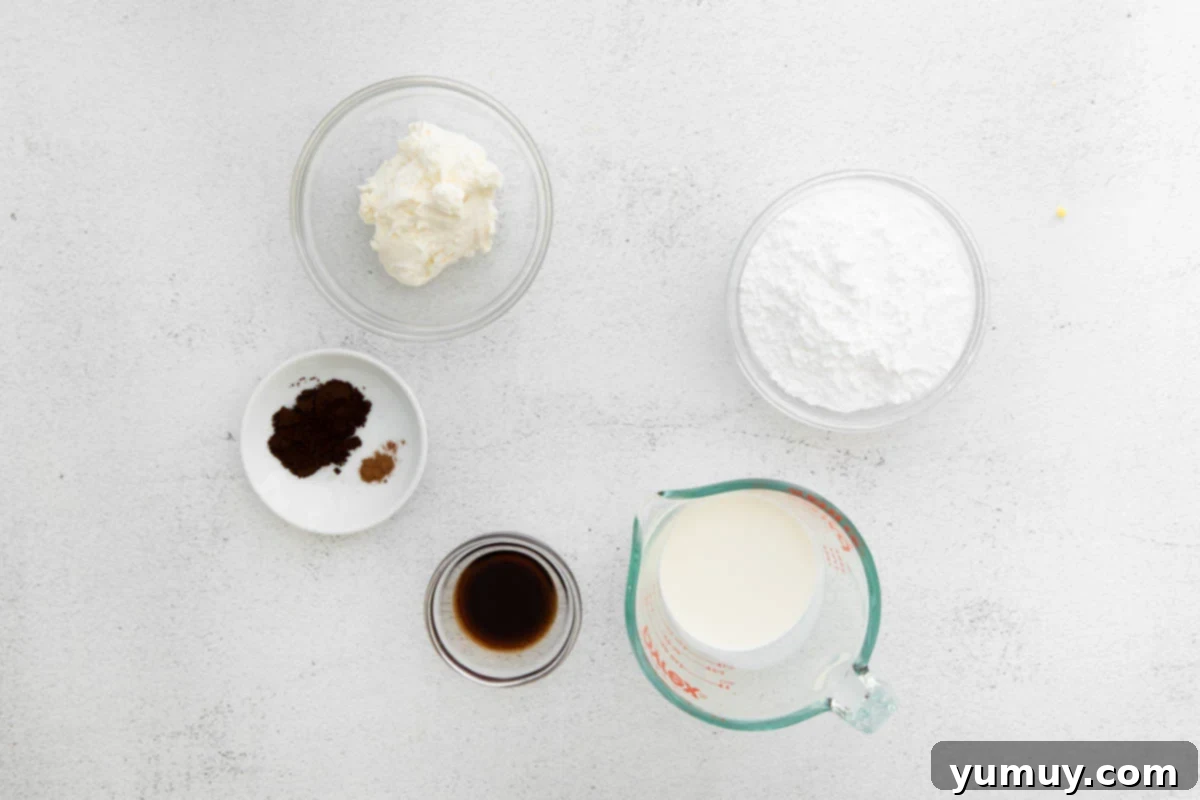
10. Combine Mascarpone and Kahlúa for Flavor Depth: To the whipped cream, add 113 grams (4 ounces) of super cold mascarpone cheese and 14 grams (1 tablespoon) of Kahlúa coffee liqueur. If you prefer a non-alcoholic version, brewed espresso can be used as a delicious substitute. Continue beating the mixture on medium speed until all the ingredients are thoroughly combined, resulting in a smooth, creamy, and luscious consistency.
11. Incorporate Dry Ingredients for Sweetness and Spice: Reduce the mixer speed to low. Slowly begin adding 141 grams (1¼ cups) of sifted powdered sugar. Once it’s mostly incorporated, follow with 2 grams (1 teaspoon) of instant espresso powder and ⅛ teaspoon of ground cinnamon. Scrape down the sides of the bowl as necessary to ensure all ingredients are fully integrated. Continue mixing on low speed until the powdered sugar is well incorporated and the frosting is smooth and velvety. Be careful not to overmix at this stage once everything is combined.
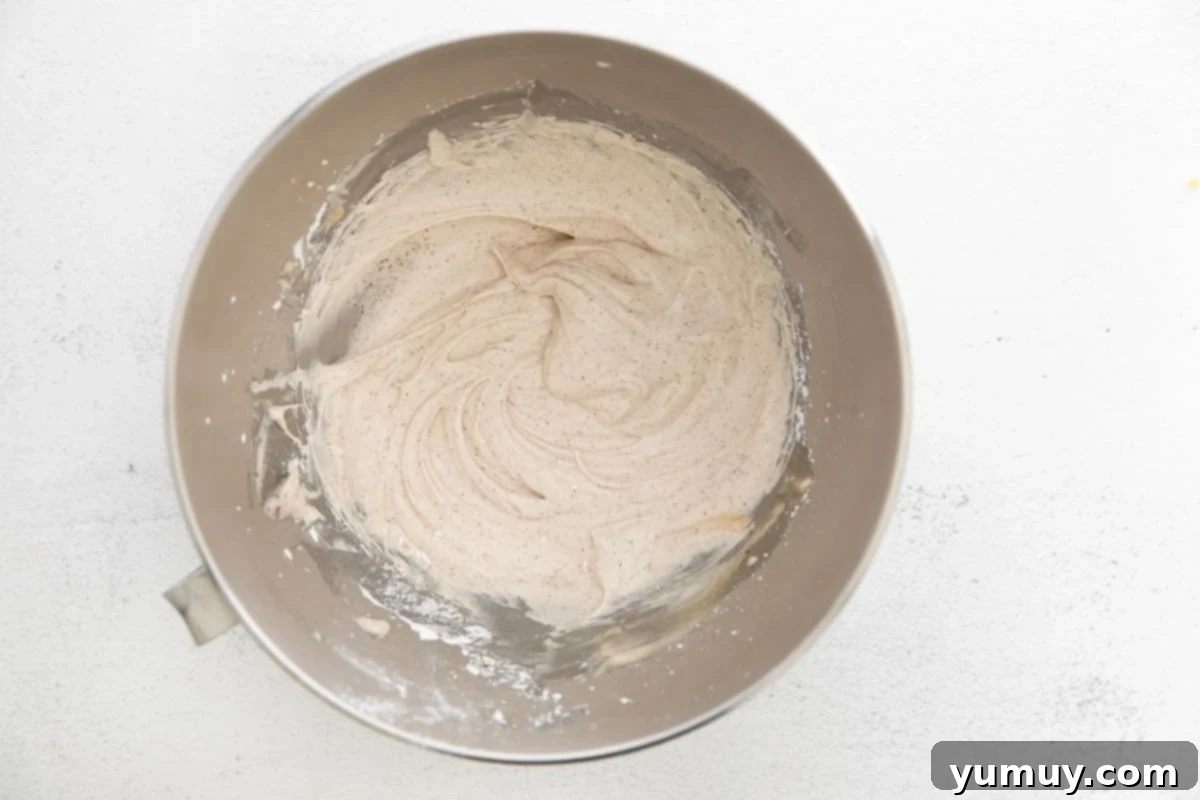
12. Prepare for Piping the Filling: Once your tiramisu frosting is prepared and has the perfect creamy consistency, transfer the mixture immediately to a piping bag fitted with your choice of tip. A round or star tip works wonderfully for creating an appealing filling design. Using it immediately ensures the frosting maintains its optimal structure for easy and precise piping.
Assembly and the Crucial Aging Process
13. Match and Fill Your Macarons: Once your macaron shells are completely cooled and ready, carefully sort them into similar-sized pairs. This ensures a uniform and attractive final product. Pipe a small, yet generous, dollop of the tiramisu filling onto the flat, underside of one macaron shell from each pair.
14. Assemble the Macarons: Gently place the second macaron shell on top of the piped filling, creating a sandwich. Press down very lightly, just enough for the filling to spread out evenly to the edges of the shells. This creates a neat and professional appearance. Repeat this process with all the remaining macaron pairs until all your beautiful Tiramisu Macarons are assembled.
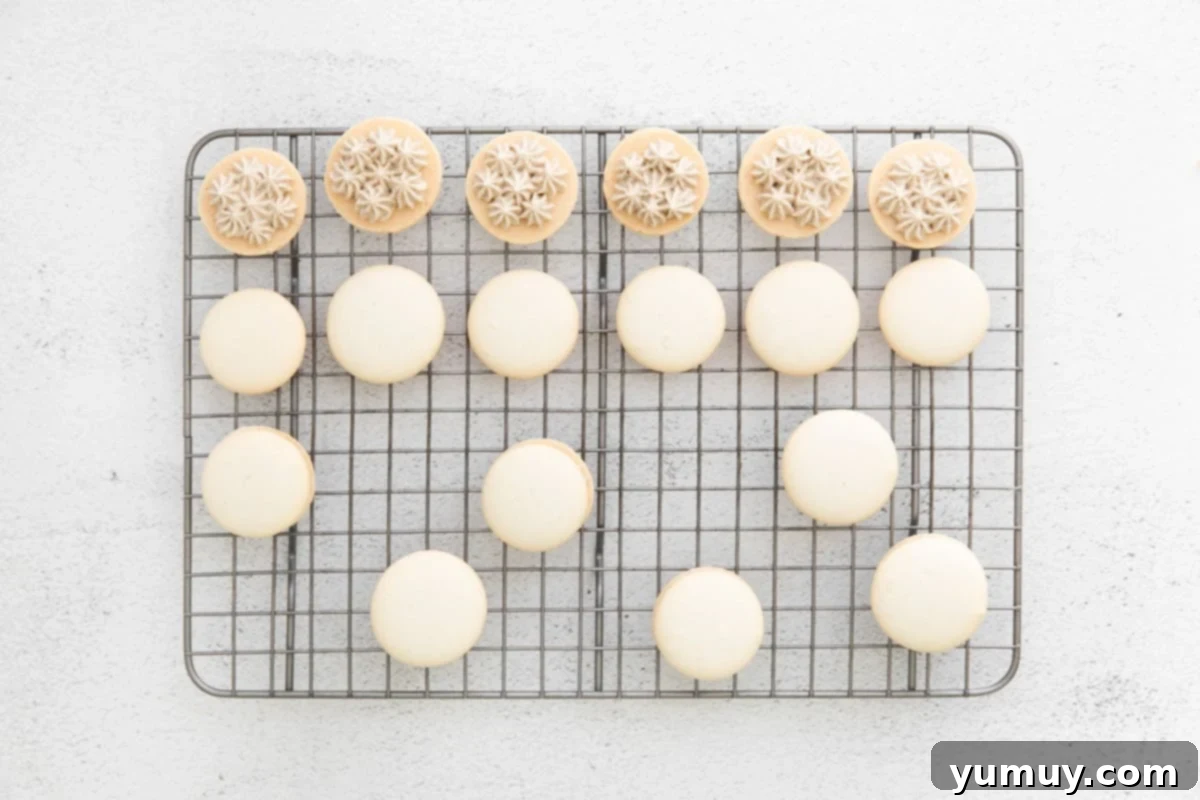
15. Age for Perfection: This step is absolutely critical for achieving the signature macaron texture and is what truly elevates homemade macarons. Transfer your assembled Tiramisu Macarons to an airtight container. Store them in the refrigerator overnight (for at least 12 hours, ideally 24 hours). This “aging” period allows the moisture from the creamy filling to permeate and slightly soften the crisp macaron shells, resulting in that delightful chewy texture that defines a perfect macaron. Skipping this step often leaves you with a macaron that is too brittle.
16. Serve and Enjoy with an Optional Dusting: Before indulging in your meticulously crafted Tiramisu Macarons, remove them from the refrigerator and let them come to room temperature for approximately 20-30 minutes. This allows the filling to soften slightly, bringing out its full flavor and ensuring the best possible texture. For an extra touch of authenticity and visual appeal, consider lightly dusting the tops of your Tiramisu Macarons with a sprinkle of cocoa powder just before serving. Enjoy your homemade masterpiece!
More Macaron Recipes to Delight Your Palate!
If you’ve enjoyed mastering these Tiramisu Macarons, you’ll love exploring other delightful macaron creations. From fruity bursts to rich chocolate dreams, there’s a macaron for every occasion and craving. Expand your baking repertoire with these exciting recipes:
Chocolate Strawberry Macarons
Strawberry Macarons
Valentine’s Day Pink Macarons
Easter Macarons
Explore All Cookie Recipes
