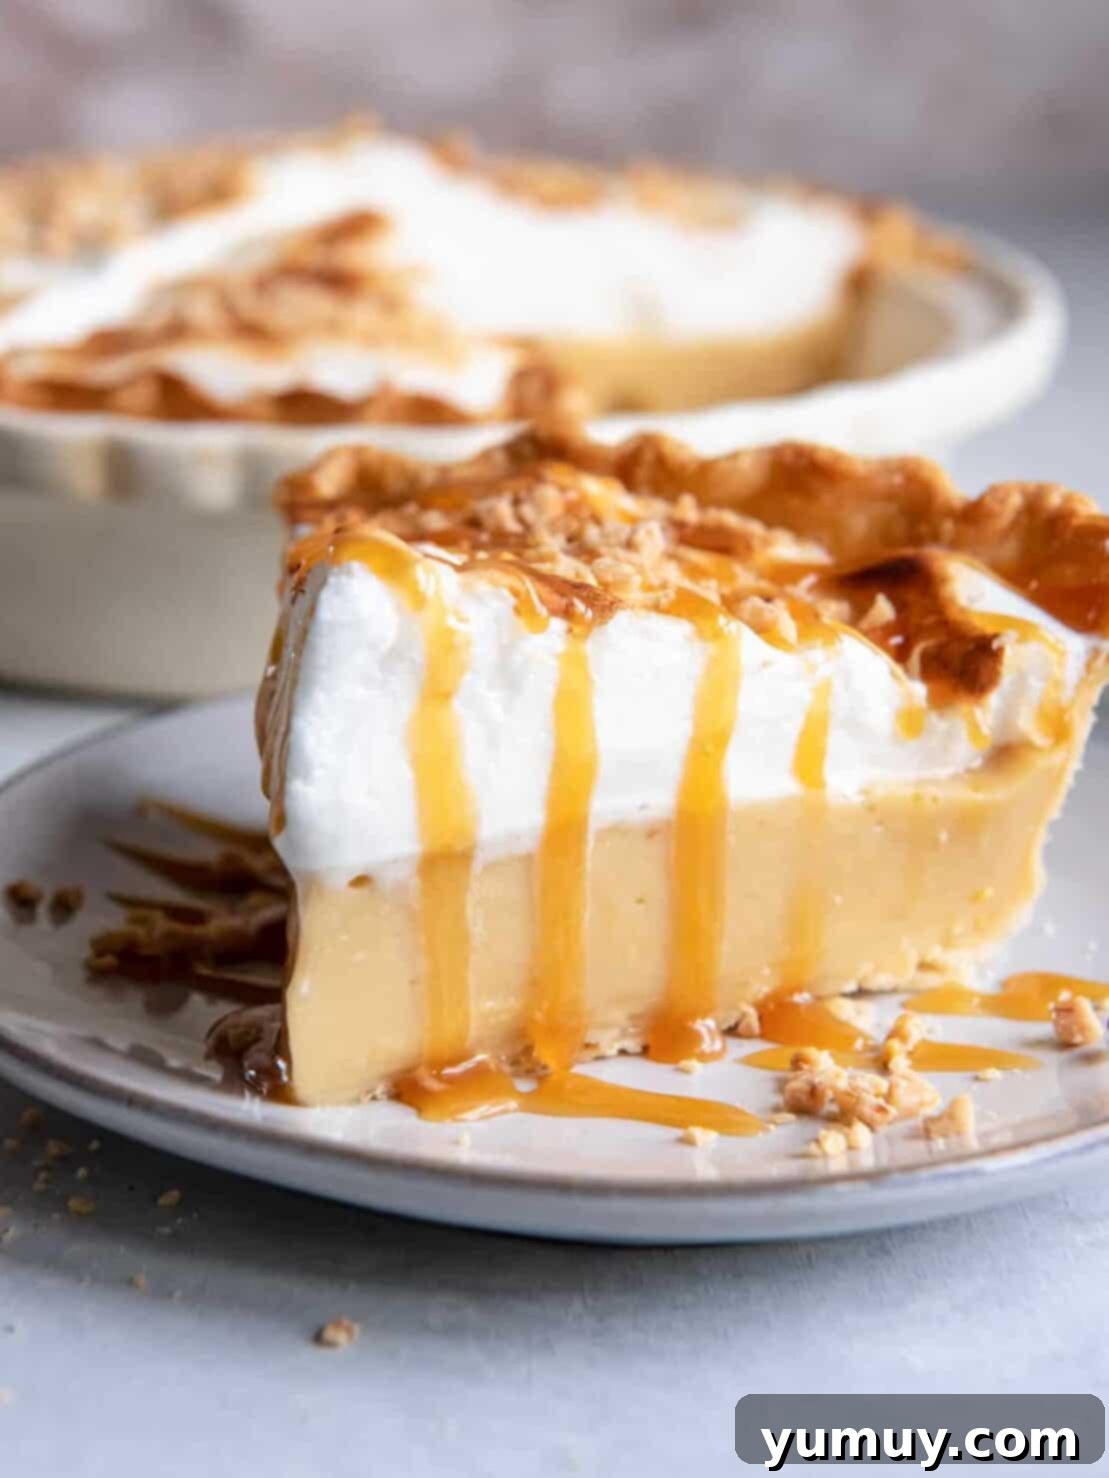
There’s an undeniable charm to a classic butterscotch pie, a dessert that effortlessly evokes feelings of comfort and nostalgia. My easy-to-follow homemade recipe elevates this beloved staple, crowning it with a magnificent, cloud-like meringue. The delightful contrast between the buttery, flaky pie crust, the rich, velvety butterscotch pudding filling, and the ethereal meringue topping creates a symphony of textures and flavors that is truly next-level. Crafted with readily available ingredients and straightforward steps, this butterscotch meringue pie isn’t just a dessert; it’s a celebration, perfect for any holiday gathering or special occasion.
Classic Butterscotch Pie: A Timeless Dessert with a Meringue Masterpiece
For aficionados of traditional butterscotch pie, prepare to be captivated by this subtly refined yet incredibly simple version. It retains the signature sweet, deep caramel notes that define the dessert, but introduces a stunning meringue topping that transforms it into an elegant showstopper. Don’t be intimidated by the meringue; it’s far less daunting than it sounds and is truly the secret ingredient that elevates this butterscotch pie recipe to an extraordinary level of deliciousness and visual appeal.
The heart of this pie lies in its lusciously rich, creamy, and perfectly thick butterscotch pudding filling. It’s crafted from a harmonious blend of farm-fresh eggs, golden brown sugar, wholesome milk, rich butter, a splash of pure vanilla extract, and a touch of cornstarch for that ideal consistency. Once prepared, this decadent filling is gently poured into a pre-baked pie crust. While my food processor pie crust recipe offers a wonderfully simple homemade option, a quality store-bought crust works just as beautifully when time is of the essence. Whichever you choose, ensure it’s fully baked beforehand. This pie requires ample chilling time to set perfectly, making it an ideal candidate for preparing a day in advance, allowing the flavors to meld and the texture to firm up beautifully before serving.
The Secret to Perfect Meringue: Preventing “Weeping”
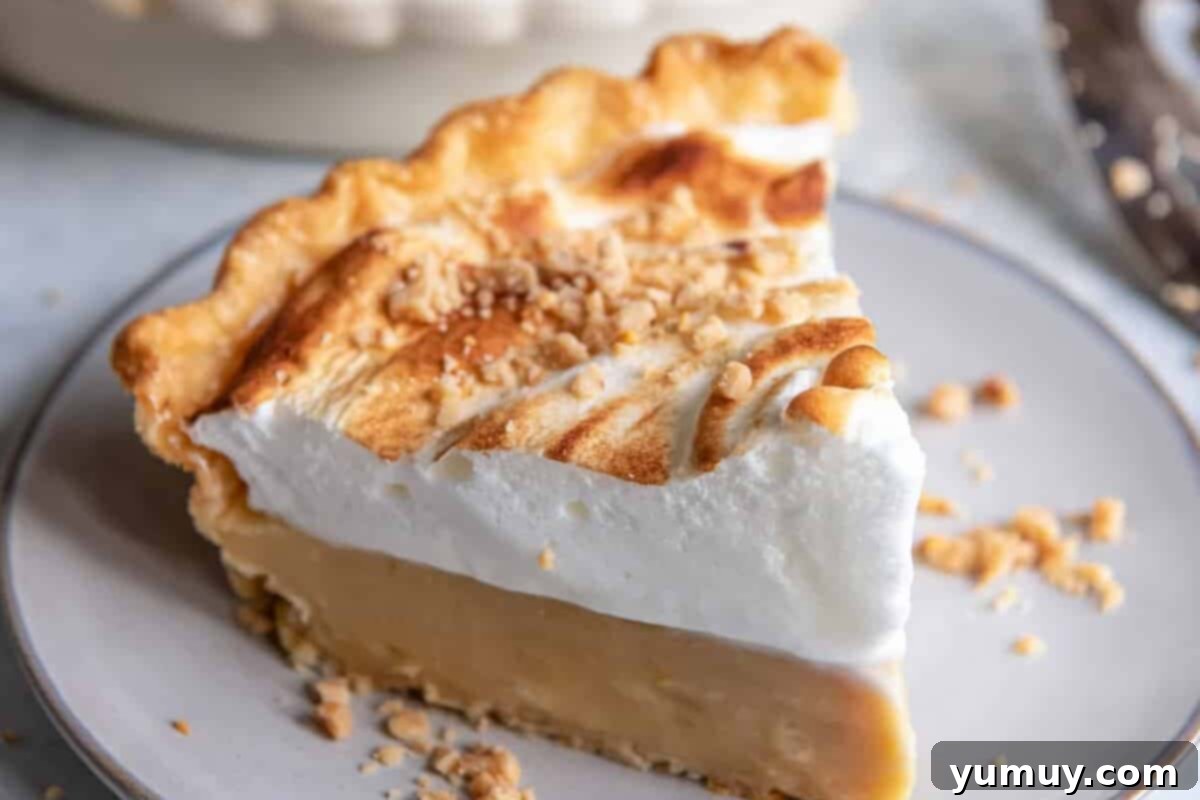
One of the most common challenges with meringue-topped pies is the dreaded “weeping,” where a layer of watery syrup forms between the meringue and the filling. Fortunately, there’s a simple yet incredibly effective tip to combat this: always ensure your butterscotch filling is still warm when you spread the meringue over it. The residual heat from the filling acts as a gentle “cook” for the bottom layer of the meringue, helping to stabilize it and create a stronger bond. This crucial step prevents the sugar in the meringue from drawing out moisture, resulting in a beautifully intact and appealing meringue that won’t weep, ensuring every slice is as perfect as the first.

Butterscotch Pie with Meringue Recipe
15 minutes
25 minutes
1 hour 40 minutes
1 hour
8 slices
Ingredients
- 1 9-inch refrigerated pie crust pre-baked (store-bought or homemade)*
- 2½ cups whole milk
- 1 cup brown sugar
- ⅓ cup cornstarch
- ½ teaspoon kosher salt
- 3 large egg yolks beaten**
- 3 tablespoons unsalted butter (⅜ stick)
- 1½ teaspoons pure vanilla extract
For the Meringue:
- 3 large egg whites
- 1 teaspoon cream of tartar
- ¼ cup granulated sugar ***
Equipment
- Kitchen Scale (optional, for precision)
- Pie Pan
- Stand Mixer (or hand mixer)
- Medium Saucepan
- Whisk
Instructions
Make the Butterscotch Filling:
- In a medium saucepan set over medium-high heat, combine the whole milk, brown sugar, cornstarch, and kosher salt. Cook, stirring constantly with a whisk, until the mixture visibly darkens and begins to thicken, typically within 5-8 minutes. It should coat the back of a spoon.

- Reduce the heat to medium-low. Allow the mixture to cool slightly for about 1 minute. Then, gradually whisk in the beaten egg yolks. Continue to cook and stir constantly for another 2-3 minutes until the filling thickens significantly to a pudding-like consistency.

- Remove the saucepan from the heat. Stir in the unsalted butter until fully melted and incorporated, then add the pure vanilla extract. Mix well to combine.

- Immediately pour the hot butterscotch filling into your pre-baked 9-inch pie crust, spreading it evenly.

- Gently press a piece of plastic wrap directly onto the surface of the hot pudding to prevent a skin from forming. Set the pie aside while you quickly prepare the meringue. Ensure the filling remains warm.

- Preheat your oven to 350°F (175°C).
Make the Meringue:
- Add the egg whites and cream of tartar to the clean, dry bowl of a stand mixer fitted with the whisk attachment.

- Whip the egg whites on high speed until they form stiff, glossy peaks. This means when you lift the whisk, the peaks hold their shape firmly.

- With the mixer still running on high, slowly stream in the granulated sugar, a little at a time. Continue to whip until the meringue is incredibly shiny, smooth, and all the sugar has completely dissolved.

Assemble and Bake:
- Carefully remove the plastic wrap from the warm butterscotch pie. Dollop the prepared meringue over the pie filling, then gently spread it evenly across the entire surface, ensuring it touches the crust all around the edges to seal it. Create decorative peaks with the back of a spoon if desired.

- Bake the pie in the preheated oven for approximately 10 minutes, or until the tips and surface of the meringue turn a beautiful golden brown. Keep a close eye on it to prevent burning.

- Remove the pie from the oven and allow it to cool completely at room temperature, then chill in the refrigerator for at least one hour (or ideally, 4 hours) before slicing and serving. This ensures the filling is perfectly set.

Notes & Expert Tips
**No egg whites go to waste in this recipe! The remaining egg whites from separating the yolks are perfectly used to create the fluffy meringue topping.
***For an even smoother and faster-dissolving meringue, you can use superfine granulated sugar (also known as caster sugar) if you have it on hand. This finely ground sugar integrates more easily into the egg whites, contributing to a more stable meringue.
Additional Tips for Success:
- Preventing Scrambled Eggs: After the initial thickening of the milk mixture, it’s crucial to reduce the heat to low and let the mixture cool for a minute before whisking in the egg yolks. Adding eggs to a vigorously boiling or extremely hot mixture can cause them to scramble or curdle, resulting in a lumpy filling.
- Smooth Filling Fix: If, despite your best efforts, your filling develops any small lumps after adding the eggs, don’t despair! You can easily press the warm filling through a fine-mesh sieve into the pie crust. This will ensure a perfectly smooth and silky texture.
- The Warm Filling Rule: As mentioned, always pour the hot butterscotch filling into the pre-baked crust and immediately cover it with plastic wrap. This maintains its warmth, which is essential for creating a stable meringue that won’t “weep” or become watery once baked onto the pie.
- Meringue Mastery: While a stand mixer provides the best results for meringue, achieving consistent stiff peaks, a good quality hand mixer can also be used. Just ensure your mixing bowl and whisk attachment are impeccably clean and free of any grease, as even a tiny amount can prevent egg whites from whipping properly.
- Cooling is Key: Resist the urge to slice into your butterscotch pie too soon. Allowing it to cool completely and then chilling it for at least an hour (preferably longer) is vital for the filling to fully set, ensuring clean slices and optimal texture.
Storage Guidelines: Store any leftover butterscotch pudding pie, meticulously covered with plastic wrap or in an airtight container, in the refrigerator for up to 2 days. It tastes best when served chilled.
Calories from Fat 126
Did You Make This Delicious Pie?
We absolutely love seeing your culinary creations! Share your beautiful butterscotch pies and tag us on Instagram at
@easydessertrecipes for a chance to be featured on our page.
Mastering Your Homemade Butterscotch Meringue Pie: A Detailed Guide
Creating this irresistible butterscotch meringue pie is a rewarding experience, and following these detailed steps will ensure a flawless result every time. From preparing your ingredients to achieving that perfect golden meringue, let’s walk through the process:
1. Prepare Your Mise en Place
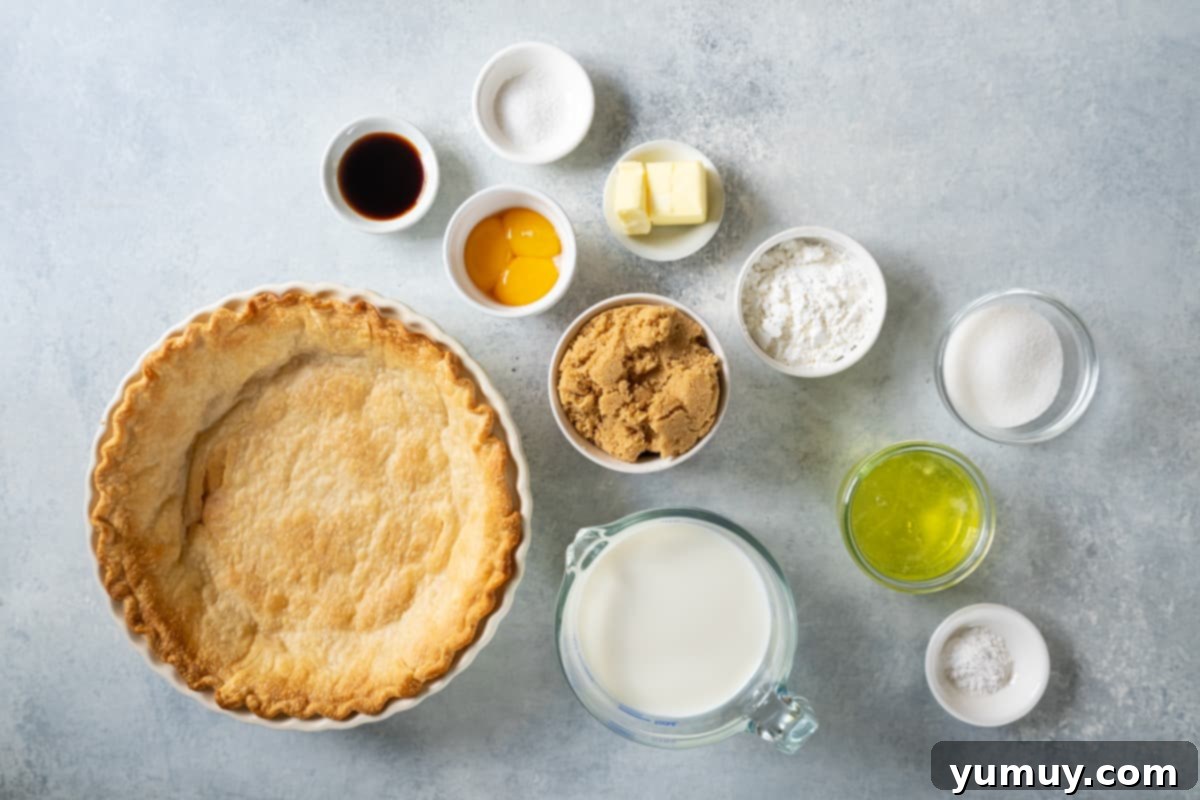
Prep: Before you begin cooking, it’s crucial to pre-bake your pie crust and gather all your ingredients. Measure out each component precisely. An important initial step is to separate your egg yolks and egg whites into two distinct, clean bowls, as they will be used in different stages of the recipe. Ensure your egg whites bowl is impeccably clean and free of any grease, which is vital for successful meringue.
2. Create the Rich Butterscotch Base
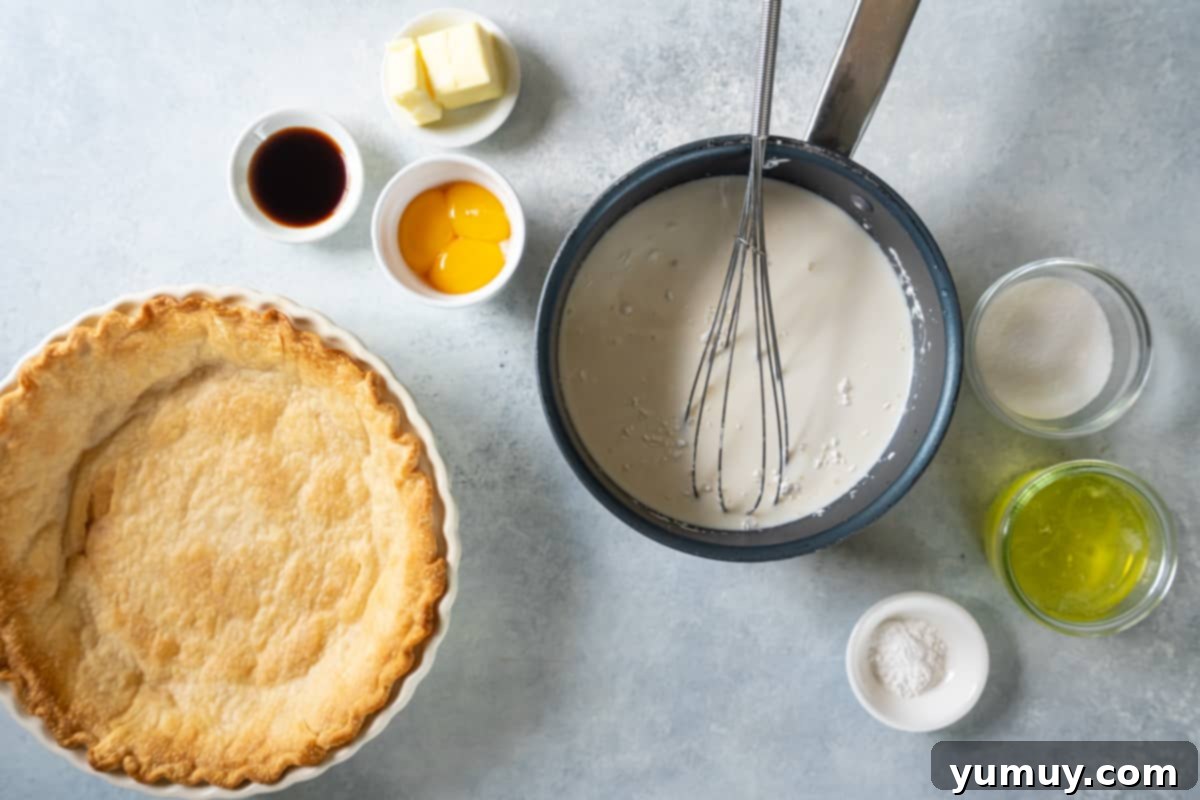
Heat the Milk Mixture: In a sturdy medium saucepan, combine 2½ cups of whole milk, 1 cup of rich brown sugar, ⅓ cup of cornstarch (this is key for thickening), and ½ teaspoon of kosher salt. Place the saucepan over medium-high heat. Using a whisk, stir the mixture continuously. This constant stirring is essential to prevent scorching and ensure even cooking. Continue cooking for about 5-8 minutes, or until the mixture begins to darken in color and visibly thickens, coating the back of your spoon. The deepening color is a sign that the butterscotch flavor is developing beautifully.
3. Thicken to a Silky Custard
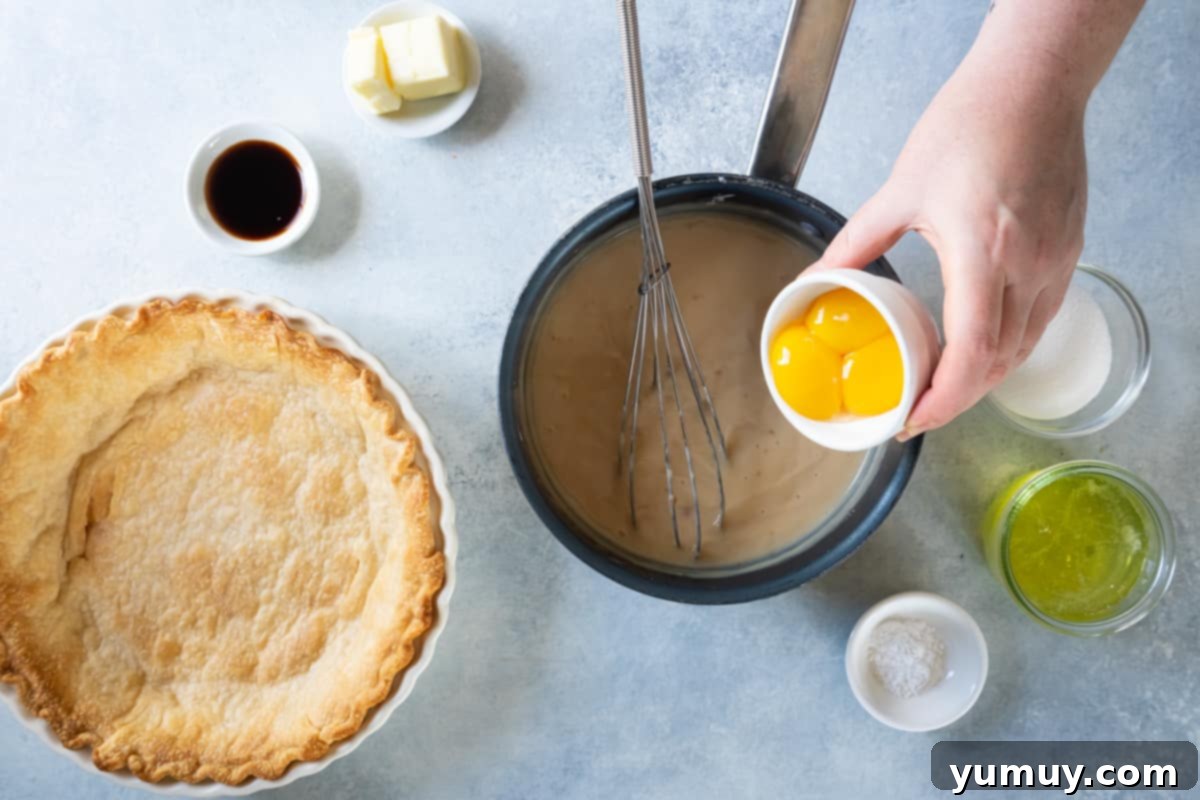
Integrate Egg Yolks: Once the butterscotch base has thickened, reduce the heat to medium-low. This is a critical step to prevent scrambling the eggs. Allow the mixture to cool for a minute or two. Then, gradually whisk in the 3 large beaten egg yolks. Continue whisking and cooking the mixture over medium-low heat. The custard will thicken further, reaching a wonderfully smooth and creamy pudding-like consistency. Be patient and keep stirring to ensure the eggs are fully incorporated without clumping. If any small lumps appear, you can always strain the mixture through a fine-mesh sieve later for a perfectly smooth filling.
4. Enhance with Butter and Vanilla
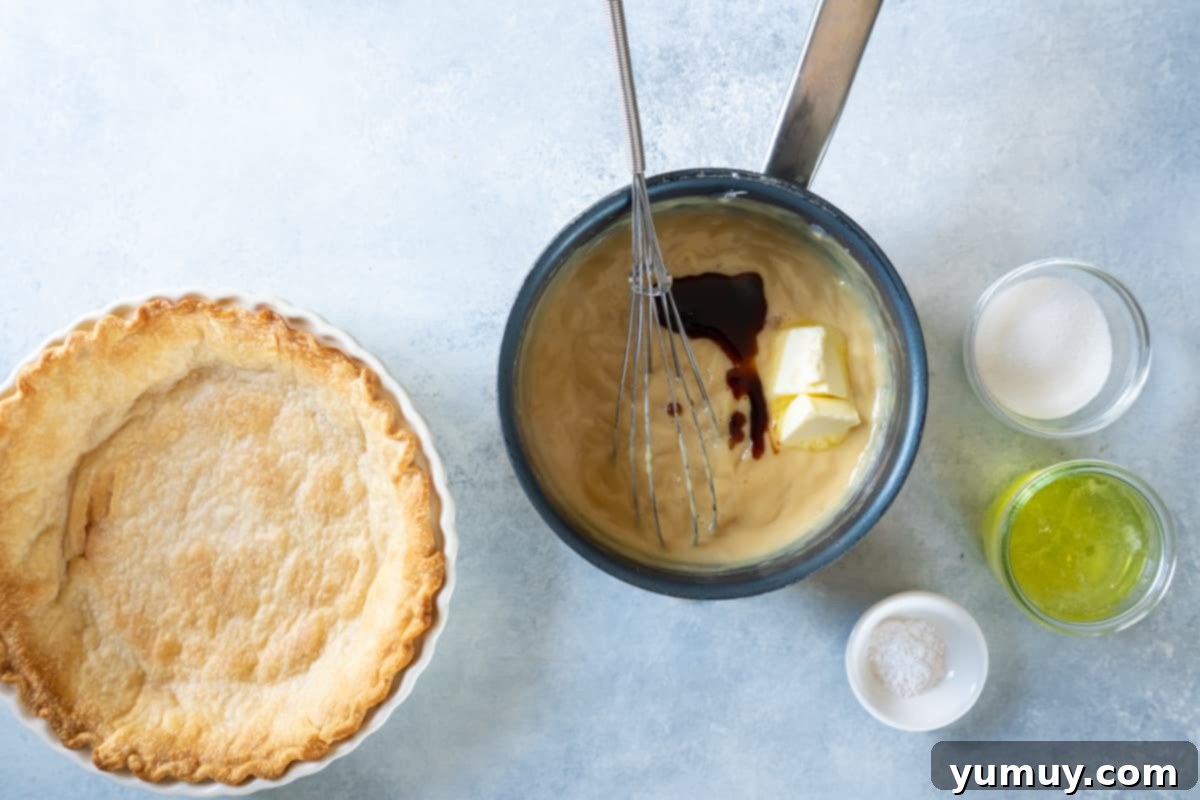
Flavor the Custard: Immediately remove the saucepan from the heat. Stir in 3 tablespoons of unsalted butter until it is completely melted and seamlessly blended into the hot custard. Follow this with 1½ teaspoons of fragrant pure vanilla extract, which enhances the butterscotch notes. Mix thoroughly until all ingredients are well combined and the custard is smooth and glossy.
5. Prepare the Pie for Topping
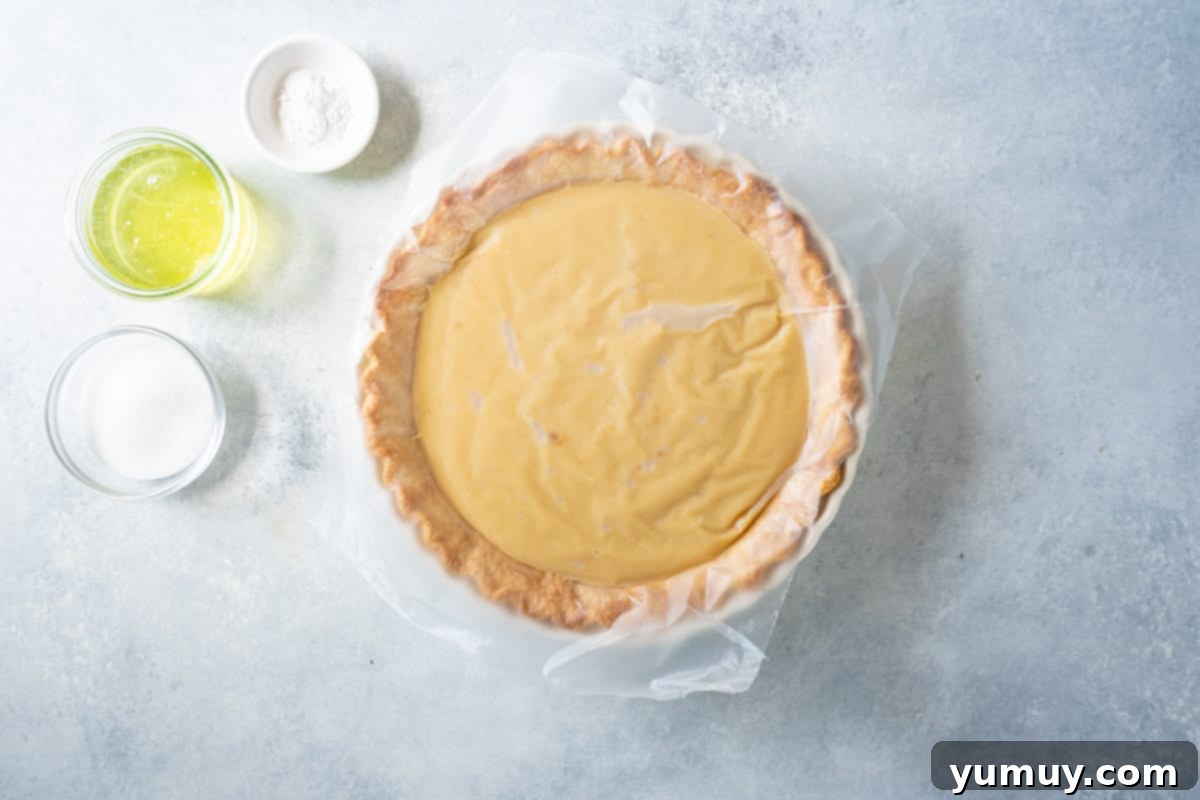
Pour the Filling: Without delay, pour the hot, flavorful butterscotch filling into your pre-baked 9-inch pie crust. Spread it out evenly with a spatula.
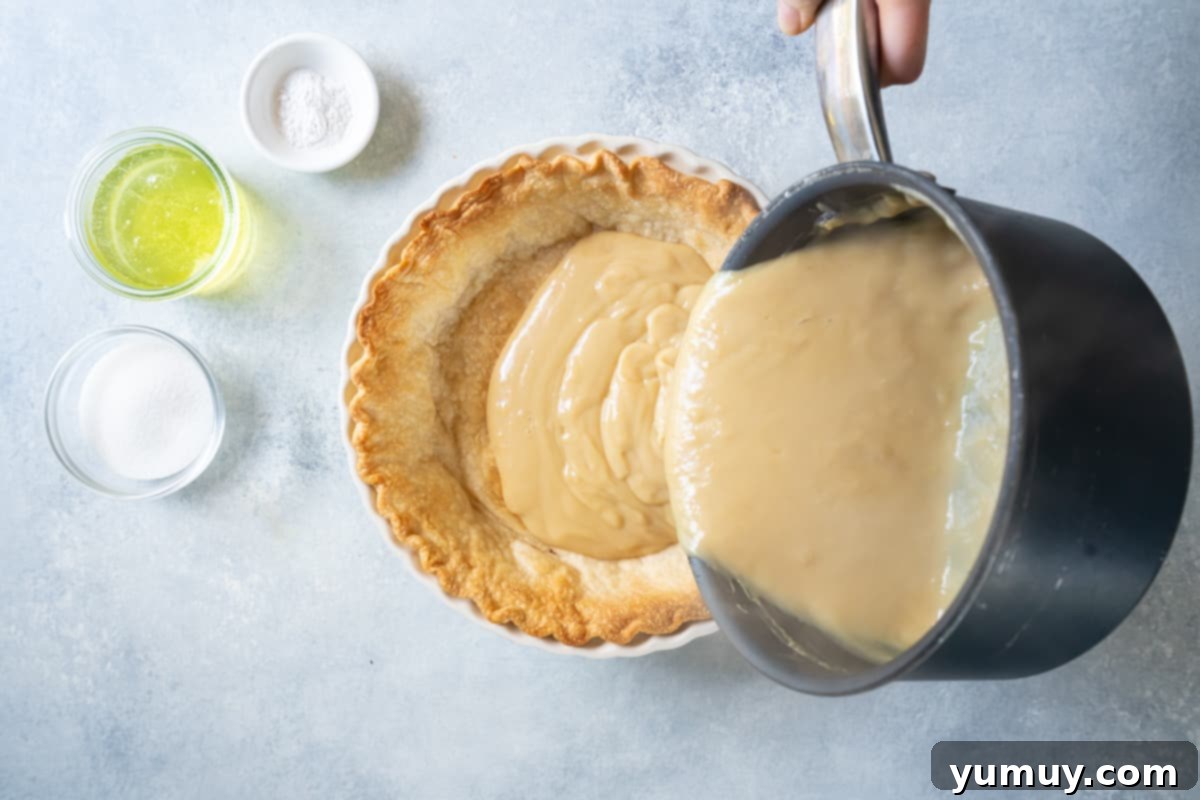
Cover and Hold Warmth: Immediately press a piece of plastic wrap directly onto the surface of the still-warm pudding. This prevents a skin from forming and, more importantly, keeps the filling warm. Set the pie aside momentarily while you prepare the meringue. This step is crucial: keeping the filling warm helps to prevent the meringue from “weeping”. The meringue whips up quickly, so don’t leave the pie sitting too long before adding the topping.
6. Whip Up the Fluffy Meringue
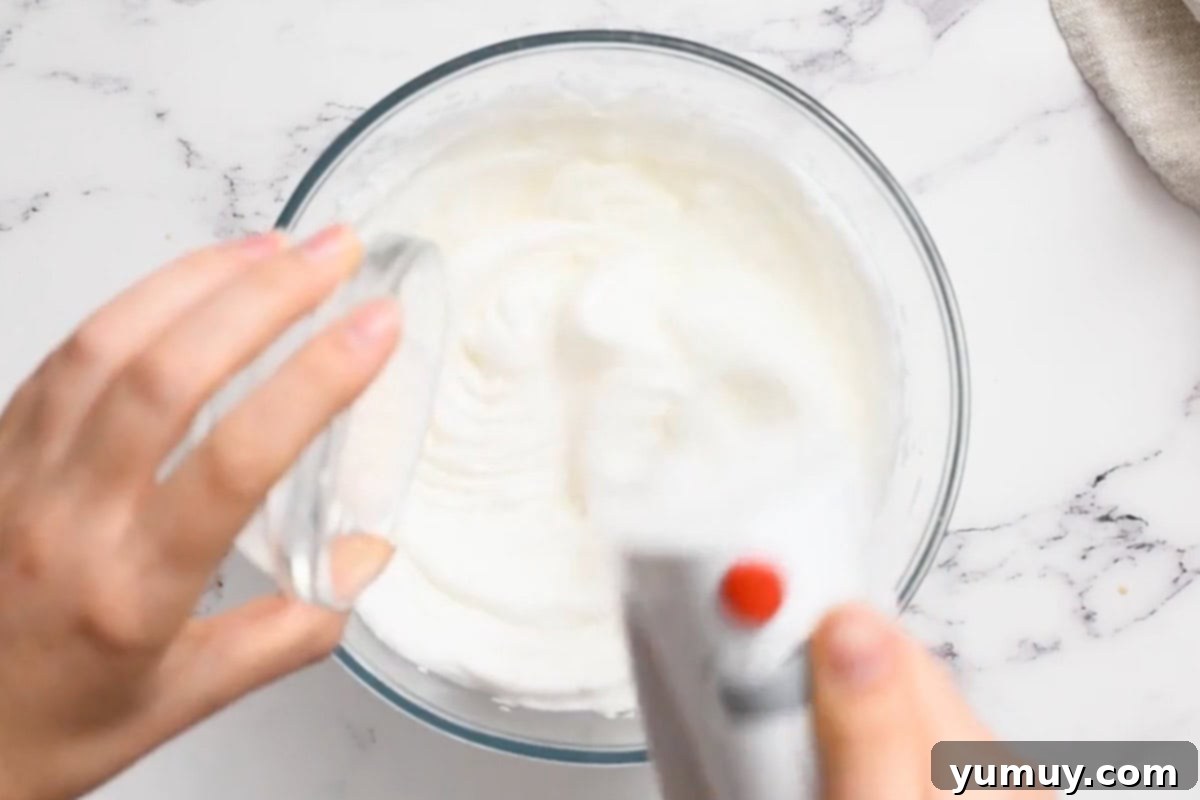
Meringue Preparation: Preheat your oven to 350°F (175°C) at this stage. In the very clean, dry bowl of a stand mixer (fitted with the whisk attachment), add the 3 large egg whites and 1 teaspoon of cream of tartar. Cream of tartar is an acidic ingredient that helps stabilize the egg whites, allowing them to whip up to a greater volume and maintain stiff peaks. Whip the egg whites on high speed until they form stiff, glossy peaks. This means when you lift the whisk, the peaks should stand upright and hold their shape. With the mixer still running on high, slowly stream in ¼ cup of granulated sugar. Continue whipping until the meringue is incredibly shiny, smooth, and all the sugar granules have completely dissolved. To check if the sugar is dissolved, rub a small amount of meringue between your fingers; it should feel smooth, not gritty.
7. Assemble and Bake to Golden Perfection
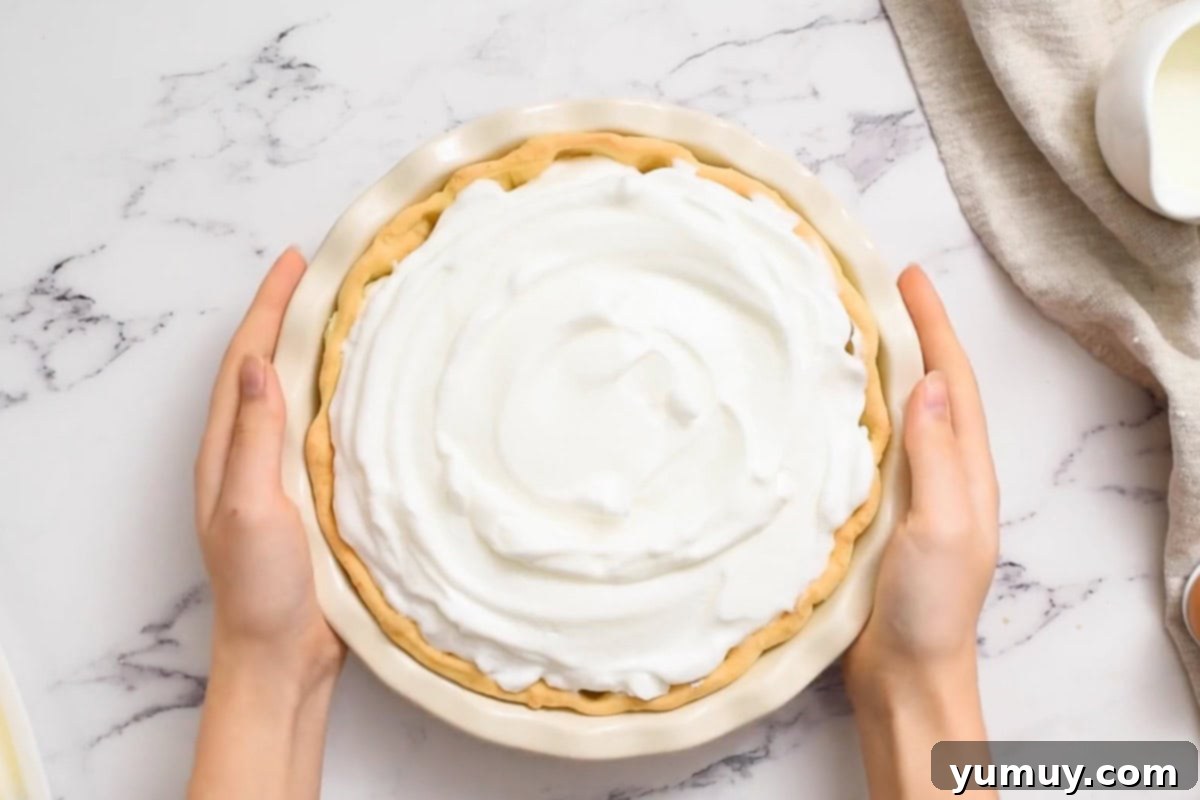
Top with Meringue and Bake: Carefully remove the plastic wrap from the warm butterscotch pie. Using a spatula or the back of a spoon, spread the freshly made meringue generously over the warm pie filling. Ensure the meringue covers the entire surface and extends to touch the crust all around the edges; this seal helps anchor the meringue and prevents it from shrinking during baking. For an elegant finish, create decorative swirls or peaks with your spatula. Place the pie in the preheated oven and bake for approximately 10 minutes, or until the meringue turns a beautiful, inviting golden brown on top. Watch closely, as meringue can brown quickly.
8. Chill and Serve
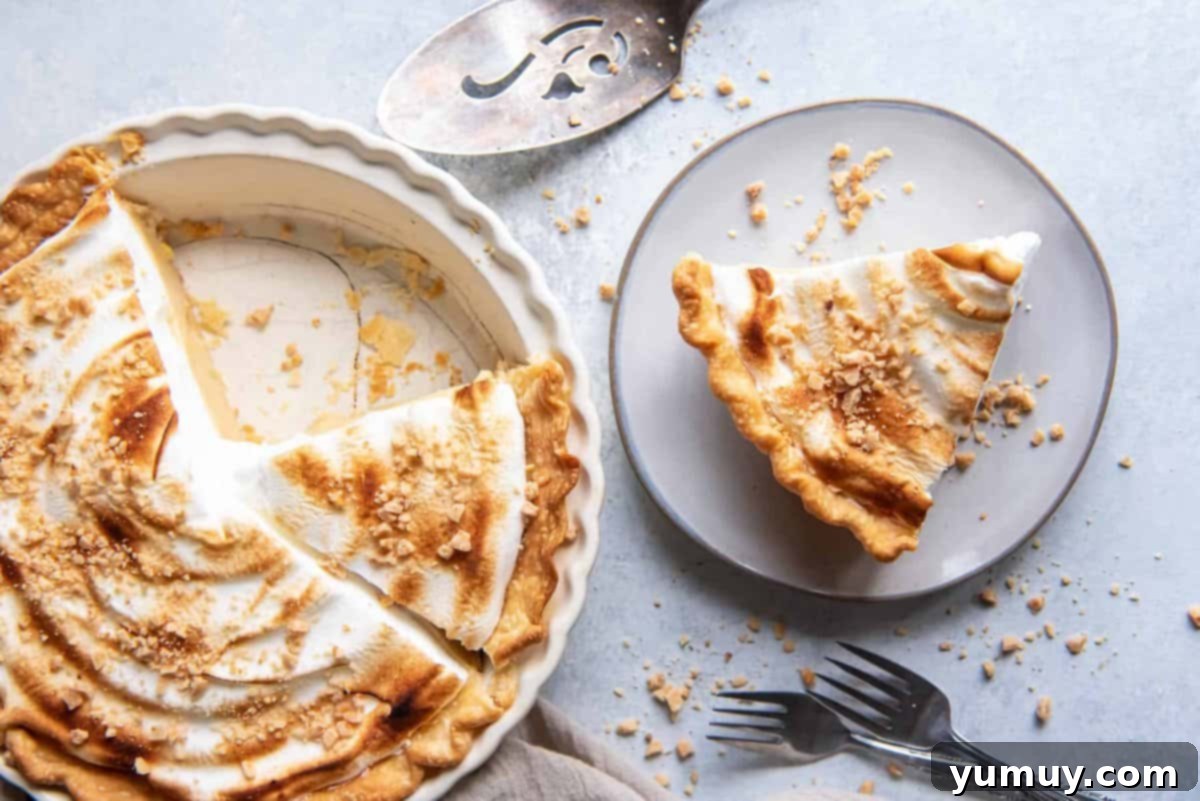
Chill and Serve: Once baked, remove the pie from the oven. Allow the butterscotch pie to cool completely at room temperature, which helps the filling continue to set. After it’s cooled, transfer the pie to the refrigerator and chill for at least one hour, or ideally 4 hours, before slicing. This chilling period is crucial for the pie to fully set, ensuring clean, perfect slices. When ready to serve, cut into generous wedges. For an extra touch of decadence, consider drizzling each slice with a homemade caramel sauce – it perfectly complements the butterscotch flavor!
Storing Your Butterscotch Meringue Pie for Freshness
Proper storage is key to enjoying your homemade butterscotch meringue pie for as long as possible while maintaining its exquisite taste and texture. Here’s how to keep it fresh:
Refrigeration
Store any leftover butterscotch pudding pie covered tightly with plastic wrap or in an airtight container in the refrigerator. It will remain fresh and delicious for up to 2 days. The meringue tends to soften and weep slightly over time, so it’s best enjoyed within this timeframe. Always serve chilled for the best experience, as the cold helps the filling maintain its firm, creamy consistency.
Freezing (Without Meringue)
If you wish to prepare this pie ahead of time for longer storage, I highly recommend freezing it *without* the meringue topping. The delicate structure of meringue doesn’t typically freeze well and can become watery or chewy upon thawing. To freeze the pie filling:
- Once your butterscotch filling is poured into the pre-baked crust and completely cooled, place the uncovered pie on a baking sheet.
- Freeze until solid, which usually takes about 1-2 hours. This prevents the filling from sticking to the wrap.
- Once solid, carefully wrap the pie in 2 layers of plastic wrap, followed by 1 layer of heavy-duty aluminum foil. This double-layer protection helps prevent freezer burn.
- Label and date the pie, then store it in the freezer for up to 1 month.
- To serve: Thaw the frozen pie overnight in the refrigerator. Once thawed, you can then prepare and add the meringue topping as per the recipe instructions, bake it until golden, and then chill before serving. This method ensures you get a freshly baked meringue experience even with a make-ahead pie.
Discover More Delicious Pie Recipes!
Coconut Cream Pie
Strawberry Jello Pie
Sour Cream Raisin Pie
Buttermilk Pie
Browse All Pies


