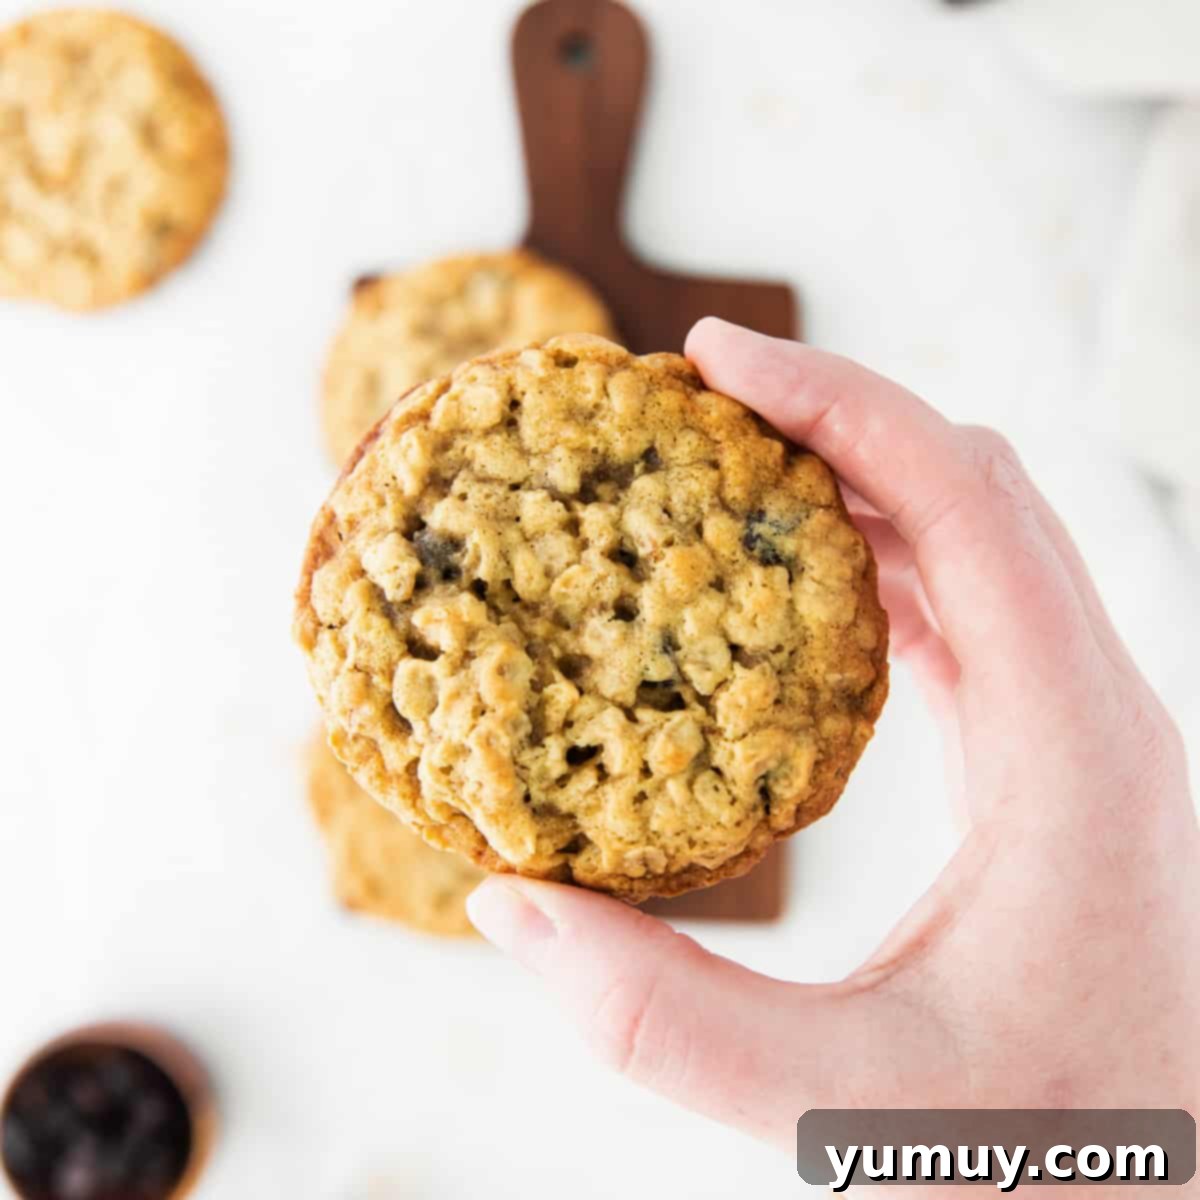
There’s a reason some recipes become timeless classics, and these Oatmeal Raisin Cookies are a prime example. They are the epitome of comfort baking, delivering a perfect symphony of sweet, caramelly, and chewy textures in every bite. While raisins often get a bad rap, this recipe transforms them into plump, juicy bursts of flavor that even the pickiest eaters (including my own kids!) will happily devour. Loaded with fiber-rich old-fashioned oats and naturally sweet raisins, these cookies offer a wholesome feel without compromising on their indulgent taste. You truly wouldn’t guess they lean towards the healthier side by their utterly delicious flavor.
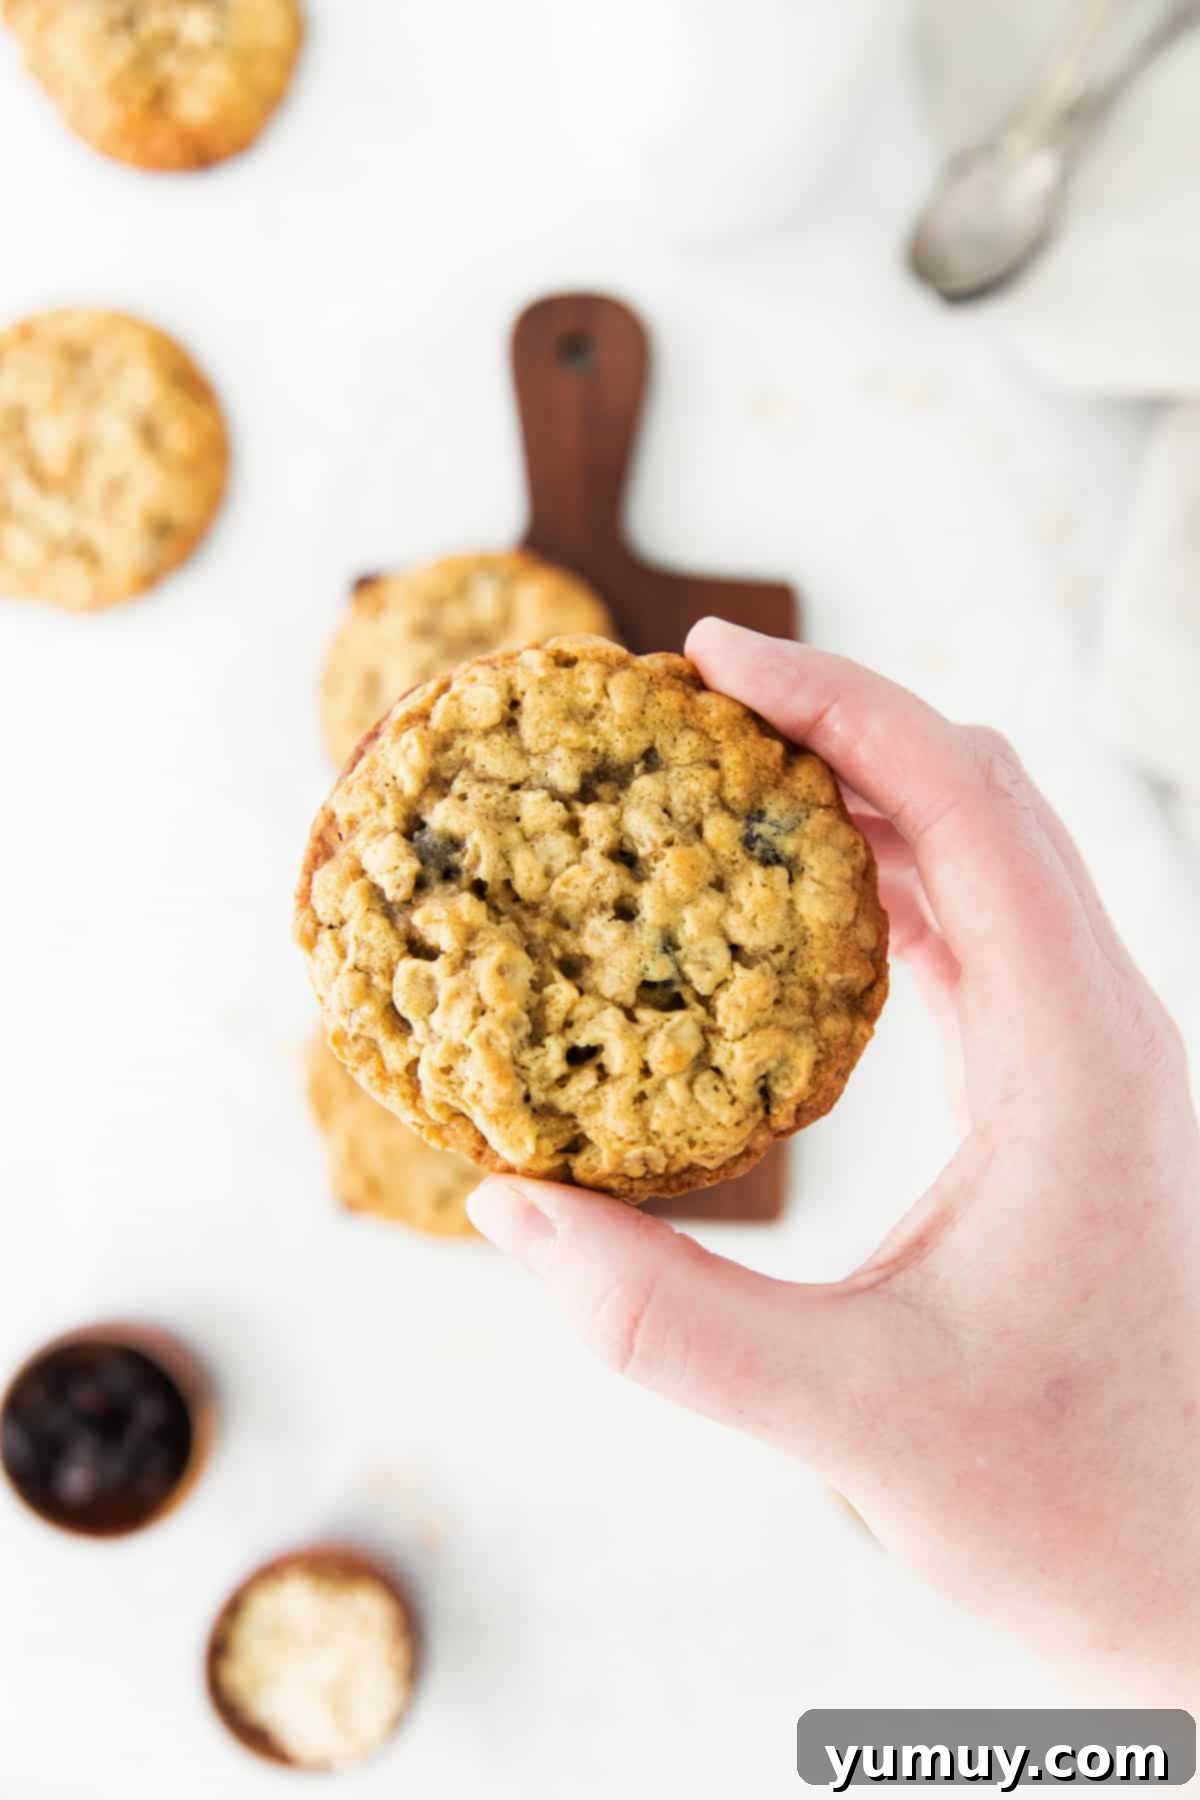
The Irresistible Allure of Our Oatmeal Raisin Cookie Recipe
Whether you’re a lifelong fan of raisins or a hesitant newcomer, I’m confident that my Oatmeal Raisin Cookie Recipe will win you over. The secret lies in a simple, yet transformative technique: presoaking the raisins in warm water. This crucial step rehydrates them, making them incredibly plump, soft, and juicy. You’ll never encounter a dry, hard raisin in these cookies; instead, they burst with a concentrated sweetness that perfectly complements the rich, chewy texture of the oats. It truly makes all the difference, enhancing the overall flavor and mouthfeel.
Beyond the raisins, the foundation of these cookies is a straightforward blend of classic baking ingredients. We combine creamy butter, rich brown sugar, wholesome old-fashioned oats, all-purpose flour, fresh eggs, a touch of baking soda for lift, and a pinch of salt to balance the sweetness. These elements work in harmony to create a cookie that is wonderfully soft, generously chewy, and imbued with that signature caramel-like sweetness that defines the best oatmeal cookies. The old-fashioned oats are particularly key, providing that delightful textural chew that distinguishes a truly great oatmeal cookie. Just thinking about their aroma filling the kitchen and that first warm bite makes my mouth water!
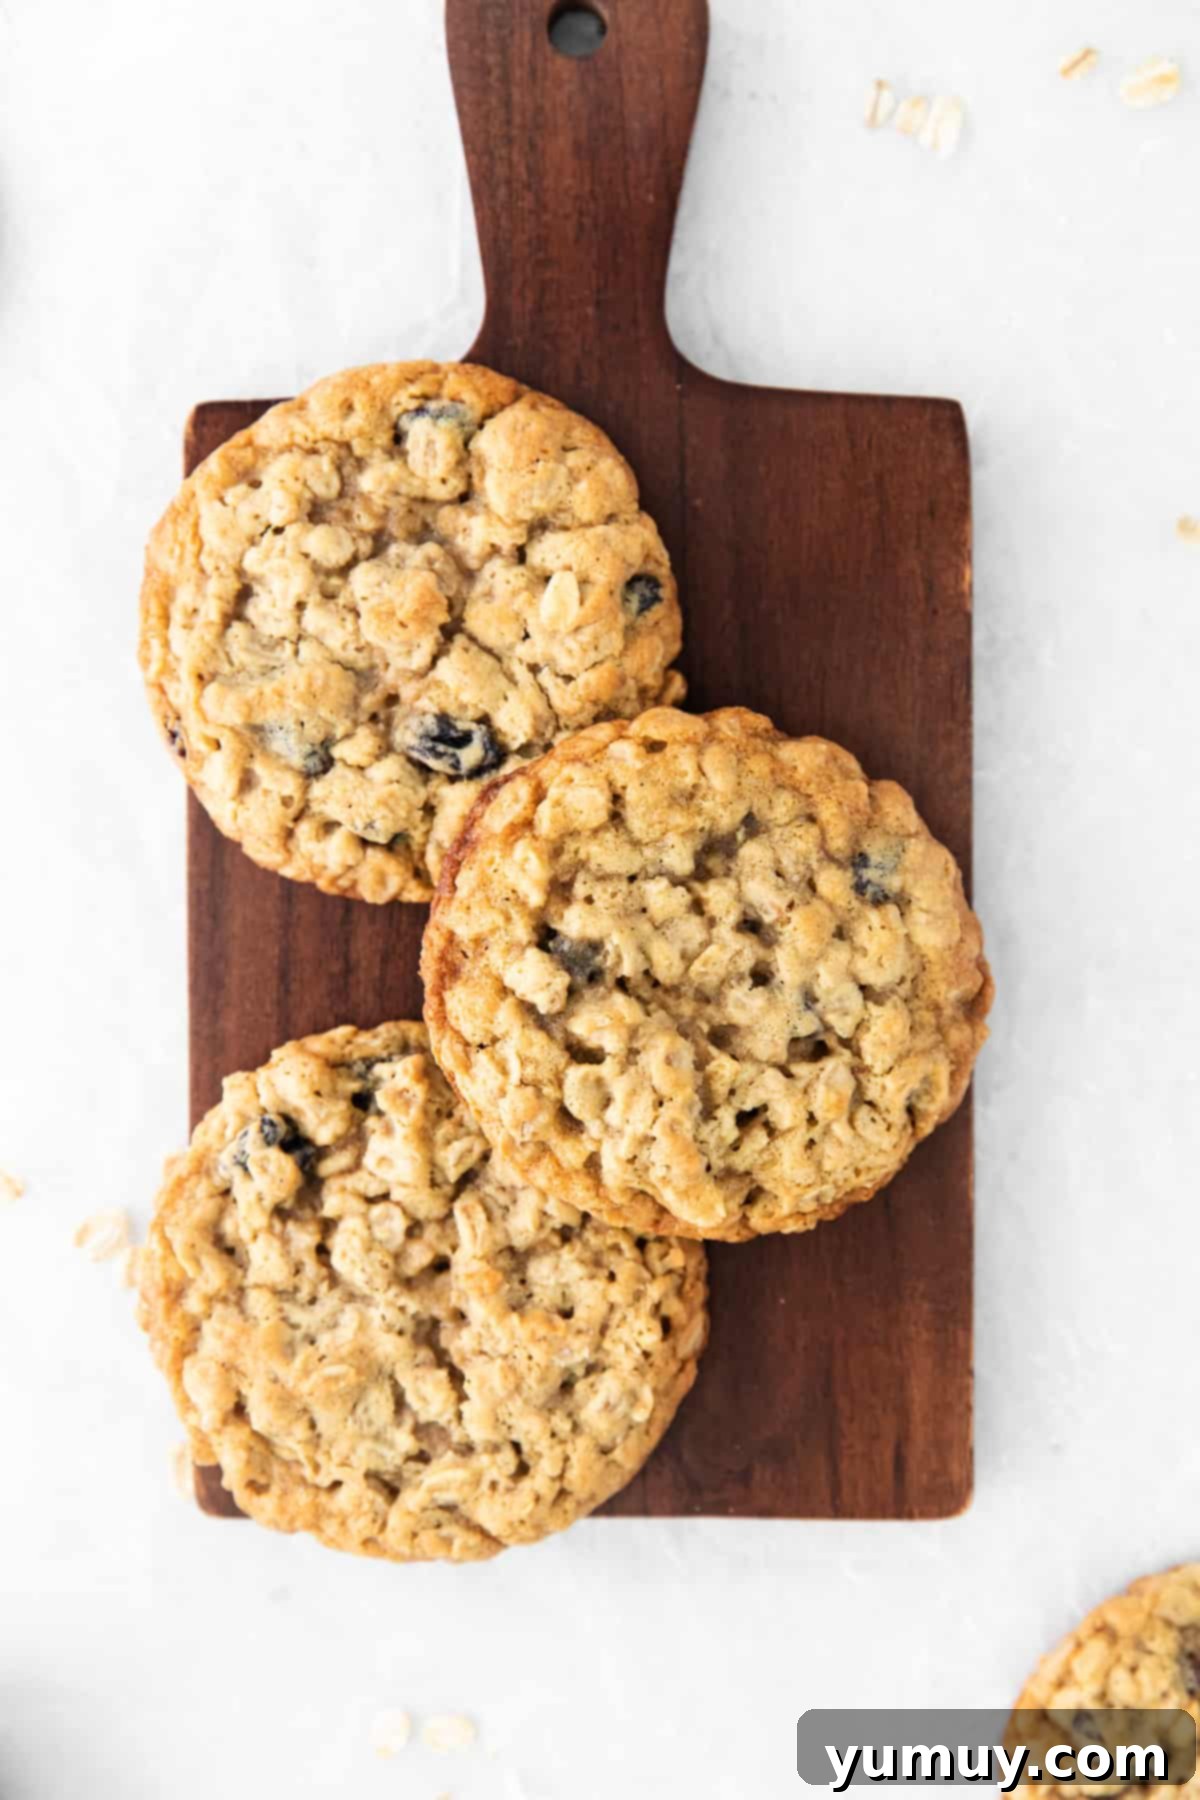
Mastering the Art of Plump Raisins: Why and How to Pre-soak Them
The humble raisin is often overlooked, but in these cookies, it takes center stage. However, dry, hard raisins can detract from an otherwise perfect cookie, and can even draw moisture from your dough, leading to a less tender result. This is where the simple yet incredibly effective technique of pre-soaking raisins comes into play. By rehydrating them before they join your cookie dough, you ensure they remain soft and juicy, contributing to the overall chewiness and flavor rather than competing with it. This step is a game-changer, transforming ordinary dried fruit into succulent gems within your cookie.
To properly presoak your raisins, place them in a small bowl and cover them with warm water. The ideal temperature for the water is between 105-110°F (40-43°C). Let them steep for approximately 10 minutes. This allows the raisins to absorb moisture and plump up beautifully. Once rehydrated, drain them thoroughly and gently blot them dry with a paper towel. This removes any excess surface moisture that could affect your dough consistency. After this quick preparation, the plumped raisins are ready to be gently folded into your cookie dough, ensuring every bite is moist and flavorful. You’ll be amazed at the difference this small step makes!

Classic Chewy Oatmeal Raisin Cookie Recipe
15 minutes
12 minutes
27 minutes
12 cookies
Print
Rate
Save
Saved!
Ingredients
- ½ cup unsalted butter room temperature (1 stick)
- 1 cup brown sugar (light or dark brown for richer flavor)
- 1 large egg room temperature
- 1 teaspoon pure vanilla extract
- ¾ cup all-purpose flour
- ¾ teaspoon baking soda
- 1½ cups old-fashioned oats (not instant)
- ½ cup raisins (presoaked and blotted dry)
- ¼ teaspoon salt (enhances flavor)
Equipment
- Kitchen Scale (optional, for precise measuring)
- 2 Baking Sheets
- Parchment Paper
- Stand Mixer (or hand mixer)
- Cookie Portion Scoop (optional, for uniform cookies)
Instructions
- Prepare Oven & Baking Sheets: Preheat your oven to 375°F (190°C). Line two large baking sheets with parchment paper to prevent sticking and ensure even baking. Set them aside while you prepare the dough.
- Cream Butter & Sugar: In the bowl of a stand mixer fitted with the paddle attachment (or using a hand mixer), beat the softened unsalted butter and brown sugar together on medium speed. Continue mixing until the mixture is light, fluffy, and well combined, which usually takes about 2 minutes. This step incorporates air, making your cookies tender.½ cup unsalted butter, 1 cup brown sugar
- Add Egg & Vanilla: Crack in the large room-temperature egg and add the pure vanilla extract. Mix on medium speed until these ingredients are fully incorporated into the butter mixture. Stop to scrape down the sides of the bowl with a spatula as needed to ensure everything is evenly combined.1 large egg, 1 teaspoon pure vanilla extract
- Combine Dry Ingredients: Add the all-purpose flour, baking soda, and salt to the wet mixture. Mix on low speed just until the dry ingredients are barely combined. Be careful not to overmix the flour, as this can lead to tough cookies.¾ cup all-purpose flour, ¾ teaspoon baking soda, ¼ teaspoon salt
- Fold in Oats: Gently add the old-fashioned oats to the cookie dough. Mix on very low speed or by hand with a spatula until the oats are evenly distributed throughout the dough. Again, avoid overmixing.1½ cups old-fashioned oats

- Incorporate Raisins: Finally, add the presoaked and blotted dry raisins to the dough. Fold them in gently by hand using a spatula until they are just evenly distributed. This ensures the raisins remain plump and don’t get crushed.½ cup raisins

- Portion & Space: Using a 2-tablespoon-sized cookie scoop or by hand, form balls of cookie dough. Place them on the prepared baking sheets, making sure to leave at least 2 inches of space between each cookie to allow for spreading during baking.

- Bake to Perfection: Bake the cookies in the preheated oven for 12-14 minutes. They are ready when their edges are beautifully golden brown, but the centers still look slightly soft. This ensures a chewy interior.

- Cool & Serve: Once baked, remove the cookies from the oven and allow them to cool completely on the baking sheet. They will continue to set and firm up slightly as they cool, developing that perfect chewy texture. Enjoy them warm or at room temperature!
Notes & Expert Tips for Perfect Oatmeal Raisin Cookies
**For the best chewy texture, old-fashioned (rolled) oats are recommended. If you don’t have them on hand, you can substitute with an equal amount of quick oats, but the texture will be slightly less pronounced. Avoid instant oats as they can turn mushy.
***While raisins are traditional, feel free to get creative with your dried fruit. Try dried cranberries for a tart twist, chopped apricots, figs, or dates for different flavor profiles. For those who prefer a nuttier crunch, chocolate chips, white chocolate chunks, or M&M’s are also fantastic additions, either in place of or alongside the raisins!
Essential Baking Tips for Success:
- Measure Flour Correctly: Always measure your flour using the spoon-and-level method. Spoon flour into your measuring cup and then level off the top with a straight edge. Scooping directly can compact the flour, leading to too much flour and dense, dry, or crumbly cookies.
- Add Nuts for Extra Texture: Enhance the flavor and texture by adding ½ to 1 cup of chopped nuts, such as walnuts or pecans, along with the oats and raisins. Toasting them lightly beforehand can boost their aroma.
- Achieve Flatter, Chewier Cookies: For a slightly flatter, chewier cookie with more spread, gently flatten each cookie dough ball with the palm of your hand or the back of a spoon before placing them in the oven. This encourages them to spread more evenly.
- Room Temperature Ingredients: Ensure your butter and egg are at room temperature. This allows them to cream together more effectively, creating a smoother dough and a more consistent cookie texture.
- Don’t Overbake: For perfectly chewy cookies, pull them out of the oven when the edges are set and golden but the centers still look a little soft. They will continue to cook slightly on the hot baking sheet.
Storage & Longevity: Keep your delicious oatmeal raisin cookies fresh! Store them in an airtight container at room temperature for up to 5 days. If you need them to last longer, they can be stored in the refrigerator for up to 1 week. For extended freshness, freeze them for up to 3 months. Always ensure they are completely cooled before storing.
Calories from Fat 81
Becky Hardin
@easydessertrecipes
for a chance to be featured.
How to Bake the Best Oatmeal Raisin Cookies: A Detailed Step-by-Step Guide
Baking these classic oatmeal raisin cookies is a delightful process, and following these steps will ensure a perfect, chewy batch every time. This detailed guide walks you through each stage, offering insights for the best possible results.
Step 1: Gather Your Ingredients and Preheat the Oven. Before you begin, take a moment to collect all the necessary ingredients. It’s crucial that your unsalted butter and large egg are at room temperature. This allows them to cream together smoothly with the sugar, resulting in a more uniform and tender cookie dough. While your ingredients are mellowing, preheat your oven to 375°F (190°C) and line two large baking sheets with parchment paper. This preparatory step is vital for easy cleanup and preventing your cookies from sticking.
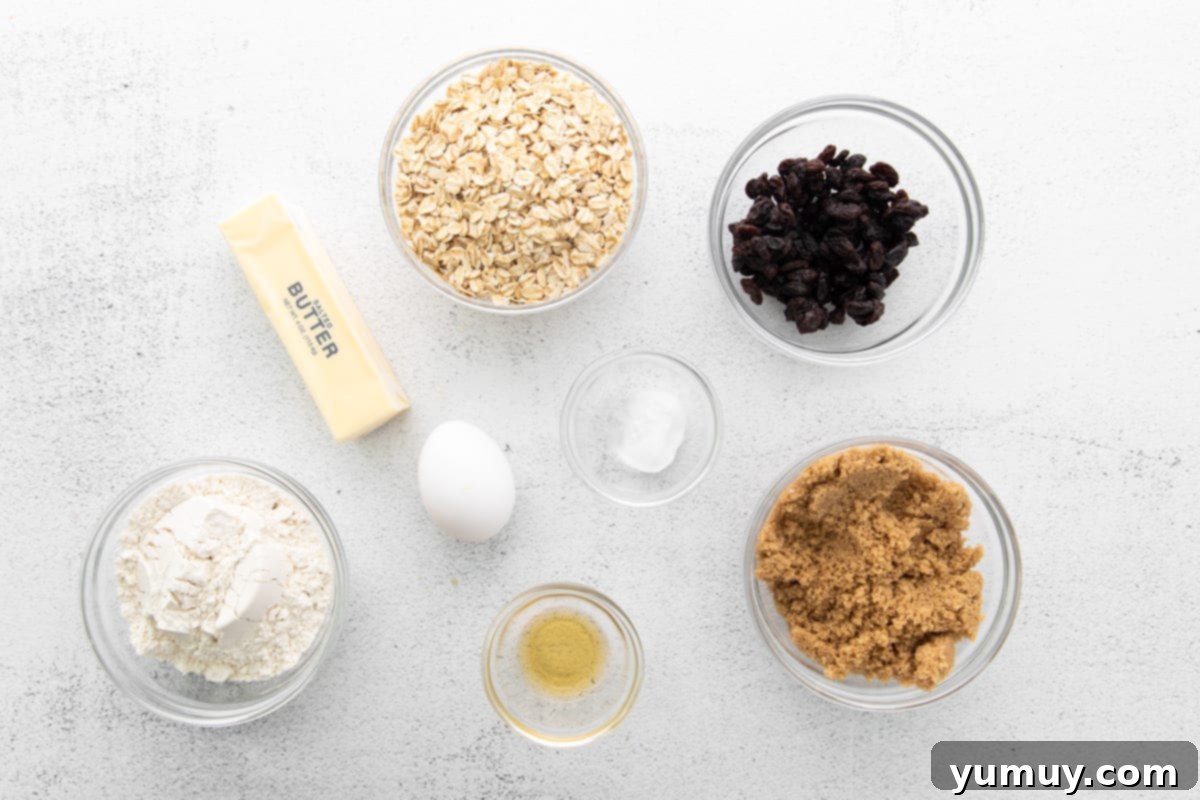
Step 2: Cream the Butter and Sugar, Then Add Wet Ingredients. In the spacious bowl of a stand mixer, fitted with a paddle attachment, begin beating the ½ cup of softened unsalted butter and 1 cup of brown sugar. Mix on medium speed for about 2 minutes, until the mixture transforms into a light, airy, and fluffy consistency. This creaming process incorporates air, which is essential for the cookies’ texture. Next, add the 1 large egg and 1 teaspoon of pure vanilla extract. Continue mixing until these wet ingredients are fully combined, pausing occasionally to scrape down the sides of the bowl with a spatula to ensure all elements are thoroughly incorporated.
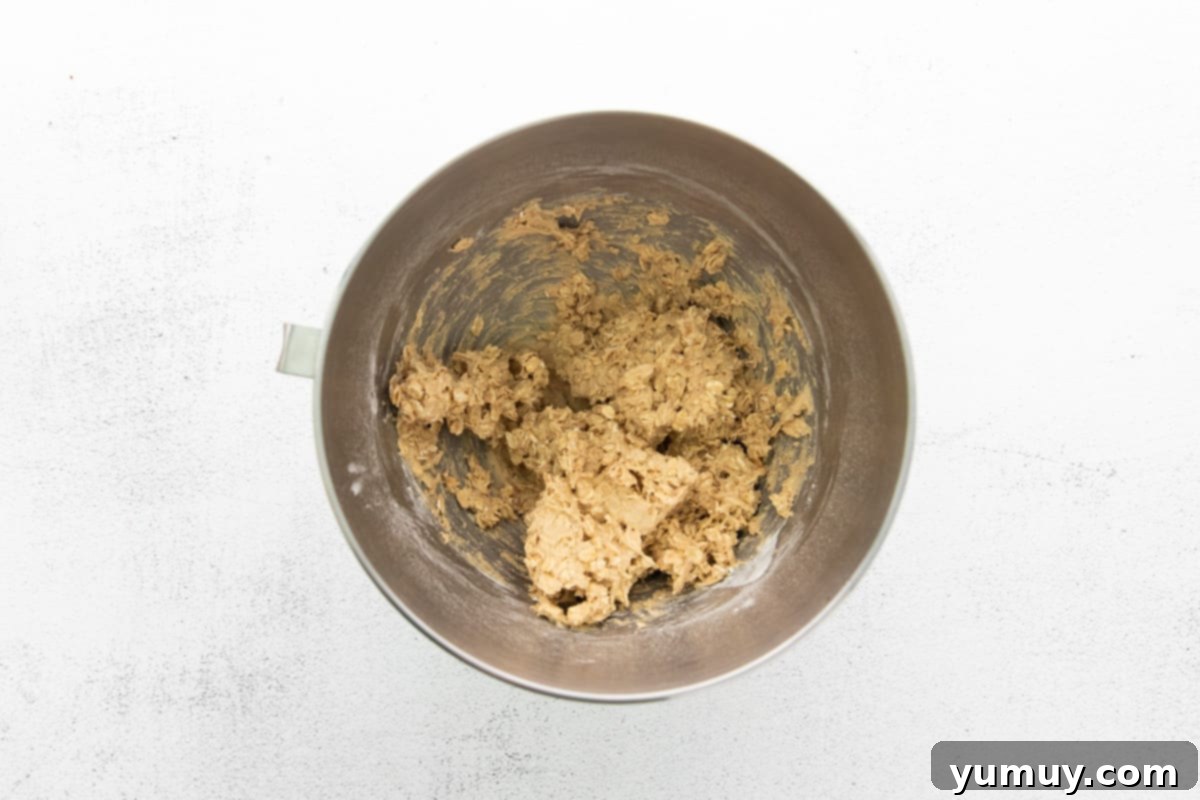
Step 3: Introduce Dry Ingredients and Oats. With the wet ingredients perfectly mixed, it’s time to add the dry components. Gently fold in ¾ cup of all-purpose flour, ¾ teaspoon of baking soda, and ¼ teaspoon of salt. Mix just until these dry ingredients are combined with the wet mixture. It’s crucial not to overmix at this stage, as overworking the flour can develop gluten, resulting in tougher, less tender cookies. Then, add 1½ cups of old-fashioned oats. These oats are key to the signature chewy texture of these cookies, so ensure they are evenly distributed throughout the dough.
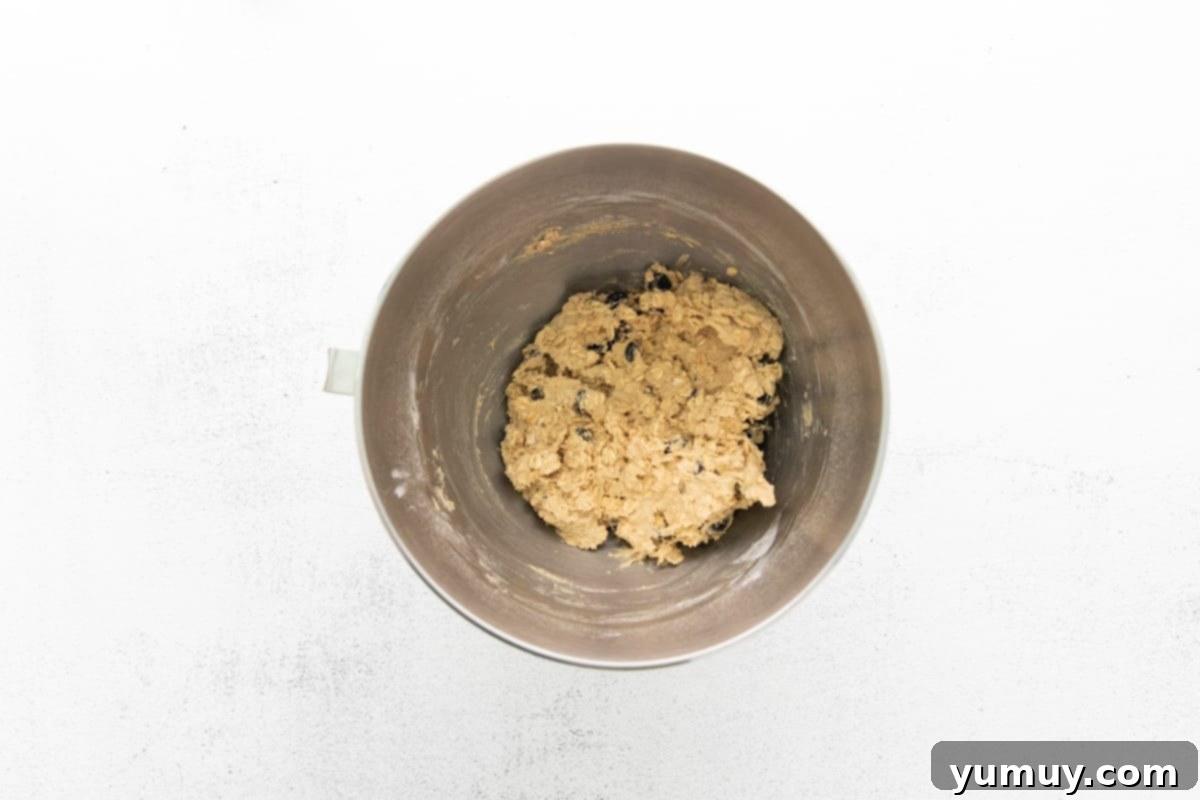
Step 4: Fold in the Plump Raisins. Now for the star of the show – the raisins! Add your ½ cup of presoaked and gently blotted dry raisins to the dough. Using a spatula, fold them in carefully. The goal is to distribute them evenly without crushing them or overmixing the dough. The plump, rehydrated raisins will contribute a wonderful sweetness and soft texture to each bite, proving that this simple presoaking step truly elevates the cookie experience.
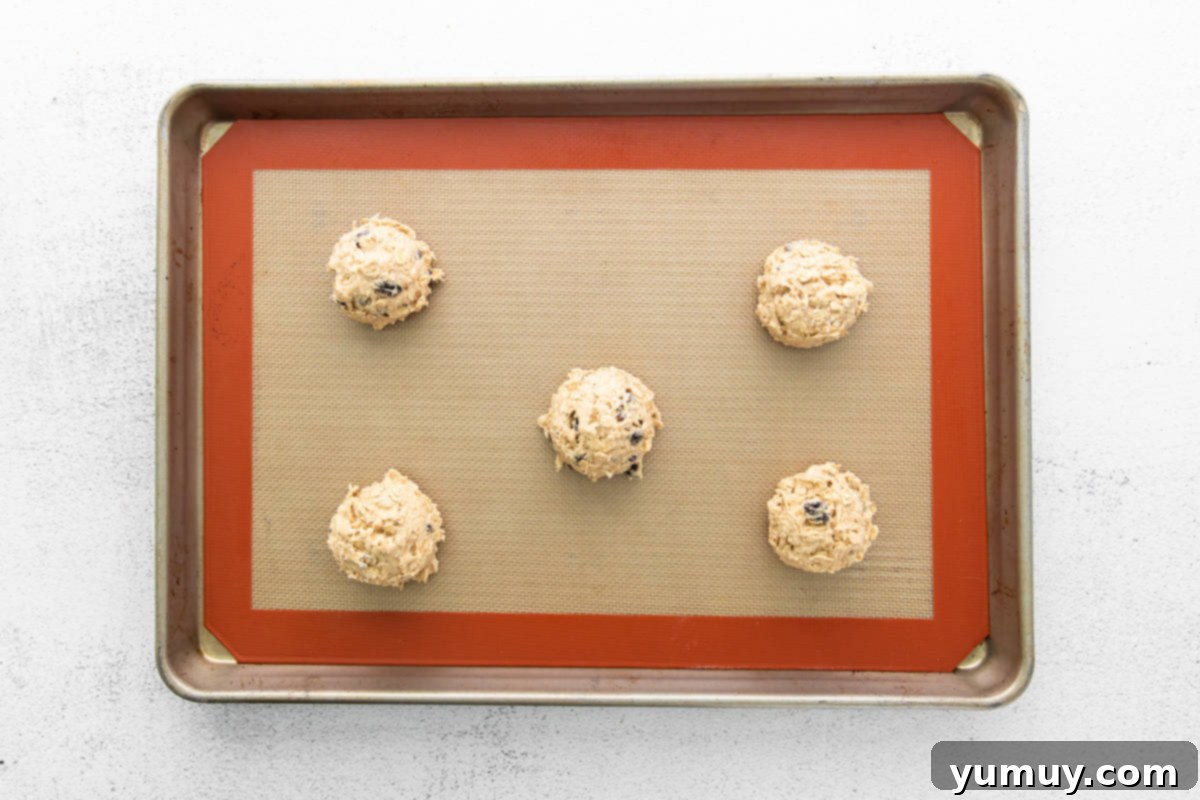
Step 5: Portion the Cookies Evenly. Using a 2-tablespoon-sized cookie scoop is highly recommended for creating uniformly sized cookies, ensuring they bake evenly. If you don’t have a scoop, you can roll the dough into approximately 1½ to 2-inch balls by hand. Arrange these cookie dough balls onto your prepared baking sheets, making sure to leave at least 2 inches of space between each one. This generous spacing allows the cookies to spread without touching, preventing them from fusing together and ensuring beautiful, round shapes.
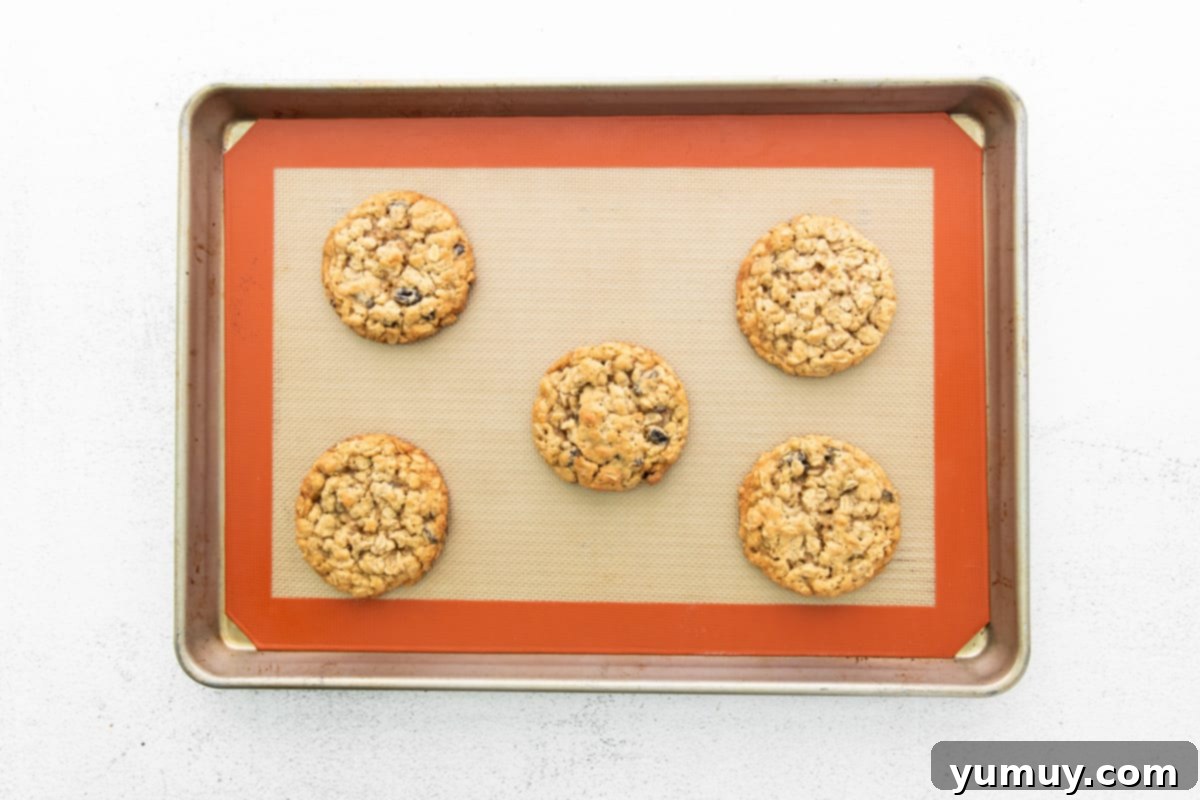
Step 6: Bake Until Golden and Cool. Slide your baking sheets into the preheated oven. Bake the cookies for approximately 12-14 minutes. The key to that perfect chewy texture is to remove them from the oven when their edges are beautifully golden brown, but their centers still look slightly soft and underbaked. They will continue to set and firm up as they cool on the hot baking sheet. Once out of the oven, allow the cookies to cool completely on the baking sheet to room temperature. This cooling process is essential for them to fully develop their structure and signature chewiness. Resist the urge to move them too soon!
Storing and Reheating Your Oatmeal Raisin Cookies for Lasting Freshness
Once you’ve baked a batch of these irresistible oatmeal raisin cookies, proper storage is key to maintaining their deliciousness and chewy texture. Here’s how to keep them fresh for as long as possible:
- Room Temperature Storage: For immediate enjoyment, store your baked oatmeal raisin cookies in an airtight container at room temperature. They will remain wonderfully fresh and chewy for up to 5 days. A cookie jar with a tight-fitting lid is ideal for this.
- Refrigerator Storage: If you need to extend their shelf life slightly, place the cooled cookies in an airtight container in the refrigerator. They will stay fresh for up to 1 week. Keep in mind that refrigeration can sometimes alter the texture, making them a little firmer.
- Freezer Storage (Baked Cookies): To enjoy freshly baked cookies whenever a craving strikes, you can freeze fully cooled baked cookies. Arrange them in a single layer on a baking sheet to flash freeze for about an hour until solid. Then, transfer them to a freezer-safe airtight container or a heavy-duty freezer bag, separated by parchment paper to prevent sticking. They will keep well in the freezer for up to 3 months. To enjoy, simply thaw them overnight in the refrigerator, or at room temperature for a few hours.
- Reheating for a Fresh-Baked Experience: If you love warm cookies straight from the oven, you can gently reheat thawed cookies. Pop them into the microwave for just 5-7 seconds. This will soften them slightly and bring back that lovely warm, gooey center, mimicking a fresh bake. You can also briefly warm them in a preheated oven at 250°F (120°C) for a few minutes.
Unlock Convenience with Our Make-Ahead Oatmeal Raisin Cookie Dough Tip
Life can be busy, but that doesn’t mean you have to miss out on freshly baked cookies! This make-ahead tip allows you to prepare your oatmeal raisin cookie dough in advance, so you can bake a warm batch whenever the mood strikes, with minimal effort. It’s perfect for impromptu guests, last-minute cravings, or simply having a stash of deliciousness ready to go.
To prepare cookie dough for future baking, follow the recipe instructions through Step 5 (Portion the Cookies). Once you have your 2-tablespoon-sized balls of cookie dough, arrange them in a single layer on a parchment-lined baking sheet. Place the baking sheet in the freezer for about 1-2 hours, or until the dough balls are completely solid. This “flash freezing” step prevents them from sticking together when stored. Once frozen solid, transfer the dough balls to an airtight freezer-safe container or a heavy-duty Ziplock bag. Label the container with the date and baking instructions for convenience. Frozen cookie dough can be stored for up to 3 months.
When you’re ready to bake, there’s no need to thaw the dough! Simply arrange the frozen cookie dough balls on a prepared baking sheet as directed in the recipe. Bake them directly from frozen, but add an additional 1-2 minutes to the suggested bake time (so, 13-16 minutes total) to account for the frozen state. You’ll still achieve perfectly chewy, golden-brown cookies with minimal fuss. This make-ahead method is a true time-saver and guarantees you’re always just minutes away from a warm, homemade treat.
More Irresistible Cookie Recipes to Satisfy Your Sweet Cravings!
Butter Cookies
Brownie Mix Crinkle Cookies
Churro Cookies
Chocolate Pudding Cookies
Browse All Cookies
