Welcome to the enchanting world of baking, where simple ingredients transform into heartwarming delights! These delightful **Heart Thumbprint Cookies** are not just a recipe; they’re a cherished tradition, especially perfect for celebrating love on occasions like Valentine’s Day. Imagine the smiles as little hands gently press heart-shaped indents into soft, buttery dough, ready to be filled with vibrant, fruity jam. This easy-to-follow recipe is designed for bakers of all ages, promising a fun, engaging, and incredibly rewarding experience in the kitchen.
I simply adore making these cookies with my children. The dough comes together effortlessly, and their favorite part is creating those adorable heart imprints. For a classic, rich red hue, I typically opt for store-bought strawberry jam, which always yields the most charming results. But feel free to explore other flavors like tangy raspberry or sweet cherry jam – let your heart guide your choice!
Beyond their irresistible taste and charming appearance, these **jam thumbprint cookies** are wonderfully versatile. They make an ideal homemade gift, a sweet centerpiece for any celebration, or a comforting treat to enjoy with a cup of tea or coffee. The combination of tender, buttery cookie and a burst of fruity jam is truly magical. Get ready to create edible tokens of love that are as fun to make as they are to eat!

The Ultimate Heart Thumbprint Cookie Recipe: An Easy Valentine’s Day Treat
Crafting these adorable **heart thumbprint cookies** is surprisingly simple, requiring just seven common ingredients and minimal effort. The secret to their perfect shape and tender texture lies in the addition of a touch of cornstarch to the dough, which helps them hold their form beautifully during baking, preventing excessive spreading. While strawberry jam provides a delightful, classic flavor and stunning color, these cookies are equally charming with raspberry or cherry jam. My personal favorite jam brand is Bonne Maman due to its excellent consistency, but any good quality jam or preserves will work as long as it’s not too runny. A thicker consistency ensures the jam stays neatly within the heart imprint, creating a picture-perfect finish.
These cookies are not only a feast for the eyes but also a joy for the palate. The buttery, slightly sweet shortbread-like base perfectly complements the bright, fruity filling. They are a true embodiment of homemade goodness, making them an excellent choice for baking with kids or simply enjoying a moment of sweet indulgence. This **easy cookie recipe** is designed to deliver delicious results every time, ensuring your kitchen fills with the irresistible aroma of freshly baked treats.

How to Store Heart Thumbprint Cookies to Maintain Freshness
Proper storage is key to enjoying your delicious **homemade heart cookies** for as long as possible. Here’s a detailed guide to keep them fresh and flavorful:
- Room Temperature: For immediate enjoyment, store leftover heart thumbprint cookies in an airtight container at room temperature for up to 3 days. This method keeps them wonderfully soft and crumbly.
- Refrigerator: If you need to extend their freshness slightly longer, place them in an airtight container in the refrigerator for up to 1 week. The colder temperature will help prevent them from staling too quickly. When ready to eat, allow them to come to room temperature for at least 30 minutes for the best texture and flavor.
- Freezer: For longer-term storage, these cookies freeze beautifully! Arrange them in a single layer in an airtight freezer-safe container, separated by parchment paper if stacking multiple layers. They can be stored in the freezer for up to 3 months. To enjoy, simply thaw them at room temperature for at least 30 minutes before serving. Freezing is an excellent way to prepare these cookies in advance for holidays or unexpected guests, ensuring you always have a delightful treat on hand.
Whether you prefer them chilled or at room temperature, these **strawberry jam cookies** will remain a delightful indulgence, ready to be enjoyed whenever a sweet craving strikes.
Essential Tips for Baking Perfect Heart Thumbprint Cookies
Achieving perfectly shaped and delicious **heart thumbprint cookies** is easier than you think with a few key techniques. These tips will help you avoid common baking pitfalls and ensure your cookies are a resounding success:
- Butter Temperature is Crucial: The temperature of your butter significantly impacts the cookie’s final texture and shape. If the butter is too warm or melted, it will cause the cookies to spread excessively in the oven, losing their delicate heart shape. Ensure your butter is at a cool room temperature – soft enough to indent with your finger but not greasy or melted.
- Don’t Skip the Chill Times: Chilling the cookie dough is absolutely vital for preventing spread. The recipe includes specific chill times, and adhering to them will ensure your cookies maintain their adorable shape. This step allows the butter to firm up, making the dough easier to handle and preventing it from melting too quickly in the oven.
- Gentle Heart Imprints: When pressing the heart shape into the dough balls, use light and steady pressure. Pressing too hard can cause the cookie dough to crack excessively. If you do notice small cracks forming, gently mold them back together with the warmth of your fingers. This ensures a smooth cavity for the jam. You can use your thumb or the back of a small spoon for the impression.
- Choose Your Jam Wisely: The consistency of your jam matters. If the jam is too runny, it can leak out of the thumbprints during baking, creating a messy result. Opt for a thicker jam or preserves. If your jam seems a bit thin, you can try simmering it gently on the stovetop for a few minutes to reduce and thicken it before filling the cookies. And remember, don’t overfill the imprints; about ½ teaspoon is usually sufficient per cookie.
- Dryer Dough is Intentional: Thumbprint cookie dough is designed to be on the drier side. This characteristic is precisely what helps prevent them from spreading excessively in the oven. A few minor cracks in the dough are perfectly normal and acceptable. However, always make sure to pinch together any cracks that occur within or around the thumbprint cavity to ensure the jam remains securely in place during baking.
- Utilize Those Egg Whites: This recipe calls for only egg yolks, leaving you with two perfectly good egg whites. Don’t let them go to waste! You can easily label them and store them in an airtight container in the refrigerator for a few days, or freeze them for up to a month. They are perfect for making other delicious treats such as light and airy vanilla sheet cake, rich Christmas bread, classic Linzer cookies (often using egg whites for meringue), fluffy marshmallow fluff, or whimsical ghost meringues!
By following these expert tips, your **Valentine’s Day cookies** will be beautiful, flavorful, and perfectly structured, ready to impress everyone who tastes them.


Heart Thumbprint Cookies Recipe
These heart thumbprint cookies are my favorite Valentine’s Day cookies to make with my kids. Such an easy way to say I love you!
Prep Time: 15 minutes
Cook Time: 14 minutes
Total Time: 1 hour 39 minutes
Chill Time: 1 hour 10 minutes
Servings: 24 cookies
Ingredients
- ⅔ cup salted butter (room temperature, 1⅓ sticks)
- ½ cup granulated sugar
- 2 large egg yolks (room temperature)
- 1 teaspoon pure vanilla extract
- 1½ cups all-purpose flour
- 1 teaspoon cornstarch
- ⅓ cup strawberry jam or preserves
Equipment
- Kitchen Scale (optional)
- Stand Mixer
- 2 Baking Sheets
- Cookie Portion Scoop
Instructions
Beat the Butter: In the bowl of a stand mixer fitted with the paddle attachment, beat the room temperature salted butter on medium speed for about 30 seconds until softened.

Add Sugar: Add the granulated sugar to the bowl and mix on medium speed until the mixture is light and fluffy. Scrape down the sides of the bowl with a spatula to ensure everything is well combined and smooth.
Incorporate Wet Ingredients: Add the egg yolks and pure vanilla extract to the butter and sugar mixture. Mix until all ingredients are just combined and smooth.

Combine Dry Ingredients: In a separate, medium bowl, whisk together the all-purpose flour and cornstarch until thoroughly combined.
Form the Dough: Gradually add the whisked dry mixture to the wet ingredients in the stand mixer bowl. Mix on low speed until the flour is just incorporated and a cohesive dough forms. Finish by using a silicone spatula to scrape down the sides and bottom of the bowl, ensuring all ingredients are well mixed without overworking the dough.

Chill the Dough: Cover the bowl containing the cookie dough with plastic wrap and chill it in the refrigerator for a minimum of 1 hour. This crucial step helps prevent the cookies from spreading too much during baking.

Prepare for Baking: After the dough has chilled, preheat your oven to 350°F (175°C). Line two large baking sheets with parchment paper for non-stick baking.
Portion and Shape: Using a medium cookie scoop or a tablespoon, scoop portions of the dough. Roll each portion into a smooth ball between your palms. Place about 12 dough balls on each prepared baking sheet, spacing them approximately 1 inch apart to allow for slight expansion.

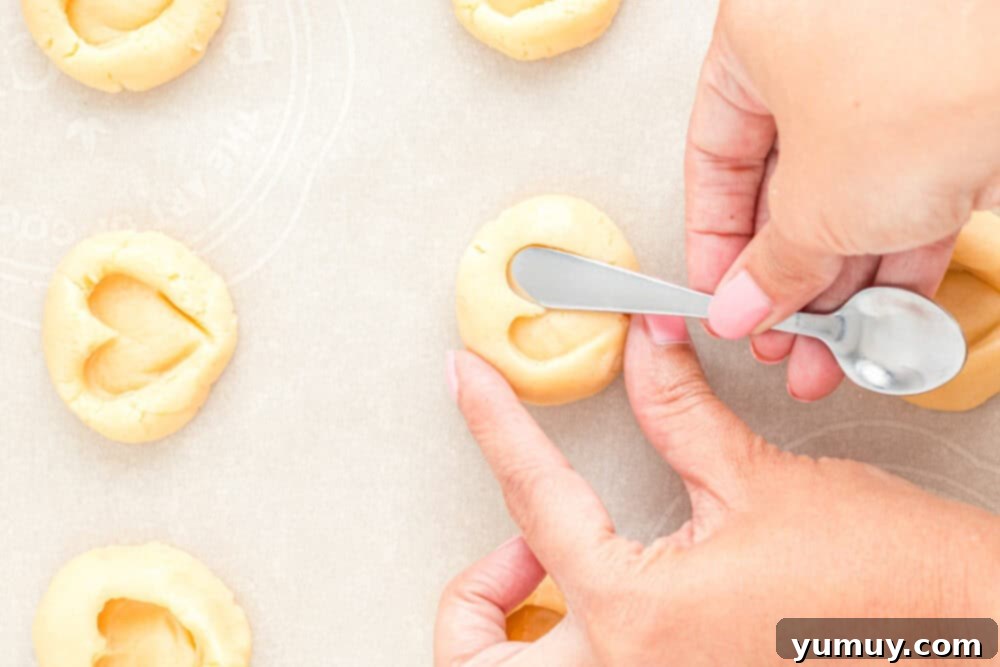
Create Heart Imprints: Gently press a heart shape into the center of each cookie dough ball. You can use your thumb, the end of a small espresso spoon, or a butter knife to create the desired heart indentation. Be careful not to press too hard to avoid cracking the dough. If cracks appear, gently pinch them back together.

Fill with Jam: Carefully fill each heart cavity with about ½ teaspoon of your chosen strawberry jam or preserves. Ensure the jam is not too runny and avoid overfilling.

Final Chill: For best results, chill the filled cookies in the freezer for an additional 10 minutes before baking. This helps the jam set slightly and prevents further spreading.
Bake: Transfer the baking sheets to the preheated oven and bake for 12-14 minutes, or until the edges are lightly golden brown and the bottoms are firm. Baking times may vary depending on your oven.

Cool and Serve: Once baked, remove the cookies from the oven and let them rest on the baking sheet for 5 minutes. This allows them to firm up slightly. Then, carefully transfer them to a wire cooling rack to cool completely. Once cool, serve and enjoy these charming **homemade heart cookies** with your favorite beverage.

Notes
Storage: Store heart thumbprint cookies in an airtight container at room temperature for up to 3 days, in the refrigerator for up to 1 week, or in the freezer for up to 3 months. Thaw at room temperature before enjoying.
Nutrition Facts
Heart Thumbprint Cookies Recipe
Amount Per Serving (1 cookie)
- Calories: 108
- Calories from Fat: 54
- % Daily Value*
- Fat: 6g (9%)
- Saturated Fat: 3g (19%)
- Trans Fat: 0.2g
- Polyunsaturated Fat: 0.3g
- Monounsaturated Fat: 1g
- Cholesterol: 29mg (10%)
- Sodium: 27mg (1%)
- Potassium: 15mg (0%)
- Carbohydrates: 14g (5%)
- Fiber: 0.3g (1%)
- Sugar: 7g (8%)
- Protein: 1g (2%)
- Vitamin A: 178IU (4%)
- Vitamin C: 0.4mg (0%)
- Calcium: 6mg (1%)
- Iron: 0.4mg (2%)
* Percent Daily Values are based on a 2000 calorie diet.
Author: Becky Hardin
Did You Make This?
We love seeing what you’ve made! Tag us on social media at @easydessertrecipes for a chance to be featured.
How to Make Heart Thumbprint Cookies: A Visual Step-by-Step Guide
Baking can be an art, and with these step-by-step instructions, you’ll feel like a master baker in no time. Each stage is designed to be clear and straightforward, ensuring your **Valentine’s Day cookies** turn out perfectly every time. Follow along with these detailed instructions and accompanying visuals to create truly special **jam thumbprint cookies**.
1. Beat the Butter for a Fluffy Base
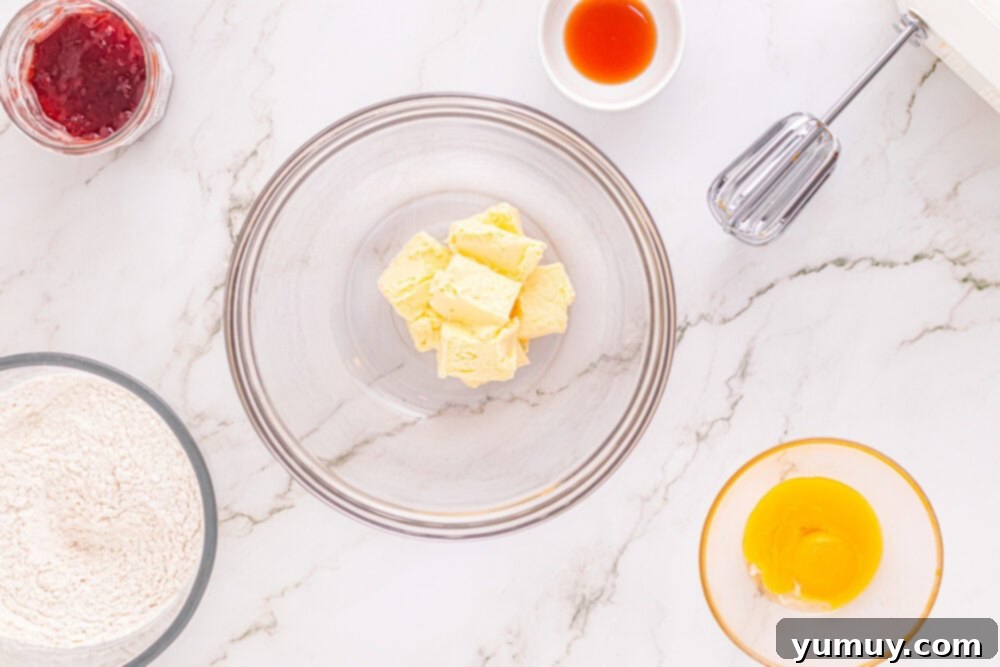
Begin by placing ⅔ cup of room temperature salted butter into the bowl of a stand mixer fitted with a paddle attachment. Beat the butter on medium speed for approximately 30 seconds. This step is crucial for softening the butter and creating a creamy, airy base for your cookie dough, which will contribute to a tender final texture.
2. Incorporate Sugar, Egg Yolks, and Vanilla
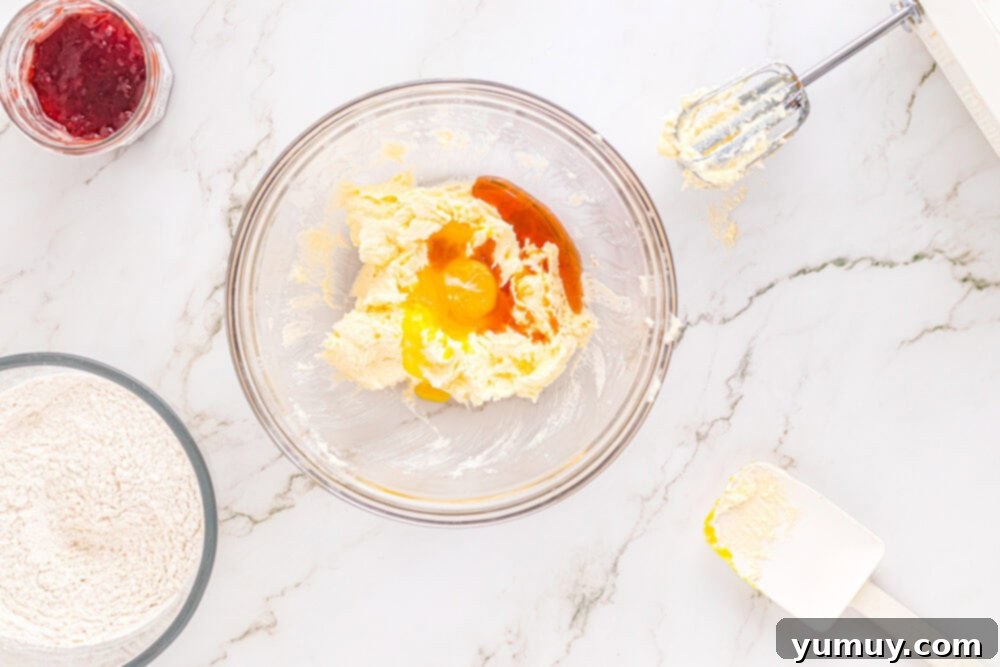
Next, add ½ cup of granulated sugar to the beaten butter. Continue mixing on medium speed until the mixture becomes light, fluffy, and noticeably paler in color. Stop the mixer and scrape down the sides of the bowl with a silicone spatula to ensure all the sugar and butter are thoroughly combined, leaving no grainy residue. Then, add 2 large egg yolks and 1 teaspoon of pure vanilla extract. Mix again on medium-low speed until these wet ingredients are fully incorporated into the butter mixture, creating a smooth and aromatic base for your cookies.
3. Gradually Add Dry Ingredients
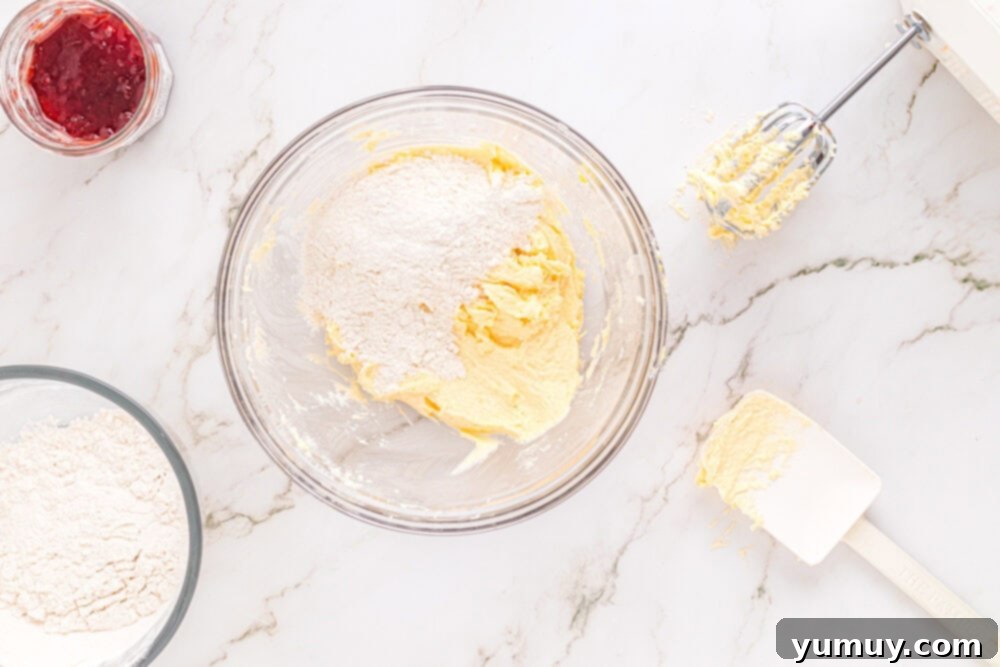
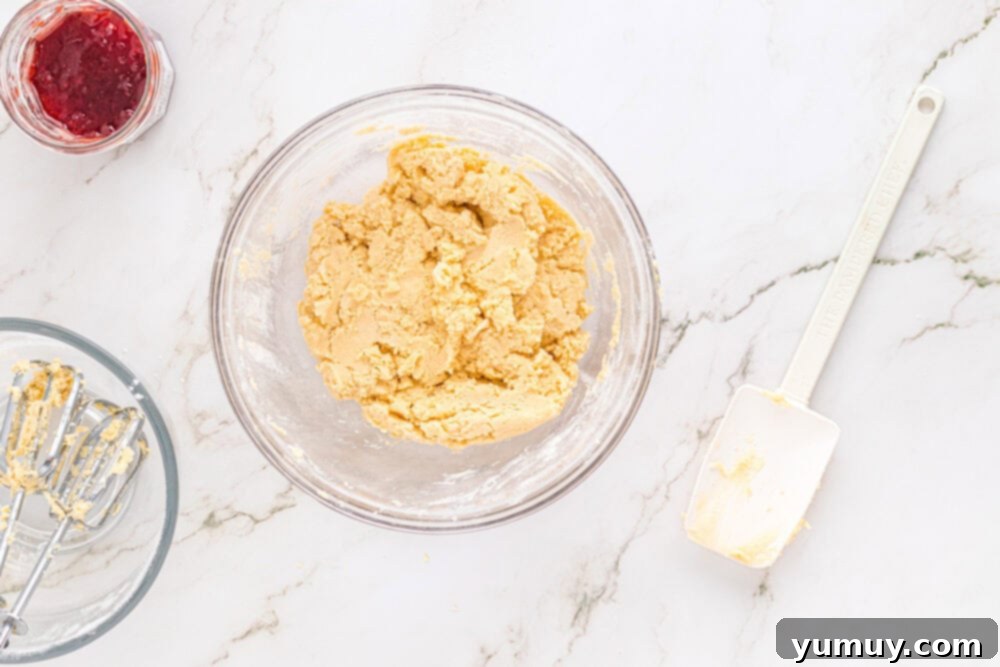
In a separate, medium-sized bowl, whisk together 1½ cups of all-purpose flour and 1 teaspoon of cornstarch. The cornstarch is vital here as it helps tenderize the dough and prevents the cookies from spreading too much during baking, ensuring those adorable heart shapes hold. Gradually add this dry mixture to the wet ingredients in the stand mixer bowl. Mix on low speed until the flour is just incorporated. Be careful not to overmix, as this can lead to tough cookies. Use a silicone spatula to scrape the bowl one last time, making sure all ingredients are evenly combined into a cohesive dough.
4. Chill the Dough for Stability
Once your dough is ready, cover the mixing bowl tightly with plastic wrap. Place the bowl in the refrigerator and chill the dough for at least 1 hour. This chilling period is crucial for several reasons: it allows the butter to firm up, making the dough easier to handle and less sticky, and it significantly helps prevent the cookies from spreading excessively in the oven, ensuring they retain their beautiful heart shapes. Don’t rush this step!
5. Portion and Shape the Cookies
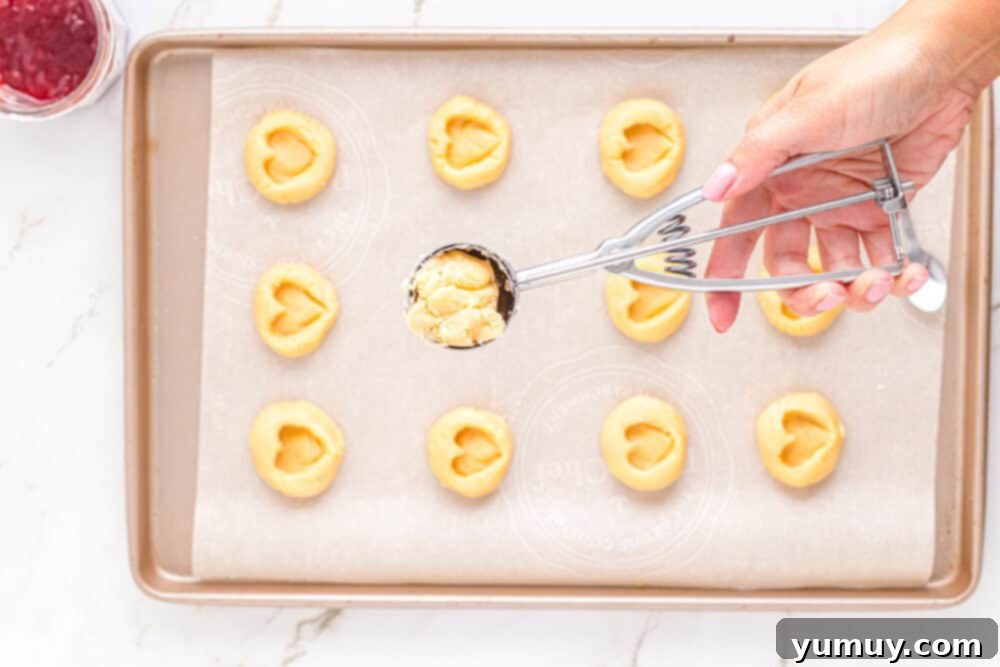
After the dough has sufficiently chilled, preheat your oven to 350°F (175°C). Line two baking sheets with parchment paper to prevent sticking. Using a medium cookie scoop or a tablespoon, portion out the dough. Roll each portion into a smooth ball between your palms. This ensures uniform size and even baking. Arrange about 12 dough balls on each prepared baking sheet, leaving approximately 1 inch of space between them to allow for slight spreading.
6. Press the Hearts Gently
Now for the fun part that gives these cookies their characteristic charm! Take the end of a small spoon (an espresso spoon works perfectly for this), or simply use your thumb, and gently press a heart shape into the center of each cookie dough ball. Apply light, even pressure to avoid cracking the dough. If you notice any small cracks, gently pinch them back together with your fingers. This creates the perfect indentation to hold your delicious jam filling.
7. Fill the Hearts with Jam and Chill Again
With the heart imprints made, it’s time to add the flavorful filling. Carefully spoon about ½ teaspoon of strawberry jam (or your preferred flavor) into each heart cavity. Make sure not to overfill, as too much jam can bubble out during baking. Once all the cookies are filled, place the entire baking sheet into the freezer for 10 minutes. This quick chill helps to further firm up the dough and the jam, ensuring a beautiful presentation and preventing the jam from running when baked.

8. Bake to Golden Perfection
Transfer the chilled baking sheets to your preheated oven. Bake the cookies for 12-14 minutes, or until the edges are lightly golden and the bottoms appear firm. Keep a close eye on them, as oven temperatures can vary. The goal is a delicate golden hue that indicates perfect doneness, without over-baking and drying them out. These **easy cookie recipes** are all about achieving that ideal balance of tender and flavorful.

9. Cool and Enjoy Your Creation
Once baked, remove the baking sheets from the oven. Allow the cookies to cool on the baking sheet for about 5 minutes. This brief resting period helps them set and firm up, preventing them from breaking when moved. After 5 minutes, carefully transfer the warm **strawberry jam cookies** to a wire cooling rack to cool completely. Once fully cooled, they are ready to be savored! Enjoy these beautiful and delicious **homemade heart cookies** with your favorite beverage, or share them as a loving gesture. They are truly an unforgettable treat!

More Valentine’s Day Cookie Recipes to Try!
Chocolate Strawberry Macarons
Sugar Cookie Bars
Strawberry Cake Mix Cookies
Strawberry Chocolate Chip Cookies
