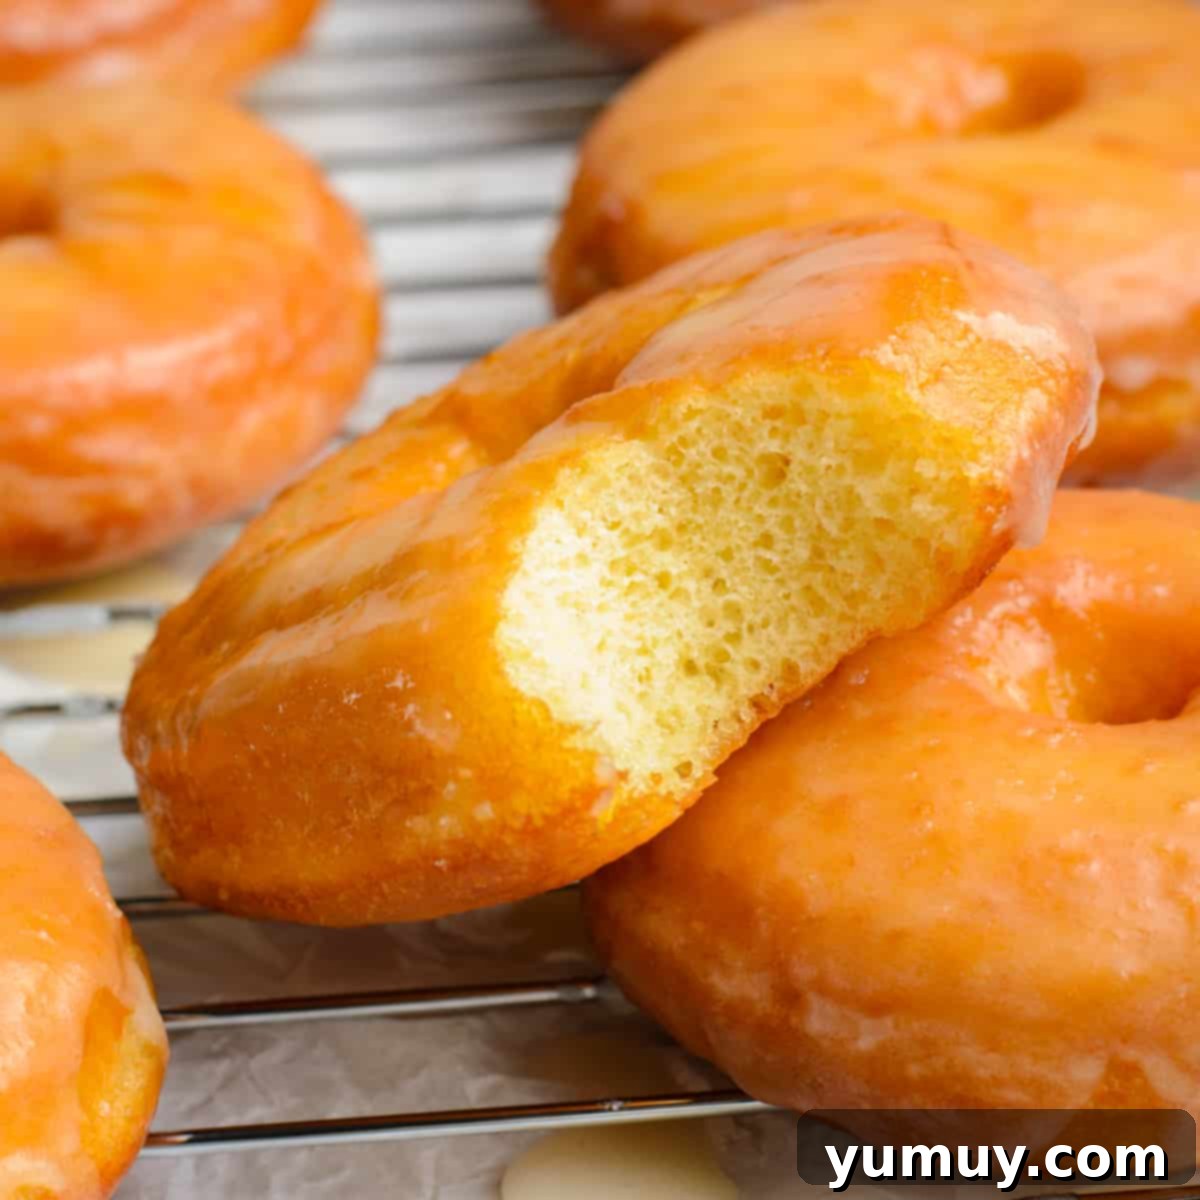
If you’ve ever dreamed of pulling warm, glazed Krispy Kreme donuts straight from your own kitchen, this recipe is for you. These homemade Krispy Kreme donuts are soft, pillowy, and coated in that iconic sweet vanilla glaze. Our DIY Krispy Kreme donuts come together with fewer than 10 simple ingredients, and every bite is pure nostalgia. I love prepping the dough the night before so we can enjoy hot, fresh donuts with minimal effort the next morning, creating a truly special start to any day.
Mastering the Art of Homemade Krispy Kreme Glazed Donuts
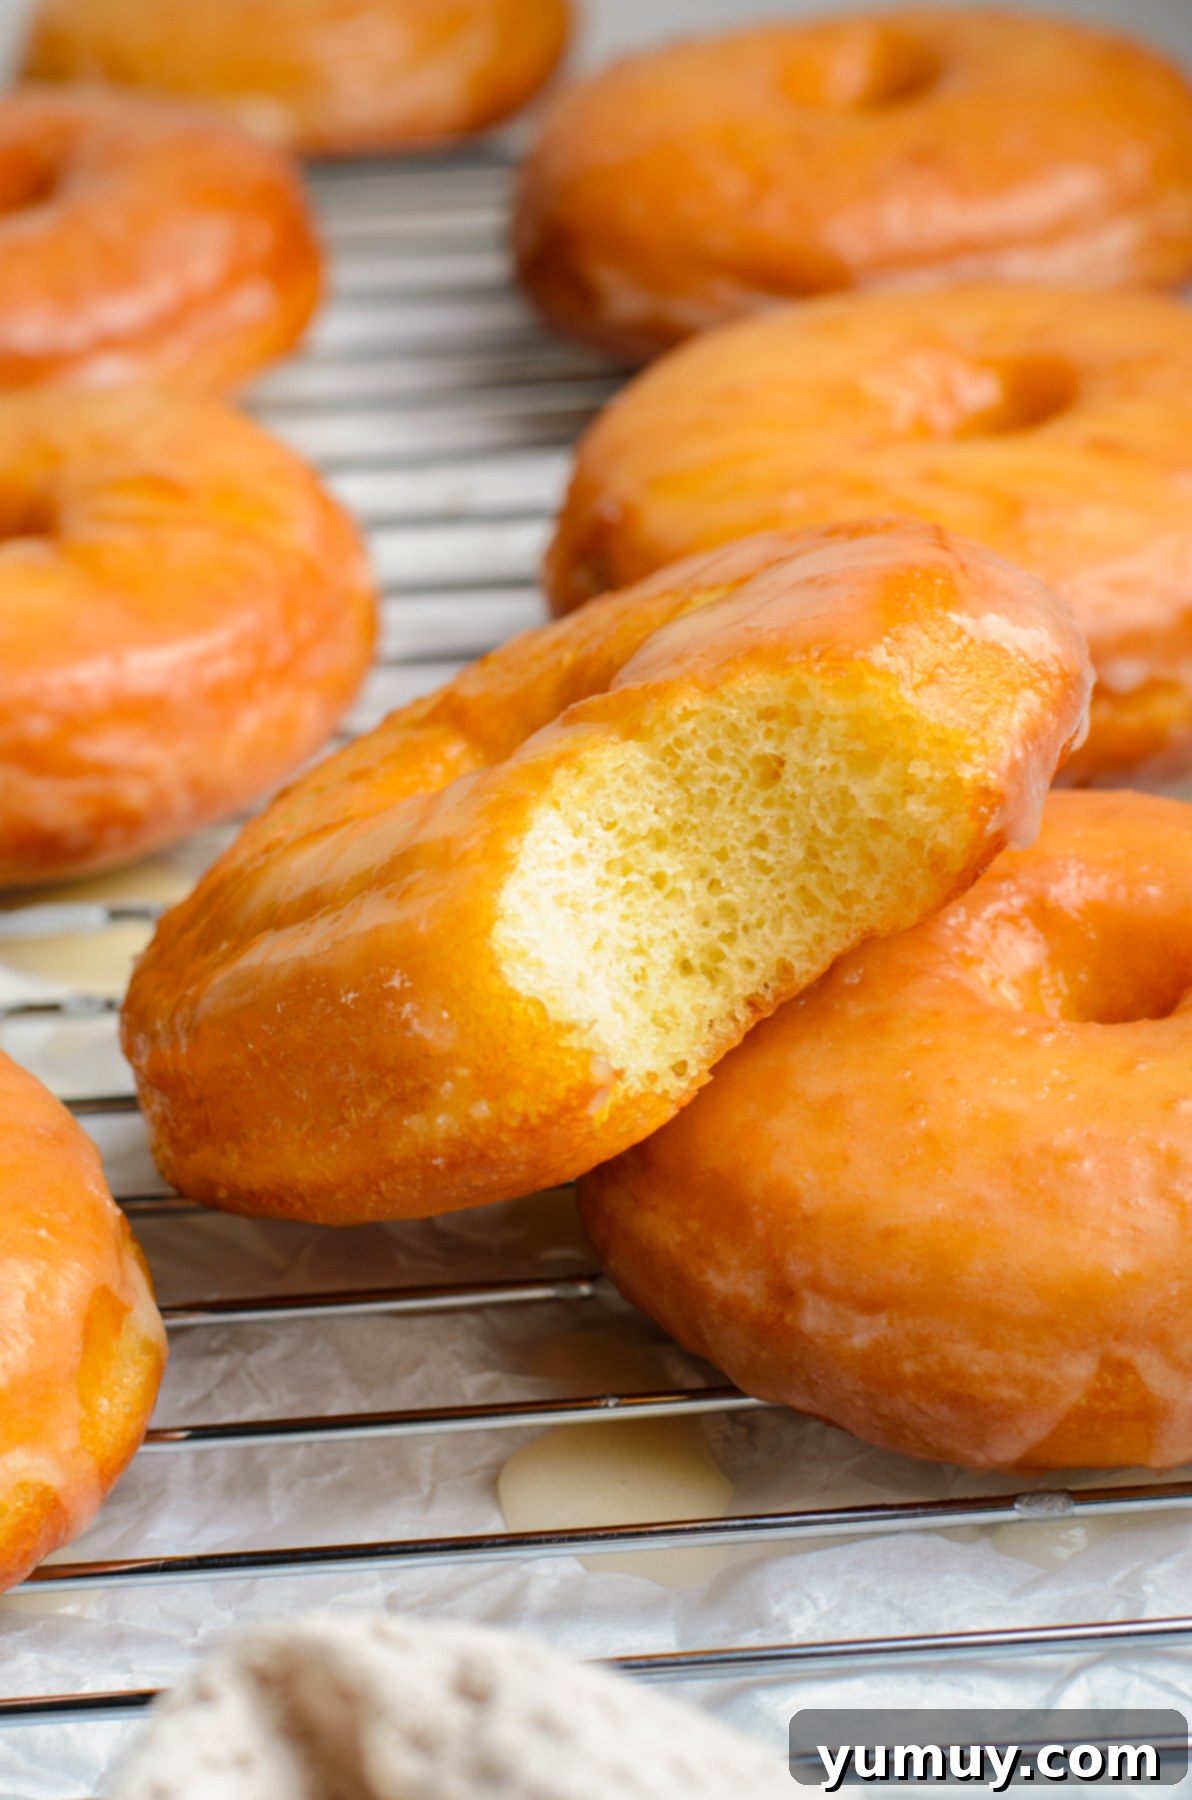
There’s an undeniable magic to a fresh, hot Krispy Kreme glazed donut. That melt-in-your-mouth texture, the delicate sweetness of the vanilla glaze – it’s an experience that transports you straight to childhood memories. For years, I eagerly awaited the one day a year my mom would bring home those iconic treats, still warm from the store. The anticipation of that first bite of a perfectly glazed, ethereal donut was a highlight. But what if you could recreate that magic, even better, in your own kitchen? This copycat Krispy Kreme recipe allows you to do just that, bringing the legendary taste and irresistible texture of your favorite glazed donuts right to your countertop. Forget the queues under the “Hot Now” sign; with this recipe, you’re always just steps away from donut perfection, ready to indulge whenever the craving strikes.
This recipe isn’t just about making donuts; it’s about capturing an experience. We start with a remarkably simple yeasted dough, which is the heart of any great donut. Enriched with eggs and butter, this dough develops a unique tenderness and subtle richness that mimics the signature Krispy Kreme texture. The inclusion of both a whole egg and an extra egg yolk contributes to the dough’s tender crumb and slightly golden hue, enhancing both flavor and texture. This makes the final donut incredibly soft and moist, preventing it from drying out quickly. The process involves a gentle proofing phase, allowing the yeast to work its wonders, creating an incredibly airy structure. A quick deep-fry then transforms these delicate dough rings into golden, fluffy clouds, ready to be immersed in a luscious vanilla glaze. The result? Donuts that are so astonishingly similar to the originals, you’ll be amazed you made them yourself. The joy of pulling these warm, freshly glazed beauties from your own fryer is unparalleled, making every bite a moment of pure, sweet nostalgia.
Why This Copycat Recipe Stands Out for Authenticity
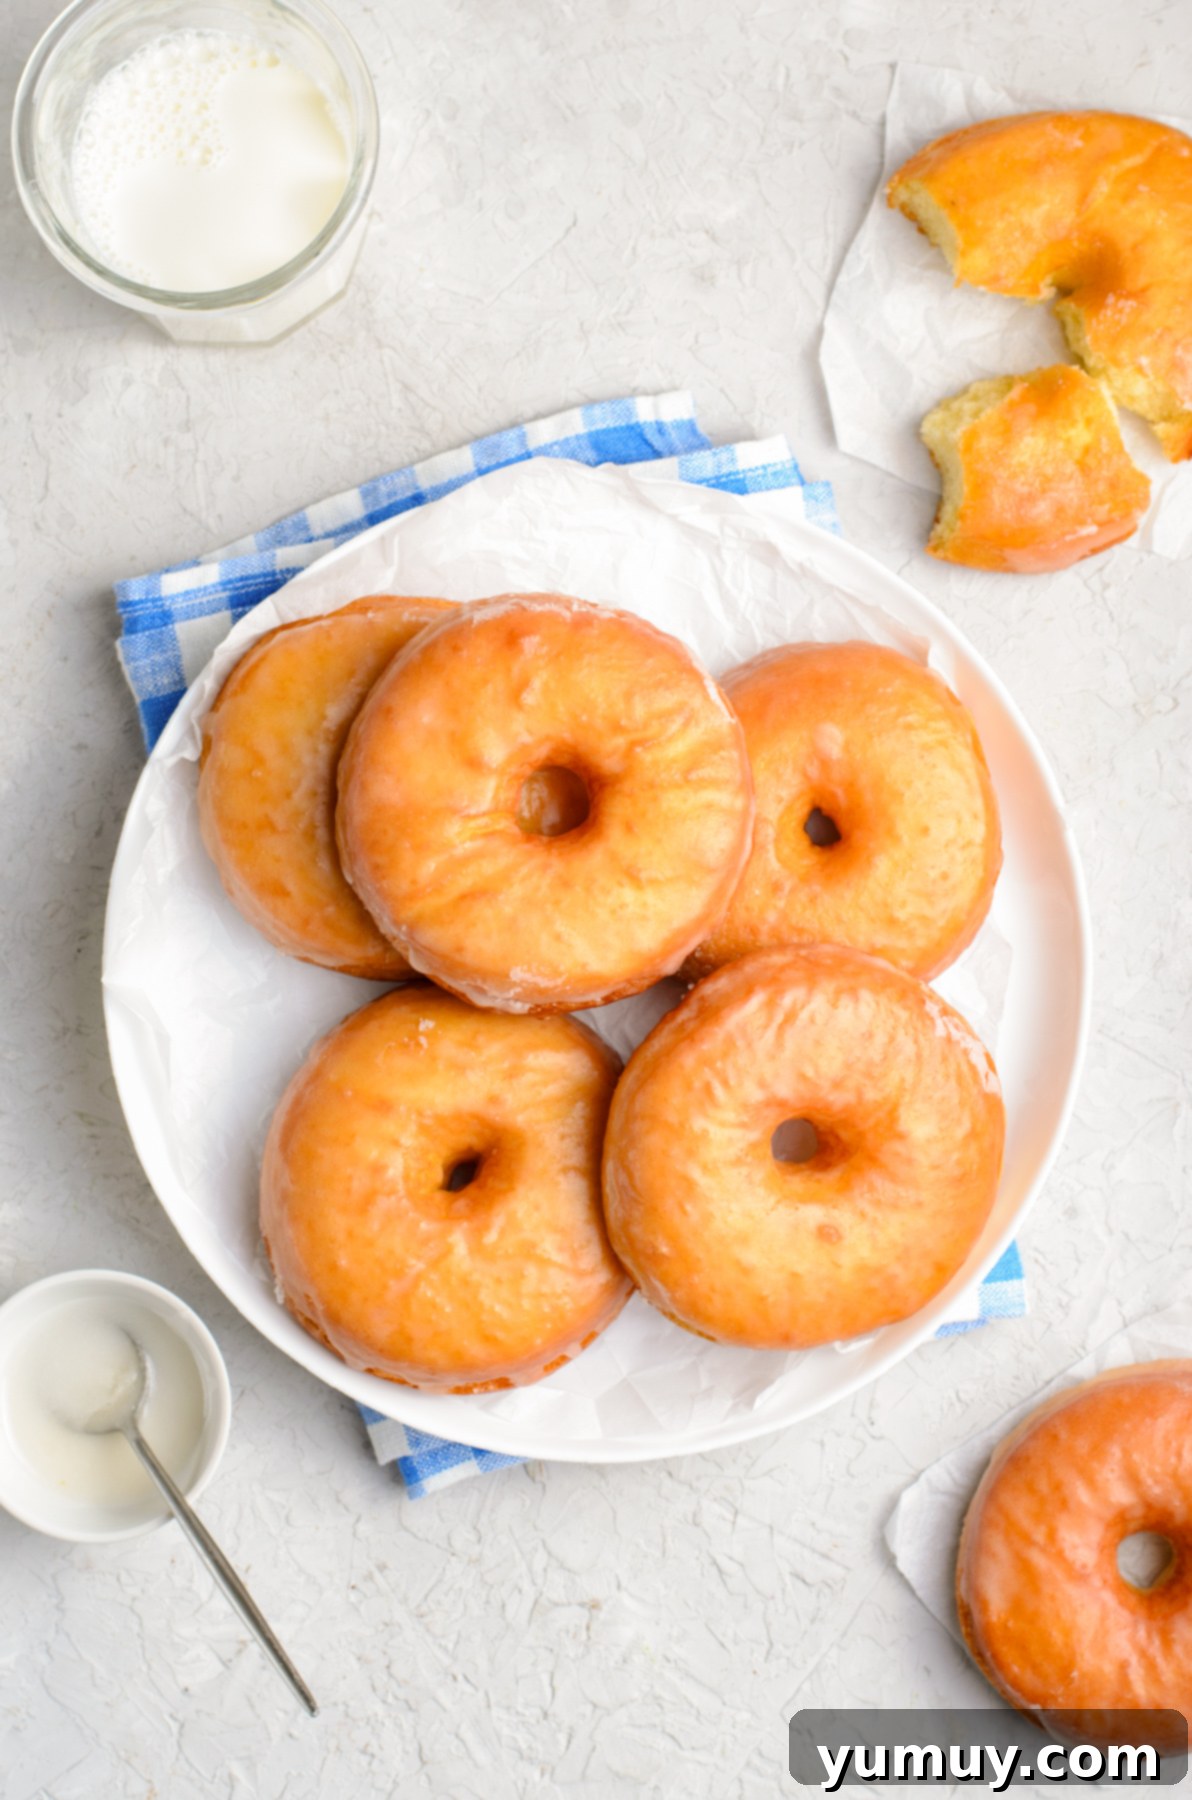
Many recipes claim to be “copycat,” but this one truly delivers on the promise of recreating the iconic Krispy Kreme experience. The secret lies in a few key elements that work in harmony to produce donuts that are light, airy, and coated in that unmistakable melt-away glaze. First, our dough is a delicate balance of high-quality all-purpose flour, active dry yeast, and the richness of farm-fresh eggs and unsalted butter. The inclusion of both a whole egg and an extra egg yolk is not merely a preference; it’s a crucial step to achieve the tender crumb and slightly golden hue that characterize Krispy Kreme’s signature taste and appearance. This thoughtful addition ensures the final donut is incredibly soft, moist, and resistant to drying out.
Secondly, the double proofing process is crucial for achieving that signature pillowy texture. A primary rise allows the yeast to develop complex flavors and significant volume, while a secondary, shorter proof after shaping ensures the donuts are perfectly airy before frying. This careful attention to proofing is what gives them that signature “pillowy” quality, distinguishing them from denser, cake-like donuts. Lastly, the simple yet incredibly effective vanilla glaze is designed to absorb beautifully into the warm donuts, creating that delicate, crackly shell that dissolves on your tongue, just like the original. We’ve meticulously tested this recipe to ensure every step contributes to a final product that not only tastes like Krispy Kreme but truly embodies its beloved characteristics, offering an authentic homemade experience.
Expert Tips for Perfect Homemade Glazed Donuts
Achieving Krispy Kreme-level perfection at home is easier than you think, especially with a few insider tips. These techniques, honed through years of baking and frying, will help ensure your donuts are consistently fluffy, evenly cooked, and beautifully glazed every single time you make them.
Chill Your Dough for Cleaner Frying and Fluffier Donuts
One of the most valuable tips for making homemade donuts is to chill your shaped dough. After you cut out your donuts and let them complete their secondary proof, try placing the entire baking sheet with the shaped dough in the refrigerator for 15-20 minutes before frying. This step is a game-changer. Slightly cooler dough is significantly easier to handle, preventing it from stretching or tearing as you delicately transfer it to the hot oil. This crucial step also helps the donuts hold their shape better during frying, resulting in perfectly round, smooth edges instead of ragged ones that can fry unevenly and absorb more oil. More importantly, chilling helps prevent the donuts from absorbing excess oil, leading to a lighter, fluffier texture and a less greasy final product. This simple trick makes a noticeable difference in achieving that signature Krispy Kreme lightness and overall superior donut quality.
Mastering Yeast Activation and Dough Consistency
The foundation of these incredible donuts is a vibrant, active yeast. Always start by proofing your yeast in warm water with a touch of sugar. The water temperature is critical and should be precisely around 105-115°F (40-46°C). Water that is too hot will kill the yeast, rendering it inactive, while water that is too cold will fail to activate it properly, leading to a sluggish or non-existent rise. If your mixture doesn’t become visibly foamy and bubbly after 5-10 minutes, your yeast is likely inactive, and you should always start over with a fresh batch of yeast. When kneading, aim for a dough that is glossy, smooth, and highly elastic. This indicates proper gluten development, which is absolutely essential for that desirable light, chewy, and tender texture. Don’t rush the kneading process, and gradually incorporate the butter for the best results; it takes time for the butter to fully integrate and enrich the dough without making it greasy.
Optimal Frying Temperature is Key
The oil temperature is perhaps the most critical factor in successful donut frying. You must maintain a consistent temperature between 330-350°F (165-175°C) throughout the entire frying process. Use a reliable deep-frying thermometer to monitor it closely and adjust the heat as needed. If the oil is too hot, the donuts will brown quickly on the outside, creating a dark, crispy crust, but remain raw and dense on the inside. Conversely, if the oil is too cool, the donuts will absorb too much oil, becoming unpleasantly greasy, heavy, and pale. To avoid temperature fluctuations, fry only 2-3 donuts at a time. Overcrowding the pot can drastically lower the oil temperature, leading to inconsistent cooking and undesirable results. This careful approach allows for even cooking and a consistent golden finish on all your donuts.
Perfecting the Signature Glaze
The Krispy Kreme glaze is renowned for its thin, sweet, and almost translucent quality that appears to melt into the warm donut. The key to achieving this specific effect is to glaze the donuts while they are still warm, but not piping hot, immediately after they’ve been fried and briefly drained. This warmth allows the glaze to absorb slightly into the donut’s surface, creating that iconic, delicate, and slightly crackly shell that literally dissolves on your tongue. To ensure a perfectly smooth glaze, always sift your powdered sugar before mixing to eliminate any lumps. Whisk the glaze thoroughly until it is completely lump-free and has a fluid consistency. Work quickly when dipping, coating each donut just once to get an even, thin layer. Place them on a wire rack immediately after glazing to allow any excess glaze to drip off and for the glaze to set properly, forming that beautiful, shiny finish.

Copycat Krispy Kreme Glazed Donuts Recipe
Ingredients
For the Donuts
- ¾ cup water lukewarm (110°F)
- ⅓ cup granulated sugar divided
- 2¼ teaspoons active dry yeast (1 envelope)
- 1 large egg room temperature
- 1 large egg yolk room temperature
- 1 teaspoon pure vanilla extract
- 3 cups all-purpose flour
- ½ teaspoon baking powder
- ½ teaspoon kosher salt
- ¼ cup unsalted butter room temperature and cubed (½ stick)
For the Glaze
- 2 cups powdered sugar
- ¼ cup water
- ½ teaspoon pure vanilla extract
Video Tutorial
While an interactive video player is not included in this static HTML, a visual guide to making these delicious donuts can be found on our website, demonstrating each step from dough preparation to glazing. Search for “How to make Krispy Kreme Donuts” for a comprehensive walkthrough on EasyDessertRecipes.com.
Equipment
- Kitchen Scale (optional, for precise measurements)
- Stand Mixer (optional, highly recommended for easier kneading)
- Donut Cutter (a 3-inch round cutter with a 1-inch center hole)
- Dutch Oven (or a large, heavy-bottomed pot for frying)
- Deep Frying Thermometer (essential for oil temperature control)
- Spider Strainer (for safely handling donuts in hot oil)
Instructions
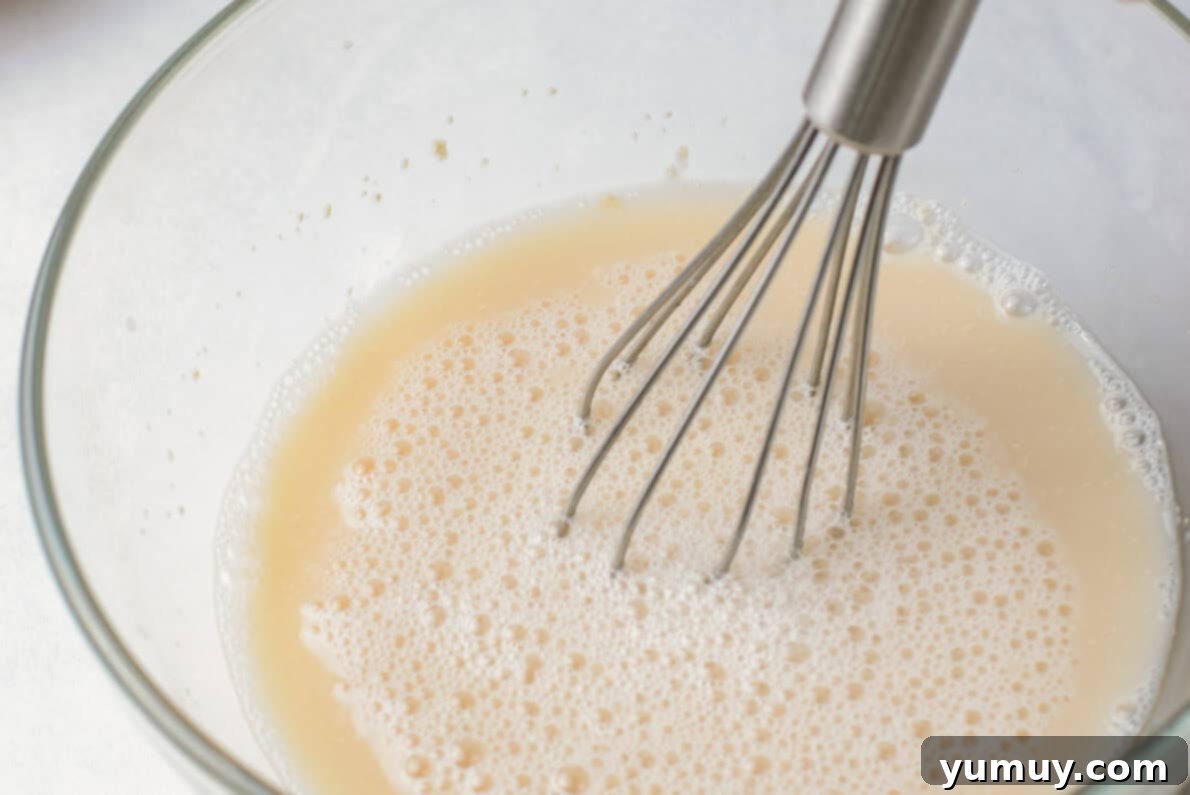
- Combine ¾ cup of warm water (105-115°F), 1 tablespoon of granulated sugar, and 2¼ teaspoons (1 envelope) of active dry yeast in a large bowl. Whisk gently until the yeast is fully dissolved. Let it sit for 5-10 minutes until the mixture becomes foamy and bubbly, indicating the yeast is active. If no foam appears, your yeast may be inactive; discard and start with fresh yeast.¾ cup water, ⅓ cup granulated sugar (partially used here), 2¼ teaspoons active dry yeast

- To the foamy yeast mixture, add the remaining granulated sugar (from the ⅓ cup total), 1 large, room-temperature egg, 1 large, room-temperature egg yolk, and 1 teaspoon of pure vanilla extract. Whisk these ingredients together until they are thoroughly combined and smooth. The extra egg yolk contributes significantly to the donut’s rich and tender texture.1 large egg, 1 large egg yolk, 1 teaspoon pure vanilla extract

- Gradually add the 3 cups of all-purpose flour, ½ teaspoon of baking powder, and ½ teaspoon of kosher salt to the wet ingredients. Knead the dough until it is smooth and cohesive. This can be done efficiently using a stand mixer with a dough hook attachment on medium-low speed for 5-7 minutes, or by hand on a lightly floured surface for 8-12 minutes.3 cups all-purpose flour, ½ teaspoon baking powder, ½ teaspoon kosher salt
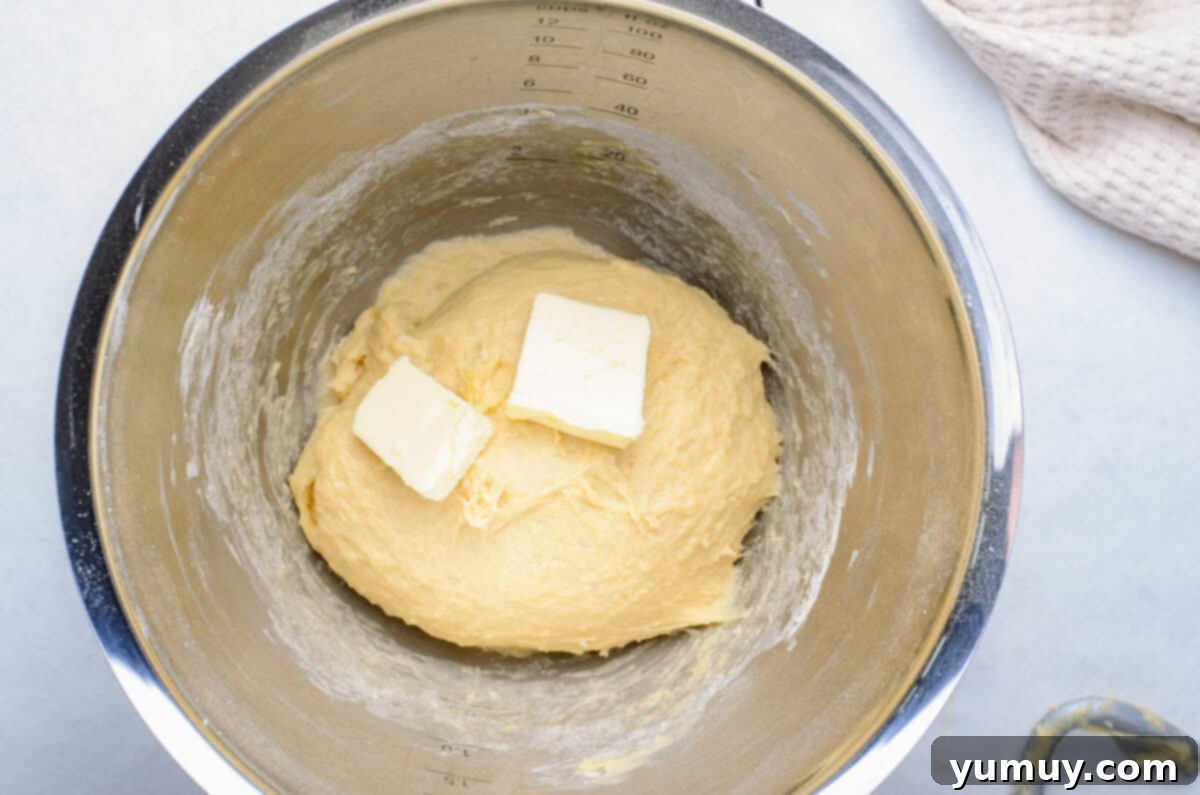
- Slowly incorporate ¼ cup of room-temperature unsalted butter, cubed, into the dough. Add the butter pieces one at a time, allowing each to be fully absorbed before adding the next. Continue kneading after all the butter is incorporated until the dough is incredibly smooth, elastic, and glossy. It should pull away cleanly from the sides of the bowl or your hands and feel supple.¼ cup unsalted butter

- Lightly oil a large, clean bowl. Place the kneaded dough into the bowl, turning it once to coat all sides with oil. Cover the bowl tightly with plastic wrap or a damp kitchen towel. Let the dough rise in a warm, draft-free place (such as a turned-off oven with the light on) until it has almost doubled in size, which typically takes about 1 hour.

- After the first rise, gently punch down the dough to release the air. On a lightly floured work surface, roll the dough out evenly to a thickness of approximately ½-inch. Cut out 10 individual squares of parchment paper (about 4×4 inches).
- Using a doughnut cutter (a 3-inch round cutter with a 1-inch center hole is ideal), cut out the doughnuts and place each one onto a separate prepared square of parchment paper. Arrange the cut donuts on a baking sheet, cover lightly with plastic wrap, and let them proof for a second time for about 40 minutes, or until visibly doubled in size and very puffy. For overnight preparation, refrigerate the shaped donuts; bring to room temperature for 20-30 minutes before frying for a final proof.

- While the donuts are completing their second proof, prepare your frying station. Line a separate baking sheet with several layers of paper towels, or place a wire rack over a baking sheet, to drain the fried donuts. Set this aside near your frying area.
- In a large Dutch oven or heavy-bottomed pot, heat about 2-3 inches of neutral frying oil (such as vegetable, canola, or peanut oil) to 330-350°F (165-175°C). Use a deep-frying thermometer and maintain this temperature. Gently drop 2-3 donuts into the hot oil at a time, being careful not to overcrowd the pot. Fry for about 1-2 minutes per side, or until golden brown and puffed. Flip them once using a spider strainer or tongs. Remove the fried donuts from the oil, allow excess oil to drip off, and place them on the prepared baking sheet or wire rack to cool slightly.

- For the glaze, sift 2 cups of powdered sugar into a medium bowl. Add ¼ cup of water and ½ teaspoon of pure vanilla extract. Whisk vigorously until the mixture is completely smooth and free of lumps. The glaze should be thin enough to easily coat the donuts but thick enough to cling. Working one at a time with warm donuts, dip each donut into the glaze, turning to coat both sides. Lift out, allowing any excess glaze to drip back into the bowl, and place the glazed donuts back on the wire rack to allow the glaze to set. Serve immediately for the ultimate “Hot Now” experience!¼ cup water, ½ teaspoon pure vanilla extract, 2 cups powdered sugar

Notes for Success
- **Kneading Convenience:** A stand mixer with a dough hook will significantly simplify the kneading process, ensuring you achieve the desired smooth, elastic, and glossy dough texture with less effort. This can cut down on active prep time and ensure a consistent dough.
- **Patience with Proofing:** Allow your dough ample time to rise both before and after cutting. Proper proofing is crucial for light, airy donuts. Under-proofed dough will result in dense, heavy donuts, while over-proofed dough can lead to a crumbly texture and diminished flavor. Always trust the visual cues (doubled in size, puffy appearance) over strict timing, as ambient temperature can affect proofing speed.
- **Overnight Dough Option:** You can refrigerate the shaped donuts (on their parchment squares, covered loosely with plastic wrap) overnight, up to 12 hours. The cold temperature will significantly slow down the proofing process. In the morning, remove them from the refrigerator about 1 hour before frying to allow them to come to room temperature and complete their final proof. They should puff up slightly, indicating readiness. This is a fantastic way to enjoy fresh, warm donuts in the morning with minimal fuss.
- **Frying is Essential:** These authentic Krispy Kreme copycat donuts are designed to be deep-fried, not baked. Frying provides that distinct golden crust and incredibly soft, airy interior that cannot be replicated through baking. Attempting to bake them will yield a different product, more akin to a cake donut.
- **Oil Temperature Management:** Maintaining the correct oil temperature (330-350°F or 165-175°C) is paramount. If the oil is too hot, the donuts will burn on the outside before cooking through, leaving a raw interior. If it’s too cool, the donuts will absorb excessive oil, becoming greasy, heavy, and unappetizing. Always use a reliable deep-frying thermometer and adjust heat as needed. Do not overcrowd the pot, as this can cause the oil temperature to drop rapidly.
- **Customize Your Glaze:** While the classic vanilla glaze is irresistibly delicious, feel free to get creative! Add a touch of almond extract for a different flavor profile, or incorporate a dash of ground cinnamon for a warm spice note. For a fun, festive twist, add colorful sprinkles on top of your donuts immediately after dipping them into the glaze, before it has a chance to set.
Storage: For optimal freshness, store homemade Krispy Kreme donuts in an airtight container at room temperature for up to 2 days. They can also be kept in an airtight container in the refrigerator for up to 1 week. For longer storage, these donuts freeze beautifully! Arrange them in a single layer on a baking sheet to freeze solid, then transfer them to a freezer-safe bag or airtight container for up to 2 months. To enjoy frozen donuts, simply transfer them to the refrigerator and let them thaw overnight. Once thawed (or if you’re reheating refrigerated donuts), you can gently warm them to bring back some of that fresh-from-the-fryer softness. A quick zap in the microwave for 10-15 seconds per donut usually does the trick. Alternatively, you can warm them in a low oven (around 250°F/120°C) for a few minutes until just warm to the touch. Avoid overheating, as this can make them tough. Freshly glazed and warmed, these donuts will transport you back to that “Hot Now” experience, even days later.
Calories from Fat 54
@easydessertrecipes
for a chance to be featured.
Step-by-Step Guide: Crafting Your Own Krispy Kreme Glazed Donuts
Recreating the magic of Krispy Kreme donuts at home is a rewarding and surprisingly achievable experience. Follow these detailed steps to ensure your homemade glazed donuts are as light, fluffy, and undeniably delicious as the originals you cherish. Each stage is crucial for that authentic taste and texture.
Step 1: Activating the Yeast (Proofing)
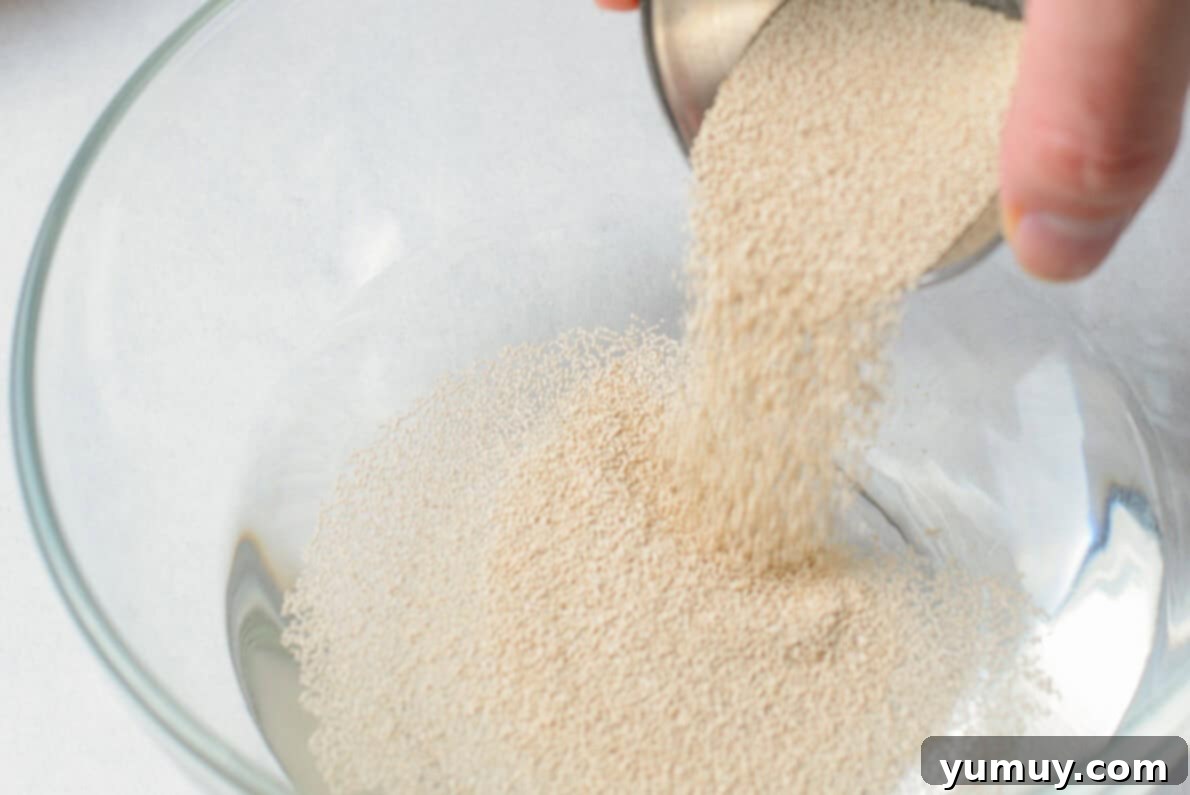
Begin your donut-making journey by proofing the yeast, which is the cornerstone of these airy treats. In a large mixing bowl, combine ¾ cup of warm water. The ideal temperature for activating active dry yeast is between 105°F and 115°F (40°C and 46°C). Using a thermometer for precision here is highly recommended. To this, add 1 tablespoon of granulated sugar (this will be part of your total sugar amount) and 2¼ teaspoons of active dry yeast, which typically equals one standard packet or envelope. Whisk these three ingredients together gently until the yeast granules are completely dissolved into the warm liquid. Once mixed, set the bowl aside in a warm, undisturbed spot for 5 to 10 minutes. During this crucial activation period, the mixture should become visibly foamy and bubbly on the surface. This delightful foam is a clear indication that your yeast is alive and active, ready to work its magic in your dough. If, after 10 minutes, there’s no foam or very little activity, it’s highly likely your yeast is expired or the water temperature was incorrect. In such a case, it is essential to discard the mixture and start again with fresh yeast and carefully measured water to prevent dense, flat donuts.
Step 2: Enriching the Dough Base with Eggs and Vanilla
Once your yeast has successfully foamed, it’s time to incorporate the enriching elements that give Krispy Kreme donuts their characteristic tender flavor and incredibly soft texture. To the foamy yeast mixture, add the remaining granulated sugar from the ⅓ cup total (approximately 4 tablespoons, depending on how much was used for the initial yeast proofing). Next, introduce 1 large egg and 1 large egg yolk. Ensure both the egg and egg yolk are at room temperature; this allows them to integrate more smoothly into the dough, leading to a more consistent and better final texture. The addition of an extra egg yolk is a secret weapon for achieving a richer, more tender, and slightly more golden donut, significantly enhancing both its crumb and flavor. Finally, stir in 1 teaspoon of pure vanilla extract, which will infuse the donuts with a delightful aroma and classic sweet flavor that is synonymous with glazed donuts. Whisk all these wet ingredients thoroughly until they are well combined and smooth, creating a consistent and enriched base for the upcoming dry ingredients.
Step 3: Kneading to Perfection with Flour and Butter
Now, it’s time to build the essential structure of your donut dough. Gradually add 3 cups of all-purpose flour, ½ teaspoon of baking powder, and ½ teaspoon of kosher salt to your wet ingredients. The baking powder is a clever addition here; it provides an extra boost of leavening, helping the donuts rise beautifully even with a slightly shorter proofing time. This is particularly useful if you’re eager to enjoy your donuts sooner. However, if you plan to refrigerate the dough overnight for a slower, colder proof, you can omit the baking powder. Begin kneading the dough. This can be done effortlessly using a stand mixer fitted with a dough hook attachment, mixing on low speed until the ingredients just come together, then increasing speed to medium-low. Alternatively, you can knead by hand on a lightly floured work surface. Continue kneading until the dough becomes smooth, cohesive, and begins to pull away cleanly from the sides of the bowl or your hands. This typically takes about 5-7 minutes in a stand mixer or 8-12 minutes by hand, developing the necessary gluten for a light texture.
Once the initial dough is formed and smooth, slowly incorporate ¼ cup of room-temperature unsalted butter, cubed. Add the butter pieces one at a time, allowing each cube to be fully absorbed into the dough before adding the next. This gradual addition ensures even distribution and proper emulsification. Continue kneading after all the butter is added until the dough is incredibly smooth, highly elastic, and glossy. This stage is crucial for developing the rich, tender texture of Krispy Kreme donuts. The dough should feel supple, soft, and no longer sticky, indicating proper gluten development and butter incorporation, which will contribute to a melt-in-your-mouth final product.
Step 4: The First Rise (Bulk Fermentation)
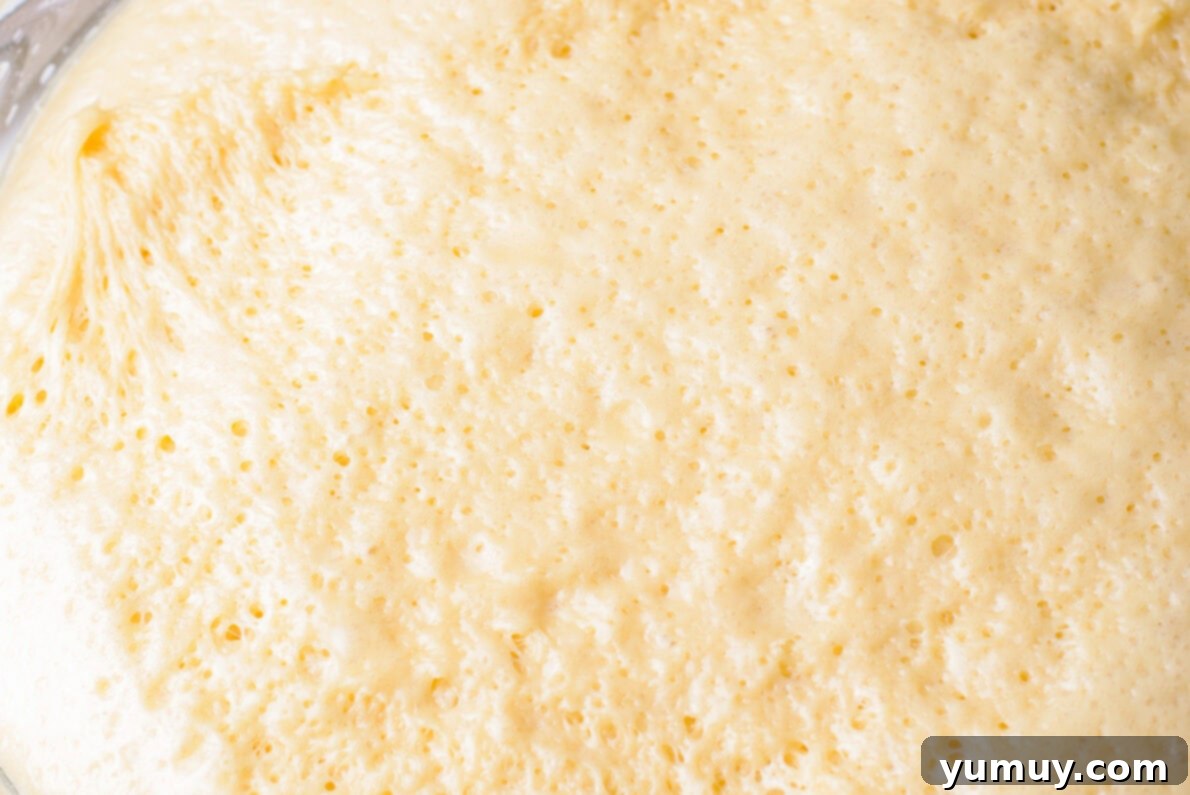
Transfer the well-kneaded dough to a lightly oiled large bowl, ensuring that all surfaces of the dough are coated with a thin layer of oil by turning it once. This vital step prevents the dough from sticking to the bowl and from drying out and forming a crust during the rise. Cover the bowl securely and tightly with plastic wrap or a clean, damp kitchen towel. Place the covered bowl in a warm, draft-free environment to rise. An ideal spot might be a turned-off oven with the oven light on (the light generates enough gentle warmth without overheating), or a warm pantry or even a microwave that’s not in use. Allow the dough to rise until it has almost doubled in size, which usually takes approximately 1 hour, though this time can vary depending on the specific warmth of your kitchen and the activity of your yeast. This first rise, known as bulk fermentation, is absolutely essential for developing deep flavors, creating significant volume, and establishing the foundation for a light, airy internal structure in your donuts.
Step 5: Shaping and the Second Proof
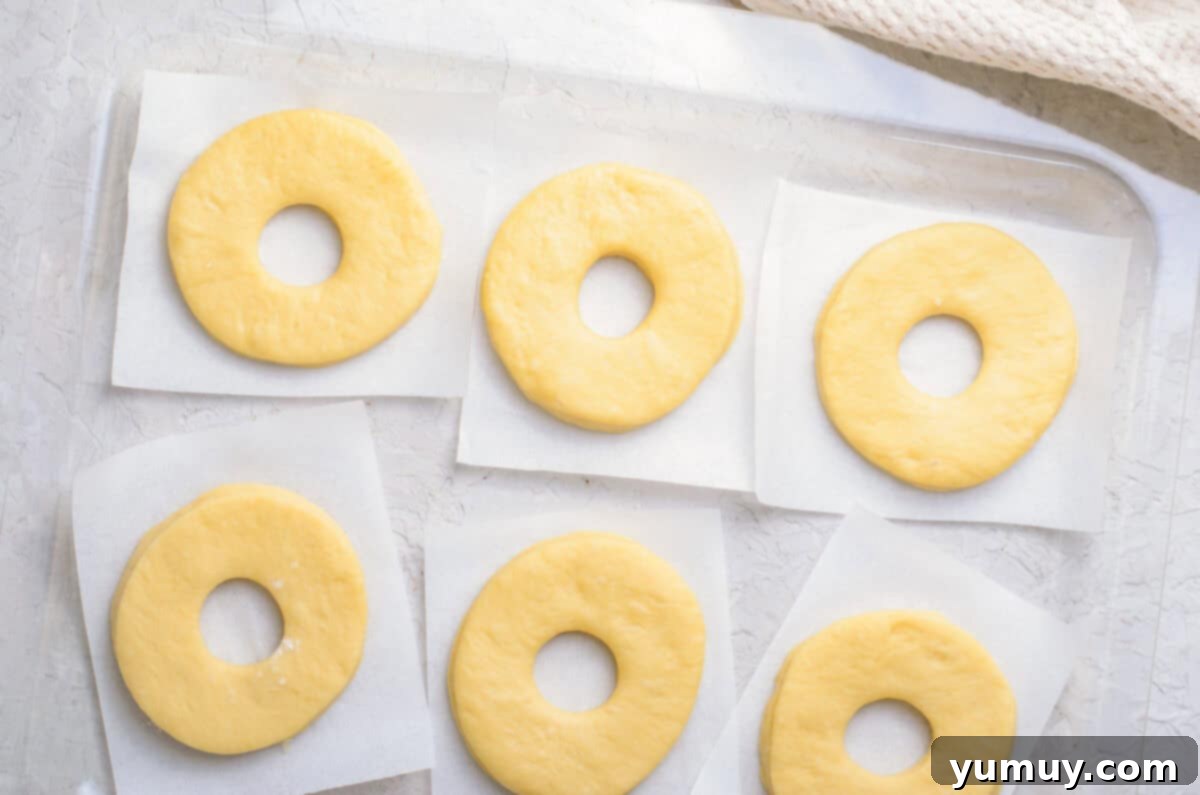
Once the dough has successfully completed its first rise and nearly doubled in size, gently punch it down to release the accumulated gases. This action helps to create a finer, more uniform crumb structure in your finished donuts. Turn the dough out onto a lightly floured work surface. Using a rolling pin, roll the dough out evenly to a uniform thickness of about ½-inch. It’s important to avoid rolling it too thin or too thick, as this will significantly affect the final donut texture, cooking time, and overall rise. Now, prepare your workstation for the next step: cut out 10 individual squares of parchment paper, each roughly 4×4 inches. Using a donut cutter (a 3-inch round cutter with a 1-inch center hole is ideal for classic donuts), carefully cut out your donut shapes. Place each cut donut, along with its center hole (the donut hole, which can be fried separately for a bonus treat), onto a separate parchment square. This parchment makes transferring the delicate, proofed dough to the hot oil much easier without deflating them, which is a common pitfall.
Arrange the cut donuts on a baking sheet, ensuring they have enough space between them to expand without touching. Lightly cover the baking sheet with plastic wrap to prevent a skin from forming and to create a humid environment. Allow the donuts to proof for a second time, for approximately 40 minutes, or until they have visibly doubled in size, appear very puffy, and feel incredibly light when gently lifted. This secondary proof is absolutely critical for achieving that signature Krispy Kreme airiness and tenderness. If you prefer to prepare the dough in advance, you can refrigerate the shaped donuts overnight (up to 12 hours) after this step. In the morning, remove them from the refrigerator and let them sit at room temperature for 20-30 minutes before frying. They should puff up slightly and feel lighter, indicating they are ready for frying. In colder kitchens, this final proof might take up to an hour.
Step 6: Frying to Golden Perfection
As your donuts are finishing their second proof, prepare your frying station meticulously. Line a separate baking sheet with several layers of paper towels, or place a sturdy wire cooling rack over a baking sheet. This setup will serve as a crucial draining area for the freshly fried donuts, allowing excess oil to drip away. In a large, heavy-bottomed pot or Dutch oven, pour about 2-3 inches of a neutral-flavored frying oil (such as vegetable oil, canola oil, or peanut oil). Heat the oil over medium heat until it reaches a precise temperature of 330-350°F (165-175°C). It is absolutely essential to use a reliable deep-frying thermometer and monitor the oil temperature constantly throughout the entire frying process. An incorrect temperature will drastically affect the outcome of your donuts, leading to either greasy or raw centers.
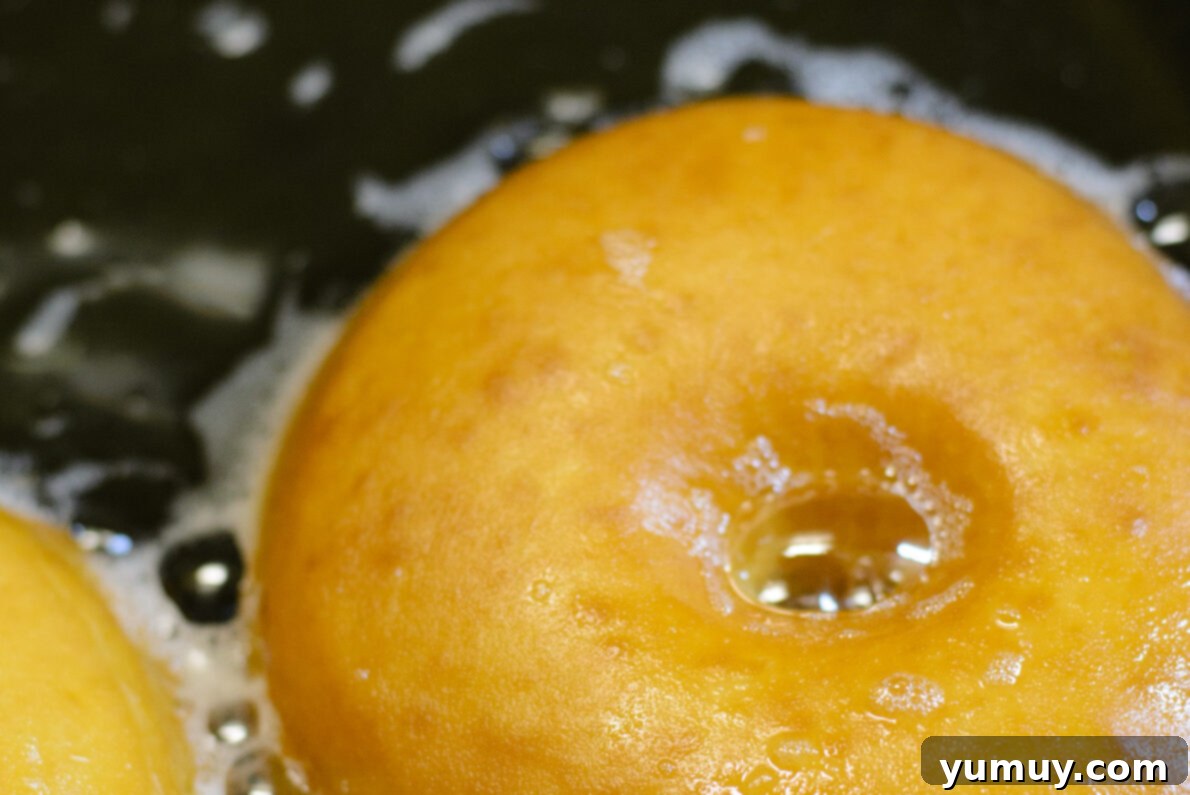
Once the oil is at the correct temperature, carefully lower 2-3 donuts into the hot oil at a time. The parchment paper squares you used for proofing are helpful here: you can gently drop the donut with the paper into the oil, and the paper will detach easily, then quickly remove the paper. Avoid overcrowding the pot, as this will cause the oil temperature to drop too significantly, resulting in greasy, undercooked donuts. Fry each side for approximately 1-2 minutes, or until the donuts are beautifully golden brown and appear wonderfully puffed and light. Use a spider strainer or tongs to gently flip the donuts and remove them once they are evenly cooked on both sides. Place the fried donuts on the prepared paper towel-lined baking sheet or wire rack to drain any excess oil and cool slightly before glazing. Don’t forget to fry the donut holes similarly; they will cook much faster, typically requiring only about 30 seconds to 1 minute per side.
Step 7: The Signature Glaze and Serving
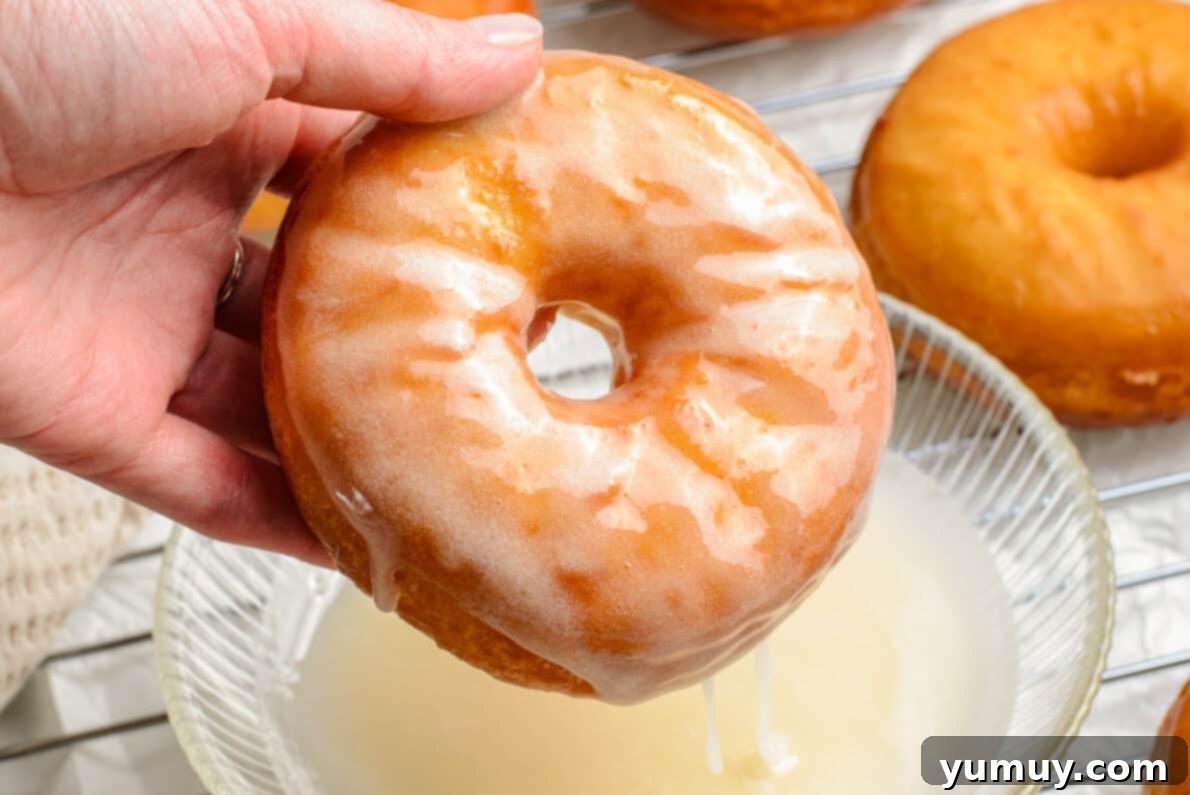
The iconic Krispy Kreme glaze is incredibly simple yet delivers unparalleled sweetness and that characteristic melt-in-your-mouth quality. In a medium bowl, combine 2 cups of powdered sugar (sifting it first is highly recommended to prevent any lumps from forming in your silky glaze), ¼ cup of water, and ½ teaspoon of pure vanilla extract. Whisk these ingredients vigorously until the glaze is perfectly smooth, glossy, and completely free of any lumps. The consistency should be thin enough to easily coat the donuts evenly but thick enough to cling slightly, forming a delicate, translucent layer. Work quickly while the donuts are still warm from frying. This warmth is key, as it allows the glaze to absorb slightly into the donut’s surface, creating that iconic, delicate, and slightly crackly shell that we all adore. Dip each donut, one at a time, into the glaze, turning it to ensure both sides are fully coated. Lift the donut out, allowing any excess glaze to drip back into the bowl, and place it back onto a wire rack. As the glazed donuts cool, the glaze will set into that signature thin, crackly shell. For the ultimate “Hot Now” experience, serve these delicious homemade Krispy Kreme glazed donuts immediately and enjoy every warm, sweet, and unbelievably fluffy bite!
Storage and Reheating Tips for Freshness
While these homemade Krispy Kreme donuts are undeniably best enjoyed fresh and warm, straight from the fryer, you can certainly store leftovers to savor later. For optimal freshness, place any leftover glazed donuts in an airtight container at room temperature. Stored this way, they will remain wonderfully soft and delicious for up to 2 days, retaining much of their original charm. If you need to store them for a bit longer, they can be kept in an airtight container in the refrigerator for up to 1 week. The refrigerator can alter the texture slightly, but they will still be enjoyable. For an even longer shelf life, these donuts freeze beautifully! To freeze them, first arrange them in a single layer on a baking sheet and place them in the freezer until solid. Once frozen, transfer them to a freezer-safe bag or airtight container for up to 2 months. This method locks in their freshness and allows you to enjoy them whenever a craving strikes.
To enjoy frozen donuts, simply transfer them to the refrigerator and let them thaw overnight. Once thawed (or if you’re reheating refrigerated donuts), you can gently warm them to bring back some of that fresh-from-the-fryer softness and melt-in-your-mouth quality. A quick zap in the microwave for 10-15 seconds per donut usually does the trick, but be careful not to overheat, as this can make them tough. Alternatively, you can warm them in a low oven (around 250°F or 120°C) for a few minutes until just warm to the touch. This low and slow method helps to soften them without drying them out. Freshly glazed and warmed, these donuts will transport you back to that delightful “Hot Now” experience, even days later, making them a treat worth keeping on hand.
Frequently Asked Questions (FAQ) About Homemade Glazed Donuts
Here are some common questions and answers to help you master your homemade Krispy Kreme glazed donuts.
Can I bake these Krispy Kreme copycat donuts instead of frying?
No, this recipe is specifically designed for deep-frying, and we highly recommend sticking to this method. Frying is absolutely crucial to achieving the iconic light, airy, fluffy, and slightly crisp texture of traditional Krispy Kreme donuts. Baking them would result in a denser, cake-like donut, which is a delicious treat in itself but distinctly different from the classic Krispy Kreme experience we’re aiming to replicate here.
What kind of oil should I use for frying donuts?
For the best results and to ensure a clean flavor profile, use a neutral-flavored oil with a high smoke point. Excellent choices that won’t impart unwanted flavors to your donuts include vegetable oil, canola oil, peanut oil, or sunflower oil. Avoid using oils with lower smoke points or strong flavors, such as olive oil or butter, as they can burn easily and negatively affect the taste of your donuts.
My yeast didn’t foam. What went wrong?
If your yeast mixture didn’t become foamy, it’s most likely that your active dry yeast was either expired or the water temperature was incorrect (either too hot, which kills the yeast, or too cold, which prevents activation). Always check the expiration date on your yeast packet and ensure your water is precisely between 105°F and 115°F (40-46°C) using a thermometer. Without active yeast, your donuts will not rise properly and will turn out dense and heavy. In this situation, it is best to discard the mixture and start again with fresh yeast and carefully measured, correctly tempered water.
How do I know when my dough has proofed enough?
Proper proofing is essential for light donuts. For the first rise (bulk fermentation), the dough should roughly double in size. For the second proof (after shaping the donuts), the individual donuts should look noticeably puffy, feel very light when gently lifted, and appear airy. A common way to test readiness is the “poke test”: gently press a floured finger into the side of a donut; if the indentation springs back slowly and slightly, it’s perfectly proofed. If it springs back immediately, it needs more time to proof. If the indentation remains and the dough collapses, it might be over-proofed.
Can I make the dough ahead of time?
Yes, absolutely! This recipe is excellent for make-ahead convenience. You can prepare the dough the night before. After shaping the donuts and placing them on their individual parchment paper squares, cover them loosely but securely with plastic wrap and refrigerate them overnight (up to 12 hours). The cold temperature will significantly slow down the proofing process. The next morning, simply take them out of the refrigerator about 30-60 minutes before you plan to fry them. This allows them to come to room temperature and complete their final proof, ensuring they are light and airy when they hit the hot oil. This method makes fresh, warm donuts achievable even on busy mornings.
More Donut Recipes to Try!
French Cruller (Dunkin Donuts Copycat Recipe)
Old Fashioned Glazed Donuts
Cinnamon Sugar Donuts
Baked Vanilla Donuts
Browse All Donut Recipes
Bring the “Hot Now” Experience Home: Your Own Donut Shop
There’s truly nothing quite like a freshly made donut, especially when it’s one of these phenomenal homemade Krispy Kreme copycats. The soft, pillowy texture, that distinct airy lightness, and the iconic sweet vanilla glaze combine to make every single bite a delightful journey back to childhood memories and simple pleasures. This recipe proves that you don’t need a special, commercial donut machine or a trip to a distant donut shop to enjoy these beloved treats at their peak. With just a handful of simple, accessible ingredients, a bit of patience, and a dash of passion, you can pull warm, glazed perfection straight from your own kitchen, creating a truly memorable experience.
Whether you’re planning a special breakfast to surprise your family, hosting a festive weekend brunch, or simply have a spontaneous craving for something sweet and comforting, these homemade glazed donuts are guaranteed to be a hit. They offer that coveted “Hot Now” taste that is impossible to resist. So, gather your ingredients, follow these detailed steps carefully, and prepare to be utterly amazed at how easily and authentically you can recreate the magic of Krispy Kreme right at home. Enjoy the warmth, the exquisite sweetness, and the pure, unadulterated joy of homemade donuts, creating new traditions and delicious memories with every batch.
