Elegant Easter Bunny Cupcakes: Your Centerpiece for a Memorable Celebration
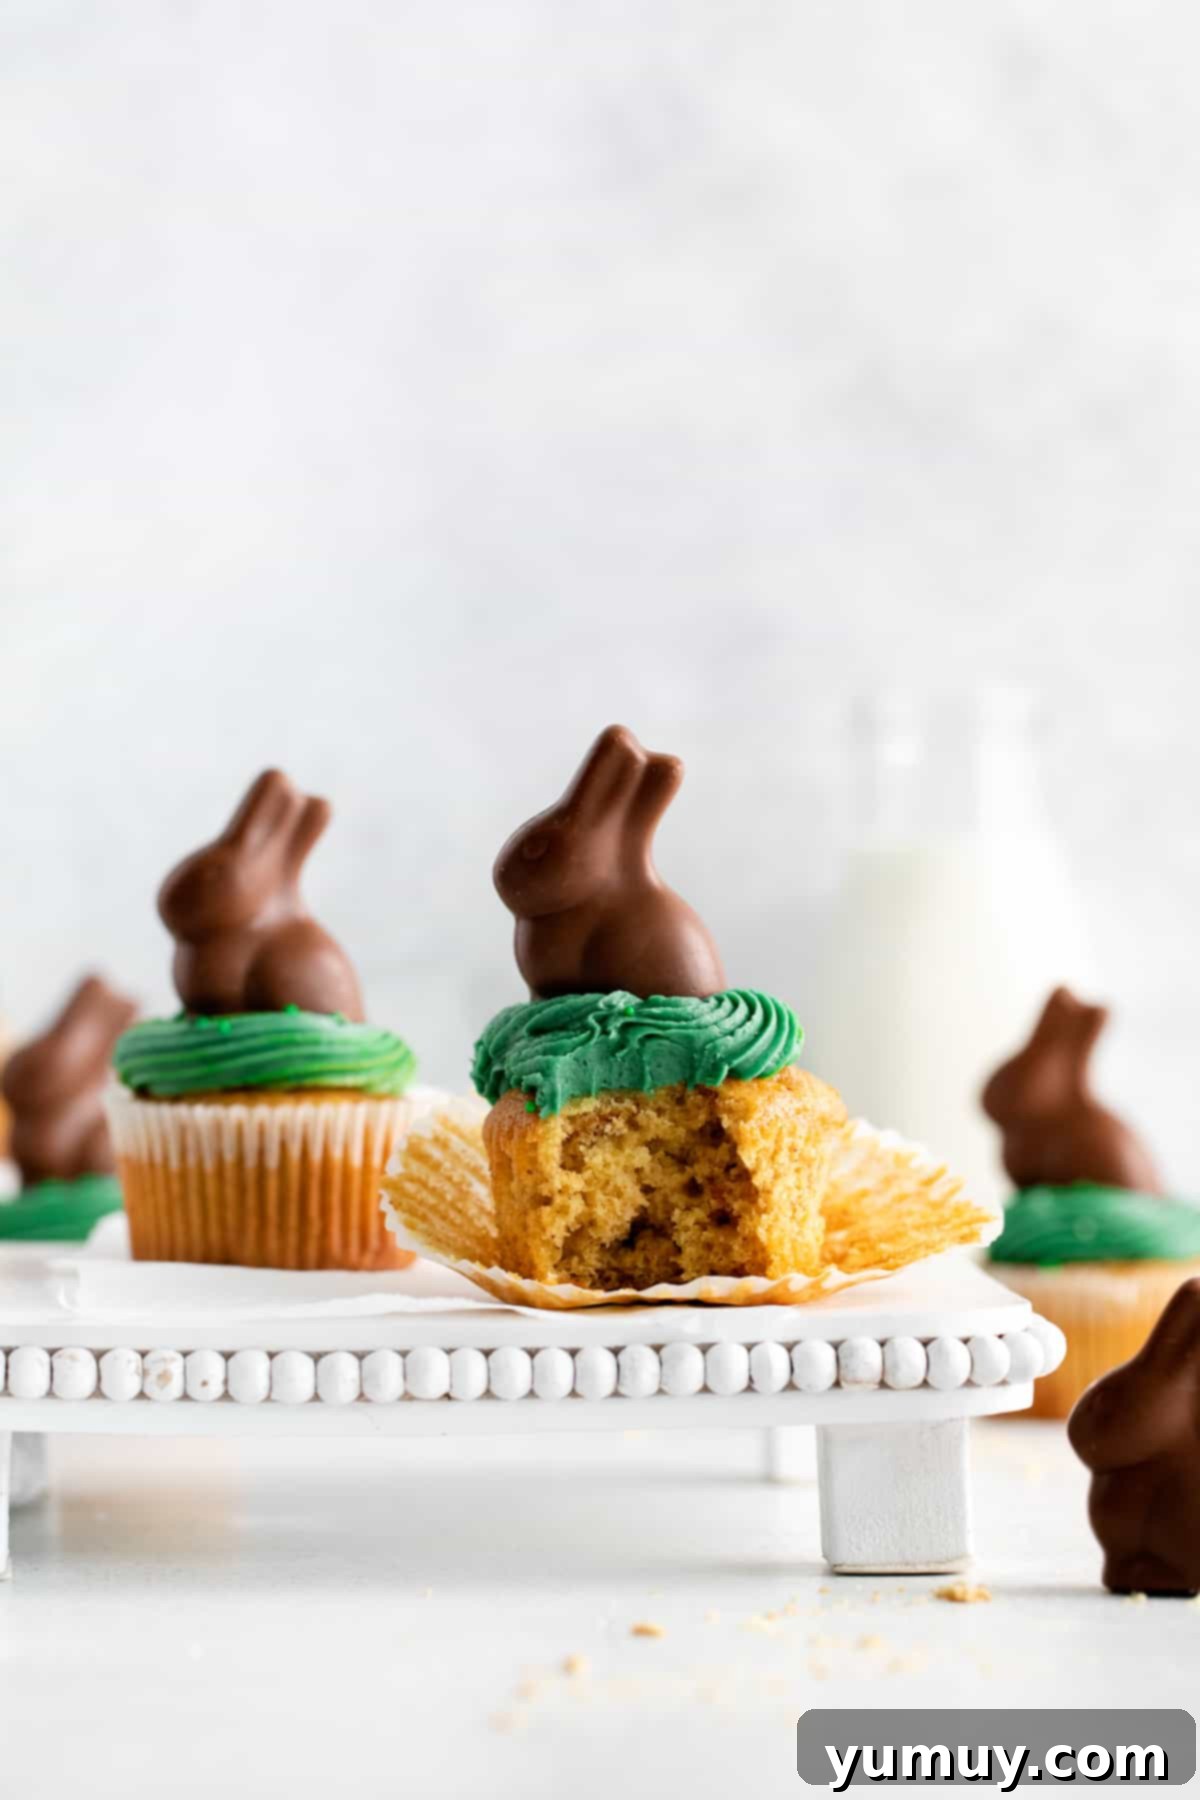
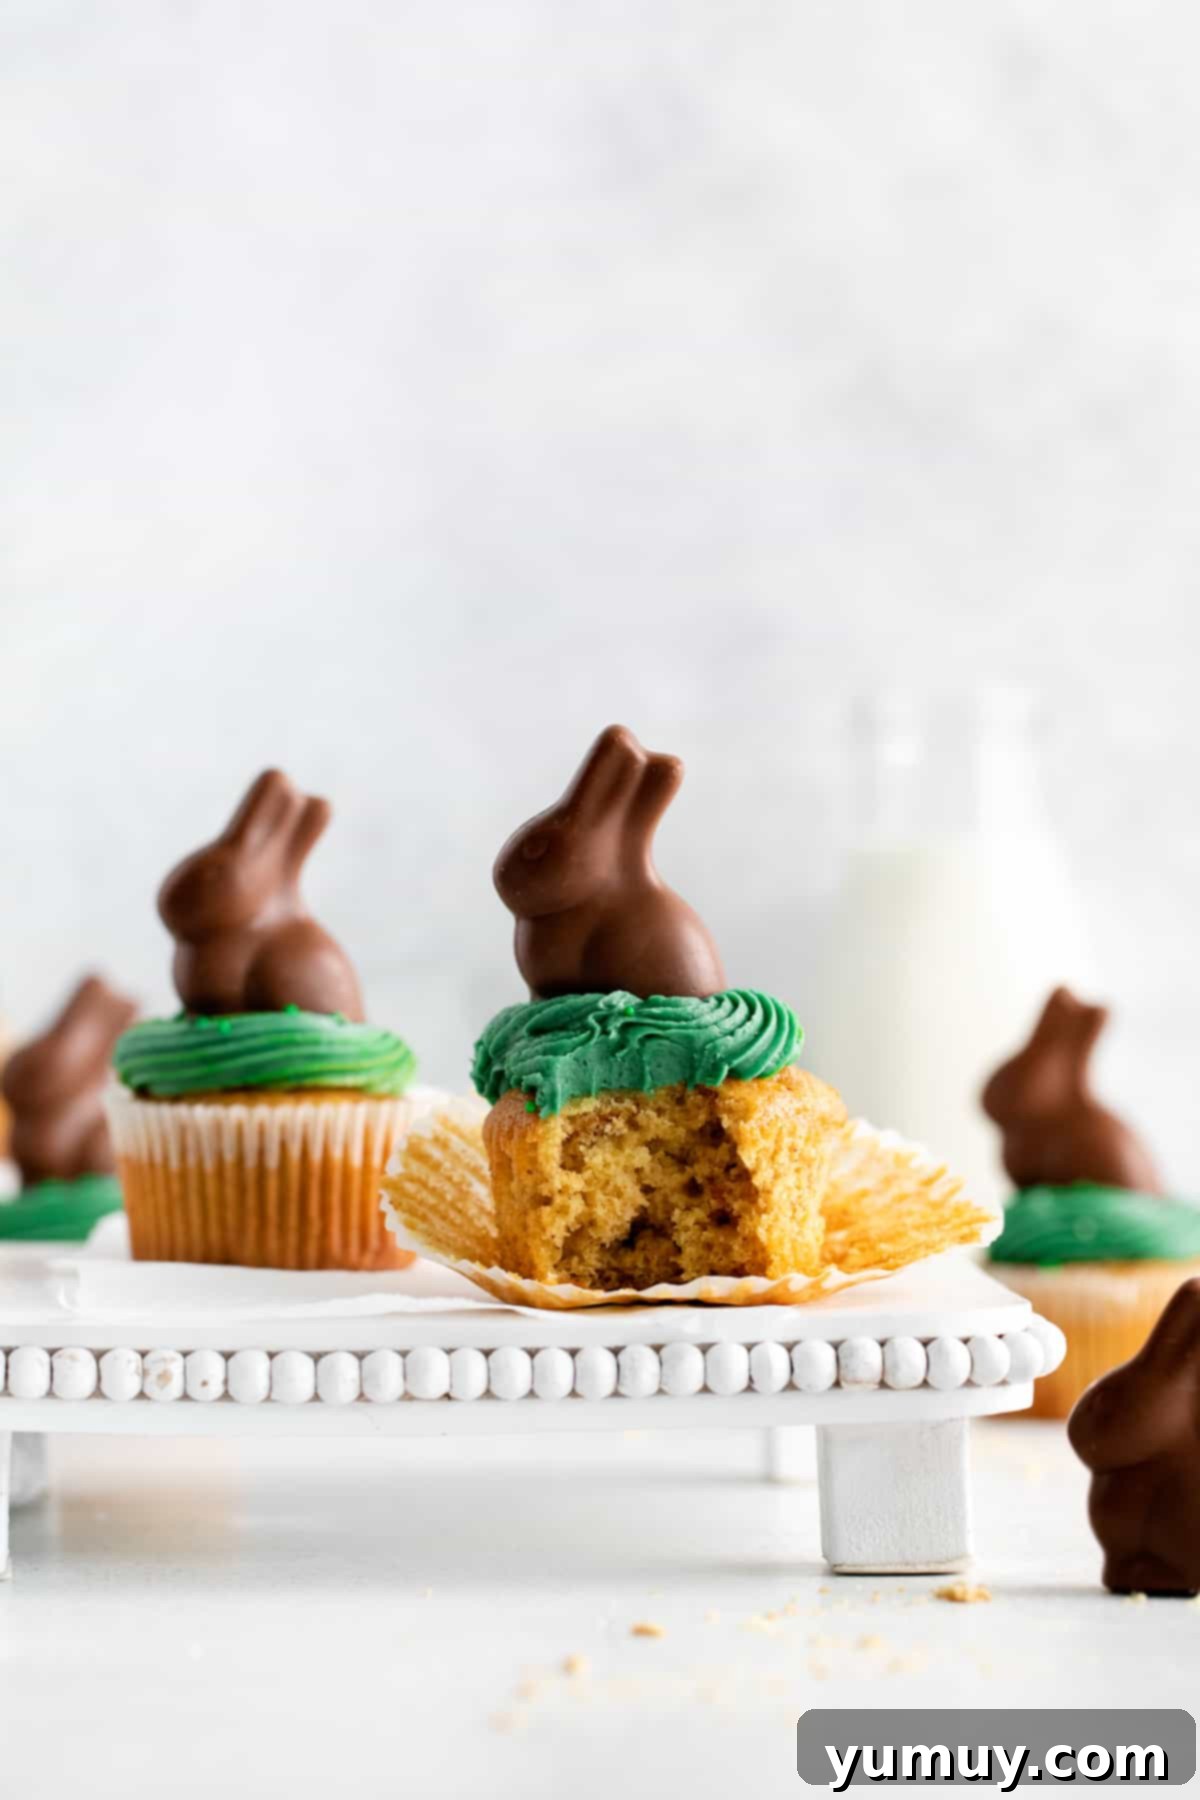
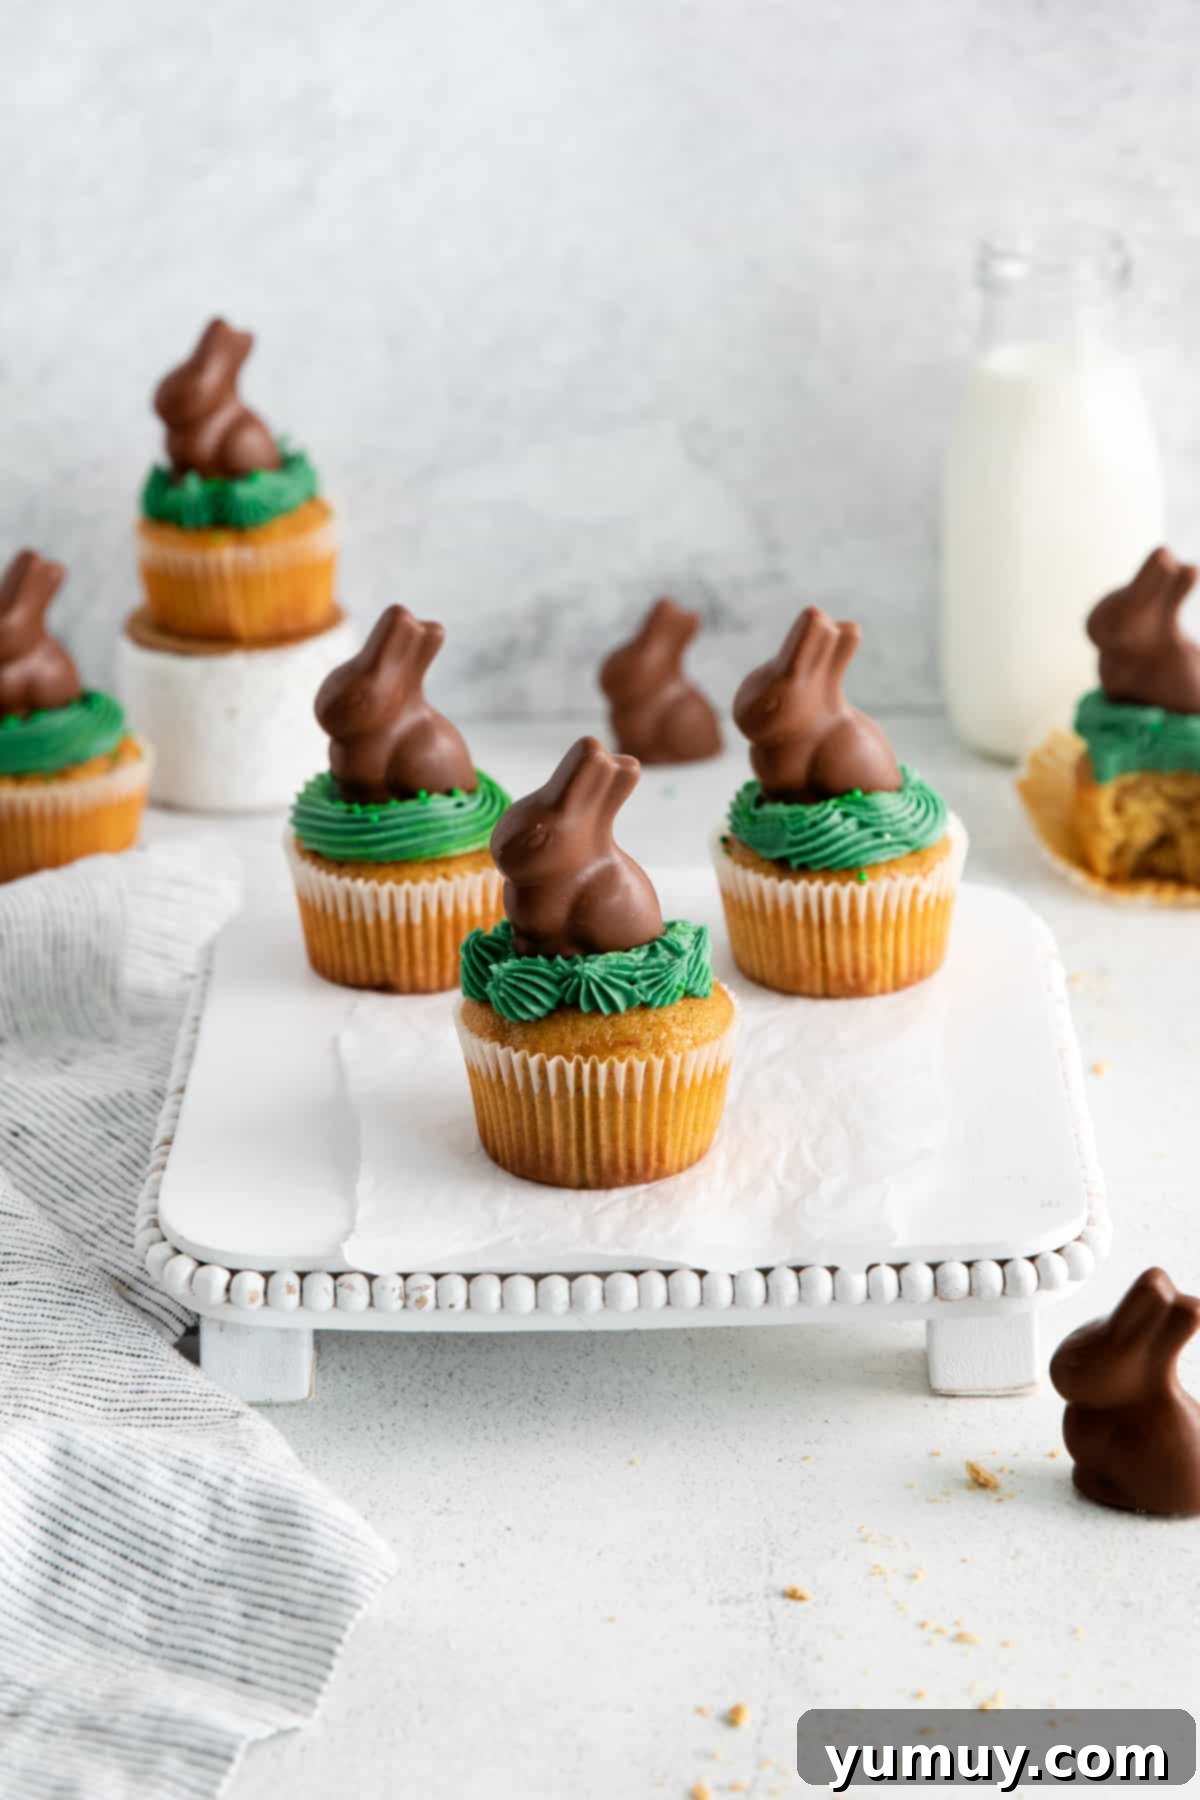
Prepare to delight your guests and elevate your Easter celebration with these truly elegant Easter Bunny Cupcakes. This recipe combines the comforting, aromatic flavors of perfectly spiced carrot cake with a luxurious, brightly colored cream cheese frosting, all crowned with an adorable mini chocolate bunny. The result is a stunningly simple yet incredibly impactful Easter dessert that promises a “wow” factor without the fuss. You’ll be amazed at how easy and foolproof these festive cupcakes are to create, making them an ideal project for bakers of all skill levels, from beginners to seasoned enthusiasts.
- Pin this recipe for later!
Classic Spiced Carrot Easter Bunny Cupcakes: A Recipe Overview
This Easter Bunny Cupcake recipe is designed for both ease and elegance. We start with a high-quality carrot cake mix, enhancing its natural richness with an additional touch of ground cinnamon to truly bring out those warm, inviting spice notes. The result is a wonderfully moist and flavorful cupcake base, perfectly suited for the star topping. A vibrant cream cheese frosting, tinted a delightful green to resemble spring grass, provides the ideal canvas for the charming mini chocolate bunnies. While the complex, spiced flavor profile is often appreciated by adults, that irresistible chocolate bunny on top is sure to catch the eye of every child (and adult!) at your gathering. It’s the ultimate dessert to bridge generational tastes and add a touch of magic to your Easter table.
Pro Baking Tips for Perfect Easter Bunny Cupcakes
Achieving truly perfect Easter Bunny Cupcakes is easier than you might think, especially with these expert tips:
- Timing is Key for Chocolate Bunnies: To ensure your adorable chocolate bunnies maintain their perfect shape and glossy finish, it’s best to place them on top of the frosted cupcakes just before serving. Chocolate is sensitive to temperature fluctuations; a warm kitchen could cause them to soften or melt, and freezing can lead to “chocolate bloom” (harmless white streaks that affect appearance).
- Room Temperature for Frosting Excellence: The secret to silky-smooth, lump-free cream cheese frosting lies in using properly softened unsalted butter and cream cheese. If these ingredients are cold, your frosting will likely turn out lumpy and difficult to spread or pipe. Take them out of the refrigerator at least an hour before you plan to make the frosting.
- Avoid Overmixing the Cupcake Batter: When combining your cupcake ingredients, mix only until the dry and wet ingredients are just incorporated. Overmixing develops the gluten in the flour, which can result in dense, chewy, and less tender cupcakes. A light hand ensures a soft, fluffy crumb.
- Cool Cupcakes Completely Before Frosting: This cannot be stressed enough! Frosting warm or even slightly warm cupcakes will inevitably lead to melted, sliding frosting. Always allow your cupcakes to cool completely on a wire rack to room temperature before applying the cream cheese frosting. This usually takes at least 30-60 minutes, so plan accordingly.
- Using the Right Cream Cheese: For the best cream cheese frosting consistency, always opt for full-fat, block-style cream cheese, rather than the softer, spreadable kind that comes in a tub. The block cream cheese has a firmer texture that is essential for a stable and pipable frosting.
Classic Spiced Carrot Easter Bunny Cupcakes Recipe
Delight your guests this Easter with these elegant and incredibly easy-to-make bunny cupcakes. Featuring moist, spiced carrot cake base and a fluffy, colorful cream cheese frosting, crowned with adorable chocolate bunnies, these treats are a guaranteed hit!
25 minutes
20 minutes
45 minutes
12 cupcakes
Print Recipe
Ingredients
For the Spiced Carrot Cupcakes
- 15.25 ounces carrot cake mix (1 box, standard size)
- ¾ teaspoon ground cinnamon (for extra spice)
- 1 cup water
- ⅓ cup oil (vegetable or canola oil; see notes for healthier alternatives)
- 3 large eggs, room temperature
For the Fluffy Cream Cheese Frosting
- 4 tablespoons unsalted butter, room temperature (½ stick)
- 4 ounces cream cheese, room temperature (½ block)**
- 2½ cups powdered sugar (confectioners’ sugar)
- 1 teaspoon pure vanilla extract
- Green food coloring (liquid or gel, as desired)
- 12 mini chocolate bunnies (or other small chocolate Easter figures)
Note on measurements: All measurements are provided in US Customary units. For metric conversions, please use an online converter for accuracy.
Essential Equipment
- Kitchen Scale (optional, but useful for precise ingredient measurement)
- 12-count Cupcake Tin
- Paper Cupcake Liners
- Stand Mixer (with paddle attachment) or Electric Hand Mixer
- Large Mixing Bowl
- Wire Cooling Rack
- Piping Bag and Tip Set (Wilton #21 star tip recommended for “grass” effect)
Instructions for Delicious Easter Bunny Cupcakes
Part 1: Baking Your Spiced Carrot Cupcakes
- Preheat your oven to 350°F (175°C). Line a standard 12-count cupcake tin with paper liners; set this aside for later use.
- In a large mixing bowl, combine the carrot cake mix, the extra ¾ teaspoon of ground cinnamon, 1 cup of water, ⅓ cup of oil, and the 3 large, room temperature eggs. Using an electric mixer, beat these ingredients on medium speed for approximately 2 minutes, or until the batter is smooth and all ingredients are well incorporated. Be careful not to overmix, as this can lead to dry cupcakes.

Achieve a smooth, consistent batter for tender cupcakes. - Carefully divide the prepared batter evenly among the 12 lined cupcake wells. Fill each liner about ¾ of the way full to allow for proper rising during baking.

Evenly portion the batter for consistent cupcake sizes. - Bake the cupcakes in your preheated oven for 15-17 minutes. To test for doneness, insert a wooden toothpick into the center of a cupcake; it should come out clean.
- Once baked, remove the cupcake tin from the oven and let the cupcakes cool in the tin for 5 minutes. Then, transfer them to a wire rack and allow them to cool completely to room temperature before proceeding with frosting. This step is crucial to prevent the frosting from melting.
Part 2: Creating the Fluffy Green Cream Cheese Frosting
- In the bowl of a stand mixer fitted with the paddle attachment (or using an electric hand mixer), add the softened unsalted butter and cream cheese. Beat on medium speed for about 1 minute, until the mixture is light, fluffy, and thoroughly combined, with no lumps of cream cheese remaining.

Start with room temperature ingredients for a perfectly smooth frosting. - With the mixer on low speed, slowly add the powdered sugar, one cup at a time. Allow each addition to fully incorporate into the butter and cream cheese mixture before adding more. This prevents the sugar from scattering and ensures a smooth consistency.
- Once all the powdered sugar has been incorporated, add the 1 teaspoon of pure vanilla extract. Increase the mixer speed to medium-high and beat for an additional 1-2 minutes, or until the frosting becomes incredibly light, airy, and fluffy. Remember to scrape down the sides and bottom of the bowl periodically to ensure even mixing.

Beat the frosting until it reaches a wonderfully light and fluffy consistency. - Add your desired amount of green food coloring to the frosting. Mix on low speed until the color is evenly distributed and achieves your preferred shade of green. This vibrant color will make your cupcakes look like a patch of fresh spring grass!

Tint your frosting to a perfect spring green hue.
Part 3: Decorating and Serving Your Easter Masterpieces
- Transfer the colorful green frosting to a piping bag fitted with your chosen piping tip. A Wilton #21 star tip is fantastic for creating a textured “grassy” effect, but any open star or round tip will also look lovely. Generously frost each completely cooled carrot cupcake with a beautiful swirl or mound of frosting.
- Carefully place one mini chocolate bunny on top of the frosting of each cupcake. You can position them standing upright or playfully leaning against the frosting. Serve these adorable Easter Bunny Cupcakes immediately to capture their fresh beauty and enjoy!

The final charming touch: adding the mini chocolate bunnies.
Recipe Notes & Expert Tips for Success
- Healthier Oil Substitution: For a subtle hint of apple flavor and to slightly lighten the cupcakes, you can substitute some of the oil with unsweetened applesauce. This adds moisture while reducing fat. For example, try replacing half the oil (about 1/6 cup) with applesauce.
- Choosing the Right Cream Cheese: Always use full-fat cream cheese that comes in a block, not the whipped or spreadable varieties found in tubs. Block cream cheese has a much firmer consistency that is crucial for a stable, pipeable cream cheese frosting.
- Optional Batter Add-ins: Feel free to customize your carrot cake batter! Before baking, you can gently fold in ½ cup of finely chopped nuts (such as pecans or walnuts) or golden raisins. This adds wonderful texture and an extra layer of flavor that complements the carrot and spices.
- Food Coloring Recommendations: To achieve a beautiful green, consider using gel food coloring as it’s more concentrated and won’t thin your frosting. Start with ½ teaspoon of gel color (like Wilton “Grass Green” or Americolor “Forest Green”) and add more as needed. For a natural alternative, try combining 1 teaspoon of Wilton Nature’s Inspiration “Sunflower” color with ½ teaspoon of “Sky Blue” for an earthy, muted green.
- Chocolate Bunny Variety: While Lindt mini chocolate bunnies are iconic and delightful, any small chocolate bunnies or Easter-themed chocolate figures will work perfectly. Just ensure they are miniature enough to sit comfortably atop your frosted cupcakes without overwhelming them.
- “Bougie” Cupcake Presentation: For a touch of refined elegance, you can leave your mini chocolate bunnies in their colorful foil wrappers before placing them on the cupcakes. This adds a beautiful sheen and pop of color. Just be sure to gently remind your guests to unwrap them before indulging!
Storage Guidelines for Freshness
To keep your Easter Bunny Cupcakes fresh and delicious, store them in an airtight container in the refrigerator for up to 3 days. The cream cheese frosting requires refrigeration. For longer storage, these cupcakes freeze exceptionally well for up to 1 month. To freeze, first ensure the cupcakes are completely cooled. Then, flash freeze them uncovered on a baking sheet for about 30 minutes until the frosting is firm. Once firm, wrap each cupcake individually in plastic wrap, then place them in an airtight freezer-safe container or a heavy-duty freezer bag. When you’re ready to enjoy them, thaw the cupcakes overnight in the refrigerator. They can be served cold or brought to room temperature before enjoying.
Calories from Fat 198
Becky Hardin
Did You Make This?
We love seeing what you’ve made! Tag us on social media at
@easydessertrecipes
for a chance to be featured.
Detailed Step-by-Step Guide: Crafting Your Easter Bunny Cupcakes
Creating these delightful Easter Bunny Cupcakes is a joy, and with this detailed guide, you’ll be able to follow each step with confidence, ensuring beautifully baked and decorated treats every time. Let’s get started!
Step 1: Preparing Your Spiced Carrot Cupcake Batter
Your baking journey begins by setting your oven to preheat at 350°F (175°C). While the oven heats, take out your standard 12-count cupcake tin and line each cavity with paper cupcake liners. This ensures easy removal and a clean presentation. In a large mixing bowl, combine the entire 15.25-ounce box of carrot cake mix. To enhance the flavor and provide a richer, warmer profile, add an extra ¾ teaspoon of ground cinnamon. Then, pour in 1 cup of water, ⅓ cup of oil (you can use vegetable, canola, or even unsweetened applesauce for a healthier twist), and three large eggs that have been brought to room temperature. Using an electric mixer, beat these ingredients on medium speed for about two minutes. The goal is a smooth, cohesive batter, but be careful not to overmix, as this can make your cupcakes tough.

Step 2: Baking Your Cupcakes to Golden Perfection
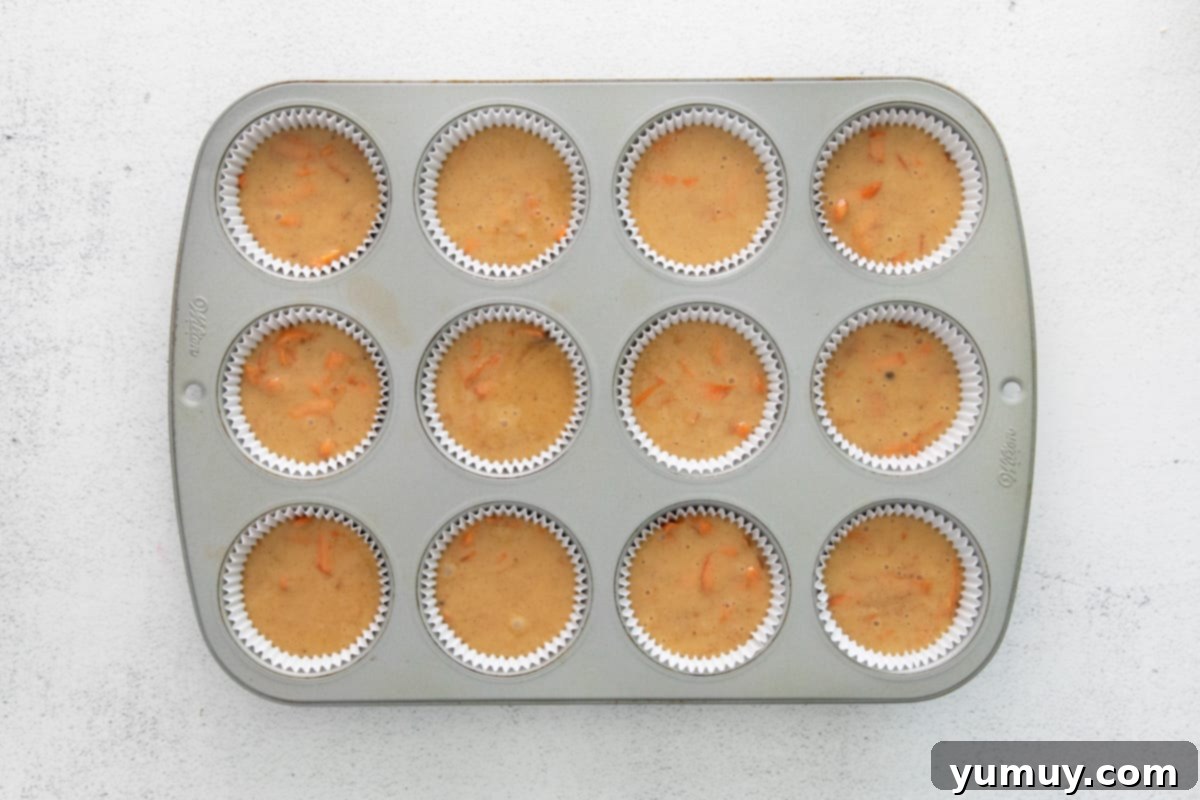
With your batter mixed, it’s time for baking. Carefully divide the batter evenly among the 12 prepared cupcake liners, ensuring each is filled approximately three-quarters full. This leaves ample space for the cupcakes to rise beautifully without overflowing, resulting in perfectly domed tops. Gently place the filled cupcake tin into your preheated oven and bake for 15-17 minutes. Keep an eye on them, as oven temperatures can vary. To check if they’re done, insert a wooden toothpick into the center of a cupcake; it should come out clean. Once baked, remove the tin from the oven and let the cupcakes rest in the tin for five minutes. This helps them firm up slightly before you transfer them to a wire rack to cool completely. Patience during cooling is paramount, as frosting warm cupcakes will only lead to a melted, messy disaster.
Step 3: Whipping the Creamy Dream Cheese Frosting Base
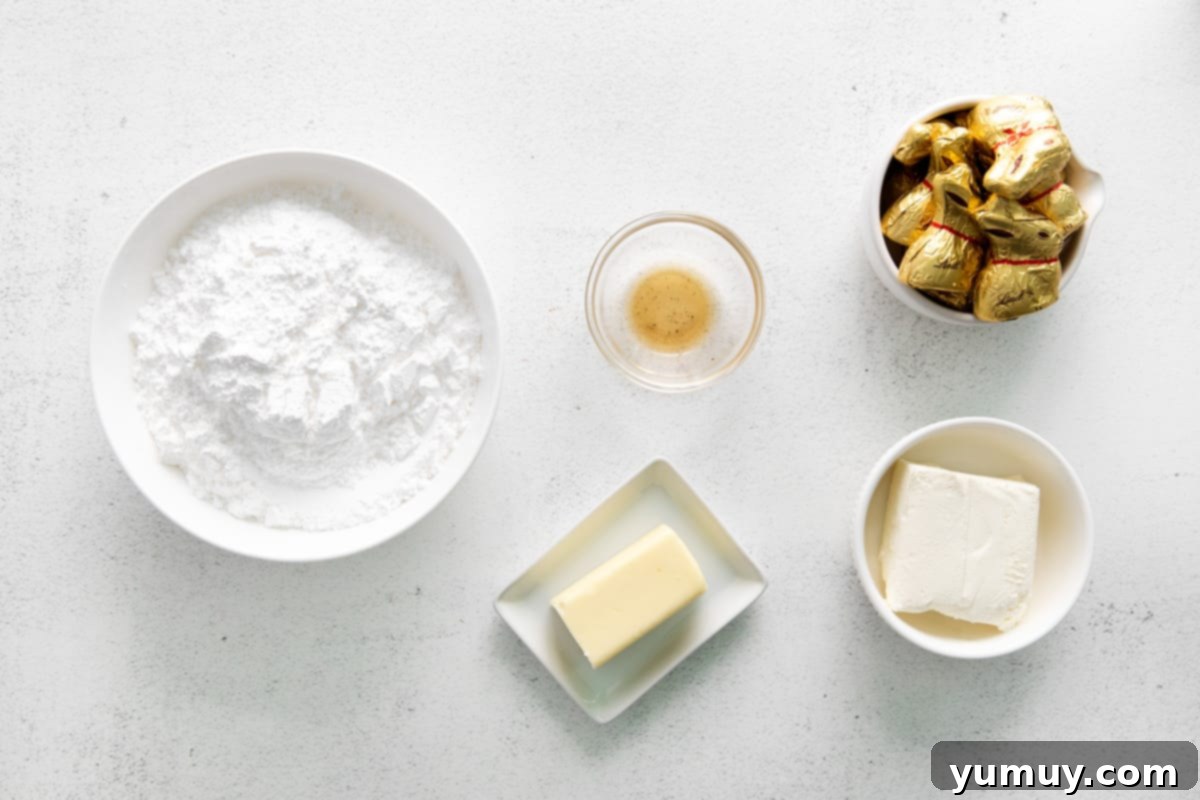
Now, let’s create the star of the topping – the fluffy cream cheese frosting. In the bowl of a stand mixer fitted with the paddle attachment (or using an electric hand mixer), add 4 tablespoons (half a stick) of unsalted butter and 4 ounces (half a block) of cream cheese. It is absolutely crucial that both these ingredients are at room temperature. This ensures they blend together seamlessly, creating a perfectly smooth, lump-free base for your frosting. Beat them on medium speed for about one minute, until they are light, fluffy, and thoroughly combined. Scrape down the sides of the bowl once to ensure all ingredients are incorporated before moving to the next step.
Step 4: Sweetening and Flavoring Your Luscious Frosting
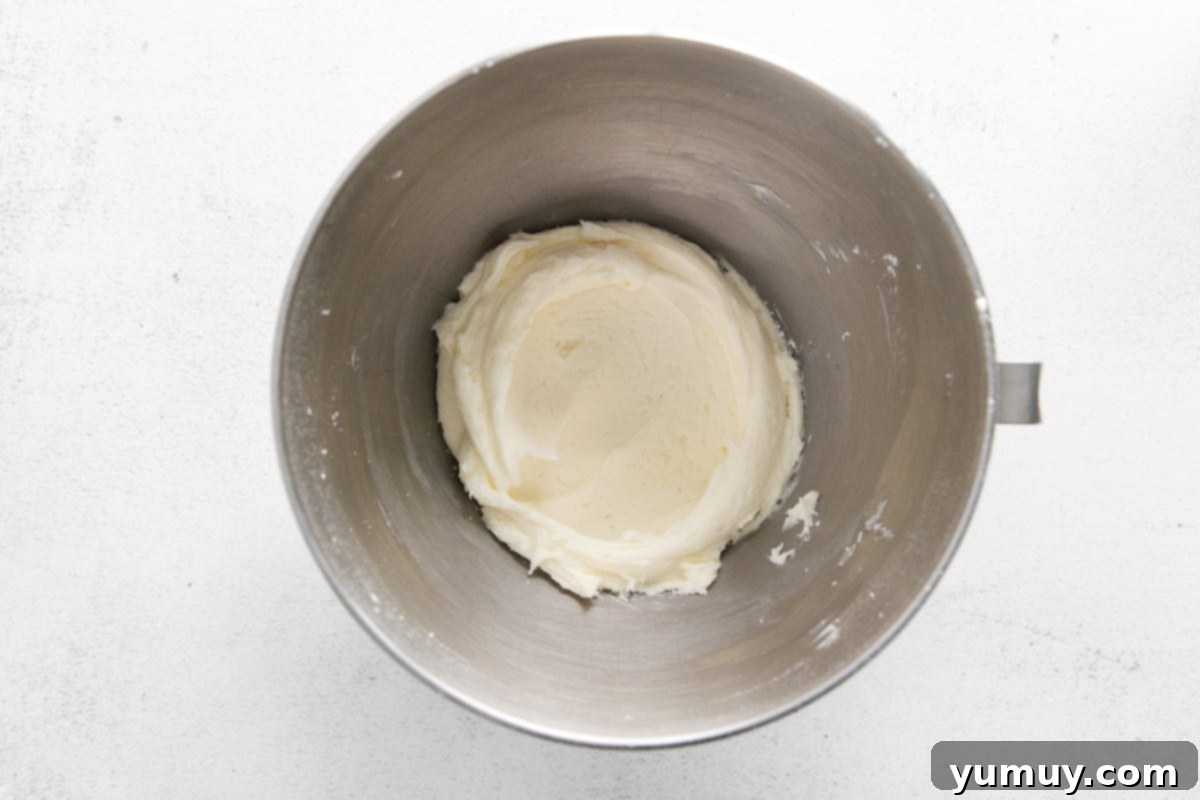
With your butter and cream cheese base ready, it’s time to add the sweetness. With your mixer on a low speed, gradually add 2½ cups of powdered sugar (also known as confectioners’ sugar). Add it slowly, about a cup at a time, allowing each addition to fully incorporate into the mixture before adding more. This technique prevents a cloud of sugar from enveloping your kitchen and ensures a silky-smooth frosting. Once all the powdered sugar has been incorporated, stir in 1 teaspoon of pure vanilla extract. Increase the mixer speed to medium-high and beat for another 1-2 minutes. Watch as the frosting transforms into an incredibly light, airy, and wonderfully fluffy consistency. Remember to periodically stop the mixer and scrape down the sides of the bowl to ensure all ingredients are evenly mixed and no dry pockets of sugar remain.
Step 5: Infusing Your Frosting with a Touch of Spring Green
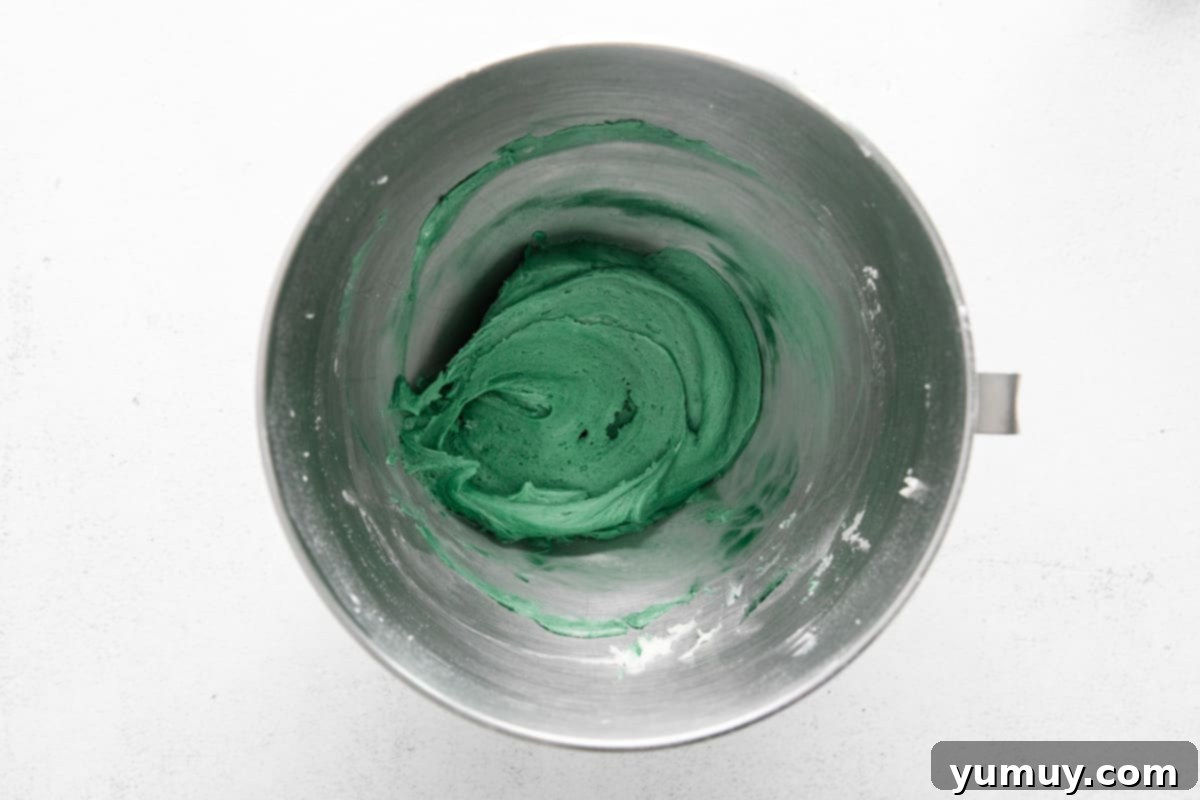
To give your cupcakes that signature festive Easter “grass” look, it’s time to add food coloring. Introduce your desired amount of green food coloring to the fluffy cream cheese frosting. Start with a few drops if using liquid coloring, or a small amount if using concentrated gel coloring, and mix on low speed. Continue mixing until the color is evenly distributed throughout the frosting and reaches your preferred shade. You can aim for a subtle, pale pastel green for a delicate look, or a more vibrant, lush green to truly evoke the freshness of spring. This simple step brings a playful and unequivocally festive element to your Easter treats, setting the stage for the charming chocolate bunnies.
Step 6: The Grand Finale: Decorating and Presenting Your Cupcakes
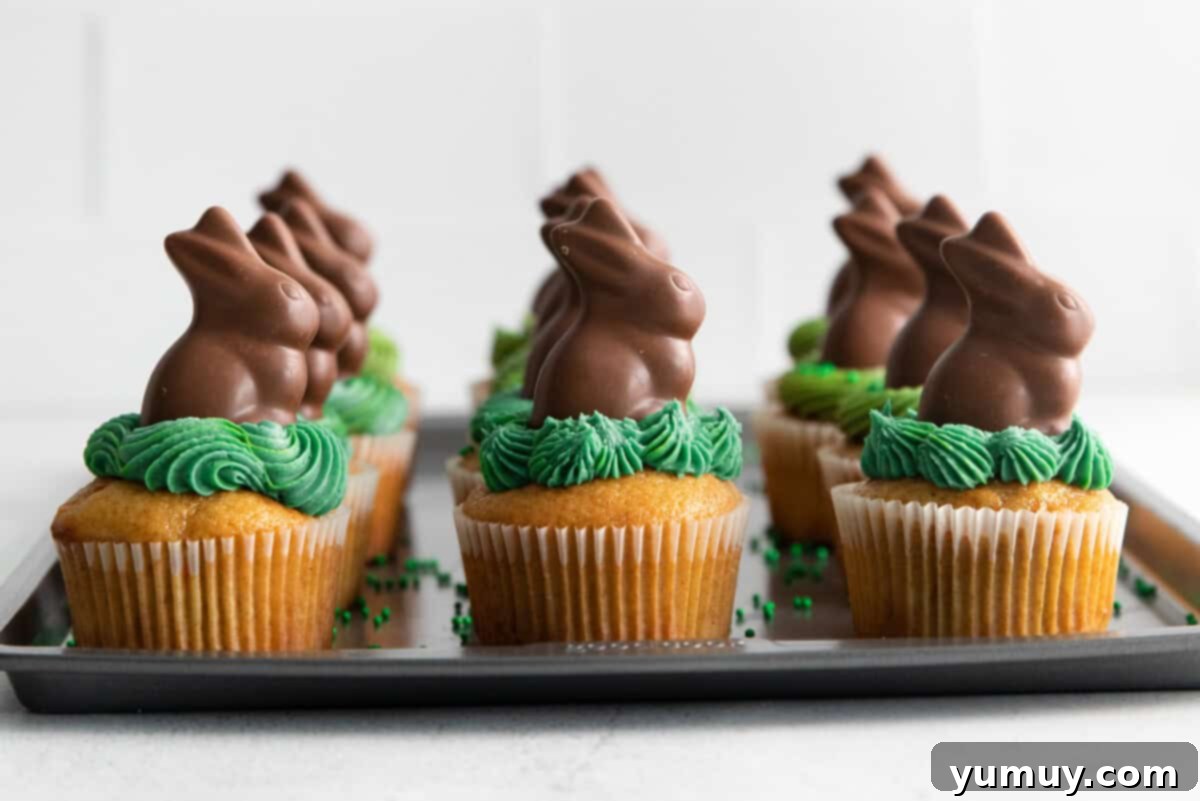
With your beautifully colored green frosting ready, it’s time for the final decorative flourish. Transfer the frosting into a piping bag fitted with your chosen piping tip. A Wilton #21 star tip is highly recommended for creating an enchanting textured “grass” effect, making your cupcakes look like mini spring meadows. Alternatively, a round tip can create a smooth, elegant swirl. Generously frost each completely cooled carrot cupcake. Finally, the most anticipated moment: carefully place one mini chocolate bunny on top of the frosting of each cupcake. You can stand them upright for a more dramatic presentation or lay them down for a whimsical look. Arrange your finished Easter Bunny Cupcakes on a festive platter, and they are now ready to be the irresistible star of your Easter dessert spread!
Frequently Asked Questions (FAQs)
Can I make these Easter bunny cupcakes entirely from scratch instead of using a mix?
Absolutely! While this recipe utilizes a convenient cake mix to simplify the process and save valuable time, you are more than welcome to prepare homemade carrot cupcakes from scratch. If you choose this route, ensure your chosen scratch recipe is designed to yield approximately 12 standard-sized cupcakes. The key is to aim for a moist, tender, and well-spiced carrot cake base that will beautifully complement the rich cream cheese frosting and delightful chocolate bunny toppers.
What kind of chocolate bunnies are best for decorating these cupcakes?
For the best visual appeal and ease of placement, small, solid chocolate bunnies are ideal for decorating these cupcakes. Miniature Lindt Gold Bunnies are a highly popular and beloved choice due to their perfect size and charming, intricate details. However, any brand of small chocolate bunny or other festive Easter-themed chocolate figures will work wonderfully, provided they are not excessively heavy and can sit stably on top of your frosted cupcakes.
How can I adjust the sweetness level of the cream cheese frosting?
If you prefer a frosting that is less sweet than the standard recipe, you can certainly reduce the amount of powdered sugar. A good starting point would be to use 2 cups of powdered sugar instead of 2½ cups. Gradually add more powdered sugar, a tablespoon at a time, until you achieve your desired level of sweetness and frosting consistency. Be aware that reducing the sugar significantly might slightly alter the frosting’s structure, potentially making it a bit softer.
Is it possible to prepare these cupcakes in advance for Easter?
Yes, these Easter Bunny Cupcakes are excellent for making ahead, which can be a huge help during busy holiday preparations! You can bake the cupcakes and prepare the cream cheese frosting up to 1-2 days in advance. Store the completely cooled, unfrosted cupcakes in an airtight container at room temperature. Keep the prepared frosting in a separate airtight container in the refrigerator. Before you plan to frost and serve, allow the frosting to come to room temperature for about 30 minutes, then give it a quick whip with your electric mixer to restore its fluffy, pipeable texture. Frost and decorate the cupcakes just a few hours before serving for the freshest appearance.
What are some alternative toppings if mini chocolate bunnies are unavailable?
If you can’t find mini chocolate bunnies, don’t worry – there are plenty of delightful alternatives! You can use other Easter-themed candies such as mini chocolate eggs (like Cadbury Mini Eggs), colorful jelly beans, or even small edible sugar carrots to create a festive look. For a simpler yet charming aesthetic, consider sprinkling toasted coconut flakes (which can be lightly dyed green for a “grass” effect) or a mix of pastel-colored sprinkles on top of the frosting. Let your creativity guide your choices!
More Festive Easter Dessert Recipes to Try!
Easter Bunny Bait
Easter Rice Krispie Treats
Easter Macarons
Robin Egg Cupcakes
Browse All Easter Desserts
