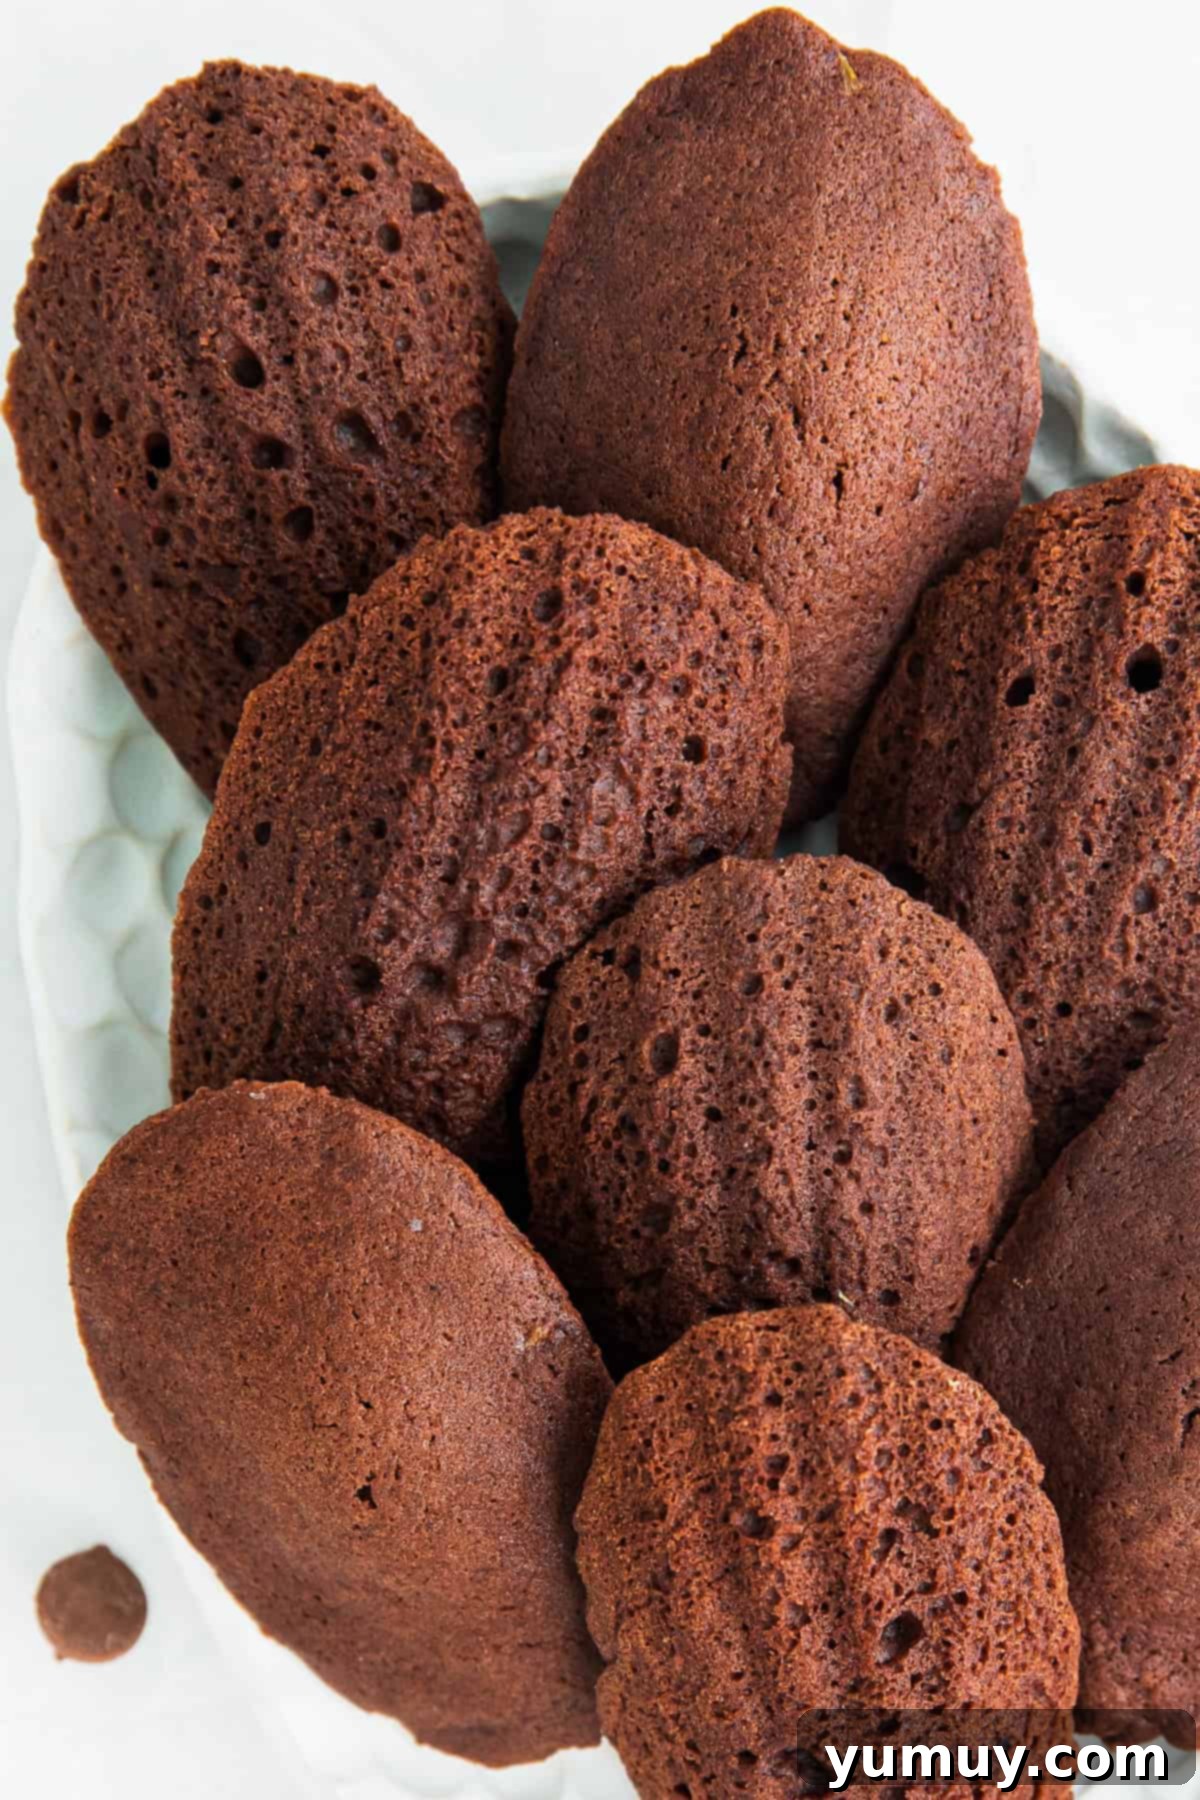
If you’re seeking a dessert that combines sophisticated charm with effortless preparation, these chocolate madeleines are an absolute must-try. These delightful French butter cakes bridge the gap between a soft cookie and a tender mini cake, offering a rich, deeply chocolatey flavor profile in every bite. With just a handful of straightforward ingredients, this easy chocolate madeleine recipe is a fantastic way to impress your guests at breakfast, afternoon tea, or any special occasion demanding a touch of sweet indulgence. Their iconic shell shape and delicate texture make them feel incredibly fancy, yet they come together with surprising ease.
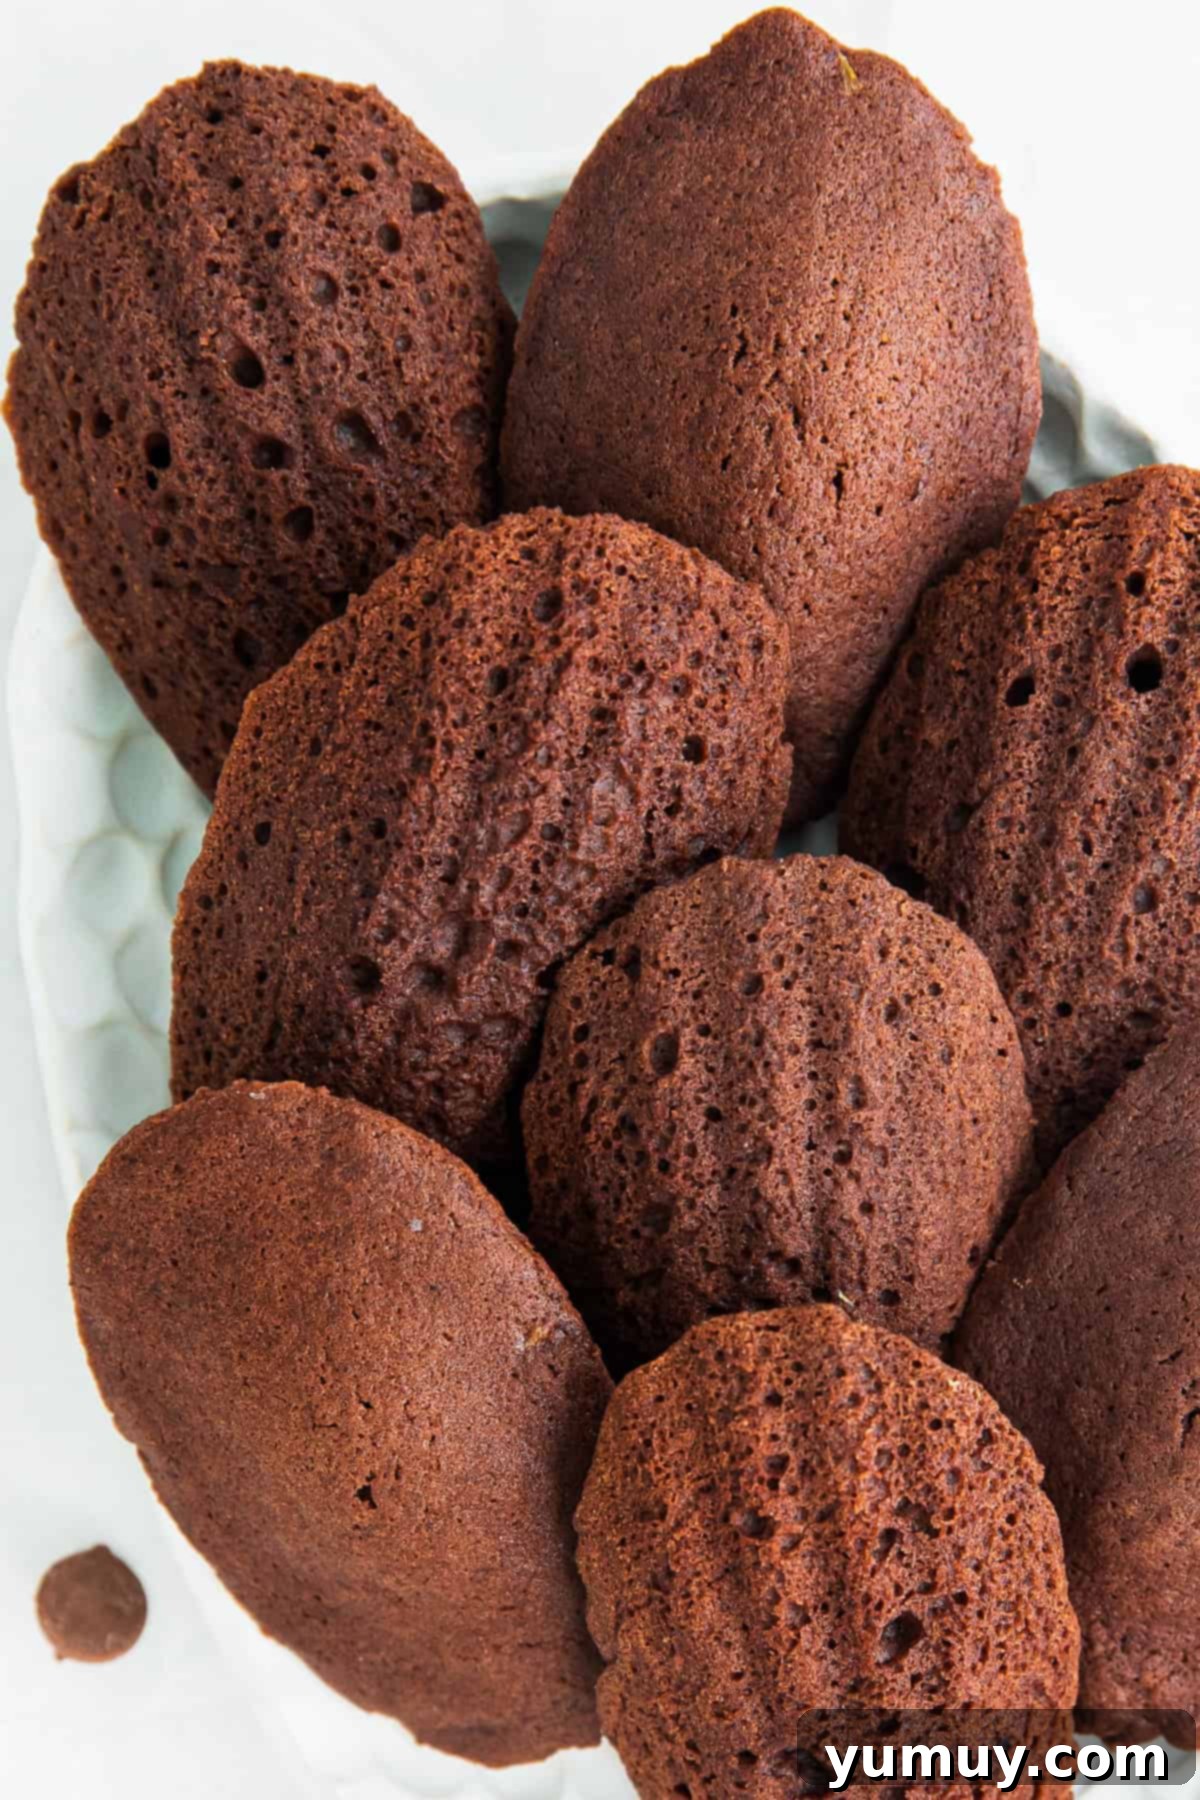
Indulgent Madeleines with Rich Chocolate Flavor
The enchanting appeal of these chocolate madeleines is largely due to the distinctive madeleine pan, which molds these delicate cakes into their characteristic, charming seashell form. While they are utterly delicious enjoyed plain, I often elevate them further by dipping them in a shimmering coat of melted chocolate. This simple step adds an extra layer of elegance and intensifies their already irresistible flavor, making them truly unforgettable. The batter itself is a masterpiece of balance: light and airy, yet profoundly rich with chocolate, a result of the harmonious blend of high-quality cocoa powder and creamy melted butter. This recipe is designed to be straightforward and accessible, with the unique pan doing much of the decorative work for you, ensuring a stunning presentation with minimal fuss.
For those who love a seasonal twist, be sure to explore my delightful pumpkin madeleines, perfect for festive fall gatherings!
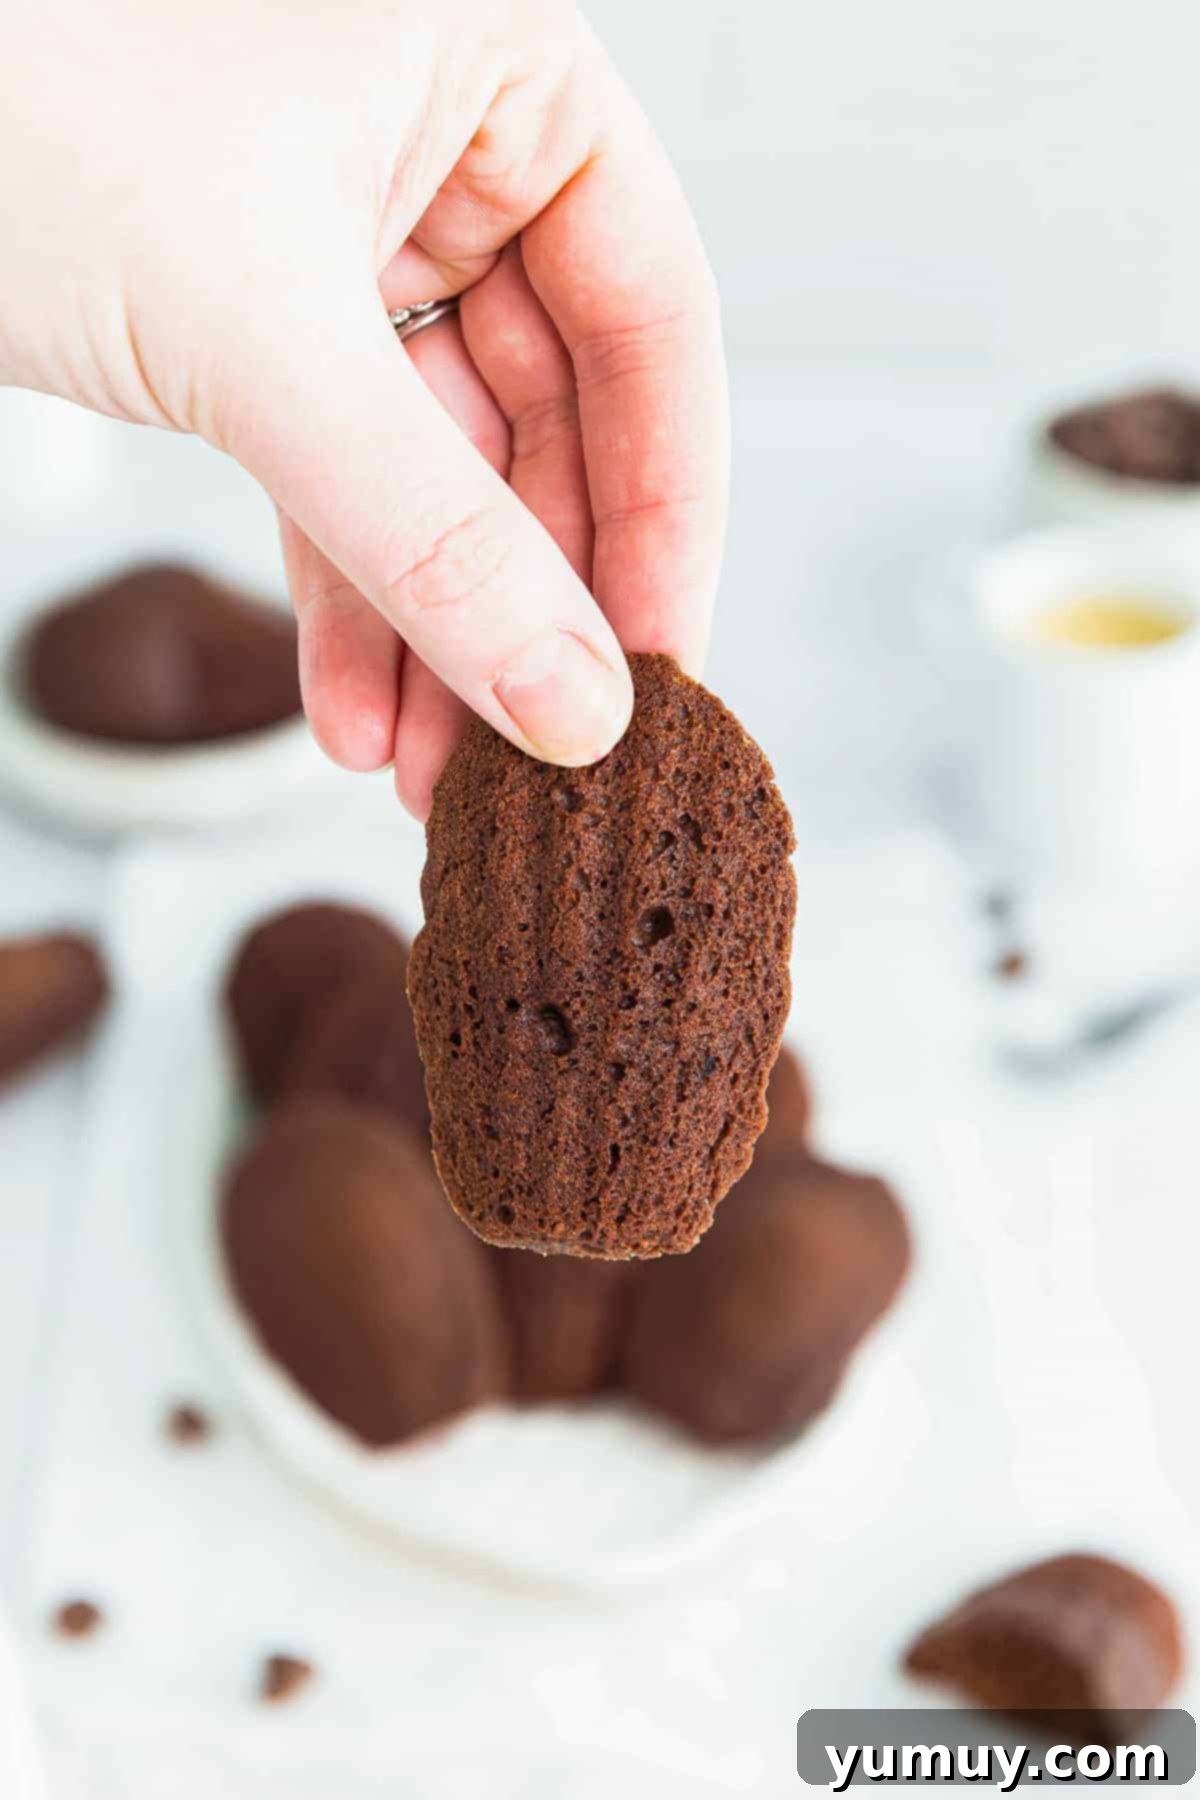
The Secret to Success: Chilling Your Batter for the Signature Madeleine Bump
Achieving the iconic “bump” on the back of a madeleine isn’t just a traditional touch; it’s a key indicator of a perfectly baked madeleine with an exquisite, fluffy texture. This culinary secret lies in one crucial step: chilling your madeleine batter for at least an hour before baking. This resting period allows the melted butter in the batter to firm up and the flour to fully hydrate, preventing the batter from spreading too rapidly in the hot oven. As the chilled batter enters the warm madeleine pan, the exterior sets quickly while the center continues to expand, pushing upwards to create that beautiful, distinct hump. For busy home bakers and parents, this step offers incredible flexibility. You can conveniently prepare the madeleine batter in advance and store it in the refrigerator for up to three days. This means you can bake a fresh batch of warm, elegant homemade chocolate madeleines whenever time permits, making sophisticated treats a reality even on the busiest of schedules.

Classic Chocolate Madeleines Recipe
Ingredients
- 2 large eggs
- ½ cup granulated sugar
- 1 teaspoon pure vanilla extract
- ¾ cup all-purpose flour
- ¼ cup unsweetened cocoa powder *
- ½ teaspoon baking powder **
- ½ cup unsalted butter melted (1 stick)
Equipment
- Kitchen Scale (optional, for precision)
- Stand Mixer (or hand mixer)
- Madeleine Pan (essential for the classic shape)
Instructions
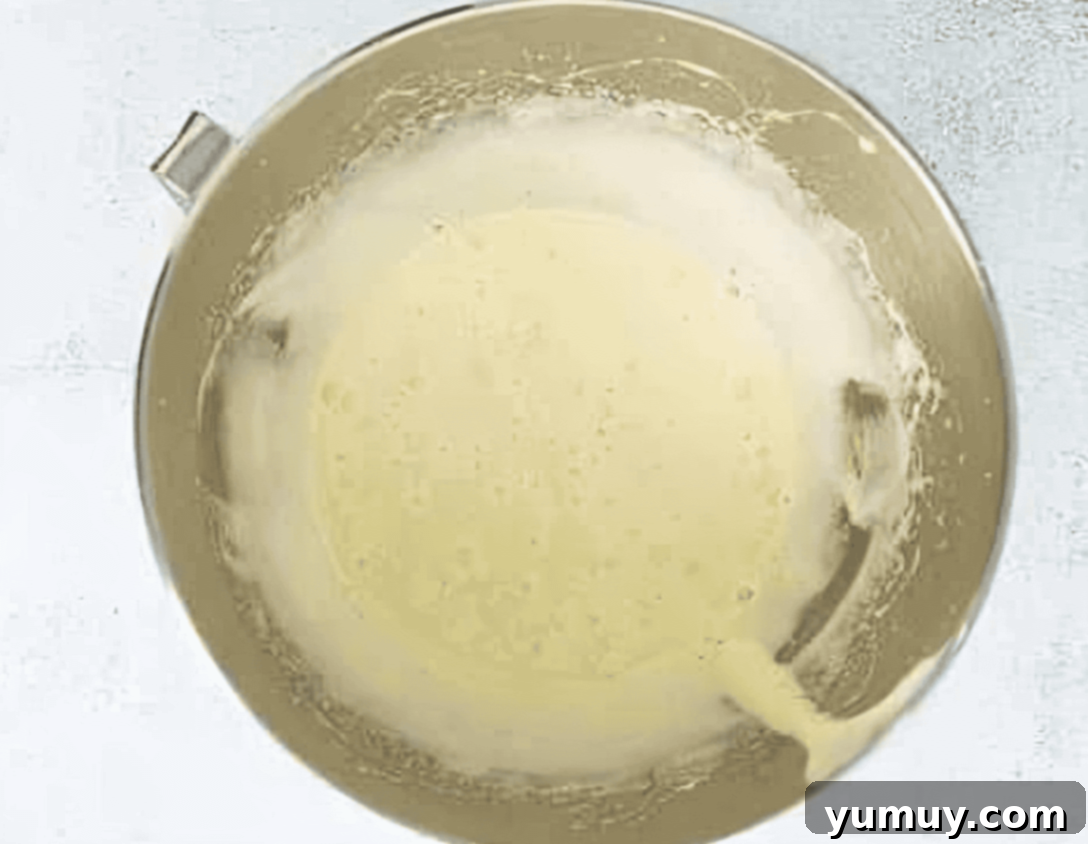
- In the bowl of a stand mixer fitted with the paddle attachment, combine the eggs and granulated sugar. Beat on medium-high speed for 8-10 minutes until the mixture is smooth, noticeably pale yellow, and achieves a creamy, ribbon-like consistency. Stir in the pure vanilla extract.2 large eggs, ½ cup granulated sugar, 1 teaspoon pure vanilla extract

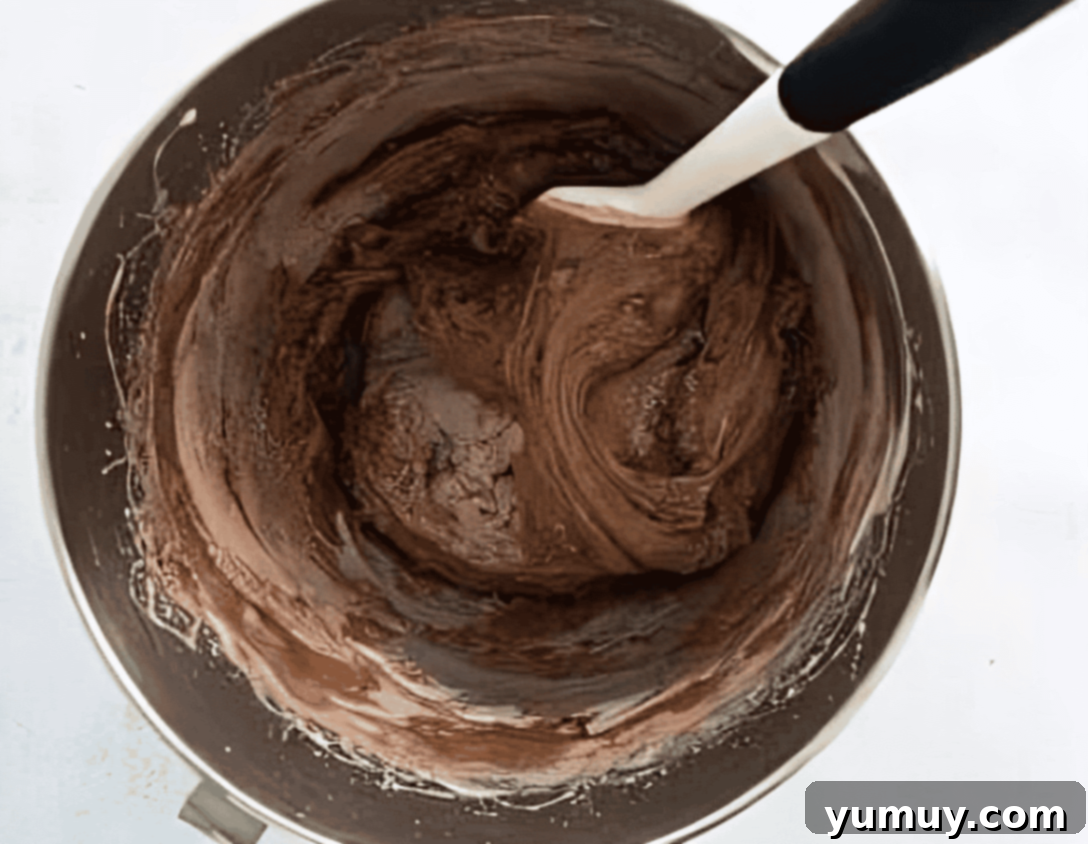
- In a separate medium-sized bowl, whisk together the all-purpose flour, unsweetened cocoa powder, and baking powder until thoroughly combined. Gently fold this dry mixture into the whipped egg mixture, being careful not to deflate the airy batter.¾ cup all-purpose flour, ¼ cup unsweetened cocoa powder, ½ teaspoon baking powder

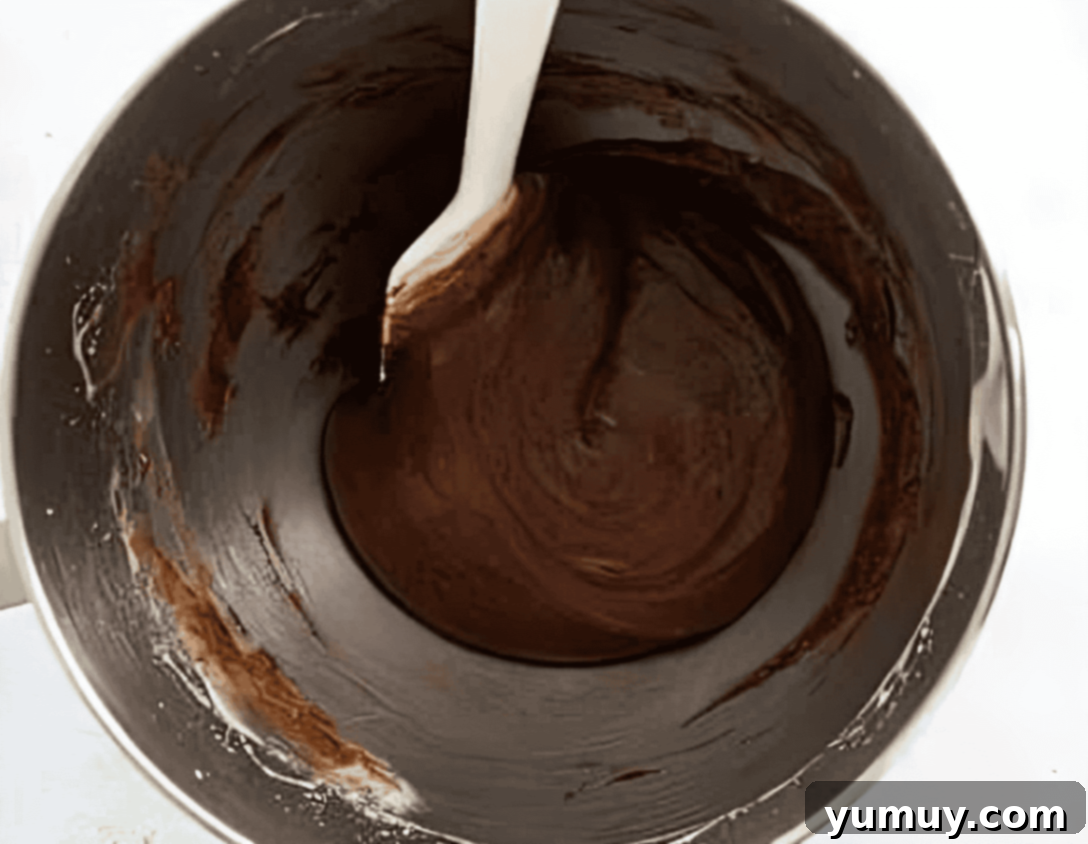
- Carefully fold in the melted unsalted butter until just combined. Overmixing at this stage can lead to tough madeleines.½ cup unsalted butter

- Transfer the madeleine batter to the refrigerator and chill for approximately 1 hour. While it’s not strictly necessary to cover it, you may use plastic wrap or a kitchen towel if you prefer. This chilling step is essential for developing the madeleines’ characteristic “bump.”
- About 15 minutes before the chilling time is complete, preheat your oven to 350°F (175°C). Generously grease a madeleine pan with additional melted butter or a nonstick cooking spray, ensuring every cavity is well-coated to prevent sticking.
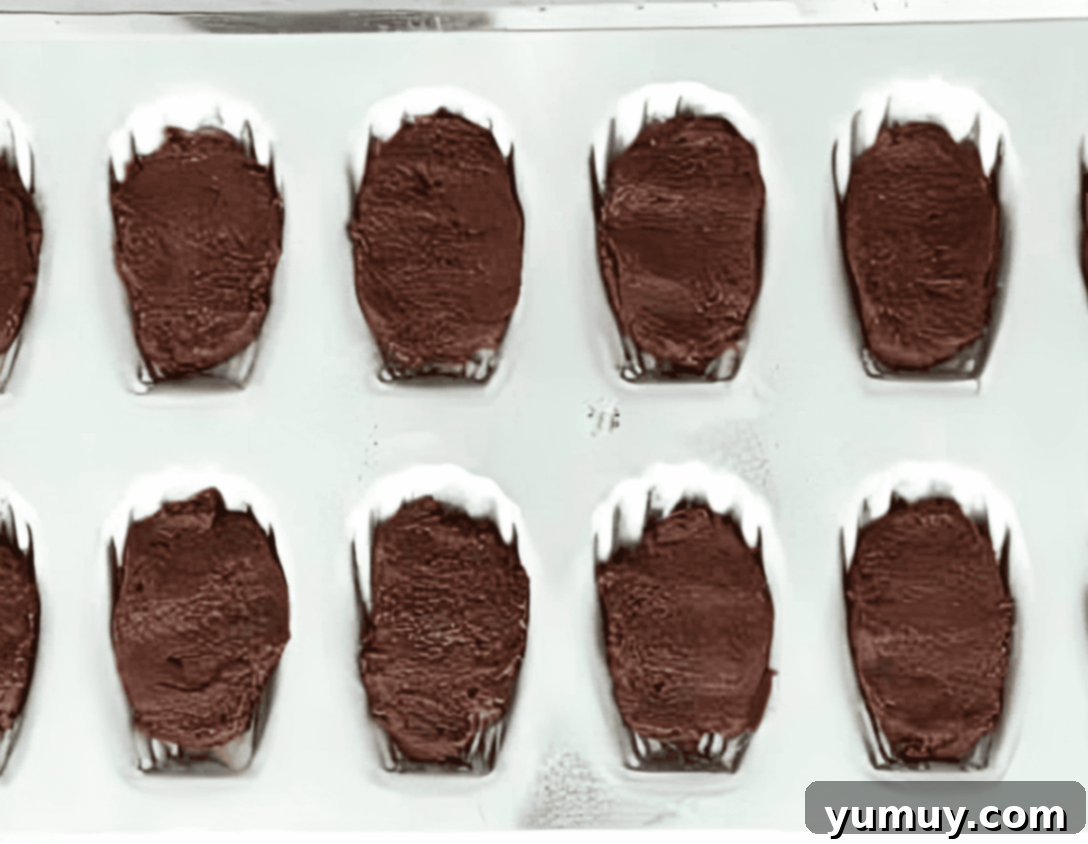
- Scoop the chilled batter into each madeleine mold, filling them about ¾ full. Gently press the batter into the molds with your fingertips or a small spoon; wetting your hand slightly can help prevent the batter from sticking to your fingers.

- Bake in the preheated oven for approximately 13 minutes, or until the edges are lightly browned and the tops appear set and dry. Due to the dark chocolate, visual cues might be subtle, so keep a close eye on them to prevent overbaking.
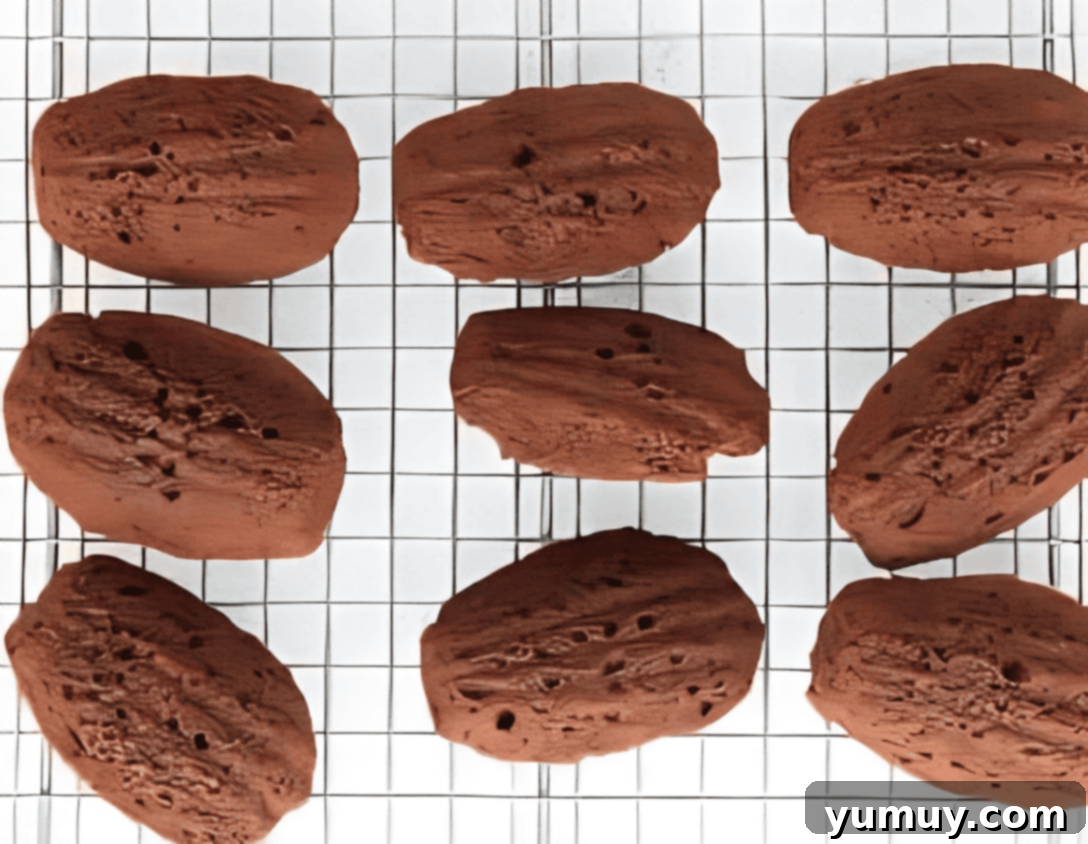
- Immediately after baking, transfer the madeleines from the pan to a wire rack to cool completely. This prevents them from becoming soggy.

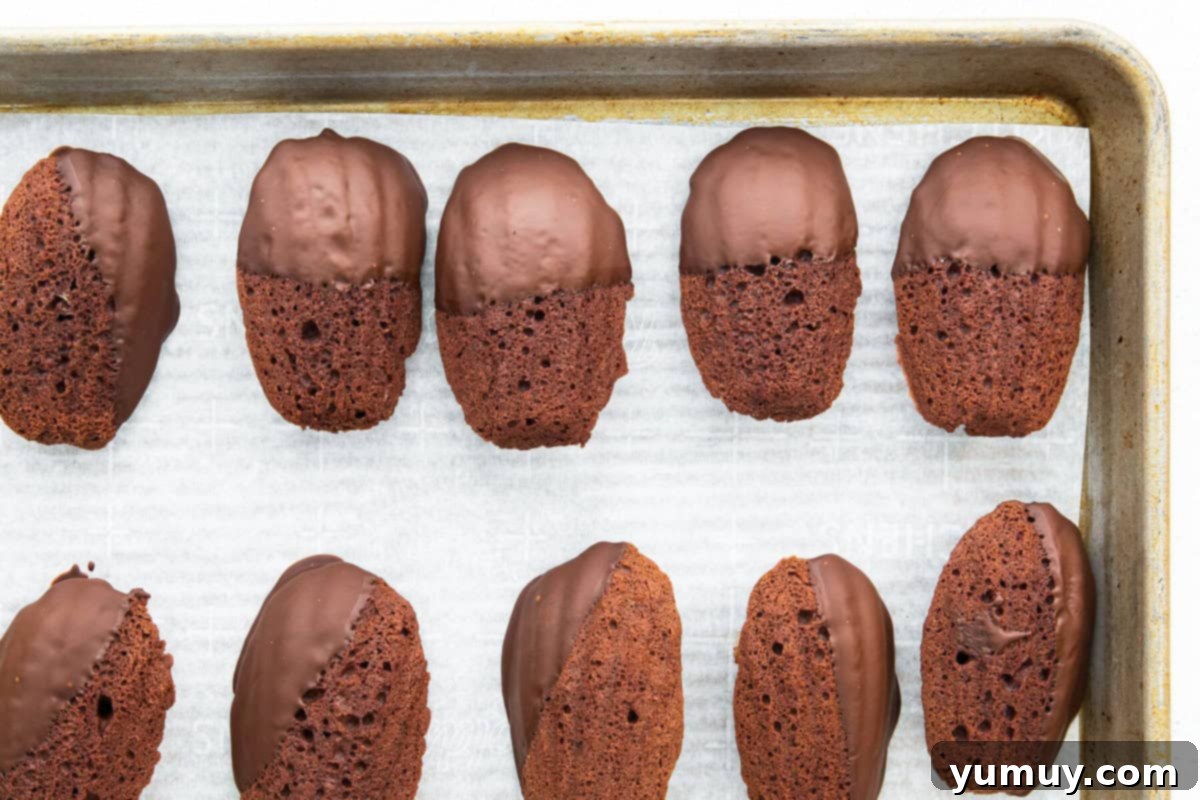
- If desired, once cooled, garnish your chocolate madeleines with a delicate dusting of powdered sugar for a simple finish, or dip them into melted chocolate for an extra layer of decadence.

Notes & Expert Tips for Perfect Madeleines
**Resist the temptation to substitute baking soda for baking powder. Baking soda reacts differently and will not yield the desired light, fluffy texture and signature bump that baking powder helps achieve in this recipe.
Essential Tips for Success:
- A dedicated madeleine pan is crucial for achieving their iconic seashell shape. These molds impart the classic appearance that defines a madeleine.
- If you don’t own a madeleine pan, a mini muffin tin can be used as a substitute, although the shape will, of course, be different. You may also need to adjust baking times slightly, typically baking them for a bit longer.
- The chilling of the batter is non-negotiable for that distinct “bump” on the madeleine surface. This process allows the butter to solidify and the flour to hydrate, ensuring the madeleines rise beautifully in the oven.
- Monitor your madeleines closely during baking. They are ready when they are lightly browned around the edges and feel firm to the touch. Overbaking can result in a dry, less tender texture.
- If you choose to dip your madeleines in chocolate, store them in an airtight container in the refrigerator to prevent the chocolate coating from melting or becoming sticky.
Make-Ahead Instructions: You can prepare the madeleine batter up to 3 days in advance. Simply cover it tightly and store it in the refrigerator until you’re ready to bake.
Storage & Freshness: Store freshly baked chocolate madeleines in an airtight container at room temperature for up to 3 days. For extended freshness, they can be kept in the refrigerator for up to 5 days or frozen for up to 1 month. Always allow frozen madeleines to thaw at room temperature before enjoying them.
Calories from Fat 45
@easydessertrecipes
for a chance to be featured.
Crafting Perfect Chocolate Madeleines: A Step-by-Step Guide
Follow these detailed steps to create your own batch of beautifully baked chocolate madeleines, ensuring delicious results every time.
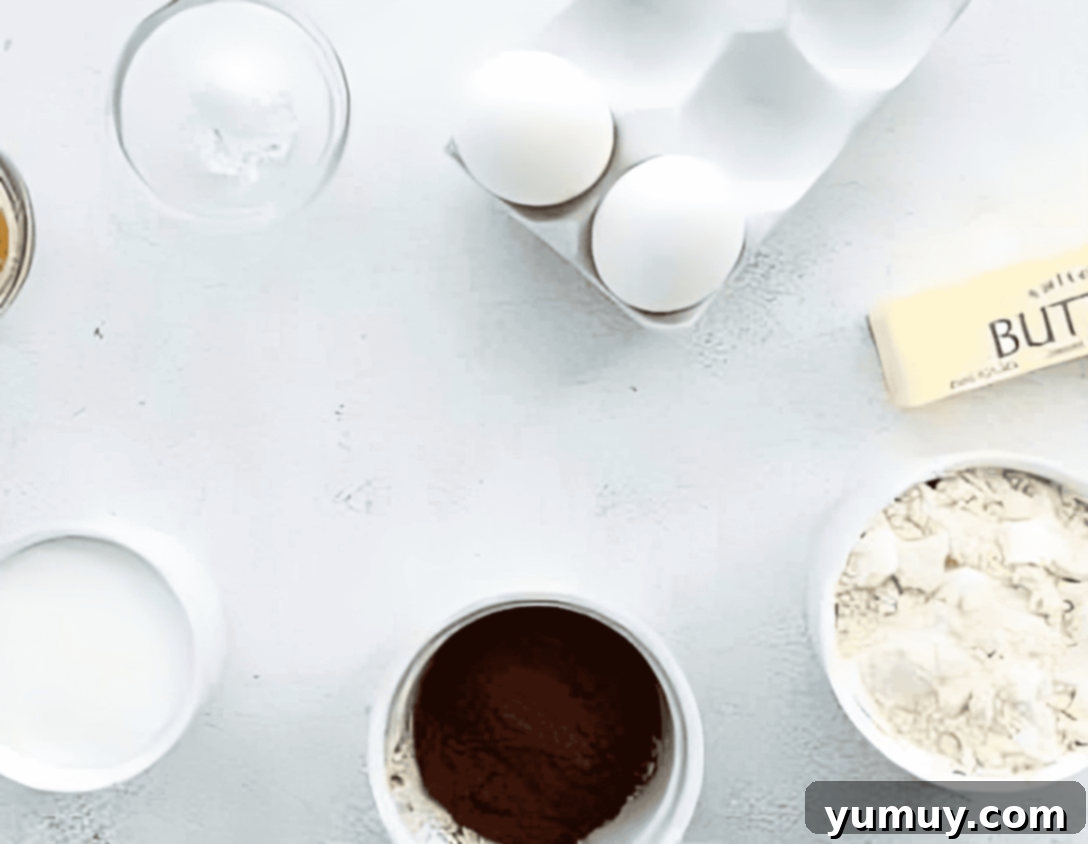
Step 1: Gather Ingredients & Prepare Butter
Begin by assembling all your ingredients to ensure a smooth baking process. Melt the unsalted butter in a microwave-safe bowl for 30-60 seconds until fully liquid. Set it aside to cool slightly while you prepare the eggs and sugar. It’s crucial that the butter is melted but not hot when added to the batter.
Step 2: Beat Eggs and Sugar
In the bowl of a stand mixer, fitted with the paddle attachment, add the 2 large eggs and ½ cup of granulated sugar. Beat this mixture on medium-high speed for a surprisingly long 8-10 minutes. This extensive beating is key to incorporating enough air, making the mixture smooth, very pale yellow, and creamy. It should form a thick ribbon when the whisk is lifted. Finish by stirring in 1 teaspoon of pure vanilla extract for an added layer of flavor.
Step 3: Whisk & Fold Dry Ingredients
In a separate, clean bowl, combine ¾ cup of all-purpose flour, ¼ cup of unsweetened cocoa powder, and ½ teaspoon of baking powder. Whisk these dry ingredients together thoroughly until they are homogenous and lump-free. Then, gently fold this dry mixture into the aerated egg and sugar mixture. Use a spatula and a light hand to combine, being careful not to overmix, which can develop the gluten and result in a tougher madeleine.
Step 4: Incorporate Butter and Chill the Batter
Carefully fold in the ½ cup of cooled, melted unsalted butter into the batter until just combined. Again, avoid overmixing. Once the butter is incorporated, transfer the batter to the refrigerator for about 1 hour. While covering is optional (I often don’t), you can use plastic wrap or a kitchen towel if you prefer. This crucial chilling step allows the butter to re-solidify and the flavors to meld, creating the necessary conditions for the signature “bump” to form during baking. Do not skip this step for the best results!
Step 5: Preheat Oven & Portion Madeleines
Towards the end of your batter’s chilling period, preheat your oven to 350°F (175°C). Prepare your madeleine pan by generously greasing each mold with melted butter or a nonstick cooking spray. This step is vital to ensure your delicate madeleines release easily after baking. Once the oven is preheated, scoop the chilled batter into the individual molds, filling each one approximately ¾ full. Gently press the batter into the molds, ensuring it spreads evenly. A helpful tip: slightly wetting your hands can prevent the sticky batter from adhering to your fingers during this process.
Step 6: Bake to Perfection
Place the madeleine pan in the preheated oven and bake for about 13 minutes. Due to the dark chocolate batter, it might be a little harder to discern the browning, so look for madeleines that appear dry and set on top, with slightly firmer edges. Avoid overbaking, as this can make them dry. Once baked, carefully remove the pan from the oven. These delicate treats cook quickly, so attentive monitoring is key to their tender texture. Transfer the freshly baked madeleines to a wire rack to cool completely, allowing air circulation to prevent them from becoming soggy.
Step 7: Optional Garnish & Serving
Once your chocolate madeleines have cooled, they are ready for their final flourish. You can serve them simply with a light dusting of powdered sugar for a classic, elegant presentation. For an extra layer of decadence and visual appeal, consider dipping them in melted chocolate – dark, milk, or white chocolate all work beautifully. Allow any melted chocolate coating to set before serving, perhaps by placing them on parchment paper in the refrigerator for a few minutes. Serve these exquisite treats fresh, perhaps with a cup of coffee or tea, and enjoy their delicate flavor and texture.
How to Store & Enjoy Your Chocolate Madeleines
Proper storage is key to maintaining the delightful freshness and delicate texture of your chocolate madeleines. Once completely cooled, store any leftover madeleines in an airtight container to protect them from drying out. They will remain fresh at room temperature for up to 3 days. If you wish to extend their shelf life, you can store them in the refrigerator for up to 5 days. For even longer enjoyment, these lovely French cakes can be frozen for up to 1 month. When freezing, place them in a single layer on a baking sheet until solid, then transfer them to a freezer-safe bag or container to prevent them from sticking together. Always allow frozen madeleines to thaw at room temperature before enjoying them, bringing them back to their optimal texture and flavor. If you’ve dipped your madeleines in chocolate, it’s best to store them in the refrigerator to prevent the chocolate coating from melting or becoming tacky, ensuring they retain their elegant finish.
Frequently Asked Questions About Chocolate Madeleines
What is a madeleine?
A madeleine is a traditional French small sponge cake with a distinctive shell-like shape, often featuring a characteristic “bump” on one side. They are known for their delicate, buttery flavor and soft, airy texture, somewhere between a cake and a cookie.
Do I need a special madeleine pan?
Yes, to achieve the iconic seashell shape and the signature “bump,” a madeleine pan is essential. While you could technically bake the batter in a mini muffin tin, the resulting treats would not be true madeleines in appearance.
Why is my madeleine not getting a bump?
The “bump” is often a sign of properly chilled batter hitting a hot oven. Ensure your batter is chilled for at least an hour, and your oven is preheated to the correct temperature. The contrast in temperature helps create that desired rise.
Can I make chocolate madeleines ahead of time?
Absolutely! The batter can be prepared and stored in the refrigerator for up to 3 days before baking. Once baked, madeleines can be stored at room temperature for up to 3 days, in the fridge for 5 days, or frozen for up to a month.
What kind of chocolate should I use for dipping?
You can use any high-quality melting chocolate or chocolate chips. Dark chocolate offers a rich contrast to the sweet madeleine, while milk chocolate provides a creamier, sweeter finish. White chocolate is also a beautiful option for a different flavor profile.
Conclusion: Your Journey to Perfect Chocolate Madeleines
Creating these chocolate madeleines is more than just baking; it’s an experience that brings a touch of French elegance right into your kitchen. From the simple act of whipping eggs and sugar into a pale, airy cloud, to the satisfying moment when those perfectly formed, humped shells emerge from the oven, every step is a joy. This recipe offers a delightful balance of deep cocoa flavor and a wonderfully tender texture that melts in your mouth. Whether you choose to enjoy them plain, dusted with powdered sugar, or dipped in a glossy layer of melted chocolate, these homemade madeleines are guaranteed to become a cherished favorite. So go ahead, don’t hesitate to embark on this delightful baking adventure. Your taste buds, and anyone you share them with, will thank you!
More Irresistible Cookie Recipes to Try!
Butter Cookies
Brownie Mix Crinkle Cookies
Churro Cookies
Chocolate Pudding Cookies
Browse All Cookies
