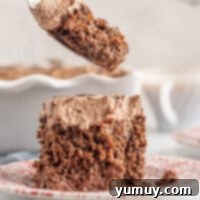
Indulge in the ultimate chocolate lover’s dream with this Chocolate Tres Leches Cake, a rich and decadent poke cake that promises to be the star of any celebration. Picture a tender, deep chocolate cake generously soaked in a luscious three-milk mixture, creating an irresistibly soft, moist, and flavorful dessert that melts in your mouth. Crowned with a luxurious chocolate whipped cream, this tres leches creation is pure bliss. It’s the perfect treat to elevate your Cinco de Mayo festivities, an unforgettable birthday cake for a chocolate aficionado, or simply a delightful indulgence for any sweet craving. Forget dry, bland cakes – this recipe guarantees a moist, intensely chocolatey experience that will have everyone asking for seconds.
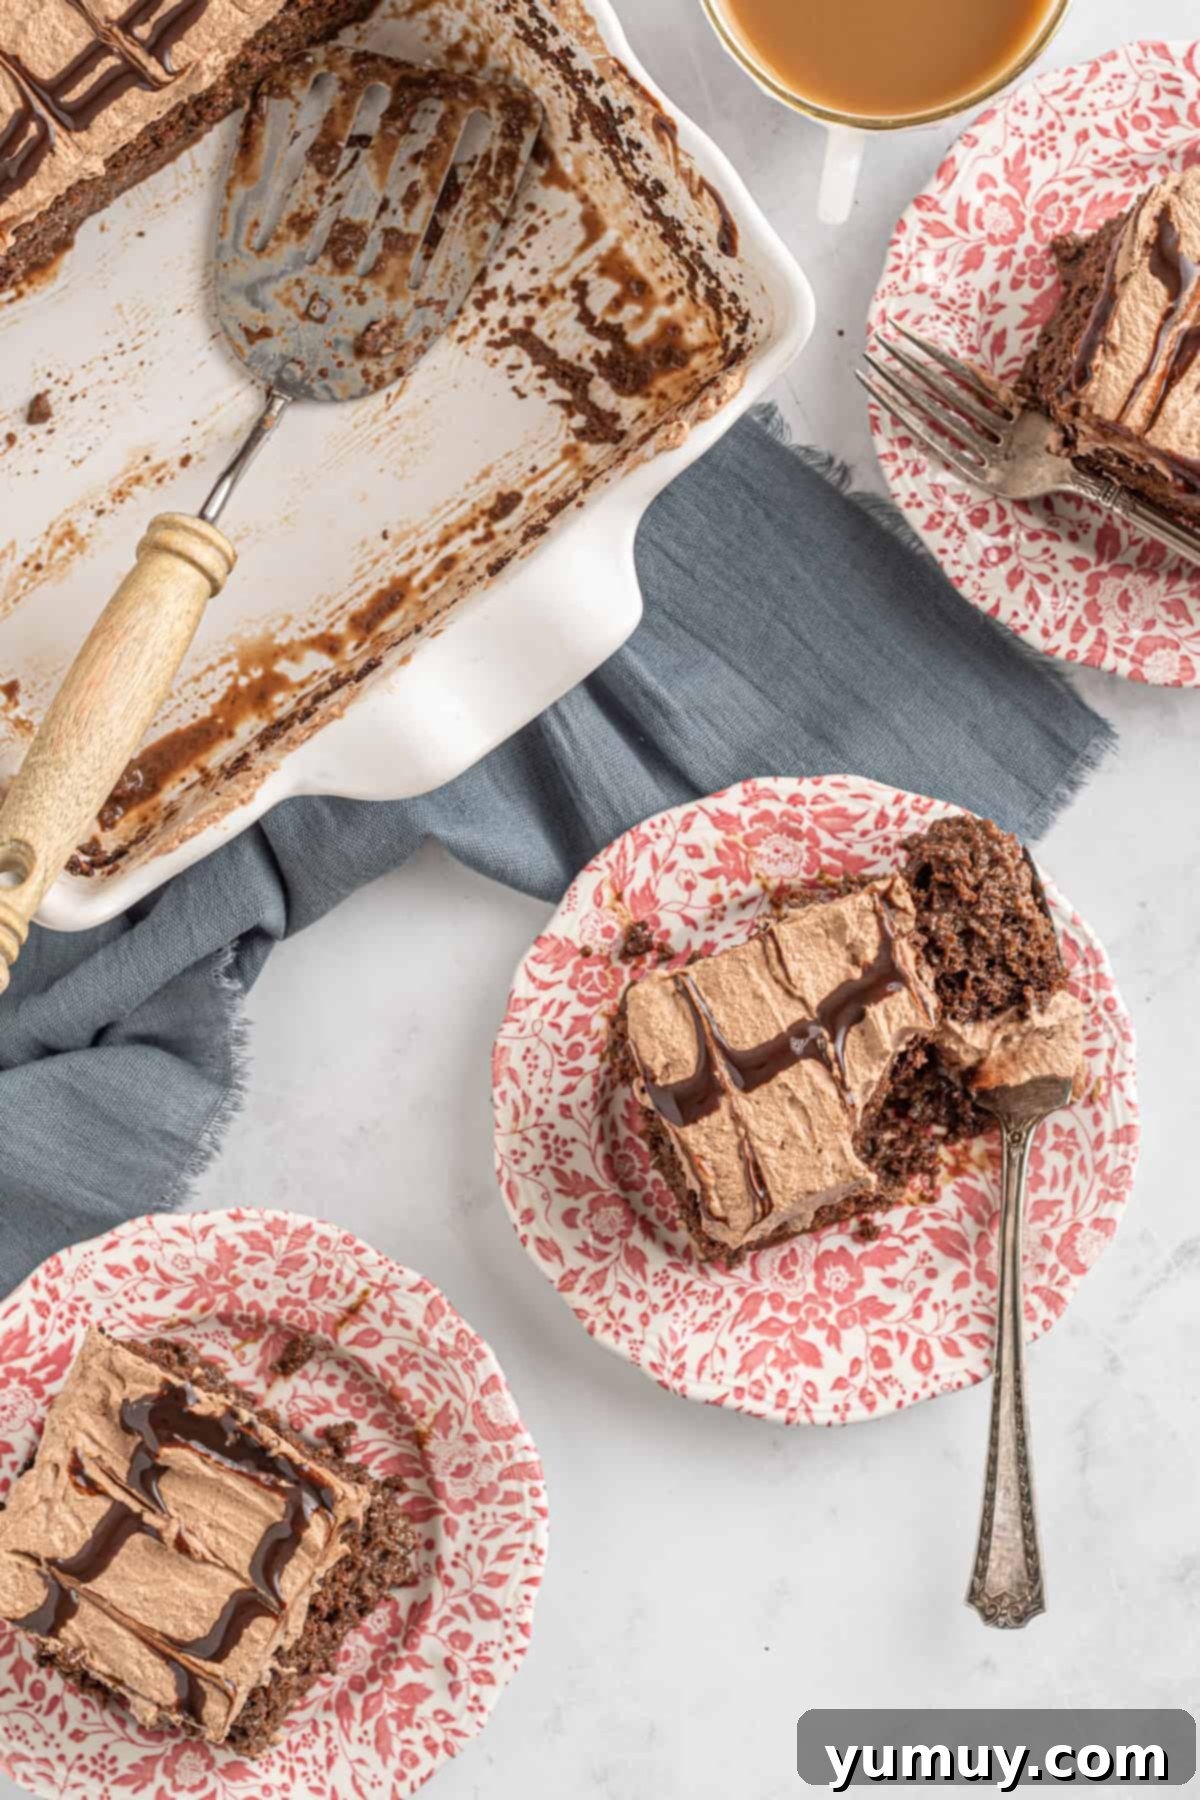
The Ultimate Chocolate Tres Leches Poke Cake Recipe
As the vibrant spirit of Cinco de Mayo approaches, many culinary enthusiasts turn to traditional Mexican dishes like Molé Poblano, famously recognized as the holiday’s official food. A fascinating secret behind the depth of flavor in many molé sauces is the subtle addition of melted chocolate, lending a unique richness that might sound unusual but is surprisingly delicious. Inspired by this intriguing use of chocolate in Mexican cuisine, I embarked on a mission to create an all-chocolate version of the classic Tres Leches cake – and the result is nothing short of spectacular!
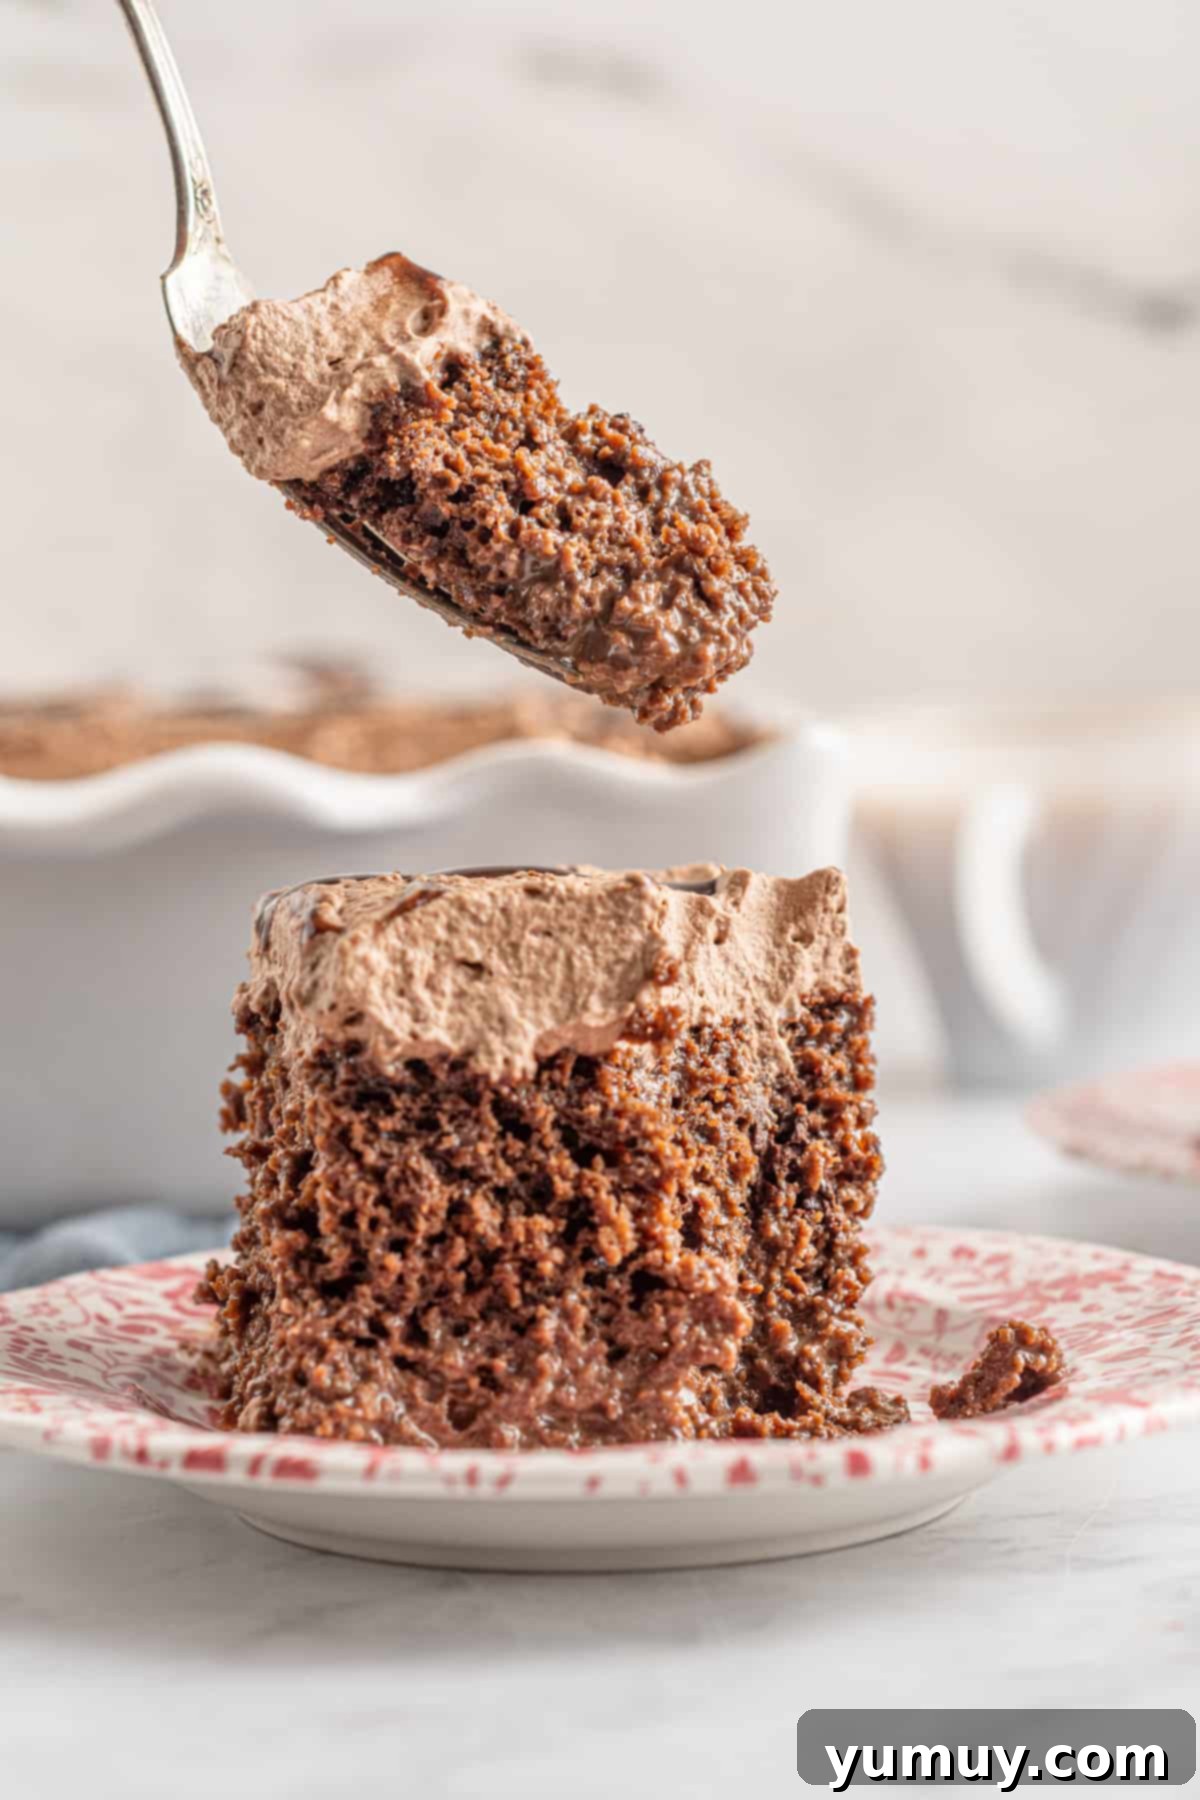
This chocolate tres leches poke cake is a testament to indulgence, boasting a profound chocolate flavor that is both comforting and exciting. The magic begins with a fluffy chocolate cake, which is then transformed by a special three-milk mixture. This blend typically includes whole milk (I always opt for whole milk to achieve the richest, most luxurious taste), sweetened condensed milk for intense sweetness and body, and evaporated milk for an extra layer of creaminess and moisture. Together, these milks infuse the cake, ensuring every bite is incredibly soft, tender, and saturated with decadent flavor. To crown this masterpiece, a generous swirl of my signature chocolate whipped cream frosting elevates the cake to an unparalleled level of deliciousness, making it a truly unforgettable dessert experience.
Achieving Perfect Whipped Cream Frosting: Expert Tips
Frosting a cake with delicate whipped cream can sometimes feel like a high-stakes endeavor. Its airy texture, while delightful, can be prone to deflating or absorbing into the cake, especially if not handled correctly. But fear not! With a few simple tricks, you can ensure your chocolate tres leches cake looks as magnificent as it tastes, maintaining its pristine appearance right up to that glorious first slice. These tips are crucial for a picture-perfect finish:
- Thorough Chilling is Key: Never, ever top your cake with whipped cream until it has been thoroughly chilled. This is perhaps the most critical step. If the cake is still warm, the delicate whipped cream will quickly melt and soak into the cake, creating a soggy mess instead of a beautiful, distinct layer. Aim for at least 4 hours of refrigeration for the cake after it has absorbed the milk mixture, and preferably overnight, to ensure it’s perfectly cold.
- Timing is Everything: For the freshest and most visually appealing presentation, I highly recommend waiting to apply the whipped cream topping until just before you plan to serve the cake. This is especially important if you’re preparing the cake several hours or a day in advance. Whipped cream is at its peak freshness and fluffiness when recently made.
- Consider Stabilized Whipped Cream for Longevity: If you anticipate that your chocolate tres leches cake will be left out for an extended period, particularly in warmer conditions (like an outdoor party or a long gathering), traditional whipped cream may begin to lose its structure. In such cases, consider using stabilized whipped cream. This version incorporates an ingredient like unflavored gelatin or cornstarch, which helps it hold its shape for much longer, preventing deflation and keeping your cake looking fabulous even in challenging environments.
Chocolate Tres Leches Cake Recipe
Rate Recipe
Save Recipe
Ingredients
For the Cake
- 15.25 ounces chocolate cake mix (1 box)
- 1 teaspoon instant espresso (optional, for deeper chocolate flavor)
- 1¼ cups water
- ½ cup vegetable oil
- 3 large eggs
For the Milk Mixture
- 1 cup milk (whole milk preferred, heated to 180-200°F)
- 14 ounces sweetened condensed milk (1 can)
- 12 ounces evaporated milk (1 can)
- ⅓ cup unsweetened cocoa powder
For the Topping
- 2½ cups heavy cream
- ½ cup powdered sugar
- 4½ tablespoons unsweetened cocoa powder
- 1 teaspoon pure vanilla extract
- Chocolate sauce (optional, for decorative topping)
Equipment
- Kitchen Scale (optional, for precise measurements)
- 9×13 Baking Pan
- Stand Mixer (or hand mixer)
- Whisk
- Wooden Spoon Handle or Dowel Rod (for poking holes)
Instructions
For the Cake
- Preheat your oven to 350°F (175°C). Prepare a 9×13-inch baking dish by generously spraying it with nonstick cooking spray. This ensures your cake releases easily after baking.
- In a large mixing bowl, combine the chocolate cake mix, optional instant espresso powder (this amplifies the chocolate flavor without adding a coffee taste), water, vegetable oil, and large eggs. Beat the mixture until it is well combined and smooth, ensuring no dry pockets of cake mix remain.

- Carefully transfer the prepared chocolate cake batter into the greased 9×13-inch baking dish, spreading it evenly to ensure a consistent thickness. Place the dish on the middle rack of your preheated oven and bake for approximately 48 minutes. To check for doneness, insert a toothpick into the center of the cake; it should come out clean or with only a few moist crumbs attached.
- Once baked to perfection, remove the cake from the oven and immediately place it on a wire cooling rack. This allows air to circulate around the pan, preventing the bottom of the cake from becoming overly dense.
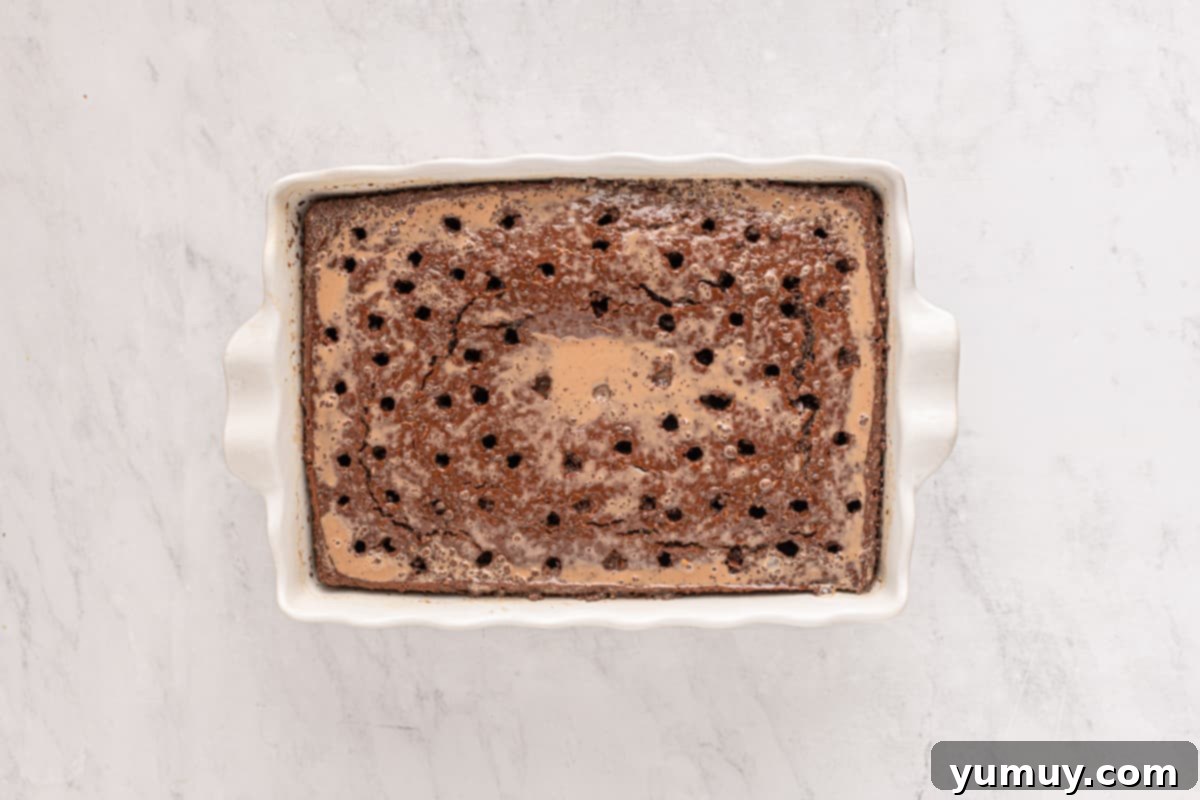
- While the cake is still warm (this helps with absorption), use the handle of a wooden spoon or a clean dowel rod to poke holes across the entire surface of the cake. Aim to poke the holes about ¾ of the way down into the cake, being careful not to go all the way through to prevent the bottom from becoming overly soggy. Set the poked cake aside as you prepare the indulgent milk mixture.

For the Milk Mixture
- In a separate medium-sized bowl, combine the hot milk (heating it helps the cocoa dissolve better and enhances the absorption into the warm cake), sweetened condensed milk, evaporated milk, and unsweetened cocoa powder. Whisk vigorously until all ingredients are thoroughly combined and the cocoa powder has completely dissolved, creating a smooth, chocolatey elixir.

- Once the milk mixture is homogeneous, pour it slowly and evenly over the warm, poked cake. Distribute the mixture across the entire surface, allowing it to seep into the holes and saturate the cake. Let the cake continue cooling completely at room temperature.

- After the cake has completely cooled, cover the baking dish tightly with plastic wrap or foil. Transfer it to the refrigerator to chill for a minimum of 4 hours. For the absolute best flavor and texture, allowing it to chill overnight is highly recommended. This extended chilling time allows the cake to fully absorb the milk mixture, becoming wonderfully moist and deeply flavorful.
For the Topping
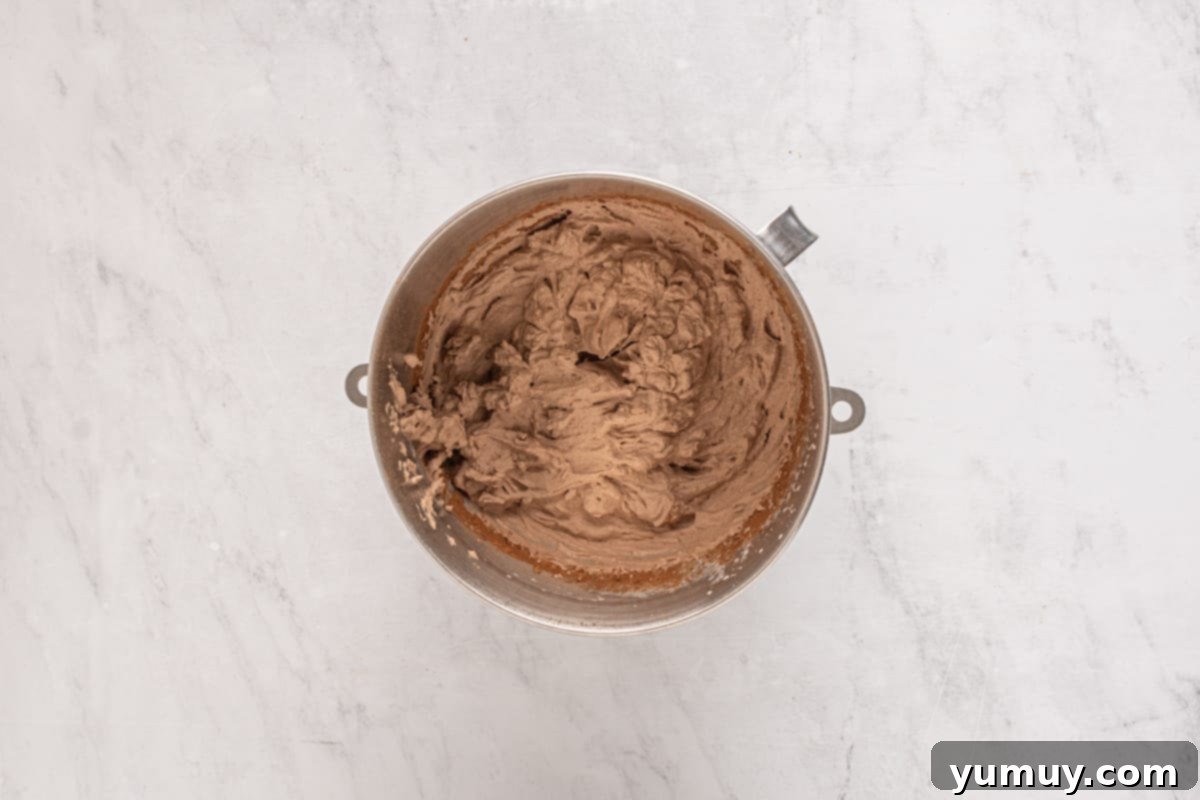
- In the bowl of a stand mixer fitted with the whisk attachment (or using a hand mixer), combine the cold heavy cream, powdered sugar, unsweetened cocoa powder, and pure vanilla extract. Begin beating on low speed, gradually increasing to medium-high. Continue beating for 4-5 minutes, or until the mixture becomes stiff peaks. Be careful not to overbeat, or it may turn grainy.

For Assembly
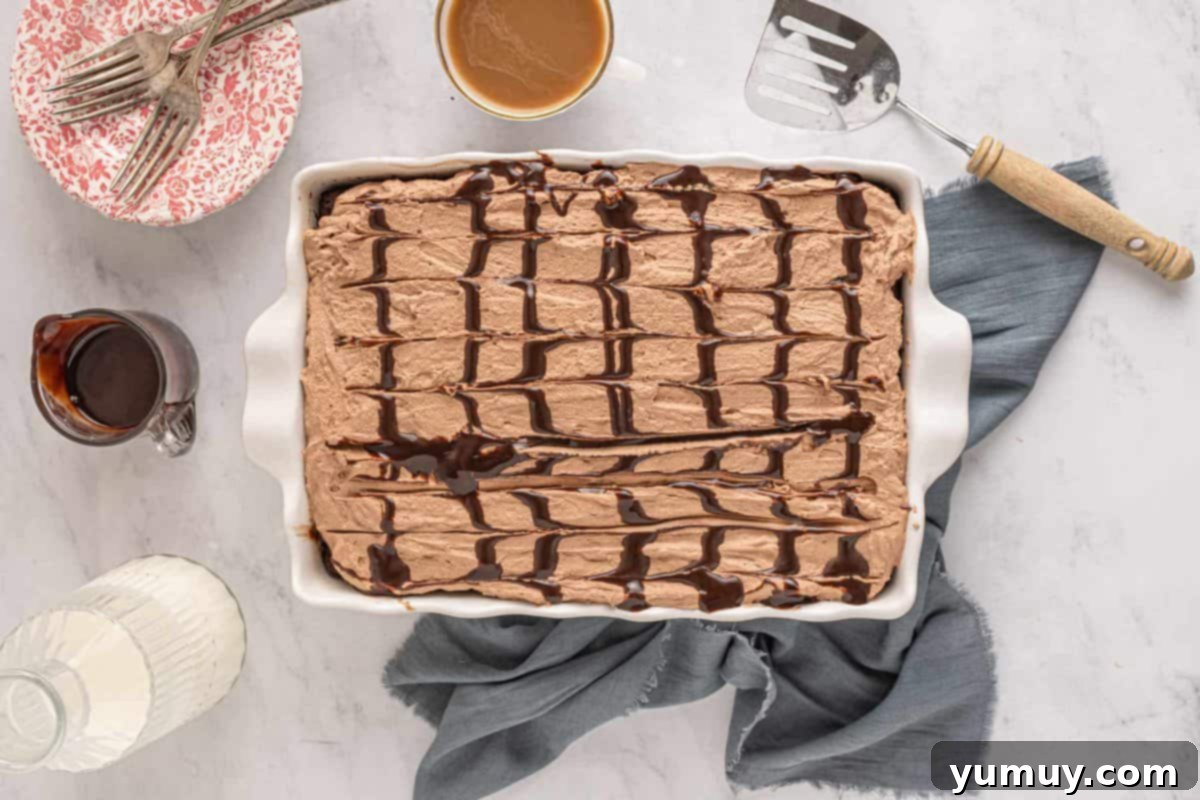
- Once the cake is thoroughly chilled and has absorbed the milk, gently spoon or spread the stiff chocolate whipped cream topping evenly over the surface of the cake. For an extra touch of elegance, drizzle lines of chocolate sauce over the top. Then, use a toothpick or skewer to drag through the chocolate sauce, creating a beautiful, swirled pattern (as seen in the photos) that will impress your guests. Slice and serve immediately.

Notes & Pro Tips for Success
- Even Batter Distribution: When pouring the cake batter into the baking pan, take a moment to spread it evenly. A level cake bakes more uniformly and, crucially, will soak up the milk mixture more consistently, ensuring every slice is equally moist.
- Patience for Soaking: Allowing the cake to soak in the milk mixture for at least 4 hours before serving is non-negotiable for the best results. This ample time ensures the cake completely absorbs the three milks, developing its signature moist and tender texture. Rushing this step will result in a less flavorful and less saturated cake.
- Troubleshooting Absorption Issues: If you find your tres leches cake isn’t absorbing the milk mixture adequately after several hours, it’s possible the batter was overmixed. Overmixing can develop too much gluten, causing the cake to lose its delicate, airy, and spongy texture. This results in a denser cake that struggles to absorb liquids. To mitigate this, ensure you only mix the cake batter until just combined. Additionally, verify that you’ve poked plenty of holes across the cake’s surface with your dowel or spoon handle; these channels are essential for the milk to penetrate deeply.
Storage: For optimal freshness and taste, store any leftover chocolate tres leches cake in an airtight container in the refrigerator for up to 4 days. While it remains delicious, do keep in mind that the whipped cream topping may start to slightly deflate and lose some of its initial fluffiness after about 2 days.
Calories from Fat 378
@easydessertrecipes
for a chance to be featured.
Step-by-Step Visual Guide: Crafting Your Chocolate Tres Leches Cake
Creating this decadent chocolate tres leches cake is a rewarding experience, and following these detailed steps will ensure a perfect outcome. Each stage is crucial to achieving that irresistible moisture and rich flavor.
Mix the Batter for a Rich Chocolate Base
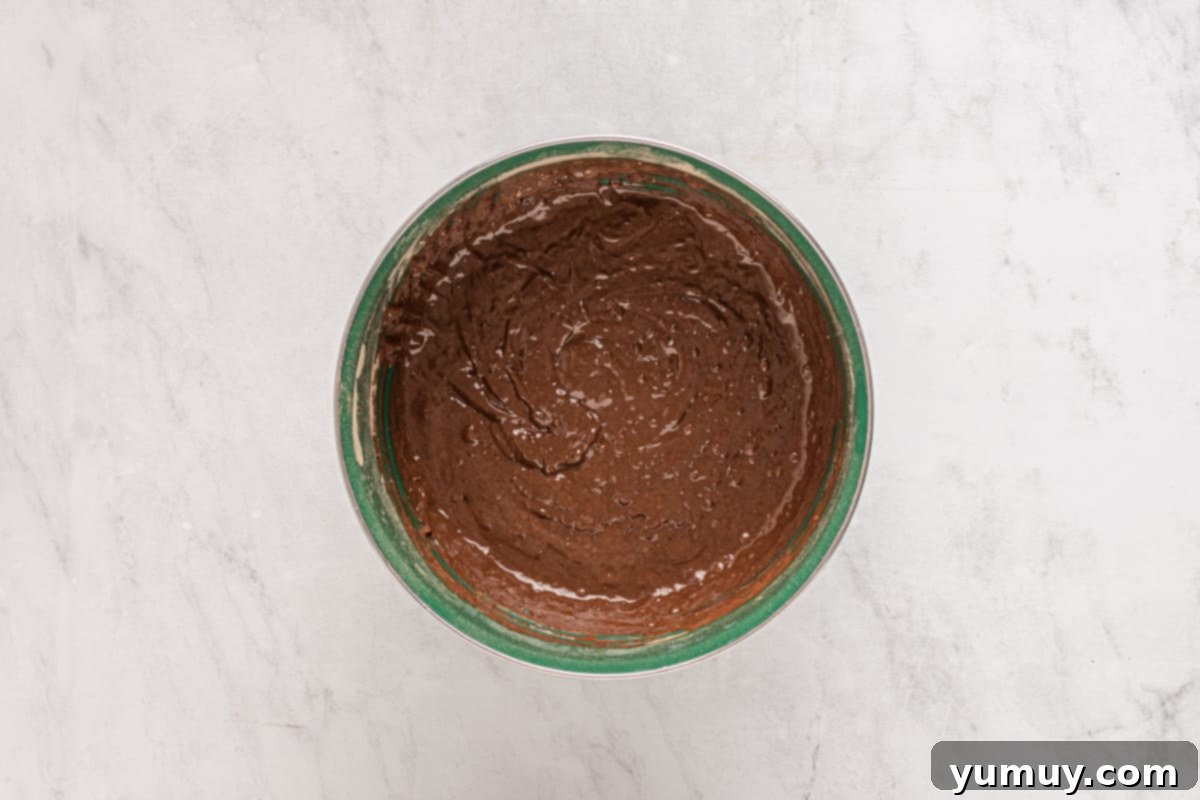
First, begin by preheating your oven to a precise 350°F (175°C). While the oven heats, prepare your 9×13-inch baking dish by thoroughly coating it with nonstick cooking spray. This crucial step prevents the cake from sticking and makes for easy removal later. In a spacious medium bowl, combine your 15.25-ounce box of chocolate cake mix with 1 teaspoon of instant espresso powder, if you choose to use it. The espresso isn’t for flavor, but rather acts as a secret ingredient to deepen and intensify the chocolate notes. Add 1¼ cups of water, ½ cup of vegetable oil, and 3 large eggs. Using a whisk or an electric mixer, beat all these ingredients together until the batter is smooth, cohesive, and entirely free of any dry cake mix pockets. Be careful not to overmix, as this can lead to a tougher cake texture.
Bake to Perfection and Prepare for Soaking
Once your batter is ready, carefully pour it into the prepared 9×13-inch baking dish. Use a spatula to spread the batter evenly across the bottom of the pan; a level cake will absorb the milk mixture more consistently. Place the dish into your preheated oven on the middle rack. Bake for approximately 48 minutes. Keep an eye on it, and to test for doneness, insert a clean toothpick into the very center of the cake. If it comes out clean or with only a few moist crumbs, your cake is perfectly baked. Immediately after removing the cake from the oven, transfer the pan to a wire cooling rack. This allows for proper air circulation and prevents the bottom of the cake from becoming overly dense or steaming.
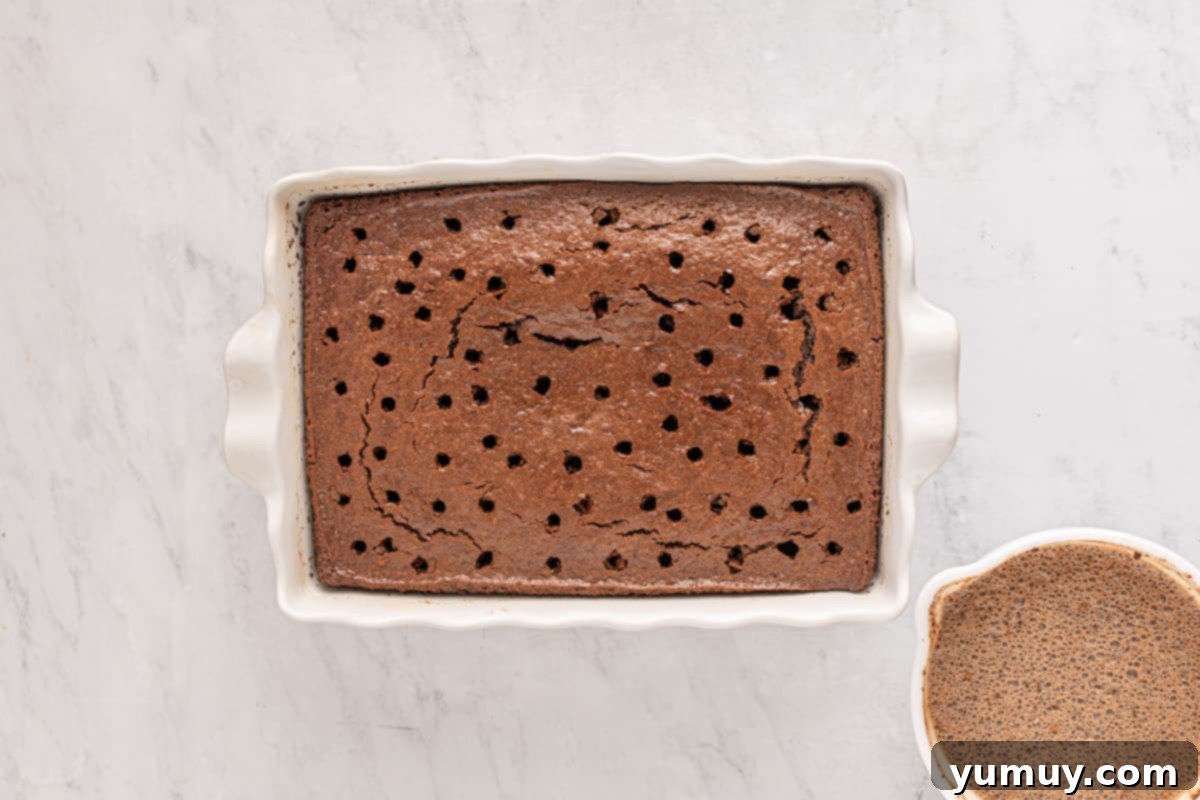
While the cake is still warm – this is key for optimal milk absorption – grab the handle of a wooden spoon or a clean dowel rod. Begin poking numerous holes all over the surface of the cake, ensuring they are fairly close together but not touching. Aim to poke about ¾ of the way down into the cake, carefully avoiding piercing all the way through to the bottom of the pan. These holes will act as conduits for the rich milk mixture to penetrate deeply into every crumb. Set the poked cake aside to await its milky bath.
Craft the Signature Three-Milk Mixture
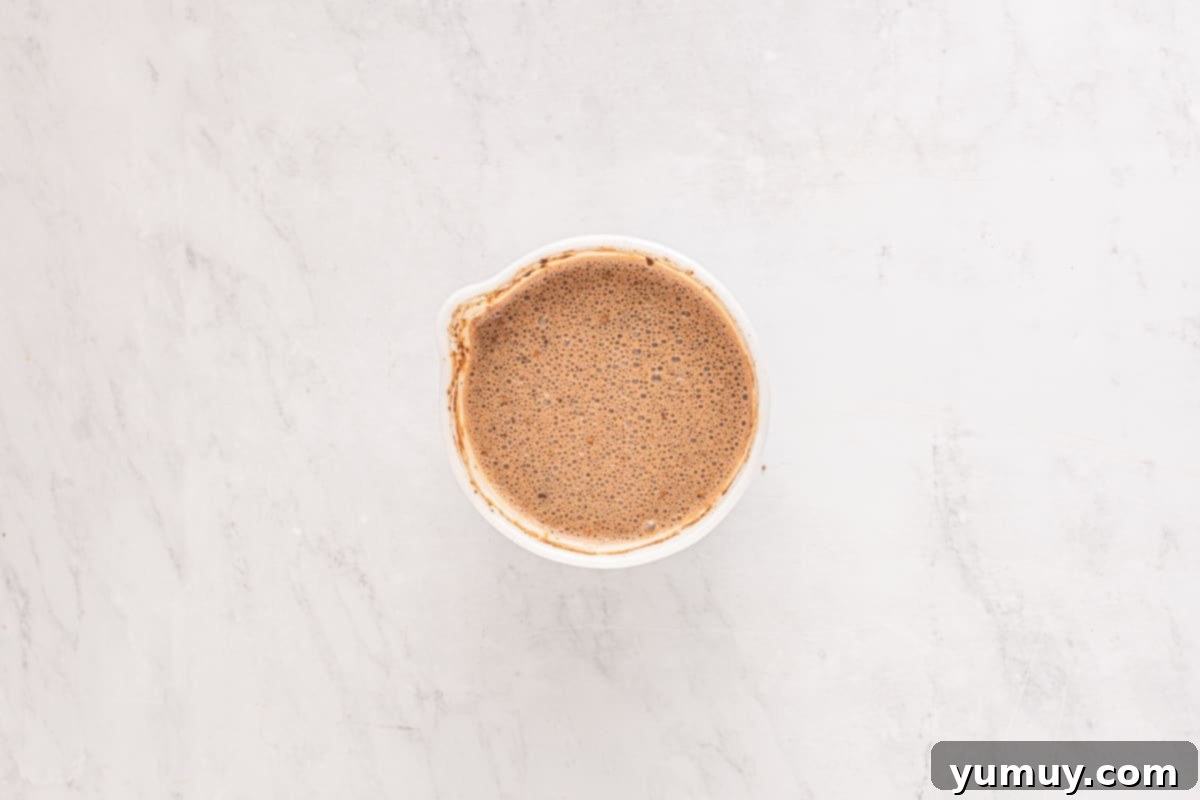
Now it’s time to create the heart of the tres leches cake: the luxurious milk mixture. In a medium-sized mixing bowl, combine 1 cup of hot milk (whole milk is highly recommended for the richest flavor), along with one 14-ounce can of sweetened condensed milk and one 12-ounce can of evaporated milk. These three milks form the traditional base of tres leches, each contributing its unique qualities – richness, sweetness, and creaminess. To this, add ⅓ cup of unsweetened cocoa powder. Using a whisk, vigorously blend all these ingredients together until the mixture is completely smooth, lump-free, and the cocoa powder has fully dissolved. You’ll be left with a velvety, chocolatey liquid that smells utterly divine.
Soak the Cake for Unmatched Moisture
Once your milk mixture is perfectly blended, it’s time for the cake’s transformation. Slowly and evenly pour the entire chocolate milk mixture over the warm, poked cake. Take your time to ensure the liquid is distributed across the entire surface, allowing it to seep into every hole. As the cake cools, it will continue to absorb the liquid. After it has cooled completely to room temperature, cover the baking dish tightly with plastic wrap or aluminum foil. Then, place the cake in the refrigerator to chill. This chilling period is critical for the cake to fully saturate and develop its incredible moist texture and deep flavor. Allow it to chill for at least 4 hours, though for truly optimal results, leaving it overnight is highly recommended. The cake should be wonderfully saturated, but not swimming in liquid.
Whip Up the Decadent Chocolate Topping
Just before you’re ready to serve, prepare the glorious chocolate whipped cream topping. In the bowl of a stand mixer fitted with a whisk attachment (or using a hand mixer), combine 2½ cups of very cold heavy cream, ½ cup of powdered sugar, 4½ tablespoons of unsweetened cocoa powder, and 1 teaspoon of pure vanilla extract. Start mixing on low speed to prevent splattering, then gradually increase the speed to medium-high. Beat for about 4-5 minutes, or until the mixture transforms into stiff peaks. The whipped cream should hold its shape firmly when the whisk is lifted. Be careful not to overbeat, as this can cause the cream to become grainy or even curdle.
Assemble and Garnish Your Masterpiece
With your cake perfectly chilled and soaked, and your chocolate whipped cream light and fluffy, it’s time for the final assembly. Generously spoon or spread the chocolate whipped cream topping over the entire surface of the milk-soaked cake. You can create a smooth, even layer or use a spatula to make decorative swirls. For an extra touch of visual appeal and a burst of chocolate flavor, drizzle fine lines of chocolate sauce over the whipped cream. Then, take a toothpick, skewer, or even a butter knife, and gently drag it through the chocolate sauce lines to create an elegant, marbled, or feathered pattern, as showcased in the accompanying photos. Slice your magnificent chocolate tres leches cake and serve immediately to enjoy its irresistible moistness and rich flavor!
Storing Your Chocolate Tres Leches Cake
To keep your chocolate tres leches cake tasting its best and maintaining its incredible moisture, proper storage is essential. After enjoying your first slices, ensure any leftover cake is covered tightly. The best method is to transfer any remaining portions to an airtight container. This protective seal prevents the cake from drying out and helps maintain its delicate texture. Store the airtight container in the refrigerator for up to 4 days. While the cake remains wonderfully moist and flavorful for this duration, it’s worth noting that the whipped cream topping, due to its airy nature, may begin to slightly deflate and lose some of its original fluffiness after about two days. For the freshest whipped cream experience, it’s always best to enjoy the cake within the first 48 hours, or follow the tips for stabilized whipped cream if you know it will be stored longer.
More Delectable Poke Cake Recipes to Try!
Banana Pudding Poke Cake
King Cake Poke Cake
Boston Cream Poke Cake
Better Than Sex Cake
Browse All Cakes
