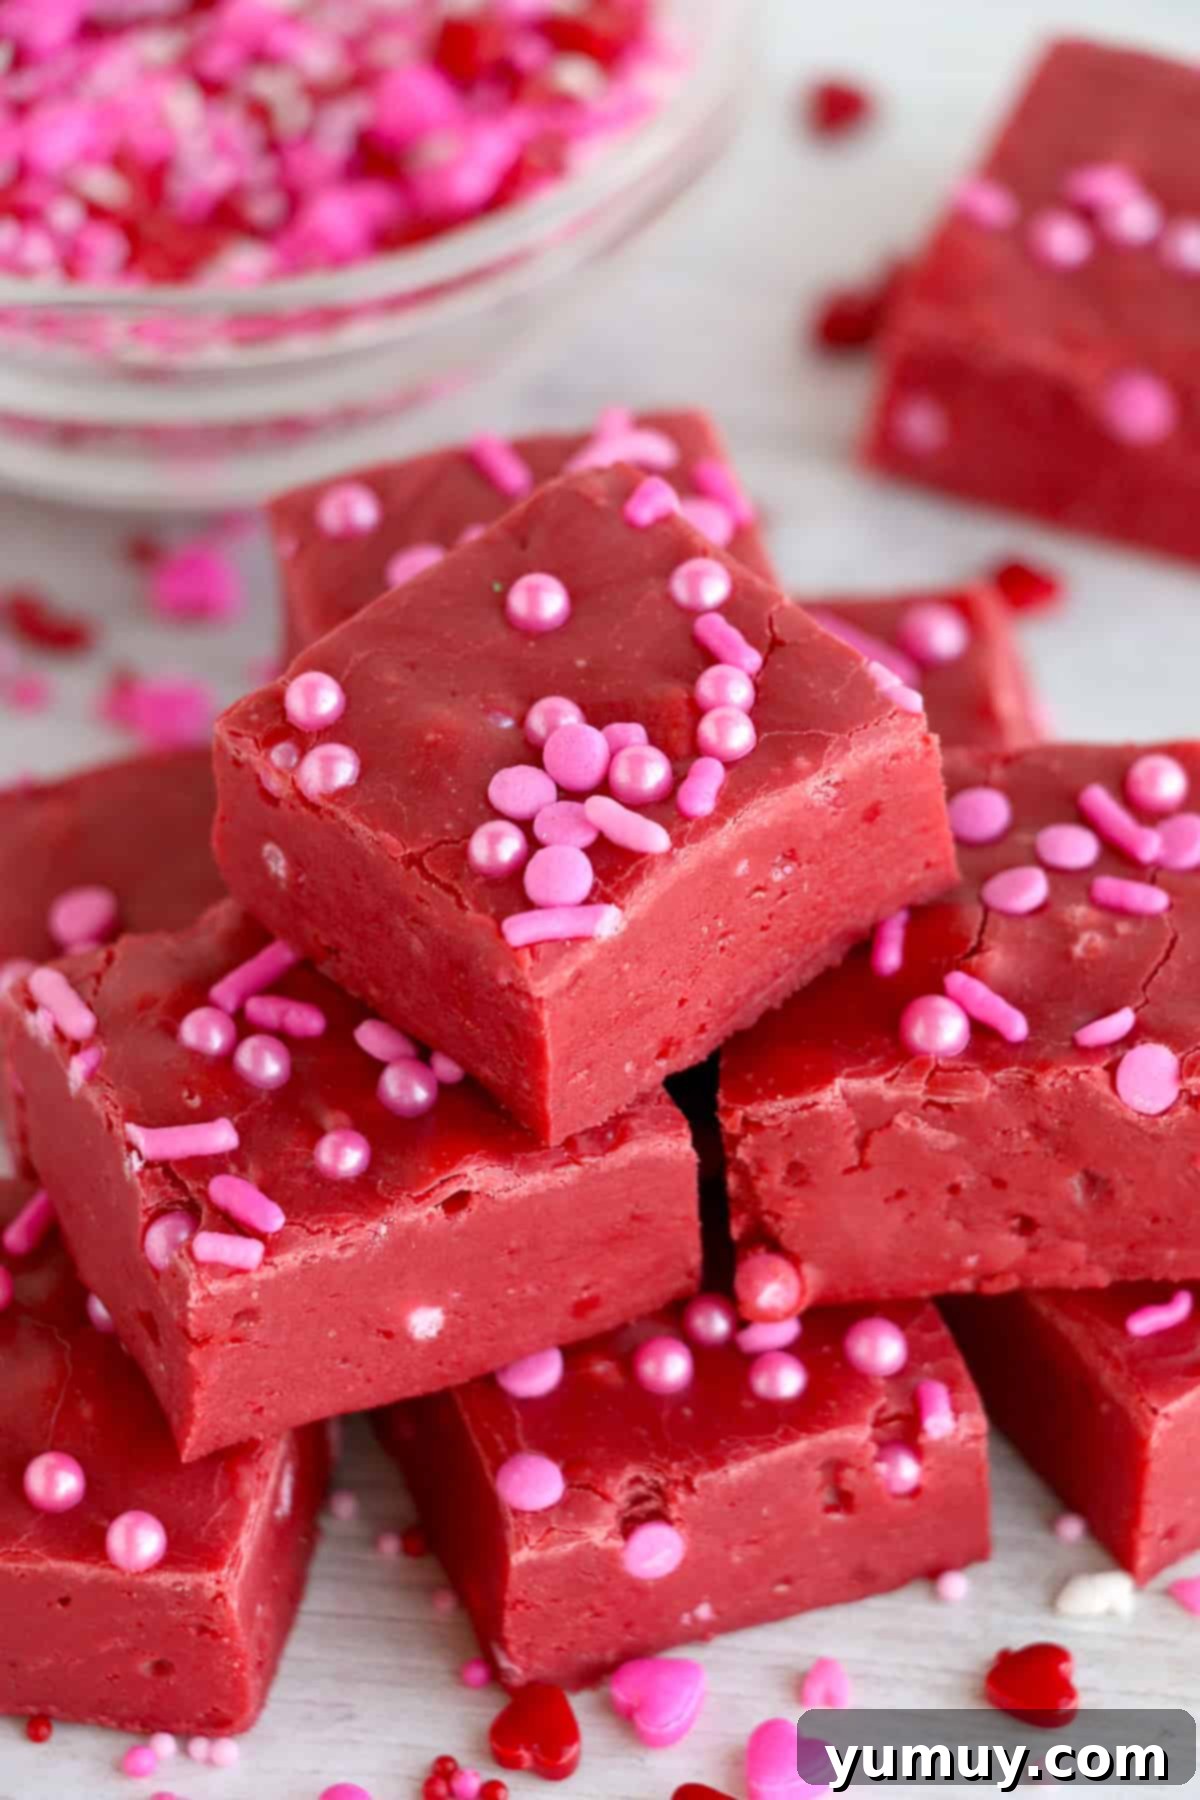
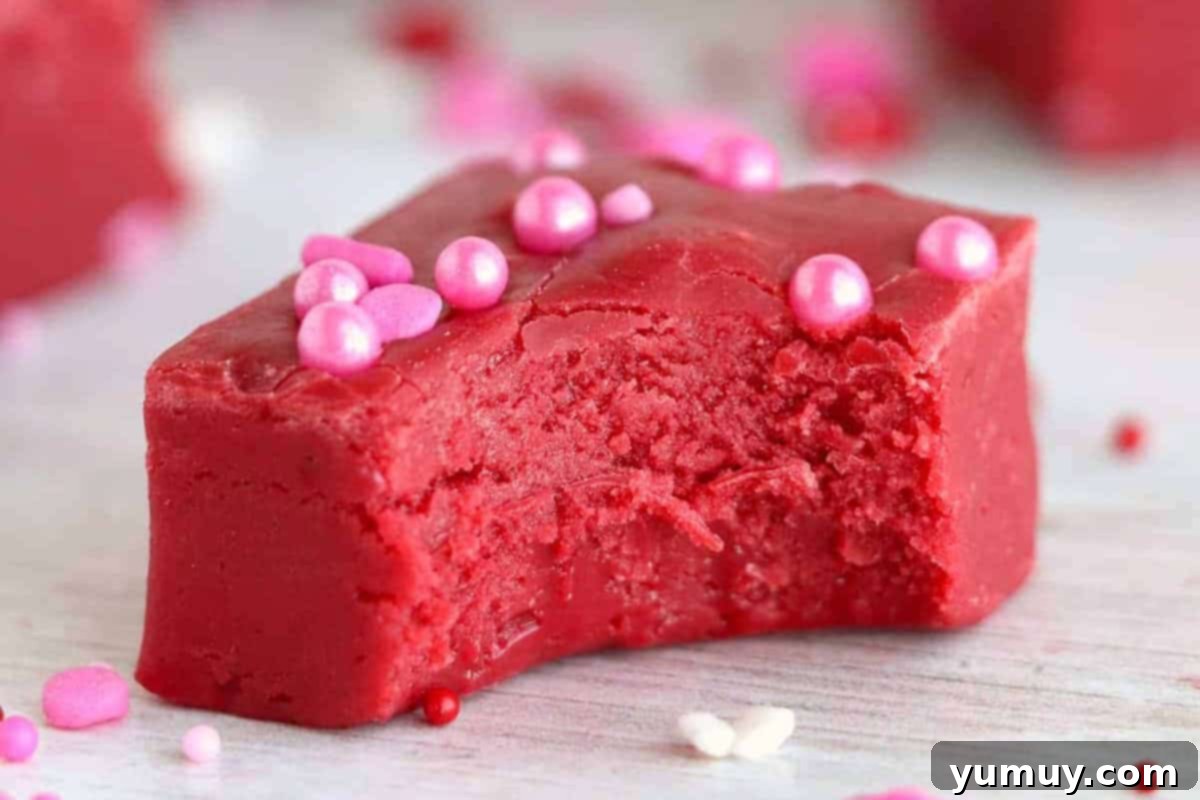
Craving a delightful dessert that promises both stunning looks and effortless preparation? Look no further than this incredibly easy 3-ingredient red velvet fudge. Designed for simplicity without compromising on taste or texture, this recipe transforms basic pantry staples—white chocolate, vibrant red velvet cake mix, and creamy sweetened condensed milk—into a rich, velvety, and perfectly chewy treat in mere minutes. Its deep, captivating red hue makes it an instant showstopper, giving the impression of hours spent in the kitchen, when in reality, it’s the ultimate shortcut to dessert perfection. This no-bake wonder is ideal for anyone seeking a gourmet-quality confection with minimal fuss.
The Magic of 3-Ingredient Red Velvet Fudge
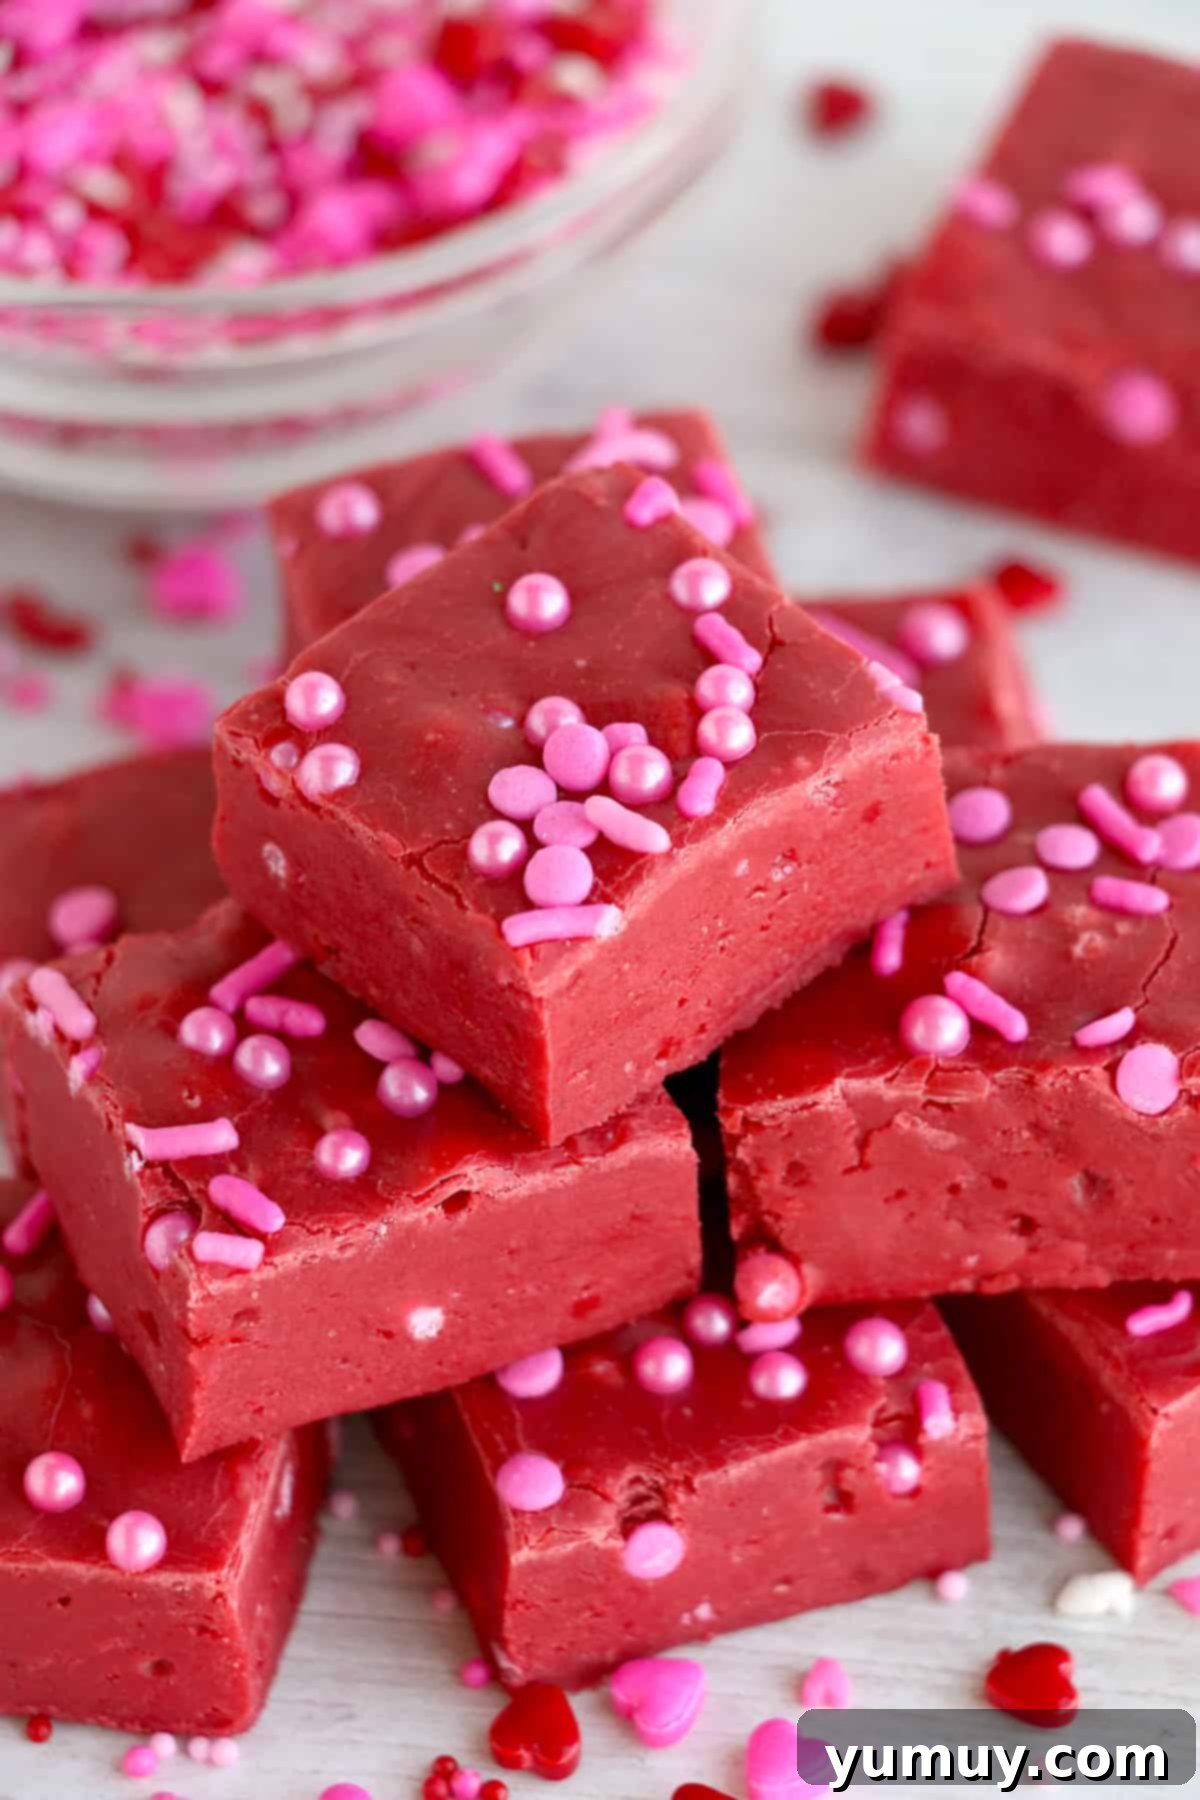
This red velvet fudge made with cake mix is my absolute favorite foolproof candy, perfect for any holiday, celebration, or simply to satisfy a sweet craving. Its allure lies in its deceptive simplicity. The red velvet cake mix is a clever shortcut, delivering that iconic, nuanced red velvet flavor without the need for an extensive list of ingredients or complex measurements. White chocolate acts as the foundational binder, creating that classic fudge-like texture, while sweetened condensed milk ensures every bite is luxuriously smooth, rich, and wonderfully sliceable.
One of the greatest advantages of this recipe is its make-ahead potential. Whether you’re preparing for Valentine’s Day, Christmas gatherings, or crafting homemade gifts, this fudge stays incredibly fresh and chewy for weeks. It’s a truly fun, low-stress recipe that consistently impresses with its sophisticated appearance, making everyone believe you’ve invested significant time and effort, when in fact, you’ve mastered the art of elegant simplicity.
Achieving Silky Smooth Fudge: The Sifting Secret
For a fudge that boasts the smoothest, most irresistible creamy texture, a crucial step involves sifting your heat-treated red velvet cake mix before incorporating it into the melted chocolate. This simple action is highly effective in removing any potential clumps, ensuring the flavor is evenly distributed throughout the mixture, and ultimately gifting your homemade fudge a truly flawless, velvety finish. Don’t skip this step for that professional touch!
Why You’ll Fall in Love with This Easy Fudge Recipe
This isn’t just another fudge recipe; it’s a game-changer for anyone who loves delicious desserts but is short on time. Here’s why this Red Velvet Fudge will quickly become a household favorite:
- Effortless Elegance: With its vibrant red color and rich texture, this fudge looks incredibly gourmet, yet it’s astonishingly easy to make, requiring minimal culinary skills.
- Perfectly Chewy Texture: Forget crumbly or overly soft fudge. This recipe yields a consistently firm, chewy, and melt-in-your-mouth consistency that is utterly addictive.
- Versatility for Any Occasion: From festive holiday platters to thoughtful homemade gifts or a quick weeknight treat, this fudge fits seamlessly into any scenario.
- Make-Ahead Marvel: Prepare it days or even weeks in advance! This fudge holds its freshness and delightful chewiness for an extended period, making party planning a breeze.
- Minimal Ingredients, Maximum Flavor: You only need three core ingredients to unlock a depth of flavor that tastes far more complex than its simple components.
Ingredient Spotlight: The Trio Behind the Treat
Each of the three star ingredients plays a vital role in creating this magnificent Red Velvet Fudge:
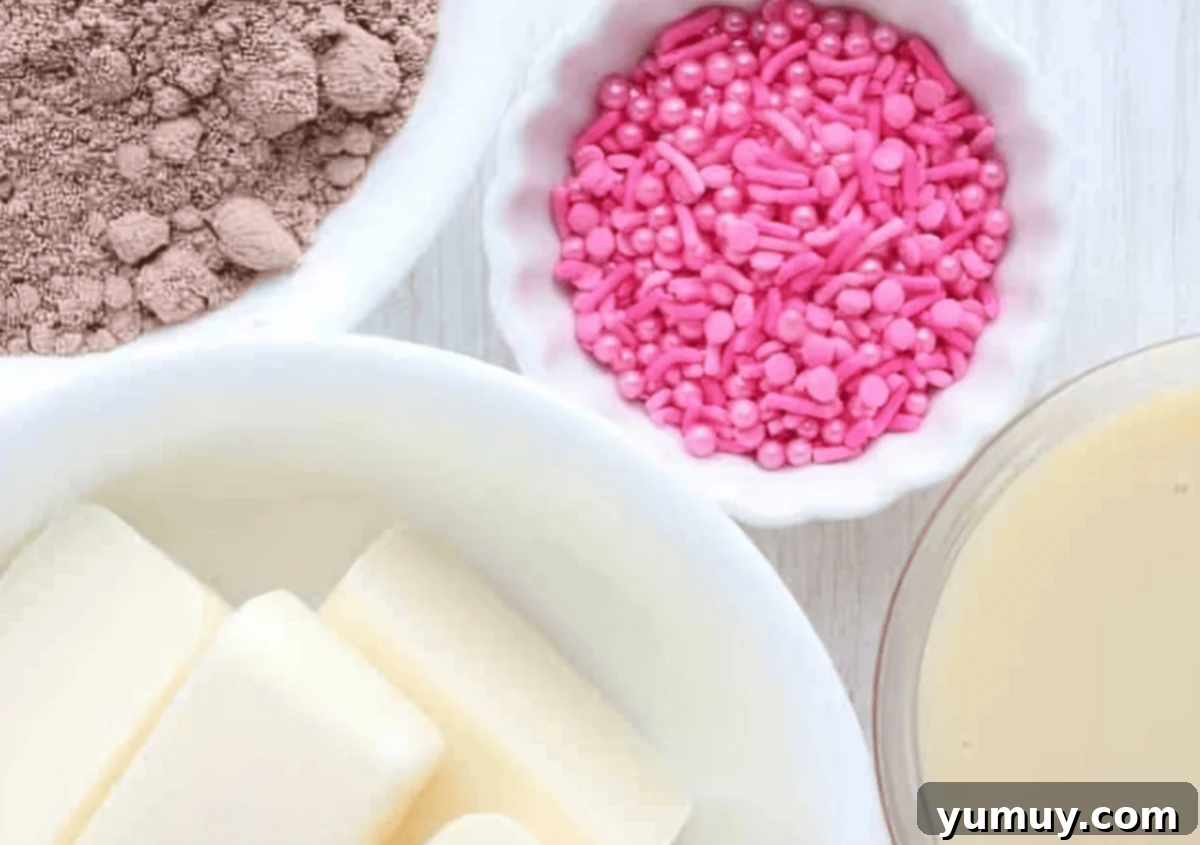
- White Baking Chocolate: This is the foundation of our fudge, providing structure, sweetness, and a creamy base. For the best results, opt for high-quality white baking chocolate bars (like Baker’s Premium) rather than white chocolate chips, which often contain stabilizers that can affect melting and texture. The better the quality of chocolate, the smoother and richer your fudge will be.
- Heat-Treated Red Velvet Cake Mix: This genius shortcut delivers all the signature red velvet flavor, color, and a hint of cakey texture without the need for numerous dry ingredients. Heat-treating the cake mix is crucial to eliminate any potential bacteria often found in raw flour, making it safe for consumption in a no-bake dessert. This simple step ensures both safety and a smooth consistency once incorporated.
- Sweetened Condensed Milk: The secret to the fudge’s undeniable richness and creamy consistency. This thick, sweet milk binds all the ingredients together, creating that perfectly dense and smooth fudge texture without the need for butter or complex candy-making techniques. It also contributes significantly to the fudge’s sweet profile.
Easy 3-Ingredient Red Velvet Fudge Recipe
: 10 minutes
Print
Rate SaveSaved!
Ingredients
- 12 ounces white baking chocolate like Baker’s Premium (3 bars)
- ¾ cup heat-treated red velvet cake mix *
- 14 ounces sweetened condensed milk (1 can)
- Sprinkles optional, for garnish
Equipment
- Kitchen Scale (optional)
- 8×8 Baking Pan
Instructions
- In a large microwave-safe bowl, break up the white chocolate into smaller pieces to ensure even melting. Melt the chocolate in 30-second intervals, stirring thoroughly after each interval to prevent burning. Continue until completely smooth and melted.12 ounces white baking chocolate

- Once the white chocolate is fully melted and smooth, gently stir in the heat-treated red velvet cake mix and the sweetened condensed milk. Mix until all ingredients are thoroughly combined and the mixture forms a thick, uniform, and vibrant red fudge. Ensure there are no dry pockets of cake mix.¾ cup heat-treated red velvet cake mix, 14 ounces sweetened condensed milk

- Prepare an 8×8-inch baking pan by lining it completely with parchment paper. Leave a generous overhang on two opposite sides to create “handles” for easy removal of the fudge once it’s set. Pour the red velvet fudge mixture into the lined pan and spread it out evenly using a spatula or the back of a spoon, ensuring a smooth top surface.

- If desired, evenly add your favorite sprinkles over the top of the fudge mixture. Gently press them into the surface to ensure they adhere. This adds a lovely pop of color and texture, perfect for any festive occasion.Sprinkles
- Place the pan in the refrigerator and chill for at least 1 hour, or until the fudge is completely set and firm to the touch. Once set, use the parchment paper overhangs to lift the fudge out of the pan. Place it on a cutting board, slice into equal-sized squares, and serve immediately. Enjoy your perfectly crafted Red Velvet Fudge!

Notes
*Heat-treating the cake mix is a crucial step for food safety. To do this, simply spread the cake mix out on a rimmed baking sheet and bake it at 350°F (175°C) for about 5 minutes, or until its internal temperature reaches 160°F (71°C). This process ensures any potential bacteria in the raw flour are eliminated. If, after heat-treating, your cake mix develops any lumps, we highly recommend sifting it to achieve the smoothest possible fudge texture.
Tips for Success:
- For easy removal and clean slices, leave a small amount of overhanging parchment paper on the sides of the pan. This acts as a convenient sling once the fudge has set.
- Allow the fudge to chill and fully set before attempting to cut it into squares. Rushing this step can result in messy or crumbly pieces. Approximately 1 hour in the refrigerator should be sufficient.
- To prevent the fudge from drying out and to maintain its delightful chewiness, always store it covered. Use plastic wrap pressed directly onto the surface or an airtight container.
- For perfectly clean cuts, use a sharp knife warmed under hot water and wiped dry between each slice. This helps glide through the fudge without sticking.
- Nutritional information provided does not include any optional ingredients like sprinkles or additional toppings.
Storage: Store your delectable red velvet fudge in an airtight container at room temperature for up to 2 weeks. For extended freshness, keep it in the refrigerator for up to 1 month. This fudge also freezes beautifully for up to 1 year, making it an excellent candidate for meal prepping or holiday gifting.
Calories from Fat 90
@easydessertrecipes
for a chance to be featured.
How to Make Red Velvet Fudge: A Simple Step-by-Step Guide
Crafting this luscious red velvet fudge is incredibly straightforward. Follow these steps for perfect results every time:
Step 1: Gather Your Ingredients and Heat-Treat the Cake Mix. Begin by assembling all your ingredients. This ensures a smooth and uninterrupted cooking process. The most important preliminary step is to heat-treat your red velvet cake mix. To do this, spread the cake mix evenly in a thin layer on a rimmed baking sheet. Bake it in a preheated oven at 350°F (175°C) for approximately 5 minutes, or until an instant-read thermometer registers 160°F (71°C). This step eliminates any potential food safety concerns associated with raw flour. After heat-treating, allow the cake mix to cool slightly. If you notice any lumps, sift the cooled cake mix through a fine-mesh sieve to ensure an ultra-smooth fudge texture.
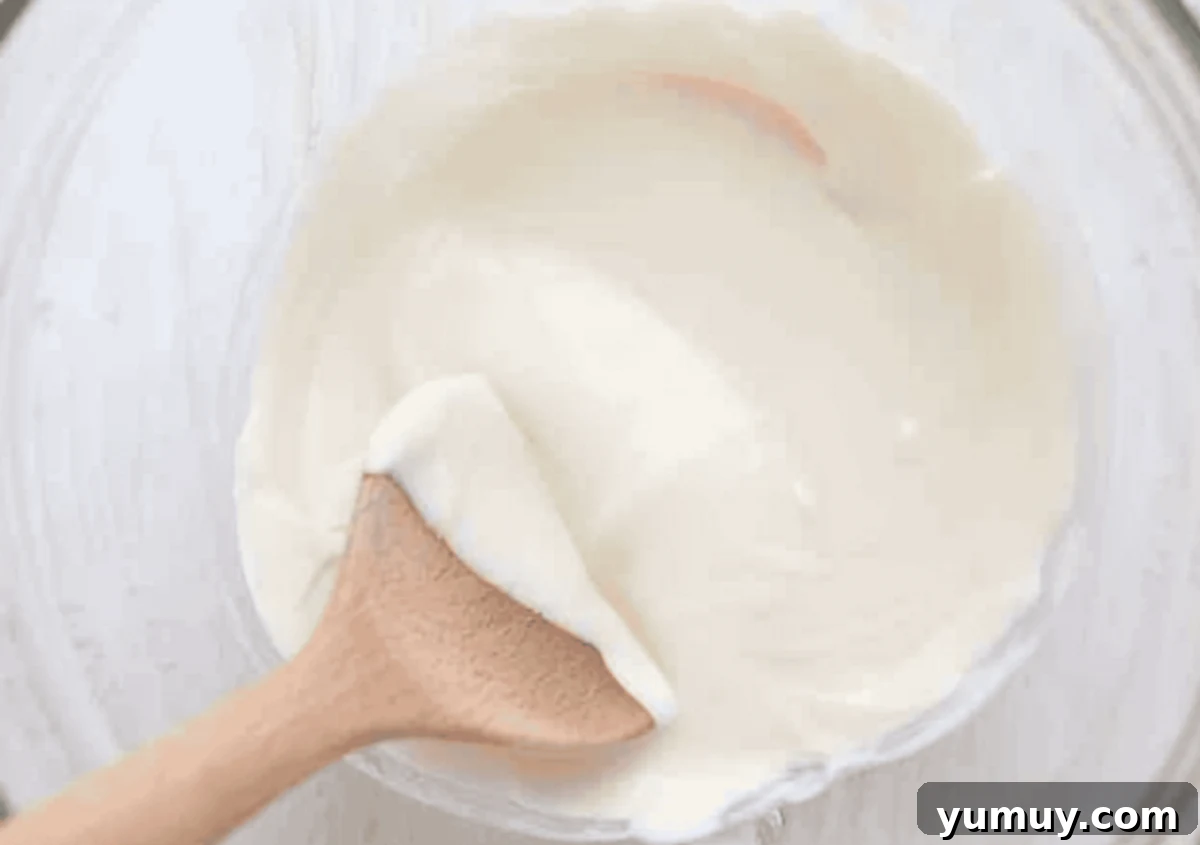
Step 2: Expertly Melt the White Chocolate. In a large, microwave-safe bowl, break the 12 ounces (which is typically equivalent to 3 bars) of white baking chocolate into smaller, uniform pieces. This helps the chocolate melt more evenly and prevents hot spots. Microwave the chocolate in short 30-second intervals, stirring vigorously after each interval. Continue this process until the white chocolate is completely melted and beautifully smooth. Be careful not to overheat the chocolate, as this can cause it to seize or burn, impacting the final texture of your fudge.
Step 3: Combine and Create the Fudge Mixture. Once your white chocolate is perfectly melted, add the ¾ cup of heat-treated red velvet cake mix and the entire 14-ounce can of sweetened condensed milk to the bowl. Stir the ingredients together thoroughly using a sturdy spoon or spatula. Continue mixing until all components are fully incorporated, and the mixture transforms into a thick, uniform, and richly red fudge. Ensure there are no dry pockets of cake mix remaining, as this will result in a grainy texture.
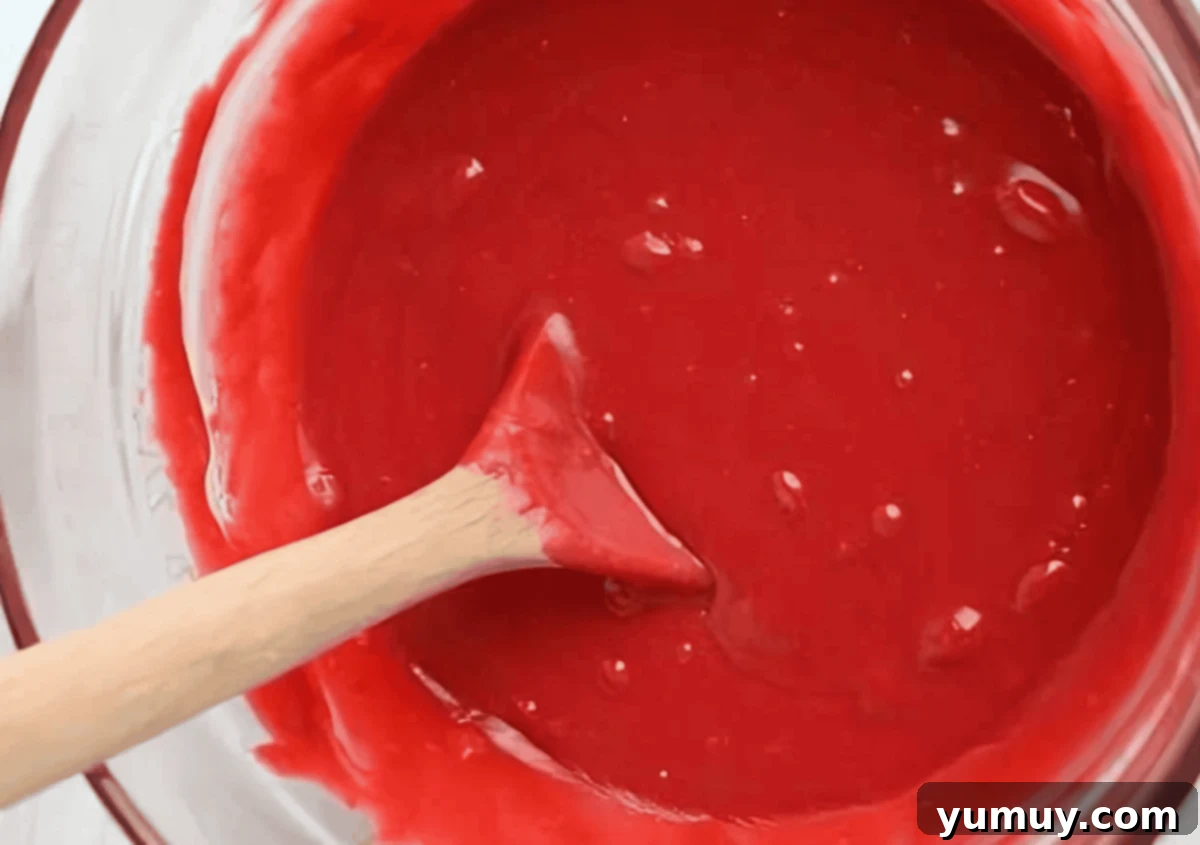
Step 4: Prepare the Pan and Spread the Fudge. Line an 8×8-inch baking pan with parchment paper. It’s highly recommended to leave an overhang of parchment paper on at least two opposite sides. These overhangs will serve as convenient “handles” later, making it incredibly easy to lift the set fudge out of the pan. Pour the freshly mixed red velvet fudge evenly into the prepared pan. Use a spatula or the back of a spoon to spread the fudge out smoothly and evenly across the bottom of the pan, ensuring a consistent thickness for uniform pieces.
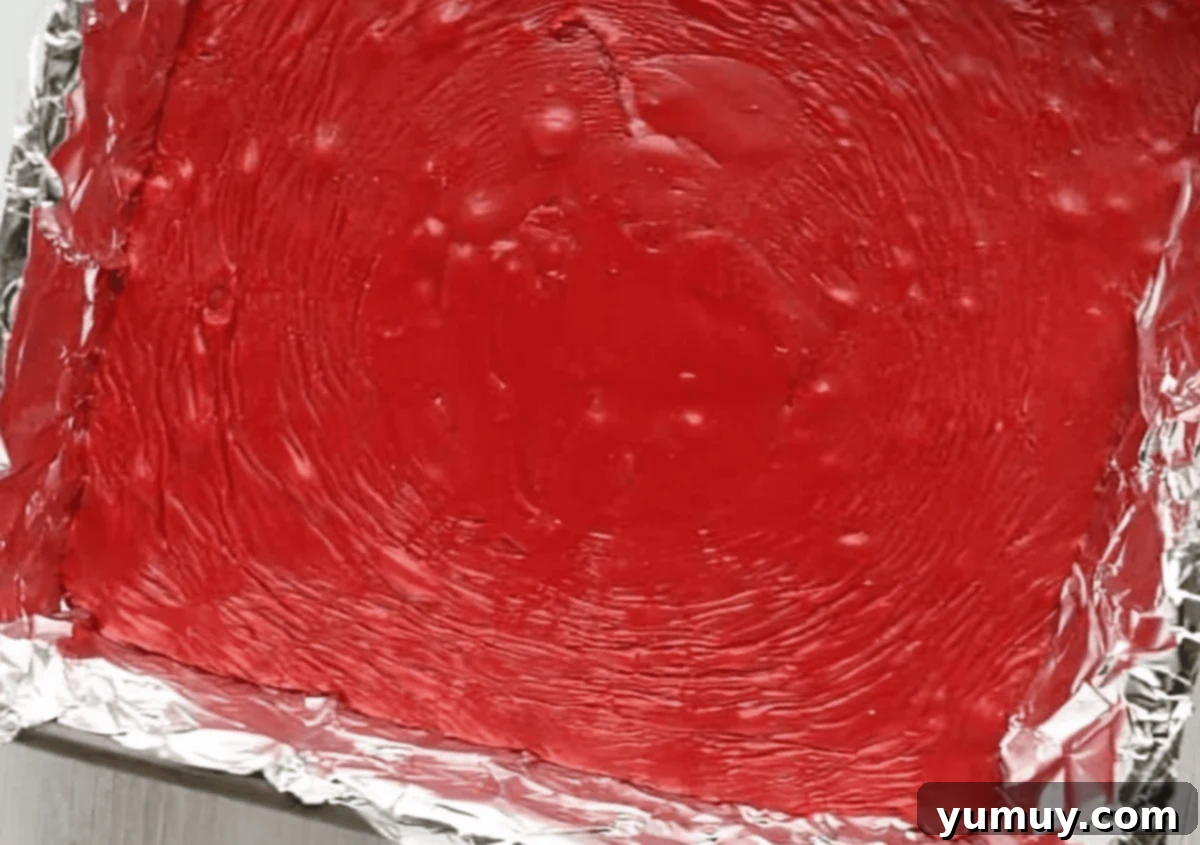
Step 5: Garnish and Chill to Perfection. If you desire, now is the time to add sprinkles! Evenly scatter your chosen sprinkles over the top surface of the fudge. Gently press them down with your hand or the back of a spoon to ensure they adhere well to the fudge. This not only adds a festive touch but also a delightful textural contrast. Once sprinkled, place the entire pan into the refrigerator. Chill for a minimum of 1 hour, or until the red velvet fudge is completely firm and set. Once set, use the parchment paper overhangs to carefully lift the fudge block out of the pan, transfer it to a cutting board, slice into equal-sized pieces, and serve to enjoy this delightful, homemade treat!
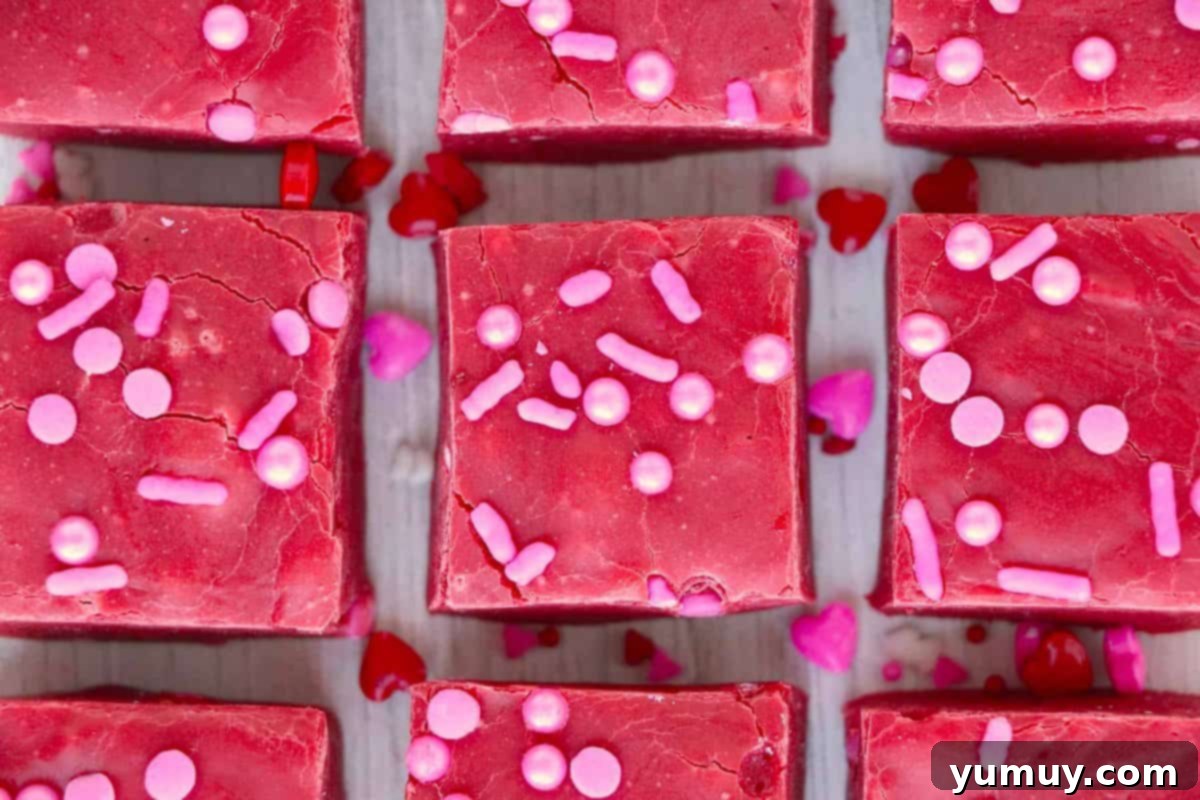
How to Store and Freeze Your Red Velvet Fudge
Proper storage is key to maintaining the irresistible texture and fresh flavor of your homemade red velvet cake fudge. Once cut into neat squares, place the fudge in an airtight container. To prevent pieces from sticking together and to preserve their pristine appearance, separate layers of fudge with small sheets of parchment paper. This simple step makes it easy to grab a single piece without disturbing the rest.
At **room temperature**, your fudge will remain wonderfully fresh and chewy for approximately 2 weeks. For a slightly firmer texture and extended shelf life, storing it in the **refrigerator** is an excellent option, where it can last for up to 1 month. But if you’re looking for a long-term solution, this fudge is a fantastic candidate for **freezing**, retaining its quality for up to an impressive 1 year!
When freezing, careful preparation is important to ensure the texture isn’t altered upon thawing. First, cut your fudge into individual squares. Then, wrap each piece tightly in plastic wrap to protect it from freezer burn. Once wrapped, place the individually wrapped pieces into a heavy-duty freezer bag or an airtight freezer-safe container, removing as much air as possible before sealing. To thaw your frozen red velvet fudge, simply remove the desired number of pieces from the freezer, keeping them in their plastic wrapping. Allow them to sit at room temperature for a couple of hours until they are soft, chewy, and ready to be enjoyed once more. This method ensures your fudge tastes just as good as the day you made it.
Customization and Variations for Your Fudge
While this 3-ingredient red velvet fudge is perfect as is, it’s also a fantastic canvas for creative customization. Feel free to experiment with these ideas to make it uniquely yours:
- Sprinkle Swap: Instead of pink sprinkles, use green and red for Christmas, orange and black for Halloween, or blue and white for Hanukkah. Seasonal sprinkles add a festive touch for any holiday.
- Flavor Boost: Enhance the flavor profile with a few drops of extract. Peppermint extract is delightful for winter holidays, almond extract adds a sophisticated note, or a touch of vanilla bean paste can deepen the classic red velvet taste.
- Add-Ins: Fold in some chopped nuts like pecans or walnuts for crunch, white chocolate chips for extra creaminess, mini chocolate chips for a classic pairing, or even dried cranberries for a tart counterpoint.
- Cream Cheese Drizzle: For an extra layer of classic red velvet flavor, whip up a simple cream cheese frosting drizzle and swirl it over the top of the set fudge before cutting.
- Dark Chocolate Swirl: Melt a small amount of dark chocolate and swirl it into the red fudge mixture before chilling for a beautiful marble effect and a richer chocolate note.
Troubleshooting Common Fudge Problems
Even with simple recipes, sometimes things don’t go exactly as planned. Here are solutions to common fudge issues:
- Fudge Too Soft/Not Setting: This usually means it hasn’t been chilled long enough. Ensure your refrigerator is cold and give it ample time (at least 1 hour, or longer if needed). Sometimes using a slightly larger amount of white chocolate can help with firmness.
- Fudge Too Hard/Crumbly: Overheating the white chocolate can lead to a hard, dry fudge. Ensure you melt it in short intervals and stir frequently. Too much cake mix can also absorb excess moisture, making it crumbly.
- Grainy Texture: This can occur if the cake mix isn’t sifted properly and contains lumps, or if the chocolate mixture wasn’t stirred until completely smooth. Sifting and thorough mixing are key to a smooth texture.
- Oily Surface: This sometimes happens if the chocolate separates due to overheating. Ensure gentle melting. If it occurs, you can try blotting the surface lightly with a paper towel once the fudge has set.
- Uneven Color: Make sure the red velvet cake mix is fully incorporated and stirred vigorously until the color is consistent throughout the entire mixture.
Frequently Asked Questions (FAQs)
Here are some common questions about making this easy Red Velvet Fudge:
Q: Can I use a different type of cake mix?
A: Absolutely! This recipe is incredibly versatile. You can easily substitute the red velvet cake mix with other flavors like chocolate, strawberry, lemon, or even funfetti for different variations of easy fudge. Just remember to heat-treat any raw cake mix before use.
Q: Why do I need to heat-treat the cake mix?
A: Heat-treating the cake mix is a critical food safety step. Raw flour, found in cake mixes, can sometimes contain harmful bacteria like E. coli. Baking it for a few minutes ensures it’s safe to consume in a no-bake recipe.
Q: Do I need a candy thermometer for this recipe?
A: No, one of the beauties of this 3-ingredient fudge recipe is that it doesn’t require a candy thermometer or any complex boiling stages. The process relies on melting and mixing, making it very beginner-friendly.
Q: Can I make this fudge in advance for a party?
A: Yes, this red velvet fudge is perfect for making ahead! It stores well at room temperature for up to two weeks, or even longer in the refrigerator or freezer, making it an ideal dessert for entertaining or gifting.
Q: How can I achieve a brighter red color?
A: The red velvet cake mix typically provides a good red hue. If you desire an even brighter or deeper red, you can add a few drops of red gel food coloring (not liquid, as it can alter consistency) when mixing in the cake mix and condensed milk. Add gradually until you reach your desired shade.
Q: What’s the best way to cut fudge cleanly?
A: For perfectly clean cuts, ensure the fudge is fully chilled and firm. Use a large, sharp knife. For the cleanest slices, you can warm the knife under hot water, wipe it completely dry, and then slice. Re-warm and wipe the knife between each cut.
Q: Can I make this vegan or dairy-free?
A: Modifying this recipe for vegan or dairy-free options would require significant changes to the core ingredients (white chocolate and sweetened condensed milk). There are vegan white chocolate options and condensed coconut milk alternatives, but the ratios and final texture may vary, so experimentation would be needed.
Q: What kind of white chocolate should I use?
A: For the best results, use high-quality white baking chocolate bars (often labeled as white chocolate baking bars or confectionery coating). White chocolate chips often contain stabilizers that can make them difficult to melt smoothly and can result in a grainier fudge. Look for brands like Baker’s Premium for optimal texture and flavor.
More Easy Fudge Recipes to Try!
Marshmallow Fluff Fudge
Butterfinger Fudge
Halloween Fudge
Pralines and Cream Fudge
Indulge in Homemade Perfection
This 3-ingredient Red Velvet Fudge truly embodies the best of both worlds: gourmet taste and incredible ease. It’s a testament to how simple ingredients, when combined thoughtfully, can create a dessert that’s both visually stunning and irresistibly delicious. Whether you’re a seasoned baker or a complete novice, this recipe guarantees success and a truly satisfying sweet treat. So go ahead, whip up a batch, and delight your friends and family with this vibrant, chewy, and utterly delightful homemade fudge. Enjoy every rich, red velvet bite!
