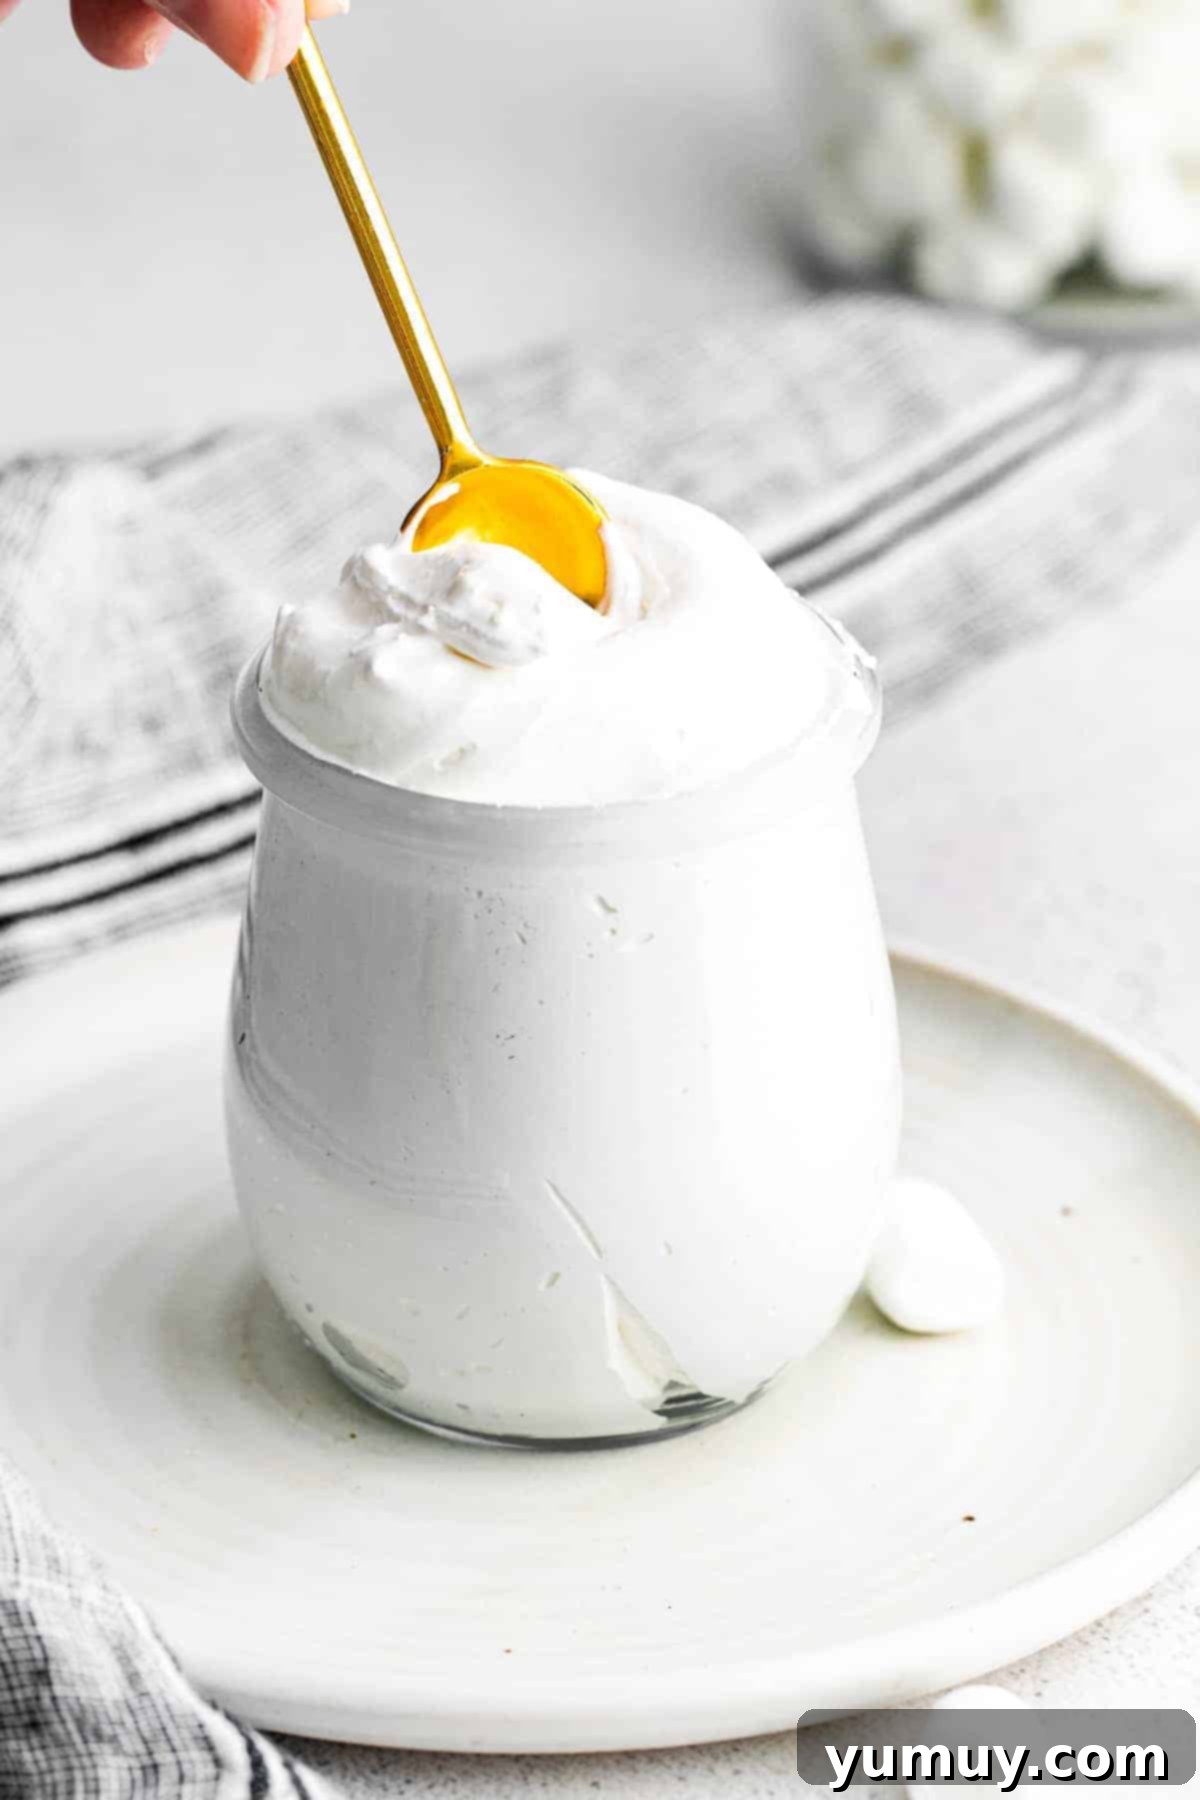
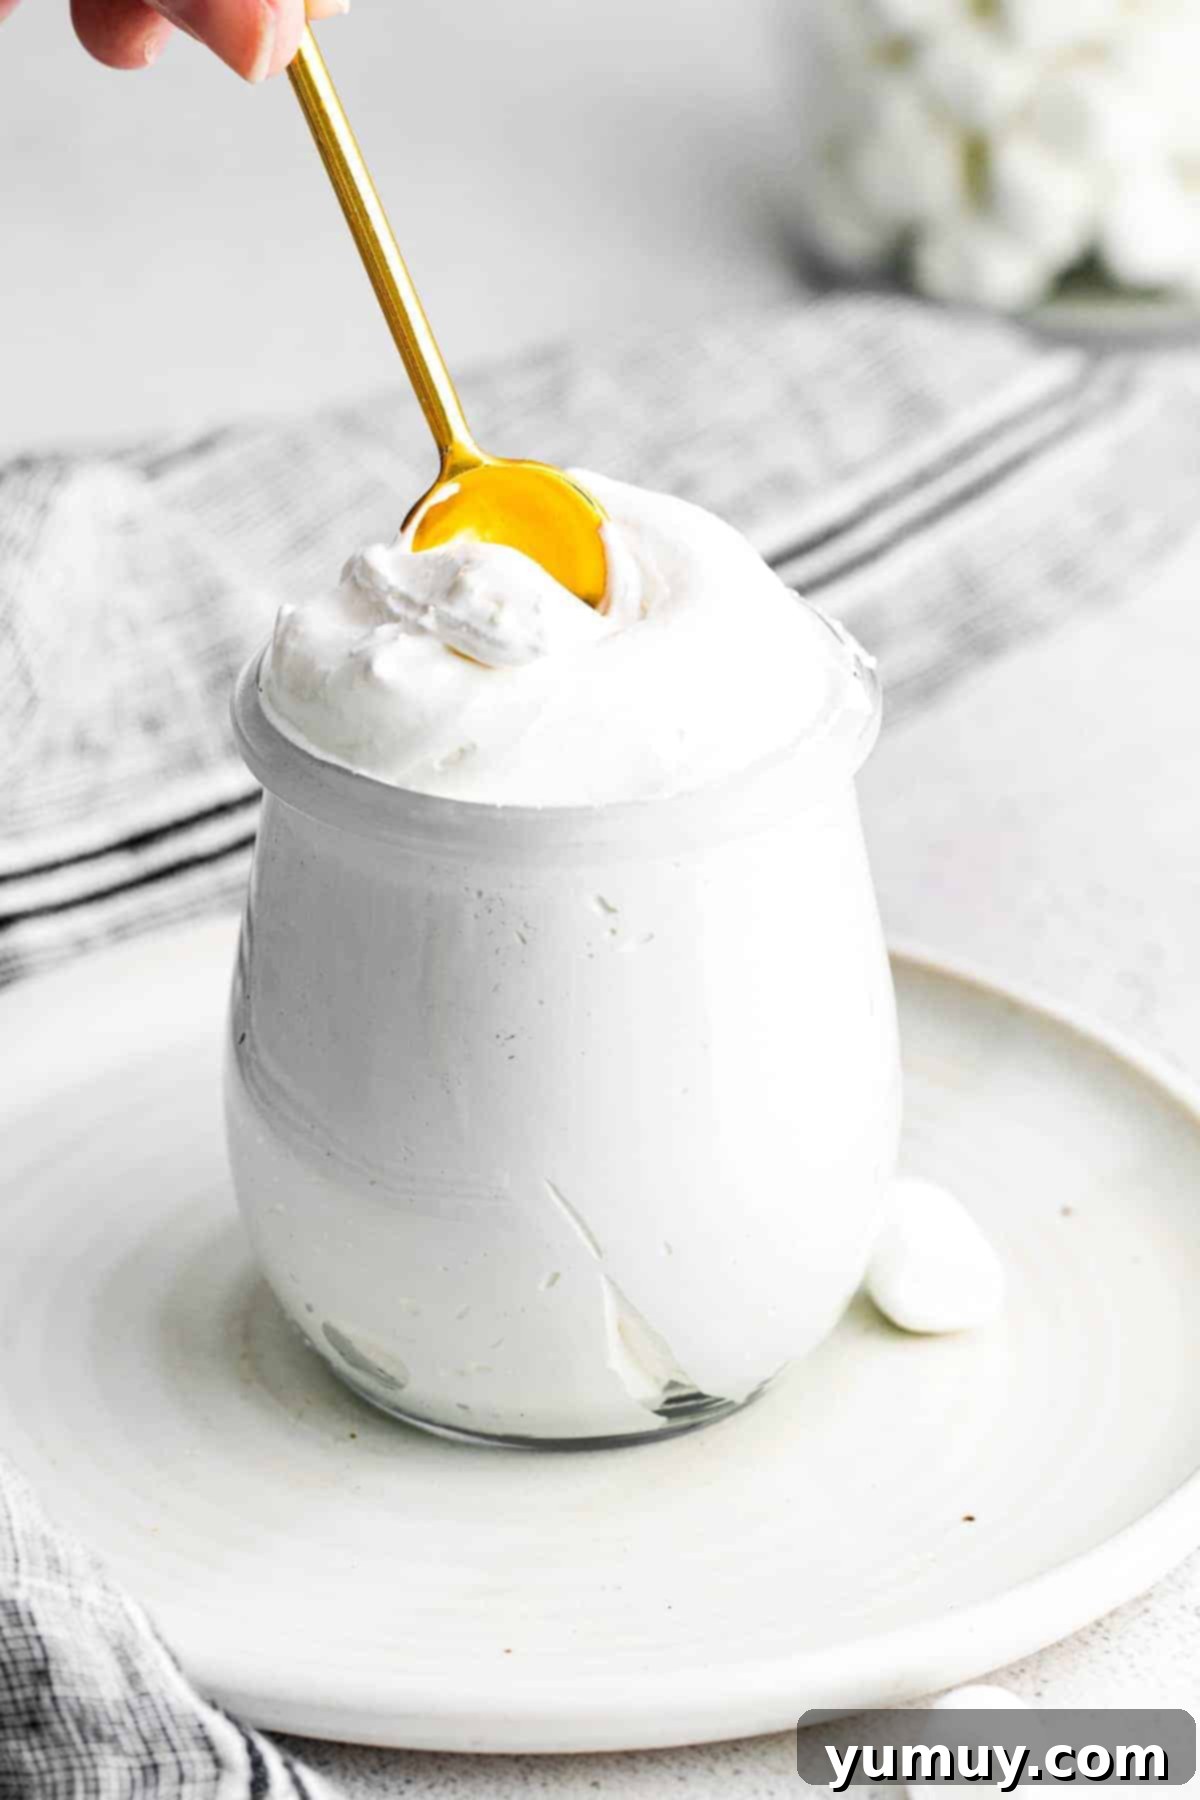
There’s something uniquely comforting about a classic fluffernutter sandwich, that delightful pairing of peanut butter and sweet, cloud-like marshmallow. While store-bought marshmallow fluff has its place, it often lacks the rich flavor and melt-in-your-mouth texture of a homemade version. That’s why embarking on the journey to create my own homemade marshmallow fluff became a culinary obsession – and a total game-changer for my family. This simple, four-ingredient marshmallow cream recipe whips up into a glossy, irresistibly sweet spread that tastes like pure joy. My kids adore it, and I appreciate that it’s an easy, budget-friendly option that far surpasses anything you can find in a jar.
Top Reader Reviews
- “Awesome marshmallow spread recipe. Quick and easy to make.” -Missy McMahon
- “I made this marshmallow fluff. I put it over a brownie and topped it with some rice crispy cereal with chocolate peanut butter topping, it’s called chocolate crunch brownies. The homemade marshmallow fluff was absolutely delicious. I will make it again and I won’t buy any more from the store. It’s that good” -Robin C.
Unveiling the Marshmallow Cream Recipe
If the thought of making marshmallow fluff from scratch seems daunting, let me assure you, it’s surprisingly straightforward. The secret lies in carefully heating sugar, water, and corn syrup to a precise temperature, then gradually incorporating this hot syrup into fluffy whipped egg whites. This process creates that signature ethereal, spreadable texture that makes homemade marshmallow cream so exceptional. Once you’ve experienced a fresh batch, you’ll want to dollop this delightful creation on everything from warm brownies and celebratory cupcakes to festive cookies, or simply enjoy it straight from the spoon. It’s also the star ingredient in my cherished fantasy fudge recipe, adding a unique richness and smoothness.
The Science of Sweetness: Why Humidity Matters
Through extensive testing, I’ve discovered that environmental humidity significantly impacts the final texture of homemade marshmallow fluff. Sugar is hygroscopic, meaning it naturally attracts and absorbs moisture from the air. On humid days, this can lead to your marshmallow fluff becoming overly sticky, weeping, or losing its beautiful volume and gloss. To achieve the best possible results – a light, airy, and perfectly spoonable marshmallow cream – I highly recommend preparing this recipe on a dry day. If your kitchen tends to be naturally muggy, consider running an air conditioner or even aiming a small fan nearby as the fluff cools and sets. This simple but effective tip ensures your homemade marshmallow fluff remains consistently delightful every time.
Homemade Marshmallow Fluff Recipe
Rate This Recipe
Ingredients
- ¼ cup water
- ½ cup granulated sugar
- ½ cup light corn syrup *
- 2 large egg whites
- 1 teaspoon pure vanilla extract (Homemade Vanilla Extract)
Equipment
- Kitchen Scale (optional)
- Candy Thermometer
- Hand Mixer or Stand Mixer
Instructions
Add the water, granulated sugar, and corn syrup to a small saucepan fitted with a candy thermometer.

Heat just until the mixture reaches the softball stage (240°F).

While the syrup is heating, add the egg whites to the bowl of a stand mixer fitted with the whisk attachment and beat on medium-high speed until soft peaks form, about 4-5 minutes.

Once the egg whites have formed soft peaks and the sugar syrup has reached 240°F, turn the mixer to low speed and slowly pour the sugar syrup into the egg whites. If you can, pour the sugar syrup down the side of the bowl so it has time to cool slightly before hitting the egg whites–but be careful!

Once all of the syrup has been added to the egg whites, add the vanilla.

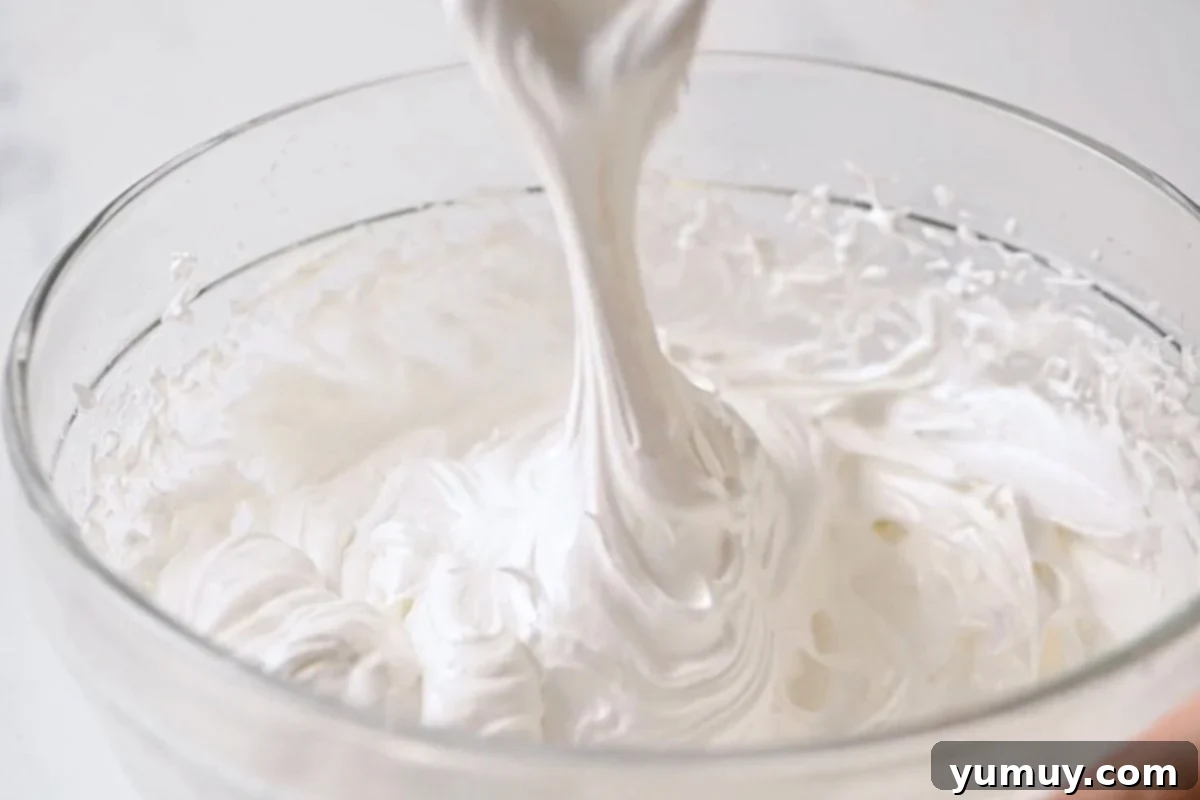
Turn the mixer to high speed and beat until stiff peaks form, about 7-8 minutes.

Notes
Yield: This recipe makes 2 cups of marshmallow cream.
*I found that light corn syrup worked best for flavor, color, and texture. However, honey, golden syrup, or agave nectar will also work (but will change the color and flavor of the fluff).
Tips:
- This recipe turns out most reliably in a dry or air-conditioned kitchen. Humidity can negatively impact the final texture, making your fluff too sticky.
- Use a candy thermometer and make sure your syrup reaches exactly 240°F (soft-ball stage). If it’s undercooked, your fluff will be runny; if overcooked, it’ll be dense and grainy.
- Add ⅛ teaspoon of cream of tartar to the egg whites before whipping to help stabilize the fluff and prevent collapse, especially in humid climates.
- The hot syrup will cook the egg whites, making them perfectly safe to eat!
- Let the syrup rest for 10-15 seconds off the heat before streaming it into the egg whites. This helps reduce the risk of curdling or cooking the eggs.
- Slowly add your syrup into the egg-white mixture. If you pour it in too fast, you can run into issues while trying to mix it. I recommend pouring the syrup down the side of the bowl.
- You can switch things up by using almond extract, peppermint, or maple for seasonal twists.
- Continue whipping until the fluff looks glossy, thick, and holds a stiff peak that curls just slightly at the tip. That’s the sign it’s perfect.
- When stored in the fridge, the fluff may deflate slightly. Bring it to room temperature and re-whip for 1-2 minutes to restore its volume and texture.
Storage: Store marshmallow fluff in an airtight container in the refrigerator for up to 2 weeks or in the freezer for up to 3 months.
Calories from Fat 9
Share this recipe:
- Share on Facebook
- Share on X
Did You Make This?
We love seeing what you’ve made! Tag us on social media at
@easydessertrecipes for a chance to be featured.
Crafting Your Cloud-Like Creation: A Step-by-Step Guide
Creating homemade marshmallow fluff is a rewarding experience, and following these detailed steps will ensure a perfect, glossy, and impossibly fluffy result every time.
1. Boil the Sugar Syrup to Perfection
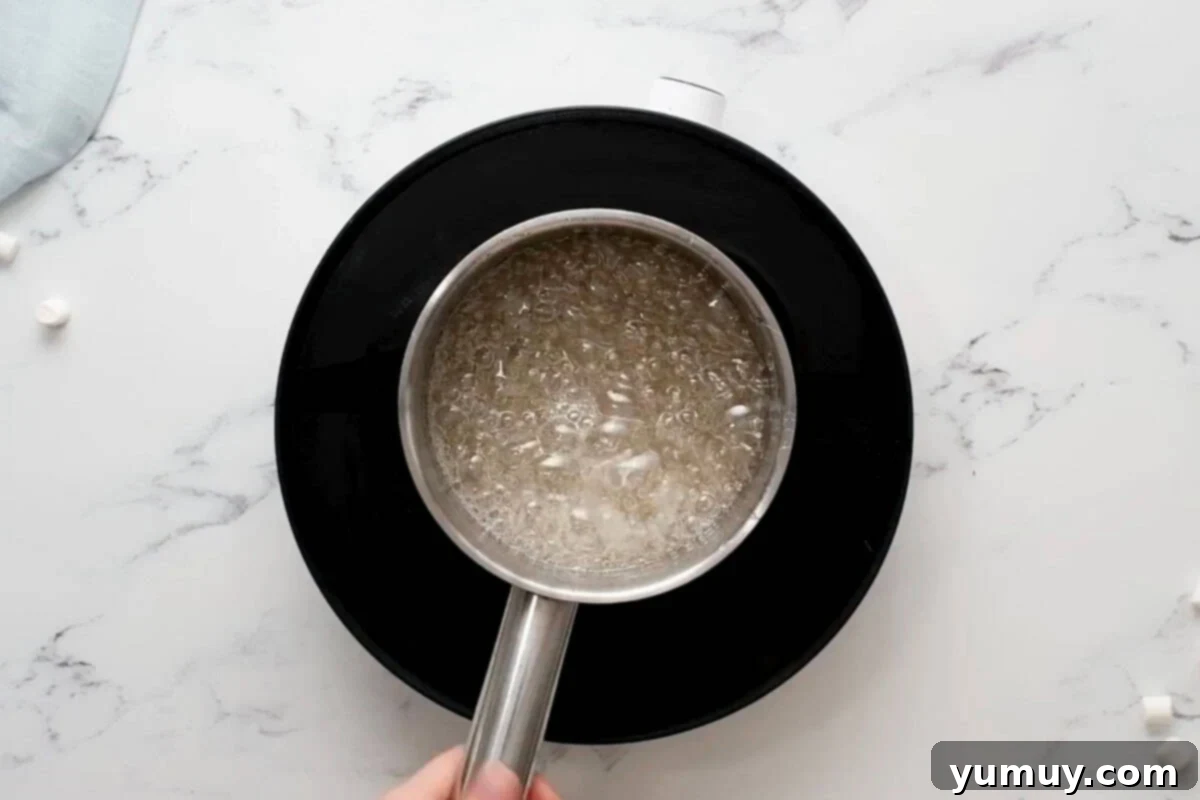
Begin by combining ¼ cup of water, ½ cup of granulated sugar, and ½ cup of light corn syrup in a small, heavy-bottomed saucepan. Attach a reliable candy thermometer to the side of the pan, ensuring the tip is submerged in the liquid but not touching the bottom. Stir the mixture gently over medium-low heat until both the sugar and corn syrup are completely dissolved. It’s crucial not to continue stirring once the mixture comes to a boil and begins to simmer, as this can encourage the formation of sugar crystals, which will result in a grainy fluff. The corn syrup acts as an anti-crystallization agent, but excessive stirring at this stage can still lead to issues.
2. Achieve the Softball Stage
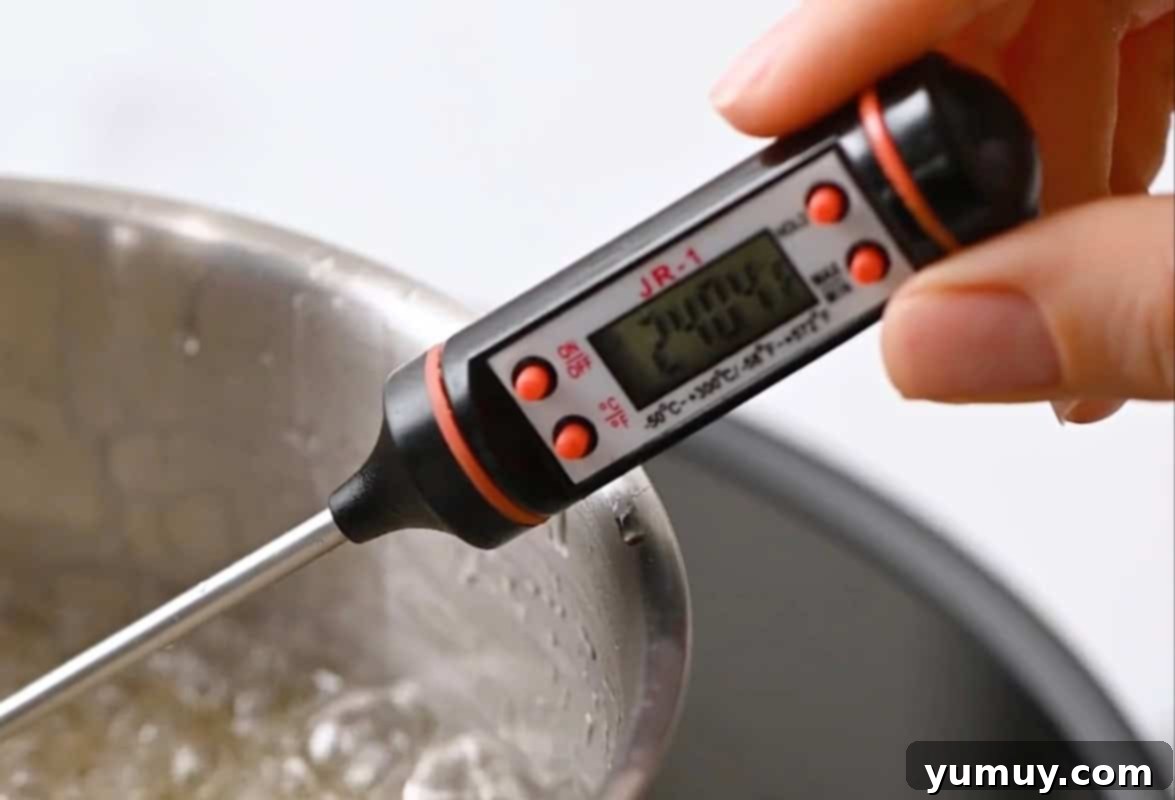
Continue to heat the sugar syrup, monitoring the temperature constantly with your candy thermometer. Your goal is to reach precisely the softball stage (240°F). This specific temperature is critical for the fluff’s texture: too low, and your fluff will be runny; too high, and it will become dense and possibly grainy. Once the thermometer registers 240°F, immediately remove the saucepan from the heat. Allow the hot syrup to rest for about 10-15 seconds off the heat. This brief cooling period helps prevent the syrup from cooking the egg whites too rapidly when combined.
3. Whip the Egg Whites to Soft Peaks
While your sugar syrup is heating, prepare your egg whites. Separate 2 large egg whites, ensuring no yolk whatsoever enters the bowl, as fat can prevent egg whites from whipping properly. Place the egg whites into the clean, dry bowl of a stand mixer fitted with the whisk attachment (or use a large glass bowl with a hand mixer). Begin beating on medium-high speed. Watch closely as the egg whites transform; they will first become foamy, then increase in volume. Continue beating until they form soft peaks – meaning when you lift the whisk, the peaks gently curl over. This usually takes about 4-5 minutes. For added stability, especially in humid conditions, you can optionally add ⅛ teaspoon of cream of tartar at the beginning of whipping.
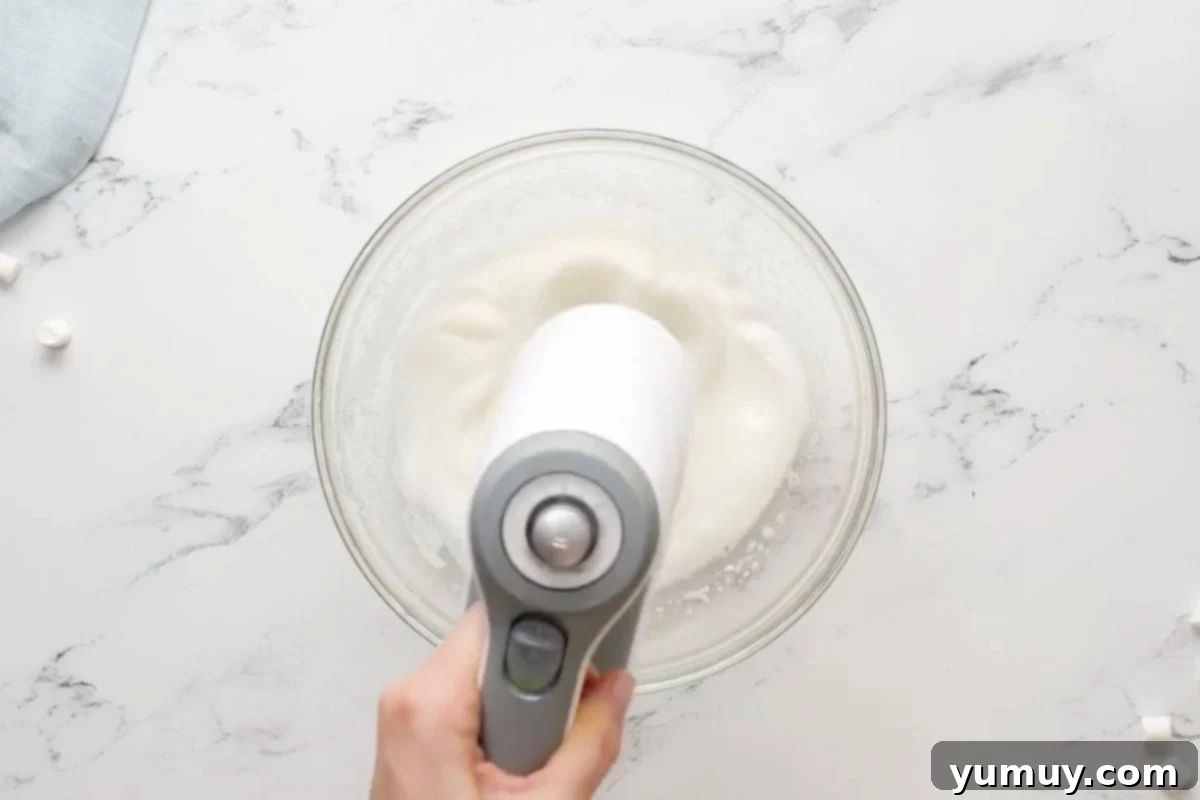
4. Slowly Stream in the Hot Syrup
Once your egg whites have reached soft peaks and the sugar syrup is at 240°F and has cooled for a moment, it’s time for the crucial combination. Turn your mixer down to its lowest speed. With extreme caution, slowly and steadily pour the slightly cooled sugar syrup into the whipped egg whites. For best results and to minimize the risk of cooking the eggs, try to stream the syrup down the inner side of the mixing bowl. This allows the hot syrup to cool just a fraction more before fully incorporating. Pouring too quickly or all at once can lead to cooked egg bits or a clumpy, uneven texture.
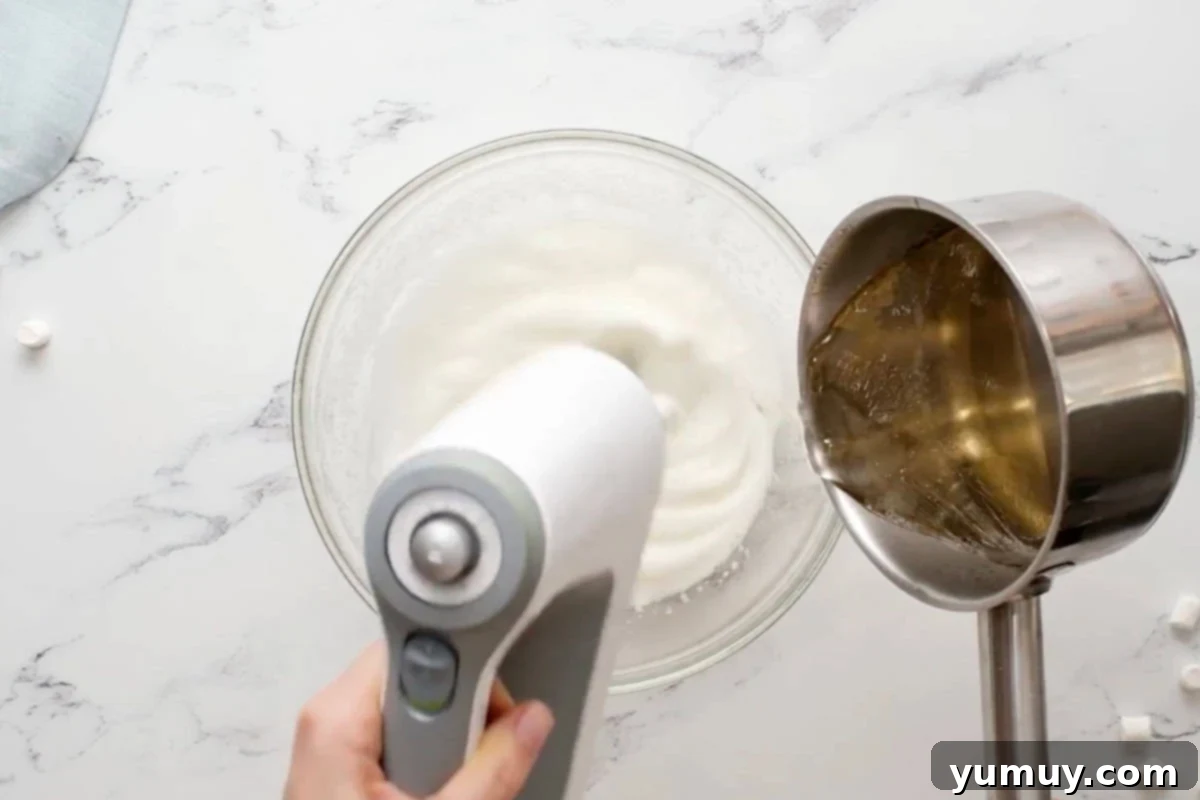
5. Add Vanilla and Whip to Stiff Peaks
After all the sugar syrup has been carefully incorporated into the egg whites, add 1 teaspoon of pure vanilla extract to the mixture. Increase the mixer speed to high and continue beating for approximately 7-8 minutes. During this stage, the marshmallow fluff will transform from a warm, loose mixture into a glossy, thick, and incredibly voluminous spread. You’ll know it’s ready when it holds stiff peaks that stand tall and curl just slightly at the very tip when you lift the whisk. This perfect texture indicates that the fluff is stable, airy, and ready for all your sweet endeavors. You can also experiment with other extracts like almond, peppermint, or maple for delightful seasonal variations.
Beyond the Fluffernutter: Creative Uses for Marshmallow Fluff
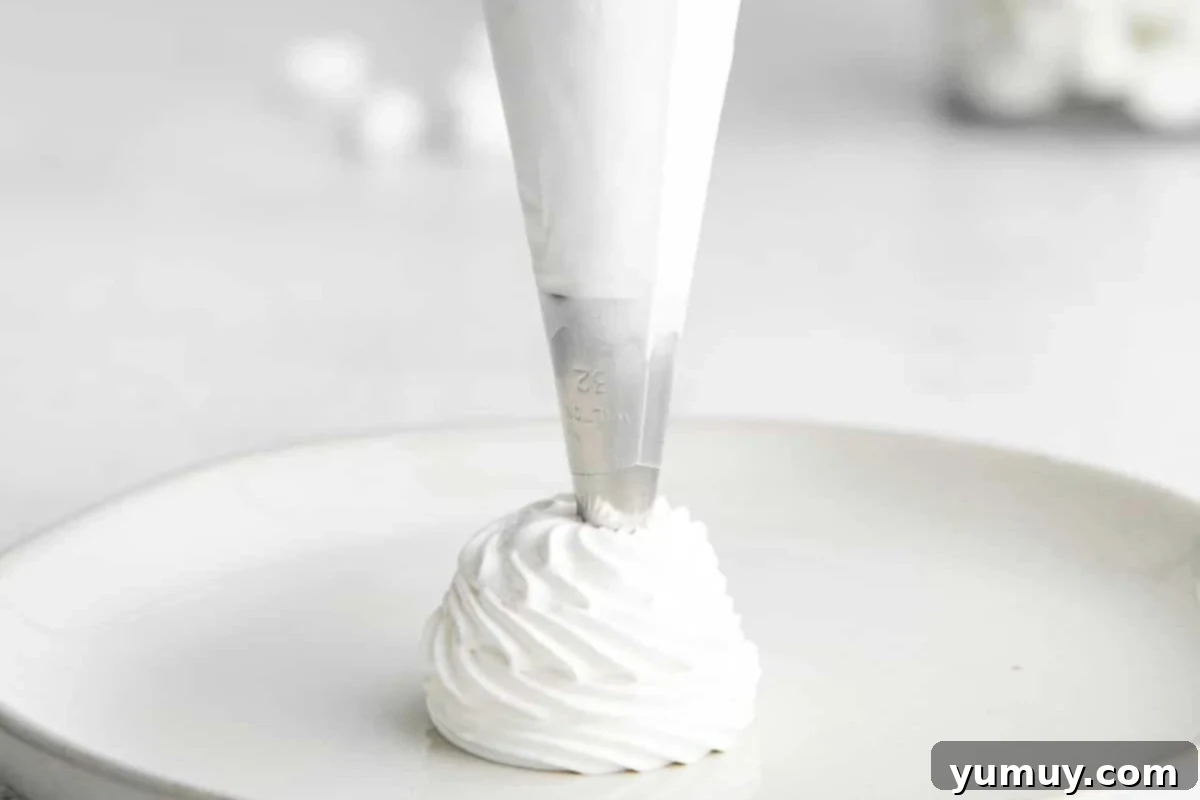
Homemade marshmallow fluff is incredibly versatile and can elevate a multitude of desserts. Of course, it’s perfect for that iconic fluffernutter sandwich, but don’t stop there! Try spreading this luscious marshmallow cream between peanut butter cookies for a truly decadent sandwich cookie treat. Swirl generous dollops into steaming Mexican hot chocolate for a rich, comforting beverage, or layer it onto gooey s’mores brownies for an extra boost of marshmallow goodness. It also makes a fantastic, pipeable frosting for special occasions; use it to top a celebratory s’mores cake or delightful hot chocolate cupcakes. Its stable, fluffy texture holds up beautifully, making your desserts look as incredible as they taste.
Preserving Your Sweet Creation: Storage and Freezing Tips
To keep your homemade marshmallow cream at its best, store it in an airtight container in the refrigerator. It will remain fresh and delicious for up to 2 weeks. It’s important to note that the cold environment of the fridge may cause the fluff to deflate slightly. To restore its original volume and airy texture, simply bring it back to room temperature and give it a quick re-whip with a mixer for 1-2 minutes before serving.
If you’d like to extend its shelf life even further, marshmallow fluff freezes beautifully. For convenient portioning, I recommend scooping the fluff into a Ziplock bag and spreading it out into an even, thin layer before sealing. This method allows you to easily break off and defrost only the amount you need at a time. When properly stored in an airtight container or freezer bag, homemade marshmallow fluff will stay fresh in the freezer for up to 3 months. Remember to thaw it in the refrigerator overnight and then re-whip it to regain its perfect consistency before enjoying.
Frequently Asked Questions About Homemade Marshmallow Fluff
Is it safe to eat raw egg whites in this recipe?
While the recipe starts with raw egg whites, the method involves slowly pouring hot sugar syrup (heated to 240°F) into them. This hot syrup effectively cooks the egg whites, making the marshmallow fluff perfectly safe for consumption. The process is similar to making Italian meringue, where the heat from the sugar syrup pasteurizes the egg whites.
Can I substitute corn syrup with another ingredient?
Light corn syrup is highly recommended for its ability to prevent crystallization and provide a smooth texture and clear color. However, if you need a substitute, options like honey, golden syrup, or agave nectar can be used. Be aware that these alternatives will slightly alter the flavor and color of your marshmallow fluff. For instance, honey will impart a distinct floral note and a golden hue.
My marshmallow fluff turned out too runny. What went wrong?
A runny fluff is usually a sign that the sugar syrup did not reach the correct temperature (240°F / softball stage). If the syrup is undercooked, it won’t be thick enough to properly stiffen the egg whites. Ensure your candy thermometer is accurate and that its tip is fully submerged in the syrup without touching the bottom of the pan for the most precise reading.
My marshmallow fluff is grainy. How can I fix this?
Graininess typically occurs if sugar crystals formed in the syrup. This can happen if you stirred the syrup excessively after it began boiling, or if sugar crystals clung to the sides of the saucepan and fell back into the syrup. To prevent this, avoid stirring once boiling, and use a wet pastry brush to wipe down the sides of the pan if you see any crystals forming.
Can I make flavored marshmallow fluff?
Absolutely! The vanilla extract can be replaced or complemented with other flavorings. Try almond extract for a nutty twist, peppermint extract for a festive holiday treat, or even a touch of orange zest for a bright, citrusy note. Add these extracts at the same time as the vanilla in the recipe.
Explore More Delicious Toppings!
Homemade Hot Fudge Sauce
Brown Sugar Caramel Sauce
How to Make Lemon Curd
Dulce de Leche Recipe
Ready to Whip Up Your Own Marshmallow Magic?
Embrace the simple joy of making homemade marshmallow fluff and say goodbye to store-bought versions forever! This easy-to-follow recipe promises a sweet, glossy, and perfectly fluffy marshmallow cream that’s ideal for fluffernutter sandwiches, decadent dessert toppings, or simply enjoyed by the spoonful. With just a few common ingredients and a little patience, you’ll be creating a delightful treat that everyone will adore. Give this homemade marshmallow fluff a try, and prepare to be amazed by the delicious difference!
