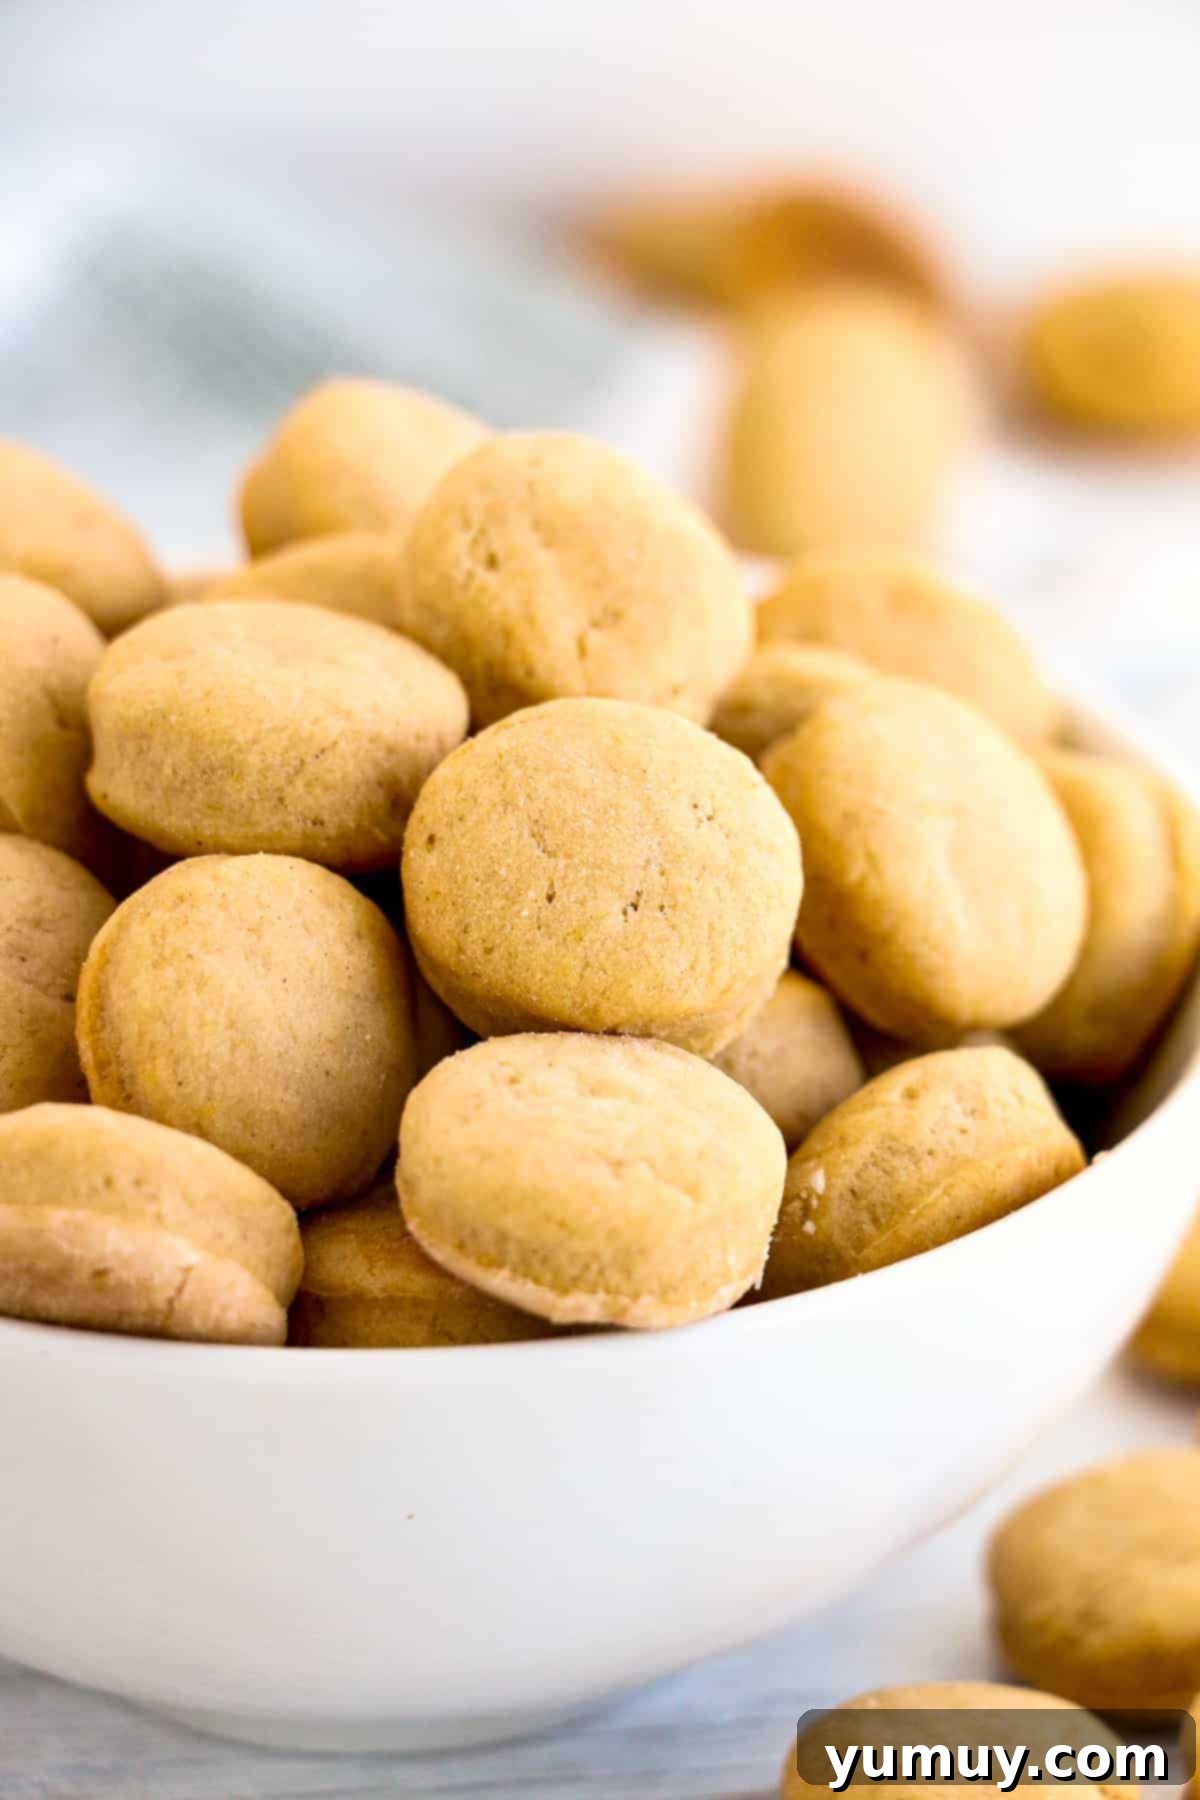
Homemade Peanut Butter Dog Treats: A Wholesome & Easy Recipe Your Dog Will Love!
As devoted pet parents, our furry companions are integral members of our families. Just as we enjoy delicious homemade cookies, our beloved dogs deserve the very best treats made with love and wholesome ingredients. This ultimate recipe for crunchy peanut butter dog treats is not only incredibly easy to make but also packed with flavor that will have tails wagging with approval. Forget store-bought options filled with unknown additives; with just a handful of trusted ingredients, you can bake a batch of healthy dog treats in under 30 minutes!
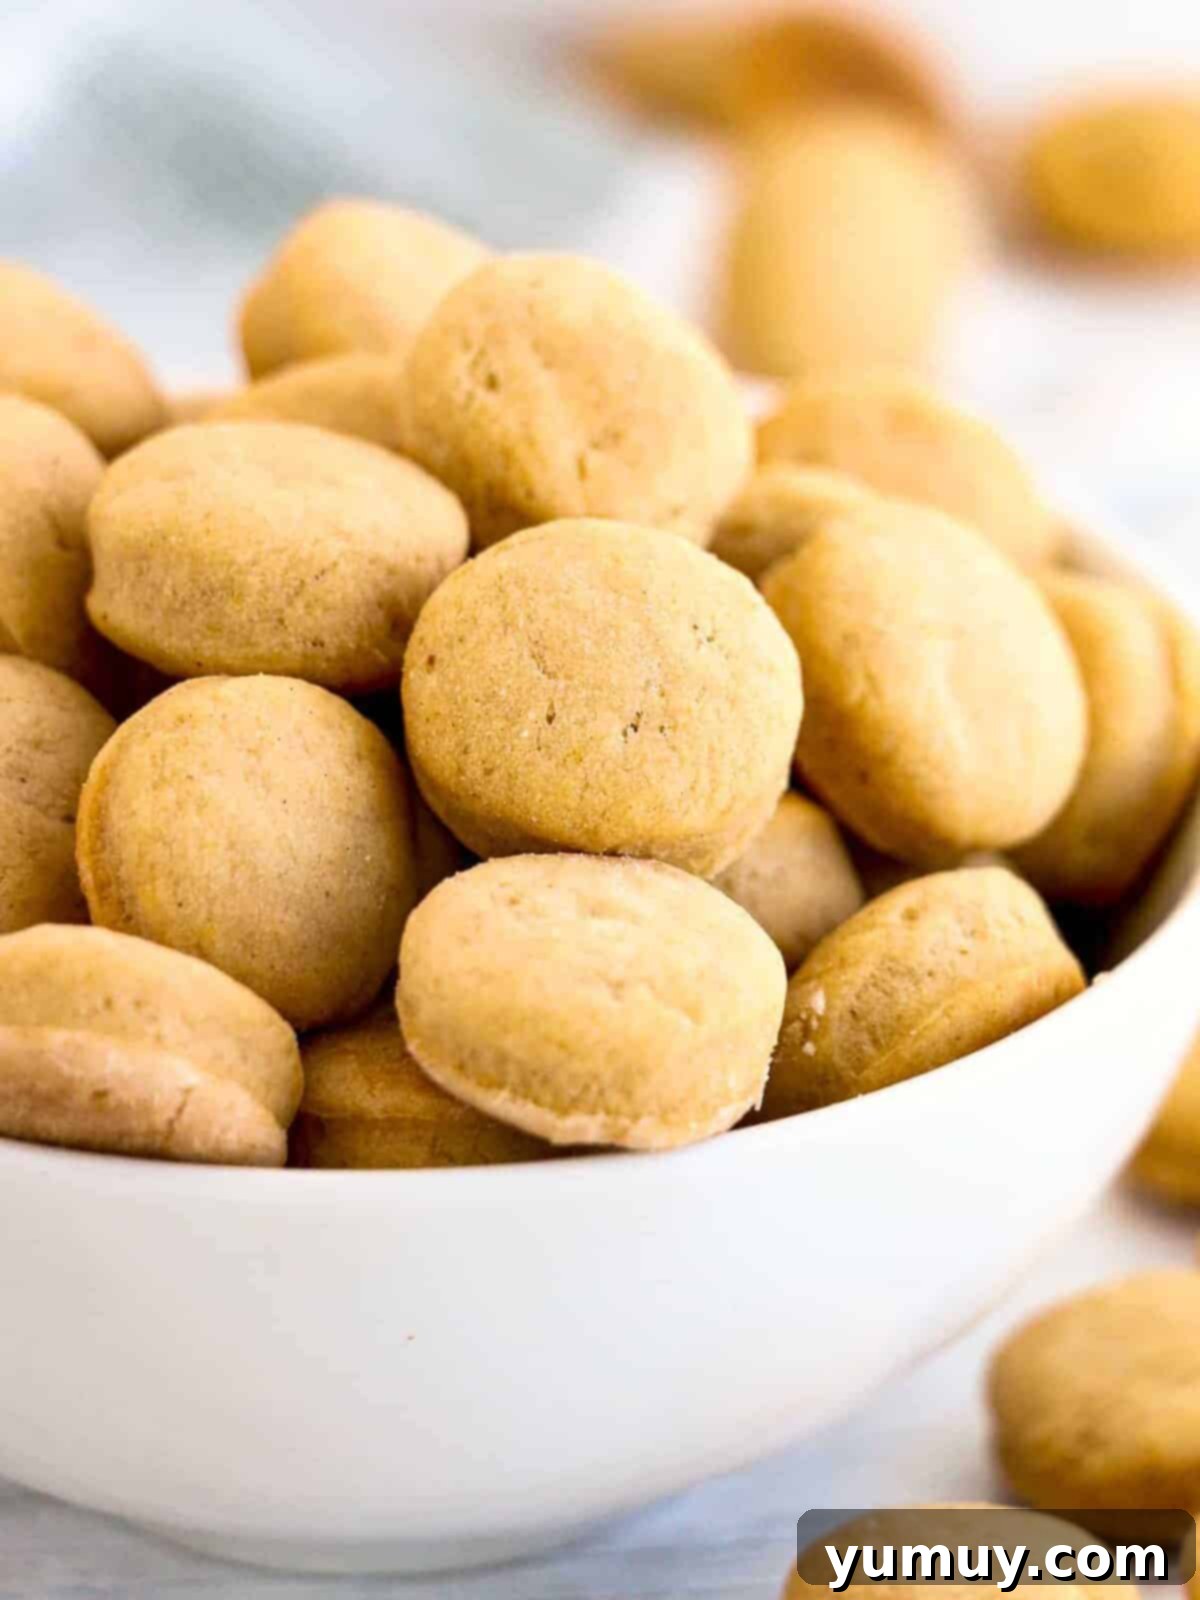
Top Reader Review
- “My furbabies loved this, I added in blueberries and they loved it.” – Cheryl Anderson
Homemade Peanut Butter Cookies for Dogs: A Healthy & Delicious Choice
Whenever I bake a batch of cookies for my human family, I always make sure my furry friends don’t feel left out. These easy homemade dog treats are not only safe and incredibly tasty but also remarkably simple to whip up right in your own kitchen. I carefully select each ingredient to ensure maximum health benefits for my pups. This recipe features wholesome whole wheat flour for an added fiber boost, nourishing coconut oil to promote a shiny coat and healthy skin, and a high-quality, xylitol-free peanut butter, giving me complete peace of mind.
My simple recipe for homemade dog treats relies on just five fundamental ingredients: flour, water, coconut oil, baking powder, and peanut butter. You won’t find any mysterious fillers, artificial preservatives, or questionable additives here—just real, recognizable ingredients that you can feel absolutely good about feeding to your best friend. These peanut butter dog cookies keep exceptionally well and freeze beautifully, making it easy to prepare a large batch ahead of time for a steady supply of happy moments.
It’s worth noting that several readers have enthusiastically shared with me how much they (and even their children!) enjoy the taste of these dog cookies. I’m delighted to confirm that these treats are perfectly safe for both pups and humans to enjoy, though they are intentionally unsweetened for canine health.
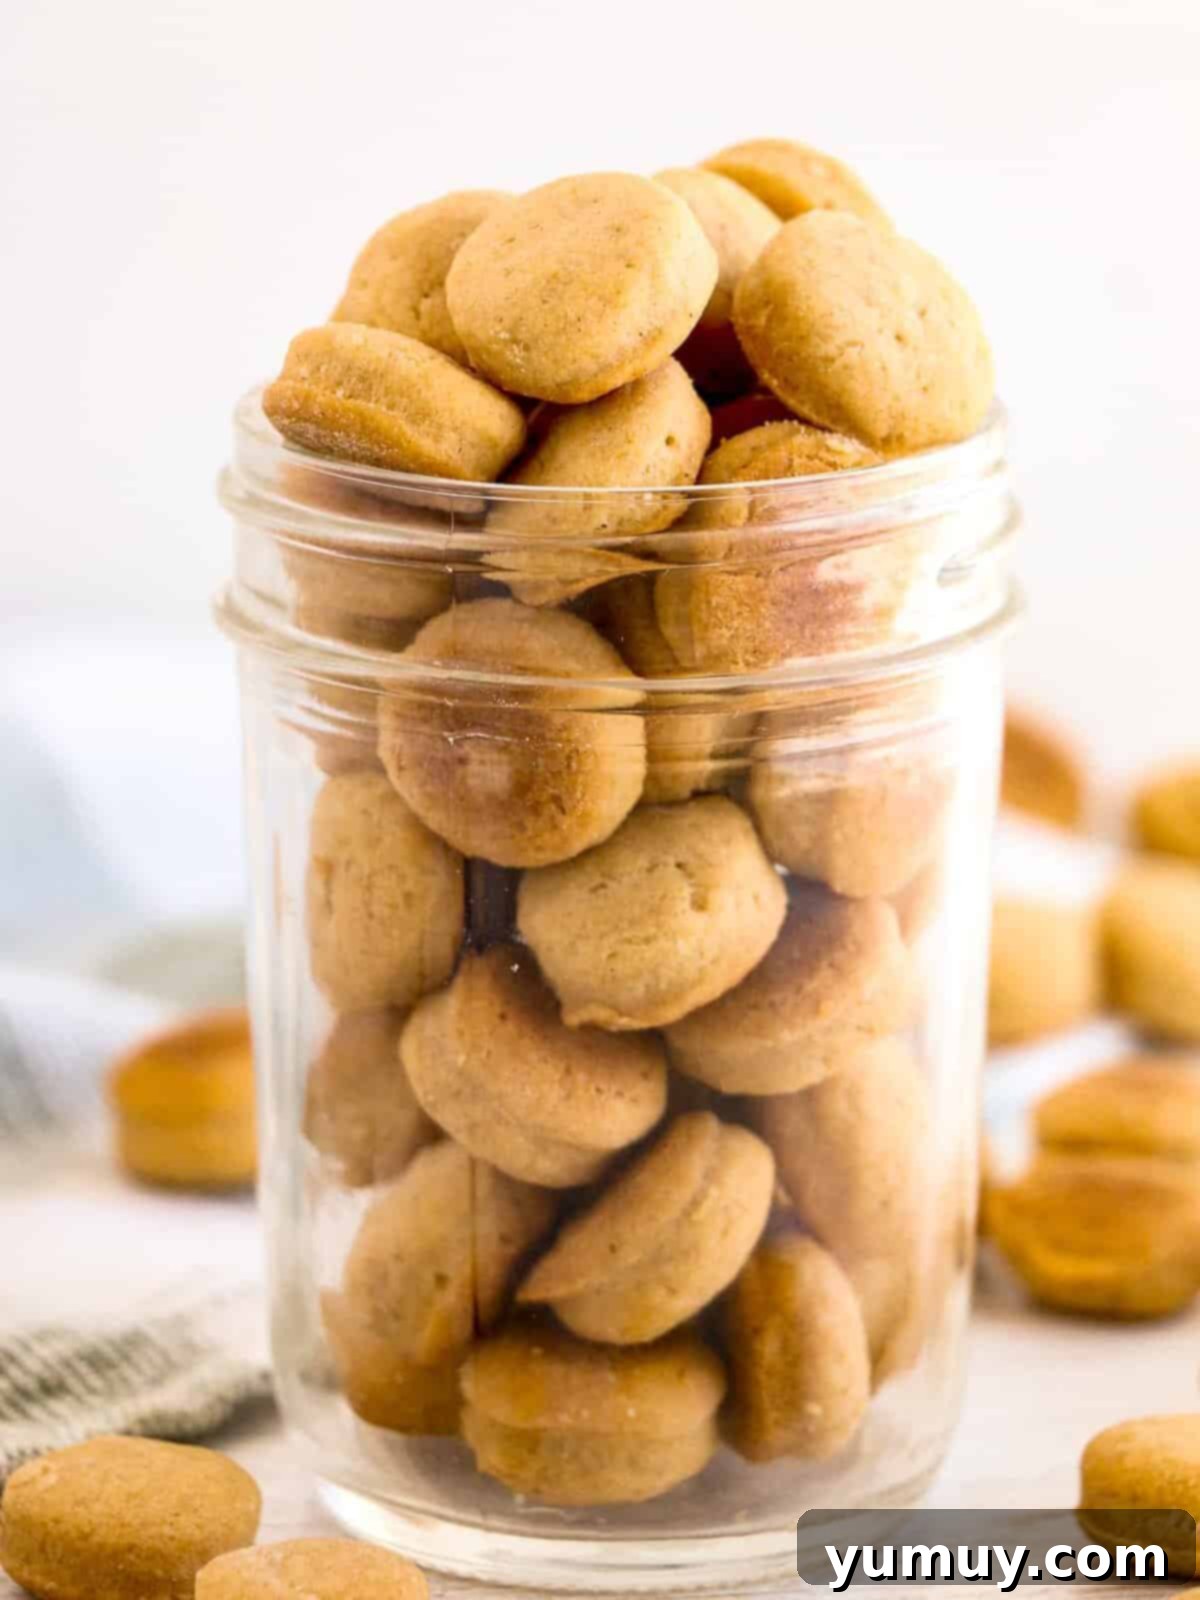
Why Choose Homemade Dog Treats?
Opting for homemade peanut butter dog treats offers numerous advantages over commercially produced options. First and foremost, you have complete control over every ingredient. This eliminates concerns about artificial colors, flavors, preservatives, and fillers that are often found in store-bought treats and can be detrimental to your dog’s health. By choosing wholesome, natural ingredients, you’re providing your dog with superior nutrition.
Secondly, homemade treats are often more economical in the long run. Buying high-quality dog treats can be expensive, especially for larger dogs or multi-pet households. Making your own allows you to produce a substantial quantity of healthy dog cookies for a fraction of the cost, ensuring your pup never runs out of their favorite snack.
Finally, there’s an undeniable joy and bonding experience in preparing something special for your furry family member. The act of baking these DIY dog treats, knowing exactly what goes into them, is a tangible expression of your love and care. Plus, the fresh aroma of baking cookies will fill your home, making it a treat for everyone!
Understanding the Wholesome Ingredients
Every ingredient in these easy peanut butter dog treats is carefully selected for its nutritional benefits and safety for your canine companion. Let’s delve into why these specific components make for the best healthy dog treats:
- Whole Wheat Flour: Unlike refined white flour, whole wheat flour retains the entire grain kernel, providing essential fiber, vitamins, and minerals. Fiber aids in healthy digestion and can help regulate blood sugar levels. For dogs with wheat sensitivities, alternatives like rice flour or coconut flour work wonderfully and are excellent wheat-free options. Always consult with your vet if you’re unsure about dietary changes for your pet.
- Water: Simple and essential, water helps bind the ingredients together to form a pliable dough. It ensures the treats have the right consistency for rolling and baking.
- Peanut Butter: The star of these dog cookies! Peanut butter is a fantastic source of protein, healthy fats, and vitamins B and E. Its rich flavor is universally loved by dogs, making these treats irresistible. However, it is absolutely critical to choose a xylitol-free peanut butter. Xylitol is an artificial sweetener that is highly toxic and potentially fatal to dogs, even in small amounts. Always read ingredient labels carefully to ensure your peanut butter is 100% natural and safe.
- Coconut Oil: A true superfood for dogs, coconut oil offers a myriad of benefits. It’s known for supporting healthy skin and a shiny coat, improving digestion, boosting the immune system, and even providing a quick energy source due to its medium-chain triglycerides (MCTs). Using room-temperature coconut oil ensures it blends smoothly into the dough.
- Baking Powder: A leavening agent that gives the treats a slight rise and contributes to their desired crunchy texture. It’s safe for dogs in the small quantities used in baking.
Customizing Your Homemade Peanut Butter Dog Treats
Every pup has unique preferences. Some dogs adore super crunchy treats, perfect for dental health, while others, especially older dogs or those with sensitive teeth, might prefer softer bites. When you’re making your homemade peanut butter dog cookies, you have the flexibility to easily customize their texture. For an extra crunch that can help clean teeth, simply bake the treats a little longer until they are golden brown and firm. If a softer, chewier texture is desired, reduce the baking time slightly. This simple adjustment allows you to tailor these 4-ingredient peanut butter dog treats perfectly to your pup’s individual needs and preferences, ensuring maximum enjoyment for every bite.

Peanut Butter Dog Treats Recipe: The Best Homemade Dog Cookies
5 minutes
15 minutes
20 minutes
48
treats
Print
Rate
Ingredients
- 2½ cups whole wheat flour *
- 1 cup water
- ½ cup peanut butter ** (Xylitol-free!)
- ⅓ cup coconut oil room temperature
- 1 tablespoon baking powder
Equipment
- Large Mixing Bowl
- Baking Sheet
- Parchment Paper
- Rolling Pin
- Cookie Cutters (or knife)
- Measuring Cups and Spoons
Instructions
- Prepare for Baking: Preheat your oven to a cozy 375°F (190°C). Line a standard baking sheet with parchment paper to prevent sticking and ensure easy cleanup. Set this aside as you prepare the dough.
- Combine Dry & Wet: In a large mixing bowl, thoroughly combine the 2½ cups of whole wheat flour, 1 cup of water, ½ cup of xylitol-free peanut butter, ⅓ cup of room-temperature coconut oil, and 1 tablespoon of baking powder. Mix vigorously until all ingredients are well-blended and a cohesive, firm dough forms.

- Roll the Dough: Lightly flour a clean work surface. Transfer the dough onto this surface and, using a rolling pin, roll it out until it is approximately ½-inch thick. For crispier treats, you can roll it a bit thinner, around ¼-inch.

- Cut the Treats: Using your favorite dog-themed cookie cutters, a sharp knife, or even the rim of a small glass, cut out the treats into desired shapes and sizes. Place the cut pieces onto your prepared baking sheet, leaving a small space between each.

- Bake to Perfection: Transfer the baking sheet to your preheated oven. Bake the treats for approximately 15 minutes, or until they achieve a lovely golden-brown color and feel firm to the touch. Baking longer will result in crunchier treats, while a slightly shorter time yields a softer texture.

- Cool Completely: Once baked, remove the treats from the oven and let them cool completely on the baking sheet or a wire rack. This is crucial for them to firm up and become perfectly crunchy. Store them properly once fully cooled.
Notes & Tips for Success
**Important Note: It is absolutely vital to ensure that the peanut butter you use contains no xylitol. Xylitol is an artificial sweetener that is highly toxic to dogs and can cause severe health issues, including liver failure and death. Always double-check the ingredient label for safety.
Additional Tips for Making the Best Homemade Dog Treats:
- Flavor Variations: While peanut butter is a canine favorite, you can easily substitute it with other dog-safe purees. Plain pumpkin puree or pureed sweet potatoes (ensure no added sugars or spices) are fantastic alternatives that also offer great nutritional benefits.
- Cookie Cutter Creativity: Don’t limit yourself to traditional cookie cutters! I’ve found an apple corer works perfectly for small, round treats. You can use any cookie cutter shape you have on hand, or simply use a pizza cutter to make convenient squares or strips. The size and shape are entirely up to you and your dog’s preference.
- Human-Friendly Too: Every single ingredient in this recipe is safe for human consumption. While these treats are intentionally sugar-free and might not taste as sweet to you as they do to your fur baby, they make a surprisingly healthy and satisfying snack. Little ones might even enjoy them as a wholesome, low-sugar option!
- Moderation is Key: As with any treat, moderation is important. I always recommend starting with just one homemade dog treat to observe how your dog tolerates it, especially if they have any potential sensitivities to ingredients like wheat flour. If no adverse reactions occur, you can typically give your dog 2-5 treats per day. Keep in mind that each treat, when made to the size pictured, contains approximately 50 calories.
Storage for Freshness: To keep your homemade peanut butter dog treats at their best, store them in an airtight container at room temperature for up to 5 days. For longer storage, they freeze beautifully for up to 3 months. When ready to serve from the freezer, simply let them thaw at room temperature.
Calories from Fat 27
Becky Hardin
Did You Make This?
We love seeing what you’ve made! Tag us on social media at
@easydessertrecipes
for a chance to be featured.
How to Make Peanut Butter Dog Cookies: Step-by-Step Guide
Creating these delicious homemade dog treats is a straightforward process. Follow these detailed steps to ensure a perfect batch every time!
Step 1: Prep the Oven and Ingredients
Begin by preheating your oven to 375°F (190°C). This ensures the oven is at the correct temperature when your dough is ready. Line a baking sheet with parchment paper; this step is crucial for preventing the treats from sticking and makes cleanup a breeze. Set your prepared baking sheet aside. Before you start mixing, make sure your coconut oil and peanut butter are at room temperature. This will make them much easier to combine smoothly with the other ingredients, resulting in a consistent dough.
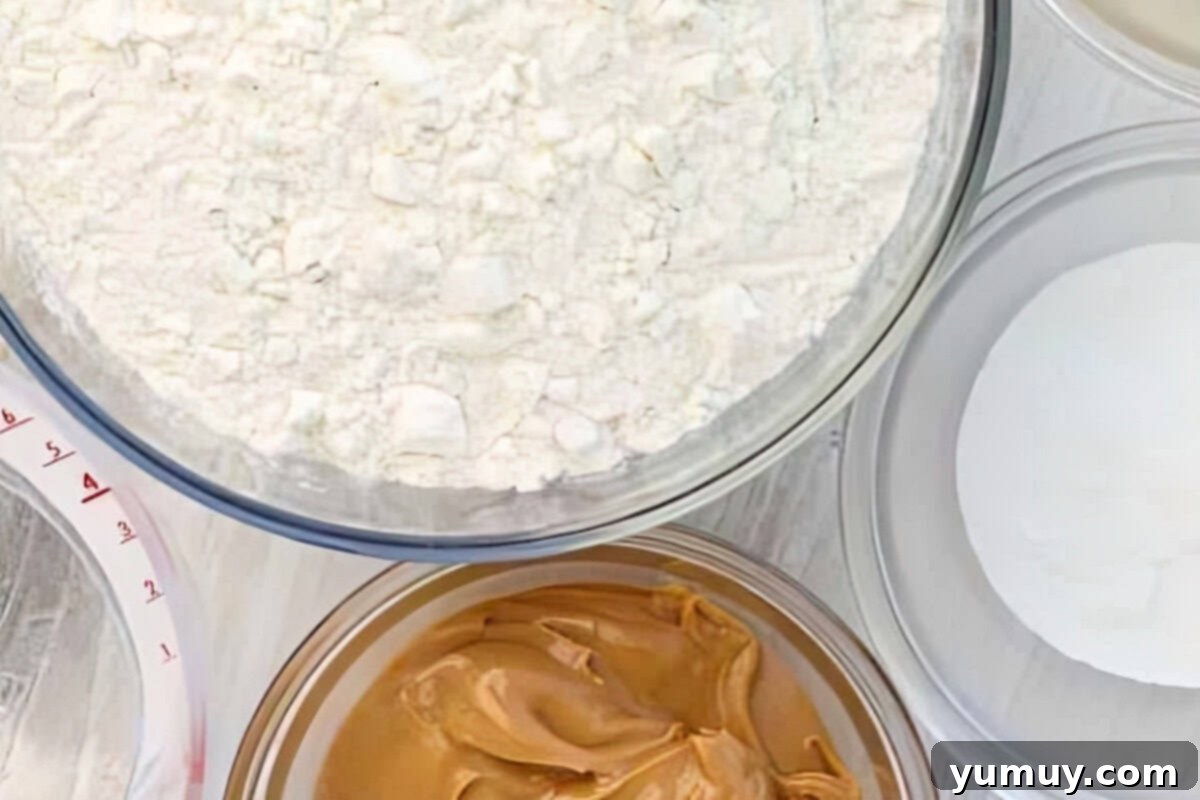
Step 2: Measure and Combine All Ingredients
In a spacious mixing bowl, carefully measure and add all five ingredients: 2½ cups of whole wheat flour, 1 cup of water, ½ cup of xylitol-free peanut butter, ⅓ cup of room-temperature coconut oil, and 1 tablespoon of baking powder. Accuracy in measuring ensures the treats have the right texture and consistency. Always prioritize a high-quality, safe peanut butter.
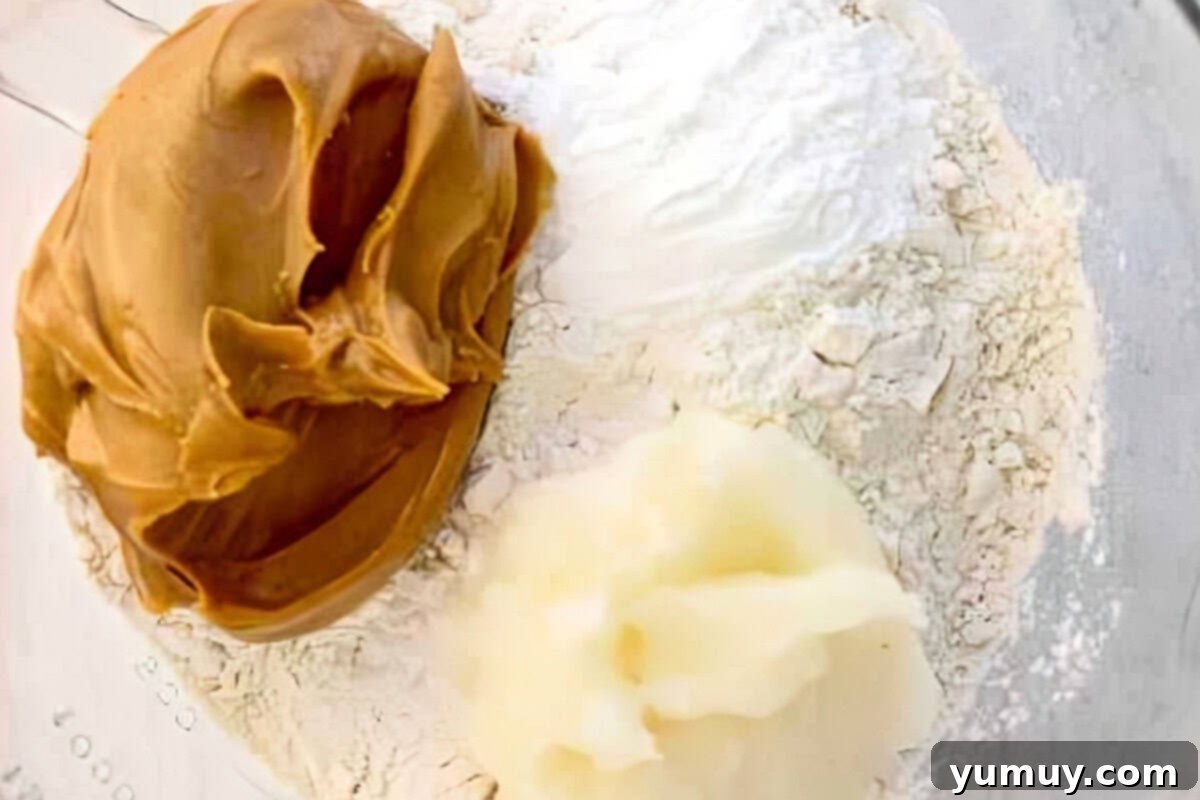
Step 3: Mix the Dough Until Well Blended
Using an electric hand mixer on low speed, or even just a sturdy rubber spatula, mix all the ingredients thoroughly. Continue mixing until a uniform and firm dough forms. The dough should be well-blended, with no dry spots of flour visible. The consistency should be pliable enough to roll out without being too sticky or crumbly. If it’s too dry, add a tiny bit more water; if too wet, a sprinkle of flour.
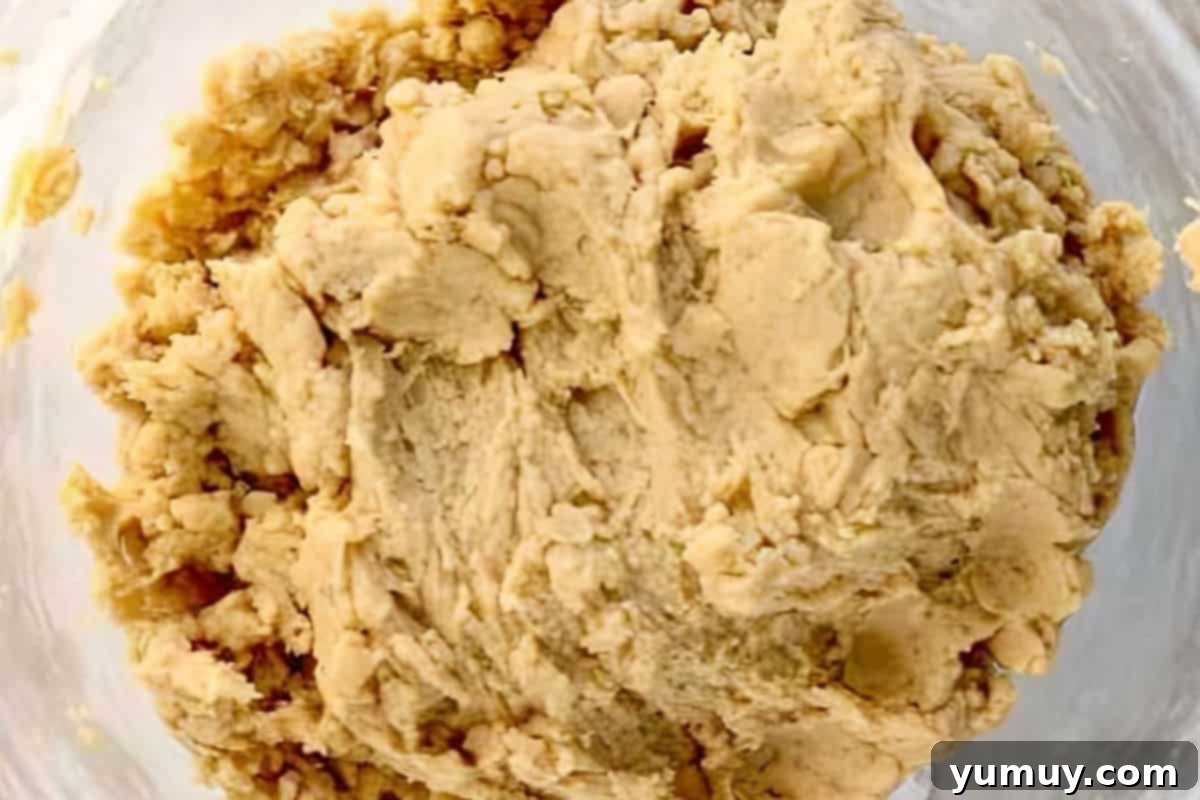
Step 4: Chill the Dough (If Needed)
If your kitchen is particularly warm or if the dough feels a bit too soft and sticky after mixing, gently form it into a ball and let it chill in the refrigerator for about 20 minutes. This chilling time helps to firm up the coconut oil and makes the dough much easier to handle and roll. Once chilled, remove the ball of dough from the bowl and place it onto a lightly floured surface, ready for rolling.
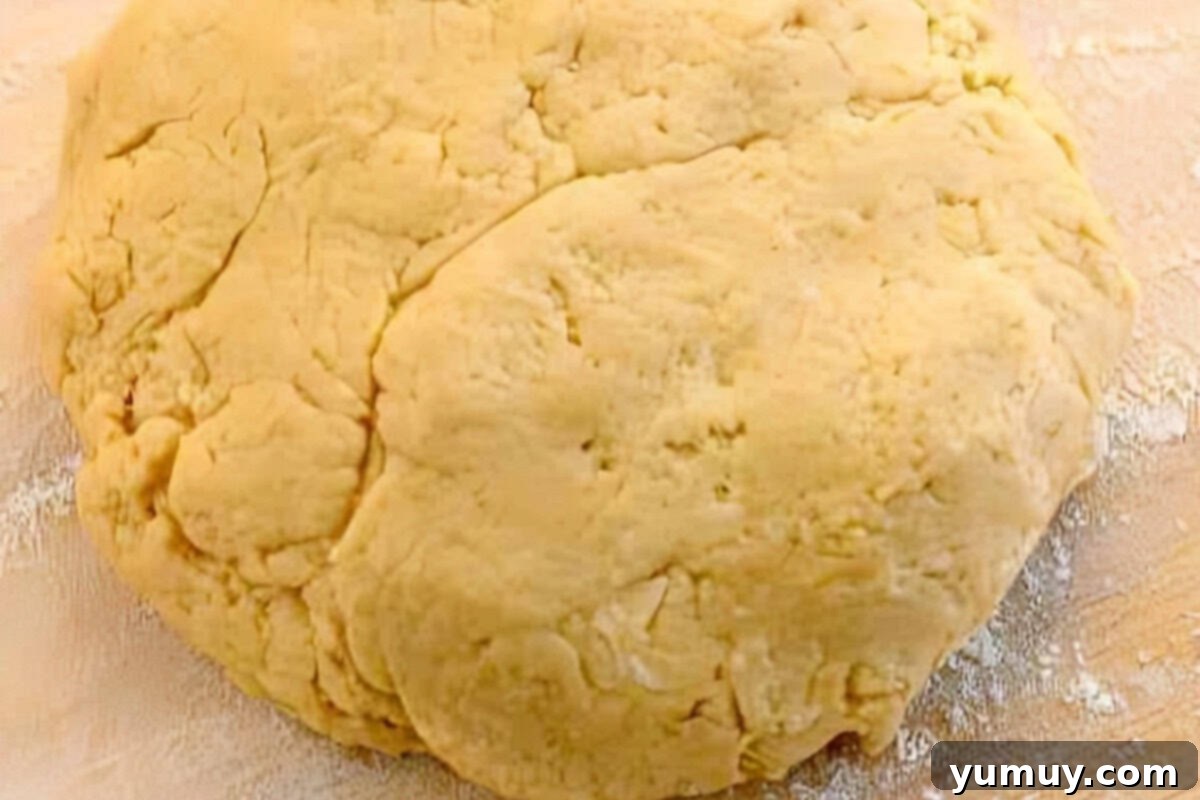
Step 5: Roll and Cut the Dough
On your lightly floured surface, use a rolling pin to roll out the dough until it reaches an approximate thickness of ½-inch. If you desire crispier treats, feel free to roll the dough a bit thinner, around ¼-inch. Now comes the fun part: use your favorite cookie cutters (bone shapes, circles, hearts, or even just a knife for simple squares) to cut out individual treats. Remember that larger or thicker treats will require slightly more baking time to cook through evenly. Maximize your dough by re-rolling scraps as needed.
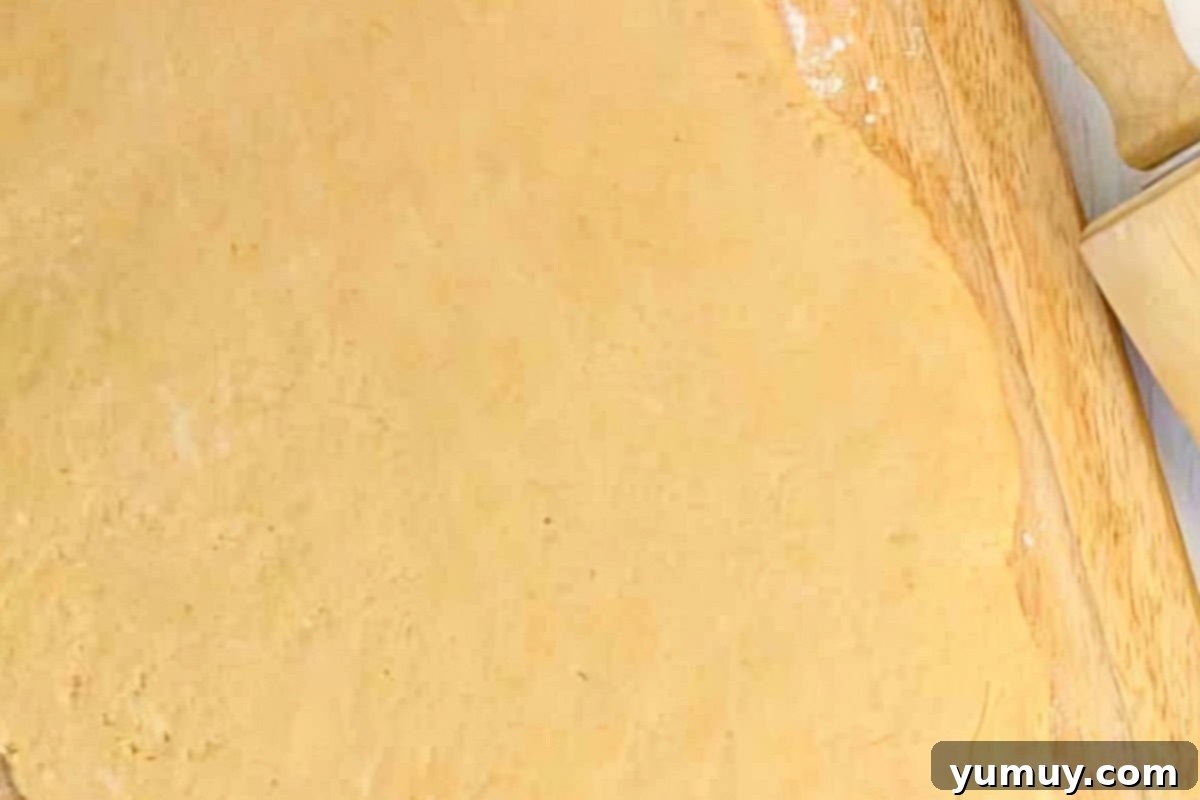
Step 6: Bake the Healthy Dog Treats
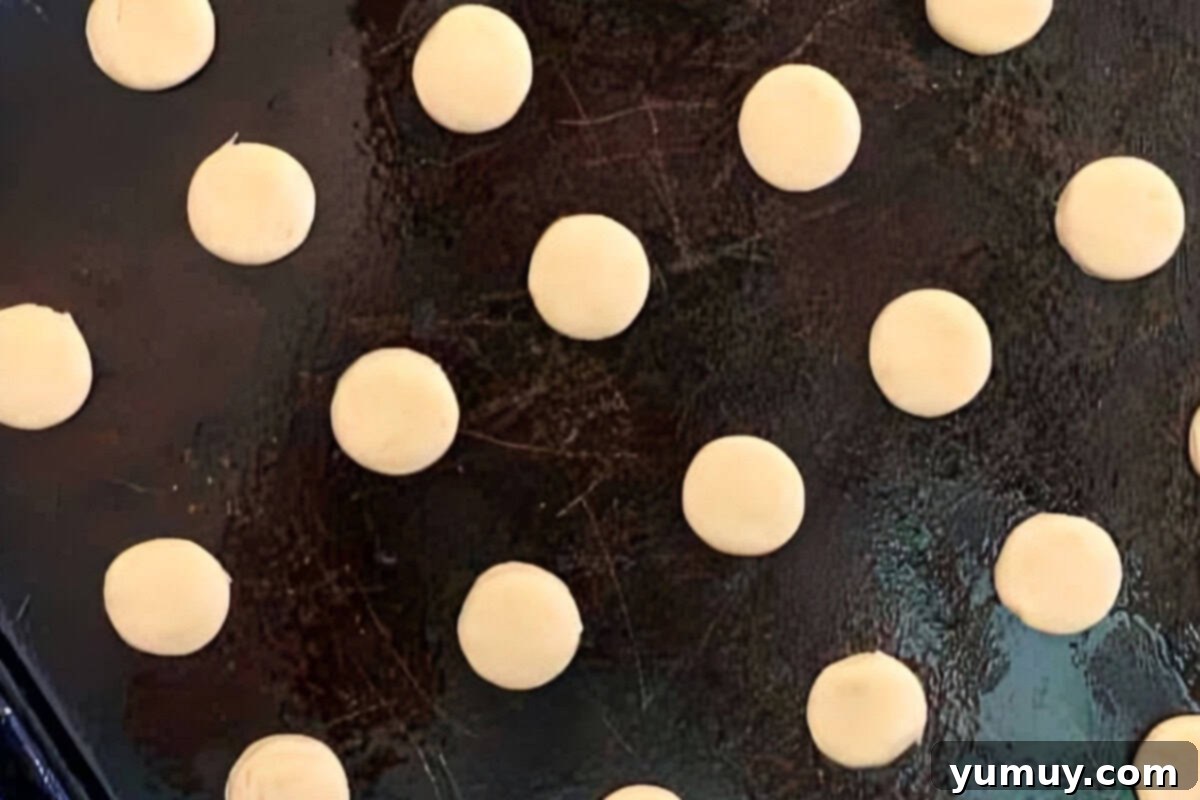
Carefully transfer your cut peanut butter dog cookies onto the prepared baking sheet, leaving a little space between each treat to allow for even baking. Place the baking sheet into your preheated oven. Bake for approximately 15 minutes, or until the edges begin to turn a light golden brown and the treats feel firm. Keep an eye on them towards the end of the baking time, as oven temperatures can vary. The goal is a perfectly baked, wholesome dog cookie.
Step 7: Cool Completely Before Serving
Once the baking is complete, remove the sheet of homemade dog treats from the oven. It is absolutely essential to allow the peanut butter dog treats to cool completely on the baking sheet or a wire rack before attempting to store them or offer them to your eager pups. Cooling thoroughly helps them to fully firm up and achieve that satisfying crunch. Your canine companions will appreciate your patience!
How to Store Homemade Peanut Butter Dog Treats for Optimal Freshness
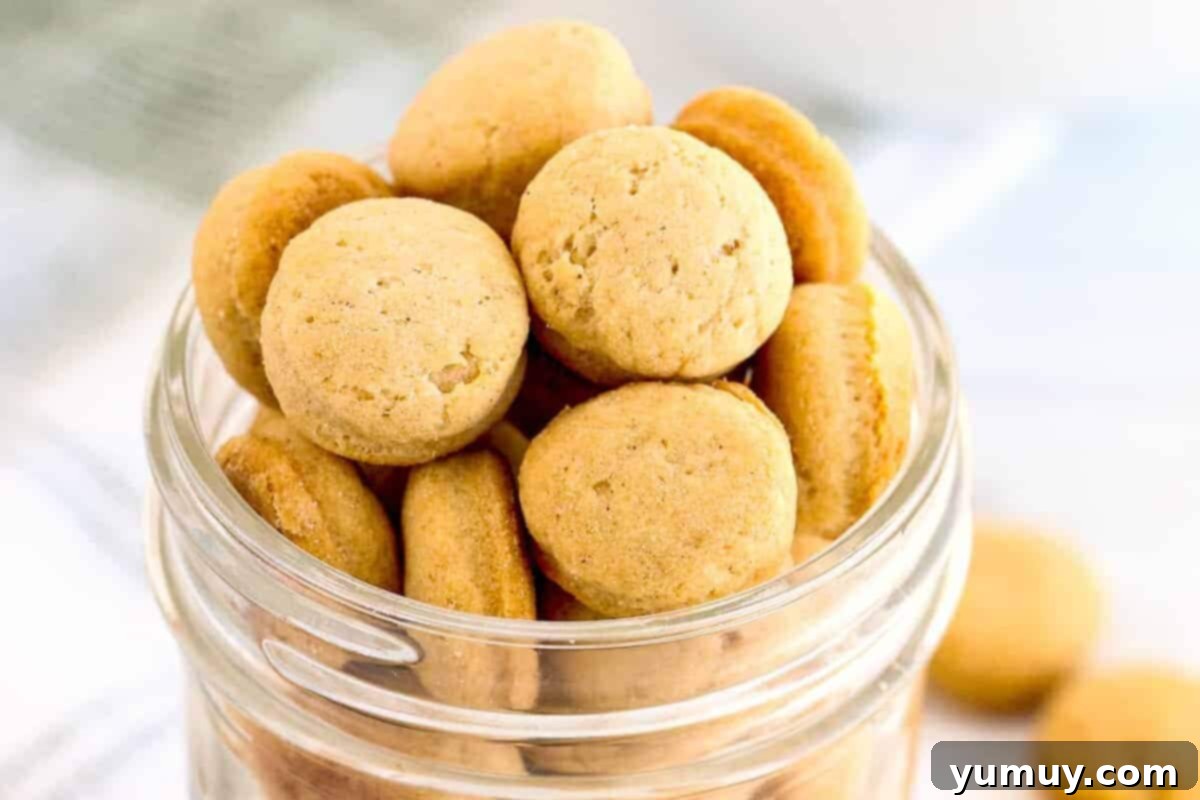
Proper storage is key to maintaining the freshness and crunch of your homemade peanut butter dog cookies. Once completely cooled, store them in an airtight container at room temperature for up to 5 days. For longer-term storage, these healthy dog treats freeze exceptionally well. Place them in a freezer-safe bag or container for up to 3 months. When your pup is ready for a frozen delight, simply remove a treat and allow it to thaw at room temperature for a few minutes before serving. This ensures a steady supply of delicious DIY dog treats for your furry friend.
Frequently Asked Questions About Peanut Butter Dog Treats
Q: Can I use other types of flour?
A: Yes, absolutely! While whole wheat flour is recommended for its fiber and nutrients, you can substitute it with other dog-safe flours. Rice flour, oat flour, or coconut flour are excellent wheat-free options. If using coconut flour, you might need to adjust the liquid slightly as it’s very absorbent. Always observe your dog for any sensitivities when introducing new ingredients.
Q: What if my dog doesn’t like peanut butter?
A: Not all dogs are peanut butter fanatics! You can easily swap the peanut butter for other pureed ingredients that dogs love. Plain pumpkin puree (not pumpkin pie filling!), mashed sweet potato, or even applesauce (unsweetened) are fantastic alternatives that maintain the dough’s consistency and provide different flavors and nutrients. Just ensure any substitute is xylitol-free and free from added sugars or spices.
Q: Are these treats suitable for puppies?
A: These homemade dog treats are generally safe for puppies once they’ve been weaned and are eating solid food. However, always introduce new treats in small amounts to observe for any digestive upset. For very young puppies or those with developing teeth, you might consider baking them for a slightly shorter time to achieve a softer texture. As always, consult your veterinarian for specific dietary advice for your puppy.
Q: Can these treats help with my dog’s dental health?
A: The crunchy texture of these baked treats can certainly help in scraping away some plaque and tartar buildup on your dog’s teeth, especially if you bake them until they are extra crisp. However, they are not a substitute for regular dental care, such as brushing or professional cleanings. Consider them a tasty supplement to your dog’s overall dental hygiene routine.
Indulge Your Pup with Homemade Goodness
There’s truly nothing quite like seeing your dog’s excitement when they know a delicious treat is coming their way, especially when you made it yourself. These homemade peanut butter dog treats are a testament to the fact that healthy, wholesome, and incredibly tasty snacks don’t have to be complicated or expensive. With this simple DIY dog treat recipe, you’re not just baking; you’re providing a gesture of love, control over their diet, and ensuring they get the very best. So, roll up your sleeves, gather your ingredients, and get ready to earn some serious tail wags!
Cookies for Everyone Else: Human-Friendly Delights
Now that your canine companion has a stash of delicious homemade dog treats, it’s time to treat the humans in your life! Here are some of our favorite cookie recipes perfect for sharing with family and friends:
Homemade Peanut Butter Cookies
Churro Cookies
Butter Cookies
Chocolate Pudding Cookies
Browse All Cookie Recipes
