The Ultimate Fruity Pebbles Treats Recipe: Easy No-Bake Dessert!
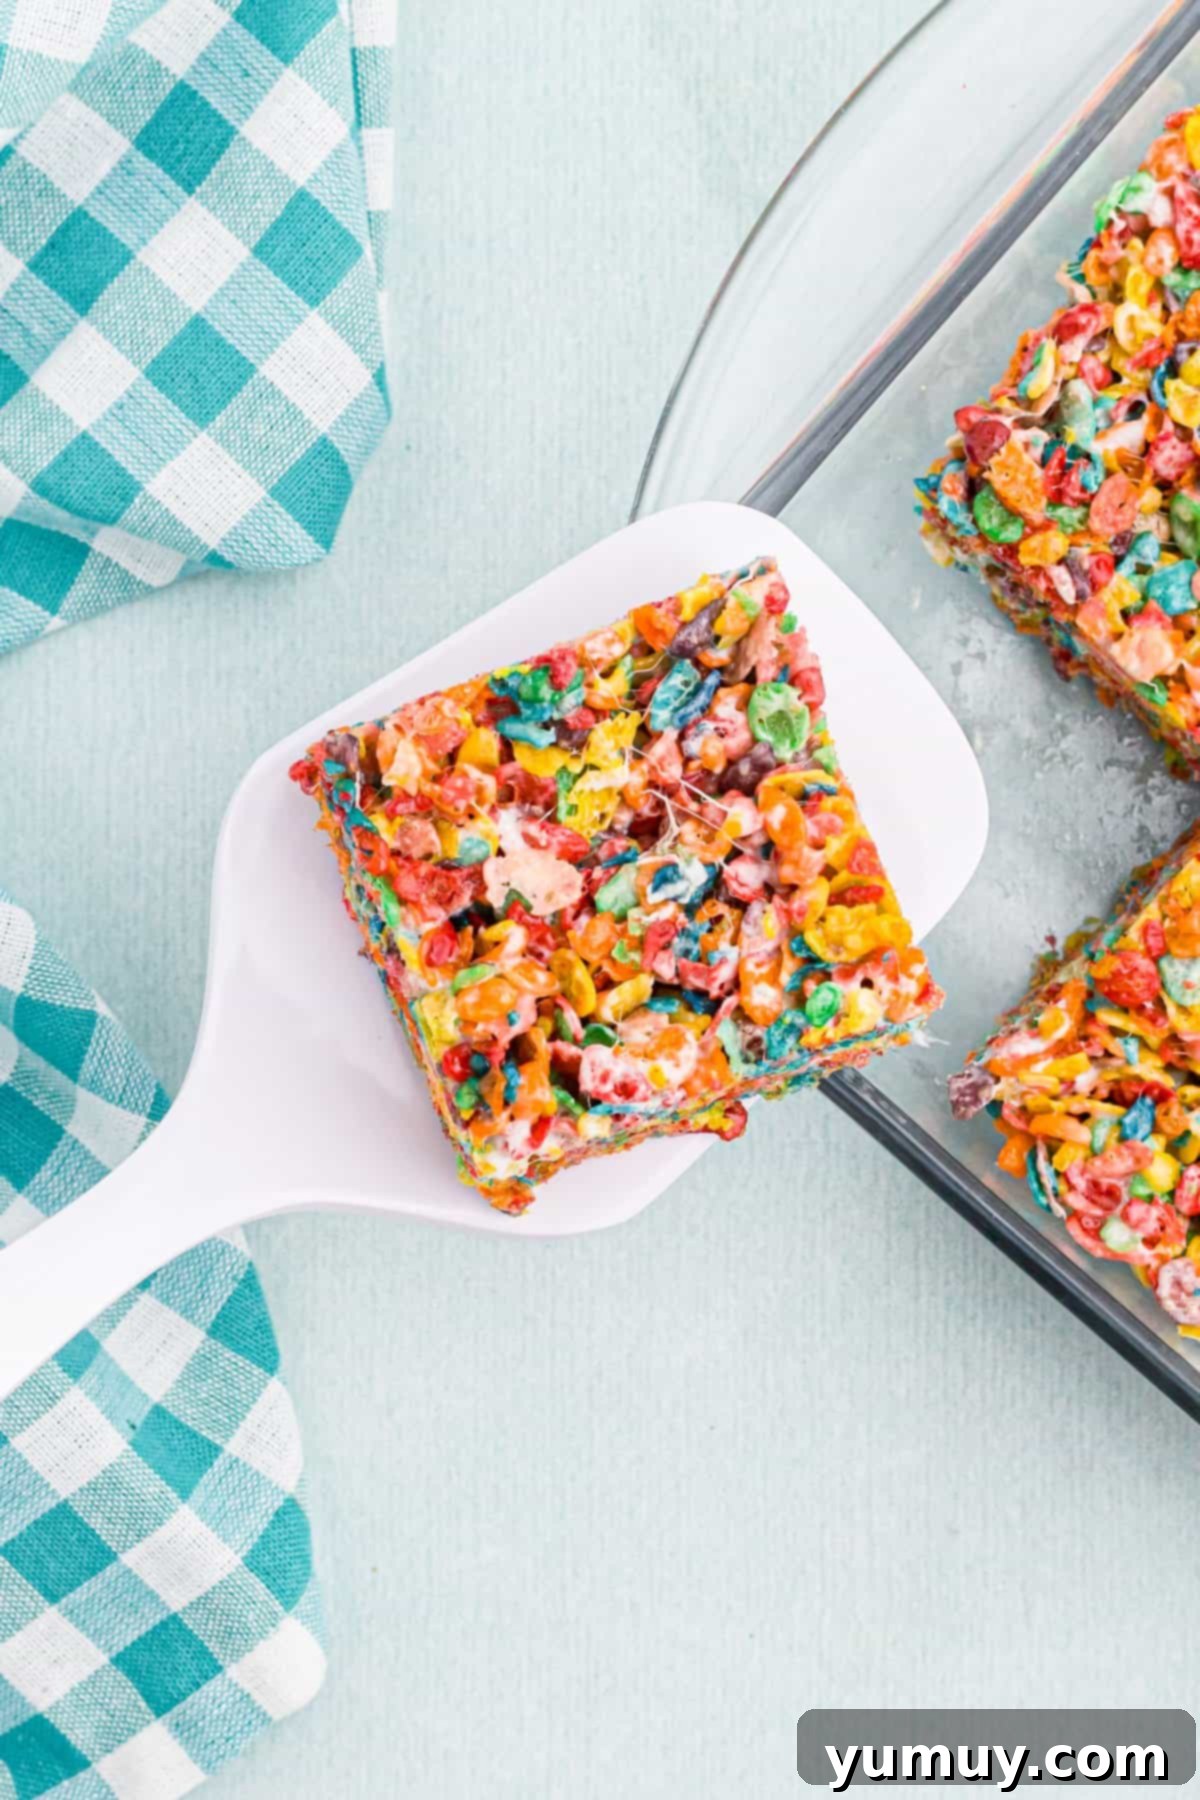
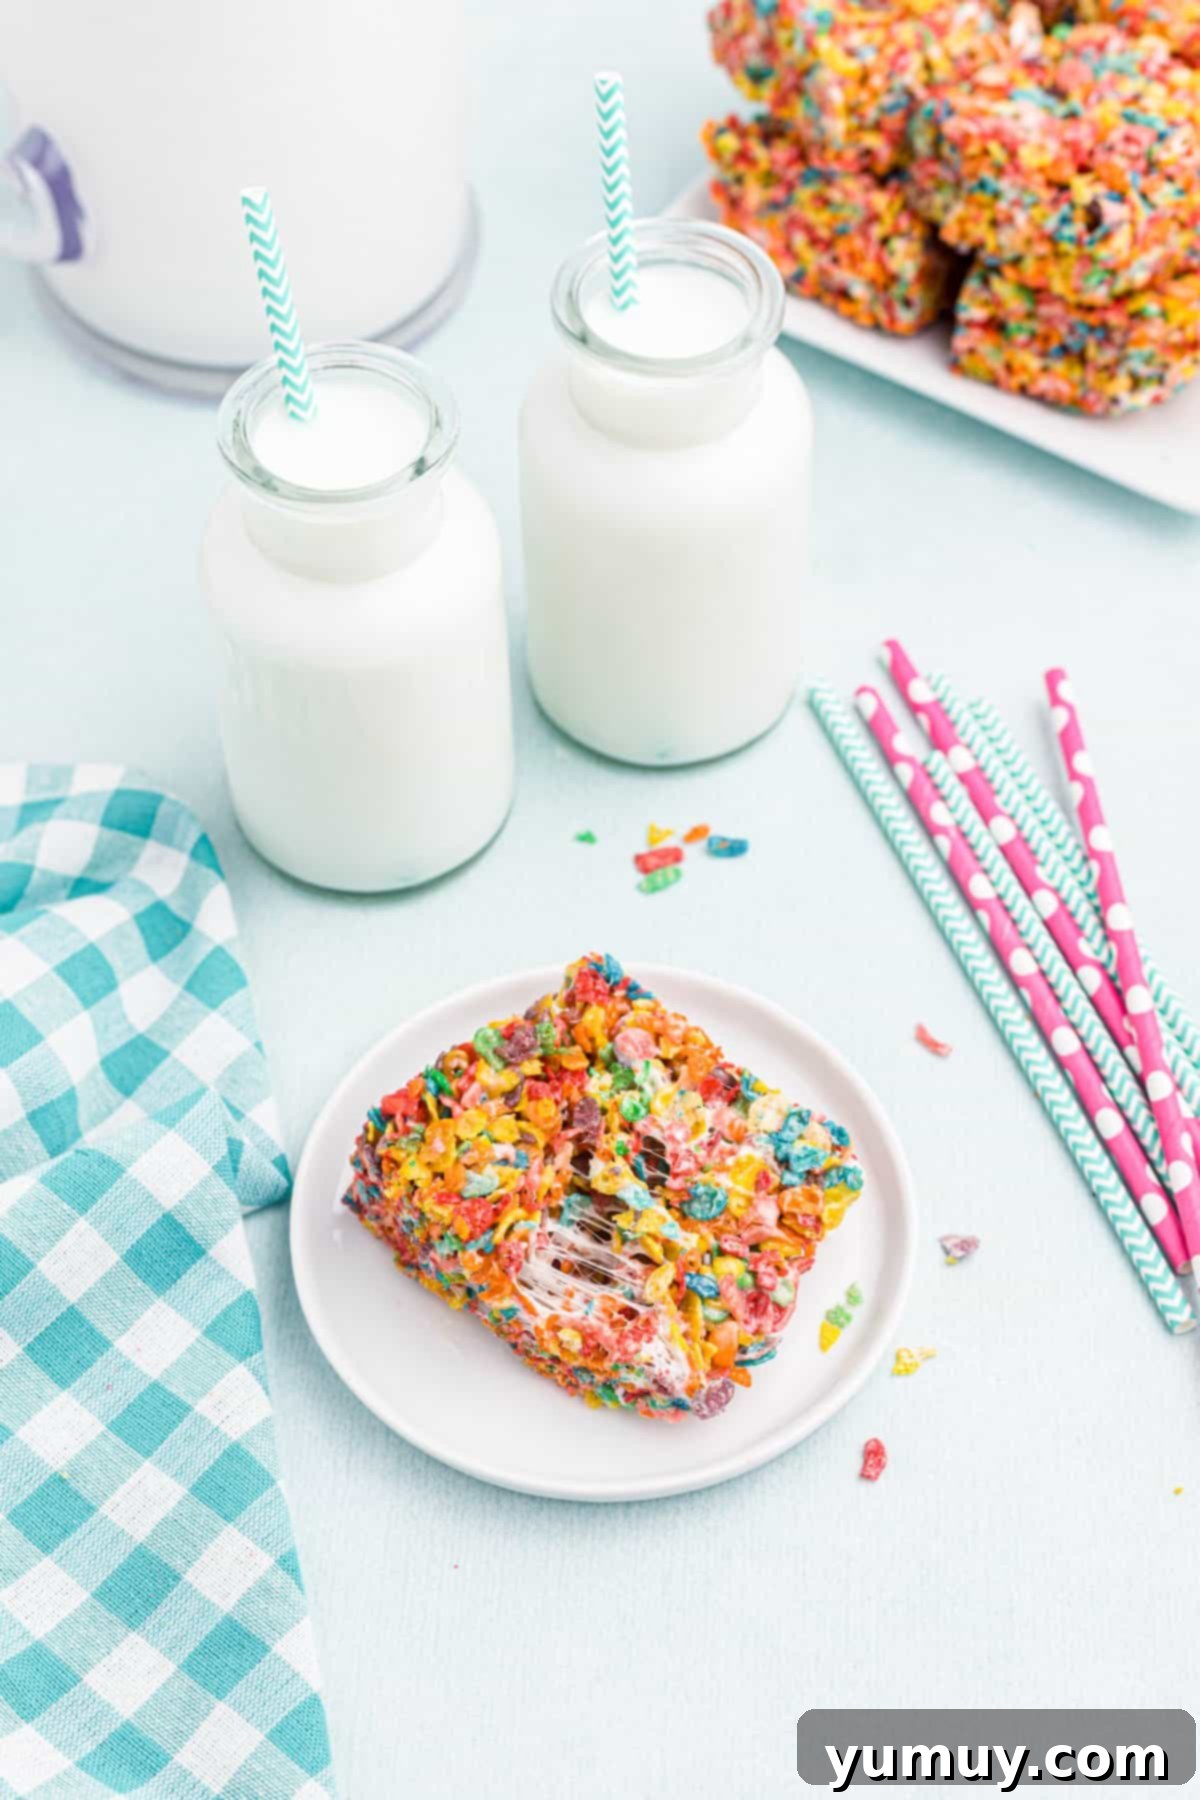
Craving a dessert that’s bursting with vibrant colors and irresistible fruity flavor? Look no further! These homemade Fruity Pebbles treats are a dream come true for anyone who loves a sweet, gooey, and effortlessly easy indulgence. Imagine a classic marshmallow cereal bar, but elevated with the playful crunch and zesty taste of your favorite childhood breakfast cereal. This no-bake recipe is a winner at any gathering, from casual after-school snacks to festive holiday parties, bringing a smile to every face. With just three inexpensive ingredients and minimal effort, you’ll have a batch of these delightful treats ready in no time!
Share this amazing recipe with your friends and family!
Why You’ll Love These Fruity Pebbles Treats
These aren’t just any cereal bars; they’re a celebration of flavor, color, and simplicity. If you’re a fan of the timeless Rice Krispie treat, you’re in for an exciting twist that’s sure to become a new family favorite. Here’s why these Fruity Pebbles treats stand out:
- Incredibly Easy & Quick: With only three ingredients and a no-bake method, these treats come together in under 15 minutes of active prep and cook time. Perfect for busy schedules or spontaneous cravings!
- Bursting with Flavor: The fruity notes of the cereal perfectly complement the sweet, gooey marshmallows, creating a symphony of taste that’s both nostalgic and exciting.
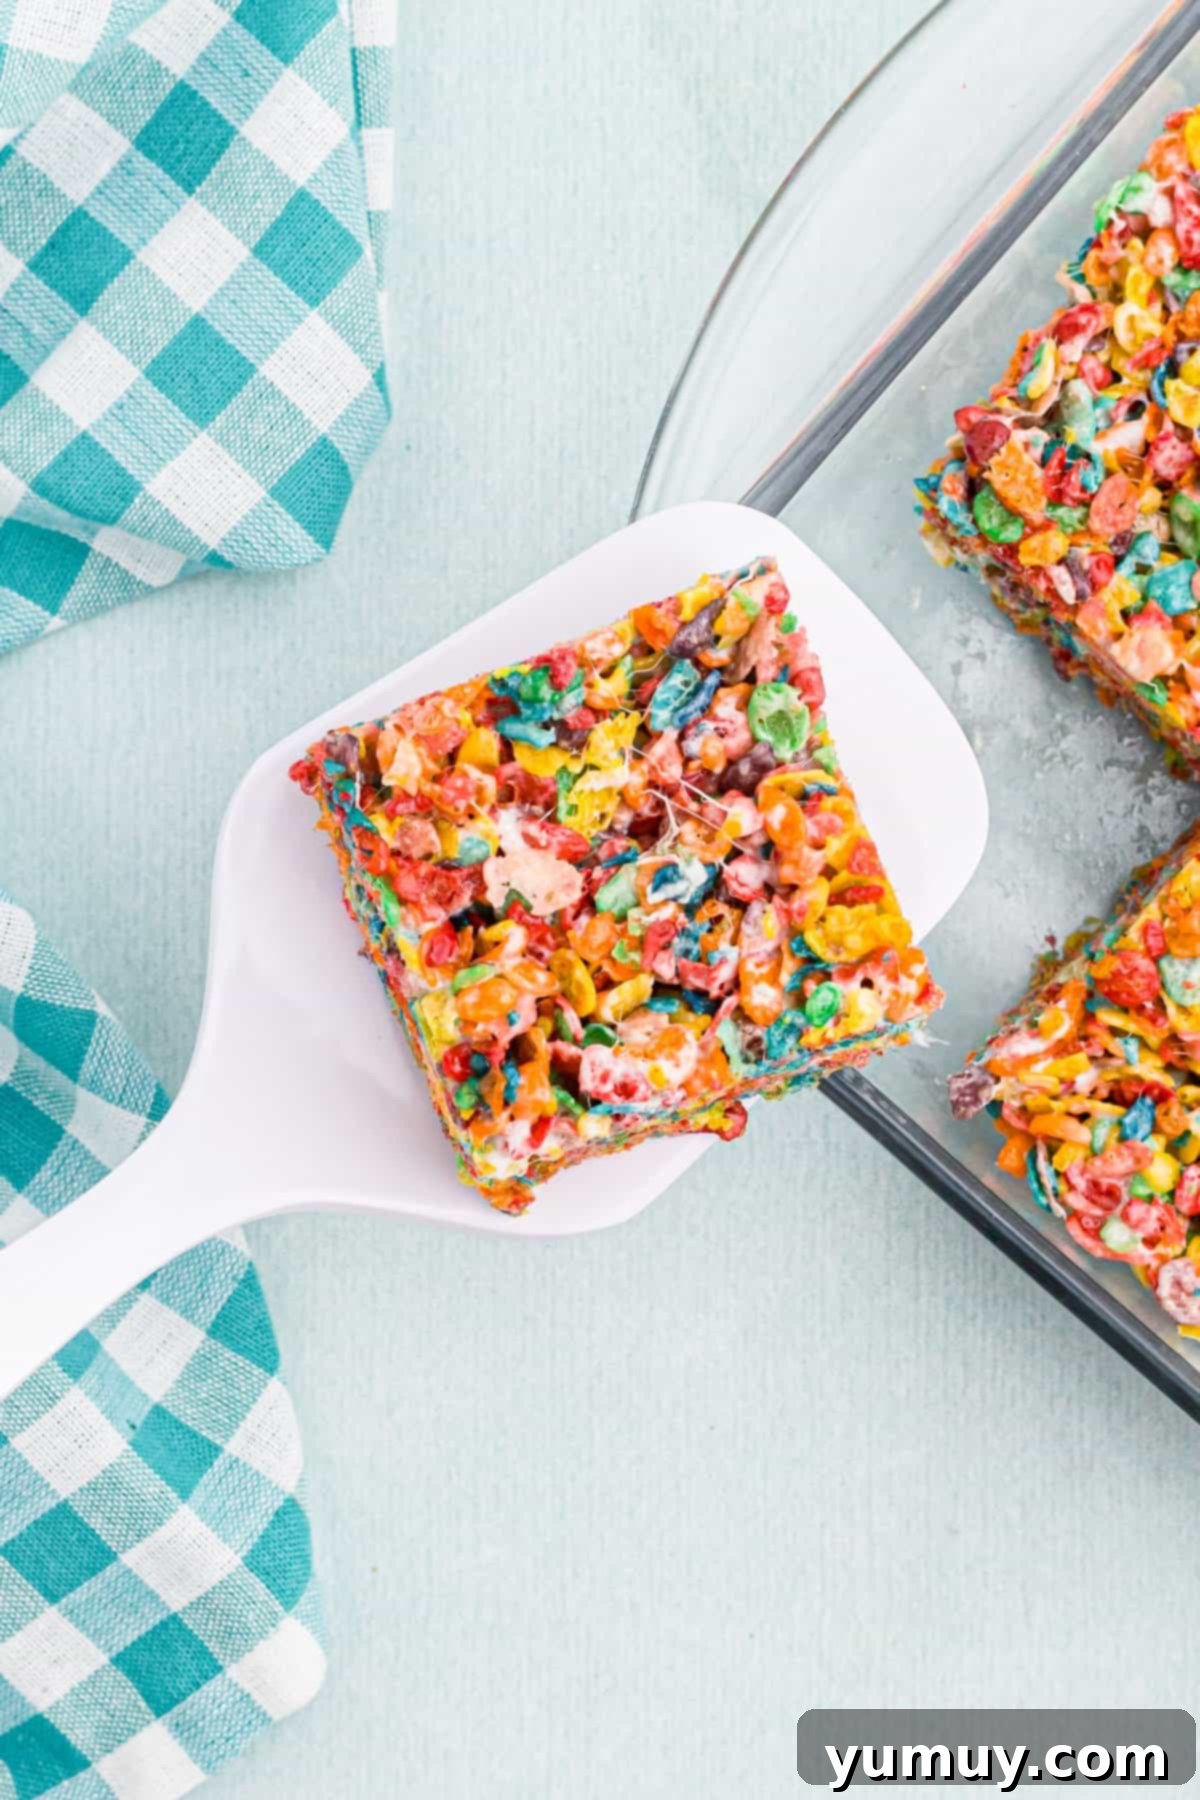
- Visually Stunning: The vibrant rainbow hues of Fruity Pebbles make these treats incredibly appealing, especially for kids and festive occasions like St. Patrick’s Day or birthday parties.
- Kid-Friendly & Crowd-Pleasing: A guaranteed hit with children and adults alike, these bars are the ideal snack for lunchboxes, after-school munchies, or dessert tables.
- Versatile: Easy to customize with extra mix-ins or decorative drizzles, allowing you to tailor them to any event or preference.
- No Special Equipment Needed: You likely already have everything you need in your kitchen to whip up a batch.
Fruity Pebbles Treats Recipe
Ingredients
- 3 tablespoons unsalted butter (Using unsalted butter gives you control over the saltiness, but salted can be used if preferred)
- 10 ounces miniature marshmallows (or 40 large marshmallows. Fresh marshmallows melt best!)
- 6 cups Fruity Pebbles cereal (The star of the show for that vibrant color and fruity flavor!)
Equipment
- Large Saucepan (for melting ingredients efficiently)
- Rubber Spatula (for stirring and pressing without sticking)
- 8×8 or 9×13-inch Baking Pan (choose based on desired treat thickness)
- Wax Paper or Parchment Paper (for easy removal)
- Kitchen Scale (optional, for precise marshmallow measurement)
Instructions
- In a large, heavy-bottomed saucepan, melt the 3 tablespoons of unsalted butter over very low heat. Stir continuously to prevent burning and ensure even melting. This low and slow method is key to maintaining a smooth, pliable marshmallow mixture.3 tablespoons unsalted butter

- Once the butter is fully melted and clear, add the 10 ounces of miniature marshmallows to the saucepan. Continue to stir gently and continuously until the marshmallows are completely melted and create a smooth, gooey mixture with the butter. It’s crucial not to overcook the marshmallows, as this can lead to hard treats. As soon as they are fully melted, remove the pan immediately from the heat.10 ounces miniature marshmallows

- Working quickly, pour the 6 cups of Fruity Pebbles cereal into the melted marshmallow mixture. Using your rubber spatula, stir vigorously until all the cereal is evenly coated with the warm, sticky marshmallow. The faster you stir, the better the coating and the less likely the marshmallows are to set prematurely.6 cups Fruity Pebbles cereal

- Prepare an 8×8-inch baking pan (for thicker bars) or a 9×13-inch baking pan (for thinner bars) by lining it with wax paper or parchment paper, or by lightly coating it with butter or non-stick cooking spray. Transfer the Fruity Pebbles mixture into the prepared pan. Use your rubber spatula to gently but firmly press the mixture evenly into the pan. If the mixture starts to stick to your spatula, lightly coat the spatula with cooking spray or butter to prevent sticking. Avoid pressing too hard, as this can make the treats dense and less gooey.
- Allow the Fruity Pebbles treats to cool completely at room temperature for about 30 minutes, or until the marshmallows have fully set. Once cooled, use a sharp, greased knife to cut them into squares. Serve immediately and enjoy the delightful chewy texture and vibrant flavors!

Recipe Notes & Expert Tips for Success
- Pan Size Matters: For deliciously thick and chewy bars, opt for an 8×8-inch baking pan. If you prefer thinner, crispier treats, a 9×13-inch baking pan is your best bet.
- Marshmallow Mastery: The key to perfectly gooey treats is gentle heat and quick work. Avoid overcooking the marshmallows at all costs! Once they’re mostly melted and just starting to become smooth and liquid, remove the pan from the heat immediately. Overcooked marshmallows can lead to stiff, hard treats once cooled.
- Speed is Your Friend: After adding the cereal, you need to stir quickly and efficiently. Marshmallows set rapidly once off the heat, so work fast to ensure every piece of Fruity Pebbles is evenly coated before the mixture becomes too stiff.
- Extra Marshmallow Boost: For an added burst of marshmallow flavor and a delightful textural contrast, stir in about 1 cup of extra mini marshmallows into the mixture once it has cooled slightly (but is still warm enough to incorporate). For an even more festive look, use rainbow-colored mini marshmallows!
- No-Stick Solution: To prevent the sticky mixture from clinging to your hands or spatula while pressing into the pan, lightly grease your hands with non-stick cooking spray or butter. Alternatively, use a piece of greased parchment or wax paper to smooth the treats into the pan without direct contact.
- Microwave Method: In a microwave-safe bowl, combine the butter and marshmallows. Microwave on high for 1 minute, stir, then continue microwaving in 30-second intervals, stirring after each, until fully melted and smooth (totaling about 2-3 minutes). Once melted, stir the butter thoroughly into the marshmallows. Pour in the Fruity Pebbles and quickly stir until evenly coated. Proceed with pressing into the prepared pan.
Storage: To maintain their freshness and chewiness, store your Fruity Pebbles treats in an airtight container at room temperature. They will remain delicious for up to 3 days. For longer storage, you can freeze them for up to 6 weeks. When ready to enjoy frozen treats, allow them to thaw at room temperature. If the treats seem a bit too firm after storage, a quick zap in the microwave for 8-10 seconds (or until softened to your liking) can bring back that perfect gooey texture.
Calories from Fat 45
How to Make Fruity Pebbles Treats Step-by-Step
Creating these delightful Fruity Pebbles treats is incredibly simple. Follow these visual steps for a foolproof no-bake dessert that everyone will adore!
Step 1: Gather Your Ingredients
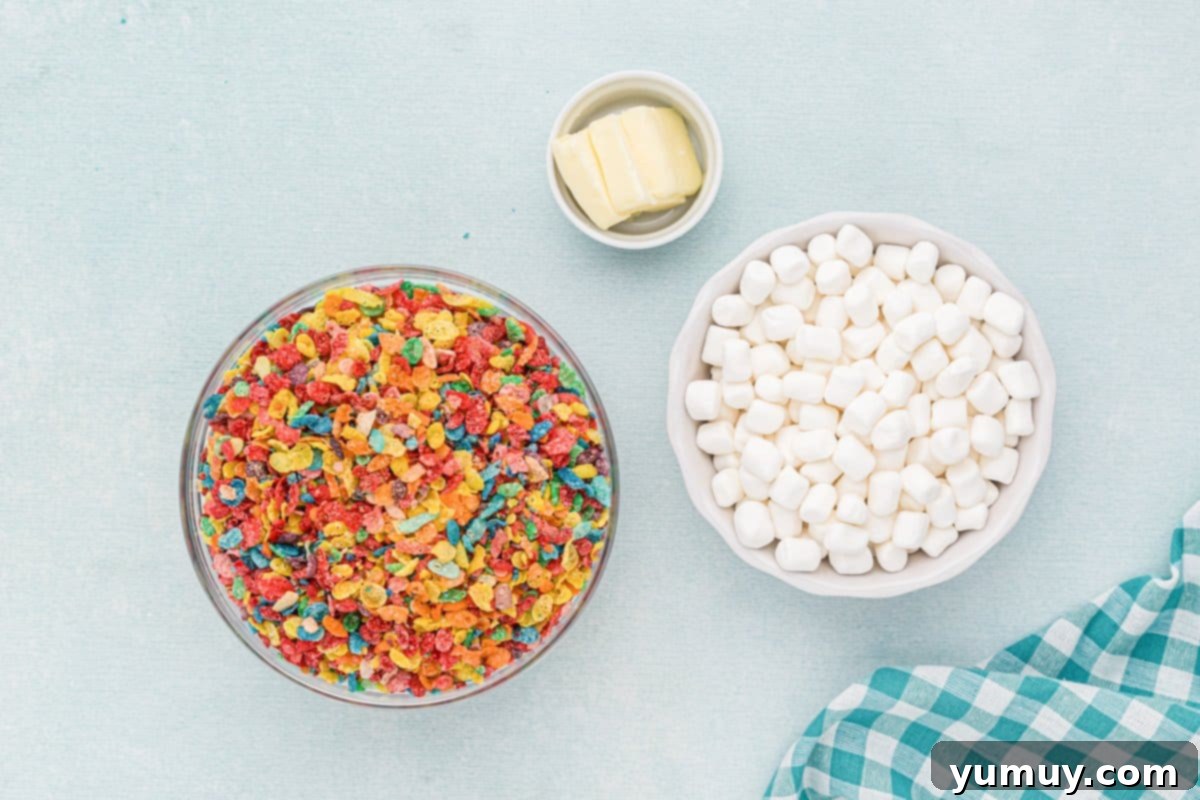
Before you begin, make sure all your ingredients are measured out and ready. Having everything prepped ensures a smooth and quick process, especially since the marshmallow mixture sets fast. You’ll need unsalted butter, miniature marshmallows, and, of course, a fresh box of Fruity Pebbles cereal.
Step 2: Melt the Butter
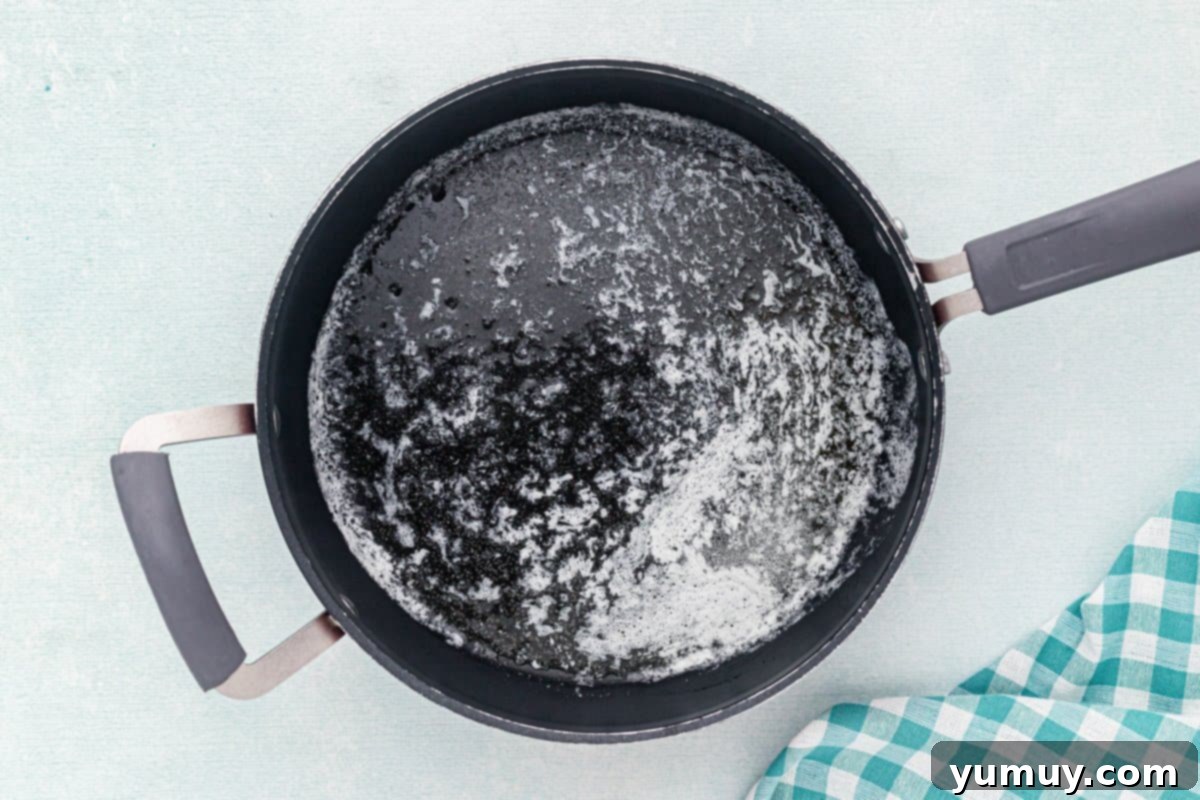
Place 3 tablespoons of unsalted butter into a large, sturdy saucepan. Turn the heat to low and allow the butter to melt slowly and evenly. Keep stirring gently to prevent any scorching, ensuring it becomes a clear, golden liquid. This forms the essential base for our gooey treats.
Step 3: Melt the Marshmallows
Once the butter is fully melted, add 10 ounces of miniature marshmallows to the saucepan. Continue to stir constantly over low heat. The marshmallows will gradually soften and combine with the butter, creating a wonderfully smooth and sticky mixture. As soon as they are fully melted and gooey, immediately remove the pan from the heat. Remember, overcooking marshmallows can make your treats hard, so timing is crucial here!

Step 4: Stir in the Cereal
Without delay, pour 6 cups of Fruity Pebbles cereal directly into the warm marshmallow and butter mixture in the saucepan. Using a rubber spatula, stir swiftly and thoroughly until every colorful flake of cereal is completely coated with the sweet, sticky marshmallow. Work quickly to ensure an even distribution before the mixture begins to cool and stiffen.

Step 5: Press and Set the Treats
Prepare your baking pan (8×8-inch for thicker bars, 9×13-inch for thinner) by lining it with wax paper or lightly greasing it with butter or cooking spray. Transfer the entire cereal mixture into the prepared pan. Using a buttered or greased rubber spatula, gently press the mixture evenly into the pan. Avoid pressing too firmly, as this can compress the cereal and result in a dense, rather than airy and chewy, treat. Let the treats cool and set at room temperature for at least 30 minutes. Once firm, cut them into squares and serve these delightful, colorful treats!

Delicious Variations & Customization Ideas
While classic Fruity Pebbles treats are fantastic on their own, they also serve as a perfect canvas for creativity. Here are some ideas to make them uniquely yours:
- Chocolate Drizzle: Melt some white chocolate or dark chocolate chips and drizzle them over the cooled treats for an elegant touch and extra decadence.
- Sprinkle Fun: Add some rainbow sprinkles to the mix along with the cereal, or sprinkle them on top while the treats are still warm for extra festivity.
- Citrus Zest: For an extra zing, add a teaspoon of lemon or orange zest to the melted marshmallow mixture.
- Candy Mix-ins: Fold in some mini M&M’s, chopped white chocolate, or even crushed candy pieces once the cereal is coated, but before pressing into the pan.
- Other Cereal Combos: Experiment with different flavored cereals! Try mixing Fruity Pebbles with Cocoa Pebbles for a chocolate-fruity fusion, or with Rice Krispies for a milder base.
- Holiday Themes: Use colored sprinkles or specific candy additions to match holidays. For example, green sprinkles for St. Patrick’s Day, pastel colors for Easter, or red and green for Christmas.
Frequently Asked Questions (FAQ)
- Why are my Fruity Pebbles treats too hard?
- The most common reason for hard treats is overcooking the marshmallows. Marshmallows become brittle when exposed to heat for too long. Make sure to remove them from the heat as soon as they are fully melted and smooth, then work quickly to incorporate the cereal.
- Why are my treats sticky and falling apart?
- This could be due to not enough butter or marshmallows, or not enough setting time. Ensure you measure ingredients accurately and give the treats ample time (at least 30 minutes, or longer if your kitchen is warm) to cool and set completely at room temperature.
- Can I use a different type of marshmallow?
- Yes, you can use large marshmallows. A 10-ounce bag of mini marshmallows is roughly equivalent to about 40 large marshmallows. Just ensure they are fresh for the best melting consistency.
- Can I make these treats in advance?
- Absolutely! These treats are great for making ahead. Store them in an airtight container at room temperature for up to 3 days, or freeze them for up to 6 weeks. They retain their delicious flavor and texture well.
- What’s the best way to cut them cleanly?
- For clean cuts, allow the treats to cool completely. You can also lightly grease your knife with cooking spray or butter to prevent sticking, or even run the knife under hot water and wipe it dry between cuts.
More Cereal Bar Recipes to Try!
If you loved these Fruity Pebbles treats, you’re in for a real treat with these other easy and delicious cereal bar recipes. They’re perfect for any time you need a quick, no-bake dessert or a fun snack.
Homemade Crunch BarsRecreate the iconic candy bar with this incredibly simple, no-bake recipe. Made with just a few ingredients, these crunchy chocolate treats are always a hit!
Homemade Cereal BarsDiscover endless possibilities with this customizable base recipe for homemade cereal bars. Use your favorite cereal for a personalized, wholesome snack.
Chocolate Rice Krispie TreatsA chocolate lover’s dream! These chocolate-infused Rice Krispie treats take a classic to the next level with rich cocoa flavor and gooey marshmallow goodness.
Lucky Charms Rice Krispie TreatsBring some magic to your snack time with these enchanting Lucky Charms treats! The colorful marshmallows add a whimsical touch and delightful chewiness.
Discover All Our Delicious Bar Recipes!
